

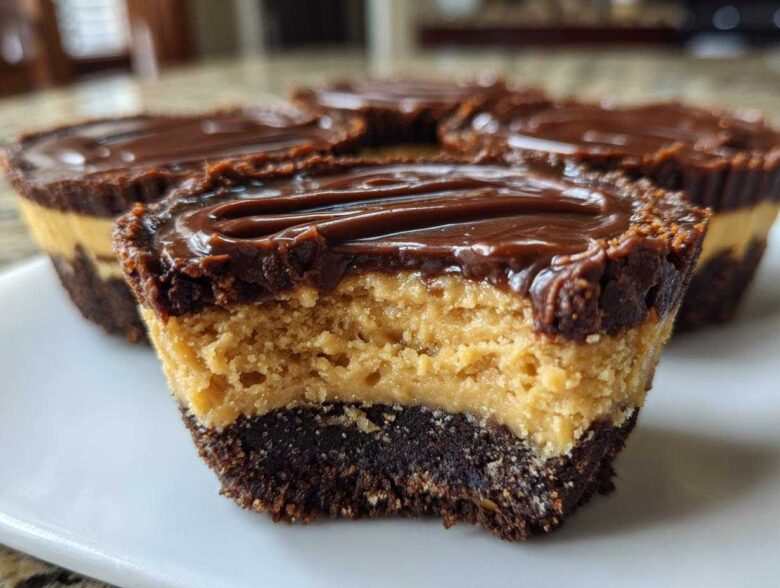
Okay, let’s be honest. Sometimes you need a showstopper dessert, but the very thought of turning on the oven makes you want to hide under the covers. I get it! When that rich, creamy craving hits—you know the one, chocolate mixed with peanut butter—you need instant gratification. That’s why I perfected these! These **Ultimate No-Bake Chocolate Peanut Butter Cheesecake Cups** are honestly the best easy dessert cups I’ve ever made. No heat, minimal mess, and they look absolutely stunning in those little paper liners. I whipped these up last week when my neighbor dropped by unexpectedly, and they were firm and perfect straight out of the fridge. Trust me, if you love a good no-bake peanut butter bars, this recipe is even better!
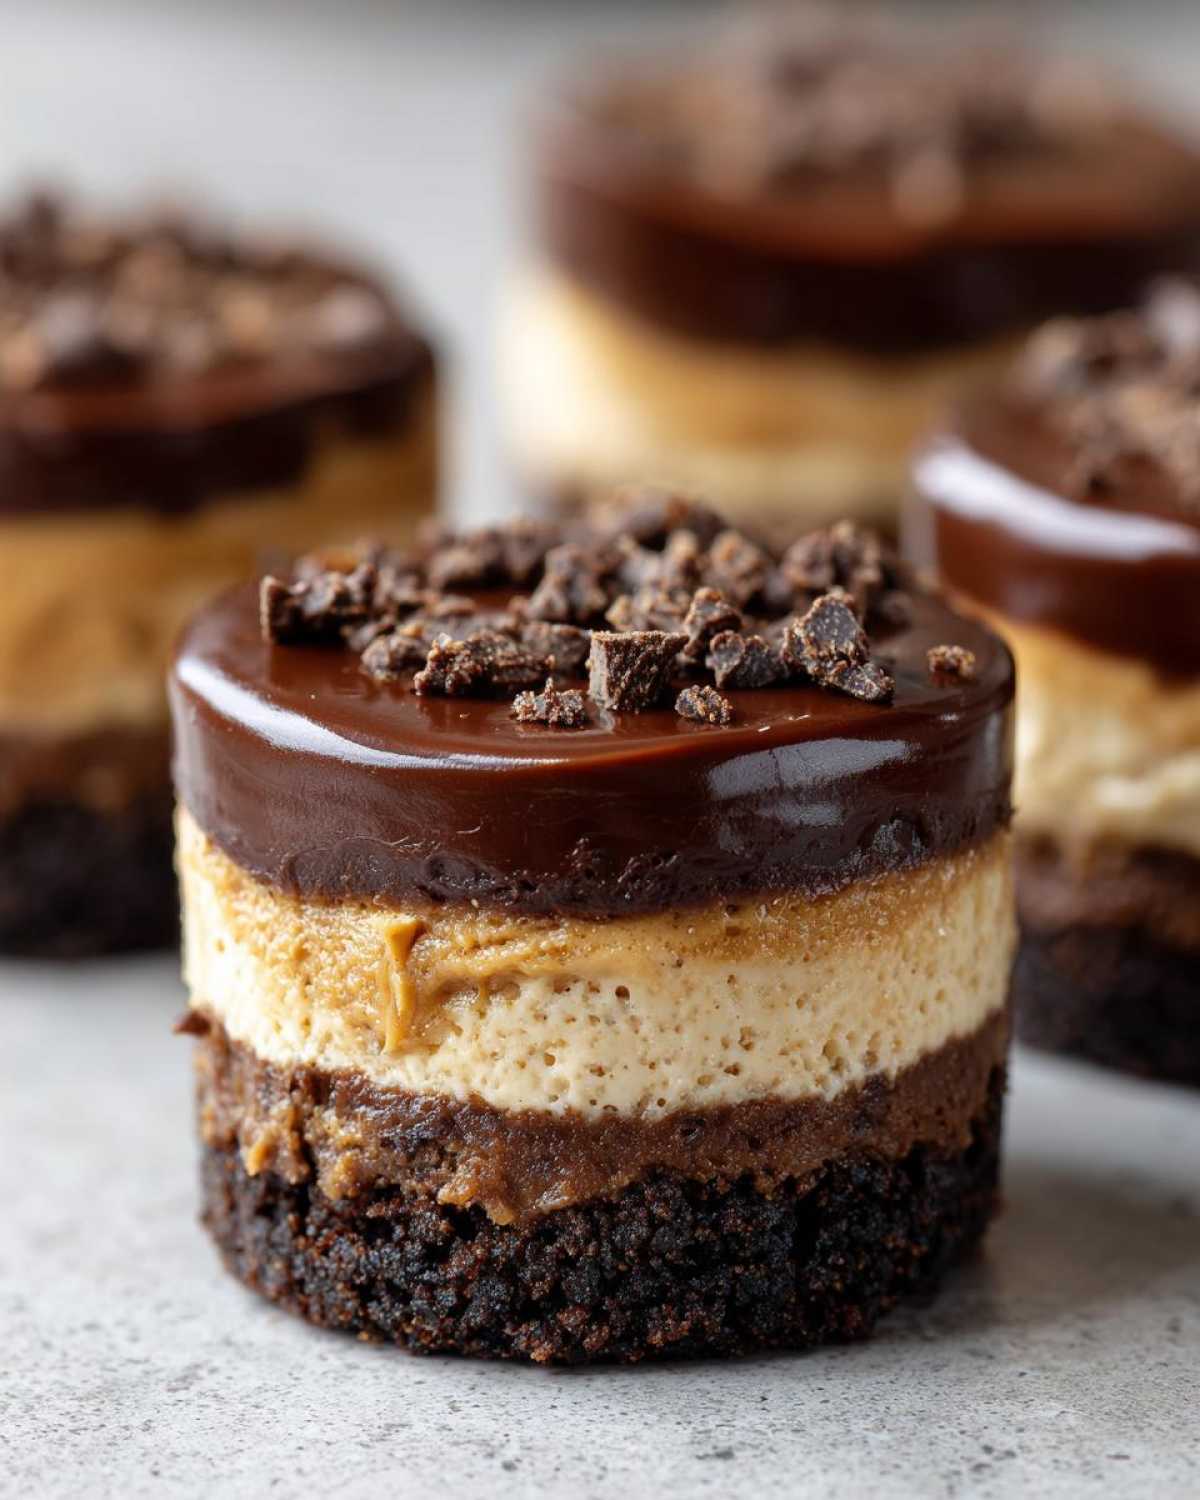
Why You Will Make These No-Bake Chocolate Peanut Butter Cheesecake Cups
Honestly, you need this recipe in your life because it solves all dessert problems at once. Here’s the quick rundown on why these little bites are permanent residents in my freezer:
- Zero oven time—seriously, you can make them on a sweltering summer day without sweating!
- They freeze up beautifully, making them the perfect make ahead cheesecake cups
- The flavor combo? Peak comfort food heaven. Rich, creamy, and perfectly portioned.
- Presentation is stunning for zero effort. Everyone asks for the recipe!
Essential Ingredients for No-Bake Chocolate Peanut Butter Cheesecake Cups
When you’re skipping the heat, the quality of your starting ingredients really shines through. For these cups, you’re dealing with three main layers: the crunchy base, the decadent filling, and the chocolate drizzle on top. I always lay everything out beforehand, which is half the battle won!
Crust Ideas for Cheesecake Cups
You need a good solid base to hold all that rich filling, right? For the crust, grab:
- 1 1/2 cups chocolate graham cracker crumbs
- 1/4 cup granulated sugar (just a little boost for sweetness!)
- 6 tablespoons unsalted butter, melted
Now, listen up because this is where you can switch things up! If you truly want that intense, dark flavor, don’t bother with regular graham crackers—use crushed Oreos (filling removed, if you’re feeling super precise, but honestly, I leave it in!). It elevates this peanut butter chocolate situation dramatically.
The Creamy No Bake Filling Ingredients
This is the heart of the dessert. Everything must be at room temperature, especially the cream cheese, or you’ll end up with lumps, and we absolutely cannot have that in our **creamy no bake filling**.
- 8 ounces cream cheese, make sure it’s super soft
- 1/2 cup creamy peanut butter (no natural, separated stuff here—we need smooth!)
- 1/2 cup powdered sugar (sifted if you have time)
- 1 teaspoon vanilla extract
- 1/2 cup heavy whipping cream (this gets whipped separately, remember!)
That heavy cream has to be whipped until those beautiful stiff peaks form. That’s what keeps the whole filling light and fluffy instead of dense and gluey. If you want another unbelievably easy mousse-like treat, check out my 3-ingredient chocolate mousse recipe—same principle applies here!
For the topping, it’s just simple melted chocolate:
- 1/2 cup semi-sweet chocolate chips
- 1 tablespoon unsalted butter
Step-by-Step Instructions for No-Bake Chocolate Peanut Butter Cheesecake Cups
Putting these together is really quick, which is why I love them so much versus a traditional baked cheesecake. It’s all assembly work, which means you can get them done fast but still need to respect the chilling time. Don’t rush the cold part, or you’ll end up with a lovely chocolate peanut butter soup!
Preparing the Crust and Chilling
First things first, get your muffin tin ready! Line it with 12 paper liners—this makes serving and cleanup a dream. Now, mix up those chocolate crumbs, sugar, and the nice, melted butter. Take your time pressing about a tablespoon and a half of that mixture into the bottom of each liner. You want a solid base, so press down firmly with the back of a spoon or your thumb. Once they are all packed in, pop the whole tin into the freezer for about 15 minutes while you tackle the star of the show—the filling!
Mixing the Rich Chocolate Peanut Butter Filling
This part requires two separate bowls, so listen closely. In one large bowl, beat your softened cream cheese with the peanut butter, powdered sugar, and vanilla until it looks perfectly smooth, like velvet. In your *second* bowl, whip that cold heavy cream until it holds stiff peaks—you’ll know it’s right when you can turn the bowl upside down and nothing moves!
The *only* tricky bit is combining them. You must gently fold the whipped cream into the peanut butter base. I mean gently—use a spatula and cut down the middle, then scoop up the bottom layer and fold it over. You want to keep all those beautiful air bubbles in the cream! If you mix too hard, you deflate it, and your **No Bake Cheesecake Cups** will be too dense. Once it’s just barely blended, you’re ready to fill!
Setting and Topping Your No-Bake Chocolate Peanut Butter Cheesecake Cups
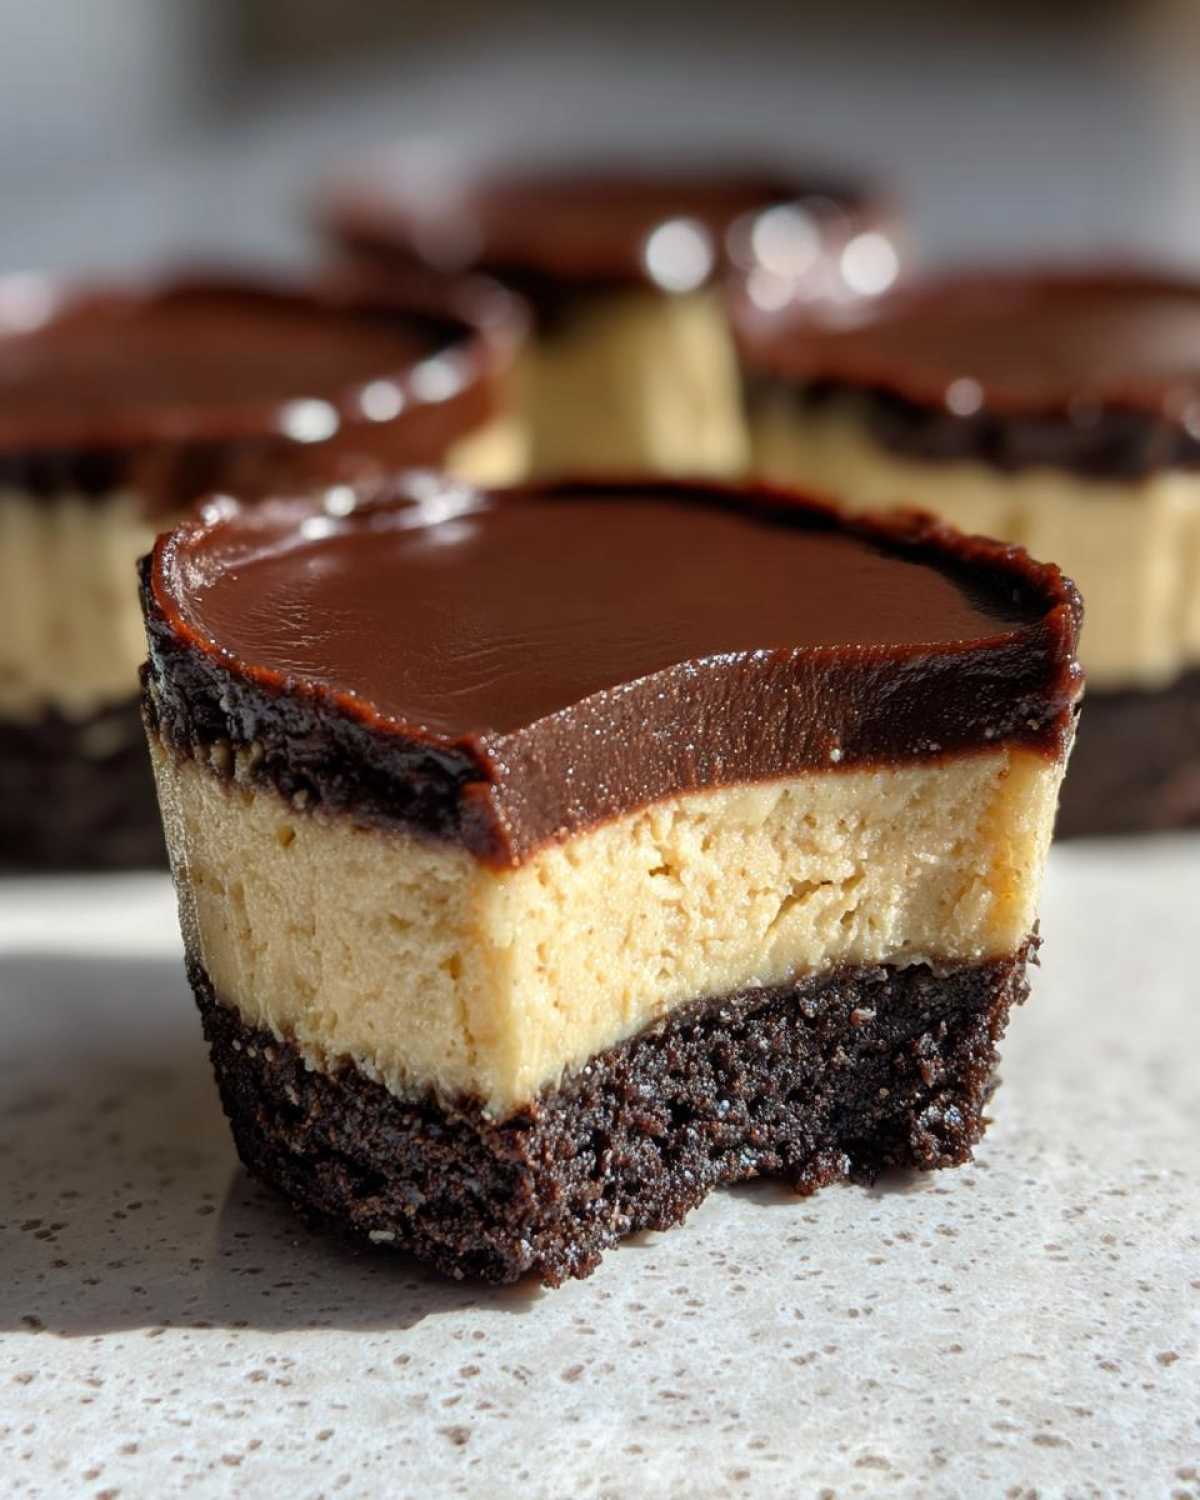
Spoon or pipe that gorgeous filling right over your chilled crusts. Smooth the tops if you like, but honestly, a little swirl looks great too. Back into the freezer they go for at least 30 minutes to firm up while the topping cools down. To make the topping, just melt your chips and that little bit of butter together in short bursts in the microwave—stir well between each 20-second blast so it doesn’t seize up on you.
Once melted, drizzle about a teaspoon over each cup. Then, here’s the final crucial step for achieving perfect **Mini Cheesecake Bites**: They need to chill in the *refrigerator* for a solid two hours. That gives the cream cheese the right texture—firm enough to hold its shape but soft enough to bite into easily. You can find inspiration for other great no-bake treats using similar techniques!
Tips for Perfect No-Bake Chocolate Peanut Butter Cheesecake Cups
I’ve messed these up enough times to know what works and what doesn’t! If your filling isn’t setting hard enough, it usually means you either didn’t whip the heavy cream enough or you didn’t let them chill long enough in the fridge—don’t try to speed it up in the freezer once the topping is on! They should be firm, not rock-hard.
For the best possible texture, remember my advice from the mixing section: gently fold that cream in. A smooth filling means light texture. And here’s something important for serving: don’t grab them straight from the fridge when company arrives. Let your **No-Bake Chocolate Peanut Butter Cheesecake Cups** sit out on the counter for about five minutes. That little bit of warmth softens the filling just enough for that ultimate melt-in-your-mouth experience. If you love this flavor profile, you have to check out my ultimate no-bake chocolate cheesecake for a full-sized version!
Make Ahead Cheesecake Cups and Storage Instructions
This is truly where these **Make Ahead Cheesecake Cups** shine brightest! You can totally assemble these babies completely (crust, filling, and topping) up to 24 hours ahead of time, which is a lifesaver when you’re hosting. Just keep them tightly covered in the refrigerator. They hold up so well! If you’re planning ahead often, you might want to check out my tips on general make ahead cheesecake cups.
Now, if you want to freeze them—and you definitely can—you need to handle the topping a little differently. Freeze the cups without the chocolate drizzle first. Once they are totally solid, you can wrap them individually in plastic wrap and then foil. That stops any freezer burn! When you’re ready to serve a quick treat, just pull one out and drizzle that melted chocolate on top. You can use them straight from the freezer for a harder, more frozen treat, or let them thaw on the counter for about 15 minutes if you prefer that classic soft cheesecake texture. These little **Dessert in a Cup** gems are perfect to have on hand!
Variations on the No-Bake Chocolate Peanut Butter Dessert
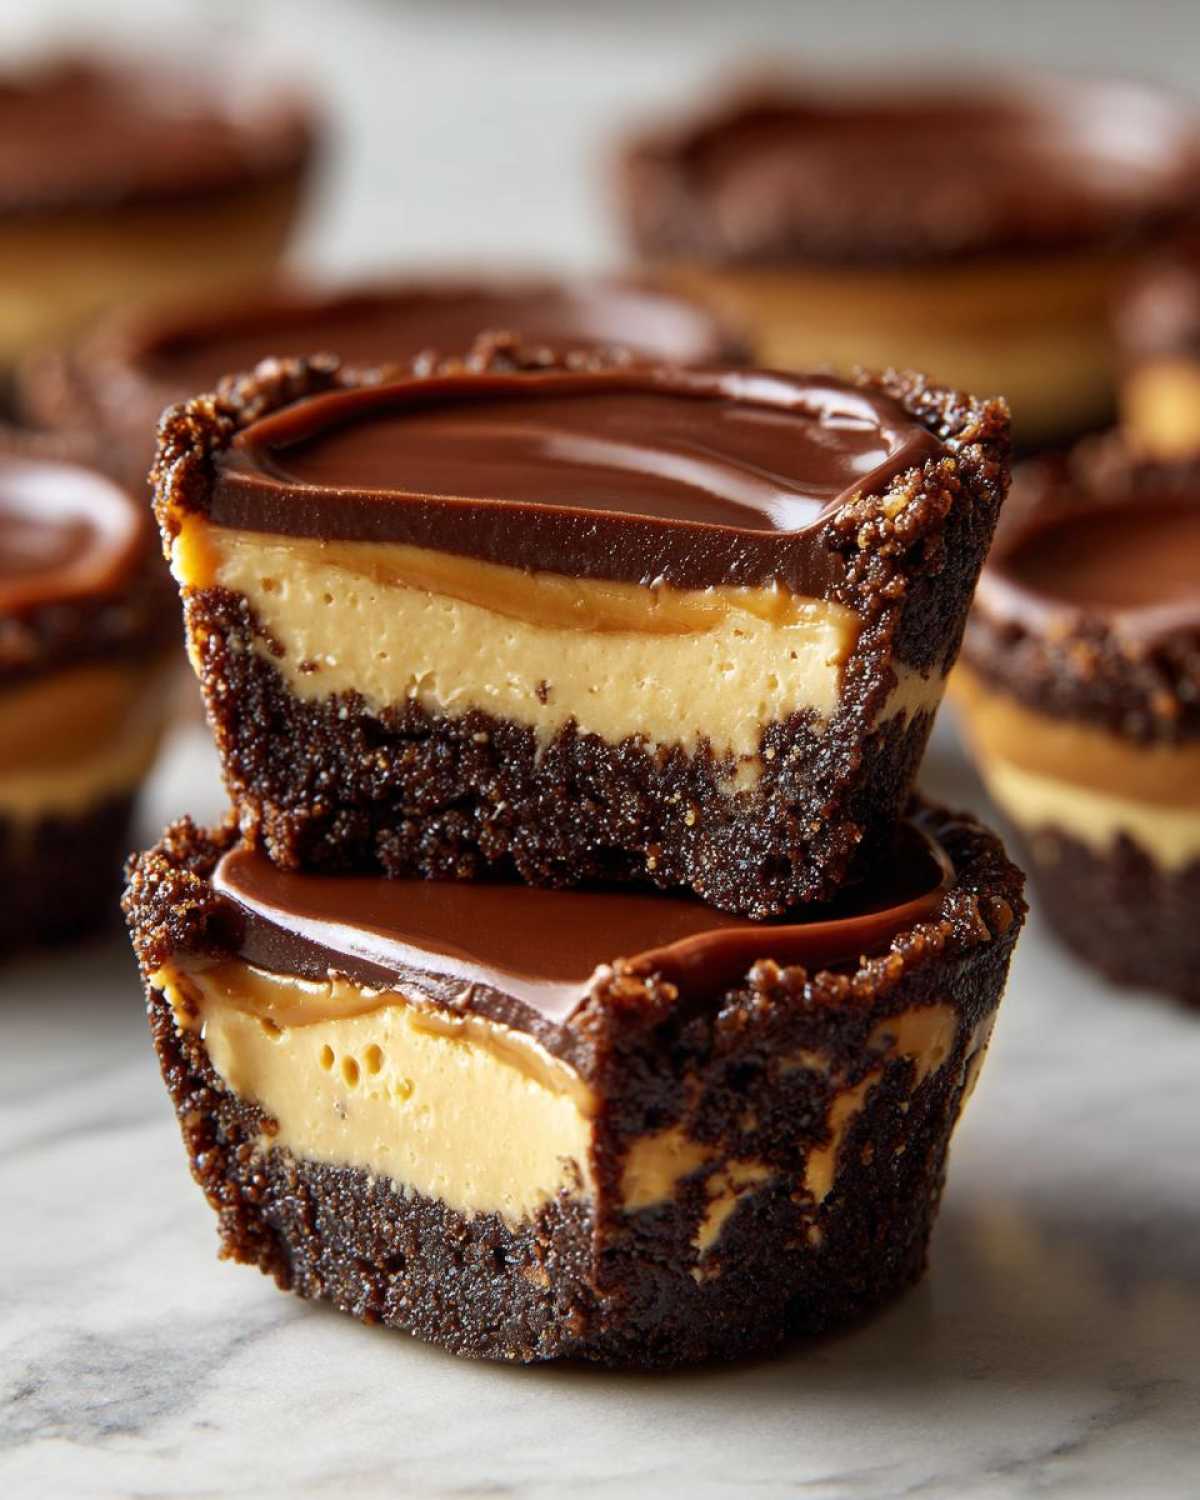
Just because this recipe is perfect doesn’t mean we can’t play around with it a little bit! It’s so adaptable, which I love. If you’re looking to mix up your standard **Chocolate Peanut Butter Dessert**, I have a few fun ideas for you. For a serious flavor punch, try swapping out half the peanut butter in the filling for Nutella—it adds an amazing hazelnut depth that’s just heavenly.
For the crust, if you’re tired of chocolate crumbs, use vanilla wafers or even crushed shortbread cookies. If you want to go really seasonal, try crushing up those gingersnap cookies—the spice works surprisingly well with the richness!
And for the filling? A tiny dash of peppermint extract mixed in with the vanilla turns these into a fantastic holiday treat. Or maybe try folding in some chopped salted peanuts right before you put the chocolate topping on. It adds that necessary crunch factor! If you’re feeling adventurous with spices, I once saw someone add espresso powder to their crust—I haven’t tried it, but I bet it’s incredible! You can see how I brought spice into my last bake here: snickerdoodle cheesecake recipe.
Serving Suggestions for Your Individual Cheesecake Recipe
Now that you have these beautiful, rich **Individual Cheesecake Recipe** cups ready to go, you might be wondering what to serve alongside them. Honestly, they are perfect all on their own, but if you’re serving them at a gathering, a little something extra really sets the stage.
Because they are so thick and decadent, I always pair them with a bitter or bright contrast. A piping hot cup of strong black coffee—or my favorite pumpkin cream cold brew copycat—cuts right through that peanut butter richness perfectly. If you prefer something fruity, a small salad of fresh raspberries or tart cherries offers a lovely, cleansing bite between servings. They don’t need much, but a little flair never hurts!
Frequently Asked Questions About No-Bake Chocolate Peanut Butter Cheesecake Cups
I know you’ve got questions! Anytime you skip turning on the oven, people worry about how well things will set up. That’s totally fair! I’ve gathered the most common things folks ask me about making these **No-Bake Chocolate Peanut Butter Cheesecake Cups** so you can jump right in with confidence.
Can I make these No Bake Cheesecake Cups ahead of time?
Oh yes, that’s my favorite thing about them! You can absolutely make these ahead. I usually prepare a batch the day before I need them. They hold up perfectly in the fridge for about 2-3 days, maybe even four if you keep them well covered. They set up even better overnight!
What is the best way to get a smooth Creamy No Bake Filling?
This is all about temperature control! Your cream cheese needs to be genuinely soft—leave it out for at least an hour before you start. If it’s cold, you can’t beat out the lumps properly. Also, make sure your melted butter for the crust isn’t hot when you mix it in—warm is fine, but piping hot will melt your cream cheese base when you chill it.
If you want more general tips on avoiding lumps in any cheesecake recipe, check out some of my tricks over here for easy egg drop soup recipe—it sounds random, but the principle of smooth thinning applies!
Are these considered Easy Dessert Cups if I don’t have a piping bag?
Absolutely! I mentioned piping as an option because it looks neat, but honestly? A teaspoon or a small ice cream scoop works like a charm. Just spoon the filling right over the crust and use the back of the spoon to gently smooth the top before you chill them. They are just as tasty, trust me. These are meant to be super simple **Easy Dessert Cups**!
Estimated Nutritional Snapshot for No-Bake Chocolate Peanut Butter Cheesecake Cups
Now, I know most of us aren’t making these little treats for their health benefits, but knowing roughly what’s in them helps when you’re deciding if you should have one or, you know, three! These figures are just my best estimate based on using standard measurements for the ingredients listed above. So, for one of these glorious **No-Bake Chocolate Peanut Butter Cheesecake Cups**, you’re looking at roughly:
- Calories: 280
- Fat: 19g
- Carbohydrates: 24g
- Protein: 7g
- Sugar: 18g
Keep in mind that how heavy you press the crust or how ambitious you are with the chocolate drizzle will change those numbers slightly! For more totally indulgent but slightly lighter bakes, check out my pumpkin spice latte cupcakes recipe sometime, you might like the change of pace!
Share Your Perfect Chocolate Peanut Butter Fix
Wow, that’s it! You’ve made the ultimate **Ultimate No-Bake Chocolate Peanut Butter Cheesecake Cups**! I’m so excited for you and your lucky tasters. These desserts are definitely a crowd-pleaser, and they are so easy to whip up when that chocolate peanut butter craving strikes fast.
I really hope you love them as much as my whole family does. Now, I want to hear all about it! Did you stick to the chocolate graham cracker crust or did you try the Oreo swap? Did you make them for a party, or just because it was Tuesday?
Please give this recipe a star rating right here on the blog so other lazy (but brilliant!) bakers know they’ve found the best recipe. And if you took a gorgeous picture of your perfectly set cups—maybe showing off that shiny chocolate top—please tag me on social media! I absolutely love seeing what you all create in your kitchens.
If you run into any issues or just want to say hi, you can always reach out to me over on the contact page. Happy chilling, everyone!
PrintUltimate No-Bake Chocolate Peanut Butter Cheesecake Cups: Easy Individual Desserts
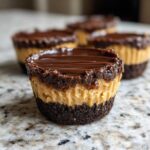
Make these simple, rich no-bake cheesecake cups featuring layers of chocolate crust, creamy peanut butter filling, and a chocolate topping. These individual desserts require no oven time.
- Prep Time: 20 min
- Cook Time: 0 min
- Total Time: 2 hours 20 min
- Yield: 12 cups
- Category: Dessert
- Method: No Bake
- Cuisine: American
- Diet: Vegetarian
Ingredients
- 1 1/2 cups chocolate graham cracker crumbs
- 1/4 cup granulated sugar (for crust)
- 6 tablespoons unsalted butter, melted
- 8 ounces cream cheese, softened
- 1/2 cup creamy peanut butter
- 1/2 cup powdered sugar
- 1 teaspoon vanilla extract
- 1/2 cup heavy whipping cream
- 1/2 cup semi-sweet chocolate chips
- 1 tablespoon unsalted butter (for topping)
Instructions
- Line a 12-cup muffin tin with paper liners.
- Combine chocolate graham cracker crumbs and 1/4 cup granulated sugar in a bowl. Pour in melted butter and mix until the crumbs are evenly moistened.
- Press about 1 1/2 tablespoons of the crumb mixture firmly into the bottom of each liner to form the crust. Place the tin in the freezer while you prepare the filling.
- In a large bowl, beat the softened cream cheese, peanut butter, powdered sugar, and vanilla extract until smooth and creamy.
- In a separate bowl, whip the heavy whipping cream until stiff peaks form. Gently fold the whipped cream into the peanut butter mixture until just combined.
- Spoon or pipe the filling evenly over the chilled crusts in the muffin tin. Return the tin to the freezer for at least 30 minutes to firm up.
- For the topping, combine chocolate chips and 1 tablespoon of butter in a microwave-safe bowl. Microwave in 20-second intervals, stirring in between, until smooth.
- Spoon about 1 teaspoon of melted chocolate over the top of each chilled cheesecake cup.
- Refrigerate the cups for at least 2 hours, or until completely set, before serving.
Notes
- You can substitute Oreo cookie crumbs for chocolate graham crackers for a more intense chocolate flavor.
- If you do not have a muffin tin, you can assemble these in small jars or ramekins.
- Allow the cups to sit at room temperature for 5 minutes before serving for the best texture.
Nutrition
- Serving Size: 1 cup
- Calories: 280
- Sugar: 18
- Sodium: 150
- Fat: 19
- Saturated Fat: 7
- Unsaturated Fat: 12
- Trans Fat: 0
- Carbohydrates: 24
- Fiber: 1
- Protein: 7
- Cholesterol: 30