

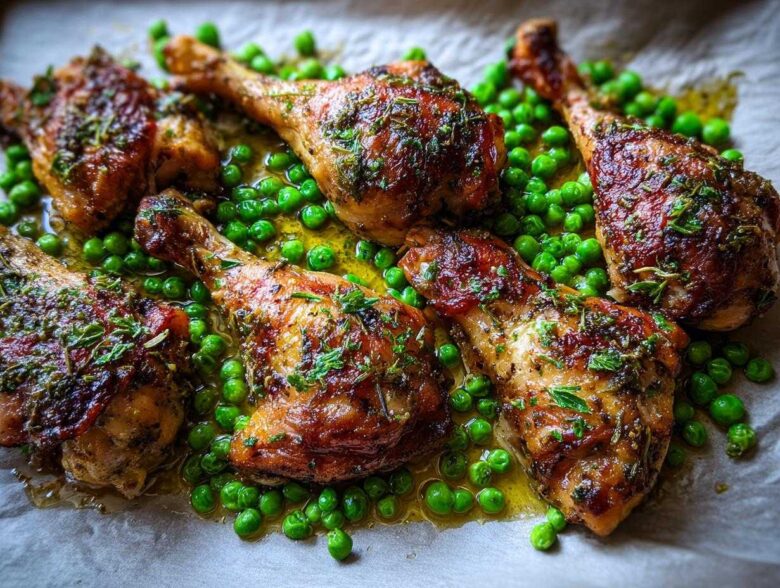
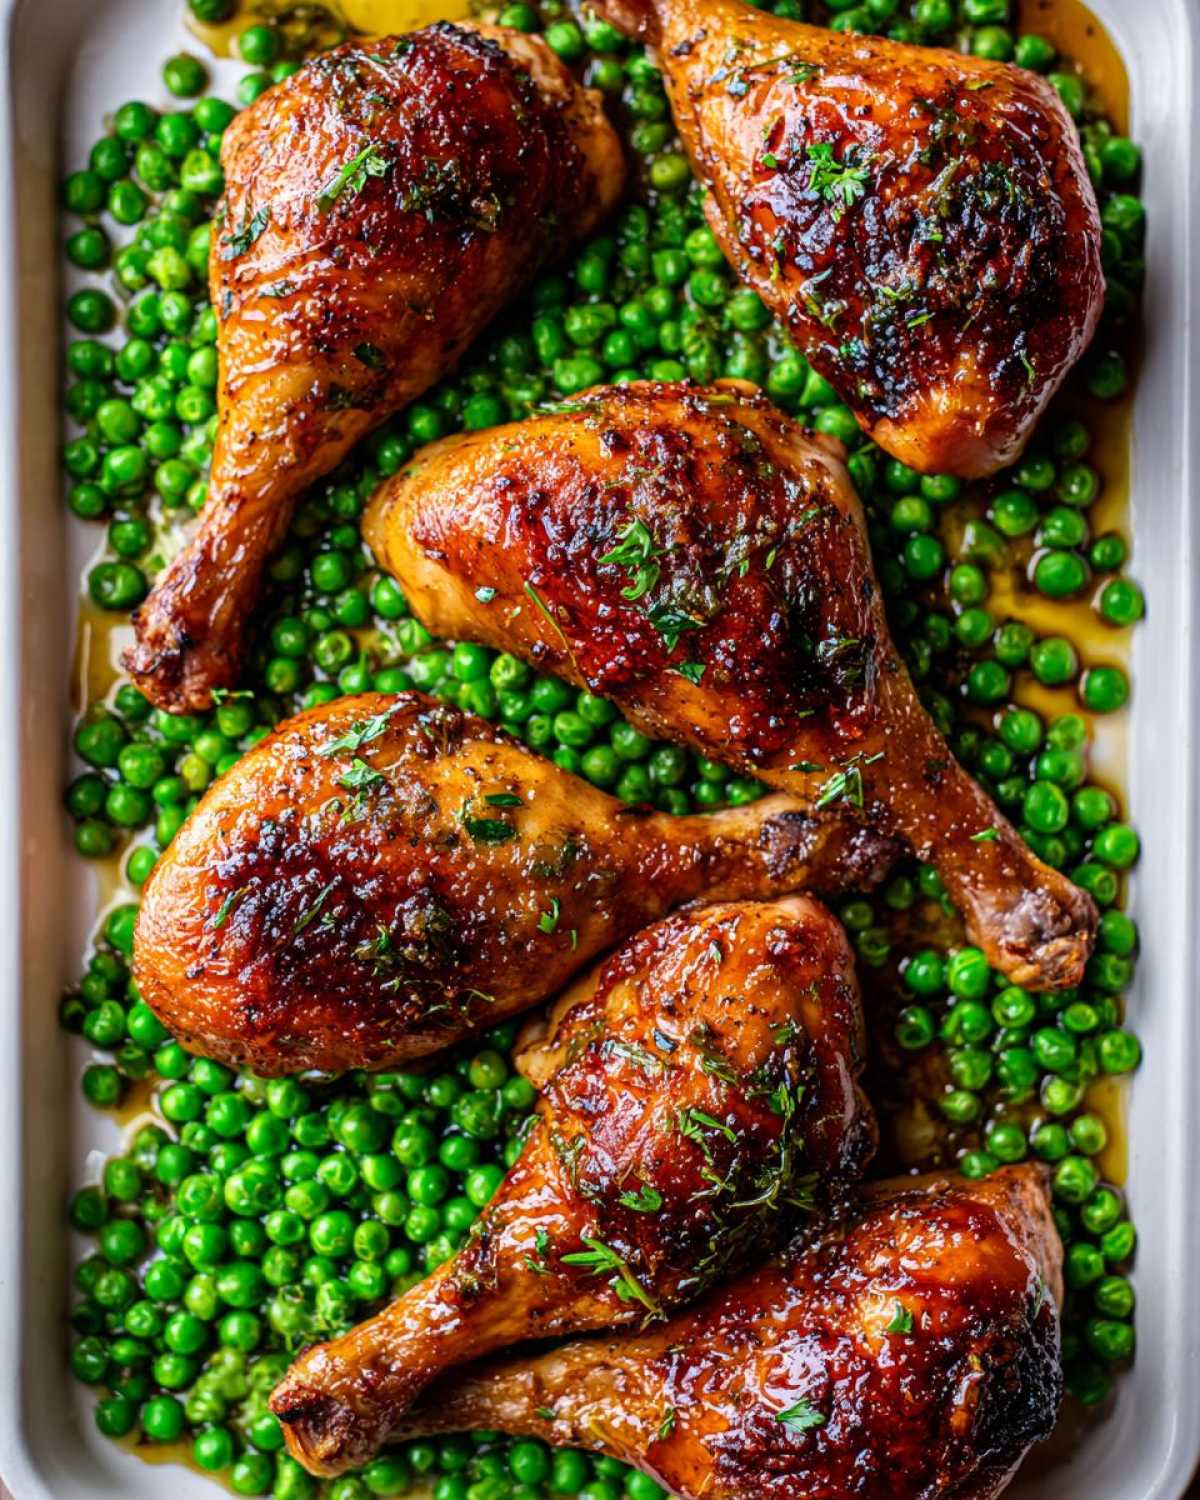
Oh, I know the feeling. It’s 6 PM, you’re tired, the kids are circling like hungry little vultures, and the thought of scrubbing three different pots and pans makes you want to order pizza instead. Been there! That’s why I live and breathe by sheet pan meals now. And my absolute favorite—the one I fall back on when I need guaranteed success and amazing flavor—is my Sheet Pan Lemon Garlic Butter Chicken Legs with Peas. Seriously, this recipe is foolproof.
This isn’t just another quick fix; this is the recipe I rely on when company shows up unexpectedly or when I just *cannot* face the sink after dinner. It delivers that intensely bright, zesty lemon flavor balanced perfectly by rich garlic butter, and guess what? Everything cooks together until the chicken skin is perfectly crisp. Trust me when I say: if you are looking for a reliable, minimal cleanup, flavor-packed, easy weeknight chicken dinner, you’ve just found your new champion.
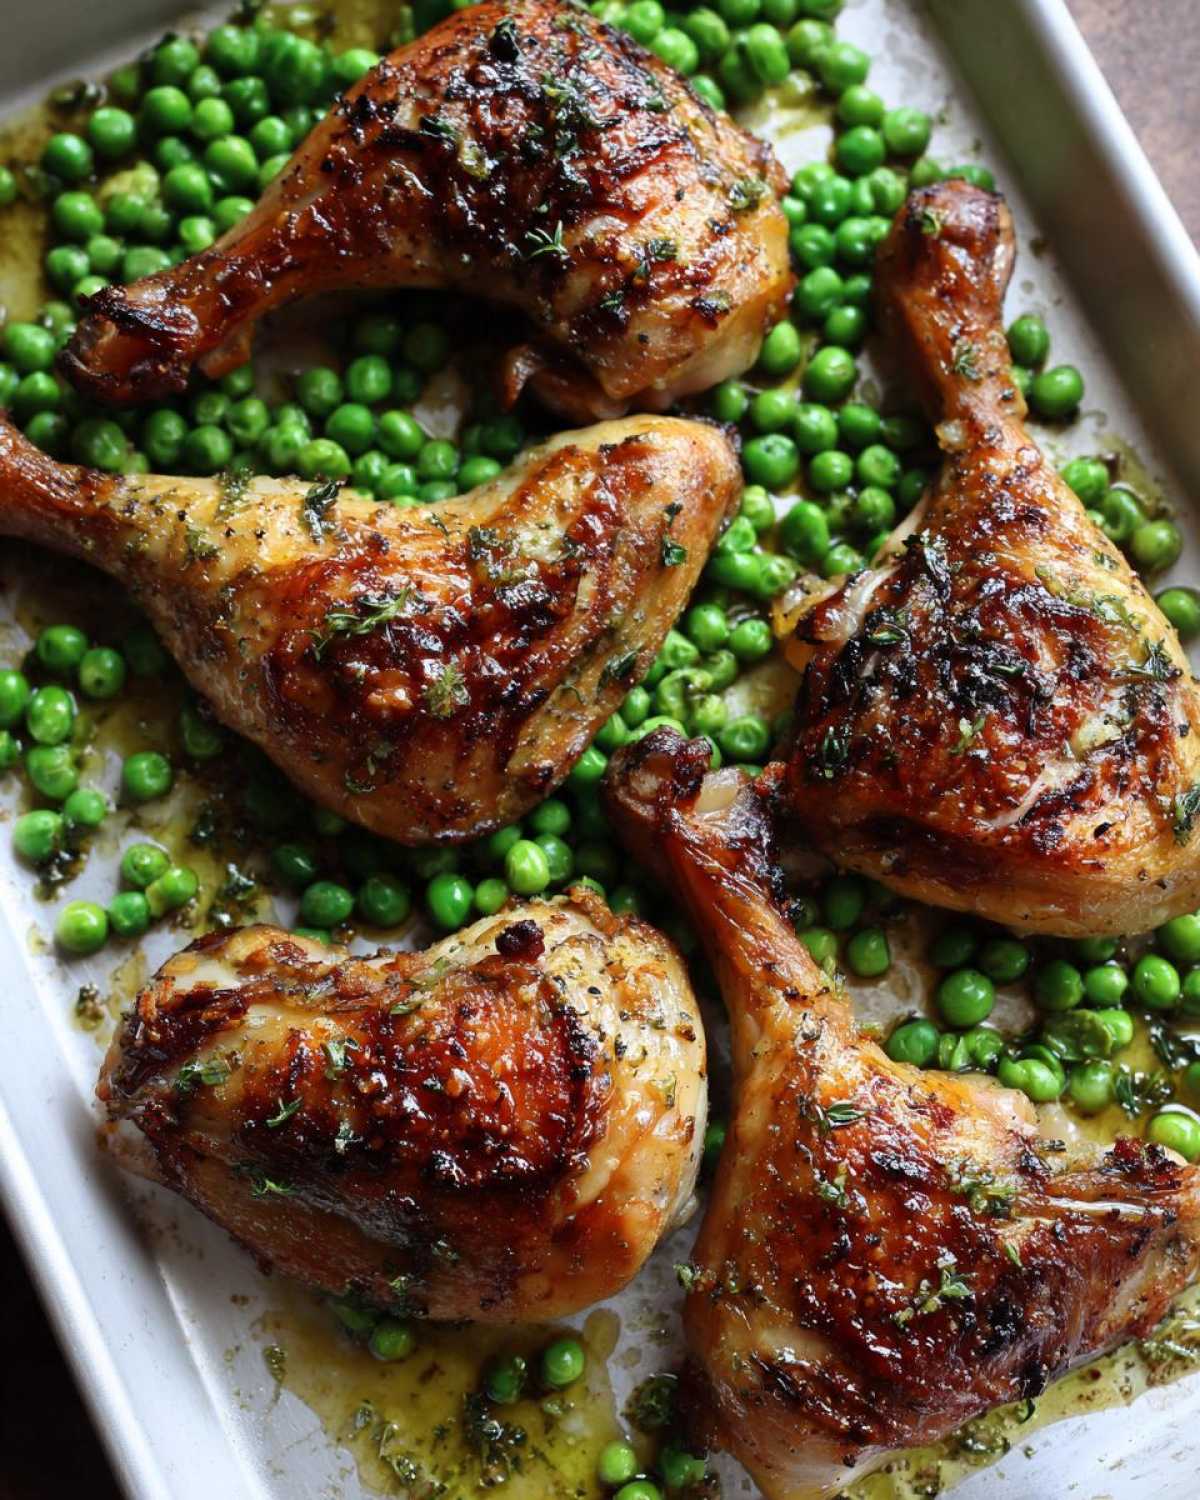
Why This Sheet Pan Lemon Garlic Butter Chicken Legs with Peas is Your New Favorite
I know what you want: phenomenal flavor without spending half your evening scraping burnt bits off a frying pan. That’s exactly what this recipe delivers!
- It’s the ultimate one pan chicken dinner solution. Honestly, cleanup is shocking—just peel off the parchment paper!
- The seasoning transforms simple chicken legs into something restaurant-quality. It proves minimal cleanup meals don’t have to taste boring.
- It’s fast! We are talking about dinner on the table in under an hour, start to finish.
Quick Prep for an Easy Weeknight Chicken Meal
You know how some recipes call for an hour of marinating? Not this one! With only about 10 minutes of actual chopping and mixing, this is truly an easy weeknight chicken situation. You mix the sauce, toss the chicken, and it goes straight into the oven. That’s it for active cooking!
Achieving Maximum Flavor in Your Sheet Pan Lemon Garlic Butter Chicken Legs with Peas
The heart of this dish is the sauce. We aren’t messing around with dried-out herbs stuck to the skin. The fresh zest from the lemon cuts through the richness of the butter and garlic so beautifully. It’s bright, savory, slightly tangy—the perfect zesty lemon chicken recipe you never knew you needed. Getting that gorgeous coating on every piece of your Sheet Pan Lemon Garlic Butter Chicken Legs with Peas is the secret weapon against bland dinners.
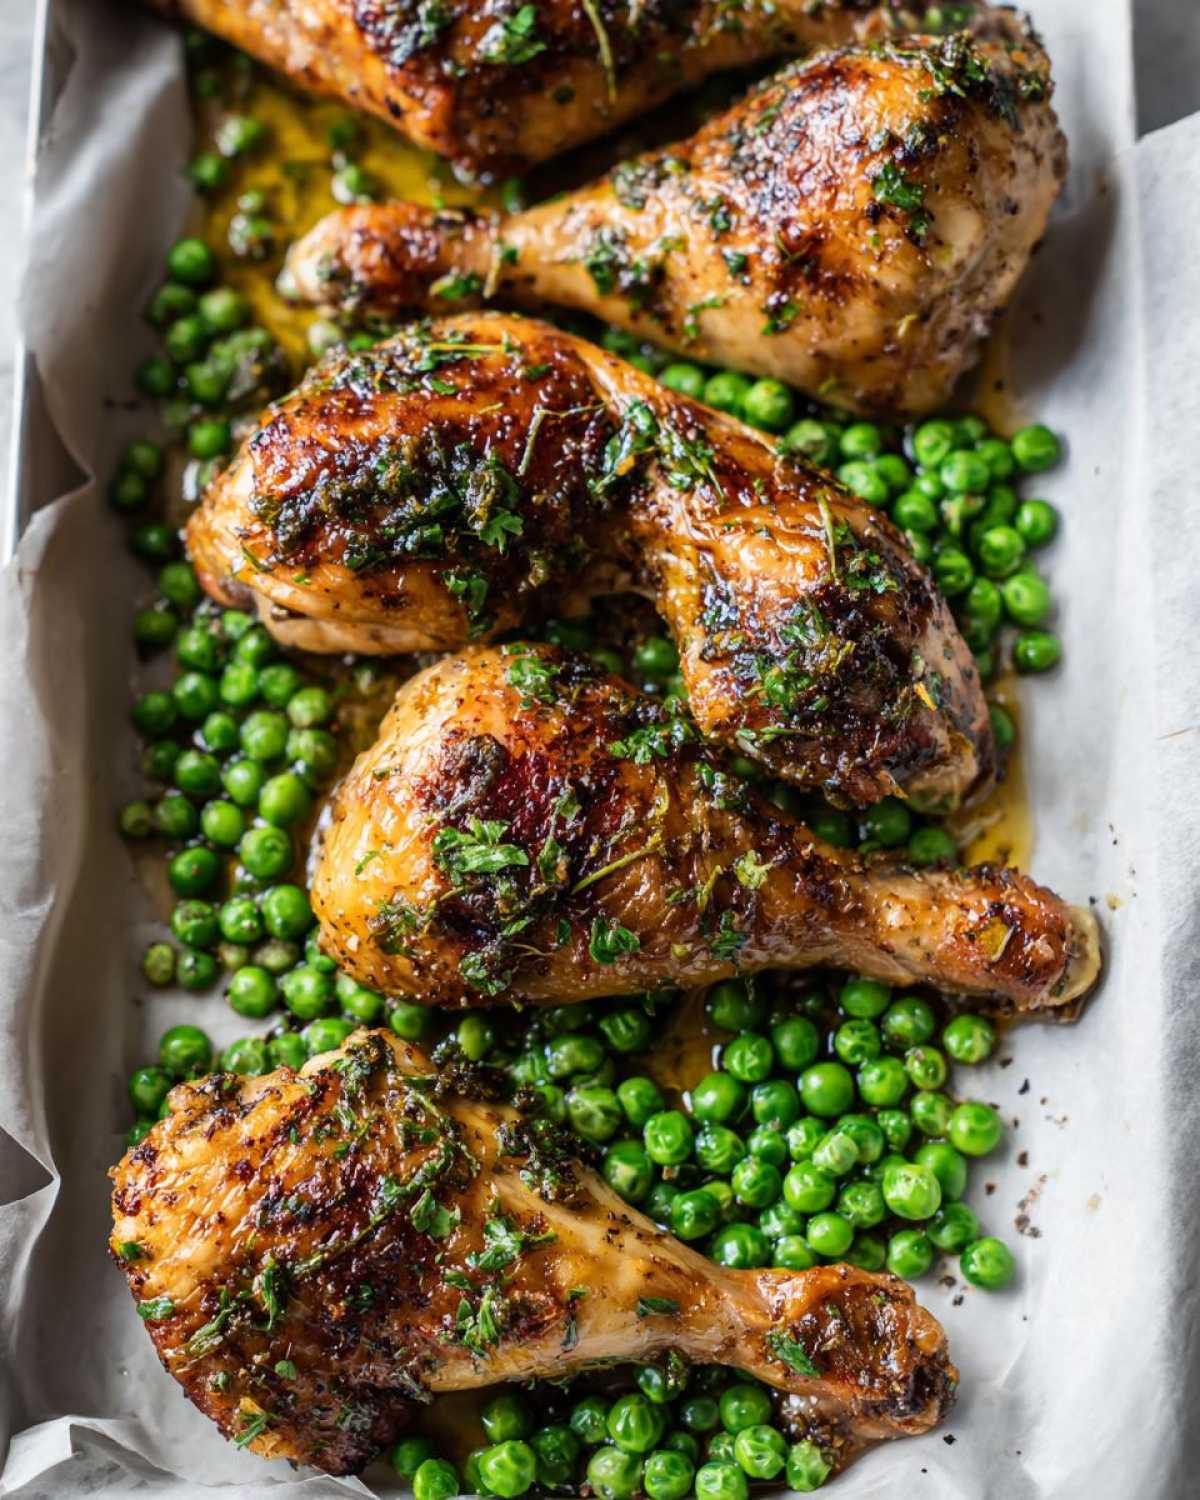
Ingredients for Sheet Pan Lemon Garlic Butter Chicken Legs with Peas
Okay, time to talk brass tacks. When you’re making a sauce this simple, you have to use the freshest stuff possible so it really shines through in your final Sheet Pan Lemon Garlic Butter Chicken Legs with Peas. Don’t skimp here—these are only a few ingredients, so each one has to pull its weight! I always measure everything out while the oven is heating up. It prevents that frantic searching midway through the prep!
Here’s exactly what you need to get that amazing lemon garlic butter flavor:
- You’ll need 8 bone-in, skin-on chicken legs. Make sure they are patted nice and dry before we coat them—that helps the skin crisp up later!
- Melt down 4 tablespoons of unsalted butter. It needs to be liquid so it mixes well with the rest of our flavor powerhouses.
- Garlic time! You absolutely must use 4 cloves of fresh garlic, minced super fine. Pre-minced jar stuff just won’t cut it here, trust me!
- We need one large lemon. I mean vibrant yellow! You’ll zest the whole thing and then use the juice from that same lemon. We need that oil from the peel.
- For herbs, keep it simple: 1 teaspoon of dried oregano is perfect for that Mediterranean vibe.
- Don’t forget seasoning! Half a teaspoon of salt and just a touch of black pepper (about 1/4 teaspoon).
- And finally—our veggies! We’re using 1 cup of frozen peas, which we’ll toss with just 1 tablespoon of olive oil before they hit the pan.
That’s it! See? Nothing complicated. Head over to my guide on the best chicken marinade techniques if you want to see why fresh zest makes all the difference!
Expert Tips for the Perfect Sheet Pan Lemon Garlic Butter Chicken Legs with Peas
Look, anyone can put chicken and butter on a pan, but achieving that perfect, crackly skin while making sure the meat is juicy? That takes a little know-how. Since we’re aiming for amazing oven roasted chicken legs here, I want to share the few little secrets that make this whole Sheet Pan Lemon Garlic Butter Chicken Legs with Peas endeavor a total success every single time.
If you follow the main instructions, you’ll be great, but these tweaks? These take it from “good” to “make it again next week!” If you’re curious about how to get super crispy skin generally, I talk a lot about my spatchcocking techniques, which share similar principles!
Maximizing Skin Crispiness on Your Baked Chicken Legs with Peas
Listen up: If you don’t pat the chicken legs bone-dry with paper towels before you even think about adding that gorgeous butter sauce, you are steaming your chicken, not roasting it! Get rid of all that surface moisture first. That’s your #1 crispy skin rule. Then, when the recipe says it’s done, if you still want just a little more crunch, carefully slide the pan under the broiler for one or two minutes. You have to stand right there, though! Broilers are aggressive, and burnt butter smells awful.
Temperature Check: How to Know Your Sheet Pan Chicken Legs Recipe is Done
I know we are going for that beautiful golden-brown color, but color can lie, especially with bone-in dark meat. For food safety, this is non-negotiable: you have to check the temperature. I swear by my instant-read thermometer for almost everything now. When you stab it into the thickest part of the chicken leg, right near the bone, it absolutely has to read 165 degrees Fahrenheit. If you try to guess, you risk undercooking, and nobody wants that drama. Trust the thermometer!
Step-by-Step Instructions for Your Sheet Pan Lemon Garlic Butter Chicken Legs with Peas
Ready to see the magic happen? Since we are talking about a true how to cook chicken legs on sheet pan situation, organization is key. I always get my oven hot first because chicken legs like a nice, screaming-hot start to crisp up that skin properly. Don’t forget the parchment paper, please! That little step saves so much scrubbing later.
- First things first, make sure your oven is nice and ready at 400 degrees Fahrenheit. Line your largest rimmed baking sheet with parchment paper. I mean it, don’t skip this paper, it’s our cleanup insurance!
- In a medium bowl—not the main one yet!—we’re whisking up that beautiful sauce. Combine your melted butter, all that minced garlic, lemon zest, lemon juice, oregano, salt, and pepper. Whisk until it looks like liquid sunshine.
- Now, place all 8 chicken legs out on your prepared pan. Drizzle that entire lemon garlic butter coating over them. You need to use your clean hands or tongs to turn them over and make sure every inch of skin gets drenched. Arrange them skin-side up in a single layer so they aren’t crowding each other out.
- Slide that pan into that hot oven for a solid 30 minutes. This gets the chicken cooking deep into the bone.
- While those legs are roasting away, grab your frozen peas. In a small bowl, toss them with just that 1 tablespoon of olive oil. This little bit of fat helps them roast instead of just steaming when they hit the hot pan later.
- After that initial 30 minutes, be careful when you pull the pan out! The chicken will be hot. Use tongs to carefully push all the chicken legs over to one side of the pan. They need some space!
- Now, spread those seasoned peas out onto the empty half of the baking sheet. They need direct heat to roast nicely around the Sheet Pan Lemon Garlic Butter Chicken Legs with Peas.
- Pop the entire sheet pan back in the oven for another 10 to 15 minutes. You are looking for two things: the chicken needs to hit 165 degrees internally, and the skin should be gorgeously golden brown. The peas should look tender.
- Pull it out, let it rest for five minutes right on the pan. Seriously, serve it right out of the pan. That’s the beauty of the Sheet Pan Lemon Garlic Butter Chicken Legs with Peas!
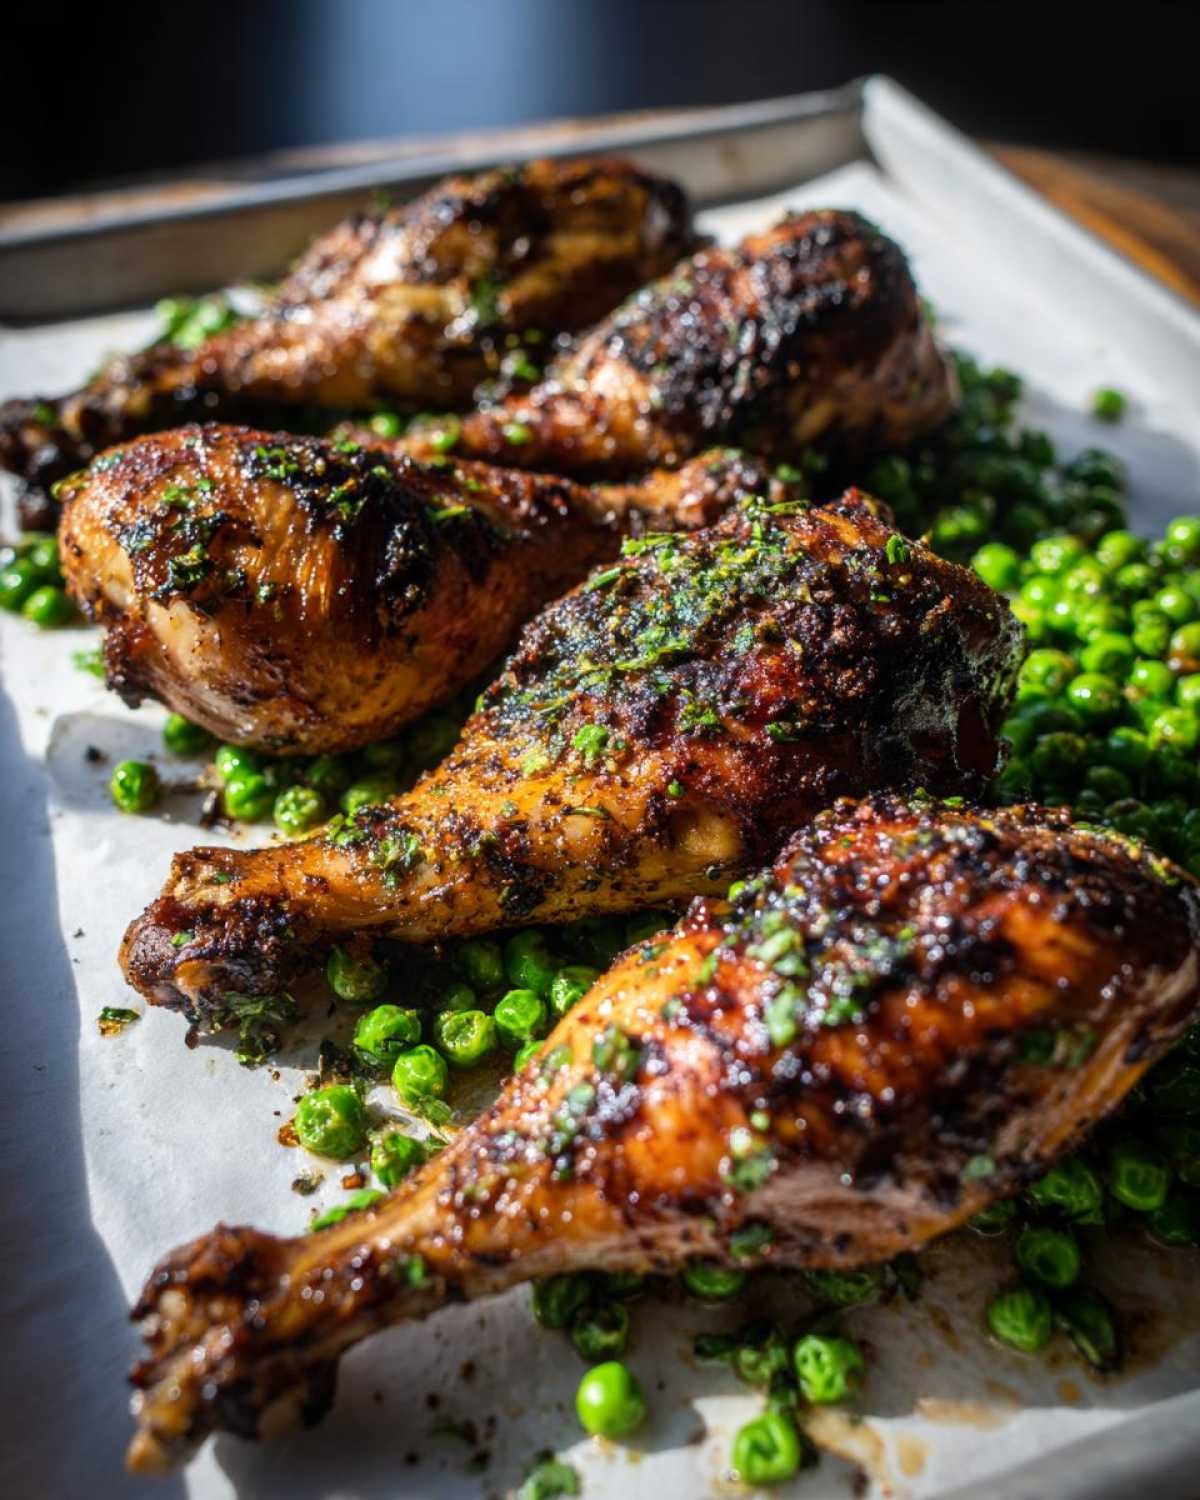
Ingredient Notes and Substitutions for Sheet Pan Dinner with Frozen Vegetables
I love that this is such a flexible recipe! While the peas are fantastic—they add that little pop of sweetness without turning to mush because we add them late—you absolutely can swap them out depending on what you have or what’s in season. This flexibility is what makes it a true sheet pan dinner with frozen vegetables champion. If you choose something heartier than peas, like chopped carrots or thicker broccoli florets, remember to toss those in right at the beginning with the chicken because they need longer to soften up.
If you’re fresh out of oregano, dried thyme or rosemary works in a pinch, but honestly, I always recommend using fresh herbs if you can find them, especially with lemon! Fresh oregano has a much brighter kick that stands up well to the garlic butter.
Serving Suggestions for Sheet Pan Lemon Garlic Butter Chicken Legs with Peas
The best part about making Sheet Pan Lemon Garlic Butter Chicken Legs with Peas is that it is truly a complete meal right there on the pan! But if you want to bulk it up a little bit for hungrier folks, you don’t need anything fancy. This bright, zesty flavor profile screams for something simple underneath it.
I often serve mine over a fluffy bed of plain white rice or even some creamy polenta—the grains soak up all that extra garlic butter runoff, which is heavenly!
If you’re looking for something lighter, a simple side salad with a very light vinaigrette works wonders. Or, to keep things roasted, try my side of sweet potato salad if you want a delicious, warm, slightly sweet counterpoint to all that savory lemon chicken!
Storage and Reheating for Leftover Lemon Garlic Butter Chicken Bake
Even though this garlic butter chicken bake is usually devoured in about 15 minutes flat at my house, sometimes you get lucky and have leftovers! If you do score some, they store super well, but you need to be careful reheating bone-in dark meat like these legs, or they can turn tough fast.
Store any leftover Sheet Pan Lemon Garlic Butter Chicken Legs with Peas in an airtight container in the fridge. They are usually good for about three days if you kept them clean right after serving. Don’t leave them sitting on the counter too long, you know how it is!
Now, for reheating—skip the microwave if you can! Microwaving dark meat tends to steam it and ruins any crispiness left on the skin. My favorite secret is to pop the legs onto a small baking sheet (yes, another pan, but this one’s tiny!) and reheat them in a 325-degree oven for about 12 minutes. That gentle heat warms the flesh through while keeping the meat tender. If you really need speed, a quick 30 seconds in the microwave works, but use a tiny splash of water in the container to introduce a little steam!
If you want more ideas for making chicken last longer or using up leftovers, check out my thoughts on easy honey garlic chicken recipes; sometimes repurposing the meat is the best solution!
Frequently Asked Questions about Sheet Pan Lemon Garlic Butter Chicken Legs with Peas
I always get a ton of questions about this recipe because everyone wants to make sure their chicken comes out perfect. I’ve pulled together the most common things people ask me when they try this family friendly sheet pan dinner for the first time!
Can I use chicken thighs instead of legs in this Sheet Pan Lemon Garlic Butter Chicken Legs with Peas?
Oh yes, absolutely! Chicken thighs are wonderful here, and frankly, they are almost impossible to overcook, which is great for me when I get distracted. Since they have more fat, they stay super juicy. Just remember that thighs are usually a bit thicker than legs, so you might need to add about 5 to 10 minutes to that final baking time. Keep checking that internal temperature! This is still one of my favorite quick chicken dinner ideas, no matter the cut!
What is the best way to ensure this is a family friendly sheet pan meal?
If you have little ones who are sensitive to spice or strong garlic flavor, you have options! For this Sheet Pan Lemon Garlic Butter Chicken Legs with Peas recipe, the garlic is pretty central, right? What I do is divide my butter sauce. I’ll put half on all the chicken legs, and then for the other half, I’ll mix in just a tiny pinch of onion powder instead of extra fresh garlic for the milder eaters. You could also reduce the amount of lemon juice slightly on those portions. It keeps everyone happy without making a whole separate meal!
Can I skip the parchment paper for this one pan chicken dinner?
You technically *can*, but I really, really hope you won’t! I mention this a lot, but the parchment paper isn’t just for looks or for being fancy; it’s your actual cleanup MVP. If you skip it while using a fatty marinade like this one, things are going to stick, and you’ll spend 20 minutes scrubbing that baked-on butter and garlic off your nice sheet pan. If you run out, use aluminum foil, season it generously with cooking spray first, and know that you might still have a little more scrubbing than if you had used parchment.
How long should I cook the chicken legs to ensure they are safe?
Safety first, always! For the absolute best results in your Sheet Pan Lemon Garlic Butter Chicken Legs with Peas, you must cook the chicken until it reaches an internal temperature of 165 degrees Fahrenheit when checked with a reliable meat thermometer in the thickest part of the thigh, avoiding the bone. That’s how you know it’s done, safe, and perfectly tender!
Estimated Nutritional Breakdown for Sheet Pan Lemon Garlic Butter Chicken Legs with Peas
Now, I’m not a nutritionist, so please take these numbers with a grain of salt, as things like the exact fat content of your chicken legs can really change the final count! These figures are just my best estimate for two chicken legs and about a quarter-cup of peas per serving, based on the standard ingredients listed. Always check your specific labels!
- Serving Size: 2 chicken legs and 1/4 cup peas
- Calories: 450
- Fat: 30g (with 12g Saturated Fat)
- Carbohydrates: 8g
- Protein: 38g
It’s a fantastic, high-protein meal that keeps you full! You can find more general guidelines on making a healthy sheet pan meal on my other posts if you’re tracking specific macro goals.
PrintSheet Pan Lemon Garlic Butter Chicken Legs with Peas

Make a complete, flavorful dinner on one pan with this simple recipe for lemon garlic butter chicken legs and roasted peas.
- Prep Time: 10 min
- Cook Time: 45 min
- Total Time: 55 min
- Yield: 4 servings
- Category: Dinner
- Method: Baking
- Cuisine: American
- Diet: Low Fat
Ingredients
- 8 bone-in, skin-on chicken legs
- 4 tablespoons unsalted butter, melted
- 4 cloves garlic, minced
- 1 large lemon, zested and juiced
- 1 teaspoon dried oregano
- 1/2 teaspoon salt
- 1/4 teaspoon black pepper
- 1 cup frozen peas
- 1 tablespoon olive oil
Instructions
- Preheat your oven to 400 degrees Fahrenheit (200 degrees Celsius). Line a large rimmed baking sheet with parchment paper for easier cleanup.
- In a small bowl, combine the melted butter, minced garlic, lemon zest, lemon juice, oregano, salt, and pepper. Mix well.
- Place the chicken legs on the prepared baking sheet. Pour the lemon garlic butter mixture over the chicken legs, turning them to coat all sides evenly. Arrange the chicken in a single layer, ensuring the skin side is facing up.
- Bake the chicken for 30 minutes.
- While the chicken bakes, toss the frozen peas with 1 tablespoon of olive oil in a separate small bowl.
- After 30 minutes of baking, carefully remove the sheet pan from the oven. Push the chicken legs to one side of the pan.
- Spread the seasoned peas onto the empty space on the baking sheet.
- Return the sheet pan to the oven and continue baking for another 10 to 15 minutes, or until the chicken reaches an internal temperature of 165 degrees Fahrenheit (74 degrees Celsius) and the skin is golden brown and crisp. The peas should be tender.
- Remove from the oven and let the chicken rest for 5 minutes before serving directly from the pan.
Notes
- For extra crispy skin, you can briefly place the pan under the broiler for the last 1 to 2 minutes, watching closely to prevent burning.
- If you prefer, you can substitute broccoli florets or chopped carrots for the peas, adding them at the same time as the chicken for the initial 30 minutes of baking.
- Use fresh garlic for the best flavor in the butter sauce.
Nutrition
- Serving Size: 2 chicken legs and 1/4 cup peas
- Calories: 450
- Sugar: 2
- Sodium: 450
- Fat: 30
- Saturated Fat: 12
- Unsaturated Fat: 18
- Trans Fat: 0
- Carbohydrates: 8
- Fiber: 2
- Protein: 38
- Cholesterol: 140