

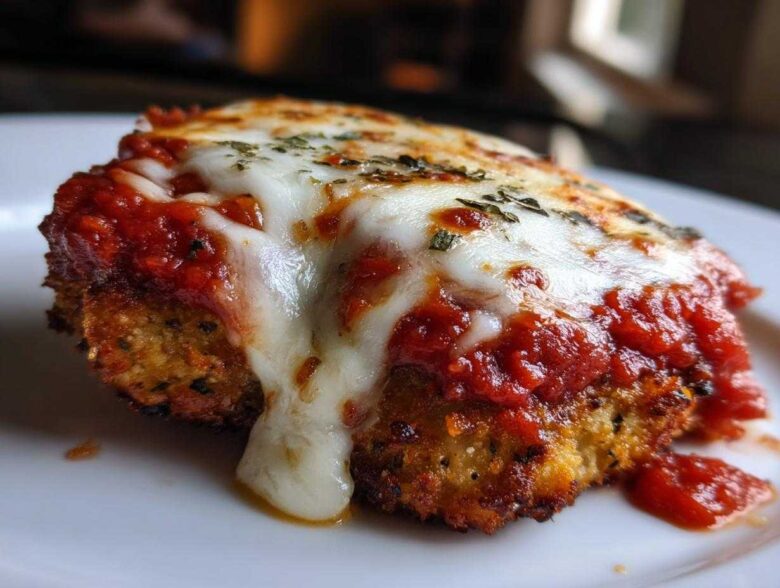
Stop settling for soggy chicken parm! I know the struggle—you bite into what looks like a masterpiece, only to have the crust instantly surrender beneath a layer of lukewarm cheese. Forget those sad, floppy attempts. After years of tinkering—seriously, years—I’ve cracked the code for the **Crispy Chicken Parmesan with Melty Cheese** you see in movies. This isn’t just another recipe; it’s the result of perfecting the breading station and timing my frying like a maniac. Trust me when I say the technique we use here guarantees a crunch that lasts, even after it’s smothered in sauce and bubbly mozzarella. If you want a shortcut later, check out my easy chicken parmesan recipe, but for today, we are going big! Get ready to make the best Italian American dinner you’ve ever had!
Why This is the Best Chicken Parmesan Recipe for Ultimate Crispiness
Okay, let’s talk texture because that’s the make-or-break moment for any true **Crispy Chicken Parmesan with Melty Cheese**. Most recipes fail right here. They either use standard breadcrumbs that turn into soggy mush when they hit the sauce, or they fry too cool, absorbing tons of oil. Not us! We are leaning into the science of the crust. I learned so much about breading from studying methods outside of Italian cooking, like the amazing double-fry science they use for Korean fried chicken—and that totally changed how I approach Parm!
The secret lives in three places: Panko breadcrumbs, hot oil, and aeration. Panko creates those beautiful, jagged edges that actually stay sharp instead of flattening out. Then, draining off the excess oil on a wire rack—never just paper towels flat in a pan—is crucial. That air circulation keeps the bottom crust dry while everything else is happening. We want crunch you can hear!
Achieving the Perfect Double Breaded Chicken Cutlet
First things first: chicken needs thickness variety. You absolutely must pound those breasts down to about half an inch thick. This ensures the center cooks through at the same exact moment the outside turns that gorgeous, deep golden brown. It’s all about evenness!
Next is the three-stage breading process. We go flour (to dry out the surface), then egg (our glue), and finally, the Panko mixture. When you press that final coat on, really *press* it into the meat. Don’t just lightly tap it. This firm coating creates the ultimate **double breaded chicken breast**, locking in the juices and giving you that satisfying shatter factor when you cut into it.
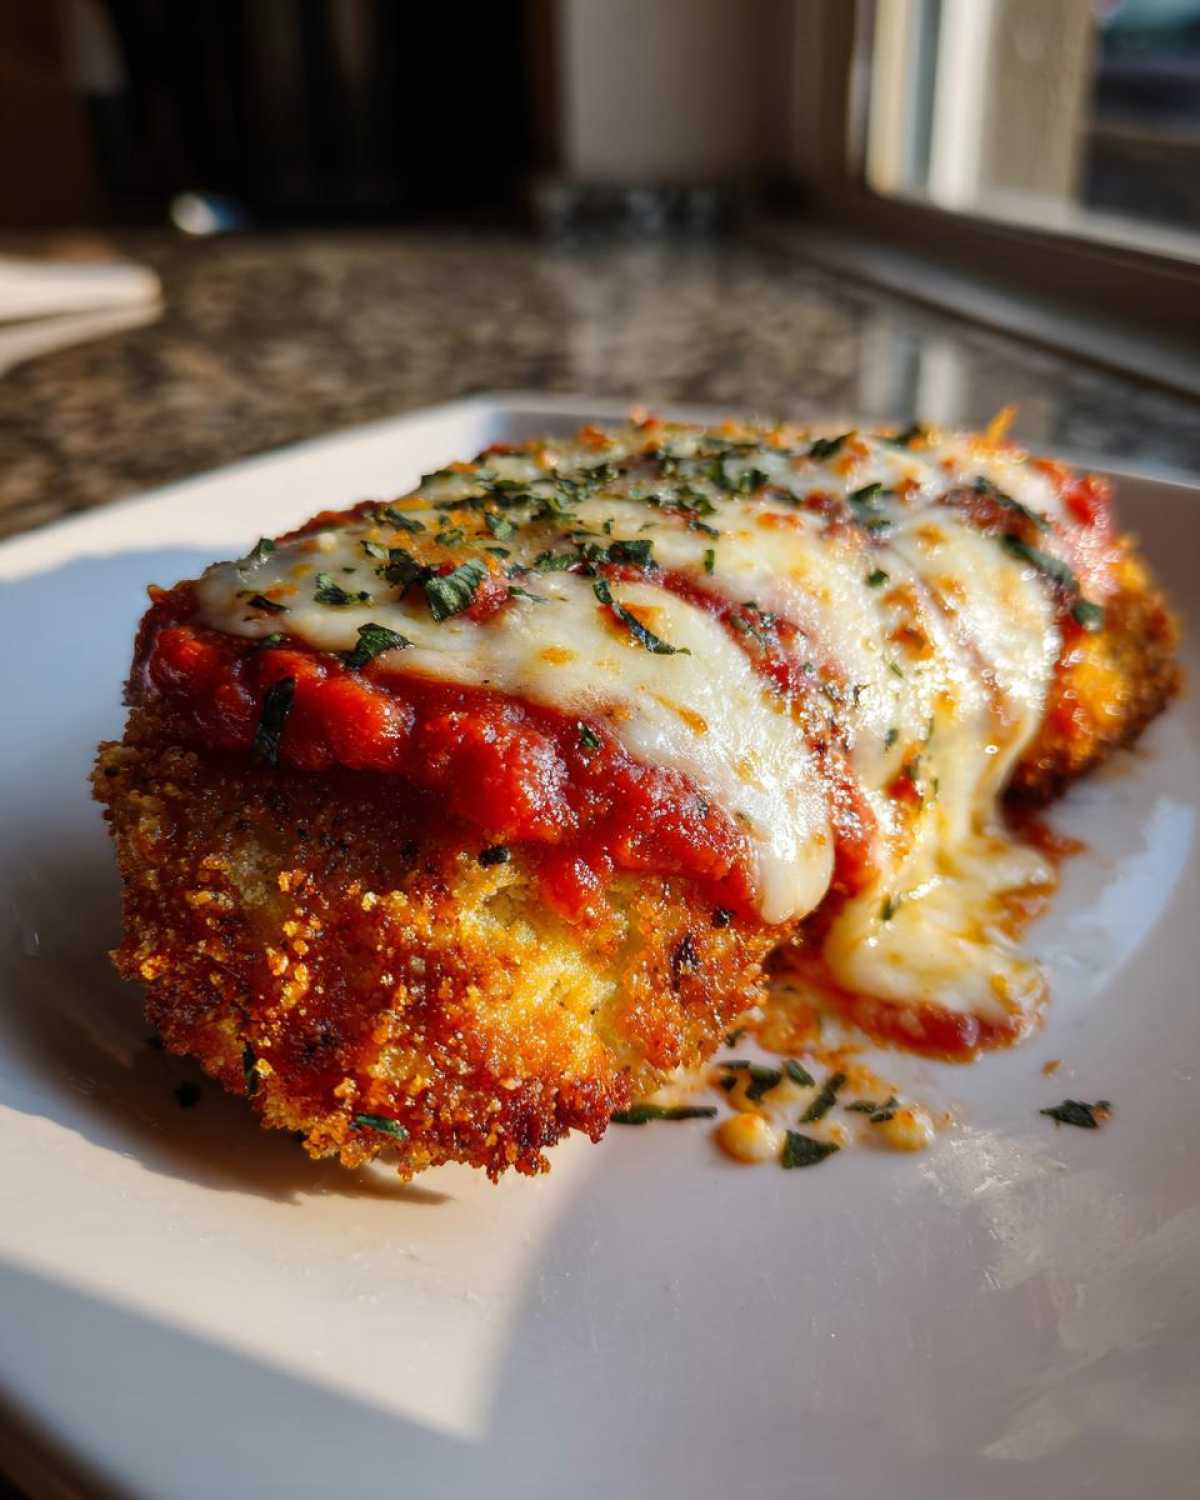
Ingredients for Crispy Chicken Parmesan with Melty Cheese
Putting together this ultimate **Crispy Chicken Parmesan with Melty Cheese** is surprisingly straightforward because we use clean, recognizable ingredients. I always lay everything out before I start mixing anything, which is part of my organizational secret to keeping things easy. I want you to see exactly what’s going into those cutlets so you know we aren’t skipping any steps required for maximum crispiness.
You’ll need four boneless, skinless chicken breasts, and right off the bat, make sure you pound them thin—aiming for that perfect half-inch thickness is non-negotiable for even cooking! The cheese really shines here too; grab that fresh mozzarella and slice it up ahead of time so it’s ready to go right after the baking sheet comes out of the hot oven.
Ingredient Breakdown by Component
To keep things organized—and trust me, you need organization for the breading station—group your items separately. For the cutlets themselves, you need the flour, eggs, and obviously, those amazing panko breadcrumbs mixed with Parmesan, garlic powder, oregano, salt, and pepper.
For the topping, make sure your marinara sauce is already warm; this saves precious baking time later. The star is the eight ounces of fresh mozzarella, sliced thick, topped with that final sprinkle of sharp Parmesan. That simple layering is how you guarantee that beautiful, bubbly melt!
How to Make Crispy Chicken Parmesan with Melty Cheese: Step-by-Step
Alright, this is where the magic happens! We’ve prepped the chicken and built the perfect crust fortress around it. Now, we need to cook it fast and hot so that crust sets up beautifully without drying out the meat underneath. Don’t panic about frying; we are only doing a quick sear to lock in the crunch—the oven handles the rest of the cooking. Remember to preheat that oven to 400 degrees Fahrenheit right now! Having the oven hot and ready is step one for success.
Once the oil is hot, the whole process moves quickly. We are transferring the cutlets straight from the pan onto a baking sheet lined with a tiny bit of sauce. This little layer of sauce keeps the very bottom kissably soft, while the sides stay sharp. This is the secret to the best **Crispy Chicken Parmesan with Melty Cheese** that isn’t rock hard!
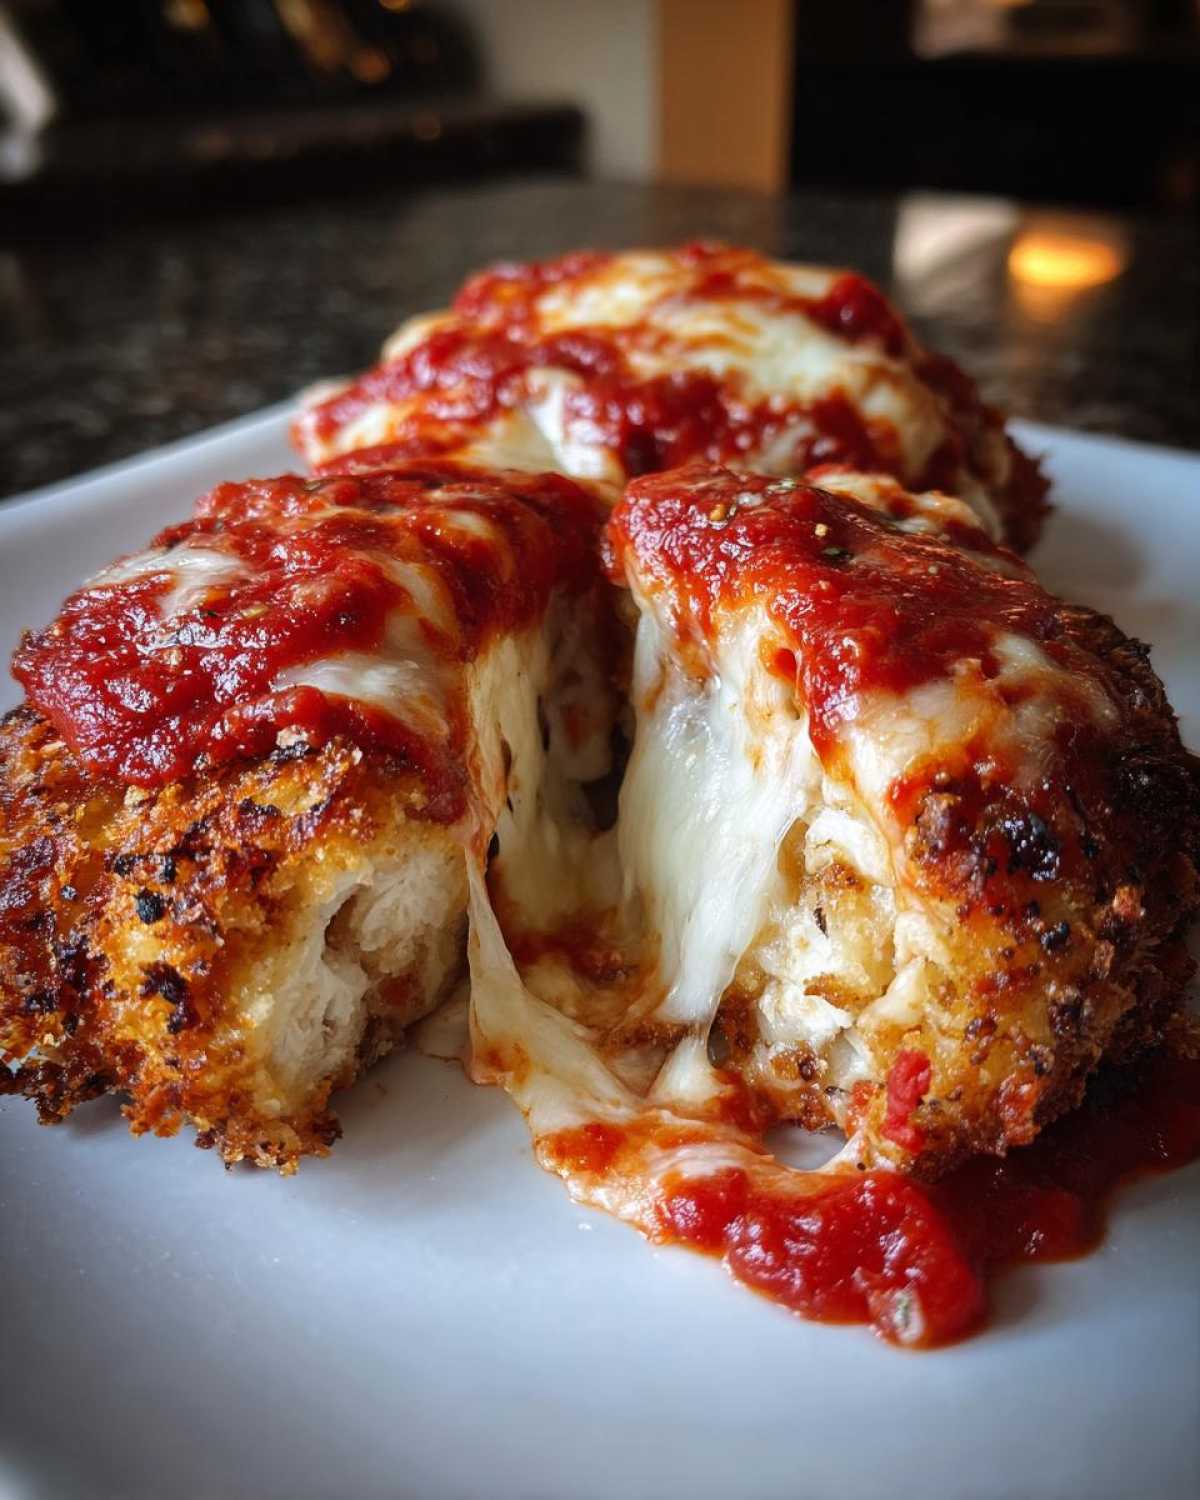
Frying Technique for a Crunchy Breaded Chicken Recipe
Get your vegetable oil hot in that big skillet! You’ll know it’s ready when it’s shimmering slightly but isn’t smoking wildly. If you drop a tiny pinch of that leftover panko in and it starts sizzling aggressively right away? Perfect. You want that high heat to make sure you get a **Crunchy breaded chicken recipe** result, not a greasy sponge.
Fry those cutlets two at a time. Seriously, don’t overcrowd the pan or the oil temperature will drop instantly, and we’ll lose our precious crispiness! Four minutes per side should get you a gorgeous golden brown. As soon as they come out, they hit a wire rack—I cannot stress this enough! That wire rack lets the air circulate under the crust, preventing steam buildup, which is the number one killer of crunch.
Assembling for Perfectly Melted Mozzarella Topping
Once your crispy cutlets are cooling slightly on the rack, get them onto that baking sheet layered with sauce. Now, we layer with purpose! First, a good spoon of warm marinara sauce over the top of the already crispy chicken—not too much, though! We don’t want to drown the breading yet.
Next comes the cheese, and this is critical for that **Perfectly melted mozzarella topping**. We use the sliced fresh mozzarella first, making sure it covers most of the surface, then we hit it with the remaining sharp Parmesan sprinkled across the top. Bake until bubbly, about 10 to 12 minutes, or until the internal temp is safe. If the cheese isn’t perfectly golden by then, switch the broiler on for just 60 seconds—but watch it like a hawk!
If you want to see how I make an amazing, zesty sauce that pairs perfectly, check out my chicken piccata sauce recipe—it’s surprisingly adaptable!
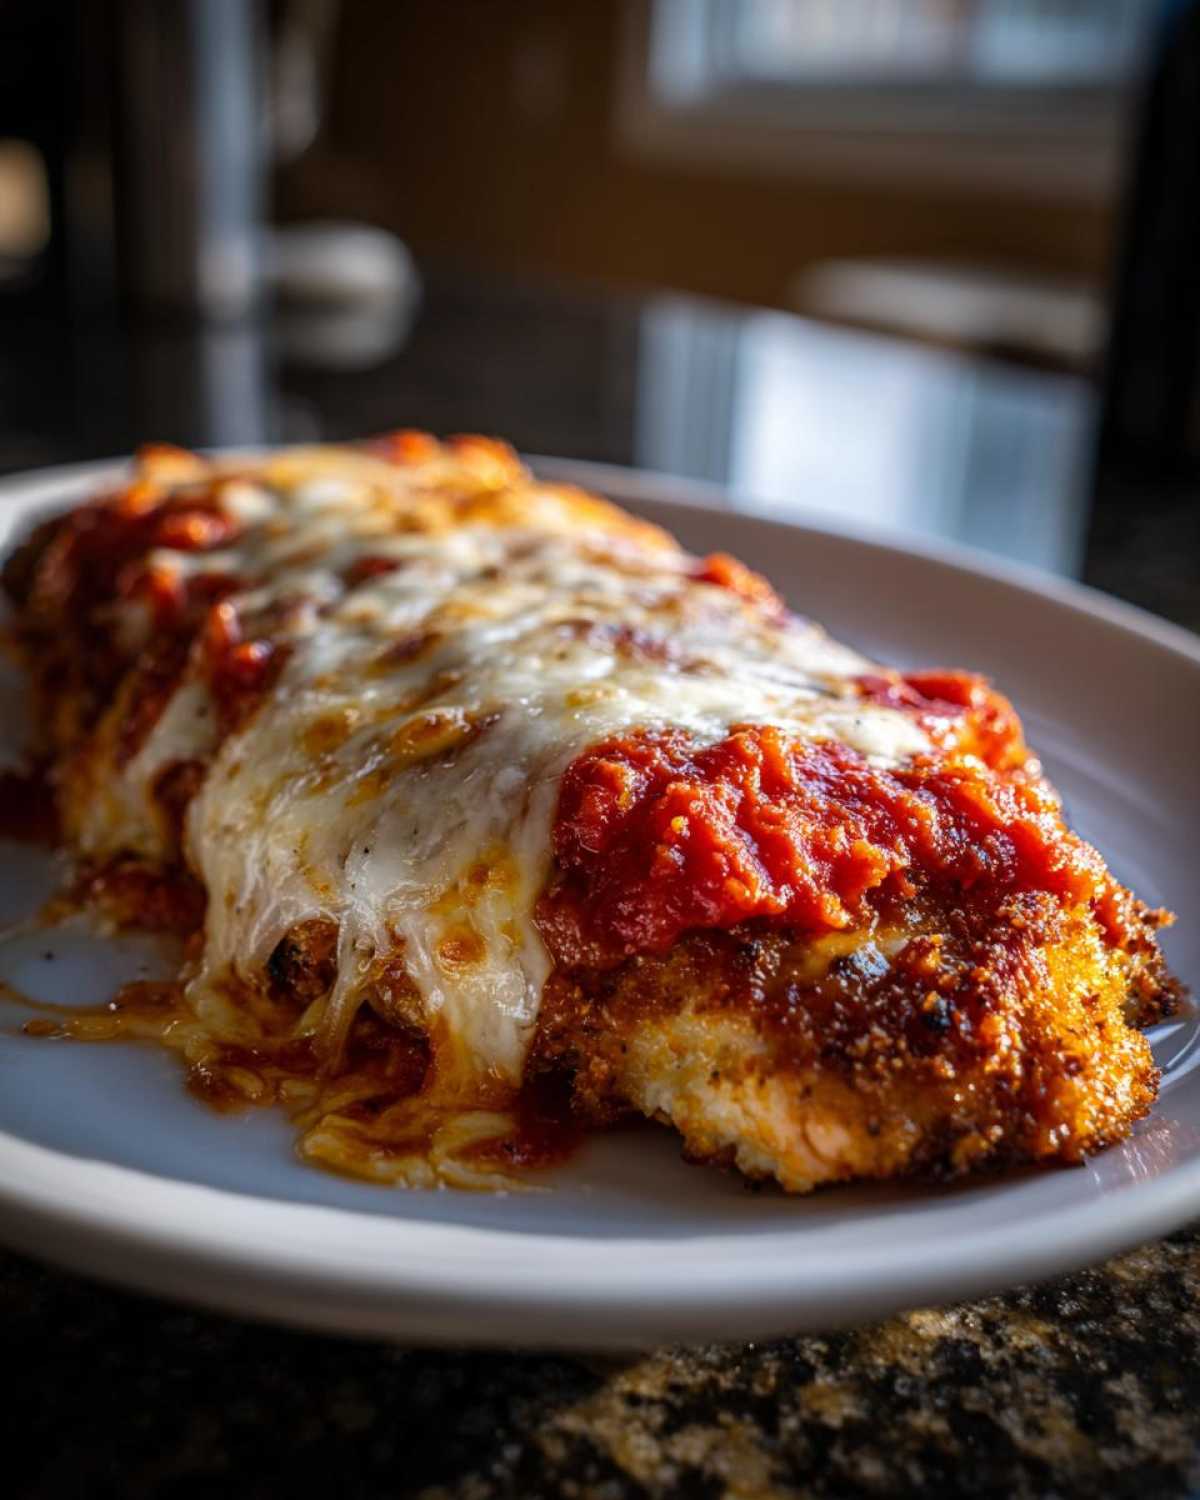
Tips for Success with Crispy Chicken Parmesan
Getting that restaurant-quality crunch and that irresistible **Melty Cheese** on your **Crispy Chicken Parmesan** comes down to a few tiny habits that make a massive difference. I learned these from trial and error, and honestly, skipping even one of them leads to slightly less impressive results. Remember how I mentioned draining them on a wire rack? That’s so important because paper towels trap steam underneath, and steam is the absolute enemy of crispiness!
Another thing I always do, which isn’t explicitly listed in the main steps, is keeping the already-fried cutlets warm while I work through the second batch. Put your wire rack with the first two cutlets onto a rimmed baking sheet and pop that sheet into the still-warming oven (set at about 200 degrees) while you fry the rest. This buys you time and keeps them piping hot so the cheese melts perfectly without you having to rush the final bake.
Also, please, don’t cheat on the panko breadcrumbs! They are specifically designed to stay crunchy longer because their air pockets don’t compress like regular breadcrumbs do. If you’re looking for extra flavor notes while you wait for that cheese to melt, you should check out my recipe for the ultimate zesty lemon garlic marinade—it works beautifully if you want to marinate before breading!
Ingredient Notes and Substitutions for Your Crispy Chicken Parmesan
Let’s zoom in on the ingredients because this is where we lock in that unbelievable texture. While everything is important, the breading mixture is where most people fall short in achieving a truly **Crispy Chicken Parmesan with Melty Cheese**. That’s why we insisted on using panko. Seriously, forget the standard stuff; these flaky Japanese breadcrumbs are the key to **Using panko breadcrumbs for crispiness** because they absorb less oil during that quick fry, staying lighter and crunchier longer.
For the cheese blend, I love using fresh mozzarella because it melts into those gorgeous, milky puddles you want. However, fresh mozzarella holds a lot of water, which can slightly steam the crust below it. To combat that, I always mix in about a third of low-moisture, pre-shredded mozzarella. It melts beautifully but releases less liquid, keeping your chicken crispier.
Also, don’t skimp on that sharp Parmesan in the coating mix! It adds a deep, savory saltiness that you just can’t get anywhere else. If you want more ideas on how to use high-quality Parmesan in your repertoire, check out my thoughts on sharp parmesan cheese usage.
Making Restaurant Style Chicken Parmesan at Home
Now that our chicken is perfectly crunchy and buried under that glorious **Melty Cheese**, we need to polish it up so it looks as good as it tastes. Anyone can slap sauce on chicken, but making **Restaurant Style Chicken Parmesan at Home** is all about the depth of flavor and making sure every component sings. That’s why the sauce quality matters so much! If you’re using jarred sauce, doctor it up a little—maybe simmer it with a clove of crushed garlic and a sprig of basil for ten minutes. Or, if you have time, you absolutely must check out my classic homemade lasagna sauce; it makes an incredible base for Parm!
The final presentation needs to match the effort we put into that crust! A drizzle of high-quality olive oil just before serving really makes the colors pop, and the fresh parsley garnish—don’t skip that! It adds freshness that cuts through the richness of the cheese and fried cutlet. We’ve achieved that enviable crisp-to-cheese ratio, so just make sure the plating is worthy of a night out!
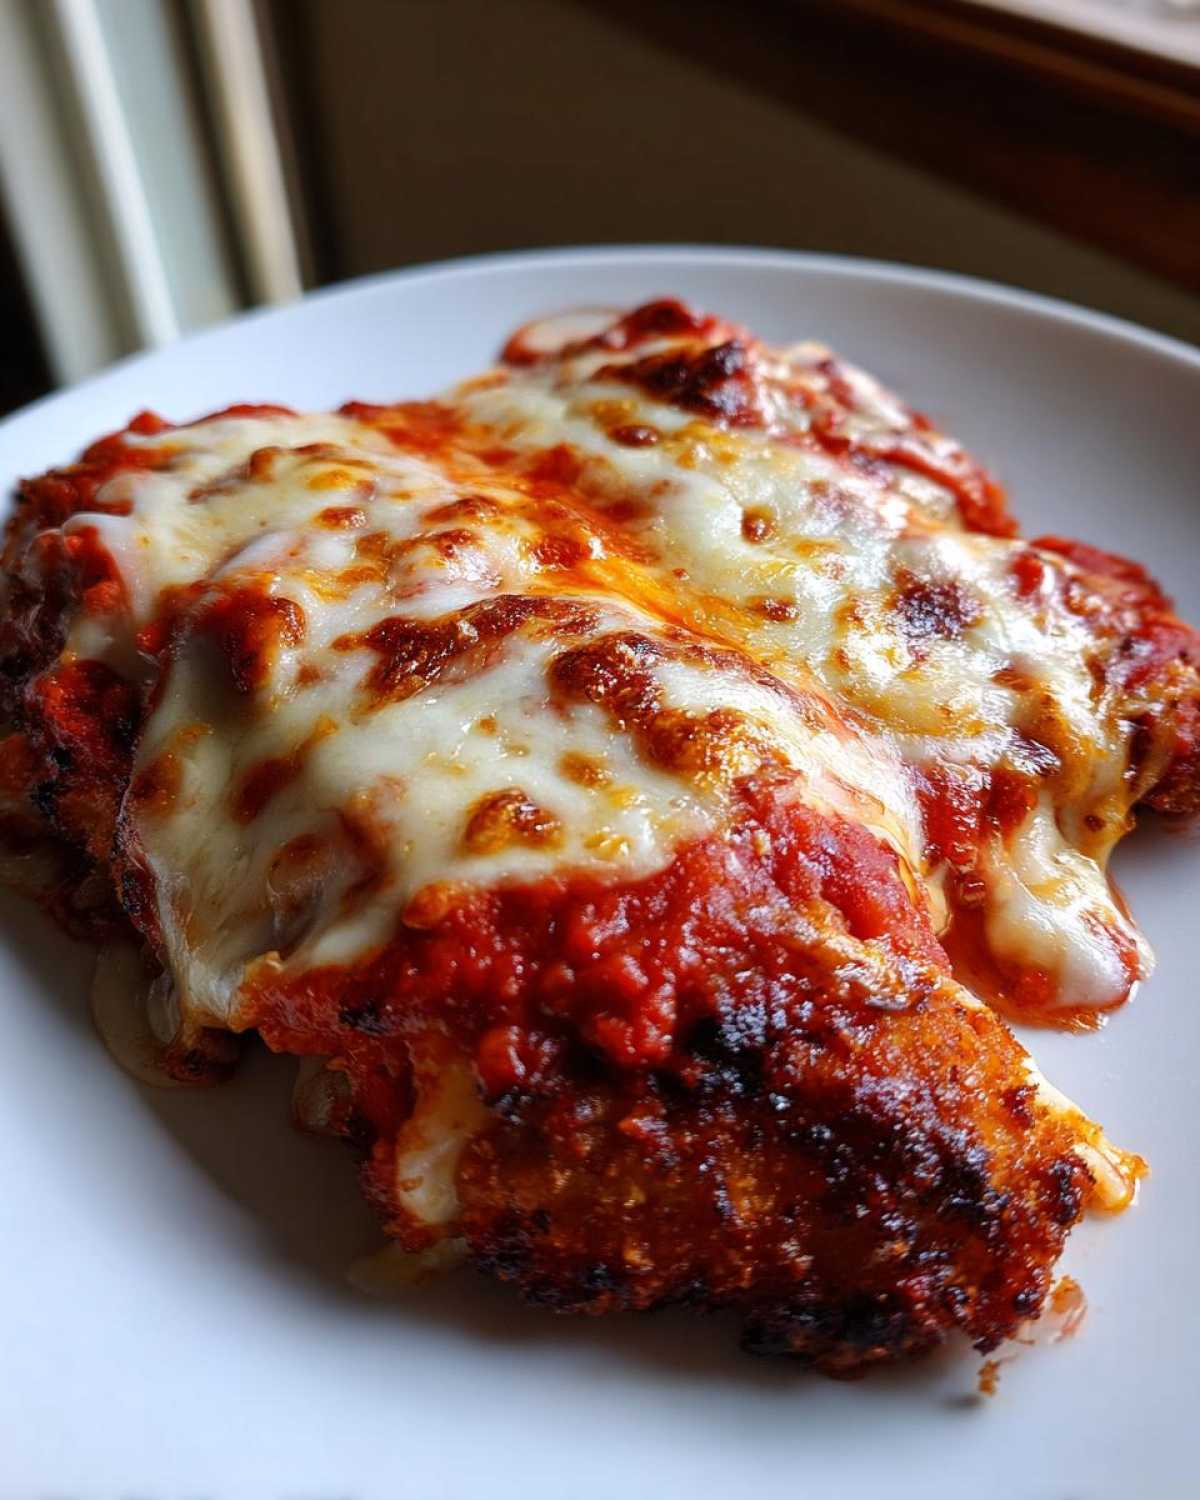
Serving Suggestions for a Classic Italian American Dinner
This dish is rich, so you want sides that refresh the palate. For a truly **Classic Italian American dinner**, you can’t go wrong with a giant bowl of spaghetti tossed lightly with extra marinara sauce. But if you want lighter options, I often lean toward simple roasted asparagus tossed with lemon zest instead of heavy sides. A crusty loaf of garlic bread is mandatory, though; you need it for soaking up every last bit of that cheesy, saucy goodness left on the plate!
Storage and Reheating Instructions for Leftover Crispy Chicken Parmesan
Listen, even the best **Crispy Chicken Parmesan with Melty Cheese** usually has leftovers, right? That crispy coating is still our goal, even on day two, so we have to treat it right. If you can manage it, try to keep the sauce separate from the cutlets before storing them in the fridge. Sauce is the natural enemy of crispiness, and letting the chicken sit submerged overnight guarantees sogginess.
However, if they’re already assembled—because who has time to deconstruct dinner?—wrap each breast tightly in plastic wrap and then place them in an airtight container. The absolute worst thing you can do? Microwave it. That steam will obliterate your crust instantly.
For reheating, skip the microwave entirely. I find the best way to bring that crunch back is a quick session in the oven at 375 degrees for about 10 minutes, or even better, pop it into an air fryer for five minutes on medium heat. That heat blast reactivates the crunch! If the cheese gets a little weird, you can always throw it under the broiler for 30 seconds to get that beautiful melt back. If you want a faster, totally different meal next time, check out this easy weeknight chicken stir-fry!
Frequently Asked Questions About Crispy Chicken Parmesan
I get so many questions about this recipe because people are desperate to avoid the mushy bottom that haunts so many chicken parm dinners! I’m happy to clear up those last few concerns so you can achieve that perfect texture every single time. Honestly, if you nail the breading and the frying temperature, you’re 90% there!
Can I skip frying and bake the chicken cutlets entirely?
You absolutely can if you are trying to make this an **easy weeknight chicken parmesan**, but I have to be real with you: frying is what gives you that guaranteed crunch. If you must bake, you need to compensate! Make sure your oven is set high—like 425, maybe even higher—and use a wire rack over a baking sheet so air can circulate underneath. Then, before it goes in, hit the breading hard with a generous spray of oil. It helps mimic that hot oil environment, but it just won’t be quite the same as the real deal!
What is the best cheese blend for Chicken Parmesan?
For the best results, especially if you want that rich flavor and perfect melt, you need a duo! We want the gooey, beautiful stretch from the fresh mozzarella slices for that **perfectly melted mozzarella topping**. But you also need that salty, sharp bite from the Parmesan cheese sprinkled on top. Combining the two ensures you get both incredible texture and deep flavor. It’s cheating, but it’s the best kind of ingredient cheating!
If you want more tips on how to handle the oven side of things when time is short, you should definitely look at my full breakdown on chicken parmesan baking tips. And when you’re ready for your next challenge, don’t forget to check out my thoughts on chicken parmesan baking tips!
Share Your Crispy Chicken Parmesan with Melty Cheese Experience
Phew! We made it! You’ve mastered the art of the **Crispy Chicken Parmesan with Melty Cheese**, and I hope your kitchen smells incredible right now between the sharp Parmesan and the sweet marinara.
Now comes my favorite part: hearing about your triumphs! Did that crust truly stay crunchy? Did that mozzarella dome melt exactly how I described? Don’t keep those kitchen victories secret!
I absolutely love seeing your spreads. Snap a photo of your perfect plate—maybe you paired it with some fresh pasta or maybe you went for the garlic bread route—and tag me on social media! And please, if you loved how shatteringly crisp this turned out, give the recipe a rating right here on the site. Your feedback lets me know I’m on the right track with these deep-dive techniques!
If you have any nagging questions that popped up while you were breading or frying, don’t hesitate to drop them in the comments below. I check them all, especially when folks are troubleshooting for that ultimate crunch. You can always reach out directly through my contact page too. Happy cooking, and enjoy that beautiful dinner!
PrintCrispy Chicken Parmesan with Melty Cheese
Follow these steps to make chicken cutlets with a guaranteed crispy crust and perfectly melted cheese topping.
- Prep Time: 20 min
- Cook Time: 25 min
- Total Time: 45 min
- Yield: 4 servings
- Category: Dinner
- Method: Frying and Baking
- Cuisine: Italian American
- Diet: Meat
Ingredients
- 4 boneless, skinless chicken breasts, pounded to 1/2 inch thickness
- 1 cup all-purpose flour
- 2 large eggs, beaten
- 1 cup panko breadcrumbs
- 1/2 cup grated Parmesan cheese, plus 1/4 cup for topping
- 1 teaspoon garlic powder
- 1/2 teaspoon dried oregano
- 1/2 teaspoon salt
- 1/4 teaspoon black pepper
- 1/2 cup vegetable oil, for frying
- 2 cups marinara sauce, warmed
- 8 ounces fresh mozzarella cheese, sliced
- 2 tablespoons fresh parsley, chopped (for garnish)
Instructions
- Preheat your oven to 400 degrees Fahrenheit. Lightly grease a baking sheet.
- Set up a standard breading station: Place flour in one shallow dish. Whisk eggs in a second dish. In a third dish, combine panko breadcrumbs, 1/2 cup Parmesan cheese, garlic powder, oregano, salt, and pepper.
- Dredge each chicken cutlet first in flour, shaking off excess. Dip completely in the egg mixture. Finally, press firmly into the panko mixture, ensuring the entire surface is coated. This double coating helps achieve crispiness.
- Heat the vegetable oil in a large skillet over medium-high heat until shimmering. Carefully place two cutlets in the hot oil. Fry for 3 to 4 minutes per side until golden brown and crispy. Do not overcrowd the pan. Remove and place on a wire rack set over paper towels to drain excess oil. Repeat with remaining cutlets.
- Spread a thin layer of warm marinara sauce on the bottom of the prepared baking sheet. Place the fried cutlets over the sauce.
- Top each cutlet with a generous layer of marinara sauce, followed by the sliced mozzarella cheese. Sprinkle the remaining 1/4 cup of Parmesan cheese over the mozzarella.
- Bake for 10 to 12 minutes, or until the internal temperature of the chicken reaches 165 degrees Fahrenheit and the cheese is fully melted and bubbly. If the cheese needs more browning, briefly switch the oven to broil for the last 1-2 minutes, watching closely to prevent burning.
- Remove from the oven, garnish with fresh parsley, and serve immediately.
Notes
- For the crispiest result, do not skip the panko breadcrumbs; they absorb less oil than standard breadcrumbs.
- Ensure your frying oil is hot enough before adding the chicken; this sets the crust quickly.
- Placing the fried cutlets on a wire rack instead of paper towels allows air circulation, preventing the bottom crust from steaming and becoming soft.
Nutrition
- Serving Size: 1 cutlet
- Calories: 650
- Sugar: 10
- Sodium: 950
- Fat: 35
- Saturated Fat: 15
- Unsaturated Fat: 20
- Trans Fat: 0
- Carbohydrates: 35
- Fiber: 3
- Protein: 50
- Cholesterol: 180