

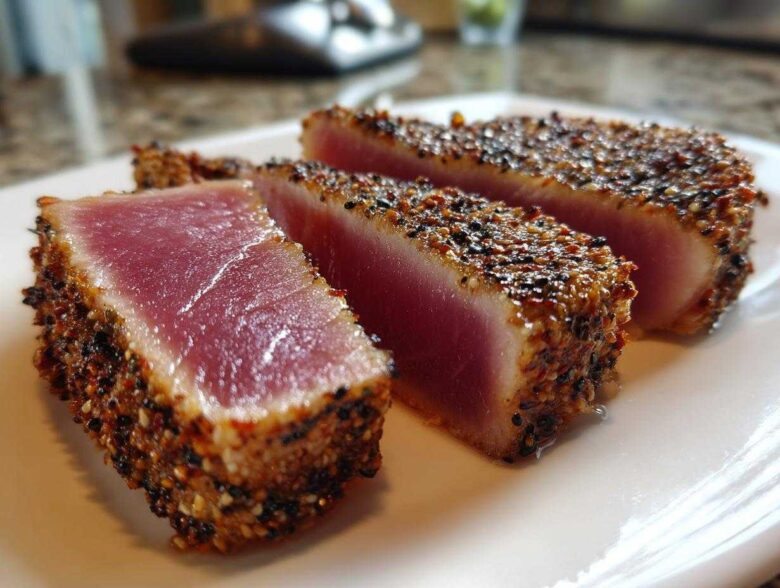
I used to think that anything resembling professional seafood was completely out of reach in my own kitchen. Too fussy, too easy to ruin, too much pressure! But when Simon got involved, everything changed. He reminded me that even a delicate fish deserves a little fun and encouragement rather than rigid rules. This recipe for Seared Ahi Tuna is pure magic because it delivers that incredible, restaurant-quality crust while keeping the inside perfectly tender, almost raw. As Alice, I’ve gone through every detail here to make sure my clear steps guide you, but feel free to crank the music up like Simon would while you cook! If you want to know more about how we flipped the script on kitchen stress, check out our story over at Kitchn Kudos.
Why This Perfect Seared Ahi Tuna Recipe Deserves Kudos
Honestly, if you can manage to heat up a frying pan, you can nail this recipe. Simon always says the best meals are the ones that taste like they took hours when they really took minutes. This is your shortcut to a truly gourmet tuna showcase. Give yourself some kudos right now for trying this!
Impressive Results, Minimal Effort for Seared Ahi Tuna
You’re looking at a stunning plate of food that screams “I have my life together,” but we both know the secret: the entire active cooking time for this Seared Ahi Tuna is barely three minutes! It’s truly a quick seafood recipe that feels like cheating.
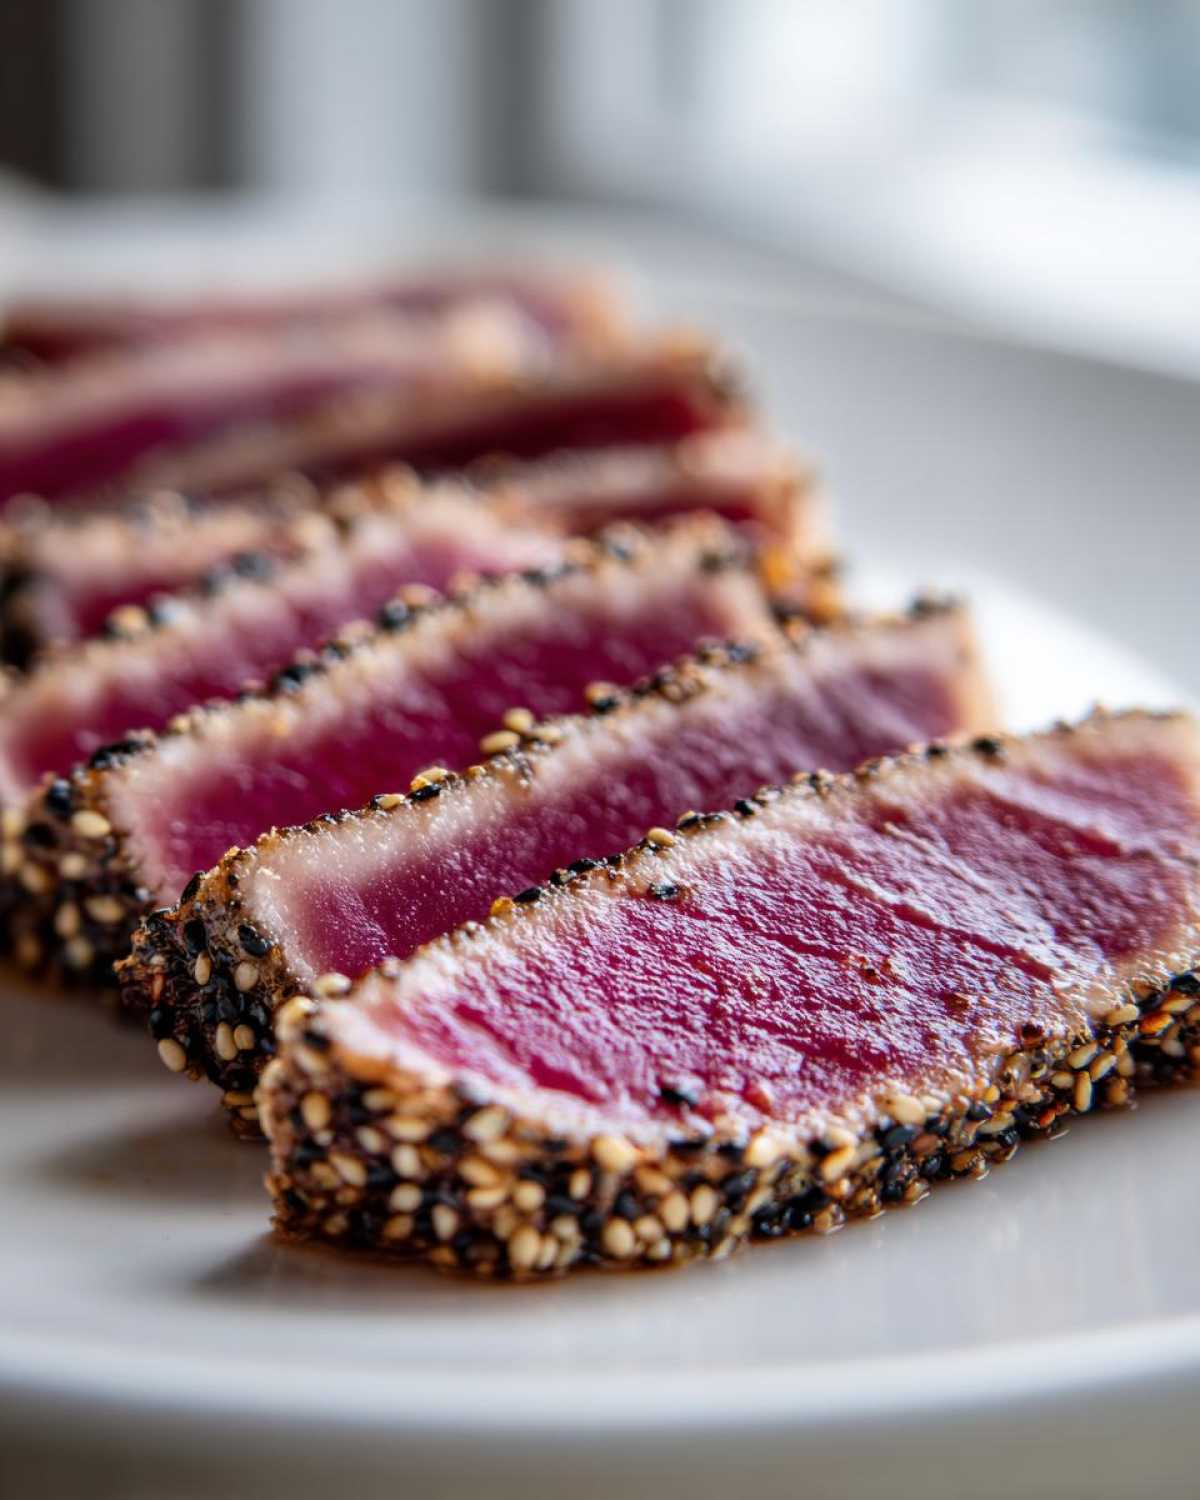
Achieving the Ideal Texture for Yellowfin Tuna
The whole point of slicing into high-quality yellowfin tuna is that buttery, cool center. This method ensures you get that perfect contrast—a crispy, savory shell giving way to the tender, nearly rare interior. It’s firm outside, melt-in-your-mouth inside. That’s a texture profile worth celebrating!
Essential Ingredients for Gourmet Tuna
When you’re dealing with something as high quality as ahi, the ingredients list needs to be short and mighty. Simon loves minimalist cooking because it lets the main star shine, and that star is this magnificent fish. I’ve written out everything you need below. See the link for my go-to salad recipe when I want something lighter than fish, but equally fresh!
- 2 (6-ounce) sushi grade ahi tuna steaks
- 2 tablespoons sesame oil
- 1 tablespoon soy sauce or tamari
- 1 teaspoon grated fresh ginger
- 1 clove garlic, minced
- 1/2 teaspoon black peppercorns, coarsely crushed
- 1/4 cup sesame seeds (I love using mixed black and white ones for pop!)
Sourcing the Best Sushi Grade Tuna
Okay, here’s where Alice, the documentarian, needs to step in with a stern voice for a second. Because we are searing this so quickly, the inside stays raw. This means we absolutely must start with the highest quality fish possible. When you ask your fishmonger for sushi grade tuna, you need to be direct. Ask them specifically: Is this safe to eat raw? Has it been properly handled for raw consumption? Freshness is everything for this quick seafood recipe, so if the tuna doesn’t look bright red and smell clean, please walk away and try a different market. Don’t skip this step if you want perfect Seared Ahi Tuna!
Expert Tips for the Perfect Seared Ahi Tuna Crust
This is where the magic happens, and trust me, it’s all about technique, not complicated ingredients. Simon always laughs because I used to stand over the pan worrying about the smoke alarm, but he showed me that smoke is sometimes just good technique getting warmed up! If you nail these two steps, you’ll have a flawless crust every time, which is what makes this Seared Ahi Tuna so impressive.
The Crucial Step: Patting Your Yellowfin Tuna Dry
Seriously, don’t skip this! If your yellowfin tuna steak is even a little damp, the pan surface doesn’t get hot enough to sear. Instead, the moisture steams the fish, and all you end up with is warm, grey fish instead of a crunchy crust. Grab a big pile of paper towels and press down firmly until the surface feels dry to the touch. I mean bone-dry! This ensures you get that beautiful sesame seed coating to actually stick and crisp up when it hits the heat.
Mastering the High-Heat Sear for Seared Ahi Tuna
Simon’s biggest piece of advice? Get your skillet screaming hot before the fish even thinks about touching it. I prefer a heavy cast-iron skillet for this because it holds heat so well. Put the pan on high heat—no oil in the pan yet! Wait until you see a tiny wisp of smoke or you know it’s hot enough that water would instantly disappear. That intense heat is what locks in the flavor and creates that perfect brown crust on your Seared Ahi Tuna in just seconds per side. If you want to see another dish that really responds well to high heat cooking, check out my notes on blackened salmon!
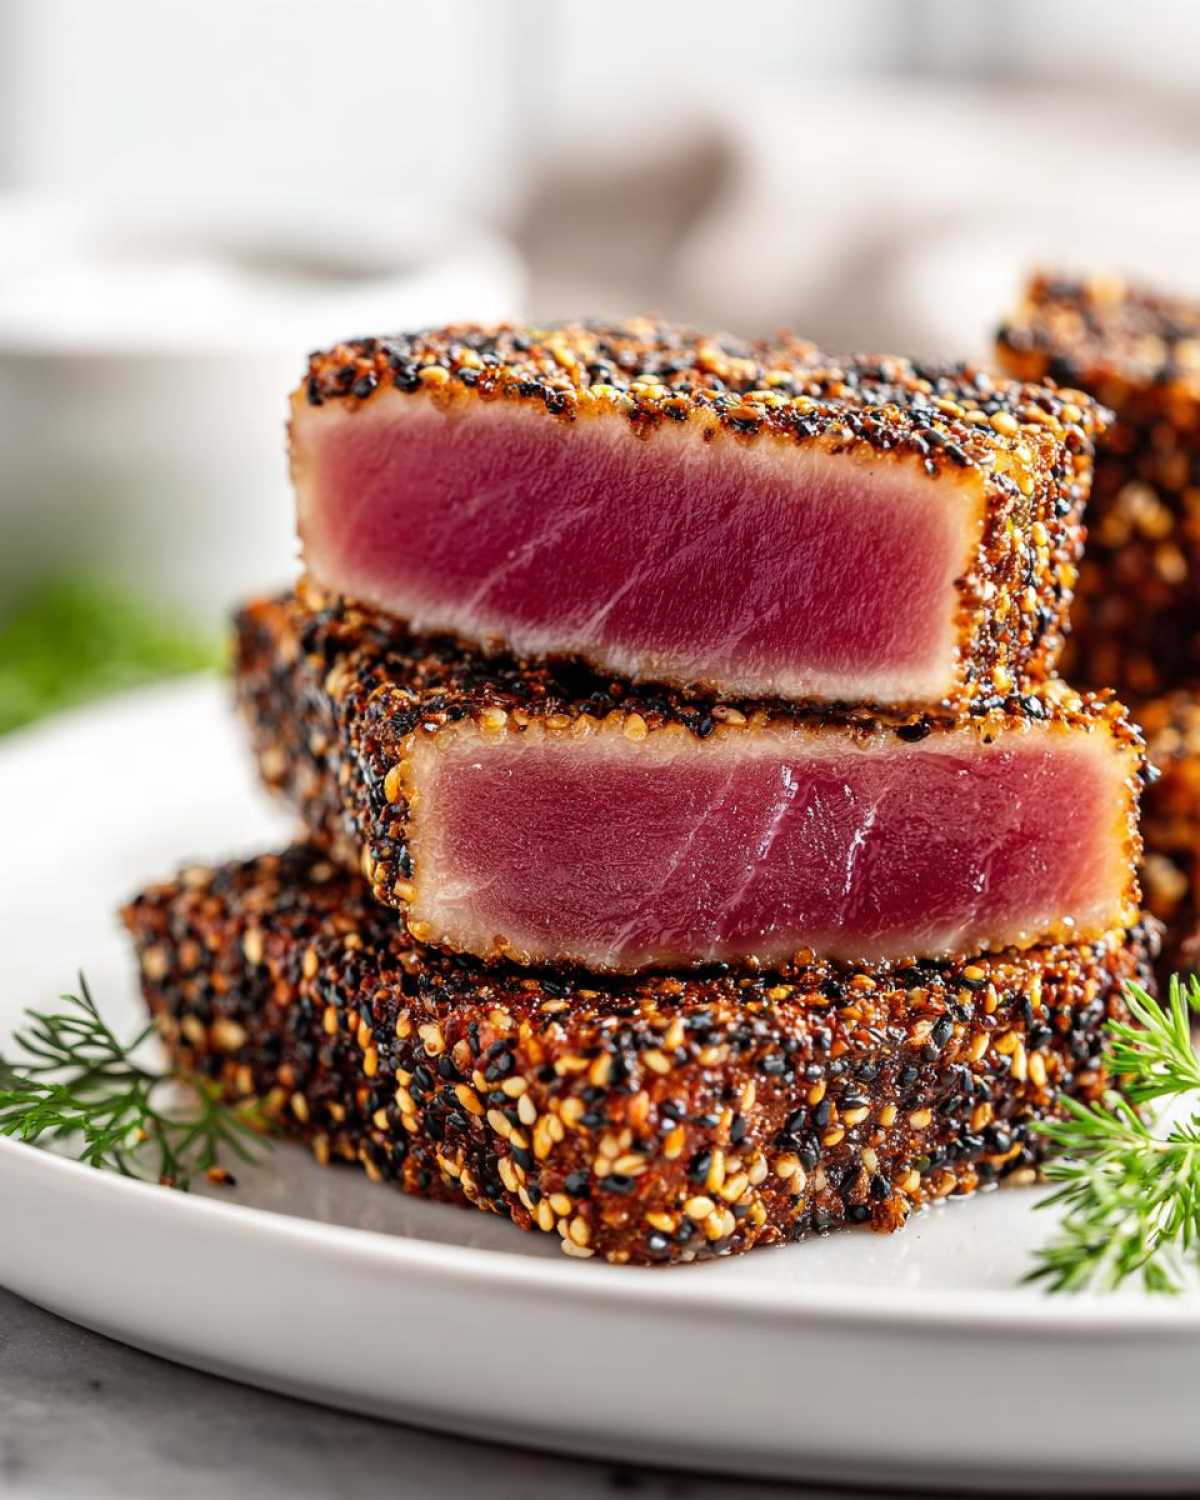
Step-by-Step Instructions for Your Asian Tuna Recipe
This part is Alice’s specialty—turning Simon’s relaxed cooking joy into clear, undeniable instructions so you get that perfect result even on your first try. Don’t stress the timing here; just follow the sequence, and know that even if you add 10 extra seconds to the sear, it’s still a win! We’re taking this wonderful Asian tuna recipe from raw fish to dinner plate in under 20 minutes, which is certainly cause for a little dance break.
Preparing the Marinade and Seed Coating
First things first, if your sushi grade tuna has been chilling, take it out about 15 minutes before you plan to cook. Remember that step where we patted it dry? Do that first! Then, in a little dish, quickly whisk together the sesame oil, soy sauce, fresh ginger, and minced garlic. We want this coating to be thin and even. Next, grab two separate shallow plates. Put your crushed black peppercorns on one and fill the other with those gorgeous mixed sesame seeds. Now, brush that marinade all over every side of your tuna steaks. Don’t be shy! Then, really press those steaks into the sesame seeds until they are totally covered. Give yourself a little kudos for getting that coating sticking so well!
Slicing and Resting the Seared Ahi Tuna
Once your incredibly hot pan is ready (and remember, the pan must be DRY and very hot!), sear the tuna for just 60 to 90 seconds on each side. That’s it! Don’t touch it while it’s searing. As soon as they are out of the heat, put those beautifully crusted steaks on a cutting board. Don’t cut them yet! They need a proper rest, about 5 minutes. This lets the juices redistribute. When you do slice them, slice them against the grain into pieces about half an inch thick. This small detail keeps the final bite tender. If you’re feeling inspired by this quick method, you might want to check out my tips for fast stir-fries next!
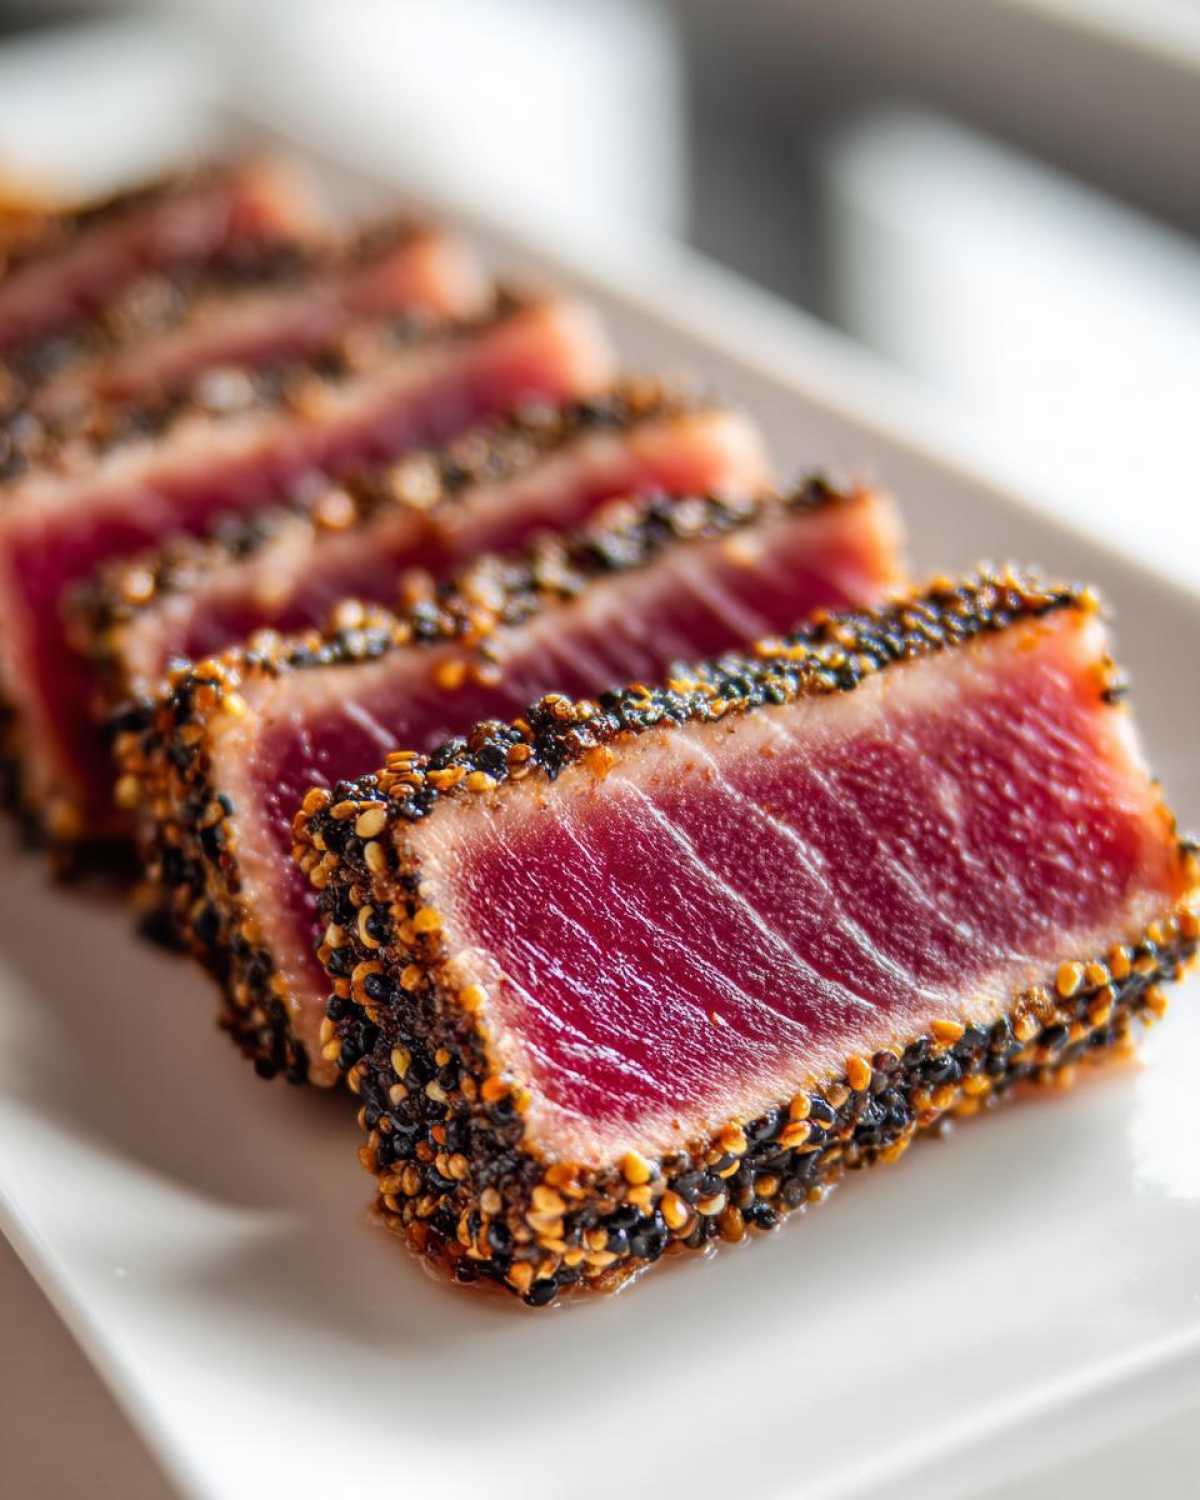
Making This Healthy Dinner a Complete Meal
Now that you’ve created this flawless Seared Ahi Tuna—which is already a fantastic, healthy dinner all on its own—we need to put it on something worthy! Because the flavor profile here is so clean and bright (that ginger and sesame really wake things up), you don’t want heavy sides stealing the show. I love keeping the whole meal light and fresh.
For a perfect pairing, try serving it over a bed of lightly dressed mixed greens. A simple lime vinaigrette works beautifully and won’t compete with the soy sauce in the sear. If you need something heartier, steamed brown rice is always a winner to soak up any extra marinade drippings. Or, if you’re looking for a gorgeous salad side that still keeps things healthy, you absolutely must see my recipe for sweet potato salad—it adds a wonderful earthy sweetness!
Storage and Reheating Instructions for Leftover Seared Ahi Tuna
Okay, let’s be real here. This Seared Ahi Tuna is one of those stunning dishes that is technically *best* eaten the moment it comes off the heat. That crisp crust and cool center magic doesn’t wait around! Simon and I always try to finish it all in one go because it truly is a quick seafood recipe meant for immediate enjoyment.
However, life happens, right? If you do end up with leftovers—maybe you made a double batch out of pure excitement—you need to treat that fish right so you don’t accidentally turn your delicious leftovers into something rubbery. Storage is key to keeping that quality intact.
If you have whole, unsliced steaks left, wrap them tightly in plastic wrap, making sure to press the wrap right up against the seared edges. Pop them into the coldest part of your fridge. For sliced tuna, you need to be even quicker. Store the slices in an airtight container, perhaps layered between a piece of parchment paper for separation. Since this is intended to be served rare, make sure you plan to eat any leftovers within 24 hours maximum.
Now, the most important piece of advice Simon made me promise to share: Do not reheat this tuna! Seriously, put the skillet away. Heating up already seared tuna just continues to cook the inside, and you’ll end up with sad, grey tuna steak. If you want to eat leftovers, pull them out of the fridge about 20 minutes ahead of time so they can come up slightly to room temperature and lose the harsh cold edge. They’re fantastic served cold over a crisp salad, like our chicken lettuce wraps are great served fresh!
Frequently Asked Questions About Seared Ahi Tuna
I get so many messages about this recipe! It’s amazing how many people want to try this quick seafood recipe but have a few jitters about handling delicate fish. That’s totally normal, but let me put your mind at ease. We’re here to give you kudos for even asking the hard questions!
Can I use frozen tuna for this Seared Ahi Tuna recipe?
If you really, really must—yes, but you have to be incredibly careful with the thawing process. Never thaw raw-grade fish on the counter! You should transfer the vacuum-sealed package to the refrigerator for 24 hours. Once thawed, you absolutely must check the quality. Frozen and thawed **sushi grade tuna** might look a little duller or have a slightly different texture around the edges, and sometimes it just won’t hold the sear as well. If it has any mushy spots after thawing, please save it for a ceviche instead, but for truly perfect **Seared Ahi Tuna**, fresh is always the gold standard.
How do I know when my gourmet tuna is perfectly cooked?
This is the million-dollar question! Remember, we want that deep contrast. For the best result, stick to the time guidelines: 60 to 90 seconds on the first side, flip, and another 60 to 90 seconds. When you pull it out, the edges should look opaque and brown/tan, but when you press down lightly, the center shouldn’t feel hard—it should feel soft and give way easily, just like a perfectly ripe avocado. That soft give means you have that cool, almost raw center that defines great **gourmet tuna**.
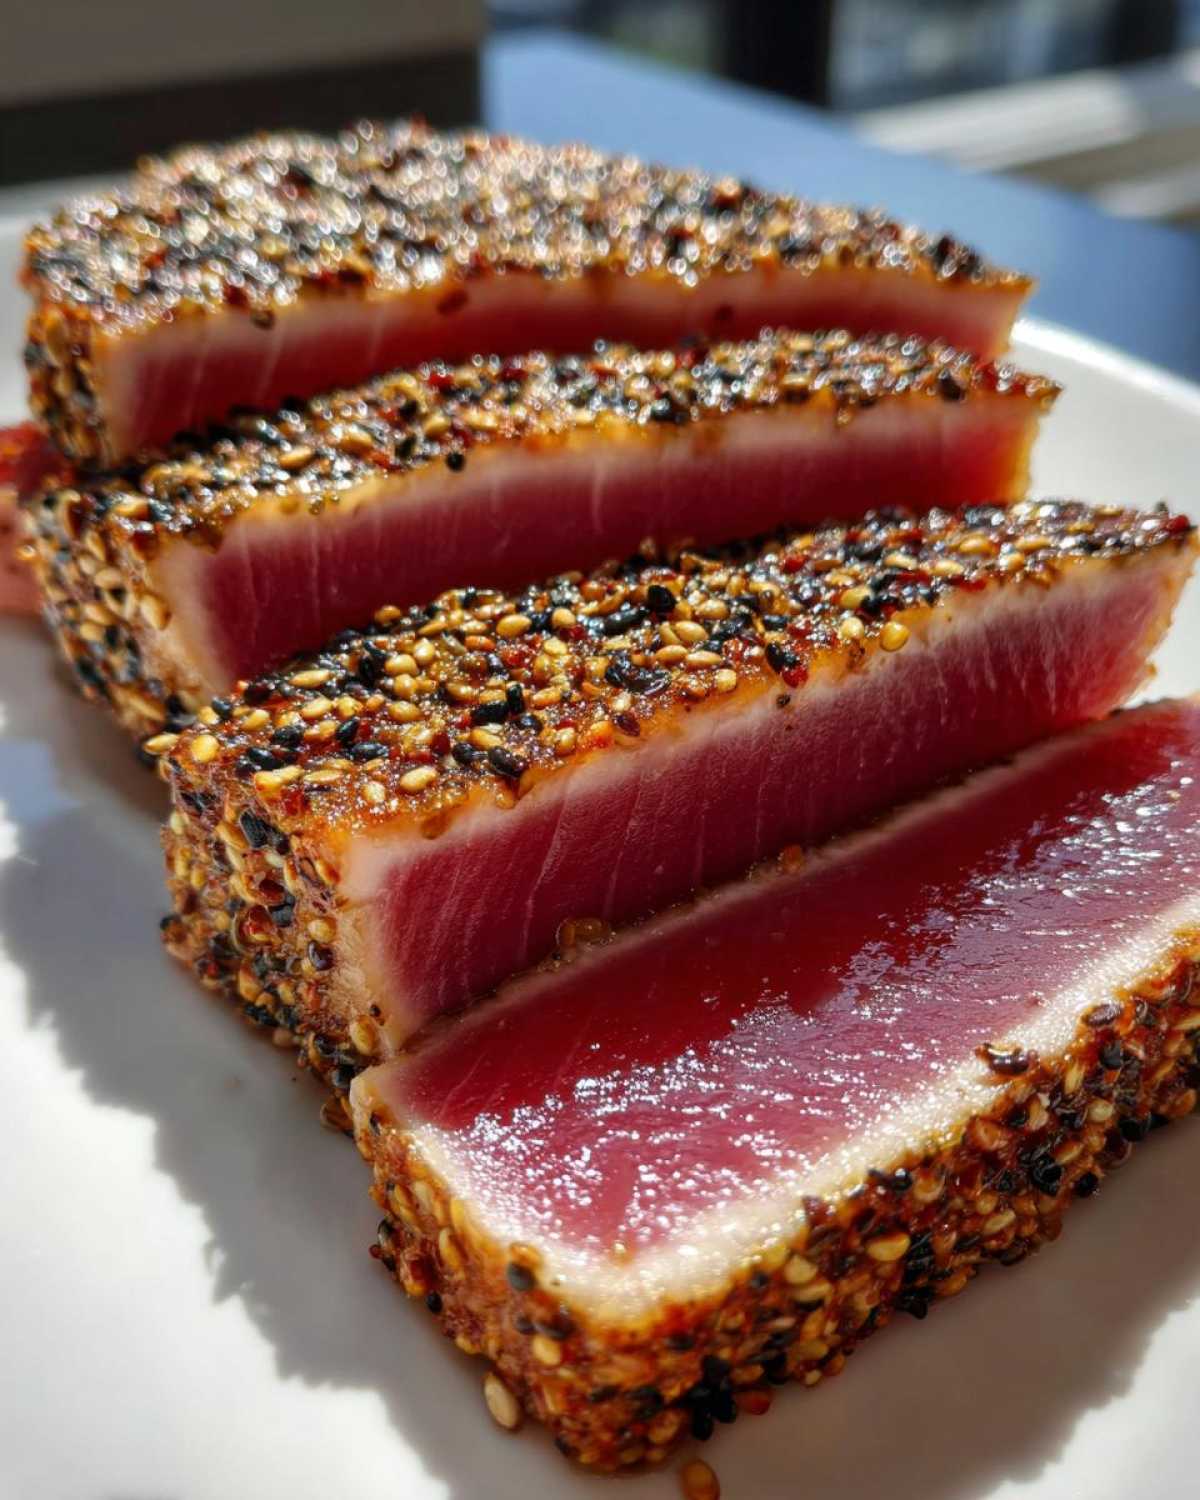
If you’re still nervous about guessing, try peeking at the side of the steak after about 75 seconds. You want to see the cooked band move up only about a third of the way into the steak. It’s quick, but worth paying attention to! If you’re looking for another surprisingly simple yet impressive meal, you might want to check out how we handle easy egg drop soup—it’s fast and flavorful too!
Estimated Nutritional Data for This Quick Seafood Recipe
Okay, so Simon and I believe the real nutrition comes from the joy you experience eating the food, but I know some of you are tracking things closely! And since this Seared Ahi Tuna is such a wonderfully light option, you might be curious.
Please remember, because we’re working with fresh fish here, these numbers are just educated estimates based on the two 6-ounce portions described in the recipe. They are here to give you a ballpark idea of what you’re enjoying—a truly healthy dinner staple!
- Serving Size: 1 steak (1 serving)
- Calories: About 280—that’s fantastic for a big protein hit!
- Protein: A whopping 34 grams! This is why ahi is such a powerhouse.
- Fat: Around 14 grams total. Most of that is the healthy unsaturated fat coming from the fish and a little sesame oil.
- Carbohydrates: Very low, only about 5 grams.
- Sodium: This comes mostly from the soy sauce, so you are looking at roughly 350mg. If you use low-sodium soy sauce, you can easily knock this down a bit!
See? A perfect example of an impressive, gourmet tuna that keeps your healthy eating goals totally intact. Give yourself kudos for choosing such a lean and powerful protein source!
Share Your Kitchen Kudos
That’s it! You’ve done it! You’ve mastered the high-heat sear, you’ve enjoyed that incredible contrast of textures, and you’ve created a genuinely gourmet tuna right in your own kitchen. Don’t you feel proud of yourself?
Simon would be demanding a high-five right now, and I completely agree with him! The best part of this blog, Kitchn Kudos, is hearing about your wins. Did you manage that fast sear perfectly? Did the sesame seeds stick beautifully? That’s the real victory here—not necessarily the plate presentation, but the fact that you showed up and made something delicious!
When you’ve had a chance to slice into that beautiful Seared Ahi Tuna, please come back and leave a rating. Tell us exactly what worked for you, or if you snuck in a little extra five-spice like we mentioned in the notes. Every comment, every shared success, is more kudos for everyone else who feels a little pressure in the kitchen. We can’t wait to celebrate your efforts!
PrintPerfectly Seared Ahi Tuna Steaks
Learn how to sear sushi grade yellowfin tuna perfectly for a quick, healthy, and impressive seafood dinner.
- Prep Time: 10 min
- Cook Time: 3 min
- Total Time: 18 min
- Yield: 2 servings
- Category: Dinner
- Method: Pan Searing
- Cuisine: Asian
- Diet: Low Fat
Ingredients
- 2 (6-ounce) sushi grade ahi tuna steaks
- 2 tablespoons sesame oil
- 1 tablespoon soy sauce or tamari
- 1 teaspoon grated fresh ginger
- 1 clove garlic, minced
- 1/2 teaspoon black peppercorns, coarsely crushed
- 1/4 cup sesame seeds (mixed black and white preferred)
Instructions
- Take your ahi tuna steaks out of the refrigerator about 15 minutes before cooking. Pat them completely dry with paper towels. This step is key for a good sear.
- In a small bowl, whisk together the sesame oil, soy sauce, ginger, and minced garlic. Brush this mixture evenly over all sides of the tuna steaks.
- Place the crushed black peppercorns and sesame seeds on separate shallow plates. Roll each tuna steak in the sesame seeds until all sides are coated. Press gently so the seeds stick well.
- Heat a heavy-bottomed skillet, like cast iron, over high heat until it is very hot. You want the pan hot enough that a drop of water sizzles immediately.
- Carefully place the coated tuna steaks into the hot, dry skillet. Do not move them. Sear for 60 to 90 seconds per side for rare to medium-rare. This quick sear keeps the inside tender.
- Remove the tuna from the pan immediately. Let the steaks rest on a cutting board for 5 minutes before slicing.
- Slice the tuna against the grain into half-inch thick pieces. Serve right away for a gourmet tuna experience.
Notes
- For an extra layer of flavor, you can mix a pinch of five-spice powder into your sesame seed coating.
- If you prefer your tuna cooked slightly more, add 15 to 30 seconds to the searing time per side, but avoid overcooking to keep it tender.
- Serve this quick seafood recipe over a bed of mixed greens or with a side of steamed rice.
Nutrition
- Serving Size: 1 steak
- Calories: 280
- Sugar: 1
- Sodium: 350
- Fat: 14
- Saturated Fat: 2
- Unsaturated Fat: 12
- Trans Fat: 0
- Carbohydrates: 5
- Fiber: 1
- Protein: 34
- Cholesterol: 75