

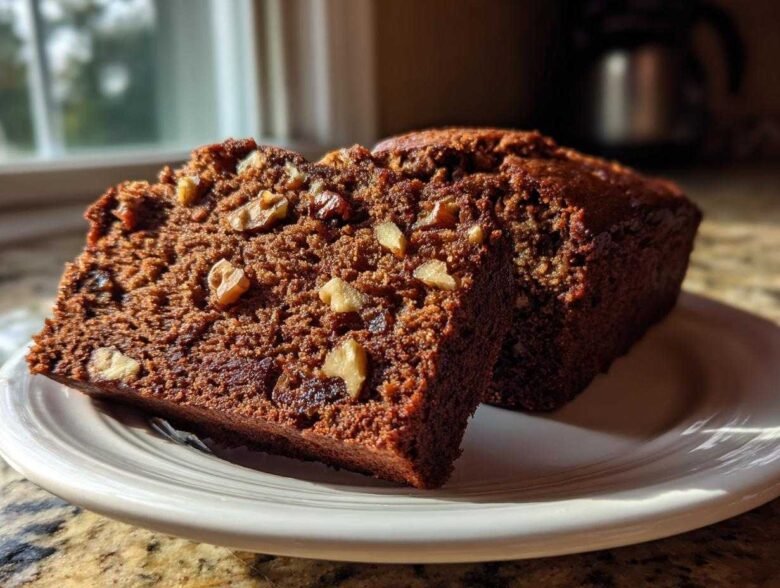
Oh, I love days when our kitchen just smells like pure, unadulterated comfort, don’t you? When Simon sees me pulling out the dates and walnuts, he knows we’re diving into a truly nostalgic bake. Forget complicated layers or fancy frosting; today is all about deep, reliable flavor that feels like a hug. That’s why I’m so obsessed with sharing this Easy, Moist, Old-Fashioned Date Nut Bread with you. It’s truly the definition of a classic quick bread, and remember what Simon always says? The goal isn’t perfection, it’s making happy memories. This recipe is designed to give you big kudos for showing up, even if you’re a recovering perfectionist like I was! For more on our philosophy of kitchen praise, check out our About Us page.
Why This Easy Date Nut Bread is Your New Favorite Quick Bread Baking Recipe
I used to stress so much over quick breads giving me that dry, crumbly disappointment right in the middle. I’d measure things three times, convinced the recipe was flawed! But honestly, once I stopped treating this date nut bread like a high-stakes exam, it started turning out perfectly every time. This recipe is the one that really converted me to laid-back baking. It’s fast, it uses simple pantry staples, and it delivers that profound, spiced flavor you crave when you need some serious quick bread baking comfort.
It’s the perfect treat for busy mornings or when you need a hostess gift in a pinch. Even Simon, who usually just dances while stirring, agrees this one is foolproof. If you want to see another comforting recipe that always gets tons of praise, check out my guide for the Best Bread Pudding Recipe!
Achieving the Best Date Nut Bread Texture
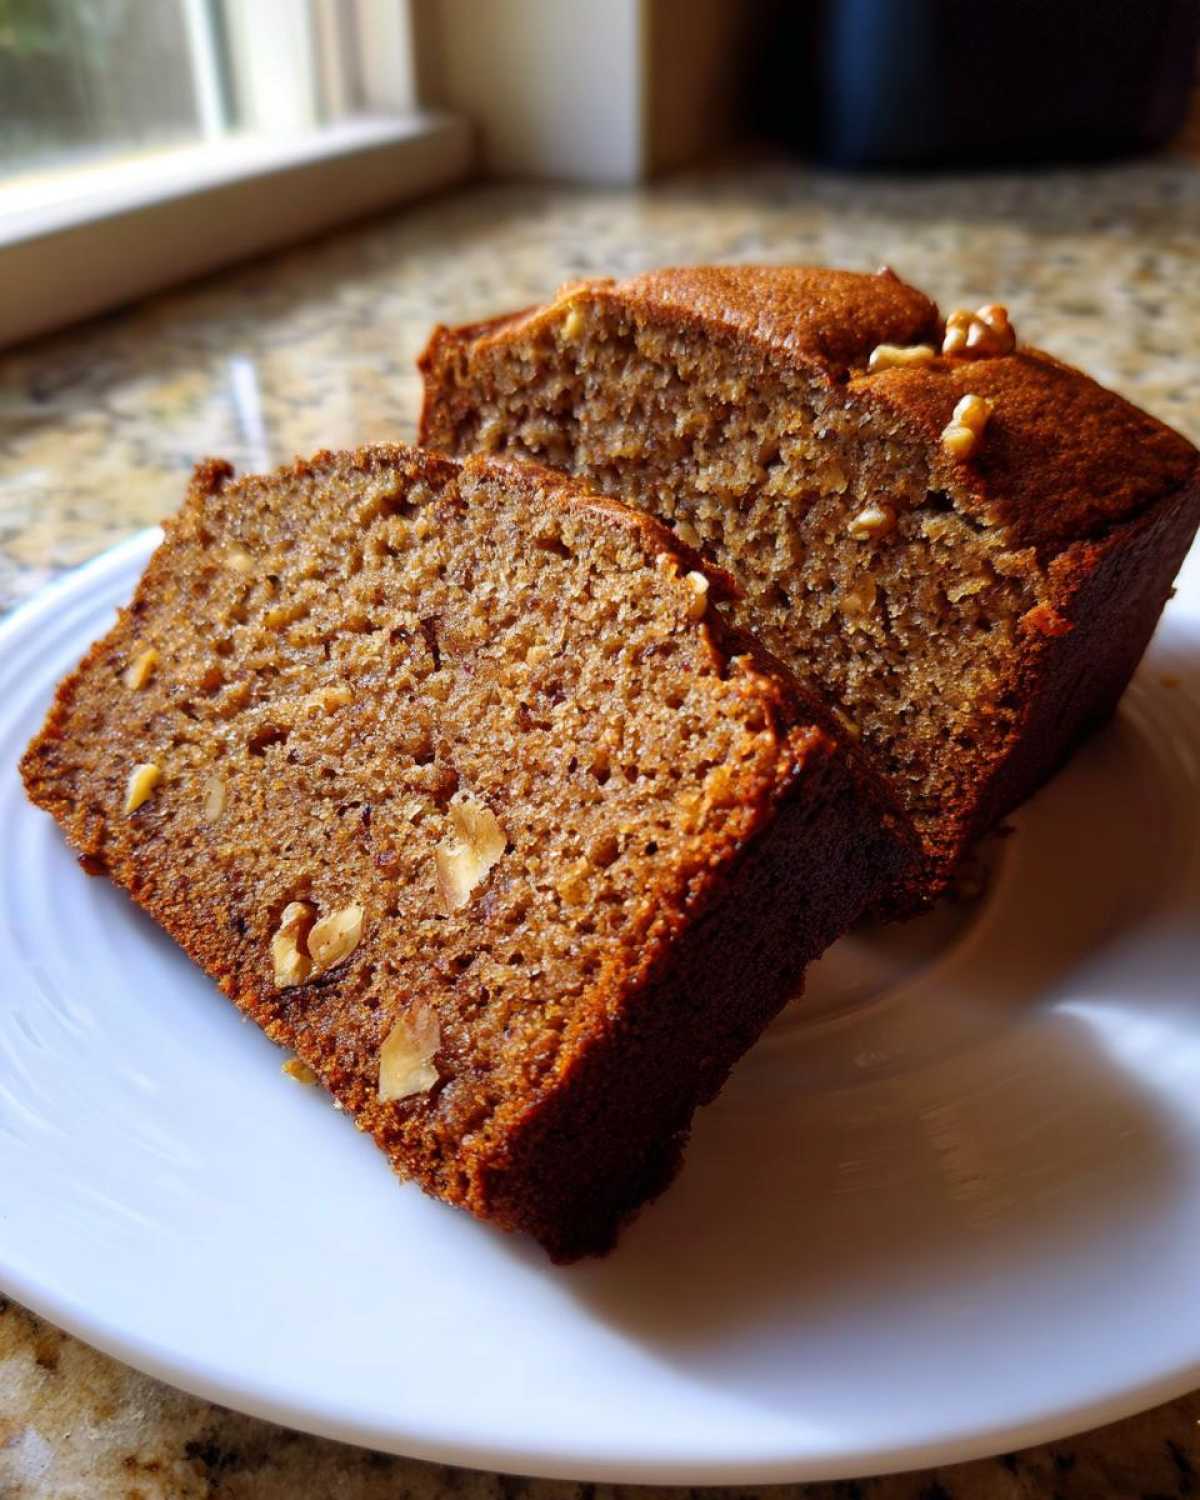
The secret to that incredible, melt-in-your-mouth crumb isn’t complicated, I promise! It all comes down to treating those dates right before you mix them in. We specifically soak them in boiling water with baking soda, which helps them break down beautifully during baking. This prevents those dry, hard pockets of date, ensuring every single slice of your moist date nut bread is tender and deeply flavored throughout. It’s an easy step that yields amazing results!
Gather Your Ingredients for Moist Date Nut Bread
Alright, let’s get everything onto the counter! Simon calls this the ‘Mise en Place Victory Lap’ because setting everything out means you’ve already won half the battle against kitchen stress. For this date nut bread, we’re keeping it classic, relying on simple things done well. We’re using brown sugar for that caramel depth and plenty of good quality butter to make sure this is a rich, comforting bake. This is where the magic starts when you’re baking with dates; the preparation is almost as important as the mixing!
If you want an extra rich holiday flavor profile in your quick breads, you should definitely check out my recipe for Brown Butter Pumpkin Bread next. Now, grab your list; here is exactly what you need for one perfect loaf:
- 1 cup boiling water
- 1 cup packed pitted dates, chopped
- 1 teaspoon baking soda
- 1/2 cup (1 stick) unsalted butter, softened
- 1 cup packed light brown sugar
- 2 large eggs
- 1 teaspoon vanilla extract
- 1 3/4 cups all-purpose flour
- 1 teaspoon ground cinnamon
- 1/2 teaspoon salt
- 1 cup chopped walnuts, plus extra for topping
Step-by-Step Guide to Your Old Fashioned Nut Bread
Okay, grab your apron and maybe put on some fun music—Simon is ready for his supervising role! Baking this old fashioned nut bread is a super satisfying process, and it moves quickly once you get those dates soaking. Remember, we celebrate every stage here! When that butter looks fluffy later on, send yourself some kudos! We are moving through this process intentionally, but slowly enough that we don’t get stressed.
First things first, get that appliance hot! Preheat the oven to 350°F (175°C) and prep that loaf pan—grease it up and dust it with flour really well. Now we move straight into the key first step that sets us up for success.
Follow along here, because timing matters slightly when we are aiming for that moist crumb everyone loves!
- Preheat your oven to 350°F (175°C). Grease and flour a 9×5 inch loaf pan. Give yourself a high-five for getting started!
- Place the chopped dates in a small bowl. Pour 1 cup of boiling water over the dates and stir in the baking soda. Let this mixture sit for 10 minutes to soften the dates. This step is key for a moist date nut bread.
- In a large bowl, cream together the softened butter and brown sugar until light and fluffy. This is a great moment to turn up some music!
- Beat in the eggs one at a time, mixing well after each addition. Stir in the vanilla extract.
- In a separate bowl, whisk together the flour, cinnamon, and salt.
- Gradually add the dry ingredients to the wet ingredients, mixing just until combined. Do not overmix; we want a tender crumb.
- Gently fold in the 1 cup of chopped walnuts.
- Scrape the batter into the prepared loaf pan. Sprinkle a few extra walnuts over the top for a nice finish.
- Bake for 55 to 65 minutes, or until a wooden skewer inserted into the center comes out clean. If the top browns too quickly, loosely tent it with foil after 40 minutes.
- Let the loaf cool in the pan for 10 minutes before turning it out onto a wire rack to cool completely. You did it!
If you want to check out a guide on managing starters, which is a whole different kind of baking patience, I put together a guide on Sourdough Starter.
The Crucial Date Soaking for Date Nut Bread Moisture
This is where we earn our moisture kudos! When you pour that boiling water and baking soda over the chopped dates, you are essentially pre-cooking them just a tiny bit. The baking soda reacts with the dates and helps them break down into almost a thick paste. This means you get maximum sweetness and moisture distributed evenly into your date nut bread without having any hard, dry bits remaining at all. It’s pure baking science magic happening right there!
Mixing Tips for a Tender Date and Walnut Bread
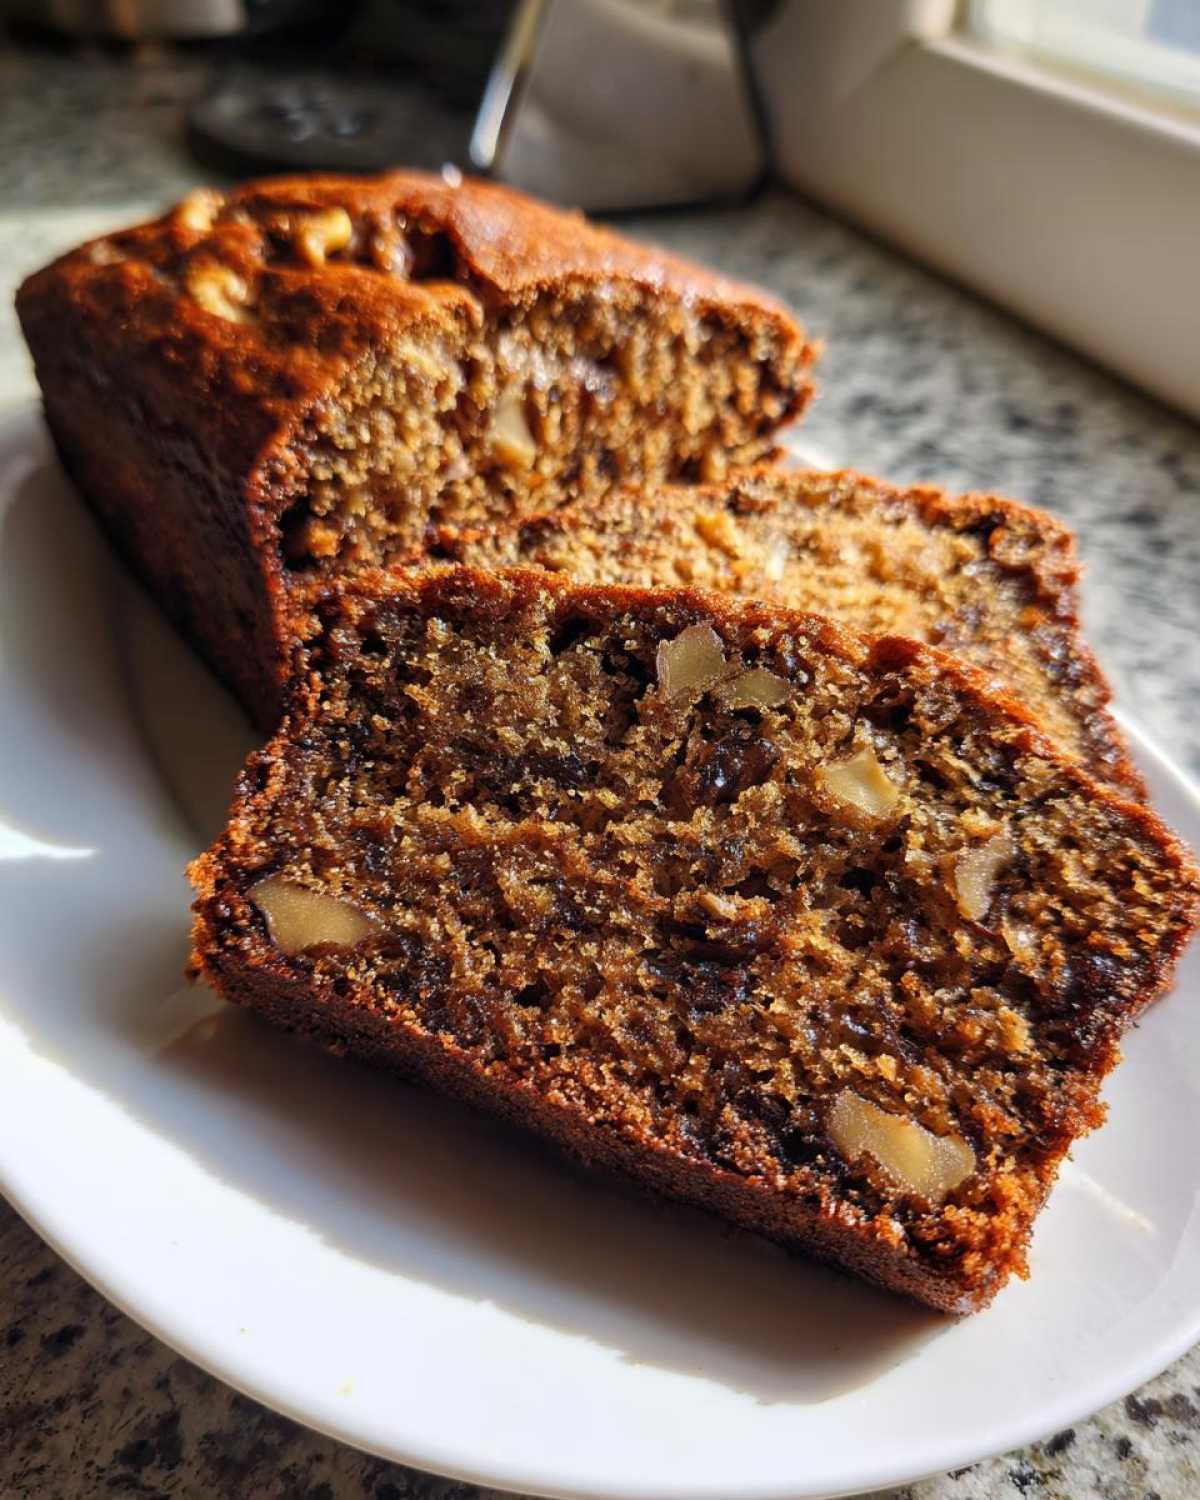
When you add the flour mixture, this is where Simon always reminds me to take a breath. You are only mixing until those last streaks of flour disappear— seriously, stop there! Overmixing develops gluten, and that gives quick breads a tough, chewy texture instead of that soft, tender crumb we want in our date and walnut bread. Simon calls this ‘The Gentle Fold’ and he insists you use a spatula, not the electric mixer, for this final stage. Just be gentle!
Tips for the Best Date Nut Bread Success
Even though this is an easy recipe, a few little tricks will bump your results right up to that ‘Best Date Nut Bread’ status. Trust me, I learned these by making a dozen slightly-less-than-perfect loaves before Simon convinced me to celebrate the one that only *almost* collapsed in the middle!
First off, about those dates: if you can splurge on Medjool dates, please do! They are softer and richer, but the dried, chopped ones work perfectly fine, especially since we’re soaking them anyway. And if you’re interested in making other things from scratch, like dressings, you should check out my thoughts on Homemade Mayonnaise Recipe.
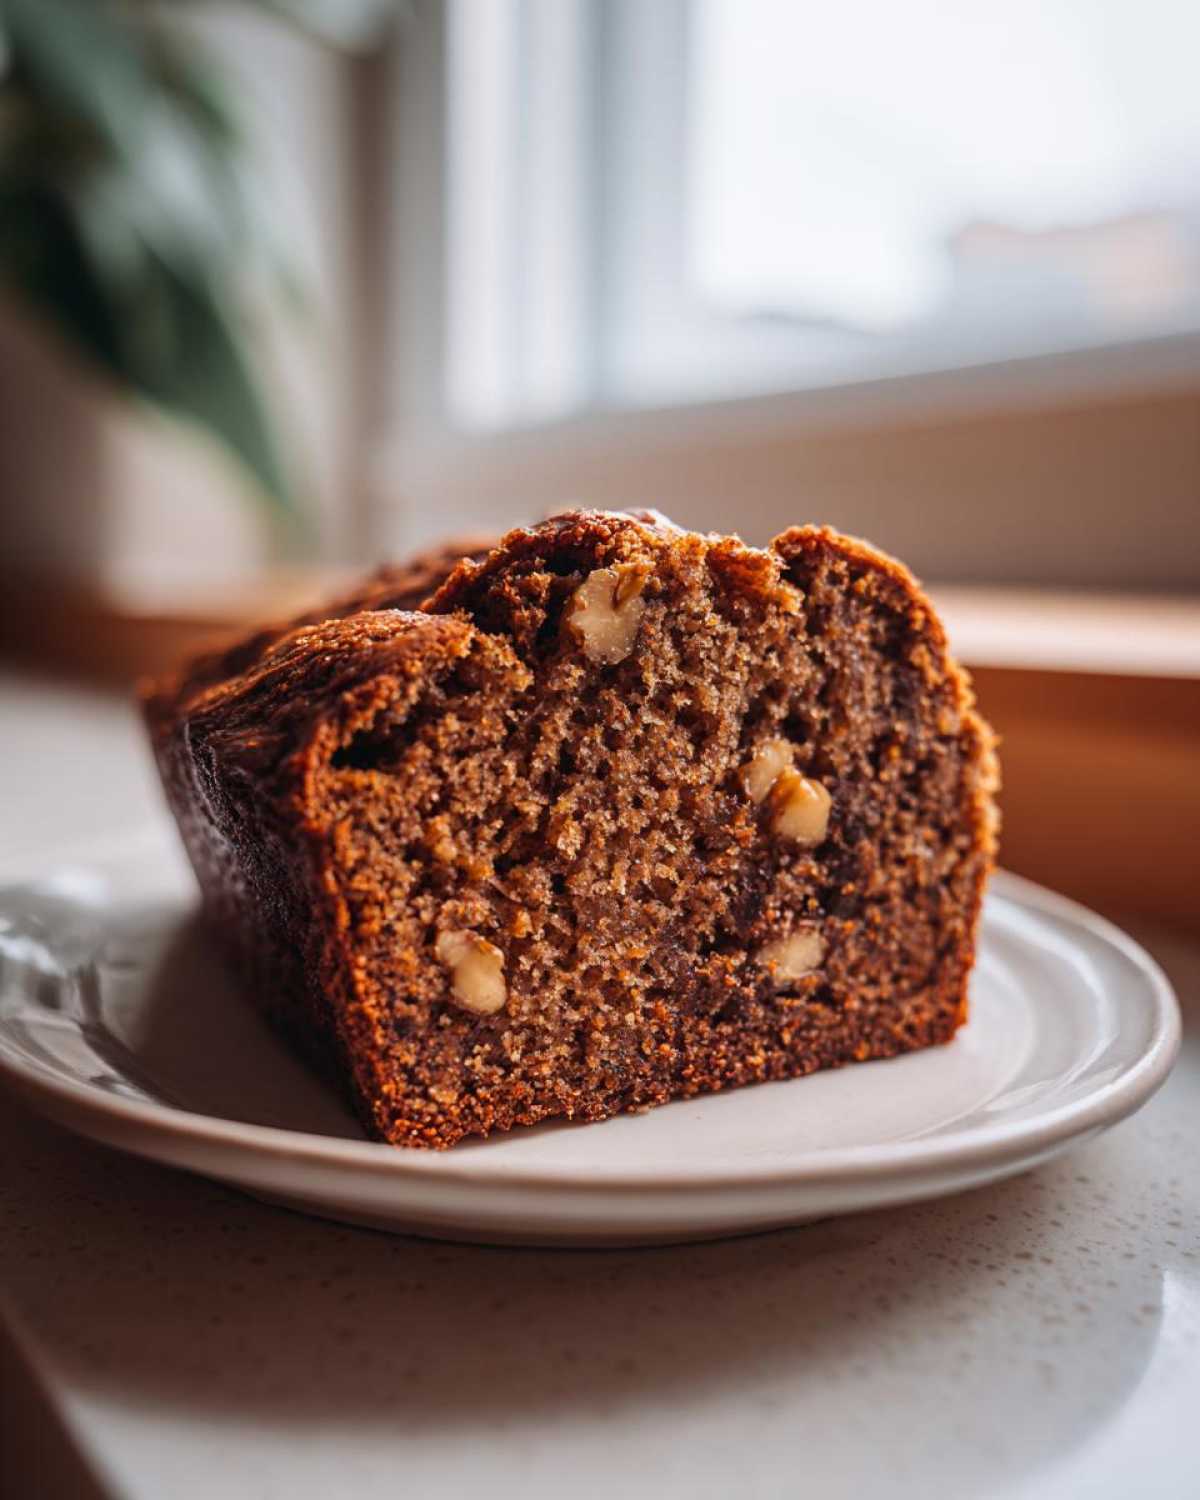
And don’t be afraid of the cinnamon; it’s what gives this whole thing that warm, nostalgic smell. And remember that instruction about loosely tenting the bread? Seriously, follow that! If your oven runs hot up top, tenting around the 40-minute mark keeps the top gorgeous and brown while the center finishes baking. You want that beautiful, even color across your date nut bread.
Ingredient Notes and Substitutions for Your Date Loaf Recipe
If you are looking to lighten this up just a touch, you can absolutely swap out half the all-purpose flour for whole wheat flour. It just makes it a little heartier, which is lovely for a wholesome snack bread. Don’t substitute the baking soda unless you want a flat loaf, though; that reacts with the dates! If walnuts aren’t your jam, pecans are a wonderful substitute in this Easy Date Loaf Recipe. Just keep the total nut volume the same for the structure to stay happy.
Serving Suggestions for This Comfort Food Baking Classic
Now that you’ve pulled this gorgeous loaf out of the oven, the real fun begins! This date nut bread shines brightest when treated simply, which is why it’s such a fantastic example of comfort food baking. Seriously, the best way to enjoy it right now is sliced thick, still slightly warm, with a generous swipe of softened butter. The butter melts right into those warm crumbs, and it’s just heavenly.
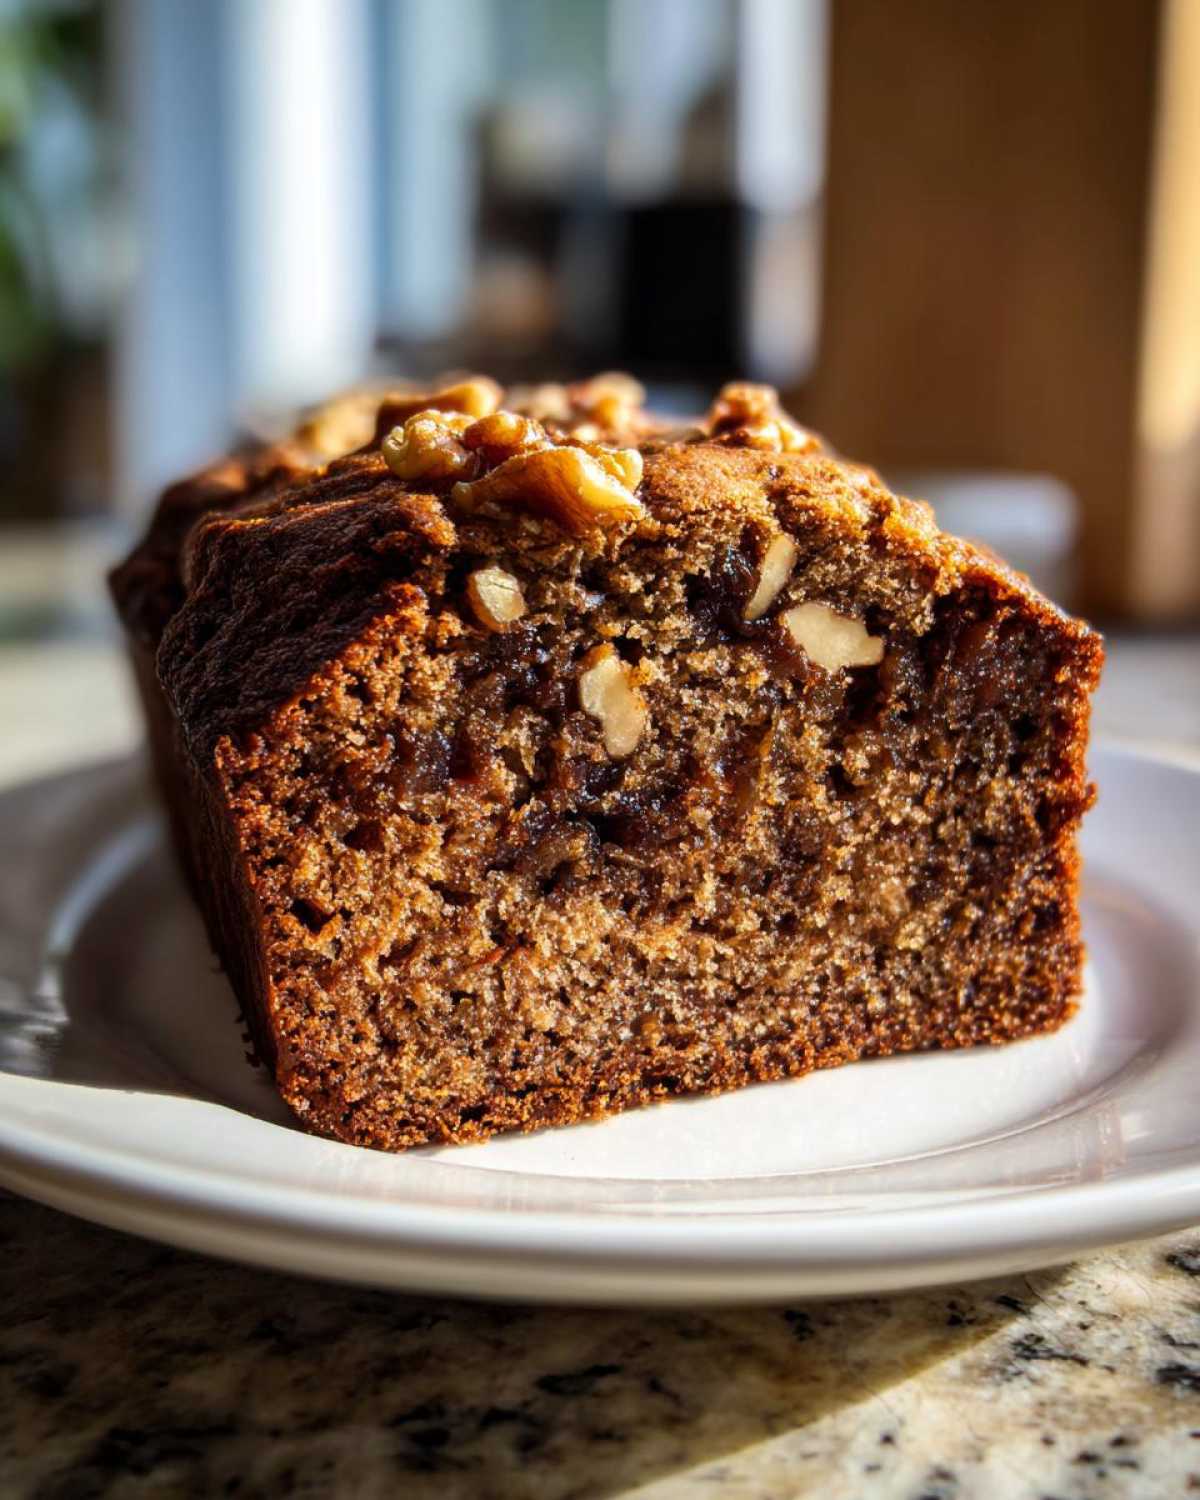
We also love having a slice with a cup of coffee when the afternoon rolls around. If you’re taking this to a brunch or having guests over, a little smear of cream cheese is always elegant, but honestly, the warmth is the secret sauce. If you’re looking for another easy, comforting side dish, you have to try my Sweet Potato Salad next!
Storage and Freezing Instructions for Homemade Quick Breads
Since this date nut bread is so moist, keeping it fresh is important so it doesn’t get gummy! We let the loaf cool completely—and I mean *completely*—on the rack before wrapping it up. If you wrap it warm, you’re just trapping steam, and that makes it soggy really fast. For just a couple of days, wrapping it tightly in plastic wrap works well.
If you’re planning ahead—which is smart, because these homemade quick breads disappear fast!—freezing is the way to go. Slice the cooled loaf first before you wrap it tightly in a layer of plastic wrap, then a layer of foil. Pop those slices into a freezer bag. That way, you can pull out just one or two slices whenever you need a quick breakfast treat, and they thaw out perfectly thawed in about an hour on the counter. If you want a great savory meal to balance out all the baking, try my go-to Easy Honey Garlic Chicken Stir-Fry!
Variations: Banana Date Nut Bread and Other Twists
You know, sometimes I have a few too many brown bananas sitting on the counter—it happens to the best of us! This recipe is so stable, it handles additions beautifully, giving you some really fun options. If you’re into that combo, a Banana Date Nut Bread variation is a fantastic idea!
To make that swap, just replace about a half cup of your water/date liquid mixture (or slightly reduce the butter, depending on how ripe your bananas are) and toss in one mashed, very ripe banana. It deepens the flavor and makes it even more decadent! For a different texture entirely, instead of walnuts, try using pecans or even sunflower seeds if nuts are an issue. I also shared a fantastic muffin recipe that uses sweet potatoes if you’re looking for another way to switch up moist baking; you can find the Sweet Potato Muffins recipe right here. It’s all about celebrating what you have on hand!
Frequently Asked Questions About Date Nut Bread
It’s natural to have questions when you try a new recipe, especially when you’re aiming for that perfect texture! Simon would tell you to just jump in and see what happens, but Alice here likes to make sure we have our bases covered so you get the best results possible. Here are the things people ask me most often about making the best date nut bread recipe.
Can I make this date nut bread without walnuts?
Absolutely! If walnuts aren’t cooperating with your pantry, or if you have allergies, you can totally skip them. This is an easy date loaf recipe, not a nut-only recipe! I always suggest swapping them out 1-for-1 with pecans—they mash up nicely with the dates and offer a different, buttery flavor. If you want to keep it nut-free, try using toasted sunflower seeds or pumpkin seeds for that satisfying crunch. It works just as well!
What is the best way to store this moist date nut bread?
Because we are so focused on achieving that incredible moisture, storage is important. The key is to make sure it’s fully cool before you wrap it up tight. If you let your moist date nut bread cool completely on the rack, then wrap it well in plastic wrap followed by foil, it stays perfect on the counter for three or four days. If you need longer storage, remember my freezing tip from earlier!
How do I know when my date nut bread is fully baked?
This is crucial for avoiding that dreaded gummy middle! You should start checking around the 55-minute mark. Insert a clean wooden skewer right into the center of the loaf—if it comes out clean, you’re golden. If it has wet batter clinging to it, keep baking! If the top looks perfectly dark brown but the inside still seems a little soft, that’s your cue to loosely tent it with foil. That foil tent protects the color while letting the center cook through. Speaking of eggs, if you need a great simple soup recipe, check out my quick Easy Egg Drop Soup for dinner!
Nutritional Estimates for Your Classic Quick Bread
Now, I know some of you are curious about the details, even when we’re focused on pure comfort baking! Simon reminds me that this is just an estimate, so take these numbers with a grain of salt—or maybe a few walnuts! We aim for deliciousness first, but it’s helpful to know what you’re looking at when you enjoy a slice of this classic quick bread.
Remember, these estimates are calculated based on the recipe exactly as written, using standard portions, and they break down per slice. If you use less butter, or perhaps those amazing Medjool dates, the numbers will shift a bit. You can always review my full thoughts on how ingredients impact nutrition over on the Disclaimer page, but here is the overview for one slice:
- Serving Size: 1 slice
- Calories: 285
- Sugar: 25g
- Sodium: 180mg
- Fat: 13g
- Saturated Fat: 5g
- Unsaturated Fat: 8g
- Trans Fat: 0g
- Carbohydrates: 41g
- Fiber: 2g
- Protein: 5g
- Cholesterol: 60mg
I think 285 calories of pure, spiced happiness is a fantastic trade-off for a cozy morning, don’t you? Give yourself those kudos!
PrintEasy, Moist, Old-Fashioned Date Nut Bread
Bake this classic, moist date nut bread. It is a simple quick bread perfect for breakfast, snacking, or holiday sharing. You will get a tender crumb every time you try this comforting recipe.
- Prep Time: 15 min
- Cook Time: 60 min
- Total Time: 75 min
- Yield: 1 loaf (about 10 slices)
- Category: Breakfast
- Method: Baking
- Cuisine: American
- Diet: Vegetarian
Ingredients
- 1 cup boiling water
- 1 cup packed pitted dates, chopped
- 1 teaspoon baking soda
- 1/2 cup (1 stick) unsalted butter, softened
- 1 cup packed light brown sugar
- 2 large eggs
- 1 teaspoon vanilla extract
- 1 3/4 cups all-purpose flour
- 1 teaspoon ground cinnamon
- 1/2 teaspoon salt
- 1 cup chopped walnuts, plus extra for topping
Instructions
- Preheat your oven to 350°F (175°C). Grease and flour a 9×5 inch loaf pan. Give yourself a high-five for getting started!
- Place the chopped dates in a small bowl. Pour 1 cup of boiling water over the dates and stir in the baking soda. Let this mixture sit for 10 minutes to soften the dates. This step is key for a moist date nut bread.
- In a large bowl, cream together the softened butter and brown sugar until light and fluffy. This is a great moment to turn up some music!
- Beat in the eggs one at a time, mixing well after each addition. Stir in the vanilla extract.
- In a separate bowl, whisk together the flour, cinnamon, and salt.
- Gradually add the dry ingredients to the wet ingredients, mixing just until combined. Do not overmix; we want a tender crumb.
- Gently fold in the 1 cup of chopped walnuts.
- Scrape the batter into the prepared loaf pan. Sprinkle a few extra walnuts over the top for a nice finish.
- Bake for 55 to 65 minutes, or until a wooden skewer inserted into the center comes out clean. If the top browns too quickly, loosely tent it with foil after 40 minutes.
- Let the loaf cool in the pan for 10 minutes before turning it out onto a wire rack to cool completely. You did it!
Notes
- For an extra rich flavor, use Medjool dates.
- If you prefer a slightly healthier option, substitute up to half of the all-purpose flour with whole wheat flour.
- Serve warm with butter for the best comfort food experience.
- This classic quick bread freezes well once completely cooled.
Nutrition
- Serving Size: 1 slice
- Calories: 285
- Sugar: 25
- Sodium: 180
- Fat: 13
- Saturated Fat: 5
- Unsaturated Fat: 8
- Trans Fat: 0
- Carbohydrates: 41
- Fiber: 2
- Protein: 5
- Cholesterol: 60