

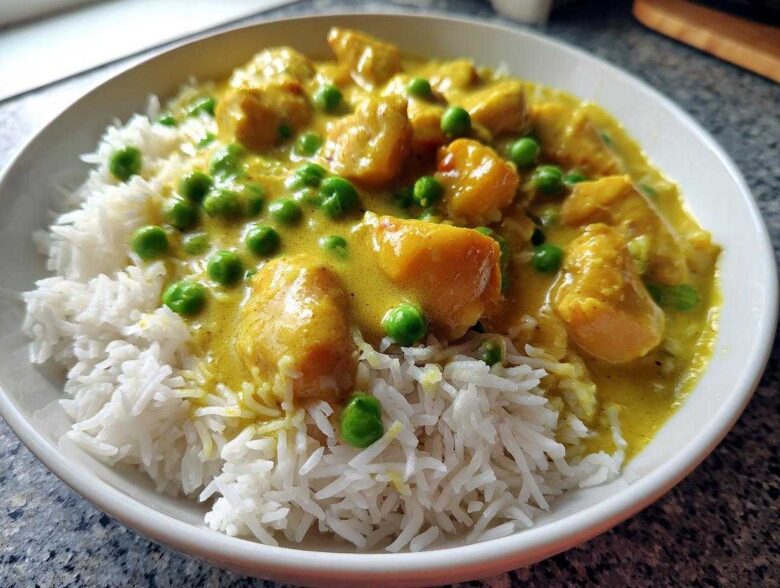
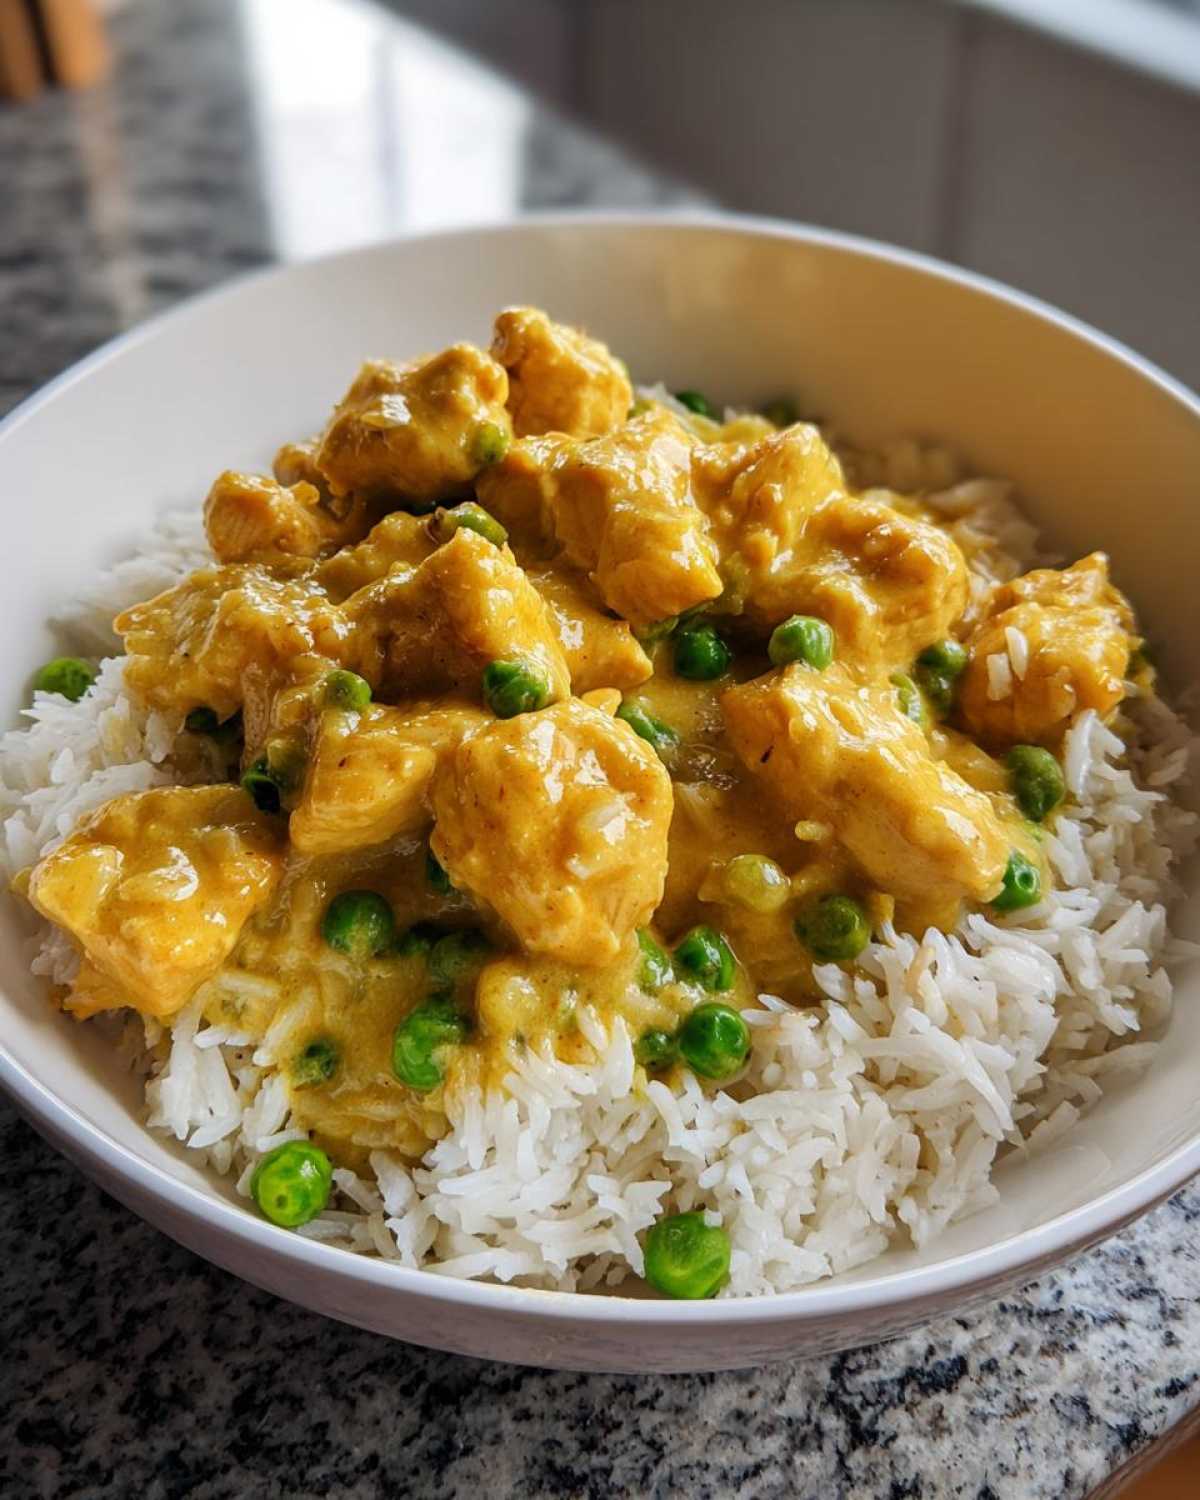
Oh my gosh, are you tired of the dinner shuffle? You know, chopping, cooking, and then facing that mountain of dishes afterward? Trust me, I live for weeknights but I truly despise cleanup. That’s why this **One-Pot Coconut Curry Chicken and Rice** isn’t just a recipe; it’s a marriage saver. I perfected this exact formula after a few miserable attempts at balancing flavor and speed. When you hit that first bite—tender chicken swimming in creamy, spicy coconut curry, soaking right into fluffy rice—you’ll ditch every other weekday recipe. This is your absolute go-to for authentic flavor with minimal fuss.
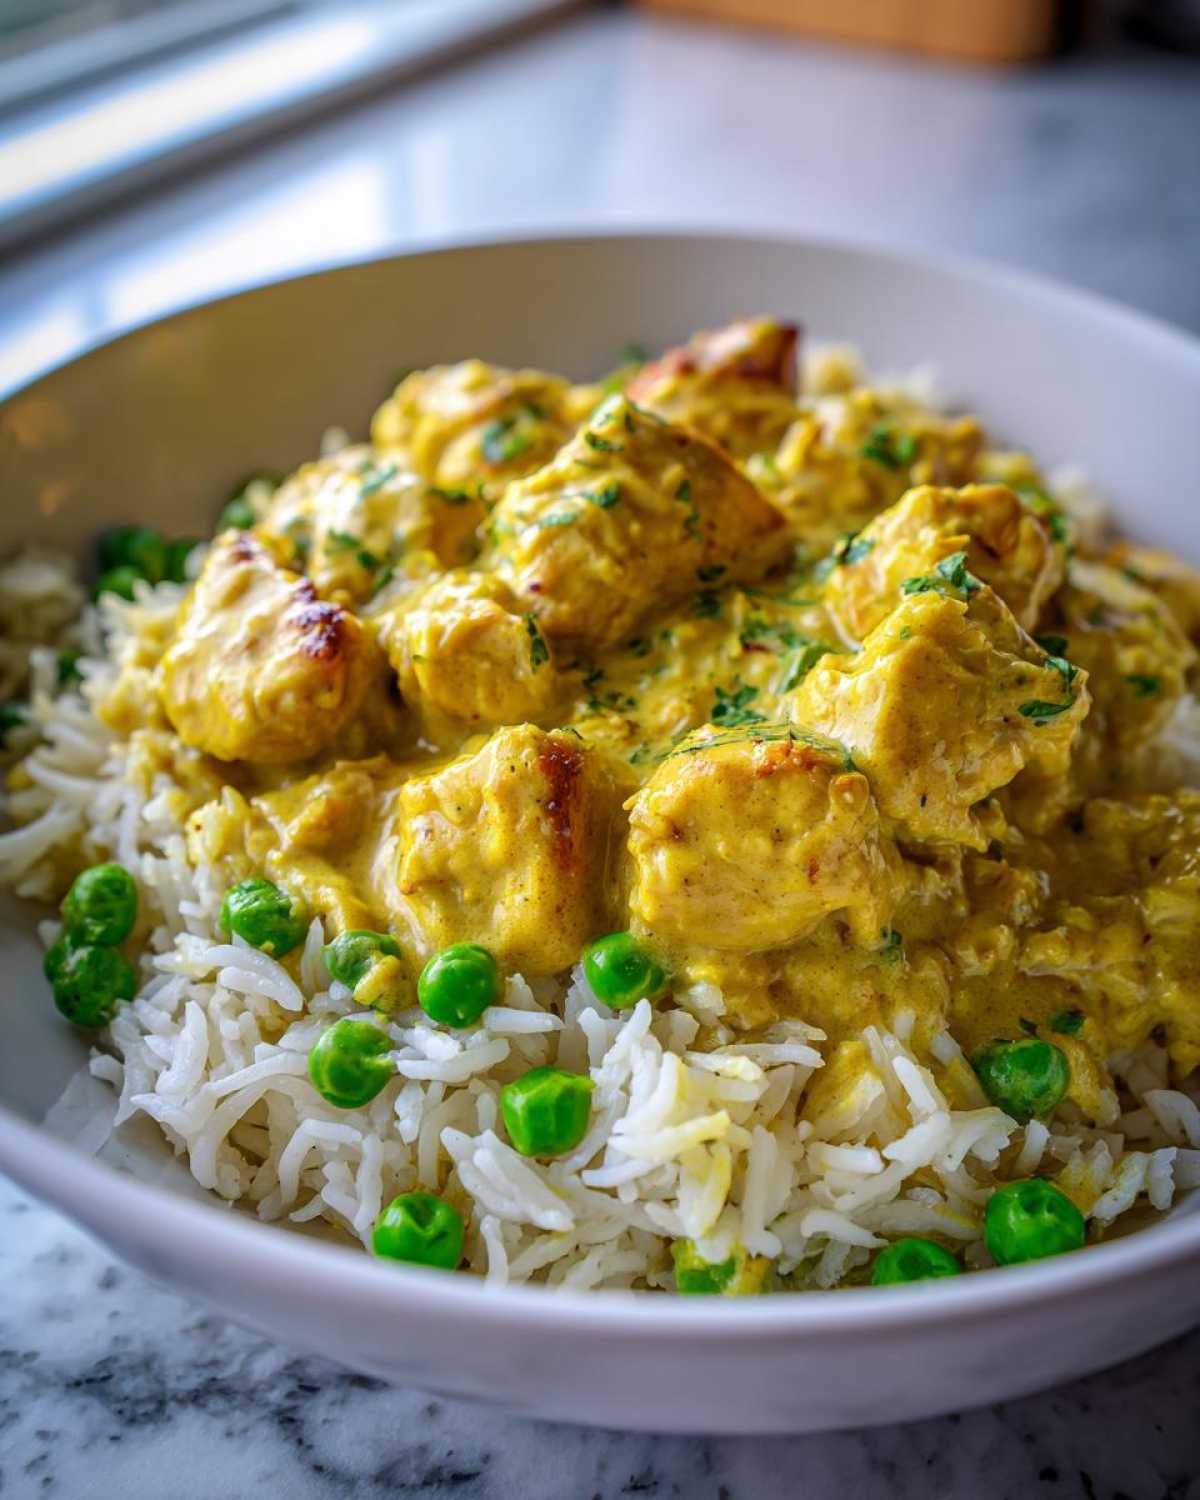
If you want to see another lightning-fast stir-fry idea, check out my go-to recipe for Easy Honey Garlic Chicken Stir-Fry! It’s another amazing minimal-mess winner.
Why This One-Pot Coconut Curry Chicken and Rice is Your New Weeknight Hero
Look, convenience is king when it comes to Tuesday night dinner, but I refuse to sacrifice flavor for speed. This One-Pot Coconut Curry Chicken and Rice delivers on both promises spectacularly. You get that rich, restaurant-quality taste without the evening dish battle. I’ve tested this thing until I got it perfect for my own hectic schedule, and now it’s yours!
You absolutely need to bookmark this, especially if you’re looking for other amazing one-pot meals that save your sanity.
Minimal Cleanup Dinner Guaranteed
This is the best part, hands down! Because the rice actually cooks right in the flavorful sauce, you aren’t dealing with a sticky pot of cooked rice *and* a sauce pan. Everything happens in one large vessel. You sear the chicken, bloom the spices, simmer the liquid, and finish the absorption—all in that single pot. When you’re done, you just have that one pot to tackle, and honestly, it usually just needs a good soak.
Flavor Profile: Simple Coconut Curry Recipe Success
Don’t let the word “simple” fool you; this tastes deeply complex. That comes from blooming the red curry paste properly against the ginger and garlic. I cannot stress this enough: buy a good quality jar of red curry paste. That concentrated flavor is the backbone of this dish and brings out the ultimate creamy coconut milk chicken experience. It’s aromatic, slightly sweet, and has just the right kick of heat!
Essential Ingredients for One-Pot Coconut Curry Chicken and Rice
When you’re aiming for that minimal cleanup dinner feel, ingredient quality really matters because there aren’t many layers to hide behind. Everything shines through in this one-pot wonder! I’ve broken down exactly what you need below—make sure you grab the full-fat coconut milk; trust me on this one, it’s mandatory for that creamy texture!
Having all these items ready—we call that prepping your mise en place—makes the actual cooking feel like barely anything at all. You’ll be flipping off the stove in under 30 minutes flat!
Chicken and Aromatics
- We need about 1 pound of boneless, skinless chicken thighs, cut right into 1-inch pieces. Thighs stay juicier, but breasts work too if you watch them closely!
- One medium yellow onion, chopped up nicely.
- Two plump cloves of garlic, minced super fine.
- One tablespoon of fresh ginger, grated fresh—don’t use the jarred stuff here, please!
Curry Base and Liquid Components
- Just one tablespoon of simple olive oil to get things going.
- Two tablespoons of red curry paste. This is the flavor powerhouse we talked about!
- One teaspoon of ground turmeric for color and earthy notes.
- One big can (13.5 ounces) of full-fat coconut milk. The real deal!
- Two cups of chicken broth to get the rice cooking properly.
Rice and Finishing Touches
- One cup of long-grain white rice. You MUST rinse this under cool water first until the water runs clear—this stops the final dish from getting gummy!
- One cup of frozen peas. They go in at the very end.
- One tablespoon of fresh lime juice to brighten up all that rich curry flavor.
- Salt and black pepper, just to season it perfectly at the end.
Step-by-Step Instructions for Your One-Pot Coconut Curry Chicken and Rice
Okay, this is where the magic happens! Since this is a complete meal happening in one space, timing is key, but don’t panic. We are moving fast here. If you’ve prepped everything—your meat cut, your garlic minced—this whole cooking process is going to fly by. It’s why this is such a brilliant one-pan dinner solution!
Searing the Chicken and Building the Flavor Base
First things first, heat that tablespoon of olive oil in your big pot or Dutch oven over medium-high heat. Pop in your cut-up chicken pieces and just let them cook until they get a nice little golden sear on all sides—that takes about 4 minutes. Sear them, then take them out and set them aside momentarily.
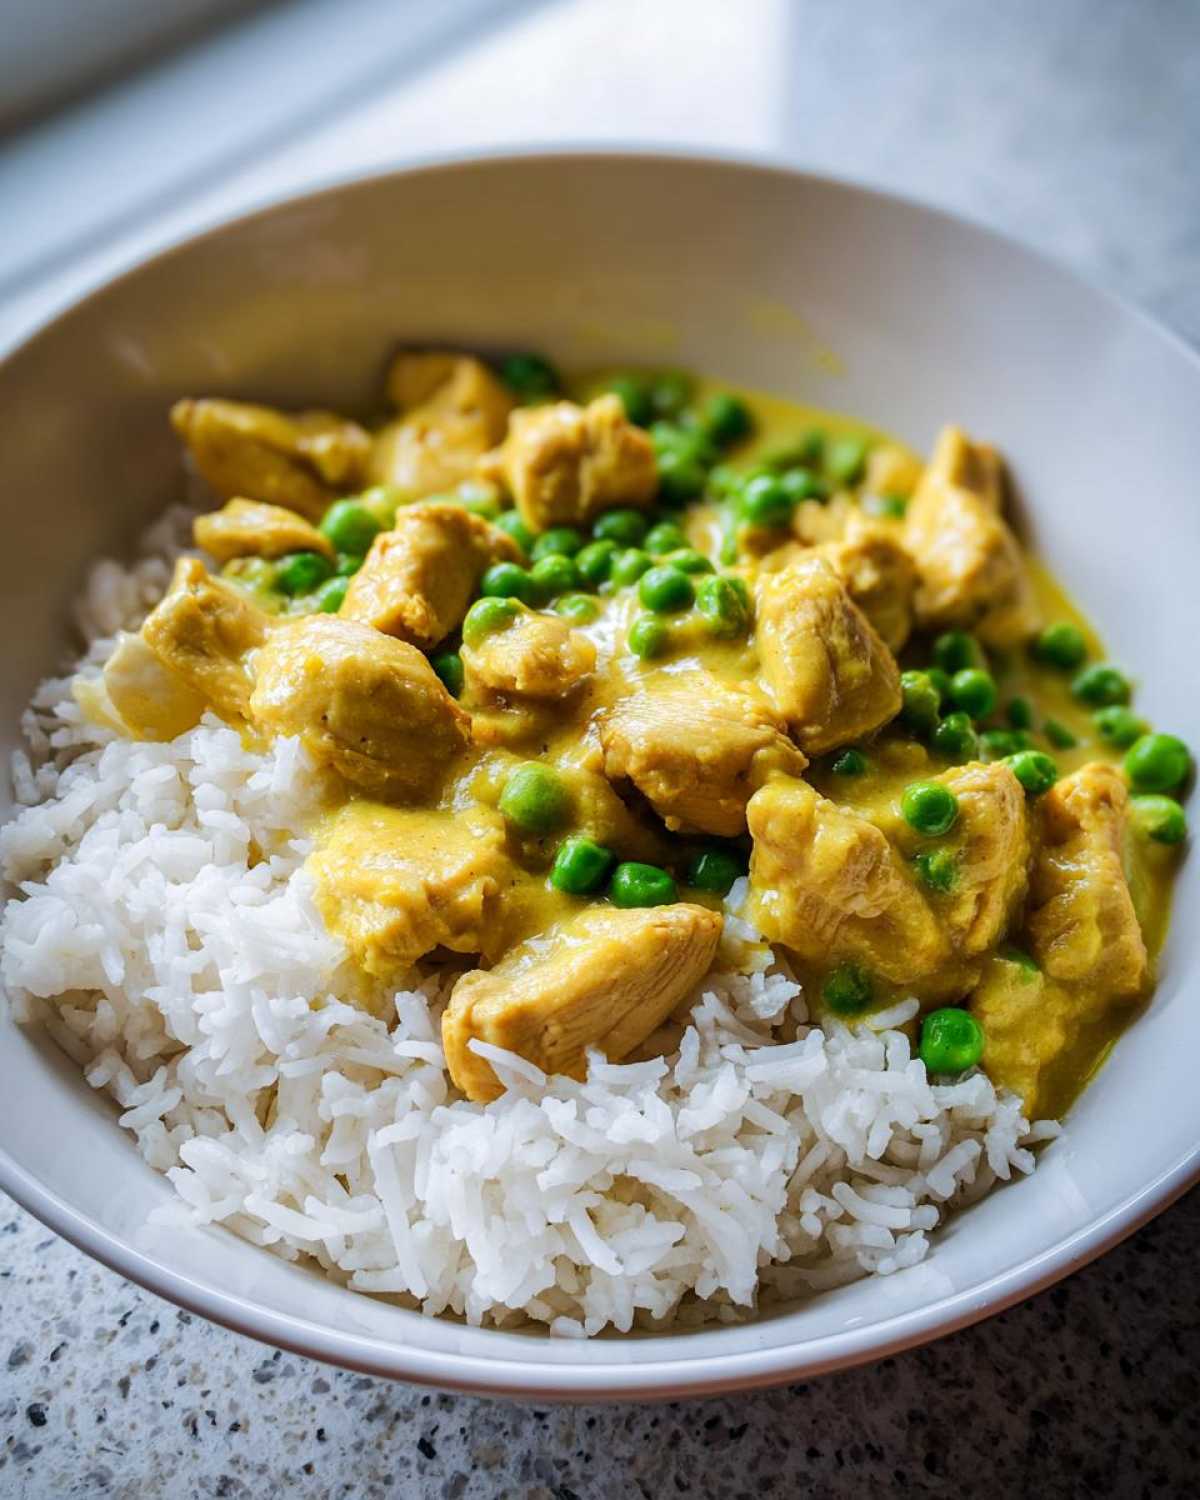
Now, we build flavor, baby! Add your chopped onion to that same hot pot and cook it until it softens up, maybe 3 minutes. Then, toss in the minced garlic and grated ginger. They only need about 60 seconds; you want them fragrant, not burnt!
This next part is critical for that authentic Thai curry flavor: You stir in your red curry paste and turmeric. You *must* cook these spices for a full minute while stirring constantly. Cooking the paste blooms the flavors and unlocks the deep color. It smells incredible right now!
Cooking the Rice and Chicken Together
Time to introduce the liquids! Pour in that can of creamy coconut milk and your two cups of broth. Get that mixture simmering gently. Now, add your rinsed white rice—give it one good stir just to make sure it’s submerged—and put your browned chicken right back into the pot. We’re stacking everything up!
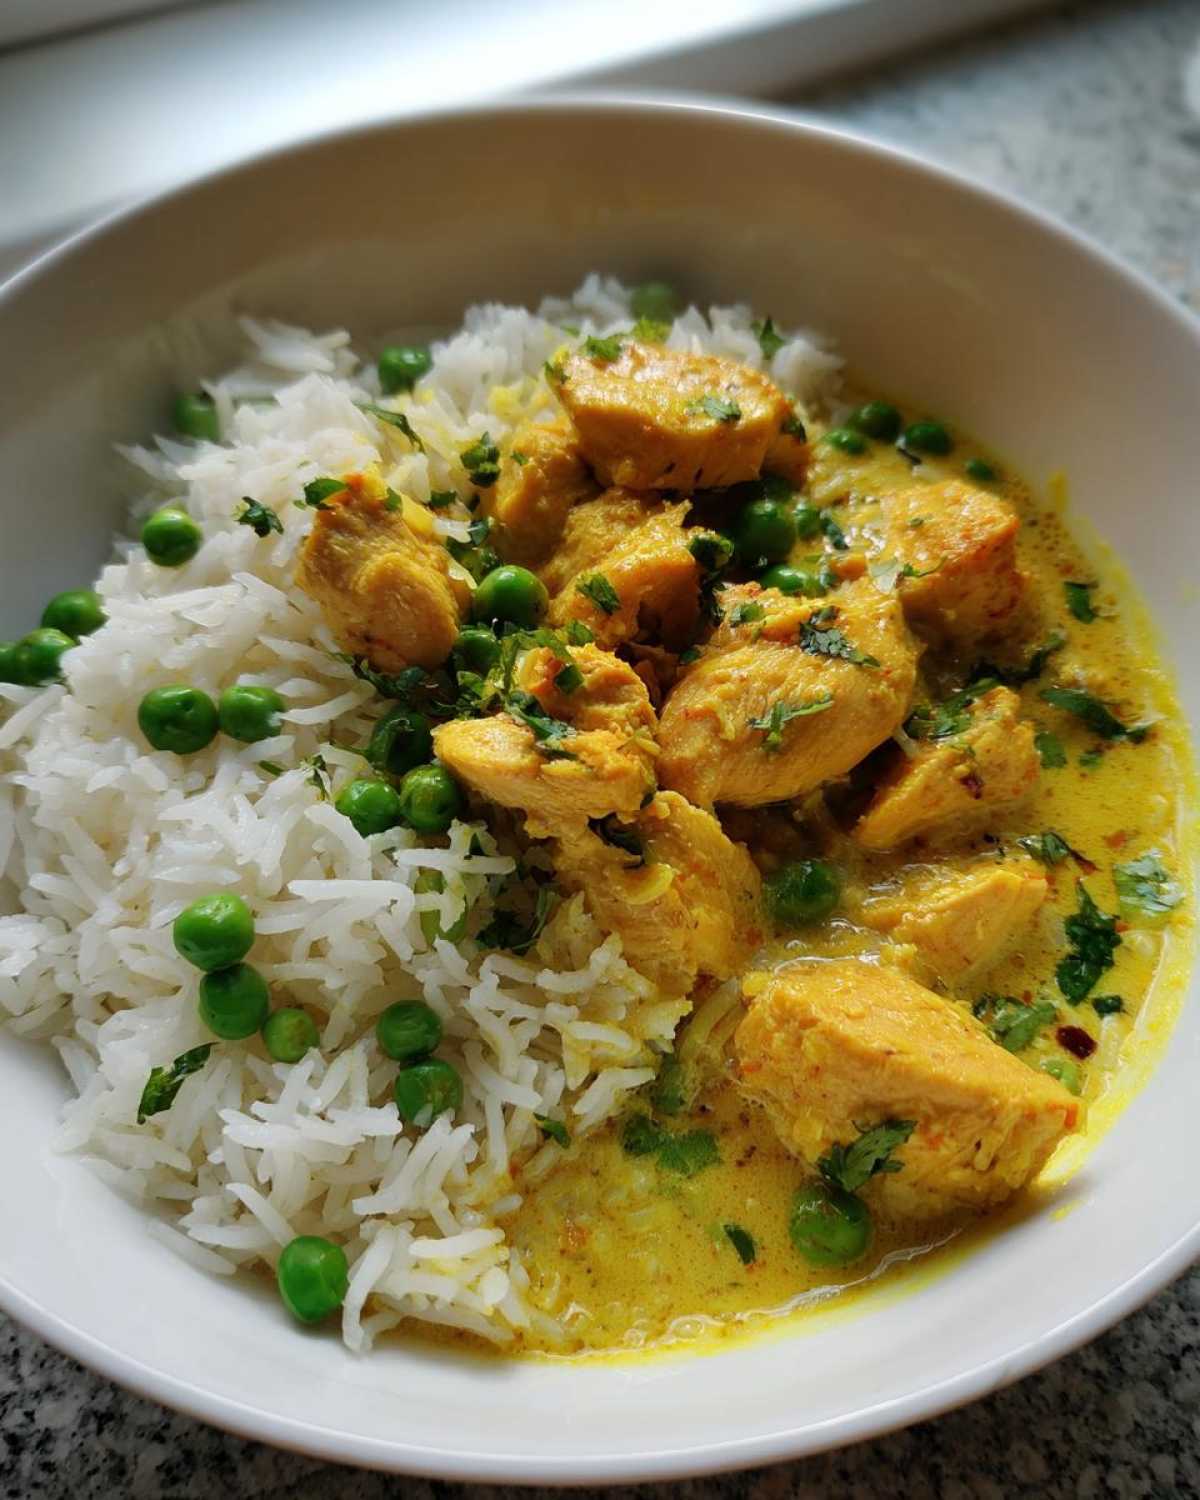
Now comes the patience part, but it’s worth it. Reduce your heat way down low to a proper simmer, put the lid on tight, and let it cook undisturbed for 18 to 20 minutes. I mean it—do not lift that lid. The rice has to steam perfectly with the lid on, so resist lifting to peek! This is how your rice absorbs all that wonderful curry gravy.
Finishing and Resting the One Pot Meals for Dinner
When the timer goes off, immediately pull the pot off the heat. We’re done with active cooking! Take the lid off and stir in your cup of frozen peas and that final splash of bright lime juice. Those peas thaw instantly in the residual heat, and the lime cuts the richness perfectly.
This step really elevates this from good rice to *great* rice for your one pot meals for dinner: Cover the pot again and just let it stand there for 5 minutes. This resting time lets the final moisture redistribute. Finally, fluff everything gently with a fork before serving. Taste it and add salt and pepper as needed. Dinner is officially served!
Expert Tips for Perfect One-Pot Coconut Curry Chicken and Rice
You’ve got the method down, but if you want to take this creamy coconut milk chicken dish from great to absolutely legendary, you need to know a few little secrets I’ve picked up. This is all about controlling the starch and managing that wonderful curry heat. These little tweaks really boost your confidence in making this one-pot wonder consistently!
I learned a lot about cooking rice perfectly while trying to make marathon meals that still tasted fresh the next day. If you want to look at other ways to make flavor pop in your chicken, this zesty lemon garlic marinade is amazing, though you’d use it before searing!
Handling the Rice: Why Rinsing Matters
Seriously, don’t skip rinsing that long-grain white rice! When you pick up rice from the bag, it’s covered in fine, powdery starch. If you dump that right into your coconut broth, that starch dissolves right into the liquid, turning your beautifully delicate curry base into a sticky, gloppy mess at the bottom of the pot. Not good!
When you rinse it thoroughly—running it under cool water until the water literally runs clear—you wash away that surface starch. This ensures that when the rice finishes cooking, the grains are separate, fluffy, and perfectly coated by the sauce, not drowning in it. It’s what makes the difference between rice that’s in a sauce versus rice that’s ruining a sauce.
Adjusting Spice Levels for Your Simple Coconut Curry Recipe
Red curry paste is fantastic, but heat levels vary wildly between brands! If you’re making this for the whole family or worrying about little palates, start small. For the recipe above, I used 2 tablespoons, which gives a nice medium warmth, but maybe start with 1 ½ if you’re sensitive.
Now, if you’re like me and you want things fiery, don’t just dump in more curry paste! That can sometimes throw off the balance of the lemongrass and galangal that’s already in the paste. Instead, once the everything is simmering, try stirring in a teaspoon of Sriracha or a dash of cayenne pepper. That gives you pure heat without muddying the primary red curry flavor profile we built with that initial bloom!
Ingredient Substitutions for Your Quick Chicken and Rice Skillet
Listen, the pantry is always changing, and sometimes you just don’t have exactly what a recipe calls for. That’s totally fine! When we make this wonderful quick chicken and rice skillet, we can adjust based on what we have on hand, especially with the protein and the grain. Just remember, changing the liquid ratio is the trickiest part!
If you wanted to swap out the chicken thighs for breasts, which I sometimes do if I’m trying to make this an even leaner choice, just pull those breasts out of the pot about two minutes sooner than the thighs when you’re searing them initially. Breasts dry out so much faster, so you want them barely cooked at that stage since they finish cooking fully with the rice.
For more fresh chicken inspiration that’s super fast, you should take a look at my recipe for amazing Chicken Lettuce Wraps—a totally different flavor profile but just as speedy!
Swapping Out the Chicken Thighs
If you only have chicken breast, go for it! Just remember they cook faster. You can also easily swap the chicken entirely if you need a vegetarian option. My favorite substitution here is firm tofu or chickpeas. If you use tofu, press it really well first to get the moisture out, cube it, and sear it until it’s golden brown on all sides before you take it out of the pot.
If you use chickpeas, you can actually skip searing entirely and just add them along with the frozen peas at the very end so they warm through! They add a wonderful, softer texture, though you lose the crispy edges.
What About Different Kinds of Rice?
I designed this recipe specifically for long-grain white rice because it cooks in that 18 to 20-minute window beautifully with the liquid quantity provided. If you try brown rice, like I mentioned in the FAQ section, you’ll need way more liquid and probably another 20 minutes of simmer time, which totally throws off the timing for the chicken and the overall meal flow.
If you absolutely must use something else, try something like Jasmine rice—it works almost exactly like long-grain white rice here. Another good option is parboiled rice, but again, always err on the side of checking the liquid level, because you don’t want a dry pot during that crucial simmer stage!
Serving Suggestions for This Easy Weeknight Chicken Dinner
You’ve got a flavor-packed, creamy, all-in-one meal staring back at you in the pot, but sometimes a little crispness or extra brightness on the side makes the whole experience feel special. Since this is designed to be a fast, easy weeknight chicken dinner, we keep the sides simple. You don’t want to spend another half an hour cooking when the main event is already done!
My favorite thing to do is add a textural contrast. The curry is rich, the chicken is tender, and the rice is soft, so we need something crunchy or fresh to balance it all out. I usually have these things on hand because they only take a minute to prep, and they make a huge difference!
Here are my go-to additions that marry perfectly with the coconut curry notes:
- Fresh Herbs Are Mandatory: Don’t skip the cilantro! A big handful of roughly chopped fresh cilantro sprinkled over the top right before serving adds that essential herbaceous lift. You could also use some chopped scallions for a milder onion flavor.
- Texture Boosters: If you have them, toast up some chopped peanuts or cashews quickly in a dry skillet until they smell fragrant. Just a tiny sprinkle over the top gives you that satisfying crunch against the softness of the rice.
- Keep it Green and Light: You don’t need a heavy side dish. A very simple side salad works wonders—think thinly sliced cucumber mixed with a splash of rice vinegar and maybe a sprinkle of sesame seeds. It’s crisp, cool, and cuts right through the richness of the coconut milk.
- A Little Extra Zest: If you didn’t use all of your lime juice in the pot (or if you want extra-bright flavor), serve a small wedge of lime on the side of each bowl for squeezing. That fresh hit of acid right at the end wakes up all those curry spices!
These little additions elevate the meal without turning your minimal cleanup job into a multi-pan ordeal. Dig in while it’s hot!
Storage and Reheating Instructions for One Pot Coconut Curry Chicken and Rice
One of the best things about making a big batch of One Pot Coconut Curry Chicken and Rice? Leftovers! This dish is honestly just as good the next day, maybe even better because those spices have had time to really marry in the fridge. This recipe makes for fantastic easy meal prep lunches later in the week.
But you have to store it right, especially since there’s that creamy coconut milk base. Getting this right means you won’t end up with dry chicken or mushy rice when you go to reheat it later on. I usually cook a double batch just so I don’t have to cook again mid-week!
If you’re looking for another great chicken and rice dish that stores wonderfully, you have to try my recipe for Chicken and Wild Rice Casserole—though that one definitely requires more than one pot!
Storing Your Leftovers Correctly
Once the dish has cooled down completely—seriously, let it come close to room temperature before you jar it up—you need an airtight container. Glass containers are my favorite because you can see exactly what’s inside, and they reheat evenly. You aren’t going to want to leave this sitting on the counter for too long though! Because of the chicken and the coconut milk, this needs to get into the fridge within about two hours of finishing cooking.
Stored correctly, this stovetop chicken curry combination will keep beautifully in the refrigerator for 3 to 4 days. I never go past day four just because the rice texture starts changing slightly after that point. If you end up with way too much, you can definitely freeze it, but give the rice a little extra liquid when you reheat it if you do freeze it.
The Best Way to Reheat This Creamy Coconut Milk Chicken
Reheating this on the stovetop is always my preferred method for keeping that rice soft and fluffy. Skip the microwave initially if you can! Take the amount you want to eat and place it in a small saucepan over medium-low heat. Add a small splash of chicken broth or even just water—maybe a tablespoon per serving at first.
Stir it occasionally as it heats up, just until it’s steaming all the way through. The added liquid helps bring back the moisture that steamed out of the rice while it was in the fridge. This usually takes about 5 to 8 minutes depending on how much you’re reheating.
If you *must* use the microwave because you’re in an office or just running late, put your serving in a microwave-safe bowl. Add that same splash of extra liquid (broth or water), cover the bowl loosely with a damp paper towel, and heat in 30-second intervals. The damp paper towel creates steam and prevents that dry, slightly tough texture microwaves sometimes cause. It’s a quick way to get your comfort food chicken recipe ready to go!
Frequently Asked Questions About Stovetop Chicken Curry
When you’re making something as satisfying as this stovetop chicken curry, sometimes you have leftover thoughts or just need a quick adjustment for your pantry situation. That’s totally normal! I’ve gathered a few things folks ask me all the time after they’ve decided this is their new favorite way to make one pot meals for dinner. Hopefully this clears everything up so you can jump right into cooking!
If you’re looking for other quick chicken meals that use zest and brightness, I’ve got a fantastic Easy Chicken Piccata recipe you might love too!
Can I use brown rice in this One-Pot Coconut Curry Chicken and Rice?
Oh, that’s a great question about swapping grains in this One-Pot Coconut Curry Chicken and Rice. You *can*, but you really have to change the game plan. Brown rice takes much longer to cook—like 40 minutes or more—and it needs way more liquid because it’s tougher than white rice. If you use brown rice, you’d need to add at least another cup of broth and you’d have to adjust how you cook the chicken separately, or you’ll end up with dry chicken by the time the rice is done. For this particular quick recipe, I strongly suggest sticking to long-grain white rice to maintain that wonderful 30-minute timeframe!
Is this recipe suitable for a Curried Rice Cooker Alternative?
Yes, you can definitely use your rice cooker, but you shouldn’t just toss everything in there and press start on the standard setting. Rice cookers usually handle liquid differently, and the chicken needs that initial sear! For a curried rice cooker alternative, I’d sear your chicken and bloom your spices right on the stovetop as detailed in the steps, then transfer everything—liquid, rice, chicken—into the rice cooker insert, maybe adding an extra quarter cup of broth just because rice cookers can be thirsty. Once you transfer it, you can usually use the ‘White Rice’ setting, or just cook it manually until the liquid is absorbed. But honestly? The stovetop method lets you control the simmer and the pea/lime finish better, which keeps the texture supreme!
How do I make this a Healthy One Pot Chicken option?
That’s an easy fix! This is already a pretty balanced dish, but if you want to dial back the fat content for a healthy one pot chicken dinner, the number one thing you can switch is the coconut milk. Swap that full-fat can for a can of *light* coconut milk. It won’t be quite as rich, but it still brings that beautiful coconut flavor without all the saturated fat. Also, don’t be shy about bulking it up with veggies! Right before you add the peas, throw in a big handful of fresh spinach—it wilts down to nothing and adds tons of nutrients without affecting the cooking time at all. That’s how I sneak extra greens into my family’s dinner!
Share Your Experience Making This Family Friendly Dinner Solution
Whew! You’ve done it! You’ve successfully managed to get a flavorful, creamy, amazing chicken and rice dish on the table with barely any dishes to show for it. Doesn’t that feel fantastic? That’s the victory of the One-Pot Coconut Curry Chicken and Rice!
Now that you’ve tasted this glorious, easy weeknight chicken dinner solution, I really, truly want to hear what you think. Did you use chicken breast instead? Did you manage to get your kids to eat an entire bowl without complaint? Tell me everything!
If you have a moment, please drop a quick star rating for the recipe right here on the page—it helps other busy cooks know they can trust this recipe! And if you came up with a genius modification that worked perfectly for your kitchen, please share it in the comments below. I love seeing how you all adapt and use these recipes to make them your own.
Keep cooking smart and eating well! For more simple recipes and kitchen insights, you can always check out the main Kitchen Kudos Blog!
PrintOne-Pot Coconut Curry Chicken and Rice

Cook tender chicken and fluffy rice together in one pot with a creamy, flavorful coconut curry sauce for a simple weeknight dinner with minimal cleanup.
- Prep Time: 10 min
- Cook Time: 25 min
- Total Time: 35 min
- Yield: 4 servings
- Category: Dinner
- Method: Stovetop
- Cuisine: Asian
- Diet: Low Lactose
Ingredients
- 1 tablespoon olive oil
- 1 pound boneless, skinless chicken thighs, cut into 1-inch pieces
- 1 medium yellow onion, chopped
- 2 cloves garlic, minced
- 1 tablespoon fresh ginger, grated
- 2 tablespoons red curry paste
- 1 teaspoon ground turmeric
- 1 (13.5 ounce) can full-fat coconut milk
- 2 cups chicken broth
- 1 cup long-grain white rice, rinsed
- 1 cup frozen peas
- 1 tablespoon lime juice
- Salt and black pepper to taste
Instructions
- Heat the olive oil in a large pot or Dutch oven over medium-high heat.
- Add the chicken pieces and cook until lightly browned on all sides, about 4 minutes. Remove the chicken and set it aside.
- Add the chopped onion to the pot and cook until softened, about 3 minutes.
- Add the garlic and ginger and cook for 1 minute until fragrant.
- Stir in the red curry paste and turmeric. Cook for 1 minute, stirring constantly.
- Pour in the coconut milk and chicken broth. Bring the mixture to a simmer.
- Add the rinsed rice to the pot, stirring once to combine. Return the browned chicken to the pot.
- Reduce the heat to low, cover the pot, and simmer for 18 to 20 minutes, or until the liquid is absorbed and the rice is tender. Do not lift the lid during this time.
- Remove the pot from the heat. Stir in the frozen peas and lime juice. Cover and let stand for 5 minutes.
- Fluff the rice gently with a fork before serving. Season with salt and pepper as needed.
Notes
- Rinsing the rice removes excess starch, which helps prevent the final dish from becoming too sticky.
- If you prefer more spice, increase the amount of red curry paste slightly.
- You can substitute chicken breasts for thighs, but adjust the cooking time slightly to prevent drying out.
Nutrition
- Serving Size: 1 serving
- Calories: 550
- Sugar: 5
- Sodium: 450
- Fat: 30
- Saturated Fat: 18
- Unsaturated Fat: 12
- Trans Fat: 0
- Carbohydrates: 40
- Fiber: 2
- Protein: 35
- Cholesterol: 110