

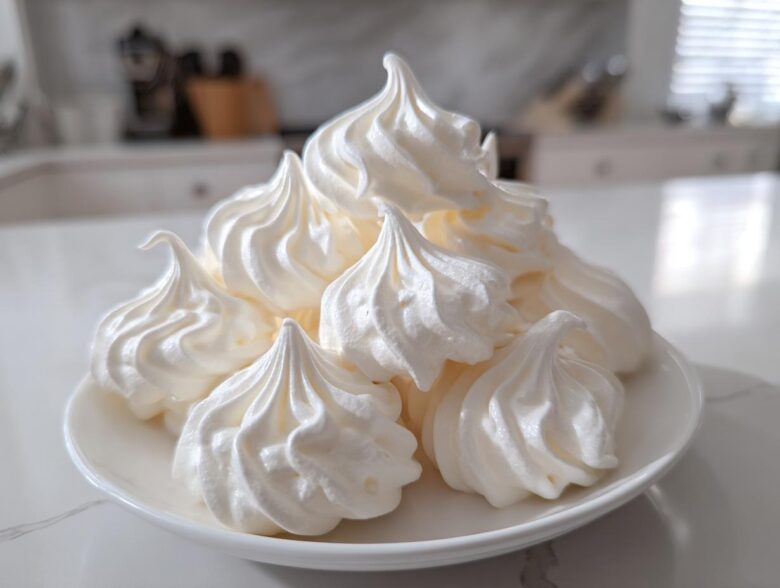
Sometimes you just need a dessert that feels like eating a sweet, tiny cloud, right? If you’ve ever felt intimidated by egg whites, thinking they’d surely collapse into a sticky mess, let me stop you right there. I used to be that person—the one stressing over stiff peaks! But Simon just laughs, puts on some music, and reminds me that success is just practice set to a good beat. That’s why I’m calling this The Ultimate Easy Meringue Cookies Recipe. You absolutely can achieve that perfect, crisp-on-the-outside, melt-in-your-mouth center with this simple French meringue method. Seriously, these gorgeous little meringue cookies are ready to become your next big kitchen win. Give yourself some kudos before you even start! I learned so much about letting go of perfectionism just by watching him bake; you can read a little more about our philosophy over on our About Us page.
Why You Will Love This Easy Meringue Cookies Recipe
Honestly, these are the kind of delicate sweet treats that make people think you spent all day fussing over them, but they are shockingly straightforward! Simon insists that once you master the whip, there’s no looking back. Here’s why this Easy Meringue Cookies recipe will steal the show:
- They are genuinely beginner-friendly! We use the French meringue method because it’s forgiving and creates that amazing lift.
- The texture payoff is huge: wonderfully crispy on the outside, but they truly melt in your mouth the second you bite down.
- They are naturally gluten free meringues, which is fantastic for sharing with everyone at parties or holiday cookie swaps.
- They are just so versatile! You can customize the shape, size, or add flavors easily once you nail the basic technique.
- Minimal ingredients needed—you probably have everything for these simple egg white desserts right now!
- They look incredibly elegant, making them perfect for gifting or serving at tea parties.
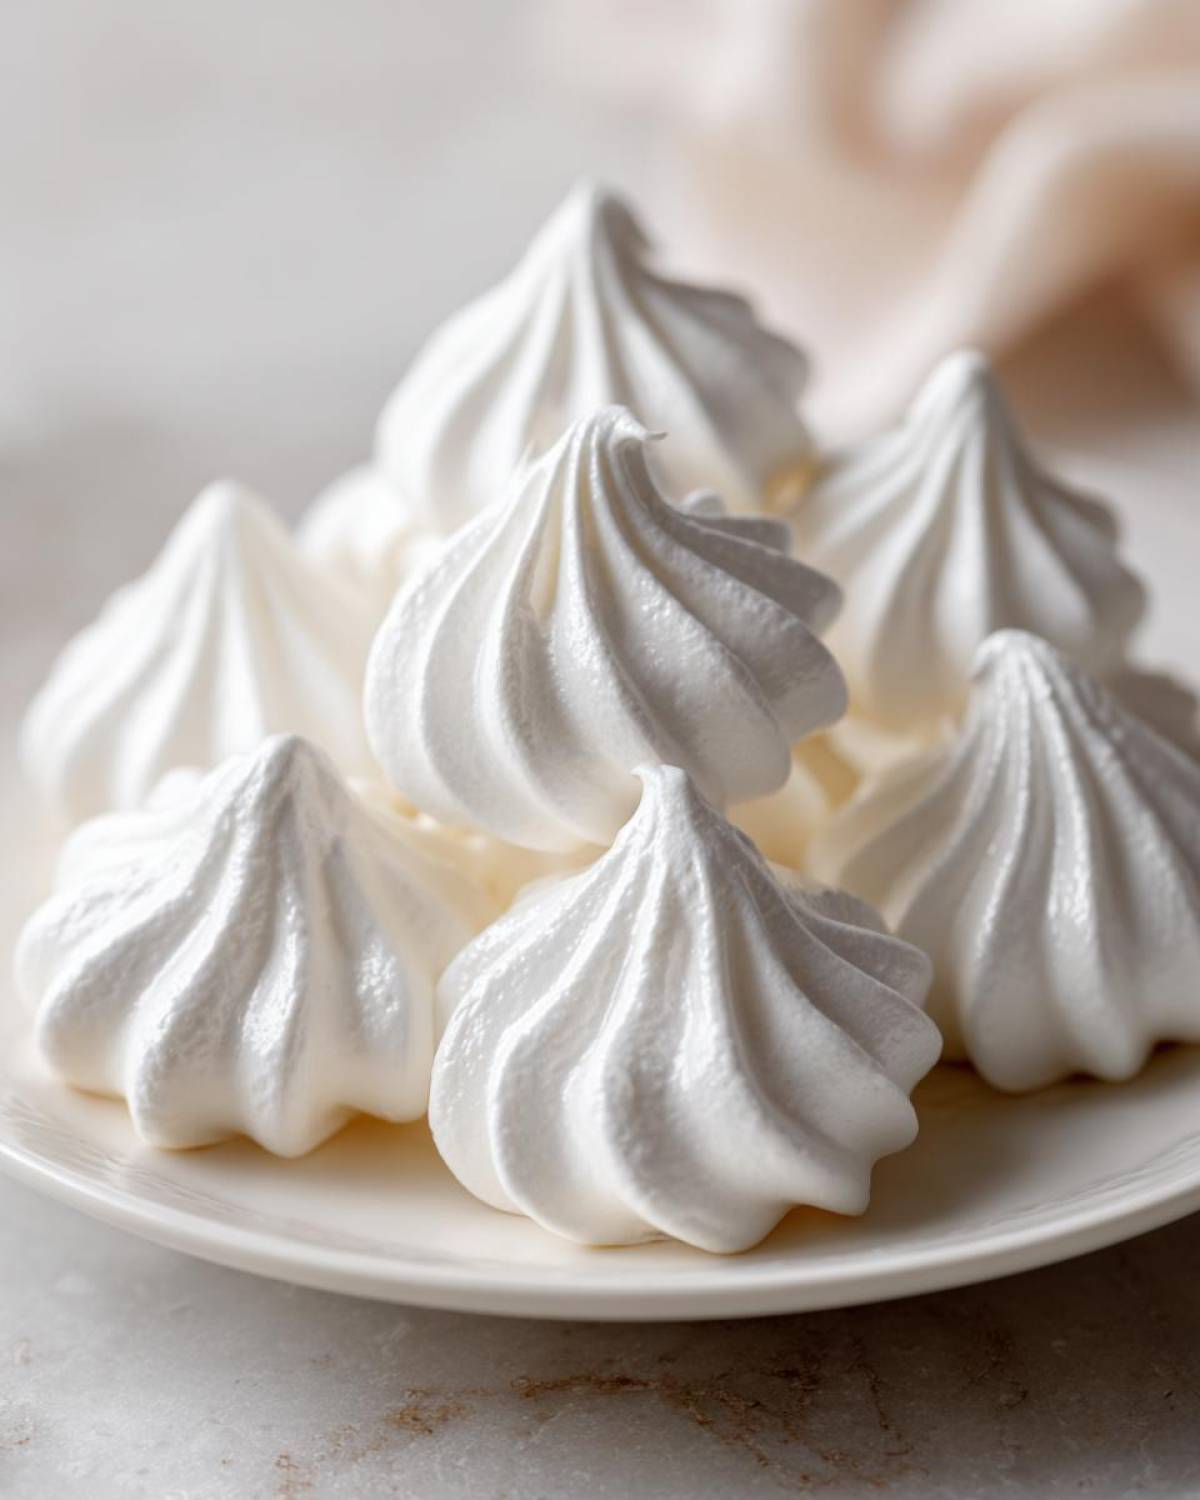
Essential Ingredients for Perfect Meringue Cookies
When making meringue cookies, you simply must respect the ingredients. Unlike a chocolate chip cookie where a little extra butter can sometimes be a happy accident, meringue is fussy! It demands precision, especially regarding temperature. If you want that light and airy result Simon promises, pay close attention to the egg whites.
While Alice used to measure everything twice, Simon tells her just to trust the science—and the feeling! Here’s what you need:
- 4 large egg whites, room temperature (This is non-negotiable, friends! Cold whites won’t whip up properly.)
- 1 cup granulated sugar (We learned the hard way with brown sugar—it adds moisture and makes the meringue weep! Stick to white sugar here.)
- 1 teaspoon pure vanilla extract
- 1/4 teaspoon cream of tartar
- Pinch of salt
Ingredient Notes and Substitutions for Meringue Kisses Recipe
Every single ingredient plays a specific, important role in this Meringue Kisses Recipe. The salt might seem optional, but it really helps boost the flavor so they aren’t just pure sweetness.
Now, let’s talk about the cream of tartar. This little workhorse is your stabilizer! It grabs onto the protein in the egg whites and keeps them from collapsing once they get big and foamy. If you run out, a teaspoon of lemon juice will work in a pinch, but the cream of tartar is what gives you that rock-solid structure needed for perfect piping.
The great news is that this recipe is inherently clean! If you’re looking for options that fit dietary needs, these are naturally beautiful, delicious gluten free meringues. It’s just sugar and egg whites at their core, which is why they are such a fantastic base for so many other flavor profiles!
How to Make Meringue Cookies: Step-by-Step Instructions
Okay, deep breaths! This is where we turn simple ingredients into those stunning, meringue cookies that look like they belong in a fancy bakery window. Since we are using the French meringue method here, we mix the sugar in after the whites are already foamy. Simon always cues up my favorite dance playlist right before this part because it requires a little focus and zero rushing. You’ve got this!
First things first: preheat your oven to its absolute lowest temperature—we are drying these out, not baking them, remember? Somewhere between 170°F and 200°F (around 77°C to 93°C) is perfect. Grab your clean, grease-free bowls and line your baking sheets with parchment paper. Trust me on the parchment; no one needs the drama of sticky meringue fighting to stay in the pan!
Add your clean egg whites and that tiny pinch of salt to the mixer. Start slow until they get nice and foamy, then toss in the cream of tartar. Now speed it up! You want to see soft peaks starting to form—when you lift the whisk, the tips just gently curl over.
Whipping the Meringue for Perfect Texture
This next part is literally the most important piece of the puzzle for How to Make Meringue. You need to add that cup of sugar *slowly*. I mean, truly slowly. Add just one tablespoon, let the mixer run for about 30 seconds, and then add the next. If you dump it all in, Alice says you’ll ruin the structure before it even starts, and honestly, she’s right!
Keep going until the meringue is glossy, bright white, and holds itself up in stiff, proud peaks. Simon’s favorite test for achieving that Perfect Meringue Texture is the finger test. Take a tiny bit between two fingers—if you feel *any* grittiness from undissolved sugar? Keep whipping! Once it feels completely smooth, mix in your vanilla quickly, and then, give yourself kudos for conquering the hardest part!
For the next step, you can find a great visual breakdown of the French technique right here, or check out the detailed article from The Kitchn for extra context.
Piping and Drying Your Crispy Meringue Treats
Time to make them look pretty! Transfer your stiff meringue into a piping bag fitted with a large star tip. I love using a big star tip because it gives the Crispy Meringue Treats those beautiful ridges that catch the light. Pipe them into little kisses or small swirls, making sure to leave about an inch of space between them because they won’t spread.
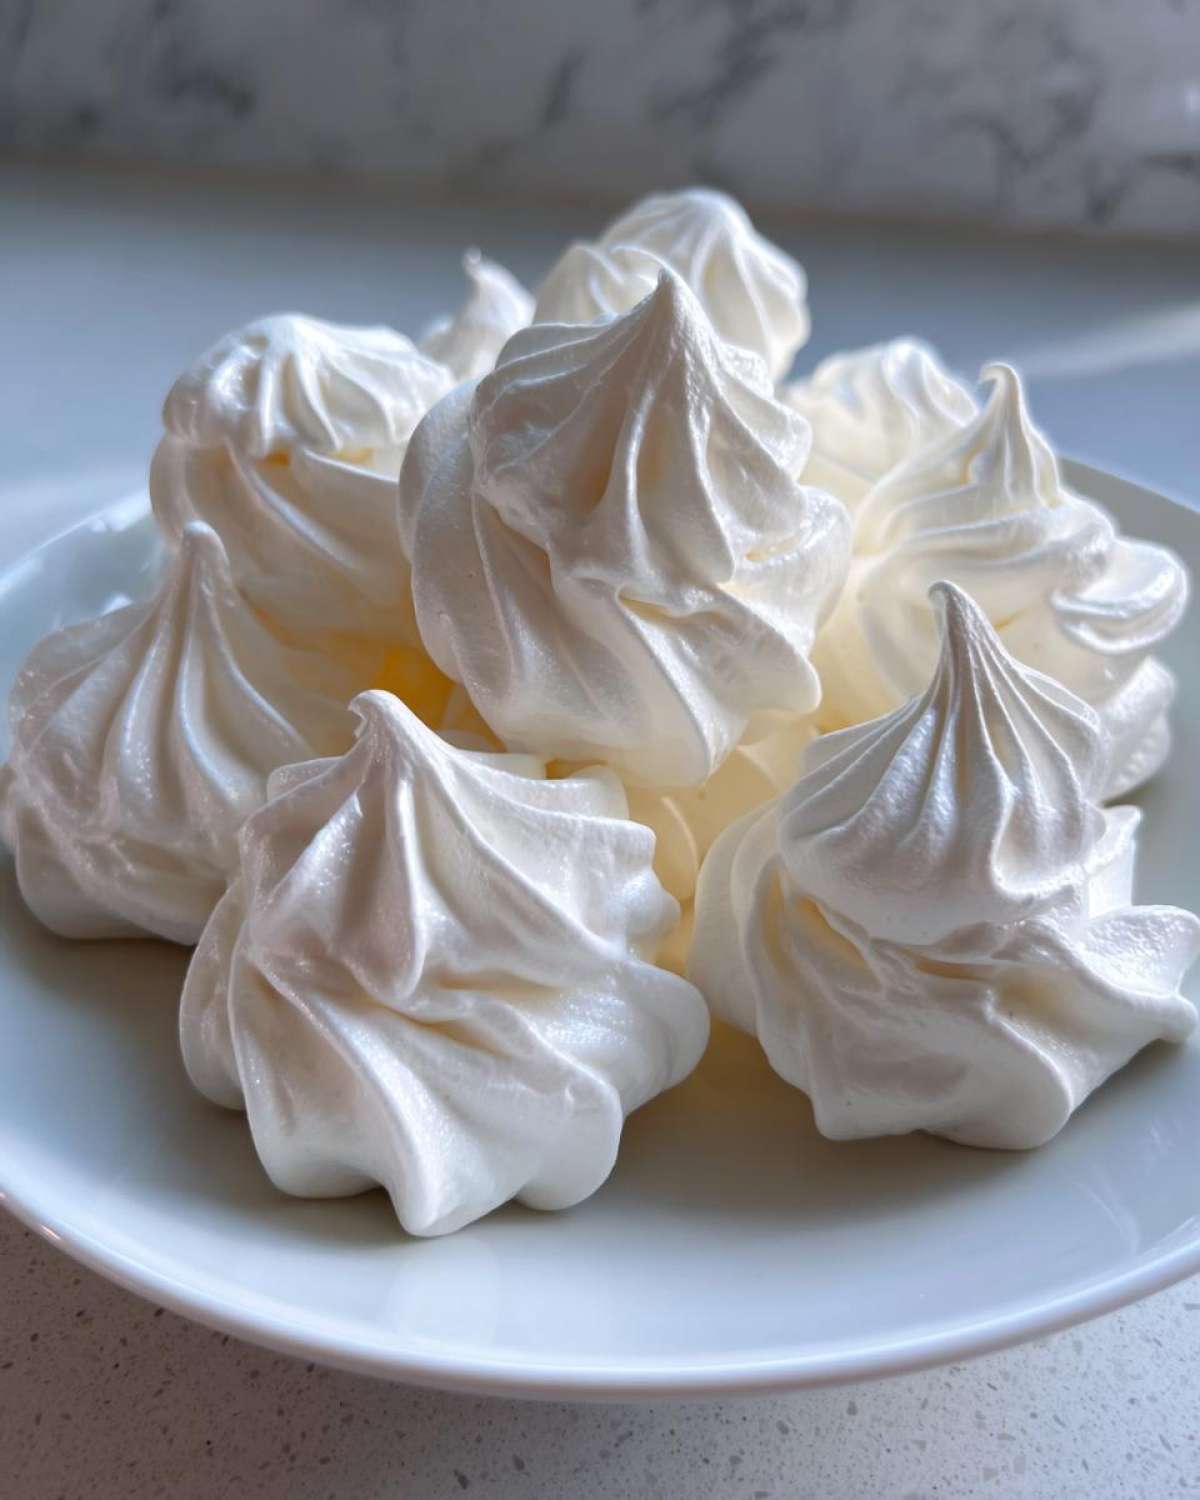
Slide those trays into your low oven. We’re looking at 1.5 to 2 hours of drying time. The goal here is removal, not browning. They’re done when they lift off the parchment paper without sticking any meringue behind. BUT WAIT! Don’t pull them out yet!
This last step is critical for that airy center. Turn the oven off completely when the time is up. Prop the oven door open just a crack with a wooden spoon—just enough so the hot air escapes slowly—and just let those cookies sit in there until they are completely cool. Often, we just leave them overnight. This slow cool-down is what locks in their delicate structure.
Flavor and Color Variations for Festive Meringue Cookie Ideas
This base recipe for meringue cookies is basically a blank canvas waiting for you to add some sparkle! Since these are so light, they take on flavors beautifully. I bet these would look stunning piled high for holiday cookie swaps or just as delicate sweet treats for an afternoon coffee. We shouldn’t let our recovering perfectionist tendencies stop us from coloring outside the lines once in a while!
If you want something festive and minty, try adding a teaspoon of peppermint extract right when you add the vanilla. You can even gently swirl in a little red or green gel food coloring—just a couple of drops—if you want those beautiful Peppermint Meringue Cookies that everyone loves seeing on trays. If you ever want to try making a beautiful striped cookie effect (which is super fun!), you can learn about lining your piping bag with color here.
Simon loves adding depth by using almond extract instead of vanilla sometimes, too. It makes them taste wonderfully sophisticated, even though they are just sweet puffs of air!
Creating Jello Meringue Cookie Recipe Colors
Okay, if you saw those vibrant options online, you might be wondering how they get that color and flavor boost! This is where the fun of the Jello Meringue Cookie Recipe comes in. It’s super sneaky and effective.
Instead of just adding candy, you actually replace a small amount of the granulated sugar with the powdered Jello mix itself. The recipe notes mention swapping out about one tablespoon of sugar for one tablespoon of flavored Jello powder. This substitution works because the Jello powder is mainly sugar anyway, but it introduces an intense, fun color and light flavor.
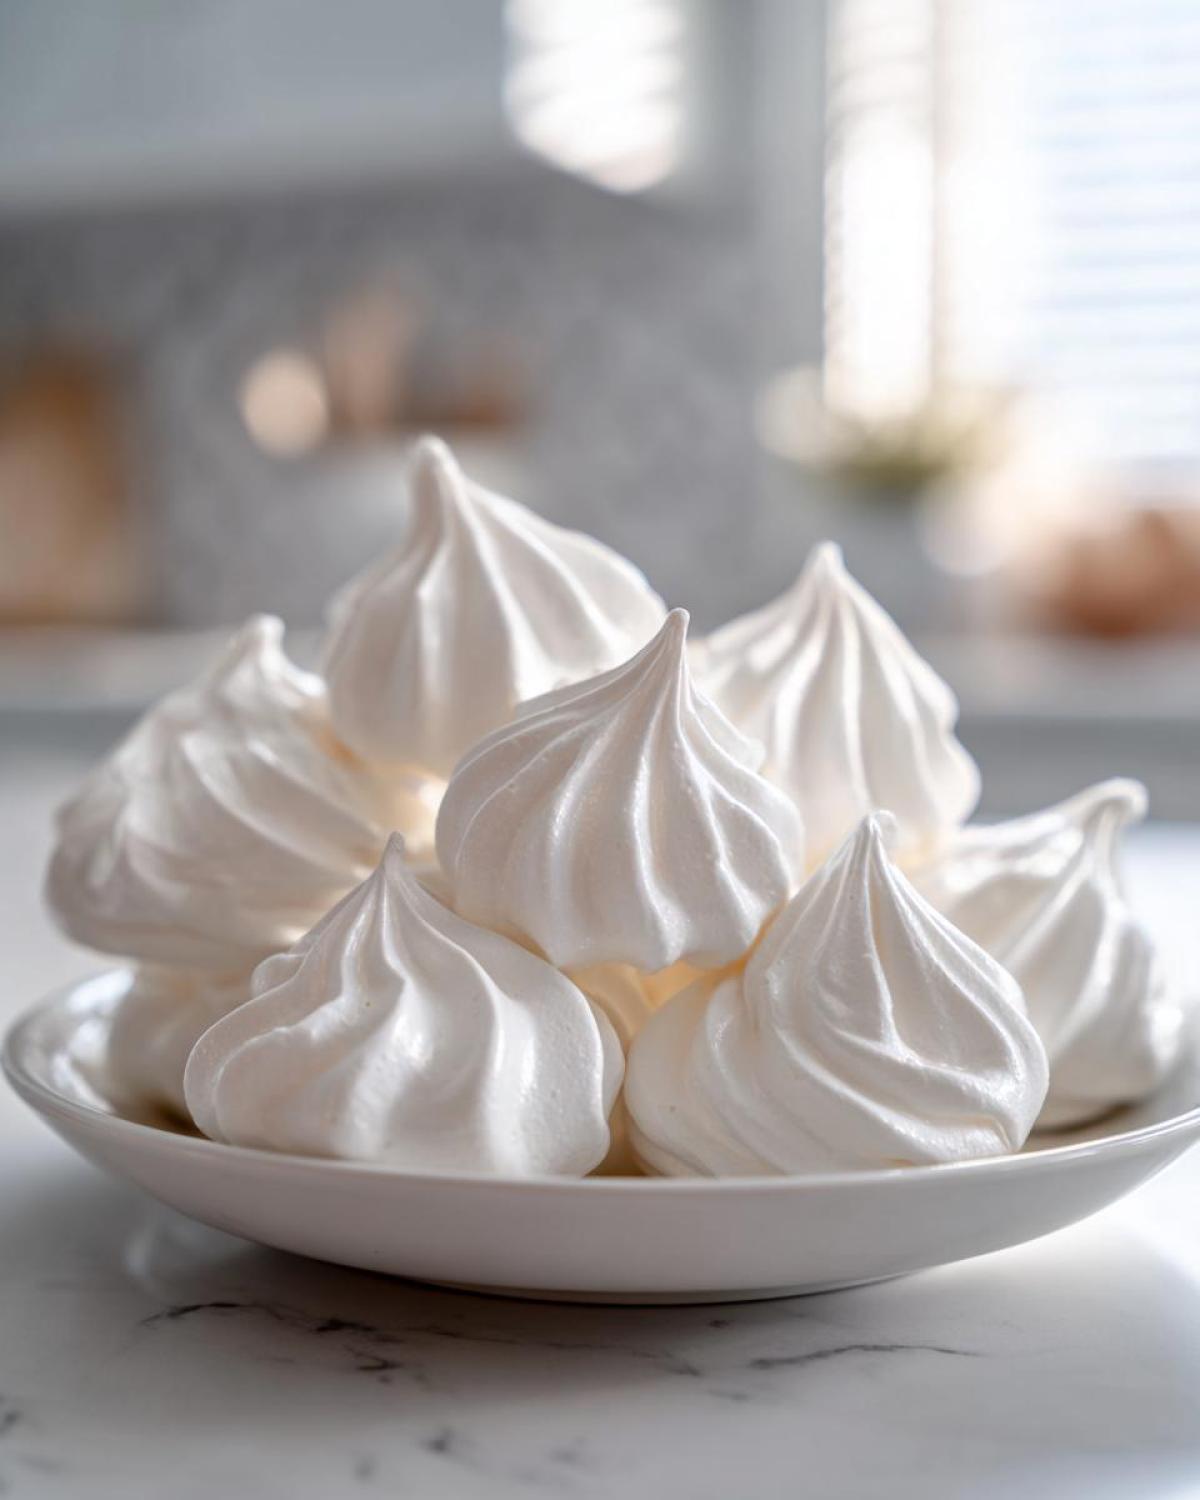
If you’re feeling bold, you could even try swirling in some of that Jello powder right at the end, just before piping, to make striped meringues. You can find some gorgeous instructions for those seasonal looks, like the ones on this peppermint recipe, but remember, the base method is always the same sturdy French meringue we whipped up!
Tips for Success: Achieving Light and Airy Cookies
We’ve all been there. You whip up this beautiful, glossy meringue, you pipe your little clouds, and they go into the oven looking like champions. Then you check two hours later, and they’re weeping sugary tears onto the parchment paper, or worse, they’ve melted into sad, little puddles. Simon calls this “Sugar Shock,” and it happens when the meringue structure isn’t quite strong enough to handle the heat or humidity.
When Alice first tried making these, we ended up with a sticky, gooey mess we affectionately named the “Great Meringue Collapse of 2019.” We were so discouraged! But Simon just cranked up the music, told me to stop stressing about having ‘perfect’ meringue cookies that day, and reviewed my technique. We realized our bowl wasn’t perfectly clean, and we added the sugar too fast. That small clean-up and timing adjustment made all the difference!
To save you the clean-up drama and guarantee you get those stunning, light and airy cookies, remember these key checks:
- The Grease Rule: Seriously, wash your stand mixer bowl and whisk attachment with hot, soapy water, then wipe them down with a little vinegar or lemon juice before starting. Even a tiny speck of fat (like leftover oil or egg yolk) stops the whites from holding air properly.
- The Sugar Addition Pacing: I cannot stress this enough: add that sugar one tablespoon at a time, waiting at least 30 seconds between each addition once you hit soft peaks. This allows the sugar to dissolve completely and stabilize the protein structure. If you rush this, you’ll get sticky bottoms later!
- Humidity is the Enemy: Meringue is essentially sugar, and sugar loves water. If it’s raining heavily outside, if you have a lot of appliances running steam, or if your kitchen is generally damp, your meringue cookies might struggle to dry properly. Try to bake these on a dry day. If humidity is high, leave them in the turned-off oven even longer—maybe even for a full 24 hours just to be safe!
- Low and Slow Drying: Never, ever crank up the heat! We are desiccating these, not baking them. If your oven runs hot, use an oven thermometer to ensure you aren’t soaring past 200°F. Heat too high, and they’ll brown immediately and crackle apart instead of drying evenly.
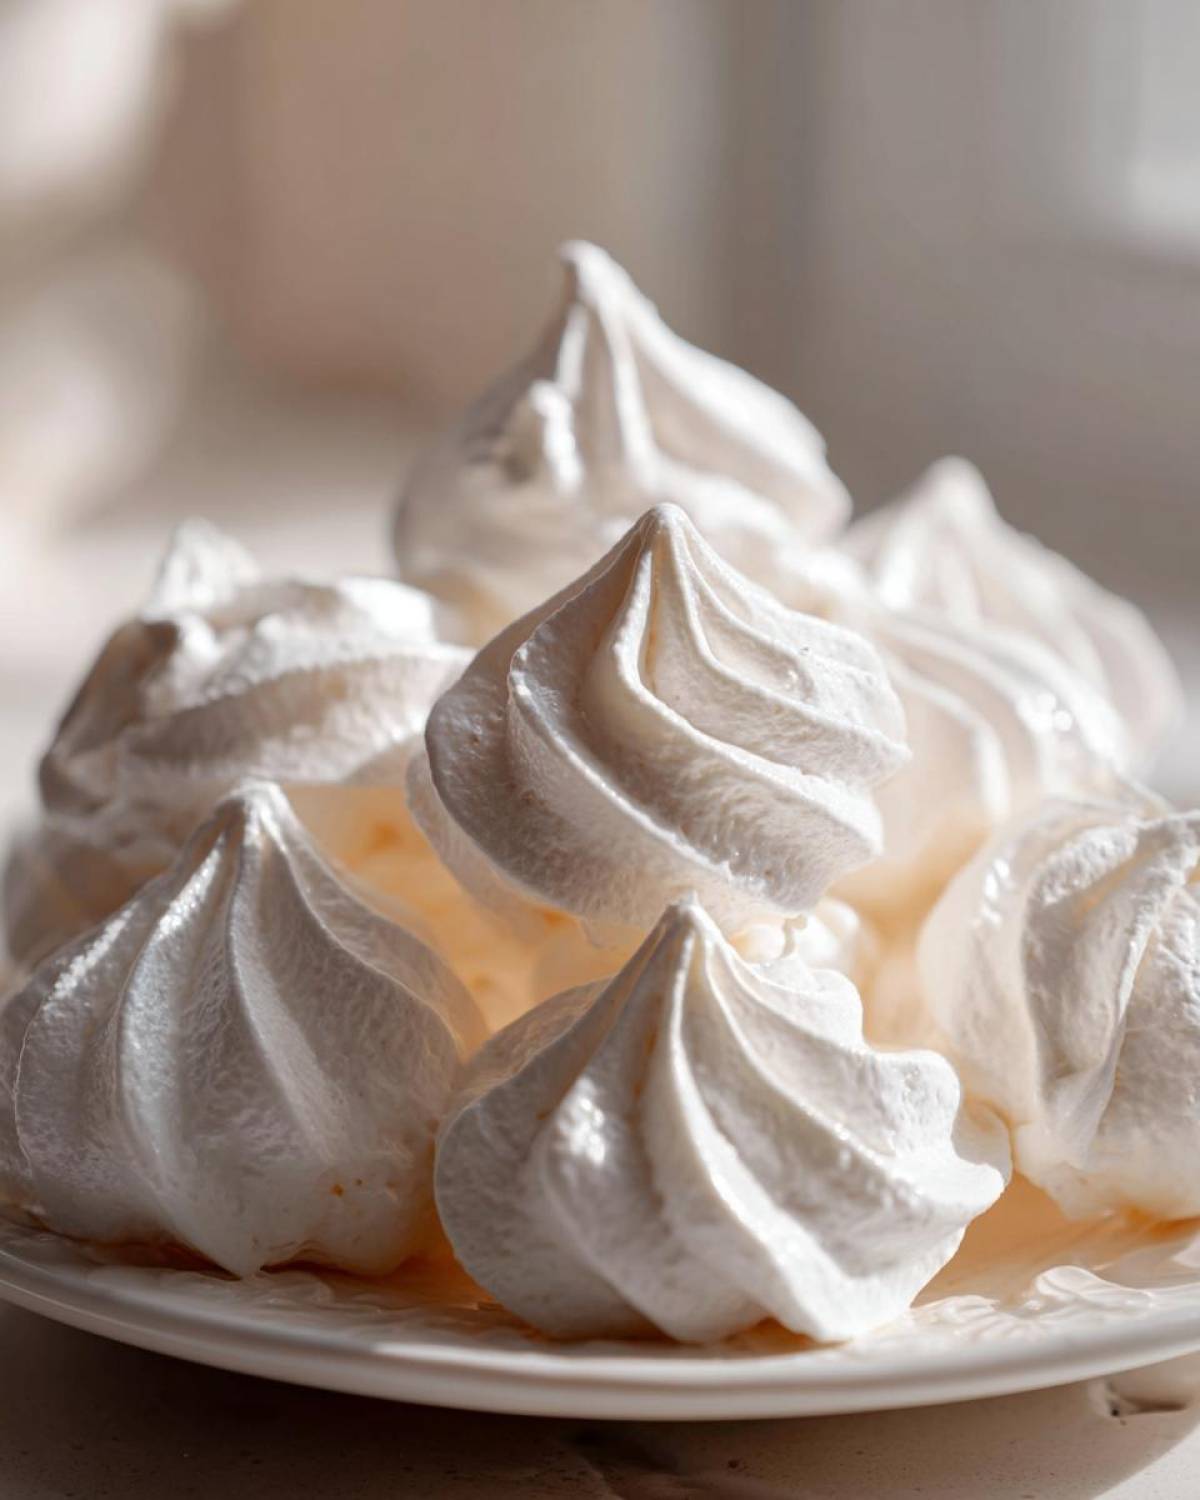
If you follow those checks, I promise you’ll have results worthy of a standing ovation! If you want more general tips that apply to everything we bake, check out our general baking advice here. Happy whipping!
Storage and Making Homemade Meringue Gifts
So, you’ve successfully dried your gorgeous meringue cookies! Now comes the part where we protect our hard work, because these delicate sweet treats don’t fare well if left out on the counter to absorb all the kitchen humidity. Simon always jokes that once they’re fully cooled, they need a bodyguard!
The absolute best way to store these is in an airtight container. I like to use those large, flat cookie tins we always seem to accumulate. When stacking them, put a layer of parchment paper between each layer of cookies. This prevents minor sticking and keeps that beautiful, crisp exterior intact.
If you live somewhere super humid, you might want to keep them in the fridge, but honestly, room temperature storage in a dry spot is usually perfect—think the back of the pantry. They stay incredible for about a week, but let’s be real, they usually disappear much faster than that!
These delicate, melt-in-your-mouth treats are also one of my favorite things to give away. They transport easily (if packed carefully!) and they look so impressive. Thinking about making a big batch for neighbors or friends? You’ve basically just created the perfect, easy, homemade meringue gifts!
Since they are so light and don’t contain any butter or leavening agents that might go stale, they are ideal for making ahead of time for parties or events. Plus, they are naturally gluten free, so you are already gifting something that caters to lots of people. If you need inspiration on presentation for those gifts, check out these amazing ideas on how to package up homemade meringue gifts—it really takes them to the next level!
Frequently Asked Questions About Meringue
It’s okay if you still have a few questions rattling around! Making any simple egg white dessert can feel a little like wizardry at first. Simon says the most important thing is to try again if something goes wrong—we’re all about kitchen kudos here, remember? If you’re looking for more general help, I’ve dropped a link to some of our general baking tips right here, but let’s tackle the most common issues people have with these meringue cookies.
Why are my meringue cookies sticky or weeping?
Oh, the dreaded weep! This usually happens for one of two reasons, and it’s almost always humidity-related or related to the sugar not dissolving. If your cookies are sticky on the bottom or look like little puddles of syrup, it means there was too much moisture introduced either because it’s a rainy day, or because you didn’t whip the sugar in long enough. If you feel any sugar graininess—even a tiny bit—when you rub the meringue between your fingers, it hasn’t reached stiff peaks yet, and it won’t dry out properly.
Can I use brown sugar instead of granulated sugar for this recipe?
No, please don’t, especially for your first batch! While I love the caramel notes dark brown sugar brings to things like banana bread, it contains molasses, which is liquid. We are trying to create the most moisture-free environment possible for our egg whites to stabilize and dry into those beautiful crispy meringue treats. Brown sugar will cause your meringue to deflate and weep massive amounts of sugary liquid. Stick to granulated white sugar for these French Meringue Cookies!
What is considered the ‘best’ piping tip for Meringue Kisses Recipe?
Honestly, for that classic, pillowy “kiss” look, I swear by a large open star tip, specifically a Wilton 1M or something comparable. The ridges on the star tip give you those gorgeous grooves that catch the light, making them look fancy, even though they are truly easy meringue cookies. If you want a very simple dollop, a round tip works too, but the star tip makes them truly look like they came from a professional bakery tray. Don’t worry too much about the tip, though; a good, stiff meringue will look beautiful no matter what tip you use!
Are these cookies really gluten free?
Yes! This is one of the best things about these delicate sweet treats. They are naturally gluten free meringues because the base ingredients are just egg whites and sugar, plus a touch of vanilla for flavor. There is absolutely no flour involved, which makes them a wonderful, worry-free addition to any dessert platter, especially during holiday baking when you might be serving guests with sensitivities.
Nutritional Snapshot of These Delicate Sweet Treats
Simon always reminds me that when we’re making something this beautifully simple, the joy—the kudos—should come from the process and the memory, not from obsessive tracking! So, while I know many of you are looking for the numbers, I like to keep the focus right here on the sweet science of whipping egg whites.
I want to be upfront: Any nutritional breakdown you see for these meringue cookies is just an estimate, and I mean a big estimate! Because we aren’t using flour, eggs are the only substantial ingredient besides sugar. The final calorie count can swing wildly based on how thick you pipe your little clouds or exactly how much vanilla extract you splash in when Simon isn’t looking.
So, here’s my official Kitchn Kudos stance: Embrace the lightness! These are almost pure air and sugar, which means they are surprisingly low in fat compared to, say, a peanut butter cookie. If you’re looking for a detailed breakdown of what we *think* is in one cookie, you can see our best guess on our dedicated disclaimer page. But really, the *real* nutrition here is the joy and praise you find while making these stunning, delicate sweet treats!
Share Your Meringue Cookies Success
Wow! You made it through the whole recipe! Can you believe you just created perfect, light, airy, and crisp meringue cookies? Whether they came out looking like fancy kisses or like a first-timer’s slightly wobbly clouds, I want to hear about it! Seriously, Simon is already cueing up the victory music from here.
This is what Kitchn Kudos is all about—celebrating the effort, not just the perfection. Did you use the peppermint extract? Did you try to pipe them for the first time? Did they actually dry through without sticking? Every single one of those steps deserves a huge round of applause and a big “Kudos!” from me.
Please take a second to leave a rating and tell me how your meringue turned out in the comments below. Knowing you tried this delicate sweet treat, even if it was a little messy, tells me you’re embracing the joy of the kitchen!
If you snapped a picture of your beautiful finished batch, tag us! We absolutely love seeing your kitchen wins. And if you have any last-minute questions that popped up while you were whipping, don’t hesitate to reach out to us via our Contact page—we’re here to cheer you on!
PrintThe Ultimate Easy Meringue Cookies Recipe: Light, Crisp, and Perfect Every Time

Learn how to make light, airy, and crisp meringue cookies using the simple French meringue method. These melt-in-your-mouth treats are impressive yet easy for any baker.
- Prep Time: 20 min
- Cook Time: 2 hours
- Total Time: 2 hours 20 min
- Yield: About 3 dozen
- Category: Dessert
- Method: Baking
- Cuisine: American
- Diet: Gluten Free
Ingredients
- 4 large egg whites, room temperature
- 1 cup granulated sugar
- 1 teaspoon pure vanilla extract
- 1/4 teaspoon cream of tartar
- Pinch of salt
Instructions
- Preheat your oven to the lowest setting, usually between 170°F and 200°F (77°C and 93°C). Line two large baking sheets with parchment paper.
- Make sure your mixing bowl and whisk attachment are completely clean and dry. Add the room temperature egg whites and the pinch of salt to the bowl.
- Begin whipping the egg whites on medium speed until they become foamy. Add the cream of tartar and increase the speed to medium-high.
- Once soft peaks form (the tips curl over when you lift the whisk), slowly begin adding the granulated sugar, one tablespoon at a time, waiting about 30 seconds between each addition. This slow addition is key to strong meringue.
- Continue beating on high speed until the meringue is stiff, glossy, and holds firm peaks. When you rub a small amount between your fingers, you should not feel any sugar granules. This usually takes 8 to 10 minutes total whipping time.
- Beat in the vanilla extract until just combined.
- Transfer the meringue to a piping bag fitted with your desired tip (a large star tip creates beautiful meringue kisses).
- Pipe small mounds or kisses onto the prepared baking sheets, leaving about an inch between each cookie.
- Bake (dry out) the meringue cookies for 1.5 to 2 hours, depending on your oven temperature and cookie size. They should lift easily off the parchment paper when done.
- Turn off the oven, prop the door open slightly with a wooden spoon, and allow the meringue cookies to cool completely inside the oven for at least 1 hour, or preferably overnight. This drying process helps achieve that perfect crisp texture.
- Store your finished, light and airy cookies in an airtight container at room temperature. Give yourself some kudos for making these delicate sweet treats!
Notes
- Ensure your egg whites are completely free of any yolk or grease; this prevents the meringue from whipping properly.
- For festive holiday meringue cookie ideas, you can add 1 teaspoon of peppermint extract and a few drops of red food coloring for peppermint meringue cookies.
- If you want Jello meringue cookie recipe results, substitute 1 tablespoon of sugar with 1 tablespoon of flavored Jello powder during the final stages of mixing.
- These homemade meringue gifts are naturally gluten free meringues.
Nutrition
- Serving Size: 1 cookie
- Calories: 45
- Sugar: 11
- Sodium: 5
- Fat: 0
- Saturated Fat: 0
- Unsaturated Fat: 0
- Trans Fat: 0
- Carbohydrates: 11
- Fiber: 0
- Protein: 0.5
- Cholesterol: 0