

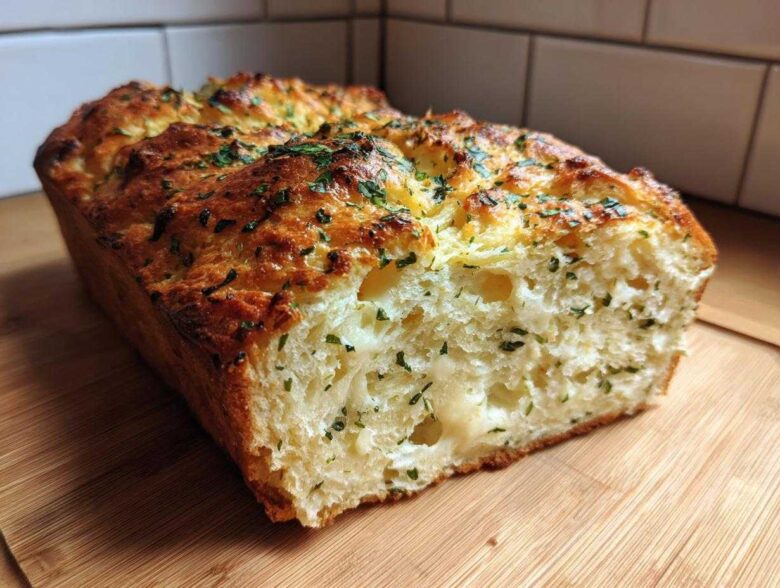
Oh, there is nothing in the world quite like the smell of hot, yeasty bread filling your kitchen, is there? For us here at Kitchn Kudos, that scent is pure encouragement! Before Simon finally taught me to relax, I would never have dreamed of venturing into bread-making, but trust me when I say that this Italian herb and cheese bread is the ultimate confidence booster. It’s so delightfully easy, especially if you let your trusty bread machine do all the heavy lifting. This recipe is designed to be 100% foolproof for the beginner bread machine owner. It’s all about giving you those little wins, so you can feel proud of what you made. You can read a bit more about how Simon convinced me to stop striving for perfect performance over here at our story!
Why This Italian Herb and Cheese Bread is Your Next Kitchen Win
I want you to see this cheesy bread as your next guaranteed success—seriously! Simon would tell you that the best part of any recipe is the cheering you do when it’s done, and this one practically begs for applause. You get incredible flavor without messing around with kneading or proving times.
- It makes the most fantastic, hearty sandwich loaf you’ve ever sliced.
- The machine handles all the mixing, so your hands stay clean!
- The smell alone makes you feel like a professional baker.
Perfect for Beginners: Easy Bread Machine Recipes
If you’ve been nervous to try baking, this is the recipe that proves you can do it. We made sure this landed right at the top of our list of easy bread machine recipes. You pour everything in, hit “Start,” and walk away. That’s it! No kneading under the kitchen light, no wondering if your dough has doubled. It’s just pure, hands-off success for the genuine beginner bread machine owner.
Flavor Profile: Rosemary Oregano Bread Meets Cheesy Goodness
Oh, the aroma when that cheese melts into the herbs! This isn’t some bland white bread; this is rich, savory, and deeply comforting. We’re talking about a true parmesan herb bread experience here. The combination of sharp parmesan and creamy mozzarella blends beautifully with the dried herbs, giving you that satisfying, savory punch you want in a good rosemary oregano bread.
Gathering Ingredients for Your Italian Herb and Cheese Bread
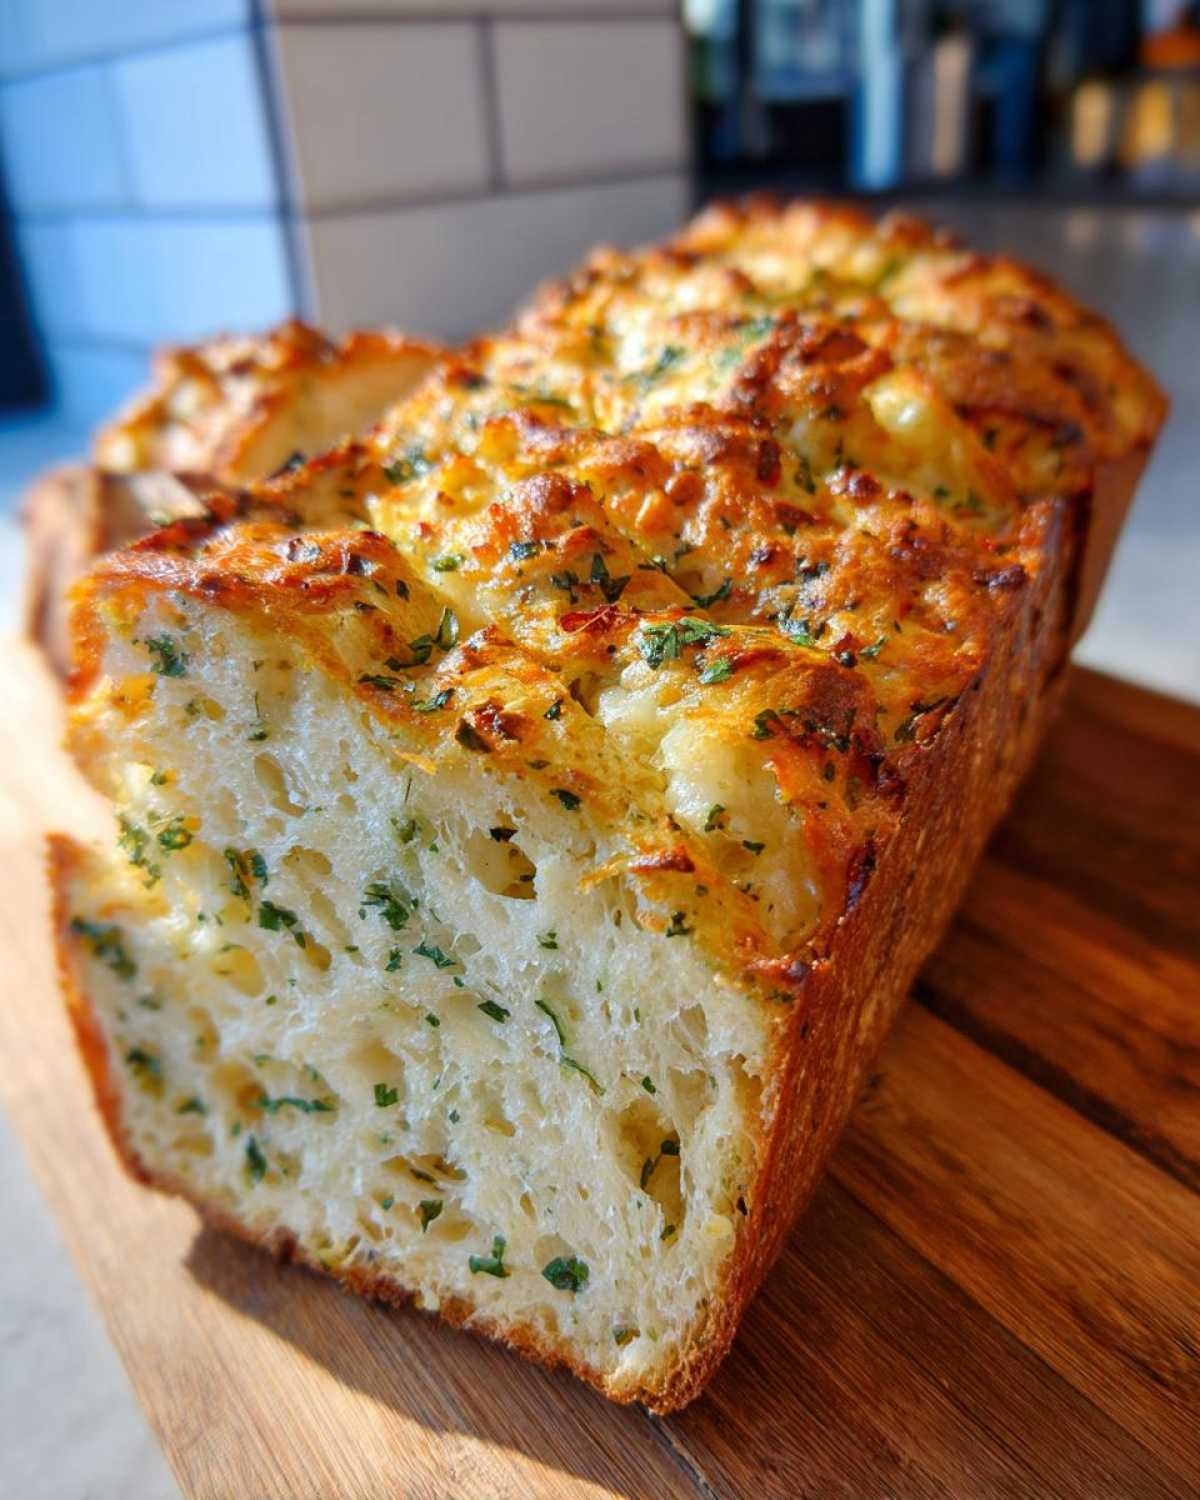
The beauty of using the bread machine is that the ingredient prep is super fast—we’re talking 10 minutes max! But just like Grandma always told me when I was stressing over cakes, quality ingredients make the difference between a good loaf and a loaf worth cheering for. Simon always says, “Alice, you can’t praise what isn’t there!” So let’s make sure we have everything ready to go before we load up that pan. Having everything measured out first means the machine can move right along without you having to scramble mid-cycle.
For this recipe, you’ll need:
- 1 cup warm water (Make sure it’s 105–115°F—not too hot, or you’ll kill the yeast! Simon often sticks his pinky in to check.)
- 2 tablespoons olive oil
- 1 1/2 teaspoons salt
- 3 cups bread flour (This is important; all-purpose won’t give you the right structure for a great sandwich loaf!)
- 2 tablespoons granulated sugar
- 1 1/2 teaspoons active dry yeast (Use the active dry type, not instant, because we need that specific timing for the machine.)
- 1 tablespoon dried Italian seasoning blend
- 1 teaspoon garlic powder
- 1/2 cup shredded Parmesan cheese
- 1/2 cup shredded mozzarella cheese
Ingredient Notes and Substitutions for Your Loaf
I’ve learned that the little details really matter here, especially when it comes to preventing a failure before we even hit the START button. First, bread flour is a must. It has higher protein, which helps trap all those lovely herb and cheese smells inside the structure. Don’t try using regular flour unless you want a flatter loaf; we are aiming for high praise here!
When it comes to the cheese, please, please use pre-shredded or shred it yourself, but make sure it’s dry. If your mozzarella looks wet or oily coming out of the bag, gently pat it with a paper towel. Excess moisture can throw off the dough consistency, and we don’t want that gummy texture! If you don’t have a pre-made Italian blend, you can swap it out! Try using one teaspoon of dried rosemary and two teaspoons of dried oregano instead. That makes a fantastic, custom rosemary oregano bread blend.
Step-by-Step Instructions for Bread Machine Herb Bread
Okay, baking gurus and recovering perfectionists alike, it’s time for the main event! This is where your machine earns its spot on the counter. Following this sequence is key for getting that perfect bread machine herb bread texture. Simon says, “Don’t stress the process, Alice, just enjoy the whirring!” It really is that simple once you know the layering order.
We’re going to load this up following the standard rule for most great easy bread machine recipes, which is designed to keep your yeast happy and active. You’ll follow the precise order for liquids and solids to ensure everything mixes properly when the kneading starts.
Loading the Pan: Liquid First, Yeast Last
First up, pour in all your wet stuff: the warm water, the olive oil, and the salt. Get those oils and water chatting nicely. Next, gently add your dry ingredients on top of the liquids. That means the bread flour, the sugar, the garlic powder, and the Italian seasoning blend. Make a little divot—a tiny well—right in the middle of that layer of flour. This is where we tuck the yeast for safety! Gently sprinkle the active dry yeast into that well. Don’t let it touch the water/oil mixture yet, or it might activate too soon. Select the Basic or White Bread cycle and get ready to press START!
The Critical Moment: Adding Cheese to the Italian Cheese Bread Dough
This is the moment where you step in and cheer for your machine! You need to listen for that special beep that signals the end of the initial kneading cycle—usually right before the first long rise. Open the lid quickly! You’ll see a nice, slightly sticky dough ball. Now, work fast! Scatter both the Parmesan and the mozzarella right over the top of the dough. Close the lid immediately before the machine notices too much temperature change. The machine will incorporate that cheese for you without overworking the dough, which is perfect for this type of italian cheese bread. Once that lid is closed, you can go celebrate a job well done while it finishes baking! Don’t forget to check out some other quick tips on our recipe blog.
Tips for Success with Your Cheesy Dinner Bread
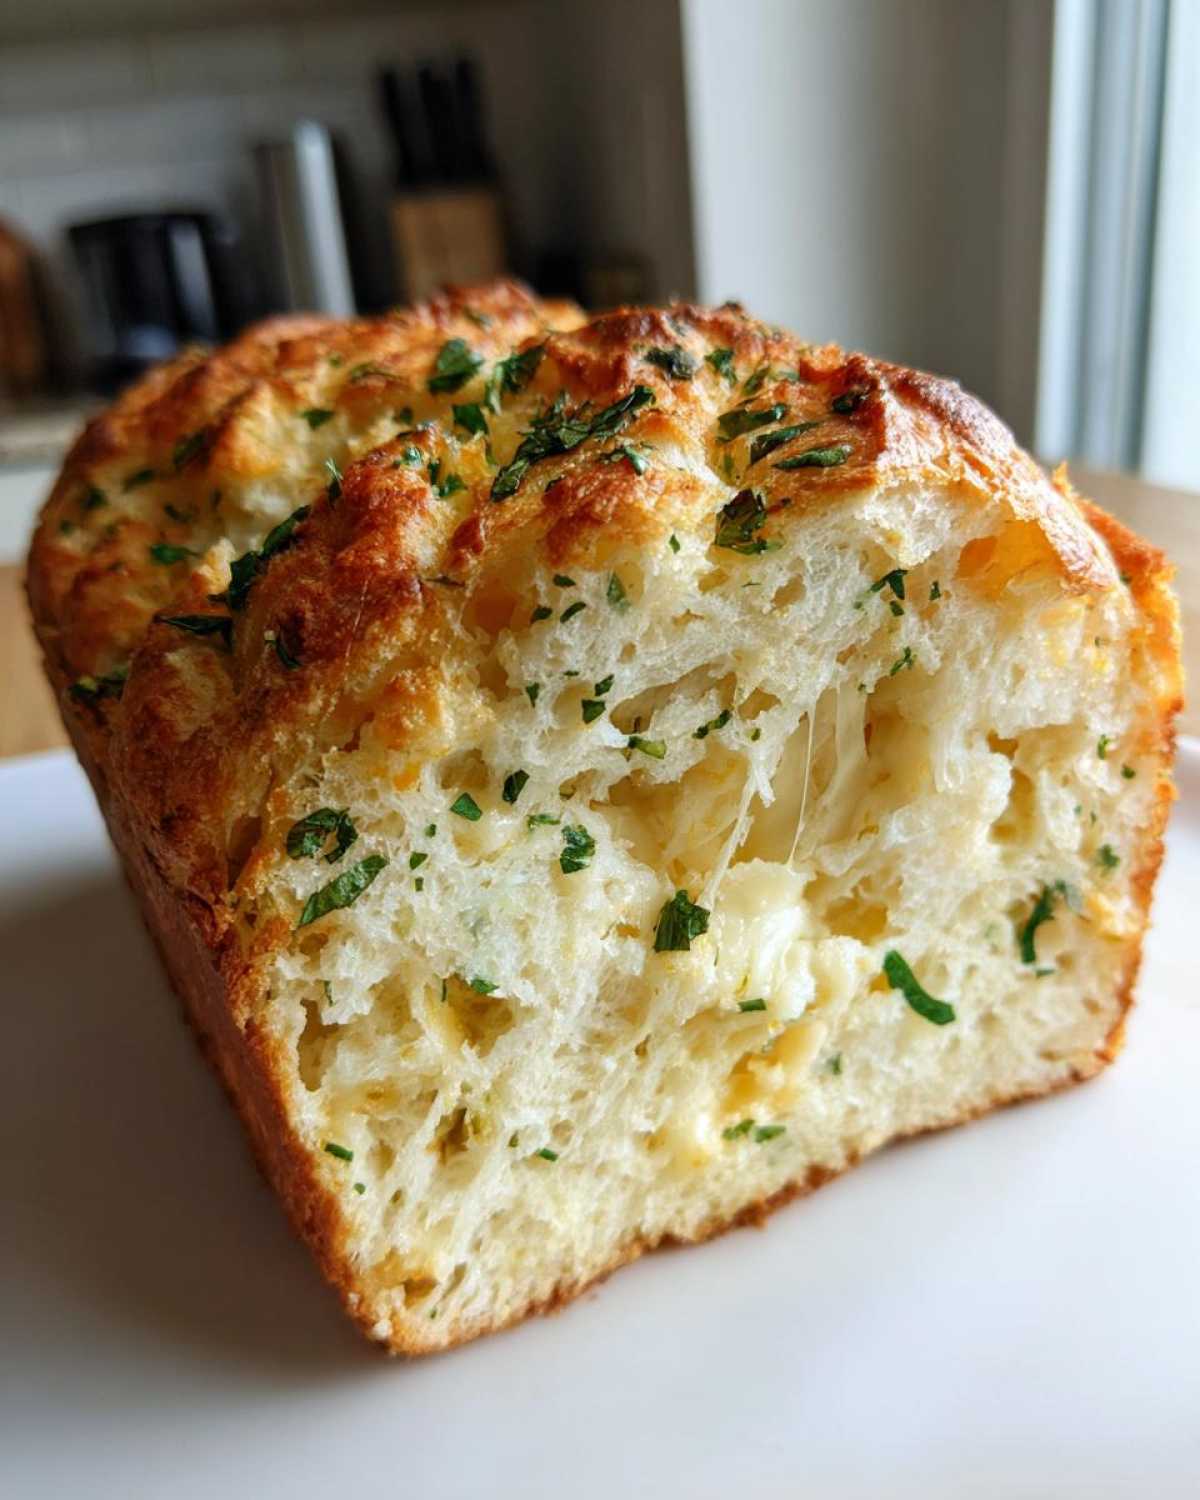
Even with the ease of the machine, there are a couple of small things that take this loaf from “good” to “let’s high-five!” territory. I remember the first time I made this cheesy dinner bread; the dough looked much stickier than the plain white dough I was used to, and I almost panicked! Simon just cranked up the music and told me, “Alice, cheesier dough holds more moisture! Trust the process, it’s going to bake up perfect.” And it did!
Here are the few little things that always make sure I get that perfect crust and airy interior:
- Don’t Use the Delay Timer: EVER. This is my number one rule for any bread with fresh dairy or cheese in it! If you set the timer to bake while you’re out grocery shopping, that cheese is going to sit there, getting warm and slightly sour inside the dough before the yeast even gets going. Skip the timer and bake it right away.
- Cooling is Non-Negotiable. I know you want to slice into this gorgeous loaf right when it beeps, but you have to resist! If you slice it while it’s piping hot, the steam trapped inside has nowhere to go, and you end up with a gummy, dense layer right in the middle. Carefully turn it out onto a wire rack immediately and just walk away for at least an hour. This firming-up time is crucial for a perfect slice.
- Check Your Crust Color Setting. Since we added oil and cheese, which are fats, the crust sometimes browns a little faster than a plain white loaf. If you like a light crust, choose the medium setting even if the recipe defaults to dark. If you love that deep, crunchy edge, stick with dark, but keep a close eye on it for the last 15 minutes.
- Serving Tip: Soften it Up! If you happen to have leftovers the next day, don’t just eat them cold. Simon loves to reheat slices spread with a little butter. If you want to go the extra mile, I highly recommend checking out our recipe for easy homemade cheese crackers—they use a similar Parmesan kick!
Making Variations of Italian Herb and Cheese Bread
One of the best things about using a base recipe like this in the bread machine is how easily you can switch things up! It’s like having a secret flavor palette right there in your pantry awaiting your command. Don’t feel like you have to stick to the exact mix of mozzarella and Parmesan if you’re feeling creative. Simon always encourages me to experiment because, hey, even if it’s only slightly different, it’s a new recipe we get to cheer for!
Here are three super simple ways to change up your loaf next time you bake:
- The Sharp & Savory Parmesan Herb Bread: If cheese flavor is your absolute favorite thing, keep it simple! Skip the mozzarella entirely and use one full cup of just Parmesan cheese. This packs a huge flavor punch and gives you a crust that gets wonderfully crisp because the Parmesan browns beautifully. It really leans into that strong, nutty flavor, making it an amazing stand-alone parmesan herb bread.
- Going Full Rustic with Rosemary Oregano Bread: If you want to lean hard into that classic Italian profile, ditch the pre-mixed seasoning and go heavy on the fresh stuff, or double the dried ratio. Use two teaspoons of dried oregano and two teaspoons of dried rosemary specifically. Leave out the garlic powder to let the rosemary shine through. This variation feels intensely rustic and is wonderful served alongside soup. It truly becomes a destination loaf—our ultimate rosemary oregano bread!
- Adding a Kick with Garlic Herb Bread: For those who like things a little bolder, this is for you. Keep the Italian seasoning blend, but increase the garlic powder from one teaspoon up to a full tablespoon. If you have dried chives lying around, toss in a teaspoon of those too! To really lean into the savory side, try substituting the sugar with one tablespoon of molasses or honey. This creates a deeper color when baked and makes a phenomenal garlic herb bread that needs nothing more than a brush of olive oil when it comes out of the pan.
Serving Suggestions for Your Homemade Italian Herb and Cheese Bread
We all know this bread makes a stellar sandwich loaf—seriously, try it with turkey and provolone! But honestly, letting this gorgeous, cheesy creation sit around waiting for lunch is kind of a waste of its aroma potential. I think bread this good deserves to be celebrated immediately when it’s still warm from the machine. Simon always has me pull a slice off the cooling rack with a little bit of butter while he’s cleaning up. It’s the perfect little victory snack!
Don’t just stop at slicing it for sandwiches; think about how this savory loaf can elevate your dinner routine. It begs to be torn apart right alongside something comforting and saucy. This is your perfect companion for scooping up the last bits of sauce from your dinner plate.
- Soup Night Superstar: This is the ultimate dunking bread! The herbs and cheese stand up beautifully to rich, creamy soups. If you make our Broccoli Cheddar Soup, this savory loaf cuts through the richness perfectly. It’s just divine.
- Pasta Sidekick: Serve thick slices, lightly toasted under the broiler for just a minute, instead of the usual plain garlic bread. It pairs especially well with simple tomato sauces or lasagna, where the cheese in the bread complements the filling.
- Salad Enhancer: If you’re having a big salad for dinner, this bread makes it feel like a complete, satisfying meal. Cut it into small cubes after it’s totally cool and dry, toss them with a drizzle of olive oil, and bake them for ten minutes to make the crunchiest, most flavorful croutons ever.
- Appetizer Duty: Slice it thin, brush lightly with olive oil, and serve it alongside a simple cheese board or some salty olives. It’s impressive enough for guests, but so simple you barely lifted a finger!
Storage and Reheating Instructions for This Sandwich Loaf
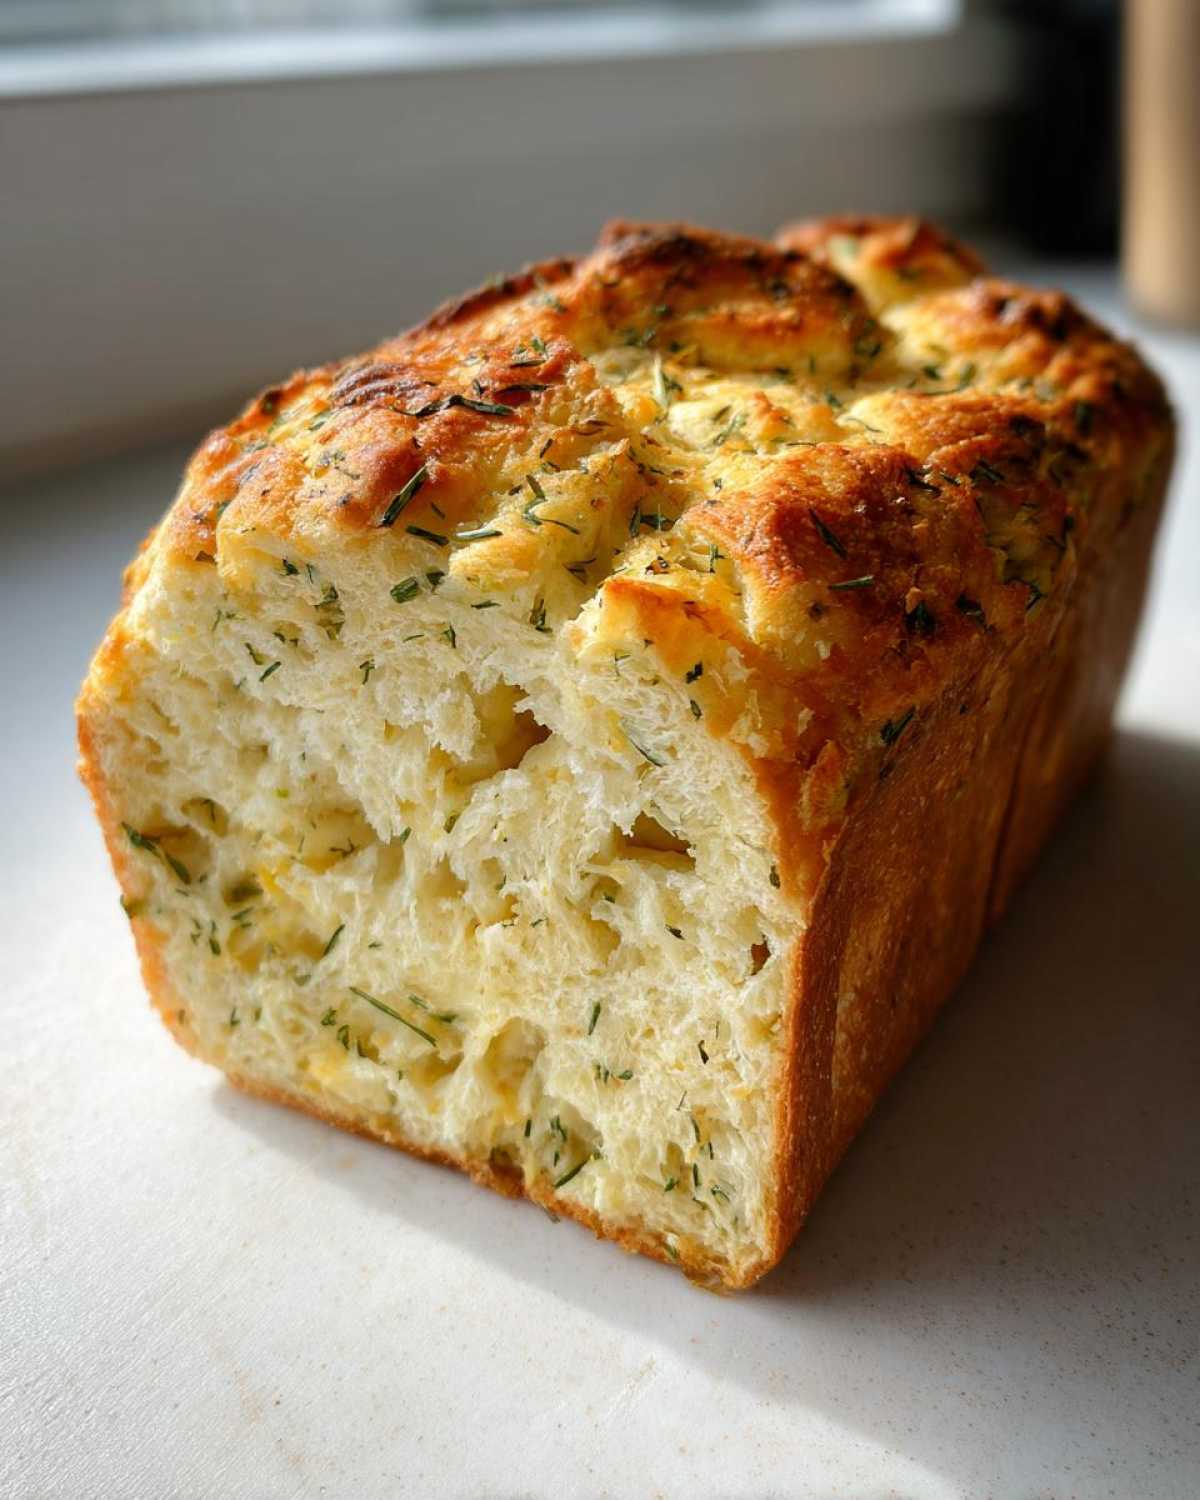
Look, this loaf is so delicious that you might think you need to hide it, but storing it correctly is actually important, especially because we loaded it up with all that glorious cheese. Cheese bread just doesn’t hang around quite as long as plain bread does, so we need a plan!
You want to aim to eat this sandwich loaf within two days, tops. Any longer than that, and that leftover cheese starts to get a little questionable, even if stored right. Forget about that delay timer we talked about earlier—we’re focused on the “Day Two” slice right now!
Once the bread is completely cool (and I mean bone cold, maybe even overnight), wrap it tightly. Plastic wrap is okay for a day, but if you really want to keep the crust nice, try wrapping it first in parchment paper and then putting that whole package into a large zip-top bag. This traps the moisture so the interior stays soft, but it keeps the air flow controlled.
Now, for the best part: reheating! Day two’s slice almost always needs a little revival to bring that crispness back. Simon never understands why I don’t just eat it cold, but honestly, warm bread is happiness. Here’s how we do it to make it taste freshly baked, even if it’s been sitting on the counter all night:
- Slicing First is Key: Don’t try to reheat the whole loaf if you aren’t going to eat it all at once. That just dries the whole thing out! Cut off only the slices you plan on eating right now.
- Toaster Oven Magic: This is my preferred method. Lay the slice directly on the rack of your toaster oven (not in the little tray, because that steams it). Toast it on a medium setting until the edges start to feel crisp again and you can smell that hint of roasted garlic and Parmesan returning. About three minutes is usually perfect.
- Quick Broiler Flash: If you only have a big oven, slice the bread, lightly brush the top surface of the slice with a tiny bit of olive oil—just enough to glisten. Pop it under the broiler on low for about 60 to 90 seconds. Watch it like a hawk, though! That Parmesan browns quickly, and you don’t want to burn your hard work.
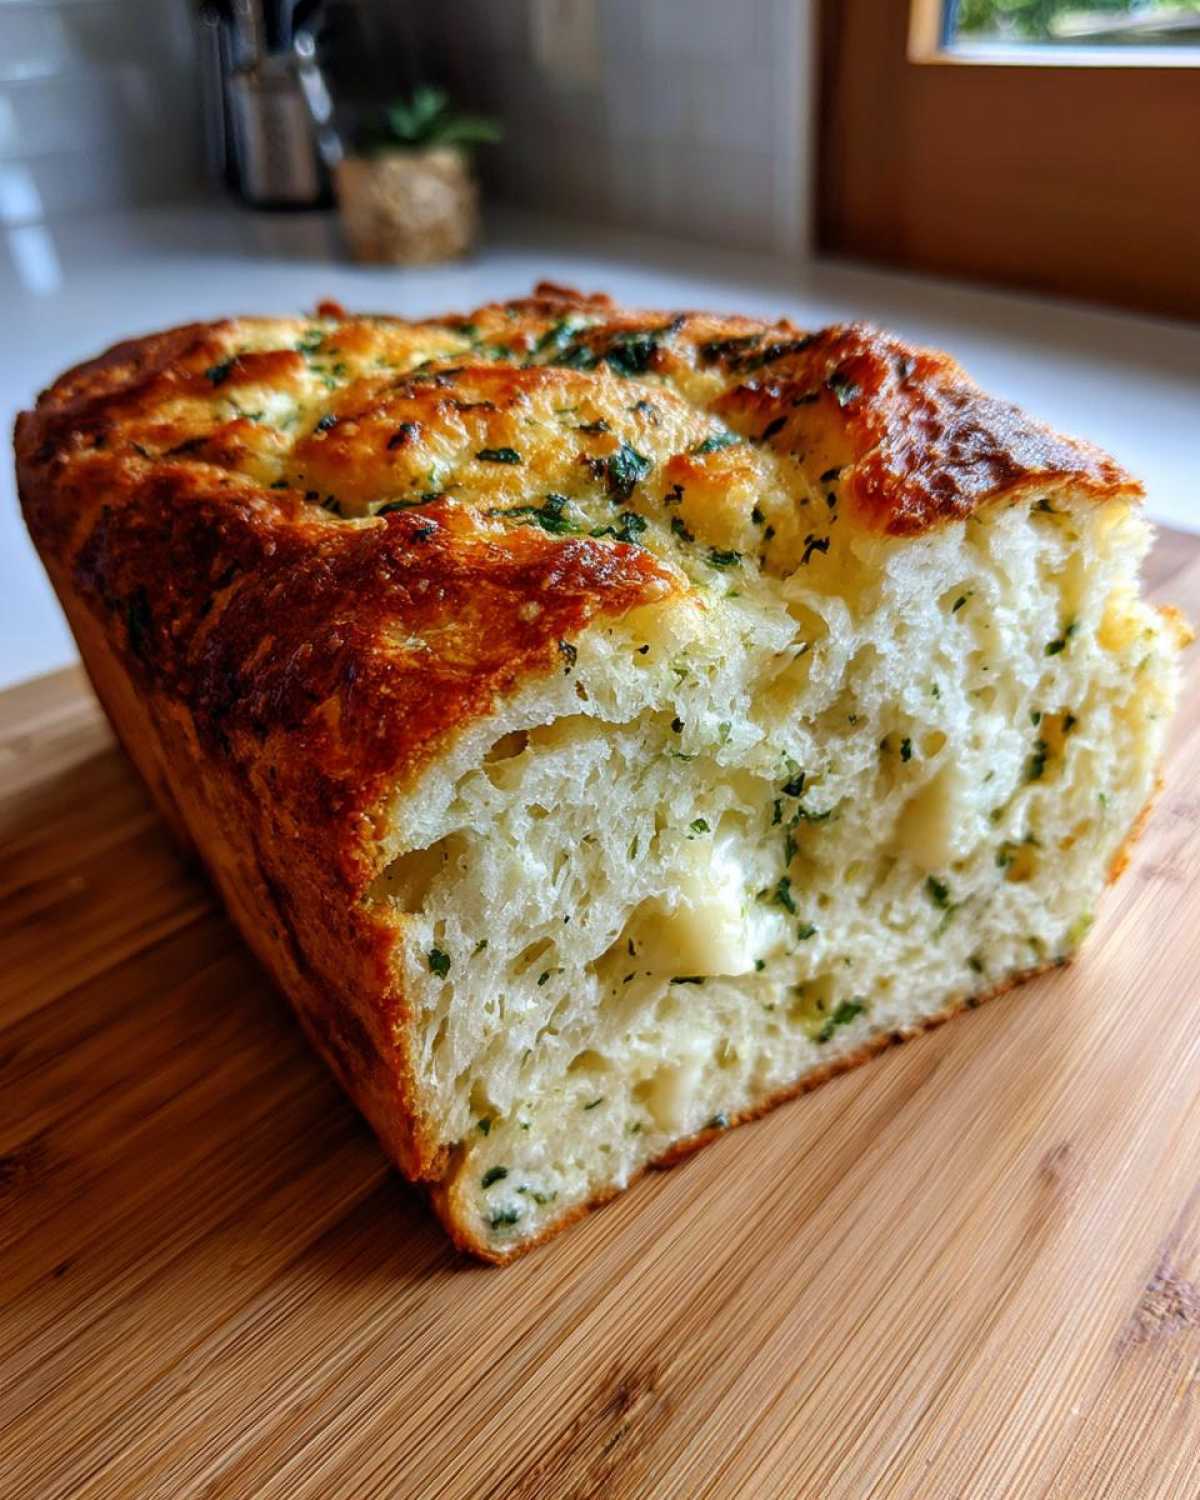
If you store it well, you’ll get that perfect, slightly chewy interior and a beautiful crust every single time, making that second-day sandwich just as good as the first!
Frequently Asked Questions About Bread Machine Herb Bread
I tried to answer every little worry I had when I started using my machine, especially when adding ingredients like cheese! Simon is always reminding me that asking questions is how we learn to praise the process better next time. Here are the few things that popped up most often when readers tried this recipe for the first time. If you have other thoughts, let me know! Maybe we can work on another great recipe, perhaps checking out tips related to easy soft fluffy garlic naan bread recipe soon!
What cycle should I use for this Italian herb and cheese bread?
For this specific Italian herb and cheese bread, you need a cycle that gives the yeast a good amount of time to work and knead, but that doesn’t bake too aggressively with the cheese already in there. That means you should stick to the machine’s standard Basic or White Bread cycle. Both cycles usually have a quick initial mix, a long rise, a second knead, and then the bake. We need that pause between the kneading and the first rise to sneak the cheese in!
Can I use fresh herbs instead of dried in this bread machine herb bread?
Oh, I just love the thought of fresh herbs in this bread machine herb bread! If you’re going to swap, you need to know that fresh herbs hold a lot more moisture than dried ones, and moisture is the enemy of a good loaf structure. As a general rule, you should use about three times the amount of fresh herbs if you are swapping from dried, but I always advise caution. If you use too much fresh herb, the loaf might collapse during baking because of the extra water content. If you’re nervous, start by using a little less than triple and see how you like it—you can always add more next time!
My bread is gummy; what went wrong?
Don’t worry if your first loaf is a little gummy in the middle; Simon says that’s just a sign you need to high-five yourself for trying! Ninety-nine percent of the time, a gummy interior on cheesy bread is caused by one of two things: either taking it out of the pan too soon, or adding the cheese too early. Remember how I stressed waiting an hour to cool? If you slice it while it’s hot, the moisture gets trapped, causing that gluey texture. If you are positive you let it cool completely, double-check that you waited until the *second* kneading cycle finished before adding your Parmesan and mozzarella. If the cheese mixes in during the very first long knead, it can weigh the dough down unevenly before the yeast has fully built structure.
Nutritional Snapshot of This Garlic Herb Bread
Now, I know what some of you perfectionists out there are thinking: “But Alice, how does this delicious garlic herb bread stack up nutritionally?” Simon and I believe in enjoying food without excessive guilt, but we also like to be transparent! Keep in mind that because this is a homemade recipe, especially one with cheese, these figures are just estimates. I always tell folks to think of this as a wonderful, savory dinner side, not a diet staple, but it’s good to know what you’re working with!
We calculated these approximations based on one single slice. If you manage to stop at just one slice (good job, give yourself kudos!), here’s the general breakdown:
- Serving Size: 1 slice
- Calories: Approximately 180
- Fat: Around 6 grams total
- Saturated Fat: About 3 grams (thanks, cheese!)
- Carbohydrates: Near 28 grams
- Protein: About 6 grams
See? Not bad at all for something that tastes this decadent! It’s a perfect, hearty component for a great meal. The fat and sodium numbers are slightly higher due to that wonderful Parmesan cheese, but that’s what makes it a winner for dipping into soup! Don’t let the numbers stress you out; just celebrate the fact that you made this beautiful loaf yourself!
PrintEasy Bread Machine Italian Herb and Cheese Loaf
Make a flavorful, cheesy Italian herb bread right in your bread machine. This recipe is simple and produces a great sandwich loaf or dinner side.
- Prep Time: 10 min
- Cook Time: 3 hr 30 min
- Total Time: 3 hr 40 min
- Yield: 1 loaf
- Category: Baking
- Method: Bread Machine
- Cuisine: Italian
- Diet: Vegetarian
Ingredients
- 1 cup warm water (105-115°F)
- 2 tablespoons olive oil
- 1 1/2 teaspoons salt
- 3 cups bread flour
- 2 tablespoons granulated sugar
- 1 1/2 teaspoons active dry yeast
- 1 tablespoon dried Italian seasoning blend
- 1 teaspoon garlic powder
- 1/2 cup shredded Parmesan cheese
- 1/2 cup shredded mozzarella cheese
Instructions
- Add the warm water, olive oil, and salt to the bread machine pan in the order recommended by your machine’s manual.
- Add the bread flour, sugar, Italian seasoning, and garlic powder on top of the liquid ingredients. Create a small well in the flour.
- Place the yeast into the well you created in the flour. Do not let the yeast touch the liquid yet.
- Select the Basic or White Bread cycle on your machine. Choose a medium or dark crust setting.
- Allow the machine to complete the initial mixing and kneading phase.
- When the machine signals the end of the kneading cycle (usually before the first rise), open the lid.
- Quickly add the Parmesan cheese and mozzarella cheese to the dough. Close the lid immediately.
- Let the machine complete the full baking cycle.
- Once the cycle finishes, carefully remove the bread pan and turn the loaf out onto a wire rack to cool completely before slicing.
Notes
- For the best texture, let the loaf cool for at least one hour before slicing. This prevents a gummy interior.
- If your machine has a delay timer, do not use it for this recipe, as the cheese can spoil.
- This cheesy dinner bread slices well for sandwiches the next day.
Nutrition
- Serving Size: 1 slice
- Calories: 180
- Sugar: 2
- Sodium: 350
- Fat: 6
- Saturated Fat: 3
- Unsaturated Fat: 3
- Trans Fat: 0
- Carbohydrates: 28
- Fiber: 1
- Protein: 6
- Cholesterol: 10