

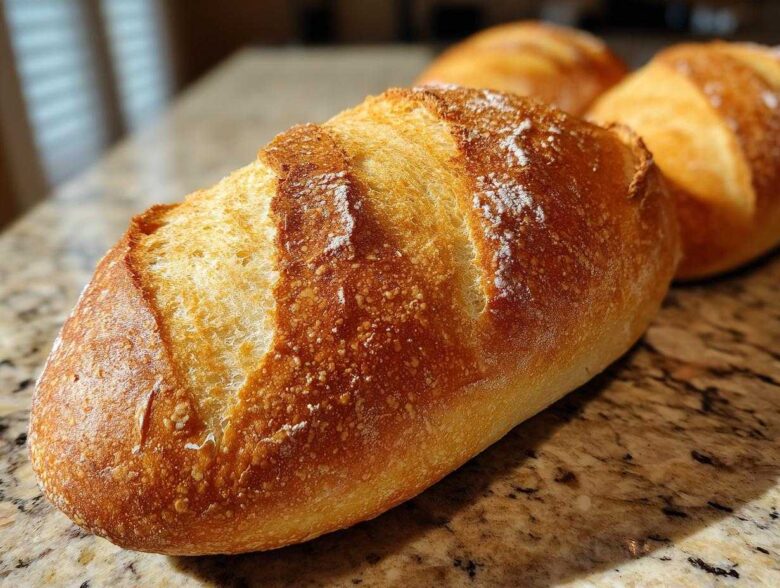
Oh my goodness, stop what you’re doing! Can you just imagine that smell right now? That warm, yeasty, incredible aroma filling your entire house? That’s the sound of success when you make this Easy Homemade French Bread Recipe. For years, I stressed over homemade bread, fighting for that perfect balance between a fluffy loaf inside and that satisfying, shatteringly crisp exterior. But Simon always tells me to relax, and honestly, that’s how we nailed this. Forget intimidating, multi-day processes; this recipe gets you amazing, bakery style bread ready in under two hours. You deserve to celebrate making beautiful French bread that tastes like you spent all day on it! If you want to know more about how we approach baking with praise instead of pressure, check out our story over at Kitchn Kudos.
Why This Easy French Bread Recipe Delivers Bakery Style Bread at Home
You deserve the praise for conquering homemade bread! This Easy French Bread recipe is designed to be your first big win. We cut out the waiting time where we can, but never compromise on that iconic texture you’re dreaming of. When you follow these steps, you are guaranteed amazing results suitable for any dinner table. We aren’t just selling a recipe; we’re selling a success story!
Achieving Soft French Bread at Home Texture
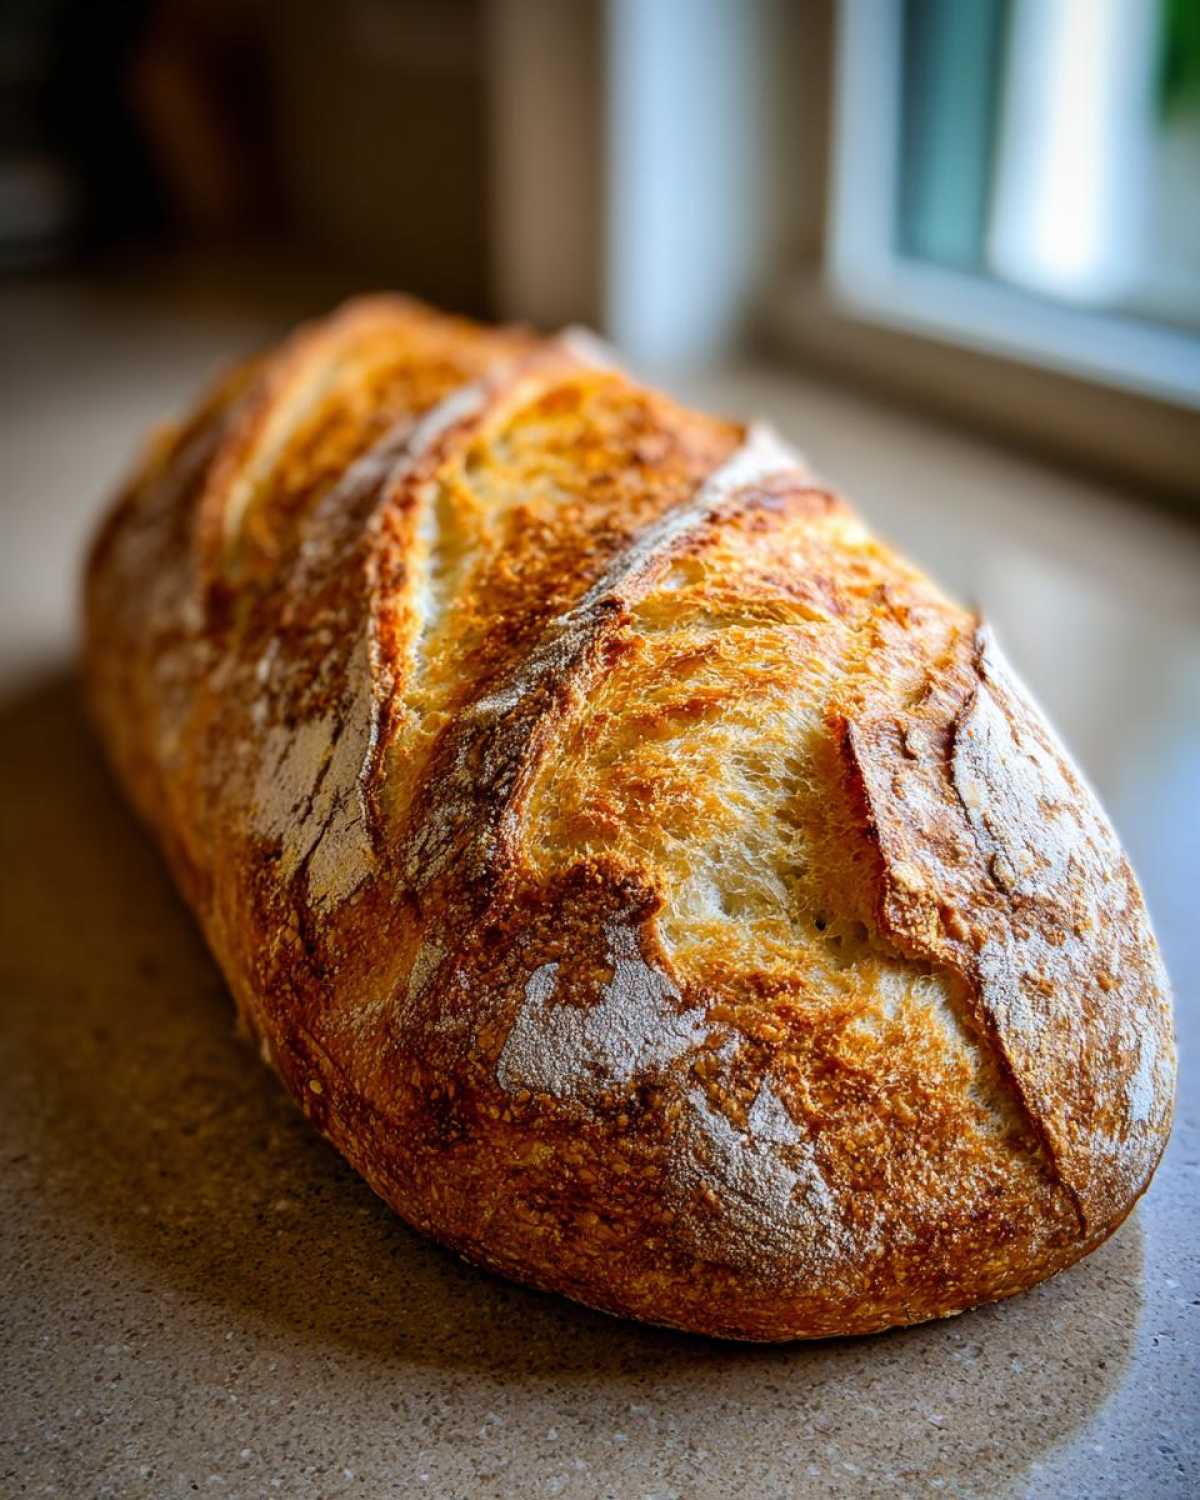
The secret to that beautiful Soft French Bread at Home texture starts right at the beginning. Getting the water just warm enough (think comfortably warm bath water, not hot tub!) wakes the yeast right up. When you see that lovely foam after five minutes? That’s your yeast cheering you on! Then, kneading for a solid 5 to 7 minutes is key. You’re not wrestling the dough; you’re developing the gluten network that holds all those wonderful air bubbles, ensuring that tender crumb. It builds the inner strength needed for a great loaf—just like how we focus on building strength in every recipe we share, like this honey garlic chicken stir-fry.
Creating the Perfect Crusty Exterior Bread
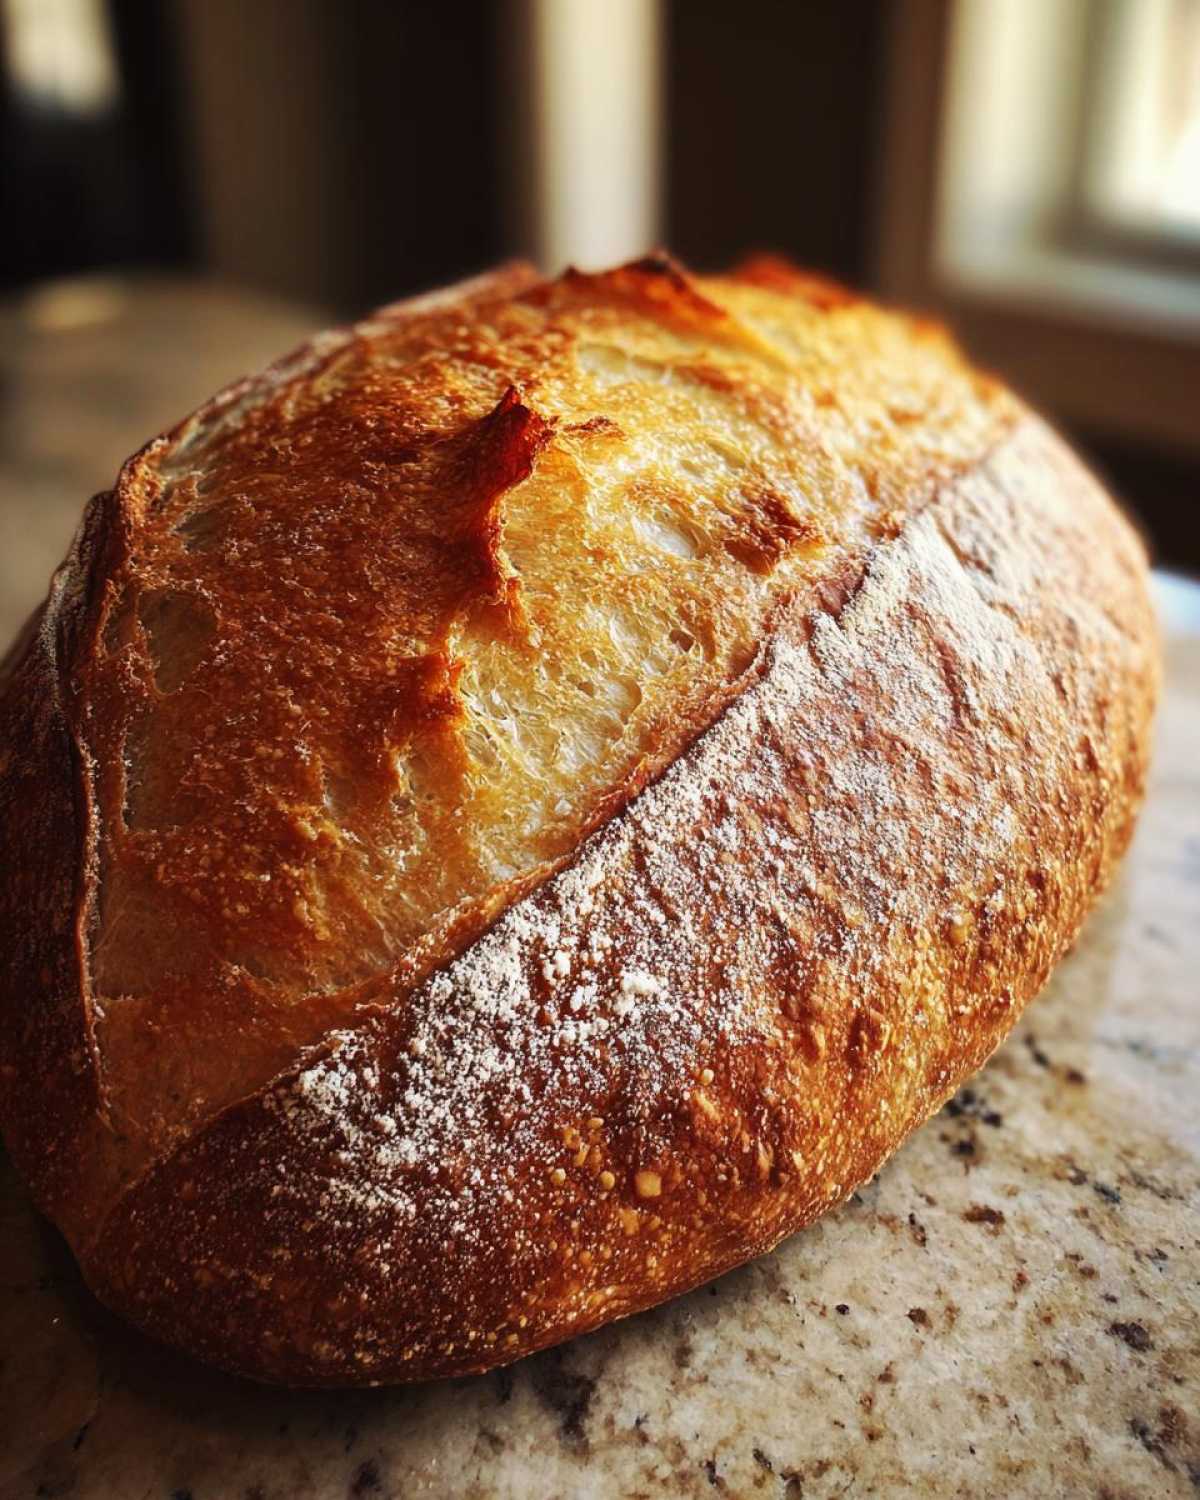
To get that amazing Bakery Style Bread crunch, we need two things: heat and steam. We crank the oven up hot, but the real trick is setting up that shallow pan of water down on the bottom rack. As the water boils, it creates a steamy environment that keeps the crust soft *just* long enough in the beginning so the loaf can expand fully, giving you height. Then, the egg wash we brush on seals the deal, painting that gorgeous, golden, crackly finish onto your French Bread.
Gathering Ingredients for Your Homemade French Bread Recipe
Okay, let’s talk ingredients for this Homemade French Bread Recipe! Honestly, the magic here is that you probably have everything lurking in your pantry right now. No weird specialty flours needed! For two beautiful loaves of French Bread, you’ll need three cups of all-purpose flour and one teaspoon of salt. The active dry yeast is non-negotiable, so make sure it’s fresh—1 packet, or 2 1/4 teaspoons, is the ticket.
Crucially, you must use warm water—I mean 105°F to 115°F. If it’s too cold, the yeast sleeps; too hot, and you upset it! Don’t forget the sugar to feed it, and for that gorgeous golden sheen, we use one lightly beaten egg white mixed with one teaspoon of water for our wash later. It’s simple, but every part matters! Speaking of simple ingredients making big wins, check out how we use pantry staples in our mayonnaise recipe.
Step-by-Step Instructions for Quick French Bread Recipe Success
Alright, let’s get baking! Don’t let the idea of yeast scare you. This is where you earn your first big kudos because we start with activation, which is essentially a party for your yeast. Then, we move right into getting that dough supple and ready for its nap. You’ll find that keeping things moving gets you to that wonderful French Bread quicker than you thought possible! We’re going to cover every win in this process, and if you want more general advice on conquering baking fears, check out our guide on beginner bread baking tips.
Activating the Yeast and Mixing the Dough
First things first: grab your warm water. Remember that 105°F to 115°F range? If you don’t have a thermometer, just test it against your wrist—it should feel warm, not hot. Whisk in the sugar and the yeast packet. Wait about 5 to 10 minutes. If you see foam bubbling up on top, give yourself a huge pat on the back! That means your yeast is alive and ready to work its magic. Once it’s foamy, toss in your flour and salt and mix it with a sturdy spoon until you have a messy, shaggy ball of dough.
Kneading and First Rise for Fluffy Loaf Recipe
Time to get tactile! Turn that shaggy mess onto a lightly floured counter. This is where the real work begins, but trust me, it’s worth it for that Fluffy Loaf Recipe texture. Knead the dough vigorously for about 5 to 7 solid minutes. You’ll feel it transform from sticky to smooth and elastic right under your hands—it’s awesome! Then, pop it into an oiled bowl, place it in a warm, draft-free spot, cover it up, and let it rise for 60 to 90 minutes until it’s magically doubled. This is critical for that Soft French Bread at Home crumb!
Shaping and Preparing the Oven for Your French Bread
Once it’s puffed up, gently punch the air out—that’s so satisfying! Divide that gorgeous dough in half. Now, gently roll and stretch each piece into that classic long, skinny loaf shape, about 12 to 14 inches. Let those new loaves rest on the parchment-lined sheet for a second, quick 30-minute rise. While they rest, heat up your oven to 400°F. Remember the steam trick for the crust? Get a shallow pan down on the bottom rack now so it’s scorching hot when the bread goes in.
Baking Your Golden French Bread Loaves
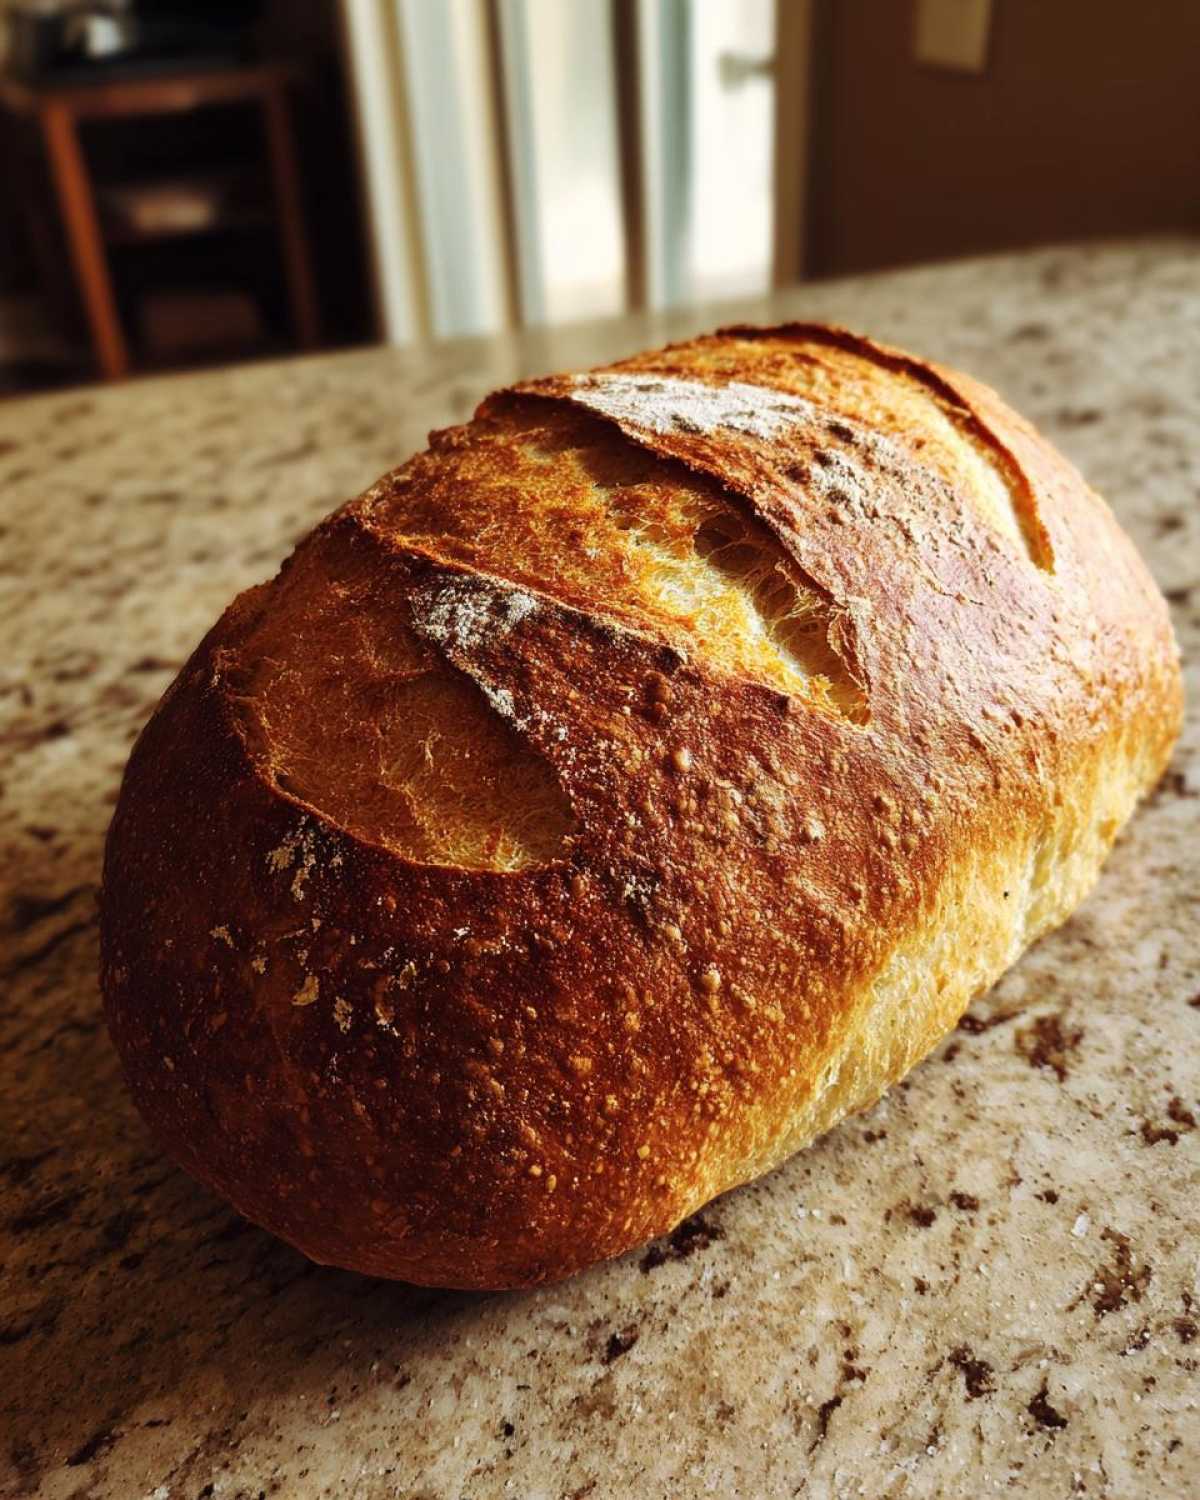
This is the finishing touch! Mix that egg white and teaspoon of water—that’s your glaze. Brush it lightly over the tops of your loaves. Then, using a very sharp knife, make three quick, diagonal slashes across the top of each loaf. Carefully slide them into the oven. Right after you shut the door, pour about half a cup of hot water into that waiting hot pan on the bottom rack to generate steam! Bake for 20 to 25 minutes. When they look deeply golden and sound hollow when you tap the bottom lightly, you’ve done it! Pull them out and let them cool on a wire rack before you tear into that delicious, Crusty Exterior Bread.
Tips for Baking Homemade Bread Tips Perfection
See? You’re already doing great! But since we are aiming for that top-tier applause, let’s talk about a couple of extra tricks for mastering your Baking Homemade Bread Tips portfolio. Remember, we want that outer shell to sing when you slice it, but we never want to dry out that beautiful inside we worked so hard to make soft. If you need more deep dives into bread science, you can find tons of great info on our dedicated baking homemade bread tips page.
Getting the Best Crust on Your French Bread
The steam we made earlier is step one for a crackly crust, but if you really want that intense, shattering crunch—the kind you get at a real French bakery—you need to ramp up the moisture treatment. About five minutes into the bake, carefully open the oven door (stand back so you don’t steam your face!) and quickly spritz the loaves themselves with a little water using a clean spray bottle. Do this once or twice more over the first 15 minutes. This keeps the surface moist for longer, allowing the loaf to expand fully before the crust sets hard. If you’re worried about the interior getting too soft, skipping the egg wash will result in a paler but still very satisfying crust!
Serving Suggestions for Your Dinner Side Bread
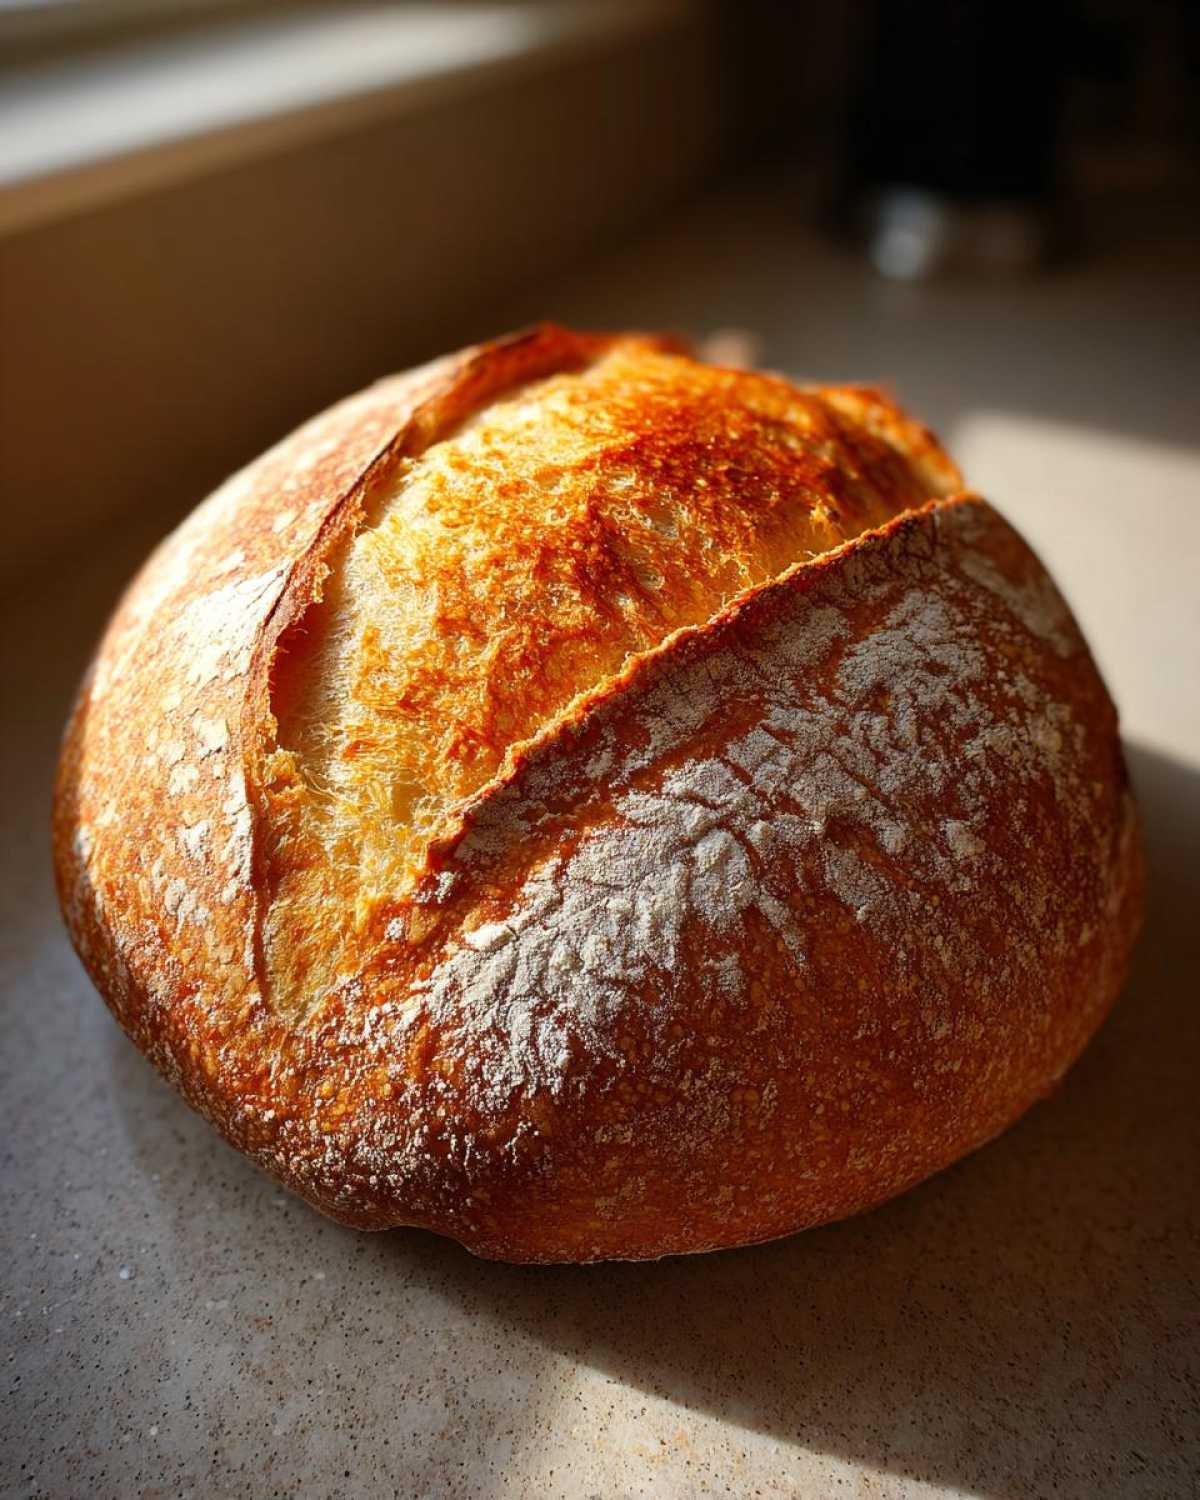
Now for the best part: eating it! You’ve made two gorgeous loaves of French Bread, and they deserve to be slathered in butter immediately, even if they’re still slightly warm. That’s Simon’s favorite thing—he sprints to the cooling rack, grabs an end piece, and insists that the best way to honor the effort is to eat it right there. It makes a spectacular Dinner Side Bread for scooping up hearty sauces or dipping into soups, especially if you’ve just made our Zuppa Toscana.
But don’t stop there! Because we engineered this to have that tender crumb, it’s also absolutely perfect for making amazing lunchtime creations. Seriously, toast up some slices for a hearty turkey melt or use it as the base for your favorite hero—this is truly the ultimate Bread for Sandwiches. Give it a try, and I guarantee you’ll never look at store-bought loaves the same way again!
Storage and Reheating Instructions for Tender Crumb Bread
We know you want to save some of this amazing French bread for later, but keeping that tender crumb fresh is key! The hard truth is bread doesn’t stay perfect for long. Store any leftovers loosely wrapped in a paper bag at room temperature for up to two days. Never put it in the fridge; that just makes bread go stale faster, and we worked too hard for that!
When you’re ready for round two, though, reheating is your best buddy. To revive that lovely crust and bring back some of that soft interior, lightly mist the loaf with water—just a quick spritz! Pop it into a 350°F oven for about 5 to 7 minutes. You’ll hear that satisfying crackle again, and honestly, it will taste almost as good as fresh from the oven. That’s how you keep your baking success alive!
Frequently Asked Questions About Making French Bread
I know you might have a few little questions popping up—that’s totally normal when mastering a Homemade French Bread Recipe! Baking with yeast is easy once you get the hang of it, and I’m here to make sure you get all the kudos for success. We’ve answered the most common hiccups so you can focus on that gorgeous, crusty output!
Can I make this a One Hour French Bread Recipe?
That’s a great question! While this is definitely a Quick French Bread Recipe, getting that truly soft interior—that Tender Crumb Bread—requires the yeast to take its time. The recipe is designed to be under two hours total, which is fast for classic bread, but trying to force that first rise down to 20 minutes usually results in a dense loaf because the yeast hasn’t done its job. If you’re in a huge rush, try putting your dough in a slightly warmer spot—like near a pilot light or in an oven that’s been *briefly* warmed and then turned off—but please, don’t skip the second rest!
What if I don’t have active dry yeast?
No problem at all! If you happen to have instant yeast instead of active dry, you can skip step one entirely! Just mix your instant yeast right in with the flour and salt. No need to wait for it to foam up in the warm water; it will activate later in the dough. This keeps it firmly in the category of Simple Yeast Bread that’s hard to mess up. Just dump it all in at once when you add the flour!
If you’re looking for answers to other common baking questions, feel free to browse our general recipe blog! You’ve got this!
Nutritional Estimates for Your Homemade French Bread
Okay, full disclosure time! When Simon and I are totally geeking out over flour and yeast, we aren’t usually thinking about macros, right? We are thinking about butter melting on a warm slice! But because we believe in being totally transparent here at Kitchn Kudos, I’ve put together a little estimate of what’s in this French Bread. Remember, this is just guidance based on the recipe measurements we provided for two loaves, and the serving size is set at one slice.
These numbers are here to help, but honestly, the only statistic that truly matters is how much joy this Homemade French Bread Recipe brings to your table. Don’t sweat the details when the bread smells this good!
- Serving Size: 1 slice
- Calories: 140
- Fat: 1g
- Saturated Fat: 0g
- Carbohydrates: 29g
- Sugar: 1g
- Protein: 4g
If you load it up with salted butter, those numbers change—and frankly, you should always budget for extra butter when you make homemade bread! It’s part of the fun, and you totally earned it!
Share Your Kitchen Kudos for This French Bread
See? I knew you could do it! You just baked beautiful, delicious, crackly French Bread right in your own kitchen! That’s a huge win, and here at Kitchn Kudos, we think every win deserves acknowledgment. Stop that internal critic and give yourself a massive high-five right now. Seriously, go on, I’ll wait!
Now, I absolutely need to hear about it! Did you get that perfect Crusty Exterior Bread that shatters when you cut it? Was the interior soft and fluffy just like we aimed for? Don’t keep your success a secret! Please hop down to the comments section below and tell us everything. Did you serve it with soup, or did you slather it in butter while it was still warm?
We absolutely love seeing your creations, so if you snapped a picture of your golden loaves, please tag us on Instagram! Sharing your baking journey encourages everyone else who might be hesitant to try their first Homemade French Bread Recipe. Remember, the goal isn’t perfection; it’s just enjoying the process and celebrating the delicious outcome. If you ever have questions, or just want to share some praise for a baker friend, you can always reach out directly through our Contact page. Keep baking—you’re doing amazing!
PrintEasy Homemade French Bread Recipe for Soft and Crusty Loaves
You can make amazing, truly soft fluffy French bread at home with simple ingredients. This easy step-by-step recipe guides you to a golden, crusty loaf perfect for dinner or sandwiches, ready in under two hours.
- Prep Time: 20 min
- Cook Time: 25 min
- Total Time: 1 hour 55 min
- Yield: 2 loaves
- Category: Bread
- Method: Baking
- Cuisine: French
- Diet: Vegetarian
Ingredients
- 3 cups all-purpose flour
- 1 teaspoon salt
- 1 packet (2 1/4 teaspoons) active dry yeast
- 1 1/4 cups warm water (about 105-115°F)
- 1 tablespoon sugar
- 1 egg white, lightly beaten (for wash)
- 1 teaspoon water (for wash)
Instructions
- In a large bowl, mix the warm water, sugar, and yeast. Let this stand for 5 to 10 minutes until foamy. This shows your yeast is active—give yourself a high-five for starting right!
- Add the flour and salt to the yeast mixture. Mix with a wooden spoon until a shaggy dough forms.
- Turn the dough out onto a lightly floured surface. Knead for 5 to 7 minutes until the dough is smooth and elastic. You are building structure now; feel that dough firm up!
- Place the dough in a lightly oiled bowl, turning to coat. Cover the bowl with plastic wrap or a clean kitchen towel. Let it rise in a warm spot for 60 to 90 minutes, or until it has doubled in size. Patience pays off!
- Gently punch the dough down to release the air. Divide the dough in half. Shape each half into a long, even loaf, about 12 to 14 inches long.
- Place the shaped loaves on a baking sheet lined with parchment paper. Cover loosely and let them rest for a second rise for 30 minutes.
- Preheat your oven to 400°F (200°C). Place a shallow pan on the bottom rack to hold water for steam.
- Mix the egg white and 1 teaspoon of water to create the egg wash. Lightly brush the tops of the loaves with the wash. Score the tops of the loaves with three diagonal cuts using a sharp knife.
- Carefully pour about 1/2 cup of hot water into the shallow pan on the bottom rack to create steam. Immediately place the baking sheet with the bread into the oven.
- Bake for 20 to 25 minutes, or until the loaves are golden brown and sound hollow when tapped.
- Remove the bread from the oven and let it cool on a wire rack before slicing. Enjoy that bakery style crunch!
Notes
- For an extra crusty exterior, you can lightly spritz the loaves with water every five minutes during the first 15 minutes of baking.
- If you want a softer crust, skip the egg wash entirely.
- This recipe is great for making bread for sandwiches or serving alongside dinner.
Nutrition
- Serving Size: 1 slice
- Calories: 140
- Sugar: 1
- Sodium: 250
- Fat: 1
- Saturated Fat: 0
- Unsaturated Fat: 1
- Trans Fat: 0
- Carbohydrates: 29
- Fiber: 1
- Protein: 4
- Cholesterol: 0