

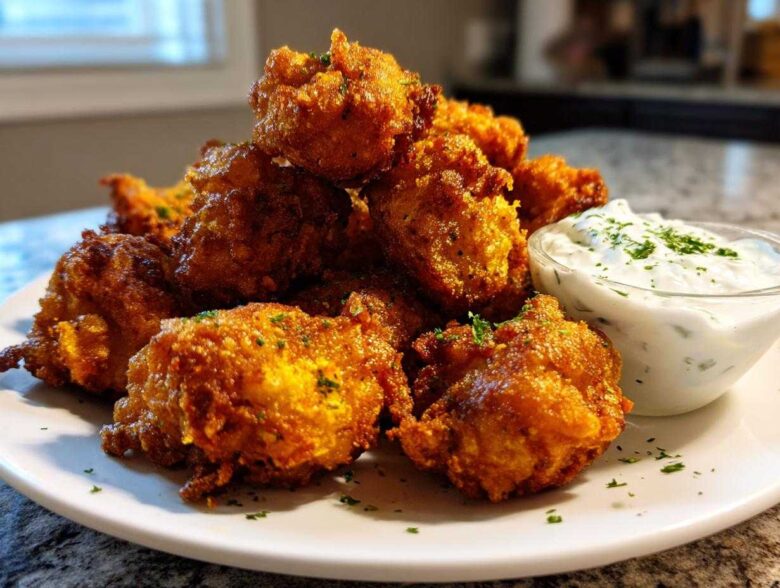
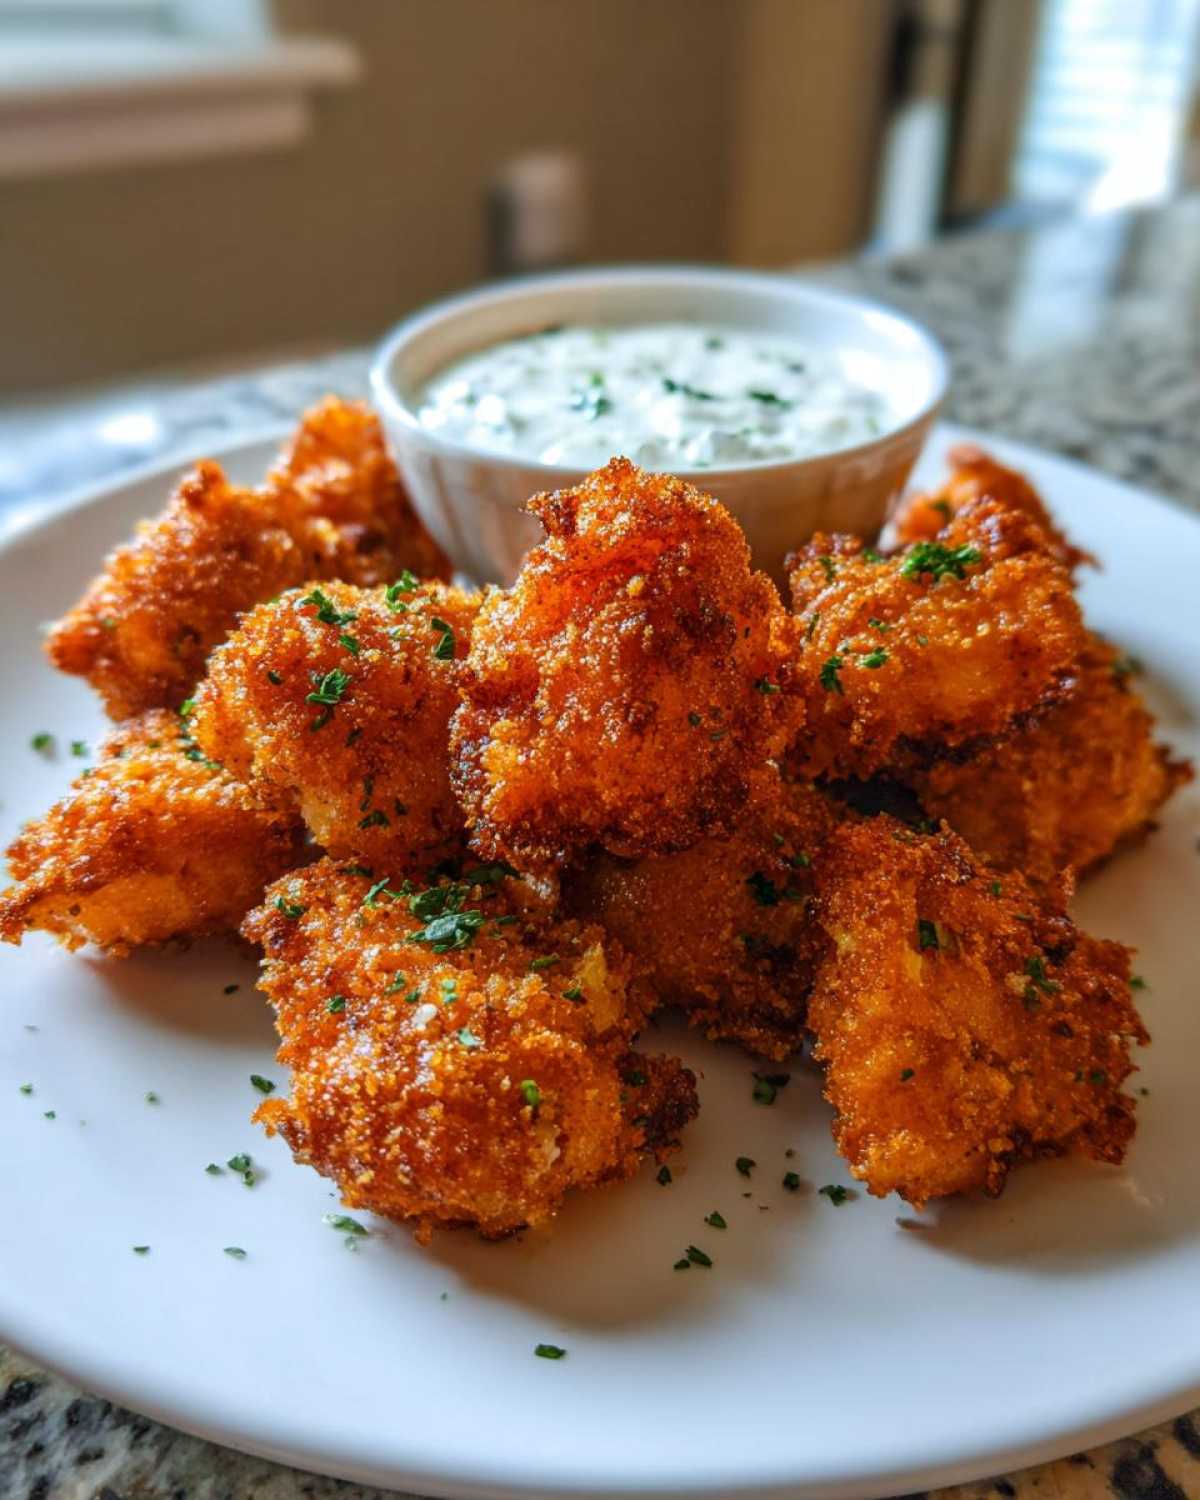
Okay, listen to me, if you think you know chicken appetizers, get ready to rethink everything. I have spent *years* figuring out how to get that perfect shattering crunch without turning the inside dry, and I finally cracked the code for these **Crispy Chicken Fritters with Garlic Yogurt Sauce**! Seriously, the secret is mostly in the coating—we aren’t messing around with sad, thin batters here. We need texture, baby. This recipe gives you unbelievably golden, crunchy little patties packed with tender chicken, and honestly, the cool, tangy garlic yogurt sauce balances it out so perfectly. I almost gave up trying to get the panko to stick right, but trust me, once you see my dredging trick, you’ll never go back! If you want to experiment with that crispiness in other forms, check out my recipe for crispy baked chicken wings, but for fritters, frying is the way to go!
Why You Will Make Crispy Chicken Fritters with Garlic Yogurt Sauce Often
I know, I know, everyone promises ‘crispy,’ but these really deliver! Since I perfected this batch, they’ve become a staple for Friday night snacks. Here’s why I think you’re going to love whipping these up all the time:
- They nail that incredible texture contrast—seriously tender, slightly savory chicken inside, and that loud, satisfying crunch on the outside. That’s all thanks to the panko we use!
- The sauce is a total game-changer. It’s so fresh and zesty with the lemon and real garlic; it cuts right through the richness of that crispy coating perfectly.
- It’s lightning fast! From mixing the ground chicken to pulling them out of the oil, we’re looking at maybe 30 minutes total. Perfect for quick weeknight appetizers.
- These are incredibly family-friendly. Even my picky eater devours these, usually dipping them in the sauce with his eyes closed, I swear.
- You don’t need fancy cuts of meat; this uses simple ground chicken, making it really budget-friendly.
- They hold up surprisingly well if you need to make a batch ahead for a party—just reheat them quickly in a hot oven!
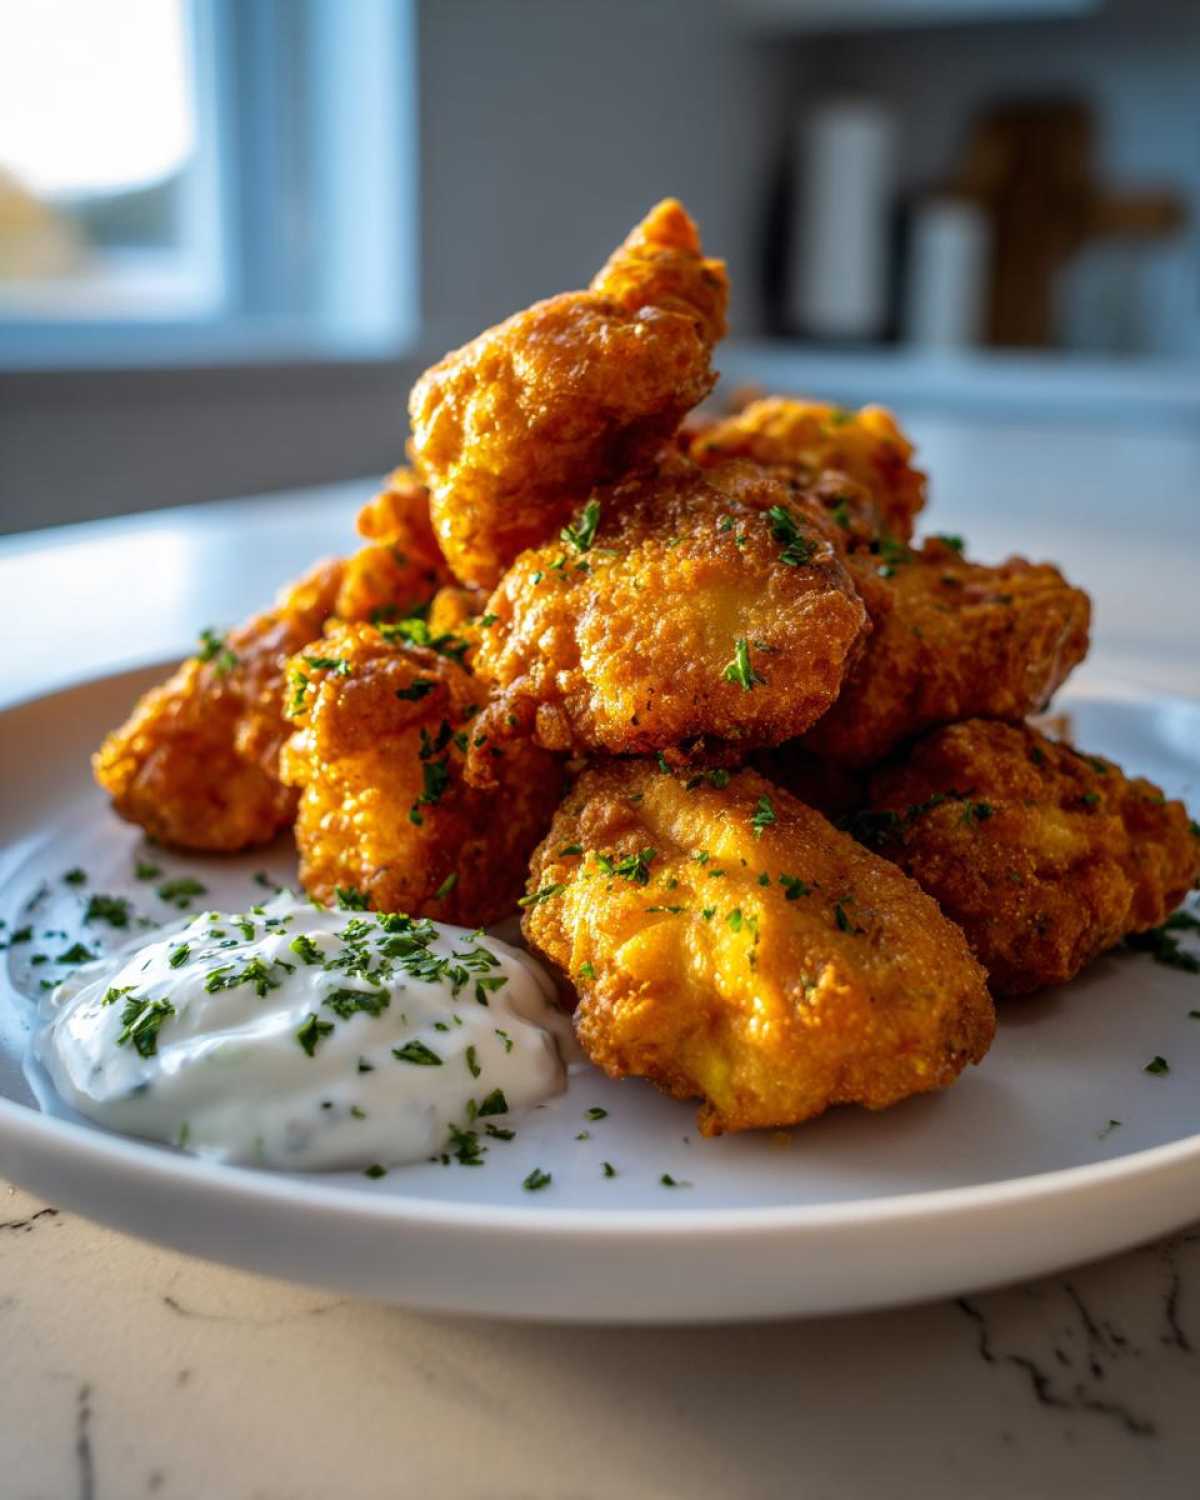
Gathering Ingredients for Crispy Chicken Fritters with Garlic Yogurt Sauce
Okay, before we start mixing and getting things coated, we have to make sure we have everything ready to go! You know how fussy frying can be—you don’t want to stop mid-dredge to hunt down the paprika. Grab your measuring cups; we’re organizing this mess nicely so the whole cooking process flows like a dream. We are splitting the list into the stuff that goes *in* the fritter and the stuff that makes our incredible dipping sauce.
For the Chicken Fritters
This is where the flavor and the crunch foundation is built. We’re using ground chicken because it’s so easy to work with, and we absolutely need that panko breading—don’t even think about using regular dried crumbs for this!
- 1 pound of good, honest ground chicken
- 1/2 cup of all-purpose flour (this helps the egg stick!)
- 1 teaspoon of salt (don’t skip this, it brings out the flavor!)
- 1/2 teaspoon of black pepper
- 1/2 teaspoon of paprika (for that gorgeous color)
- 1/4 teaspoon of garlic powder (flavor boost, right in the mix)
- 1 large egg, beaten lightly (just enough to coat, not scramble!)
- 1 cup of panko breadcrumbs—I mean every single flake!
- Vegetable oil, enough to give us about an inch deep for frying
For the Fresh Garlic Yogurt Sauce Recipe
This little sauce recipe is what takes these simple bites from ‘good’ to ‘I need the whole bowl for myself.’ It’s all about freshness here, so use real garlic, please!
- 1 full cup of plain Greek yogurt (use the thick stuff for the best results)
- 2 cloves of fresh garlic, minced up super fine—I mean tiny!
- 1 tablespoon of bright, fresh lemon juice
- 1 tablespoon of fresh parsley, chopped up nicely
- Just a tiny pinch of salt to season the whole mixture
Expert Tips for Perfect Crispy Chicken Fritters
Seriously, getting the crunch right is half the battle with any fried snack, but these fritters are so forgiving if you follow two simple rules. First, you absolutely must chill them! If you have an extra 15 minutes, place those fully breaded patties on a plate in the fridge. That chilling time helps the coating set up hard so it doesn’t fall off the second it hits the hot oil.
Second, make sure your oil temperature is accurate. If it’s too cold, they get greasy; if it’s way too hot, the panko burns before the interior cooks. You need that happy medium so the outside gets golden and crackly before the inside is done. If you love learning more about deep-fry texture secrets, you might enjoy the crunch methods in my guide to Korean fried chicken!
Achieving the Best Fried Chicken Coating
The key to that shatteringly crisp shell is getting tight contact between the panko and the chicken patty. Don’t just gently roll them in the breadcrumbs—that creates gaps! After you dip the patty in the egg, move it right into the panko. Now, use both hands and physically press that breadcrumb mixture onto the top and bottom firmly. We want those panko flakes to embed themselves right into the meat mixture. This solid coating prevents sogginess!
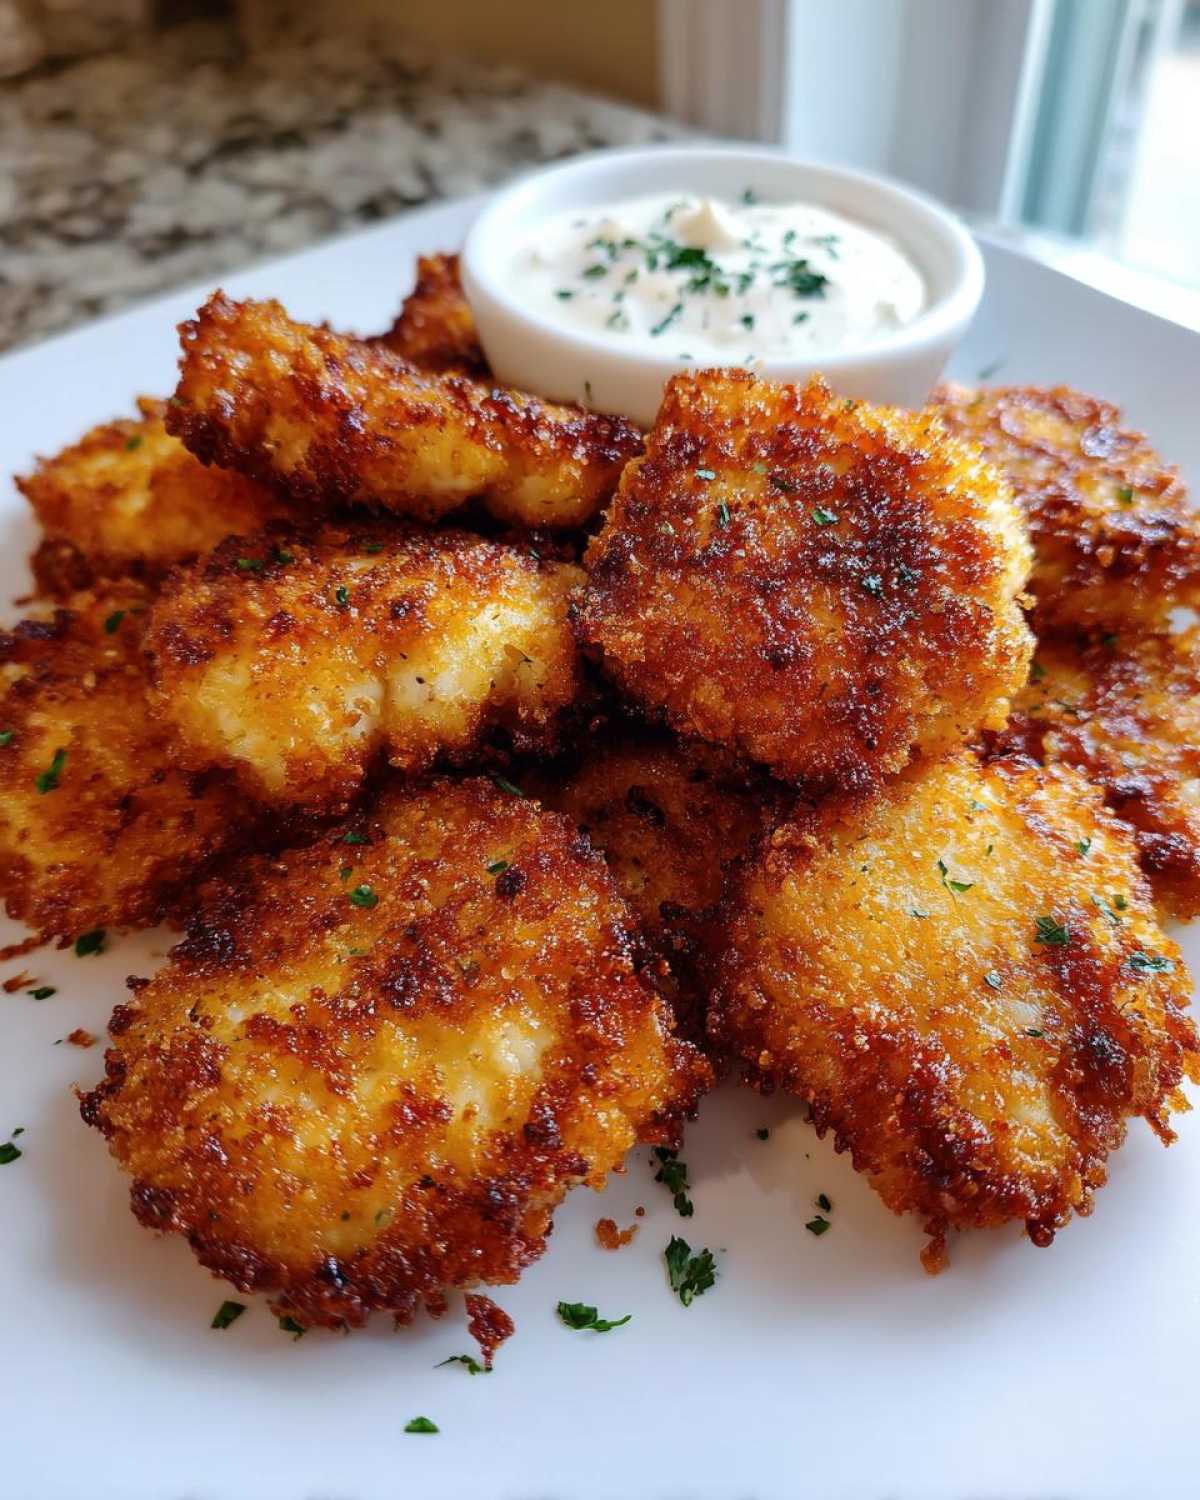
Step-by-Step Instructions for Crispy Chicken Fritters with Garlic Yogurt Sauce
Alright, time to roll up those sleeves! Frying can seem intimidating, but when you have everything set up in an assembly line—flour mixture, egg wash, panko—it goes by so fast. You want to move quickly so the coating stays nice and dry before it hits the oil. Make sure you’ve got a good thermometer handy; getting the oil temperature right is non-negotiable for that perfect golden crunch. Trust me, once you get the hang of this flow, you’ll be making these honey garlic chicken bits any time you need a snack!
Preparing the Chicken Mixture and Patties
Grab a medium bowl for the ground chicken. Toss in your flour, salt, pepper, paprika, and garlic powder first. Now, mix it all together until it’s just barely combined. If you overwork that ground chicken, your fritters will turn tough and dense, and we want them tender! Once combined, scoop out small amounts and gently form them into flat patties, nothing thicker than about half an inch. Keep those patties small so they cook quickly all the way through.
Coating and Frying Your Crispy Chicken Fritters
Set up your dredging station: egg in one dish, panko in the other. Dip each patty first into that beaten egg, letting the excess drip off for just a second, then press it hard into the panko to get a full, tight coating. Carefully lower the coated fritters into oil heated to exactly 350°F (175°C). Let them fry for about 3 to 4 minutes on each side until they look deeply golden brown and cooked through. Pull them out immediately and put them on a wire rack lined with paper towels—this lets the air circulate so the bottoms don’t steam up and get soggy!
Making the Easy Yogurt Dipping Sauce
While those beautiful fritters are cooling down just a touch on the rack, whip up the sauce. In a small bowl, just stir together that thick Greek yogurt, the finely minced fresh garlic, the bright lemon juice, and the chopped parsley. Give it a quick taste and add just that pinch of salt we talked about. Mix it until it’s smooth and creamy. That’s it! Serve those hot, crispy bites right away with this cool, fresh sauce.
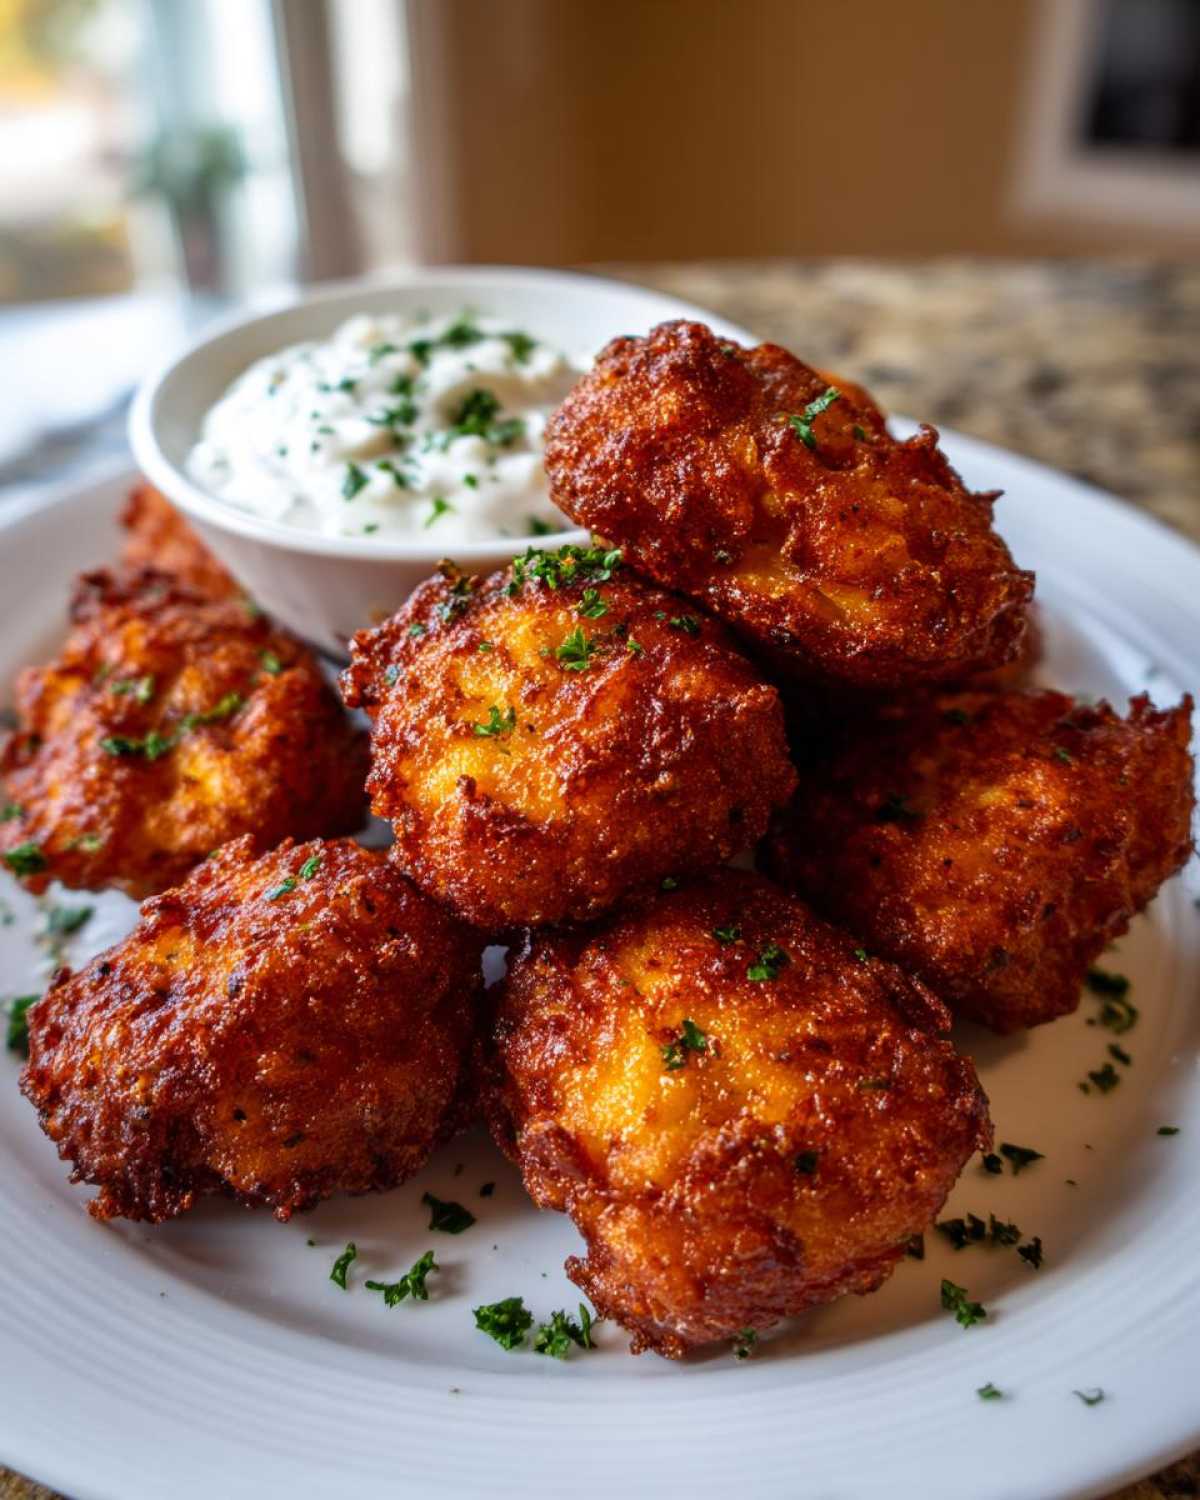
Alternative Cooking Methods for Chicken Fritters
Now, I have to be honest, for that absolute maximum, jaw-dropping crispiness, deep frying is the method I stand by. It’s fast, it gets the panko perfect, and it really seals in the moisture. But hey, I get it! Not everyone wants to deal with a whole pot of hot oil, or maybe you’re trying to lighten things up a bit. Good news: these fritters are incredibly versatile, so you can absolutely bake them or even pop them in the air fryer if you want a slightly healthier spin on this **homemade chicken snack**.
If you’re thinking about going the air fryer route, you are in for a treat because those machines are amazing at crisping things up without drowning them in fat. I’ve used my air fryer for everything from veggies to little chicken snacks, and it works like a charm. If you want to see how I get things super crunchy in mine, check out my air fryer gnocchi recipe—the principles are the same!
Let’s talk oven time first. If you’re baking these, the key is high heat and planning for a flip. You want to preheat your oven to a nice hot 400°F (200°C). Lay the coated patties out on a wire rack set over a baking sheet—this helps air circulate underneath so they don’t steam and get soggy on the bottom. You’ll bake them for about 15 to 20 minutes total, but you absolutely must flip them halfway through to make sure both sides get nice and golden brown.
For the air fryer, we’re going slightly lower temperature just so the outside doesn’t burn before the ground chicken cooks completely. Set your air fryer to 375°F (190°C). You’ll place the fritters in a single layer—don’t cram the basket!—and cook them for about 10 to 12 minutes. Give them a quick shake or flip halfway through, and you’ll pull out something very close to the fried version, maybe just a little less oily. Either way, you get that great **tender inside crispy outside chicken**!
Ingredient Notes and Substitutions for Your Crispy Chicken Recipe
We’ve talked about the *how* to get them crispy, but let’s quickly chat about the *what* we are using, because ingredient tweaks can make or break a good **crispy chicken recipe**. I designed this recipe specifically around ground chicken because it’s lean and mild, which lets the spices and that amazing panko coating really shine through. But hey, I know sometimes you’ve only got something else in the fridge, right? No judgment here, friend!
The most important thing to remember is that ground meat needs binding, so whether you swap the chicken out or not, the egg and the flour are staying put to hold everything together.
Swapping Ground Chicken for Turkey
If you swap out the ground chicken for ground turkey—and you totally can, because turkey mince is super common—just know that turkey tends to be just *slightly* leaner than chicken. This means you might find your patties are a tiny bit more crumbly when you form them. It’s nothing major, but if you notice them falling apart when you go to dredge them, just wet your hands a little bit when you’re shaping your patties. A little moisture helps bind those loose meat particles together before they get their crumb jacket on!
Why We Insist on Panko for This Coating
Can you use regular breadcrumbs? Technically, yes, you *could*. But if you are aiming for the absolute best, crunchiest version of these **simple savory fritters**, you have to use Panko. Regular breadcrumbs are dried and fine; they absorb oil quickly and tend to brown up fast, sometimes leading to a hard, rock-like crust.
Panko, on the other hand, originates from crustless bread and is flaked, not crumbled. Those big, airy flakes create little pockets when they fry. This is why you get that beautiful, light, super-shattering outer texture rather than a dense, heavy shell. It’s the difference between a good **diner style chicken appetizer** and the one you’ll write home about!
Boosting the Fresh Garlic in the Sauce
My recipe calls for two cloves of minced garlic in the sauce, but if you are making these for serious garlic lovers, you know what to do! Taste your yogurt base after mixing in the first two cloves. If you want that punch of flavor to really sing, you can grate a tiny bit of raw garlic on a microplane zester and stir that paste in. Be careful though; fresh garlic can be potent, and you don’t want it to totally overpower the bright lemon juice. This little bit of extra fresh flavor really sets apart a homemade dip.
Serving Suggestions for Homemade Chicken Snacks
Okay, so you’ve got a mountain of these gorgeous, golden **crispy chicken fritters**, and you’ve got that little bowl of bright garlic yogurt sauce next to them. Amazing! But what else are we serving? You can dump them on a plate and call it a win—nobody would stop you—but if you want to turn these into a real spread, or just balance out the richness of that deep-fried coating, you need something fresh and crunchy on the side. We need contrast!
I love thinking about these as a game-day appetizer platter or maybe even a lighter lunch when paired with a really crisp, cool salad. The crunch factor is high with these fritters, so we need textures and flavors that complement that without trying to compete with it. Something creamy and cool, or something zingy and acidic works every time to break up the savory fried goodness.
The Perfect Crunchy Side Salad Pairing
If I’m making these as part of a bigger meal, I always pivot to something that has a lot of freshness, but nothing too heavy that will weigh everyone down. A slaw or a simple green salad is perfect. You want crisp lettuce, maybe some snap peas, or even thin slivers of bright red cabbage. This makes your **simple savory fritters** feel a little more balanced.
My absolute go-to when I’m serving these fritters is a bright broccoli salad. The crunchy raw broccoli mixed with maybe a little dried cranberry and some sunflower seeds just sings next to the savory chicken. It gives you that extra layer of texture that keeps things interesting between dips! If you are looking for a fantastic, crunchy side that everyone loves, you absolutely have to try my favorite broccoli salad recipe; it takes about ten minutes and it’s perfect for cooling down a palate full of fried food.
Turning Fritters into a Light Meal
Sometimes these aren’t just appetizers—sometimes they are the whole show! For a really satisfying yet easy family dinner, serve them tucked into warm pita bread or soft flour tortillas. Think of them like a deconstructed chicken taco filling. You load up the bread with a few fritters, drizzle on extra garlic yogurt sauce, and then top it all with some tangy pickled red onions or maybe a few shreds of crisp romaine lettuce.
Piling them into a pita keeps the hands-on experience fun, which is great for kids transitioning from snack time to dinner time. It also lets you use up more of that amazing yogurt sauce! Another easy lunch idea is serving one or two fritters over a bed of mixed greens, drizzled lightly with the sauce—it’s basically a quick, delicious chicken garden salad!
Dips Beyond the Garlic Yogurt
While our **fresh garlic sauce** is truly the MVP here, it’s fun to offer a little variety on your serving platter, especially if you have folks with different tastes. Keep it simple, though; no need for ten bowls.
If you want something warm and richer, a classic honey mustard works wonders with chicken. For something zingier, try whipping up a quick chili-lime mayo—just mayo, a squeeze of lime juice, and a tiny dash of your favorite hot sauce. Sometimes I even keep a little bowl of homemade sweet chili sauce nearby. Because these fritters are already so savory and flavorful, the dipping sauces should either match that savory note or provide a sharp, acidic contrast.
Storage and Reheating Instructions for Leftover Chicken Fritters
Oh, the agony of having leftover crispy perfection! Seriously, I often bake a double batch just so I can have a few the next day for lunch. The trick here is handling them correctly right from the start, because nobody wants a soggy, sad excuse for a leftover fritter the next morning!
The absolute biggest thing I can tell you about storing these is that refrigeration is your only friend for the short term, but they have to be stored correctly to keep that crunch intact as long as possible. If you have a bunch left over from making this **easy chicken recipe**, don’t just throw them in a plastic container. That traps moisture underneath, and we all know what moisture does to a crispy coating—it ruins it!
Best Way to Store Your Chicken Fritters
When you’re done frying, make sure those fritters are completely cooled down on that wire rack before you even look at putting them away. They need to lose every bit of steam.
Once they’re cool, grab an airtight container, but here’s the sneaky part: line the bottom with a paper towel. This first layer wicks away any residual moisture. Then, place your fritters inside, but try not to stack them too tightly. If you have a lot, use parchment paper or wax paper layers between stacks. This keeps them from touching and steaming each other. Stored this way, they should stay good in the fridge for about three to four days, tops.
How to Reheat and Bring Back the Crunch
Listen, microwaving these is an absolute last resort punishable by stale breading. We are achieving that crunchy coating, and the microwave is the enemy of crunch! The best way to revive leftover **crispy chicken bites** is to use heat that can wick away moisture faster than it can reheat the center, and that means skipping the microwave entirely.
My top recommendation, always, is the oven. Preheat your oven—or toaster oven, which works even better for small amounts—to a medium-high heat, say 375°F (190°C). Spread the cooled fritters out on a baking sheet, ideally on a wire rack again if you have one handy. Pop them in there for about 8 to 10 minutes. You’ll see the crust firm up and get that golden color back almost immediately. That high, dry heat shocks the moisture out of the coating and makes them taste like they just came out of the fryer!
If you are in a massive hurry, the air fryer is fantastic for reheating, too! Set it to 350°F (175°C) and cook them for just 4 to 6 minutes. They get hot fast, and the circulation ensures they crisp up beautifully on all sides. Either way, they will taste way better than any store-bought **quick chicken appetizer** reheated!
Frequently Asked Questions About Crispy Chicken Fritters
Can I make the Garlic Yogurt Sauce ahead of time?
Oh, absolutely, and I highly recommend it! Making the sauce ahead of time is one of those great little organizational secrets that makes serving these **quick chicken appetizers** seamless. The flavors, especially the raw garlic, actually get a little nicer and meld together after about an hour in the fridge. You can mix up the entire **garlic yogurt sauce recipe** and keep it covered in the refrigerator for up to three days. Just give it a quick stir before you serve it, since the yogurt might naturally thicken up slightly when it’s cold!
What makes these the Best Fried Chicken Coating?
It’s all about the Panko breadcrumbs, hands down. I know some folks grab any old breadcrumbs they have, but for this **crispy chicken recipe**, you need the crisp factor that only Panko delivers. Regular breadcrumbs are dry and dense, and they tend to absorb oil quickly and get heavy. Panko flakes are bigger, airier, and they create sharp little shards when they hit that hot oil. That’s why when you check out my tips for getting the **best fried chicken coating**, Panko is always the star. It’s the difference between a good **diner style chicken appetizer** and the one you’ll write home about!
How do I ensure my fritters stay Tender inside crispy outside?
This is the million-dollar question for all things fried! It comes down to temperature control during the actual frying process. If your oil temperature is too low—say, below 325°F—the fritter dough will just sit there absorbing oil like a sponge until it gets greasy and soggy before the chicken even starts to cook. If the oil is too high, 400°F or more, the crust burns way too fast, leaving your center raw.
You need that sweet spot right around 350°F (175°C). This temperature is hot enough to instantly crisp up that panko coating, creating that firm shell protecting the inside, but steady enough to allow the heat to gently cook the ground chicken through in about 6 to 8 minutes total. Don’t rush them, and make sure you use a thermometer; this precise cooking time guarantees that beautiful **tender inside crispy outside chicken**!
Can I freeze these chicken fritters?
Yes, you can definitely freeze them, which is great for making a big batch of these **family friendly chicken dinner ideas** ahead of time! The absolute best way to freeze them is *after* they are fully cooked and cooled down, just like we talked about for short-term storage. Place the cooled fritters in a single layer on a baking sheet and freeze them solid for an hour or two. Once they are hard little pebbles, transfer them into a freezer-safe bag or container, making sure to put parchment paper between any layers. They’ll keep well for about two months. You can reheat them straight from frozen in a 400°F oven for about 15 minutes until piping hot!
What are some other great ways to serve these chicken bites?
While the garlic yogurt sauce is my number one favorite pairing for these **crispy chicken bites**, sometimes you want to serve them up a little differently, especially if you’re making a full spread for game day. If you need a fun, healthier way to serve up chicken, you should check out my recipe for chicken lettuce wraps—it’s a completely different texture but just as satisfying! For serving the fritters, though, think about keeping things fresh. I often set up a little ‘bar’ where people can pile their fritters into warm pita bread, adding maybe some chopped tomato and a drizzle of the sauce. They also make fantastic leftovers when turned into a light lunch salad topped with your favorite vinaigrette.
PrintCrispy Chicken Fritters with Garlic Yogurt Sauce

Make tender chicken fritters with a very crispy coating and serve them with a simple, fresh garlic yogurt dipping sauce.
- Prep Time: 15 min
- Cook Time: 15 min
- Total Time: 30 min
- Yield: 4 servings
- Category: Appetizer
- Method: Frying
- Cuisine: American
- Diet: Low Fat
Ingredients
- 1 lb ground chicken
- 1/2 cup all-purpose flour
- 1 teaspoon salt
- 1/2 teaspoon black pepper
- 1/2 teaspoon paprika
- 1/4 teaspoon garlic powder
- 1 large egg, lightly beaten
- 1 cup panko breadcrumbs
- Vegetable oil, for frying
- 1 cup plain Greek yogurt
- 2 cloves garlic, minced
- 1 tablespoon lemon juice
- 1 tablespoon fresh parsley, chopped
- Pinch of salt for sauce
Instructions
- In a medium bowl, combine the ground chicken, flour, salt, pepper, paprika, and garlic powder. Mix until just combined.
- Place the lightly beaten egg in one shallow dish and the panko breadcrumbs in another shallow dish.
- Form the chicken mixture into small, flat patties, about 1/2 inch thick.
- Dip each patty first into the egg, letting excess drip off, then press firmly into the panko breadcrumbs to coat both sides completely.
- Pour about 1 inch of vegetable oil into a deep skillet or pot and heat to 350°F (175°C). Use a thermometer to check the temperature.
- Carefully place the coated fritters into the hot oil, ensuring not to overcrowd the pan. Fry for 3 to 4 minutes per side, until golden brown and cooked through.
- Remove the fritters and place them on a wire rack lined with paper towels to drain excess oil.
- While the fritters drain, prepare the sauce: In a small bowl, mix the Greek yogurt, minced garlic, lemon juice, chopped parsley, and a pinch of salt. Stir well.
- Serve the hot, crispy chicken fritters immediately with the garlic yogurt sauce for dipping.
Notes
- For extra crispiness, chill the coated fritters in the refrigerator for 15 minutes before frying.
- If you prefer not to fry, you can bake these at 400°F (200°C) for 15-20 minutes, flipping halfway, or use an air fryer at 375°F (190°C) for 10-12 minutes.
- You can substitute ground turkey for ground chicken if desired.
Nutrition
- Serving Size: 3 fritters with 2 tbsp sauce
- Calories: 350
- Sugar: 4
- Sodium: 450
- Fat: 18
- Saturated Fat: 4
- Unsaturated Fat: 14
- Trans Fat: 0
- Carbohydrates: 20
- Fiber: 1
- Protein: 28
- Cholesterol: 95