

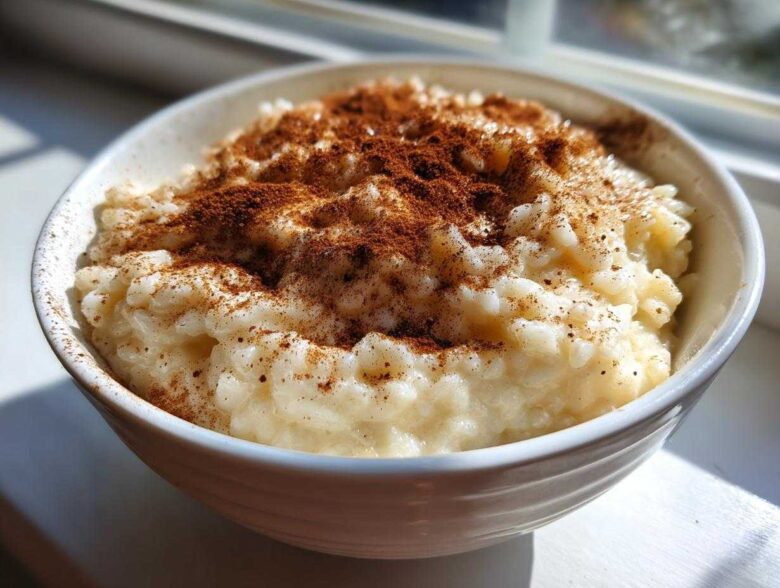
If I’m being honest, sometimes I just need food that feels like a warm hug. You know those meals that don’t need fifty fancy ingredients or a whole afternoon of fuss? That’s exactly what we’re making today. This Old-Fashioned Creamy Stovetop Rice Pudding proves that the very best comfort food comes from simplicity. When I first tried making rice pudding, I stressed so much about getting the consistency just right—it was all pressure, no fun!
But Simon always reminds me that the kitchen is for joyful memories, not passing tests. That philosophy is why we started Kitchn Kudos—we want you to praise your wins! You can read a little more about that journey over on our About Us page. This recipe has just five ingredients, making it an instant win for everyone! We don’t strive for edible sculptures here; we strive for deliciousness, and this pudding delivers that perfectly creamy, deeply nostalgic flavor every single time. It’s just pure, easy joy in a bowl.
Why This Old Fashioned Rice Pudding Delivers Ultimate Comfort
Sometimes you just need that dessert flavor that instantly sends you back to childhood, right? That’s what this recipe is all about! We promise this creamy version is pure magic. It’s one of those Nostalgic Sweet Treats that feels earned but is actually ridiculously easy to make on the stovetop. We focus on that glorious texture so you can celebrate another kitchen success! If you want to see more of our favorite joyful recipes, check out the main blog.
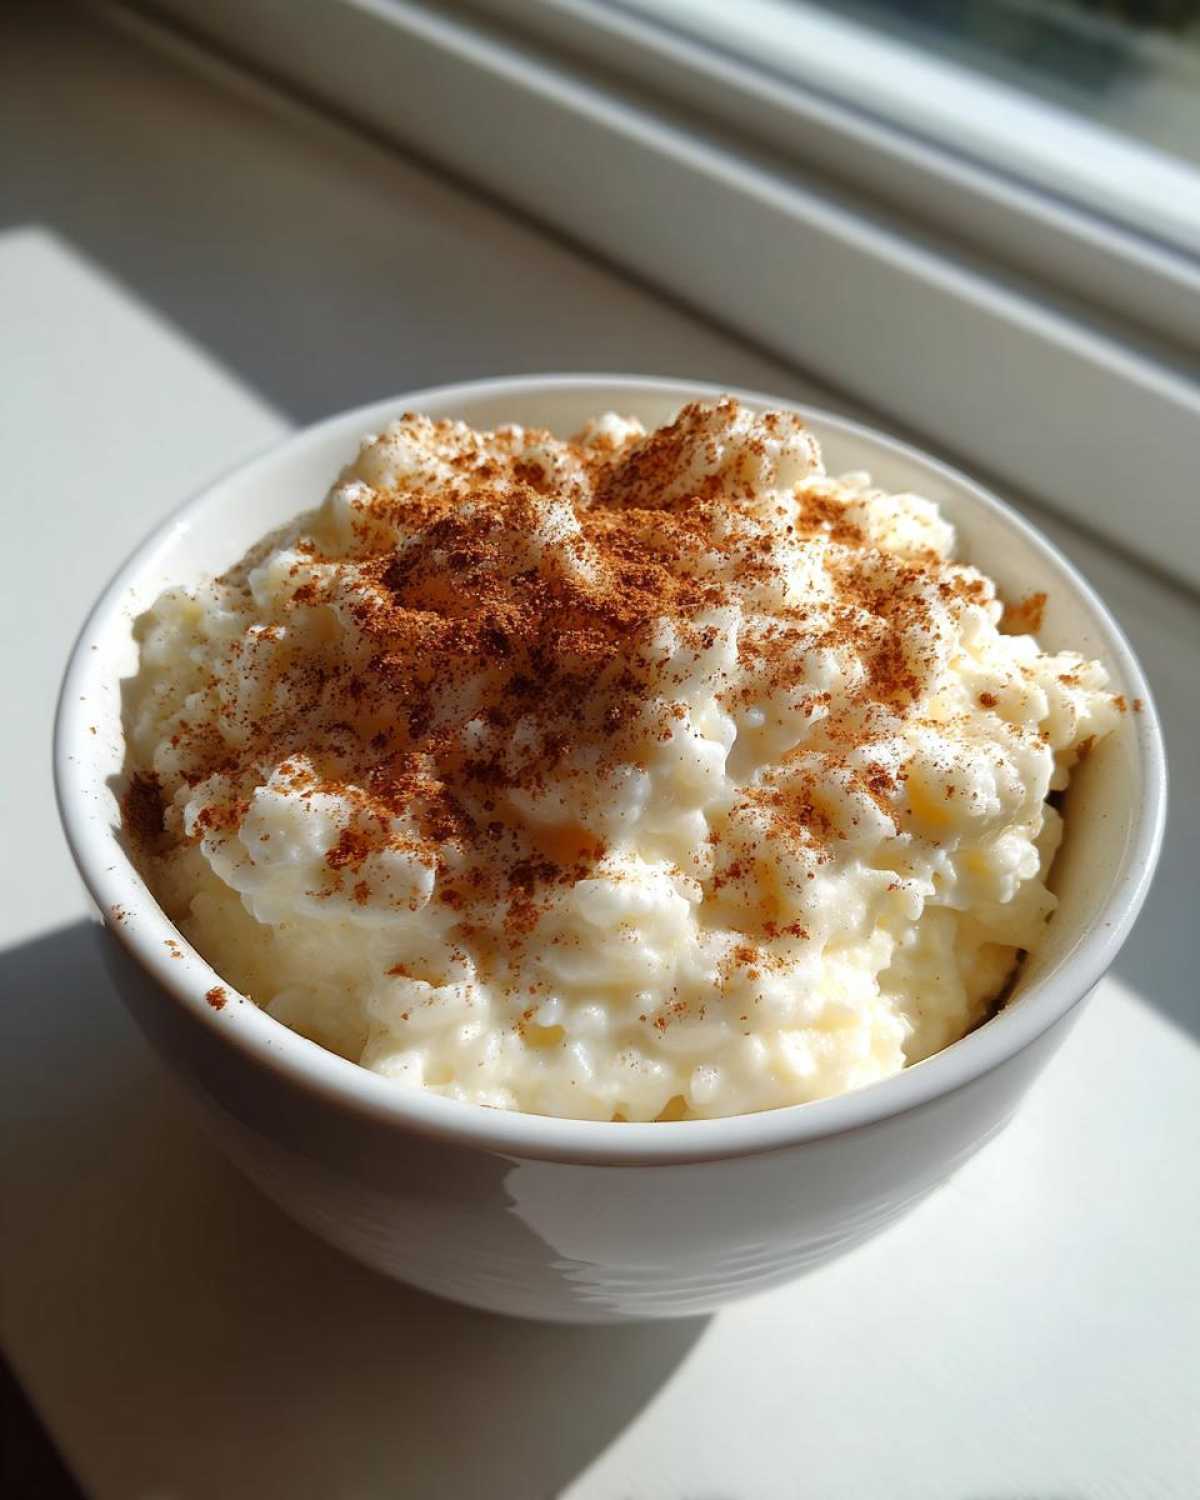
Key Benefits of Our Creamy Rice Pudding Recipe
- It achieves the Best Rice Pudding Texture—so rich and smooth!
- Uses just five simple, classic ingredients.
- This is perfect for quick Comfort Dessert Ideas on a chilly night.
- The stovetop method is fast and requires zero oven fuss.
Gathering Ingredients for Your Simple 5 Ingredient Rice Pudding
Okay, I know I keep saying this, but you won’t believe how few things you actually need to pull off something this comforting. This recipe is designed to celebrate the ingredients you probably already have! Simon still laughs because when I’m stressed, I forget basic things, but with just five core items, there’s almost no room for error. We want that ultimate velvety richness, so let’s talk about why each item matters.
The Essential Pantry List
- 1 cup short-grain white rice (Arborio works well for creaminess)
- 4 cups whole milk
- 1/2 cup granulated sugar
- 1 teaspoon vanilla extract
- 1/2 teaspoon ground cinnamon (plus extra for topping)
Tips for Ingredient Selection and Substitutions
We absolutely must talk about the rice here. To nail that luxurious, Best Rice Pudding Texture we’re always aiming for, you need short-grain rice. It releases more starch as it cooks, which is what thickens and enriches the whole mixture beautifully—no need for cornstarch tricks here! If you want to treat yourself and make your pudding even more decadent, remember that little note in the recipe details? Swapping out half a cup of the whole milk for heavy cream gives you an incredible boost of richness. Go on, treat yourself; you deserve the kudos for that upgrade!
Step-by-Step Instructions for Stovetop Rice Pudding
I know standing by the stove can feel tedious, but trust me, every gentle stir is a step toward the ultimate Creamy Rice Pudding Recipe! Think of this time as your little kitchen meditation session. Simon always turns up the music here, and we just stir patiently, celebrating the slow transformation of milk and rice into something wonderful. This process is where the magic happens for this classic stovetop dessert.
Initial Prep and Gentle Simmer
First things first: let the rice get acquainted with the milk. Combine the rice and the whole milk in a heavy-bottomed saucepan and let it hang out for about 15 minutes. Giving it that little soak starts the process gently. Then, place it over medium heat. Now, this is important: you must stir frequently here! We’re trying to encourage the liquid to warm up evenly and stop that rice from clinging to the bottom and burning. Once you see those tentative bubbles—a gentle simmer—we’re ready for the next win!
Achieving the Creamy Rice Pudding Texture
Drop that heat way down low! This is where patience earns you kudos. You need to continue cooking for a good 40 to 50 minutes. Keep stirring every five or seven minutes. Don’t panic if it seems too runny at first; trust the process. You’re looking for a texture thick enough to really coat the back of your spoon after a while. When you pull the spoon out and the coating doesn’t immediately run off, that’s your cue! We want Warm Pudding Desserts bliss, not soup, so keep going until it feels right.
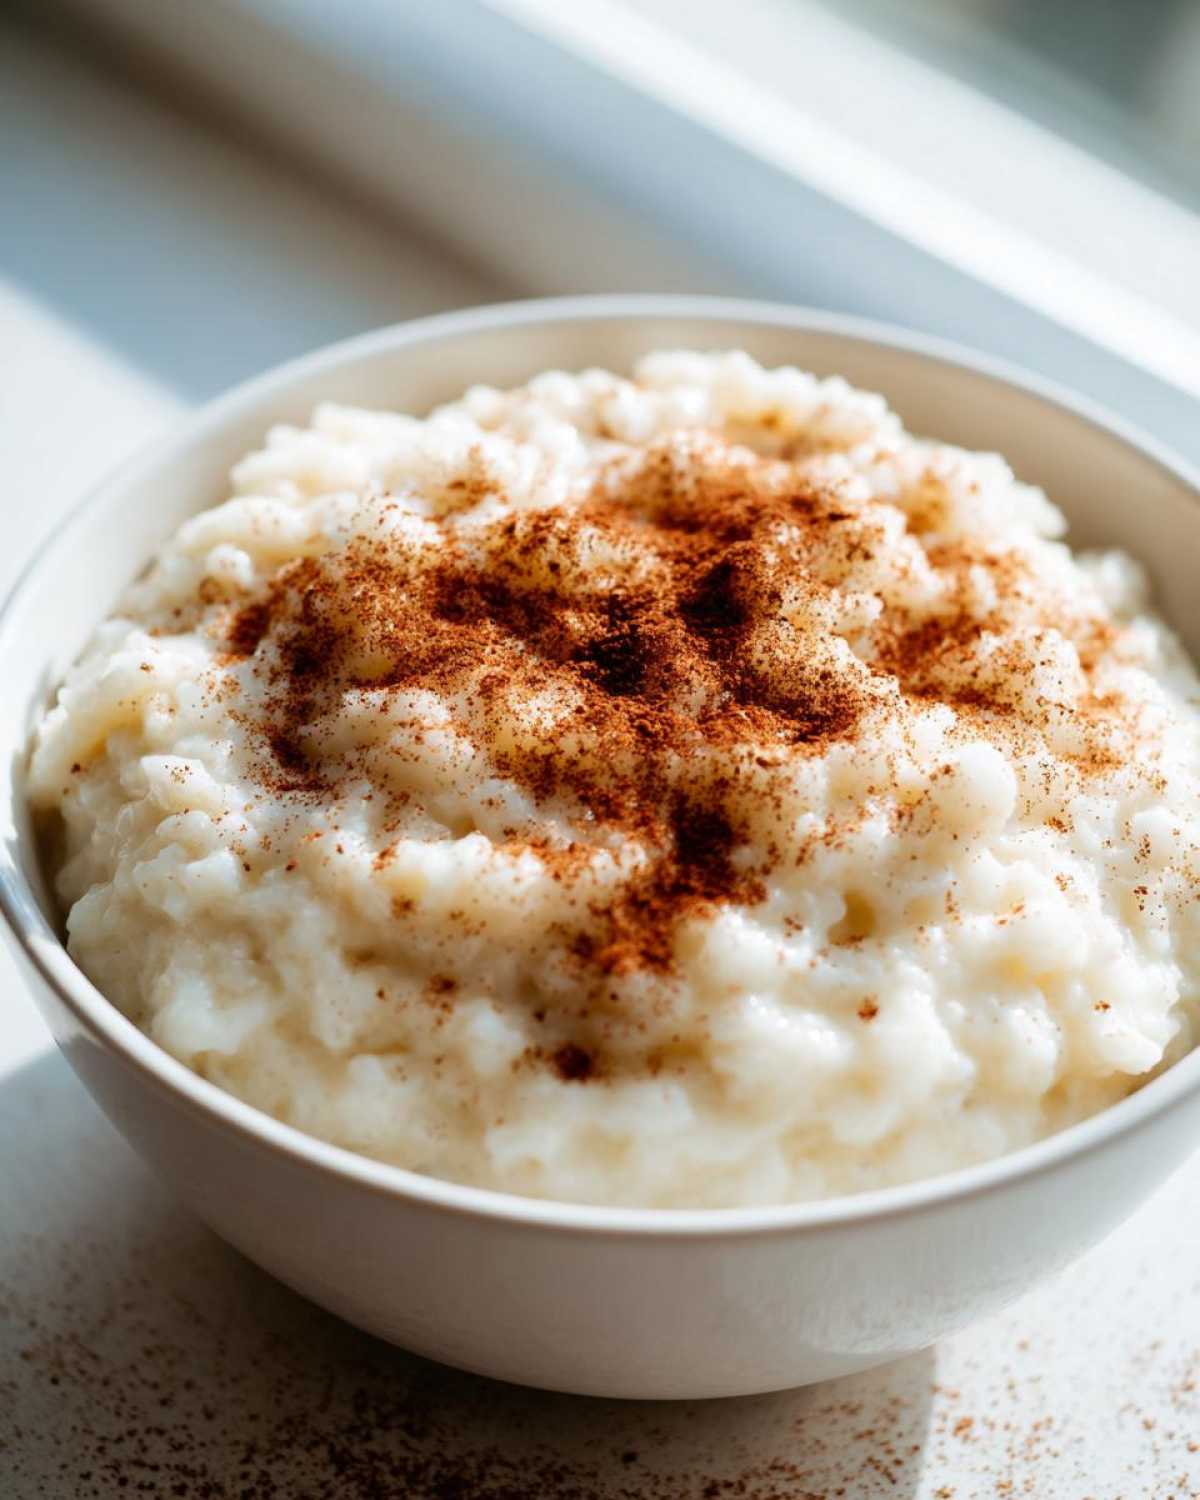
Finishing and Serving Your Rice Pudding
Take the pan off the heat right away! Now you’ve earned the flavor additions—stir in your sugar and that lovely vanilla extract until everything dissolves smoothly. If you’re planning to eat it later, here’s a professional tip: press a piece of plastic wrap directly onto the surface of the pudding before you chill it. That direct contact stops that stubborn skin from forming overnight. Enjoy it warm right now, or tuck it away for later! You nailed the cooking phase, so go ahead and give yourself a high-five! Find more ideas for Easy Homemade Pudding over here at this link.
Flavor Variations for Your Classic Dessert Recipes
We’ve got our beautiful, simple base, but sometimes you just want to jazz things up a little, right? Making this Vanilla Cinnamon Pudding is so flexible. It’s the perfect base for adding little bursts of extra flavor—think of it as celebrating the finished product with a little bonus round! We don’t need much to elevate it, just small, thoughtful additions.
Adding Warm Spice to Your Rice Pudding
If you’re looking to deepen that cozy feeling, don’t be shy with the spices mentioned in the notes! A tiny pinch of nutmeg blended in with your cinnamon offers a gorgeous, autumnal warmth that pairs so well with the milk and vanilla. Or, if you prefer a bit of chew, throw in a small handful of raisins during the last ten minutes of cooking. I always suggest soaking those raisins first, just to keep them juicy and prevent them from stealing moisture from your pudding. See? Small tweaks, huge payoff! That deserves some praise!
Making Ahead and Storing Your Creamy Rice Pudding
One of the best things about this kind of cozy food is that it lets you win twice: once when you make it, and again when you have leftovers! This is a fantastic Make Ahead Dessert. If you chill it completely, it will definitely firm up—that’s just the nature of creamy starch setting in the fridge. Don’t worry if it seems too dense when you pull it out the next day; that’s totally normal!
When you’re ready to enjoy your leftovers, just stir in a splash—maybe a couple of tablespoons—of whole milk while gently reheating it on the stovetop or even in the microwave. That little bit of liquid brings back the perfect, smooth consistency we worked so hard for. You can find my notes on handling leftover rice (though we prefer cooking it fresh!) in my recipe for chicken and rice casserole, but for pudding, just remember: add a tiny bit of milk before serving. Kudos to you for planning ahead!
Tips for Perfect Old Fashioned Rice Pudding Every Time
Okay, let’s talk about dodging the pitfalls! Making that perfectly creamy, luscious spoonful of Old Fashioned Rice Pudding comes down to a couple of key habits at the stove. Simon calls these my “non-negotiables.” If you follow these little cheers for success, you’ll avoid flat, gluey pudding every time. We want creamy bliss, not sinker material, right?
First, heat control is everything. Once you hit that gentle simmer, you absolutely *must* turn it down low. If you let it boil hard, the rice cooks too fast and puffs up before the starches can emulsify into the milk. Keep it happy, keep it slow. Second, keep stirring, especially toward the end. You don’t need to whisk constantly like crazy, but those frequent stirs stop the rice from settling and scorching on your pan bottom. That scorched flavor is the one thing that ruins a perfect batch! If you want to see how other people approach this classic dish, check out this favorite recipe from another great kitchen. Honestly, it’s worth praising your own patience when you nail this texture!
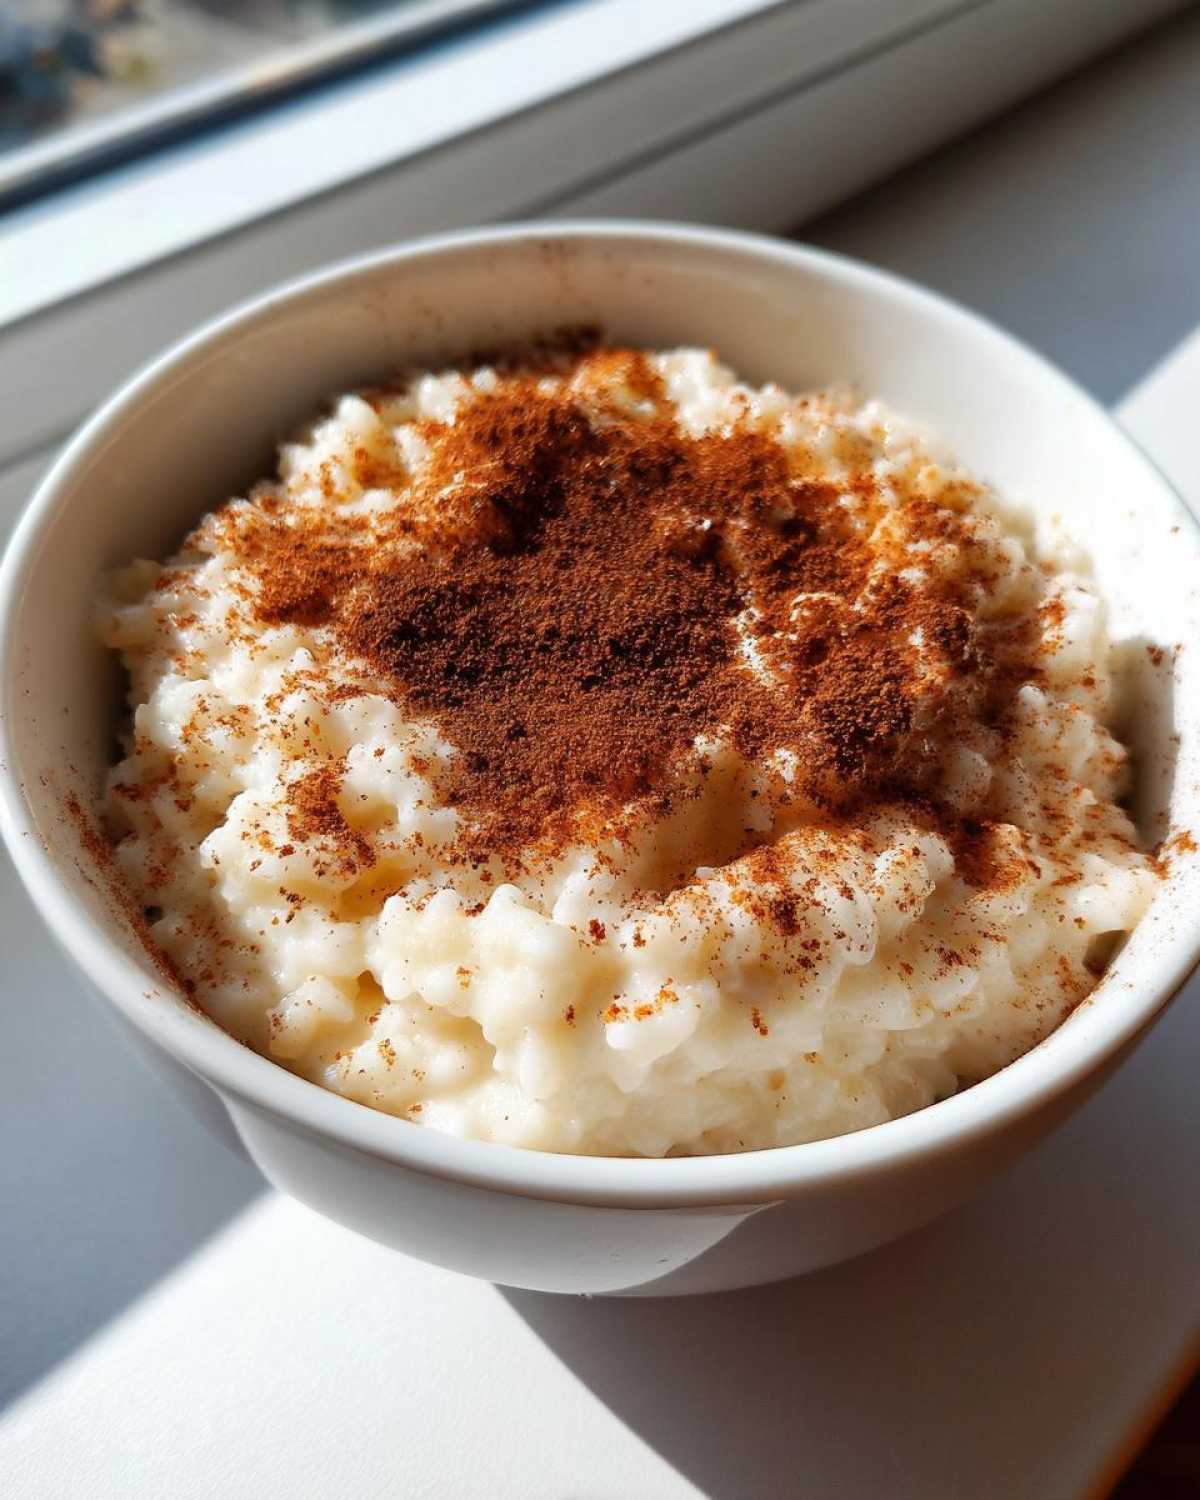
Frequently Asked Questions About Making Rice Pudding
Whenever Simon and I share this recipe, we get a flood of questions, which just proves how much everyone loves a good, classic dessert! It’s all about getting those nostalgic flavors and textures just right. Don’t worry if you have lingering questions; getting these little details sorted is how we earn our kitchen kudos!
Can I use leftover rice for this rice pudding recipe?
That’s a great question about making an Easy Homemade Pudding! While you technically *can* use leftover cooked rice—it’s much faster, only taking about 20 minutes—we highly recommend using the uncooked short-grain rice in the recipe. Why? Because when you cook the rice directly in the milk from the start, the grains release their starch slowly. That slow release is the real secret for achieving that ultimate luscious, Creamy Rice Pudding Recipe texture, rather than just having rice suspended in milk.
What is the secret to the creamiest rice pudding texture?
If I could shout one thing from the rooftops, it would be this: You need low heat and patience! The biggest secret to achieving that ultra-creamy feel, like the kind they talk about over at Better Than Cooking, is to simmer the mixture gently for that full 40 to 50 minutes. Also, remember we stressed the short-grain rice? That starch content is your ticket to creamy town. Low heat plus the right rice equals pudding perfection. You’ll feel so proud when you taste it!
Is this stovetop rice pudding better served warm or cold?
This is my favorite kind of debate! Here’s the honest answer: both are absolutely wonderful, and it depends on the moment. If you’re looking for major comfort—maybe after dinner on a rainy night—serving it warm is just magical. That’s why we file this under Warm Pudding Desserts! If you chill it, it firms up and becomes denser, which is fantastic if you like it more like a solid, chilled treat. Either way, it’s a win. If you enjoy chilled desserts, you should totally check out my tips on making amazing banana pudding, too!
Understanding the Nutrition in Your Simple Dessert
Now, I know Simon and I generally focus on the joy, the aroma, and the taste, but sometimes we need to know the facts too! Even though this is the ultimate comfort food, it’s still great to know what’s fueling you. Plus, listing the numbers is another small win worth celebrating—a little kudos for being mindful!
Keep in mind, this is just a snapshot based on the ingredients, and since we use whole milk, these figures are a little richer than some of those super low-fat versions out there. But hey, we’re aiming for cozy, not calorie-counting, right? These numbers are just estimates, so don’t stress if your measurements are slightly different. You did the hard work of making it, and that’s what counts!
- Serving Size: 1 serving
- Calories: 350
- Total Fat: 8g
- Carbohydrates: 60g
- Protein: 10g
Share Your Kitchen Kudos for This Creamy Rice Pudding
Okay, now that you’ve created this bowl of pure, nostalgic goodness, I really want to hear about it! Did you let it get nice and thick? Did you sneak a taste before Simon noticed? That’s the best part—sharing the victory! We built Kitchn Kudos so we could all celebrate the simple, delicious wins like making this Easy Homemade Pudding perfectly.
Please let us know how it went down in your kitchen! Drop a star rating below—even if it wasn’t perfect, you still showed up and cooked, which deserves applause! If you tried adding those extra spices or raisins, tell us what worked for you. Sharing little tweaks helps the whole community grow.
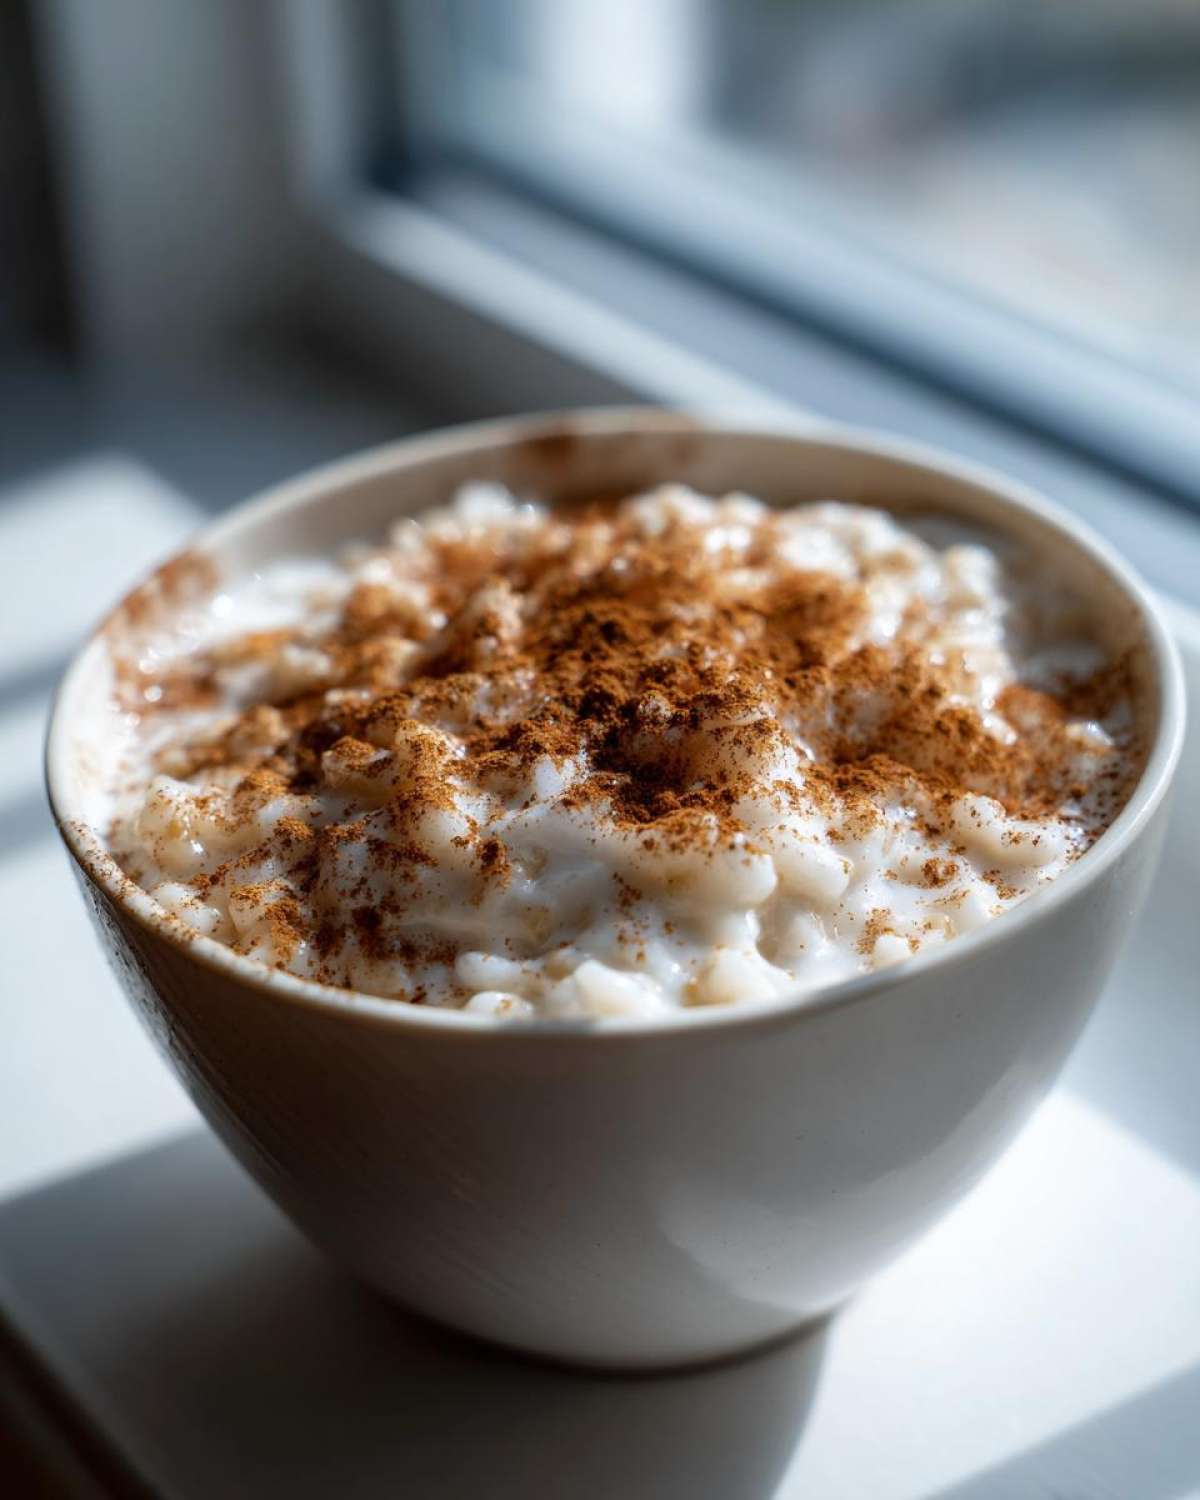
If you loved how easy the stovetop method was, you can check out another favorite easy meal we make here: our honey garlic chicken stir-fry. And if you want to see another brilliant take on this classic dessert, check out what the folks at Mary Anne Cuisine are doing! Go on, hit that comment button and give yourself some serious kudos for making the best rice pudding!
PrintOld-Fashioned Creamy Stovetop Rice Pudding

Make the creamiest, old-fashioned rice pudding right on your stovetop. This simple recipe delivers ultimate comfort with just a few classic ingredients.
- Prep Time: 5 min
- Cook Time: 50 min
- Total Time: 55 min
- Yield: 4 servings
- Category: Dessert
- Method: Stovetop
- Cuisine: American
- Diet: Vegetarian
Ingredients
- 1 cup short-grain white rice (Arborio works well for creaminess)
- 4 cups whole milk
- 1/2 cup granulated sugar
- 1 teaspoon vanilla extract
- 1/2 teaspoon ground cinnamon (plus extra for topping)
Instructions
- Combine the rice and milk in a heavy-bottomed saucepan. Let the mixture sit for 15 minutes to allow the rice to begin soaking.
- Place the saucepan over medium heat. Bring the mixture to a gentle simmer, stirring frequently to prevent the rice from sticking to the bottom.
- Once simmering, reduce the heat to low. Continue to cook, stirring every 5 to 7 minutes, for 40 to 50 minutes. The pudding is ready when the rice is tender and the mixture has thickened to a creamy consistency. You want it thick enough to coat the back of a spoon.
- Remove the saucepan from the heat. Stir in the sugar and vanilla extract until fully dissolved. The pudding will thicken slightly more as it cools.
- Serve the rice pudding warm, or transfer it to a bowl, cover the surface directly with plastic wrap to prevent a skin from forming, and chill completely for a cold dessert. Sprinkle with extra cinnamon before serving.
Notes
- For extra richness, substitute 1/2 cup of the milk with heavy cream.
- If the pudding becomes too thick upon cooling, stir in a splash of milk until you reach your desired texture.
- This recipe is a great base; feel free to add a pinch of nutmeg or a handful of raisins during the last 10 minutes of cooking.
Nutrition
- Serving Size: 1 serving
- Calories: 350
- Sugar: 25
- Sodium: 85
- Fat: 8
- Saturated Fat: 4
- Unsaturated Fat: 4
- Trans Fat: 0
- Carbohydrates: 60
- Fiber: 1
- Protein: 10
- Cholesterol: 25