

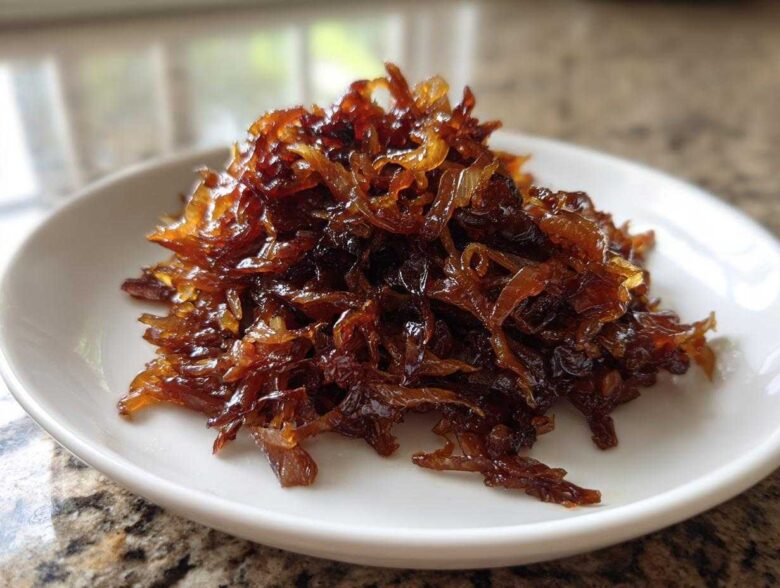
Have you ever tasted something so rich, so deeply sweet and savory, that you couldn’t believe it came from something as sharp and humble as an onion? That flavor transformation is pure kitchen magic, and honestly, mastering it used to fill me with stress. I used to rush them, burn them, and then feel like a total failure! Simon always reminds me that the goal isn’t perfection, but enjoying the process. Well, I’m Alice, your Lead Documentarian here at Kitchn Kudos, and I want you to check out our story over at the ‘About Us’ page. Today, we’re celebrating achieving those magnificent caramelized onions in under 45 minutes. This staple ingredient is about to become your favorite way to add depth to any single dish!
Why Mastering Caramelized Onions is Your Next Kitchen Win
Okay, deep breaths everyone! If you conquer this one technique, I promise you’ll unlock a whole new level of cooking confidence. That’s why conquering caramelized onions is going to be your next huge kitchen win. Honestly, these golden beauties are the secret weapon hiding in plain sight—the ultimate versatile kitchen staple onions that take almost any meal from zero to gourmet. Simon says if you can do this right, you can do anything!
Benefits of Perfect Caramelized Onions
- They deliver incredible, natural sweetness, making them a true savory sweet onion flavor bomb.
- You get ridiculously deep flavor onions that turn simple food into comfort food.
- Versatility is key! They are perfect for topping burgers, folding into pasta sauces, or the base of amazing dips.
Ingredients for Your Best Caramelized Onions Yet
Before we even turn the heat on, we need to get our players lined up! The quality here really matters, especially for developing those beautiful, rich flavors. We are keeping this recipe super straightforward because the technique does most of the heavy lifting. You’ll need 3 large yellow onions—or if you find some beautiful sweet onions, grab those instead—2 tablespoons of unsalted butter, 1 tablespoon of olive oil, and just 1/2 teaspoon of salt. Notice I didn’t say we needed a ton of extra stuff? That’s because we want the onion to shine!
Ingredient Notes and Substitutions
Listen, the way you slice these is almost as important as how long you cook them. Make sure those slices are uniform, thin, but not paper-thin! Even slices mean everything cooks evenly, trust me on this one for expertise! While this recipe is totally vegetarian because we use butter, if you need vegan caramelized onion recipes, just swap that butter out for a vegan butter alternative or extra olive oil. Now, about that sugar you see listed? That’s my optional little addition, a kind of quick onion hack if you’re desperate. It helps kickstart the process faster, but if you’re aiming for those deep, complex flavors of true slow cooked onions, skip the sugar and just commit to the low heat and time!
How to Caramelize Onions: The Step-by-Step Guide
This is where the real magic happens, and honestly, where I used to get so stressed out! But remember, Simon says every stir is a success worth celebrating. First things first: get your large, heavy-bottomed skillet warm over medium-low heat—never high heat, or we are just making sad, burnt onions, not caramelized onions. Melt your butter with the olive oil, toss in those beautifully sliced onions and your salt, and give them a good stir to coat everything. I’ve got loads of great ideas over on our blog if you want to see what else we’re cooking up!
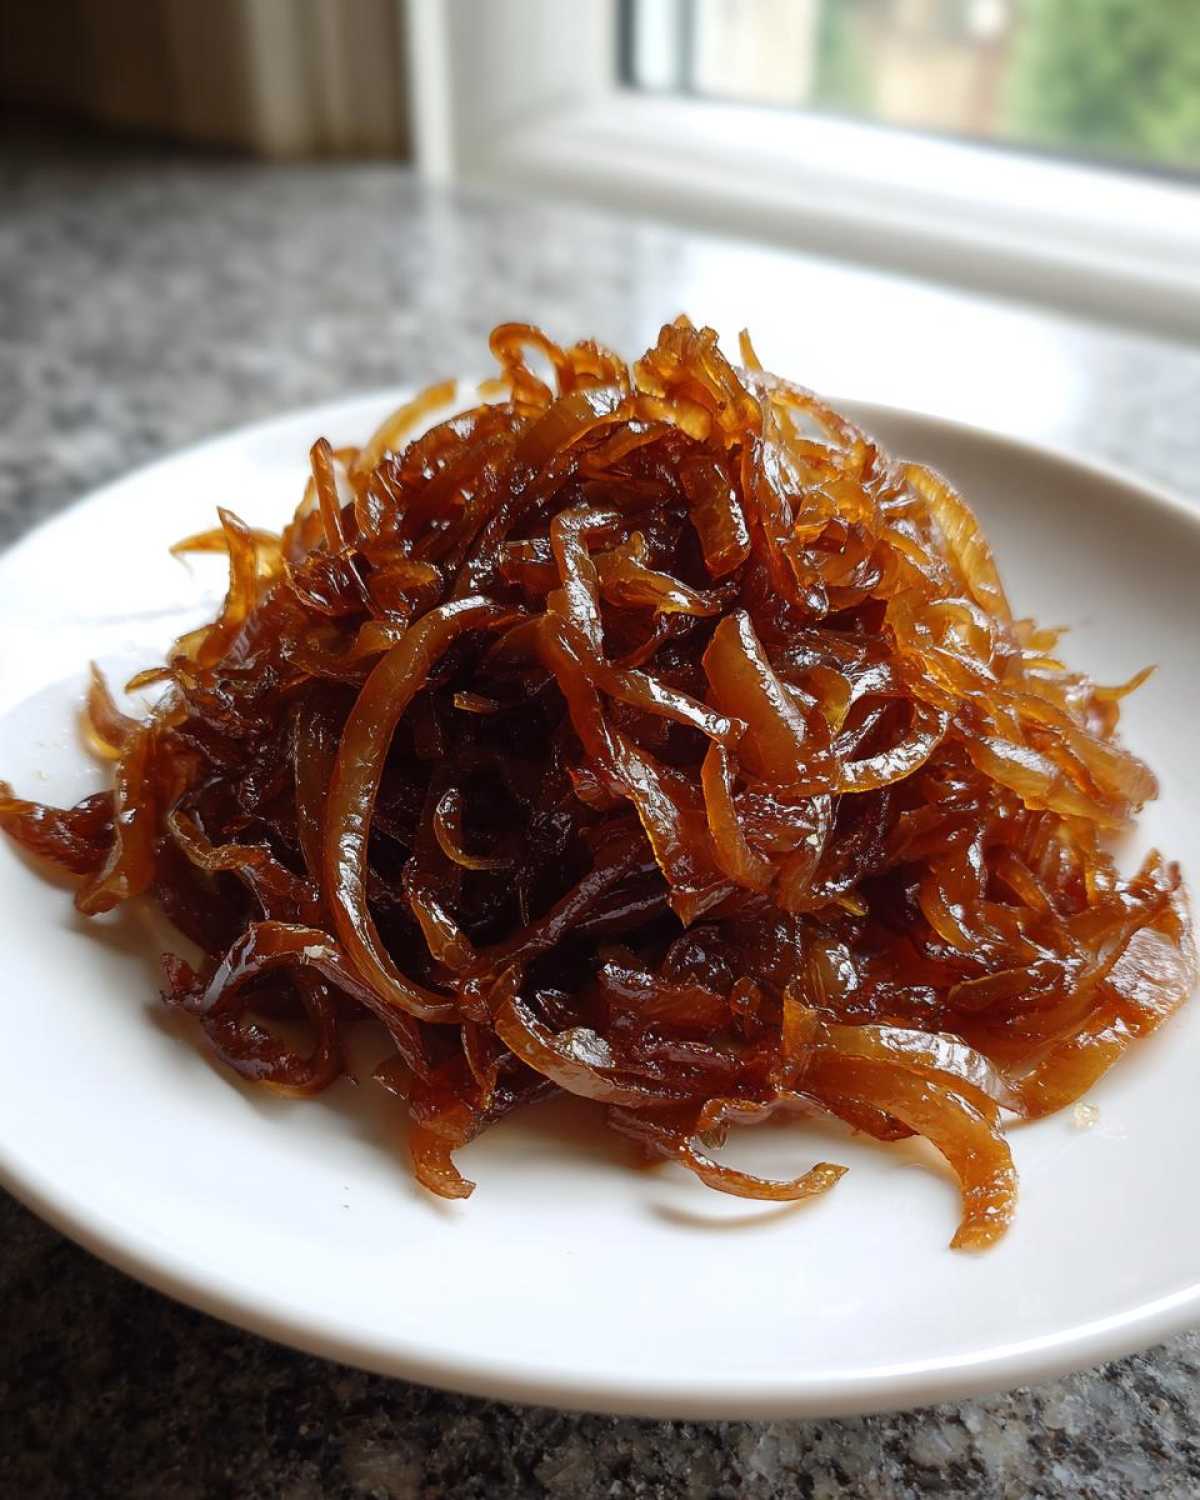
For the first 15 minutes, we aren’t even looking for color; we are just softening them up. Keep stirring every five to seven minutes so they don’t stick too much. Once they are translucent and soft, that’s when we check for browning. If you are using the optional sugar, sprinkle it on now! Now is when the patience kicks in. You are cooking for another 20 to 30 minutes, stirring every three to five minutes. If you notice little brown bits—the fond—sticking to the bottom? Don’t panic! Add a tablespoon of water or broth and scrape those bits up with your wooden spoon; that’s intense flavor you are saving!
The Low and Slow Technique for Deep Flavor Onions
I know, I know, 40 to 45 minutes sounds like forever when you just want dinner on the table! But folks, that extended time over low heat is the only way to draw out the natural sugars and achieve that deep, rich, mahogany color. This slow process is what separates a lackluster topping from truly unforgettable, deep flavor onions. If you’re looking for a real guide from someone who’s obsessed with this stuff, check out the detailed steps over at Running to the Kitchen—it’s great guidance!
Quick Onion Hack for Faster Caramelized Onions
If you are truly in a rush, there is a little trick mentioned in my official recipe notes—adding a tiny pinch of baking soda during the softening phase. It speeds up the browning reaction, which is a great quick onion hack! BUT I need to give you an honest warning: these won’t have the exact complex sweetness of the ones cooked the long way. They are good in a pinch, but the texture is slightly different than those perfectly slow cooked onions we are aiming for.
Using Your Savory Sweet Onion Topping
Phew! You nailed the cooking process! Now, what are you going to do with this incredible pile of sweet goodness? This is the best part, because suddenly, every meal gets an automatic upgrade. I love it when one batch of caramelized onions can power us through several days of amazing food. We’re talking about transforming everyday dinners into something Simon calls ‘impressive but not intimidating’!
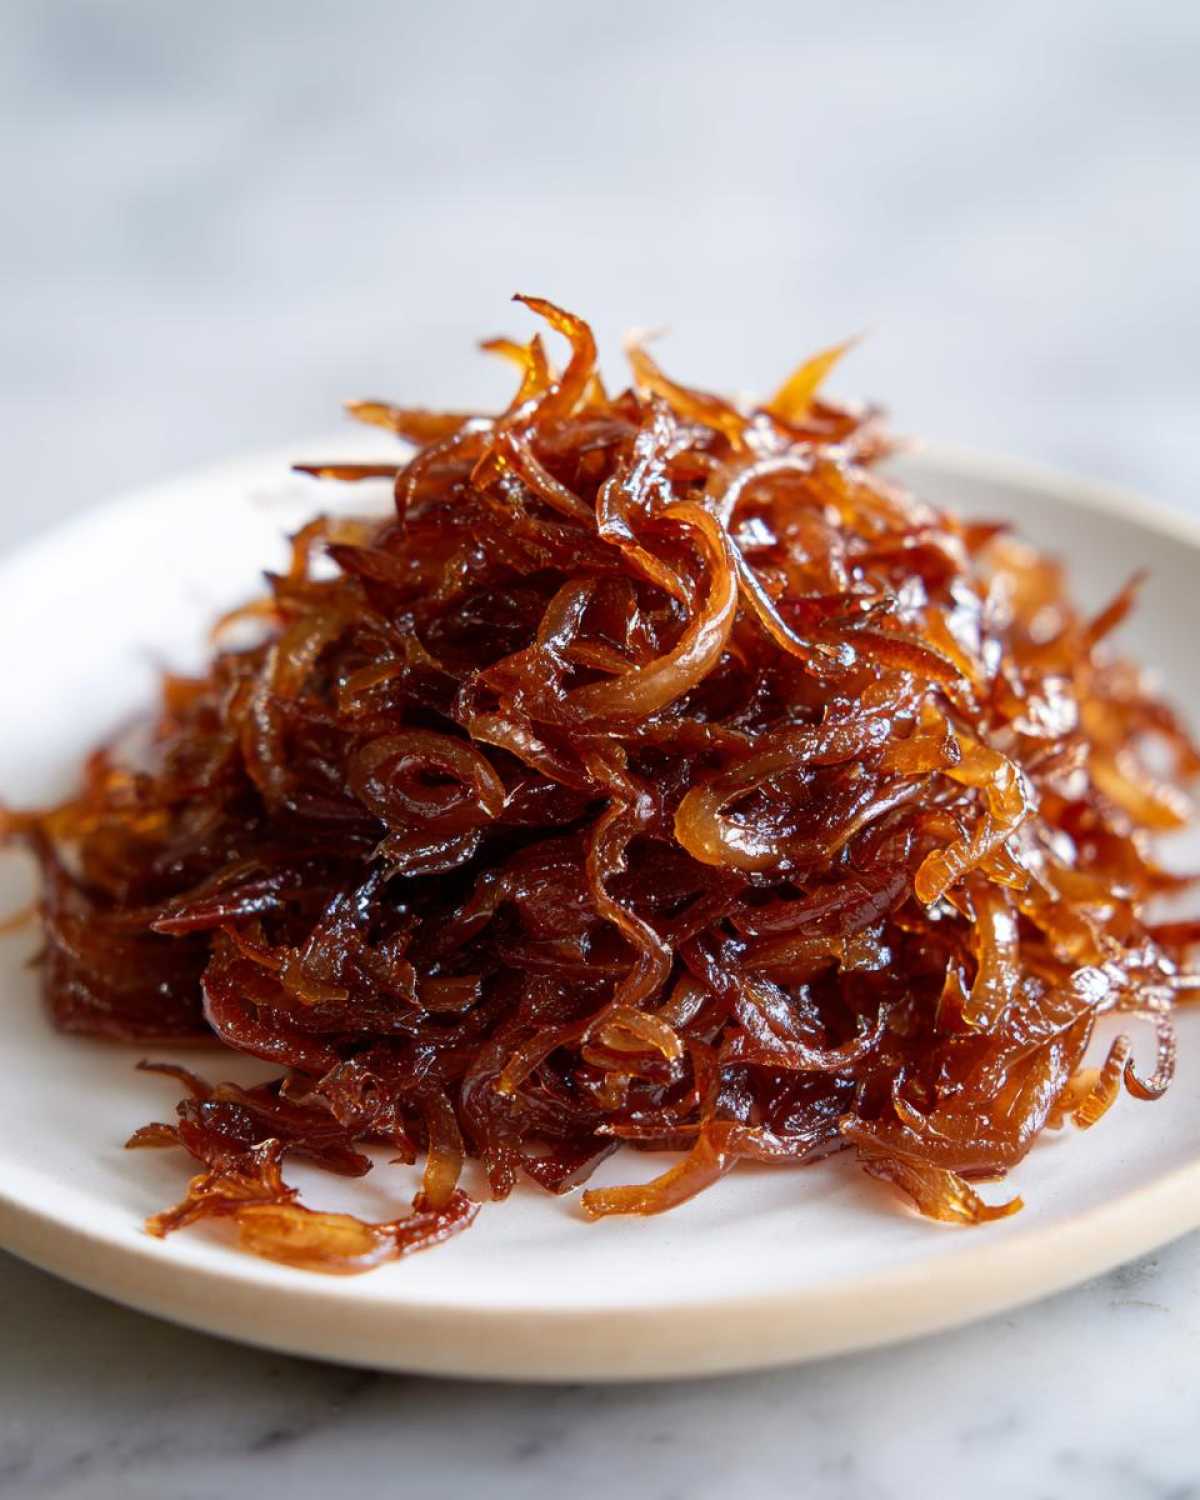
Ideas for Creamy Onion Pasta Ingredient
If you want a true showstopper—and you absolutely deserve one—use these onions as your foundation for a rich sauce. Think about folding a big scoop of these straight into a simple cream sauce (maybe toss in some Gruyere if you have it!). They act as the perfect creamy onion pasta ingredient, melting right in and giving the dish that deep, savory bass note. It’s the ultimate comfort food, and you can find a great base idea over on my post about the pasta bake!
Making the Ultimate Caramelized Onion Dip Recipe
Oh, the dips! You simply cannot let these go to waste when it comes to appetizers. Mix a cup of these beauties into softened cream cheese for an instant, luxurious dip that tastes like it took three days to prepare. I even saw a recipe combining them with Brie—can you imagine how decadent that would be? For your next party, definitely check out the Brie version I found over at Pure Flavor Recipes. Or, keep it simple like we often do and use it right on top of our quick game-day dip!
Gourmet Onion Side Dish and Onion Topping for Burgers
Don’t overthink things, either! Sometimes the simplest use is the most satisfying. Pile them high onto your weeknight burgers; it’s the best onion topping for burgers imaginable. Or, just serve a small bowl on the side as a sweet and savory gourmet onion side dish. Everyone will ask you how you did it!
Tips for Success with Slow Cooked Onions
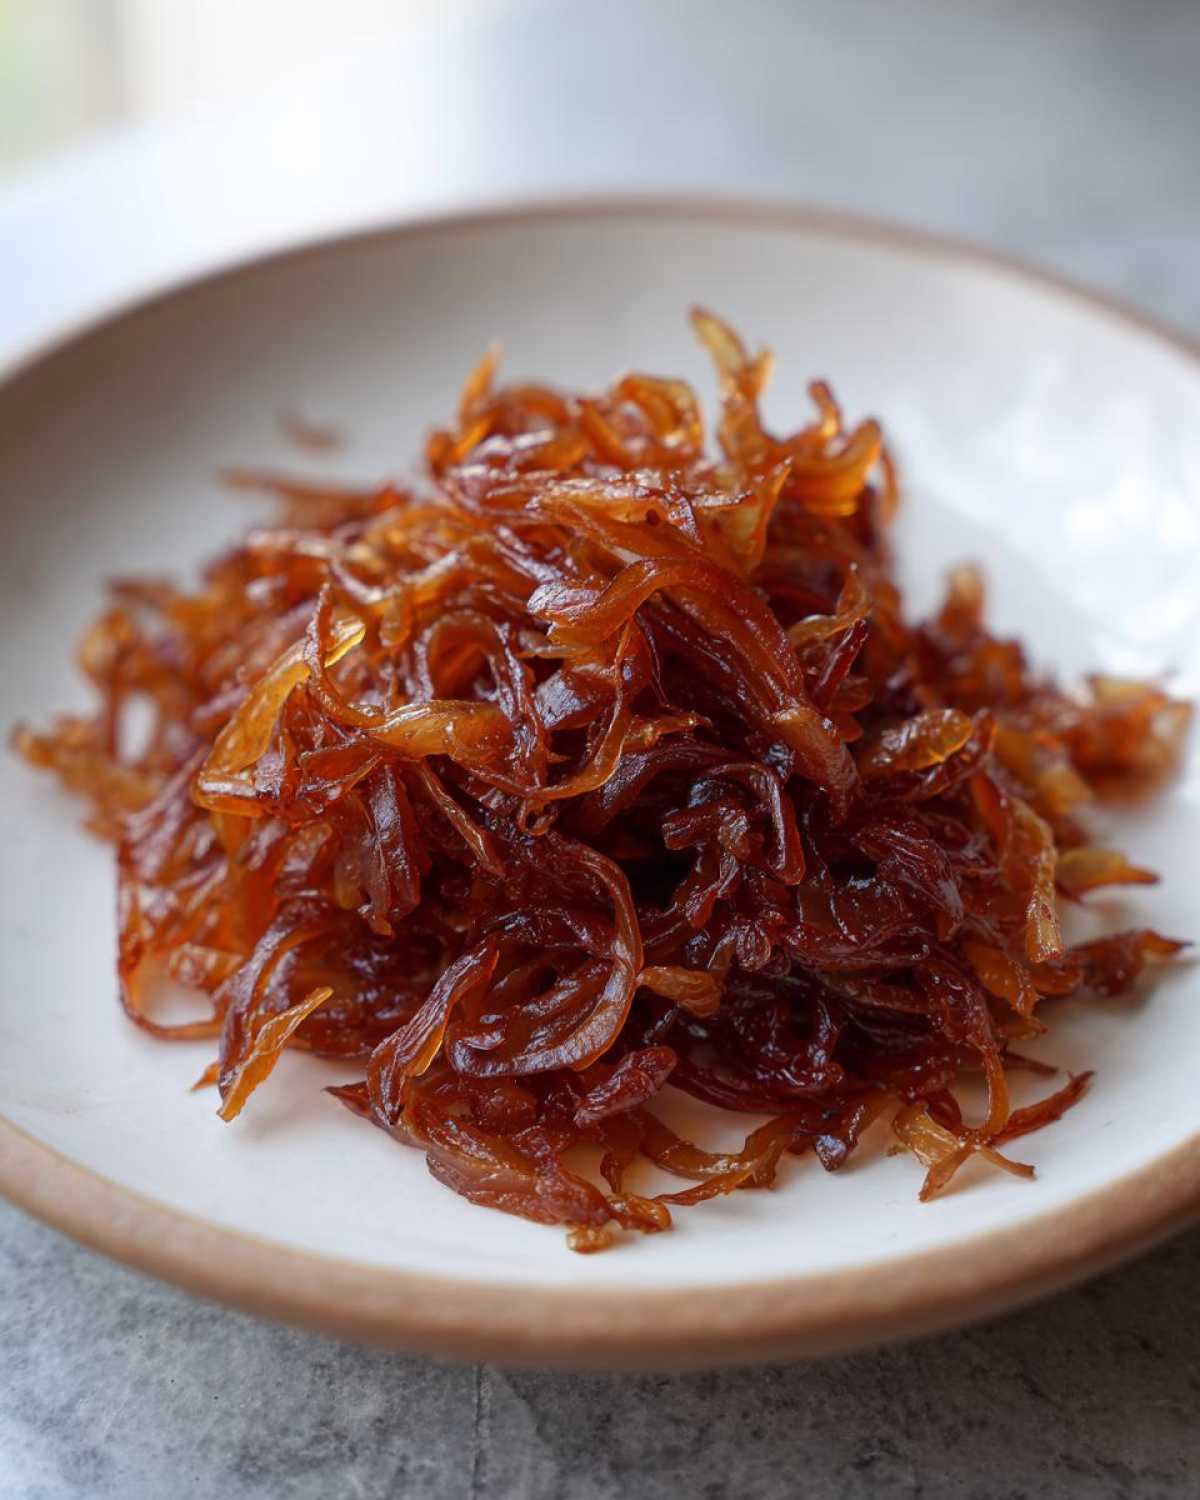
Now that you’ve invested the time and love into coaxing out the sweetness, let’s chat about what to do if things get a little sideways. Simon always says that every mistake is just a lesson wrapped in a tiny bit of smoke. Don’t let a sticky pan or slow progress derail you! We’re aiming for that ultimate goal: the best way to cook onions sweet, rich, and perfectly done. Having confidence in troubleshooting is what makes you a great cook, not just a recipe follower!
Troubleshooting Common Caramelized Onions Issues
If you wake up halfway through and realize the heat crept up and your onions are starting to turn black around the edges—disaster! But wait, don’t toss them yet! If they are just a little scorched, try adding a splash of water or broth immediately and scrape up all that dark stuff. This stops the burning process right away. You might sacrifice a little of that mahogany color, but you save the batch!
What if they are taking forever and just look soggy instead of browning? This usually means your pan is too crowded, or you didn’t use enough fat to start. If your pan is jammed full, pull half the onions out and cook them in a separate batch. They need space to cook down rather than steam. Remember, if they aren’t developing that deep color and the sugar isn’t transforming, they aren’t truly becoming caramelized onions yet. Just turn the heat down even lower and give them another 10 minutes. Keep breathing; they will get there!
If you want to see some great visual tips on what to look for—and what to avoid—I found some helpful pictures over at Simple Recipes. Seeing those visual cues really helped me click with the process!
Storage and Making Homemade Onion Jam
One of the biggest kitchen kudos you can give yourself is making a huge batch of these onions, knowing you have weeks of flavor boosters ready to go! Seriously, don’t just stop at what you need for dinner tonight. These caramelized onions freeze beautifully! Once they are cooled completely, I scoop them into small, freezer-safe bags or even ice cube trays. If you use the trays, pop them out once frozen, and then transfer them to a zip-top bag. They thaw out perfectly for whipping up a quick batch of jam or reviving your favorite pasta sauce.
Speaking of jam, if you follow the recipe to the very end—when they hit that deep mahogany color—you can turn this into actual homemade onion jam with just one extra step. Once the onions are done cooking on the low heat, add about a quarter cup of balsamic vinegar and maybe another teaspoon of sugar (go ahead and skip the baking soda trick for this one!). Let that simmer down until the mixture is thick, sticky, and deeply glossy, almost like a preserve. This is incredible on crackers with some sharp cheese, or even swirled into roasted vegetables. For a guide on what the final texture should look like, check out some inspiration over at Janet Dishes—her finished product is divine!
Vegan Caramelized Onion Recipes
I know many of you are cooking for folks who stick to plant-based diets, and that is wonderful! The great news is that this recipe is already *so* close to being fully vegan, it just takes one quick little swap. Since we use butter in the base recipe for that classic richness, to achieve true vegan caramelized onions, you just need to lean all the way into the fat. Ditch the butter and use a nice quality olive oil, or grab your favorite vegan butter substitute. Honestly, they will still turn that gorgeous, deep brown color we love, and they release amazing flavor!
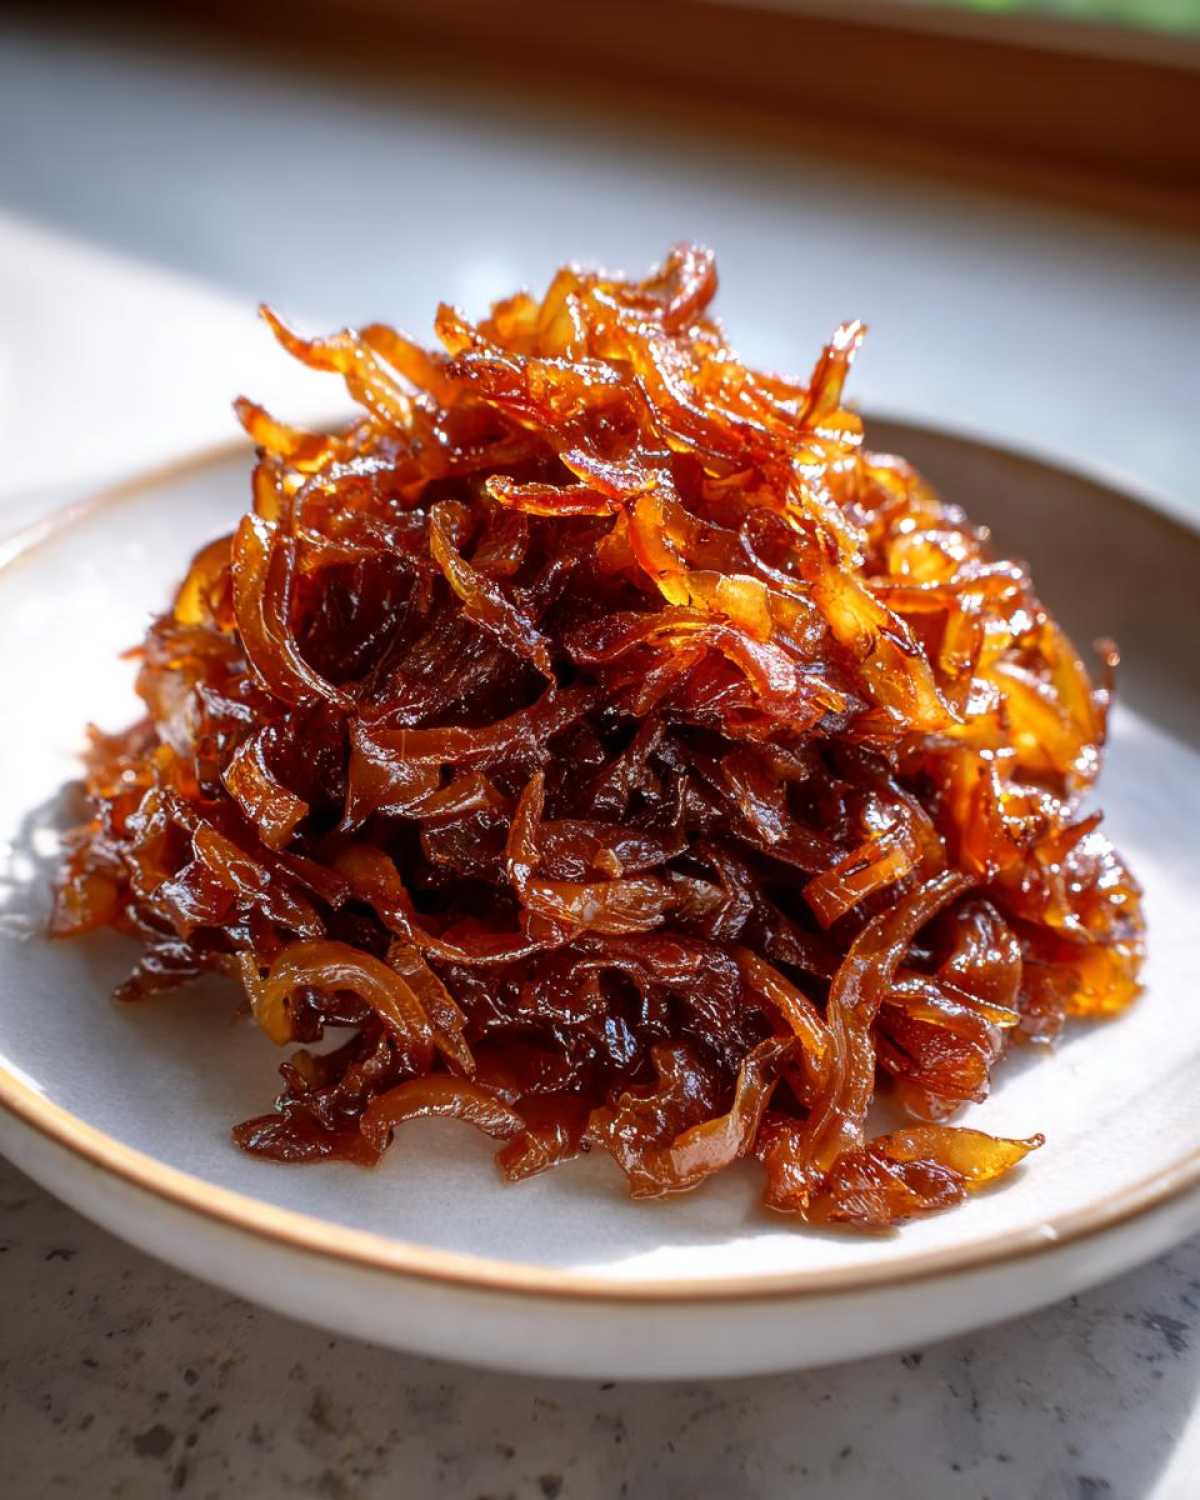
This opens up so many doors for delicious meals. Think about those incredible dips we talked about—you can easily make a fabulous caramelized onion dip recipe using vegan cream cheese or cashew cream instead of the dairy version. It’s all about finding those great anchor ingredients that allow the onions to shine!
If you were dreaming about making that luxurious pasta dish—the one where the onions melt into a rich sauce—you absolutely can make that completely vegan. We’ve got a fantastic base recipe for a gorgeous creamy vegan dish that uses plant milk, and I encourage you to use those caramelized onions as the savory superstar in place of some of the other strong flavors. For a direct approach, I saw a genius recipe for Creamy Vegan Caramelized Onion Pasta which proves you don’t need dairy to get that comforting, rich texture. Give it a try and send Simon a picture—he loves seeing the plant-based wins!
Frequently Asked Questions About Caramelized Onions
You know, I used to have a million questions about this process, too! It felt like such a heavy lift to get them right, but once you nail the technique, these get so easy. Getting answers to these little hang-ups is really what separates the home cooks from the people who just cook, right? Here are the things Simon and I get asked most often about those beautiful, sweet onions!
Can I speed up how to caramelize onions without sacrificing flavor?
That is the million-dollar question! If you’re in a total rush, you can try the baking soda trick I mentioned—it encourages quicker browning, but honestly, Simon and I feel like the flavor is a little flatter, less complex. The next best option is using a little sugar with medium heat, which helps speed up the process slightly compared to just waiting it out with salt only. But look, if you want that deep, truly rich flavor that defines great caramelized onions? You just have to commit to the full 40+ minutes. That low-and-slow time is flavor development, and you can’t rush real magic!
What is the best onion to use for caramelized onions?
For the absolute best results that give you that incredible savory sweet onion finish, I usually reach for standard yellow onions. They have a great balance of moisture and sulfur compounds that break down beautifully. However, if you happen to land a package of Vidalia or Walla Walla onions—those are the famous sweet onions—grab those immediately! Their higher sugar content means they caramelize even faster and taste incredibly sweet straight out of the pan. If you’re wondering exactly how to caramelize onions regardless of the type, just remember: low and slow is the golden rule for transforming their initial sharpness into pure sweetness.
Give Yourself Kitchen Kudos for Making Caramelized Onions
You absolutely did it! You took a sharp, humble onion and transformed it using patience and heat into those gorgeous, caramelized onions we dream about eating. Give yourself a huge round of applause—that is the Kitchn Kudos philosophy in action! You mastered a fundamental skill, turning potential kitchen pressure into pure, delicious praise. Let us know in the comments how you plan to use these amazing kitchen staple onions; we love celebrating your wins! If you want to share more kitchen moments, head over to our contact page—we’re here to cheer you on!
PrintThe Ultimate Guide to Perfect Caramelized Onions: From Sharp to Sweet in Under 45 Minutes
Learn the best way to cook onions sweet by mastering the technique for deep flavor caramelized onions. This guide shows you how to make this kitchen staple, perfect for toppings or as an ingredient in creamy onion pasta or dips.
- Prep Time: 10 min
- Cook Time: 40 min
- Total Time: 50 min
- Yield: About 1.5 cups
- Category: Side Dish
- Method: Stovetop Sautéing
- Cuisine: General
- Diet: Vegetarian
Ingredients
- 3 large yellow onions (or sweet onions)
- 2 tablespoons unsalted butter
- 1 tablespoon olive oil
- 1/2 teaspoon salt
- 1 teaspoon sugar (optional, for faster caramelization)
Instructions
- Slice the onions thinly and uniformly. Aim for consistent thickness so they cook evenly.
- Place a large, heavy-bottomed skillet over medium-low heat. Add the butter and olive oil.
- Once the butter melts, add the sliced onions and the salt. Stir to coat them completely in the fat.
- Cook the onions slowly, stirring every 5 to 7 minutes. This initial stage is about softening them, which takes about 15 minutes. Keep the heat low to prevent burning.
- After 15 minutes, the onions will be translucent and soft. If you are using sugar, sprinkle it over the onions now.
- Continue cooking, stirring more frequently (every 3 to 5 minutes) as the onions start to brown. If brown bits stick to the bottom of the pan (fond), add a tablespoon of water or broth and scrape them up; this adds flavor.
- Maintain low heat for another 20 to 30 minutes until the onions achieve a deep, rich, mahogany brown color and are very sweet. Total cook time should be around 40 to 45 minutes for the best results.
- Remove from heat. These savory sweet onions are ready to use as a gourmet onion side dish or topping for burgers.
Notes
- For a quick onion hack, add a teaspoon of baking soda during the softening stage to speed up browning, though the flavor will be slightly different than slow cooked onions.
- You can easily make homemade onion jam by cooking these onions down further with a splash of balsamic vinegar at the end.
- These keep well and are great for meal prep; freeze them for later use in French onion pasta sauce or dips.
Nutrition
- Serving Size: 1/4 cup
- Calories: 75
- Sugar: 8
- Sodium: 110
- Fat: 4
- Saturated Fat: 2
- Unsaturated Fat: 2
- Trans Fat: 0
- Carbohydrates: 10
- Fiber: 1
- Protein: 1
- Cholesterol: 8