

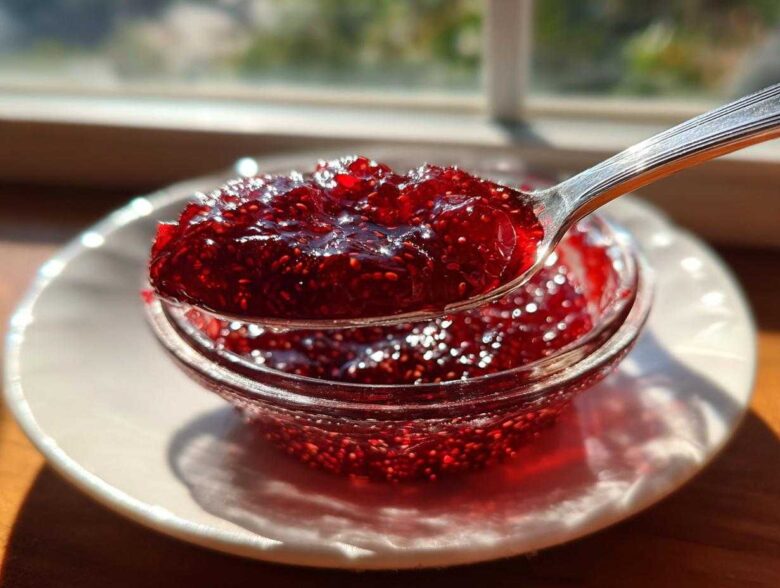
Oh my gosh, if you’ve ever tasted a sun-warmed, freshly picked raspberry, you already know exactly what we’re trying to capture here! Summer in a jar, that’s what this is. I’m so excited you’re here because today we are making the best homemade raspberry jam, and I mean it when I say it’s incredibly simple. Forget searching for those expensive pectin packets; we aren’t using any! This quick, no-pectin recipe yields that perfect sweet and tart flavor you dream about, making it ideal for beginners.
I’ve been whipping up batches of jams and preserves since I was a kid helping my aunt put up summer berries, and trust me, this method is foolproof. We capture that bright, fresh fruit essence using just three things. Seriously, that’s it! You’ll be topping your sourdough or dolloping it over ice cream before you know it. This is the easiest jam recipe you’ll ever try.
Why This Easy Homemade Raspberry Jam Recipe Stands Out
So why should you choose *this* recipe over the ten others you probably scrolled past? It comes down to flavor and simplicity. We’re keeping things wonderfully old-fashioned and letting the fruit do all the heavy lifting. This isn’t some thick, gummy condiment; this is pure, bright berry goodness!
- It delivers that ideal sweet and tart jam balance that screams summer perfection.
- Because we cook it hard and fast, it qualifies as a wonderfully quick raspberry jam—you’re done in under an hour!
- It works perfectly no matter what your end goal is, whether you want long-term pantry storage or just a simple batch for the fridge.
Achieving Bright Raspberry Flavor Without Pectin
You won’t find any commercial pectin here, and that’s intentional! Raspberries already have decent natural pectin, and the little bit of acid the fresh lemon juice provides is just enough to help pull that pectin out during the hard boil. This makes for a lighter texture that tastes purely of raspberries.
Versatility: Canning or Making Quick Raspberry Jam for the Freezer
I love that this recipe adjusts to your schedule. If you have all afternoon, you can process jars for shelf storage. But honestly, most of the time I just make a small batch and pop it in the freezer. It’s the best topping for things like jam for toast and bagels when you need something fresh *right now*!
Gathering Ingredients for Your No Pectin Jam
Okay, this is the easiest part, which is great because the cooking part requires a little more attention! For this raspberry jam, you really only need three ingredients total. I always keep this recipe flexible, too. Whether your raspberries are fresh from the farmer’s market or you pull a bag of frozen berries out of the freezer, it works like a charm.
Here’s what you need for about four half-pint jars:
- 4 cups fresh or frozen raspberries
- 3 cups granulated sugar
- 1 tablespoon fresh lemon juice
Specific Ingredient Notes and Substitutions
If you absolutely despise seeds—totally fair—you should cook the berries down first with just the lemon juice, then press that mixture using a fine-mesh sieve before you add your sugar. That’s how you get that super smooth, silky finish! But if you’re like me, leave those seeds in; they add a nice textural element to the finished preserve.
Step-by-Step Instructions for Perfect Raspberry Jam
Alright, time to get cooking! This is where you need to pay attention because making any good, thick raspberry jam without commercial pectin means you rely on a hard, rolling boil to concentrate the mixture correctly. Don’t walk away during this process! We need to coax that natural pectin out and drive off the excess water.
Breaking Down Berries and Dissolving Sugar
First, toss your raspberries and that tablespoon of fresh lemon juice right into your biggest, heaviest pot. Cook that over medium heat for about five to ten minutes. You just want to stir it gently until all those beautiful berries burst open and start looking juicy. Once they’re mushy, dump in all three cups of sugar. Now, keep that heat at medium and stir constantly until you can’t feel any sugar grit on the bottom of the pot anymore. It should look beautifully clear.
Testing for the Proper Set Point in Your Raspberry Jam
This is my absolute favorite part, honestly! Once the sugar is dissolved, crank that heat up to medium-high. We are looking for a boil that just refuses to die down, even when you stir it—that’s key! It will boil hard for about 10 to 20 minutes. When you think it might be ready, remove the pot completely from the heat. Grab a small plate you’ve kept chilling in the freezer for a minute, spoon a tiny bit of the hot jam onto it, and pop it back in the freezer for 60 seconds. Now, gently poke it. If the surface wrinkles up nicely, we nailed that old fashioned jam set! If it just slides around wetly, put the pot back on the heat for another five minutes and test again. Patience here ensures you aren’t spreading runny fruit soup on your waffles!
I always link to my general baking tips page here if you ever need a refresher on boiling techniques!
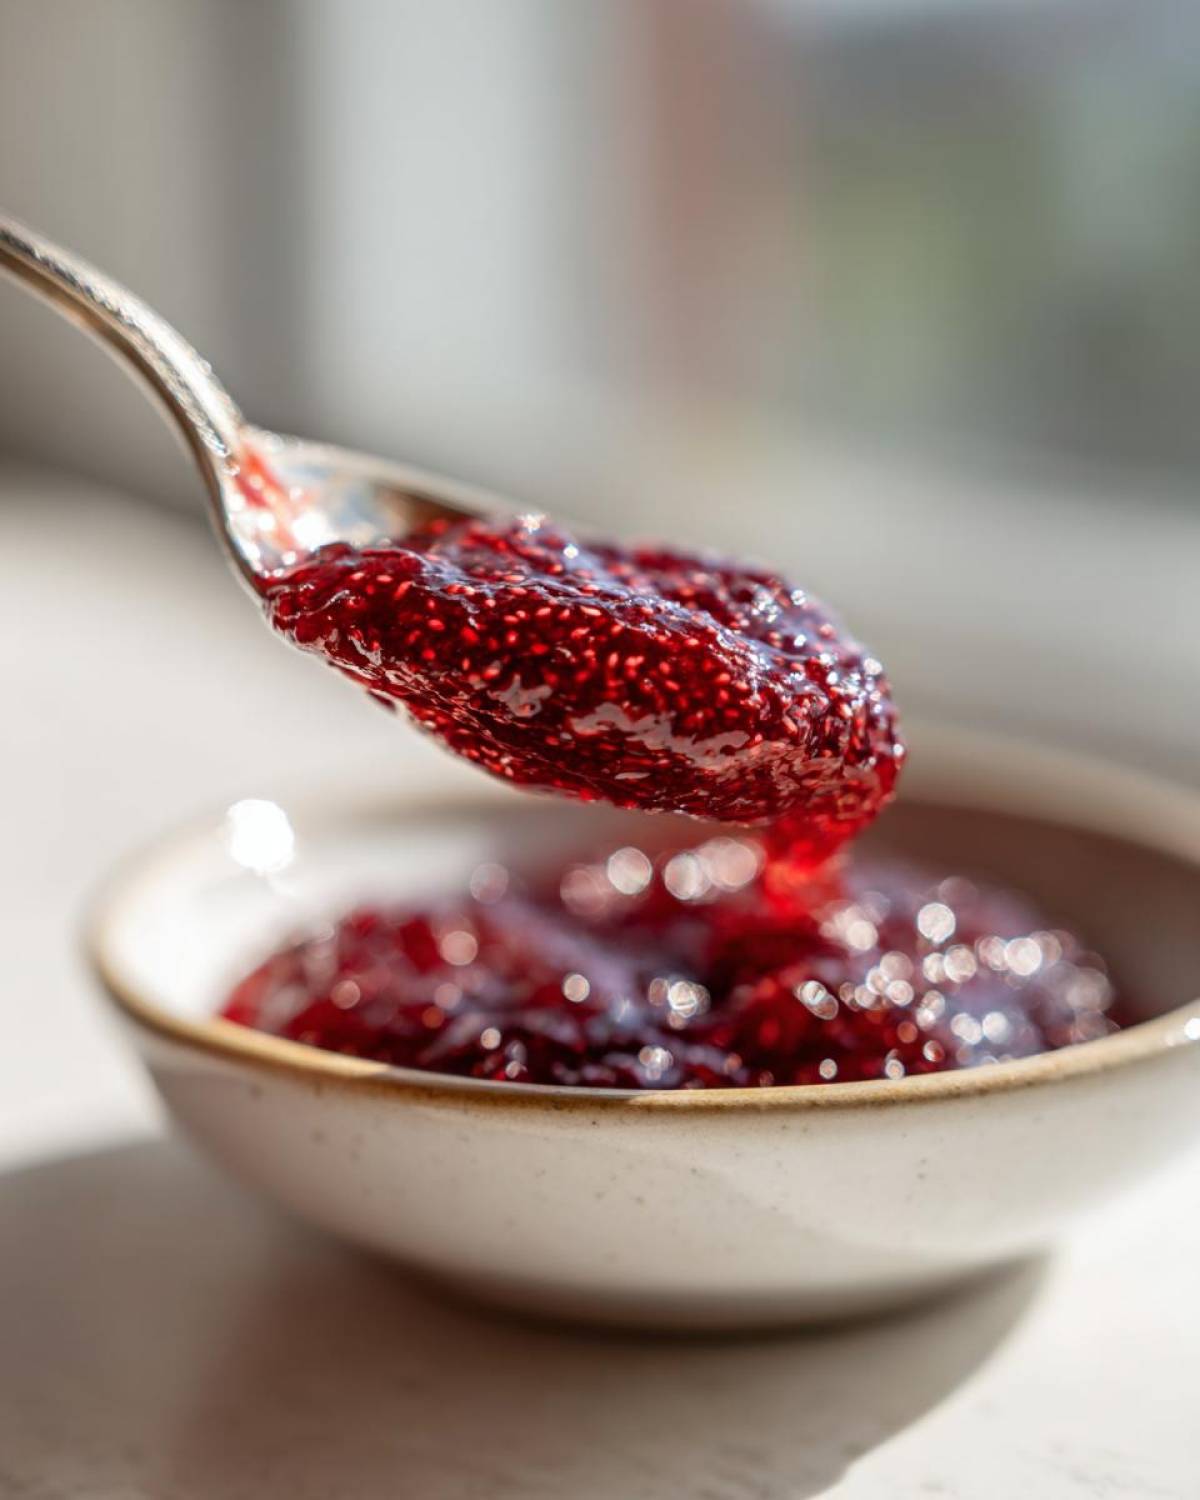
Preserving Your Fresh Raspberry Preserves: Canning vs. Freezing
Once you’ve confirmed that beautiful wrinkle test, the next job is getting that hot jam preserved safely so you can enjoy it later. You have two main routes here, depending on how quickly you plan to go through this small batch of fresh raspberry preserves. Both methods work perfectly well, but they serve slightly different needs.
If you are going the traditional route—which is fantastic for giving jars as gifts or stocking up for winter—you need to pay close attention to the headspace. For proper sealing in the boiling water bath, be sure to ladle the hot jam into your sterilized jars leaving exactly 1/4 inch headspace at the top. Wipe those rims clean, put on your lids and bands, and process them according to standard canning recipes berries guidelines.
Quick Raspberry Jam: The Freezer Jam Tutorial
If you’re making this for immediate snacking, or you just aren’t feeling up to the water bath processing, the freezer method is your new best friend. It is so much faster! For this route, you can use clean, freezer-safe containers—just make sure you leave a generous 1/2 inch headspace. Why so much room? Because fruit expands when it freezes stiff! Let the containers cool completely on the counter before snapping the lids on tight and tucking them away. This freezer jam tutorial means you can have homemade jam ready to go almost instantly, and it lasts for ages in the deep freeze. If you ever accidentally forget to process the can, don’t panic; just stick it straight into the fridge and eat it within three weeks!
Just remember to check out our canning safety guidelines if you are new to water bath processing!
Tips for Success Making Small Batch Jam
Since we are focusing on a small batch of raspberry jam here, clean-up is quick, and you can focus entirely on that perfect set point. My biggest tip for this easy jam recipe is twofold: use the right sized pot, and don’t rush the boil! Even though it’s a small recipe, using a pot that’s too small means the mixture boils over constantly and you lose valuable liquid.
Now, for the fun part—eating it! This jam is amazing, but I have to tell you, serving it warm is a game-changer. When you pull it off the heat, skip the jars for a minute and immediately drizzle some over a scoop of vanilla ice cream or smother a piece of toasted, crunchy bread. It tastes out of this world! For ideas on what to serve it with, check out some great breakfast recipes on my site. It’s divine on scones, too!
Storage and Reheating Instructions for Homemade Raspberry Jam
Now that you’ve got this glorious, sparkling, homemade fruit spread ready to go, we need to talk about keeping it perfect! Storage is super straightforward, but it matters depending on how you preserved it.
If you went the shelf-stable route and processed your jars correctly using the water bath, those sealed jars are happy sitting in a dark, cool pantry. They should be good for up to a year, though honestly, ours never last that long! Once you pop that seal, treat it like any store-bought jam—it needs to chill out in the refrigerator and should be used up within a month or two for the very best flavor.
If you opted for the quick freezer jam method we discussed, those containers are perfect for keeping in the deep freeze for about six months. That’s the beauty of the freezer jam tutorial—it keeps that bright flavor locked in longer than the fridge alone!
For any leftovers sitting in the fridge, whether canned or frozen and thawed, just remember to keep them tightly covered. If you’re reheating anything, don’t worry about cooking it again; most people just serve it at room temperature or slightly warmed over ice cream. If it gets a little stiff in the fridge, just let a dollop sit out for twenty minutes before slathering it on your morning bagel!
Frequently Asked Questions About Raspberry Jam
I get so many questions about jamming because it seems intimidating, but trust me, once you’ve done it once, you’ll be hooked on making homemade raspberry jam! Here are a few things folks ask me the most when they try this recipe for the first time.
What if my raspberry jam doesn’t thicken?
If you failed that wrinkle test after that first hard boil—it happens to everyone!—don’t panic. The most common reason for runny jam is simply not boiling long enough to evaporate enough water. Just return your pot to the heat safely and boil hard again for another 3 minutes. If it still seems too loose after the next plate test, keep boiling in 2-minute increments until you get that satisfying wrinkle. It just means you needed a little more time concentrating those marvelous berry flavors.
Can I make this recipe using frozen raspberries for the best raspberry jam?
Absolutely yes! Because frozen berries release a little more water as they sit in the pot, the only adjustment you might need to make is cooking the *initial* berry breakdown period a bit longer to get the liquid going. Once you melt them down and stir in the sugar, the cooking time for the final set should stay about the same. It still results in wonderfully bright raspberry flavor!
If you have any questions that I didn’t cover here, feel free to say hello via my contact page!
Understanding the Nutrition in Your Sweet and Tart Jam
When you are cooking with whole fruit and sugar, the numbers aren’t always the most important part, but I know plenty of you are curious about what’s in your beautiful jars of homemade preserves. Since this is all about fresh fruit, the nutrition is pretty straightforward for this batch of sweet and tart jam.
Below are the general estimates based on breaking the entire recipe yield into 2-tablespoon servings. Remember, these figures are just guidelines because how long you boil the jam, and the exact sugar content in your berries, can change things slightly!
- Serving Size (2 tablespoons): 95 Calories
- Sugar: 24g
- Sodium: 1mg
- Fat: 0g
- Carbohydrates: 25g
- Protein: 0g
It’s important to remember that because this is an old fashioned jam recipe, it relies on sugar both for preservation and that gorgeous texture we worked so hard to achieve. It’s a treat, plain and simple!
For more details regarding how we handle data on the site, please check out our privacy policy. Happy preserving!
Share Your Homemade Raspberry Jam Creations
Whew, we did it! You now have jars full of gorgeous, bright raspberry jam that tastes infinitely better than anything you can buy in a store. I truly hope you love pulling these out on a sleepy Sunday morning or grabbing a jar to sweeten up a cocktail!
I’d be absolutely tickled pink if you gave this recipe a rating below—five stars if you agree it’s the best easy jam recipe you’ve tried! And snap a picture! Tag me on social media so I can see your beautiful preserves. I love seeing how everyone sets up their canning stations or which containers folks choose for their freezer stash.
If you’re looking for another fun seasonal project, check out my recipe for Pumpkin Spice Latte Cupcakes, which would go great with a little dollop of this homemade jam on the side if you get creative! Happy spreading!
PrintEasy Homemade Raspberry Jam (No Pectin Needed)
Make bright, flavorful raspberry jam using only fresh raspberries, sugar, and lemon juice. This simple recipe requires no added pectin and works well for canning or freezer storage.
- Prep Time: 10 min
- Cook Time: 25 min
- Total Time: 35 min
- Yield: About 4 half-pint jars
- Category: Preserves
- Method: Stovetop Cooking
- Cuisine: American
- Diet: Vegetarian
Ingredients
- 4 cups fresh or frozen raspberries
- 3 cups granulated sugar
- 1 tablespoon fresh lemon juice
Instructions
- Combine the raspberries and lemon juice in a large, heavy-bottomed pot. Cook over medium heat, stirring often, until the berries break down and release their juice, about 5 to 10 minutes.
- Stir in the sugar until it is completely dissolved. Increase the heat to medium-high.
- Bring the mixture to a rolling boil that cannot be stirred down. Boil hard, stirring frequently to prevent scorching, until the jam reaches the setting point. This usually takes between 10 and 20 minutes.
- Test for set: Remove the pot from the heat. Spoon a small amount of jam onto a chilled plate. Return the plate to the freezer for 1 minute. Push the jam with your finger; if the surface wrinkles, it is ready. If it remains liquid, return the pot to the heat and boil for another 3 to 5 minutes before testing again.
- Skim off any foam from the surface using a spoon.
- For canning: Ladle the hot jam into sterilized jars, leaving 1/4 inch headspace. Wipe rims clean and secure lids and bands. Process in a boiling water bath for 10 minutes.
- For freezer jam: Ladle the jam into clean freezer-safe containers, leaving 1/2 inch headspace. Let cool to room temperature, then cover and freeze.
Notes
- If you prefer seedless jam, press the cooked berry mixture through a fine-mesh sieve before adding the sugar.
- This jam is excellent served warm over vanilla ice cream or spread on sourdough toast.
- For a quicker set, you can use the freezer jam method and store the finished product in the refrigerator for up to 3 weeks or the freezer for up to 6 months.
Nutrition
- Serving Size: 2 tablespoons
- Calories: 95
- Sugar: 24g
- Sodium: 1mg
- Fat: 0g
- Saturated Fat: 0g
- Unsaturated Fat: 0g
- Trans Fat: 0g
- Carbohydrates: 25g
- Fiber: 1g
- Protein: 0g
- Cholesterol: 0mg