

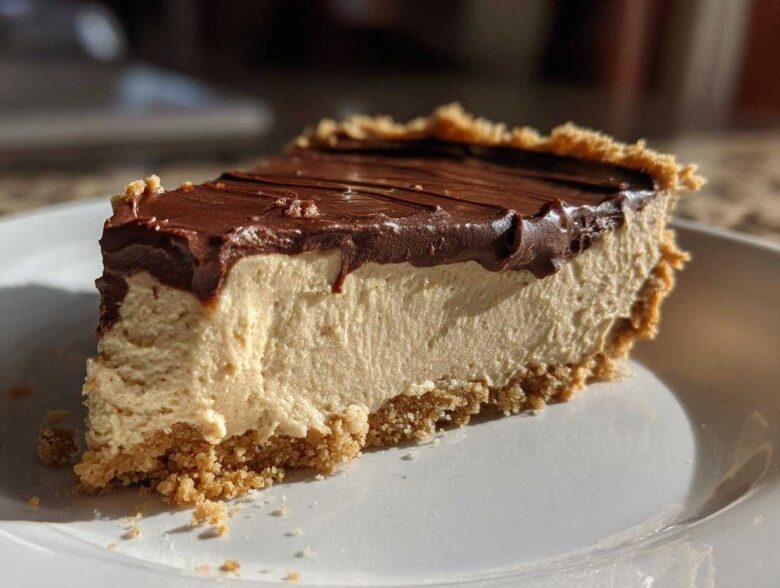
If you’re anything like me before Simon taught me to relax, you probably think making an impressive dessert means hours over a hot stove. Scrap that idea right now! I have an absolute showstopper for you today—the ultimate No-Bake Creamy Peanut Butter Pie. And trust me, this peanut butter pie is designed to be a guaranteed win, which is exactly what we aim for here at Kitchn Kudos. Simon and I built this entire philosophy around giving praise, and this recipe? It deserves a standing ovation for how easy and delicious it is. You simply won’t believe how little effort goes into creating this rich and dreamy treat! For more of our philosophy and recipes designed to bring joy to your kitchen, check out our main blog page.
Why This No Bake Peanut Butter Pie Recipe Earns Kitchen Kudos
I’m so excited to share this one with you! When you need a dessert that looks fancy but takes almost no effort, this is the answer. Simon calls this the best peanut butter pie recipe because it proves you don’t need complicated steps or an oven to create something truly indulgent. It’s designed purely for success, giving you instant kitchen kudos!
- It takes you less than 20 minutes of active time—seriously!
- It requires zero baking, making it the perfect No Oven Dessert for busy days or hot weather.
- The texture is impossibly smooth, giving you that rich, dreamy slice every single time.
The Ultimate Quick Peanut Butter Dessert
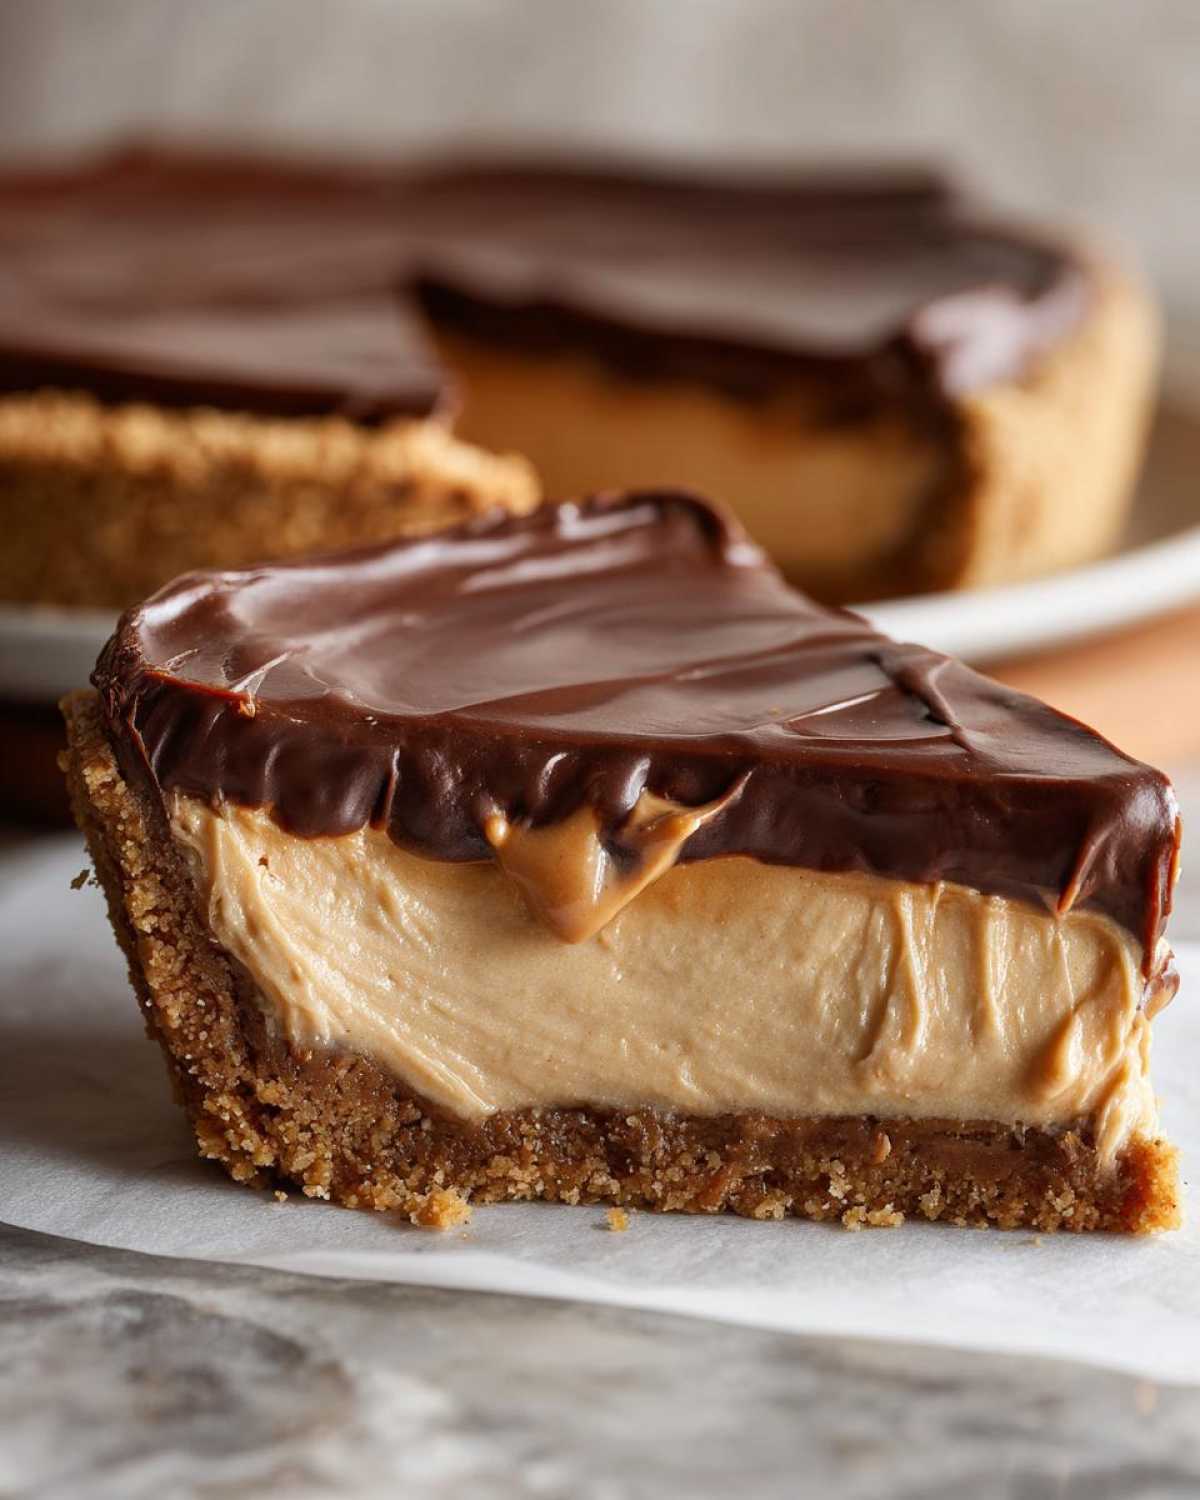
Twenty minutes! That’s the prep time for the crust and the filling, minus the chill time, of course. Who has time to mess around with oven temperatures when you could be enjoying a slice of this amazing Creamy Peanut Butter Pie? It’s the definition of a quick fix that doesn’t taste quick at all. It’s magic, I tell you!
Crowd Pleaser Dessert Perfection
I swear, this pie disappears first at every holiday dinner. Whether it’s for Fourth of July or your big Thanksgiving menu, it’s always the star. It hits that perfect spot—super sweet, wonderfully salty from the butter and peanut butter—it just works for everyone. It’s guaranteed to make your guests happy!
Gather Your Ingredients for the Best Peanut Butter Pie
Now, since this is a No Bake Peanut Butter Pie Recipe, we aren’t going to stress about having everything at the absolute perfect temperature, but listen to me when I say: ‘softened’ cream cheese is important! Simon always gets ready before I do, and he starts laying everything out so it can come to temperature. This simple step makes mixing so much smoother, ensuring you get that incredible, lump-free texture we’re aiming for. The base is what sets up the whole experience!
For the Graham Cracker Crust Pie Base
- 1 1/2 cups graham cracker crumbs
- 1/4 cup granulated sugar
- 6 tablespoons unsalted butter, melted
For the Creamy Peanut Butter Pie Filling
Make sure your cream cheese is truly softened—remember, we aren’t testing our arms here! And please use the thawed whipped topping; freezing it helps deflate it just enough so it folds in without breaking down all the air we just worked hard to incorporate.
- 1 (8 ounce) package cream cheese, softened
- 1 cup creamy peanut butter
- 1 cup powdered sugar
- 1 teaspoon vanilla extract
- 1 (12 ounce) container frozen whipped topping, thawed (or homemade whipped cream)
For the Chocolate Topping
This topping is so simple, but oh, it adds that perfect chocolate punch to finish off this seriously Indulgent Peanut Butter Dessert.
- 1/2 cup semi-sweet chocolate chips
- 1 tablespoon butter
If you want to see some other speedy recipes Simon and I love, check out our honey garlic chicken stir-fry—another big win with minimal fuss!
How to Make This Easy Peanut Butter Pie Recipe Step-by-Step
Okay, time for the best part—watching this glorious peanut butter pie come together! Simon always cranks up the music right here because it feels like assembling a delicious, edible puzzle. We follow the recipe exactly, and I promise, you’ll feel like a baking wizard even before you turn on the stove for the tiny topping bit. Pay attention to the chilling times; that’s where the magic happens for that picture-perfect slice!
Creating the Graham Cracker Crust
First up, we make the base! Grab those graham cracker crumbs, the sugar, and the 6 tablespoons of melted butter. Mix it all up until it looks like wet sand—you want it to hold together when you squeeze it. Then, press this mixture down firmly into your 9-inch pie plate. I mean firmly! Use the bottom of a glass to really pack it in along the sides too. Once it’s packed tight, tuck that whole plate into the freezer while we move onto the heavenly filling.
Whipping Up the Creamy Peanut Butter Pie Filling
Grab your big mixing bowl! Start by beating that softened cream cheese until it’s totally smooth—no lumps allowed, that’s a kitchen kudos requirement! Next, beat in your creamy peanut butter, the powdered sugar, and the vanilla until everything looks unified. Now for the gentle phase: take your thawed whipped topping and gently fold it in. I mean gently! Simon always yells, “Don’t deflate the clouds, Alice!” You’re done when there are no visible white streaks left. Don’t overmix, or you lose that beautiful airy texture.
Assembling and Chilling the No Bake Peanut Butter Pie
Spoon all that gorgeous filling right into your chilled crust. Use a spatula to smooth the top nicely. I usually use the back of a spoon to make little waves because those hold the chocolate topping perfectly later. Now, this step is non-negotiable: put it in the fridge for at least 4 hours. Seriously, four hours. This sets the filling perfectly so you get that clean slice you see in pictures, not a soupy mess.
Finishing Touches: The Chocolate Layer
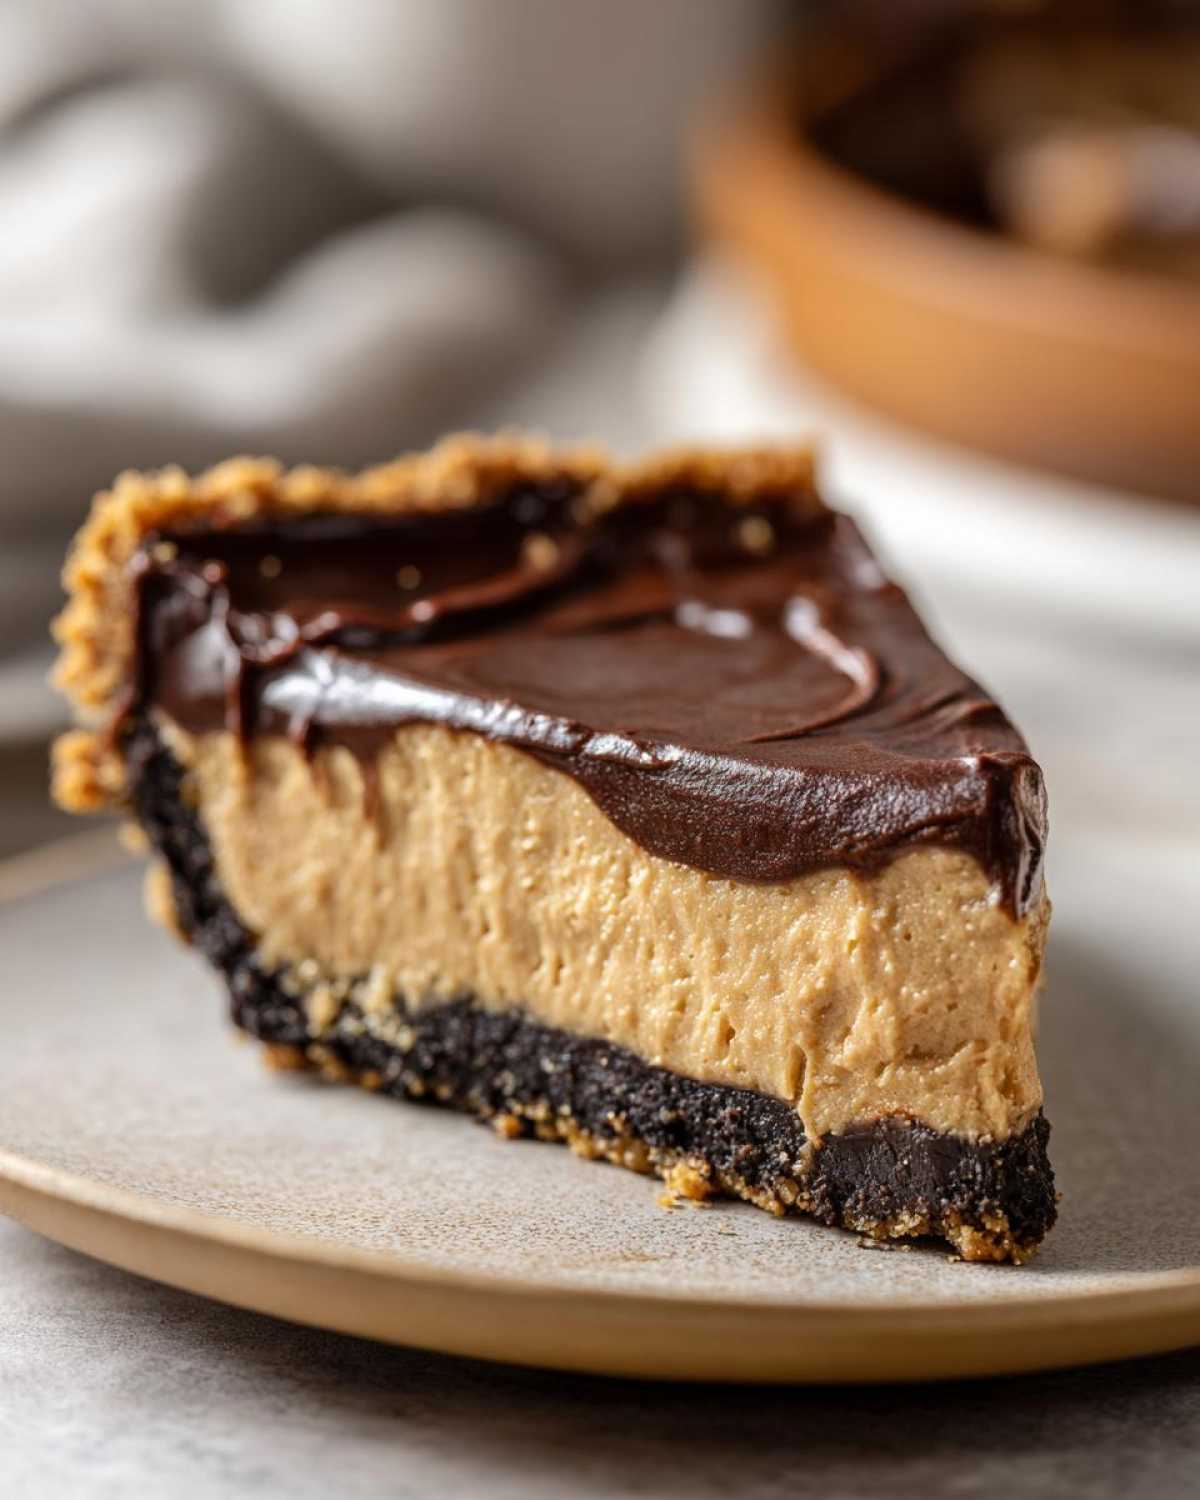
Once it’s firm, we melt the chips and the last tablespoon of butter together in a small saucepan over super low heat. Stir it constantly—chocolate burns fast, and we don’t need that stress! When it’s smooth and glossy, take it off the heat immediately. Pour that melted chocolate slowly and evenly over the chilled filling. Pop it back in the fridge for just 30 more minutes. That lets that chocolate shell set up nice and firm before you slice into your masterpiece! Don’t forget to check out tips for chicken piccata if you need another easy win this week.
Tips for Success with Your Homemade Peanut Butter Pie
Okay, bakers, listen up! Even though this is a no bake peanut butter pie, a few little tricks can take it from great to absolutely legendary. Simon says all recipes need a little chef love, and this is where you get to add your own praise for a perfect result. We want that filling stable and that topping beautiful, so don’t skip these little expert notes I picked up figuring out the best version.
Crust Variations for Your Peanut Butter Dessert
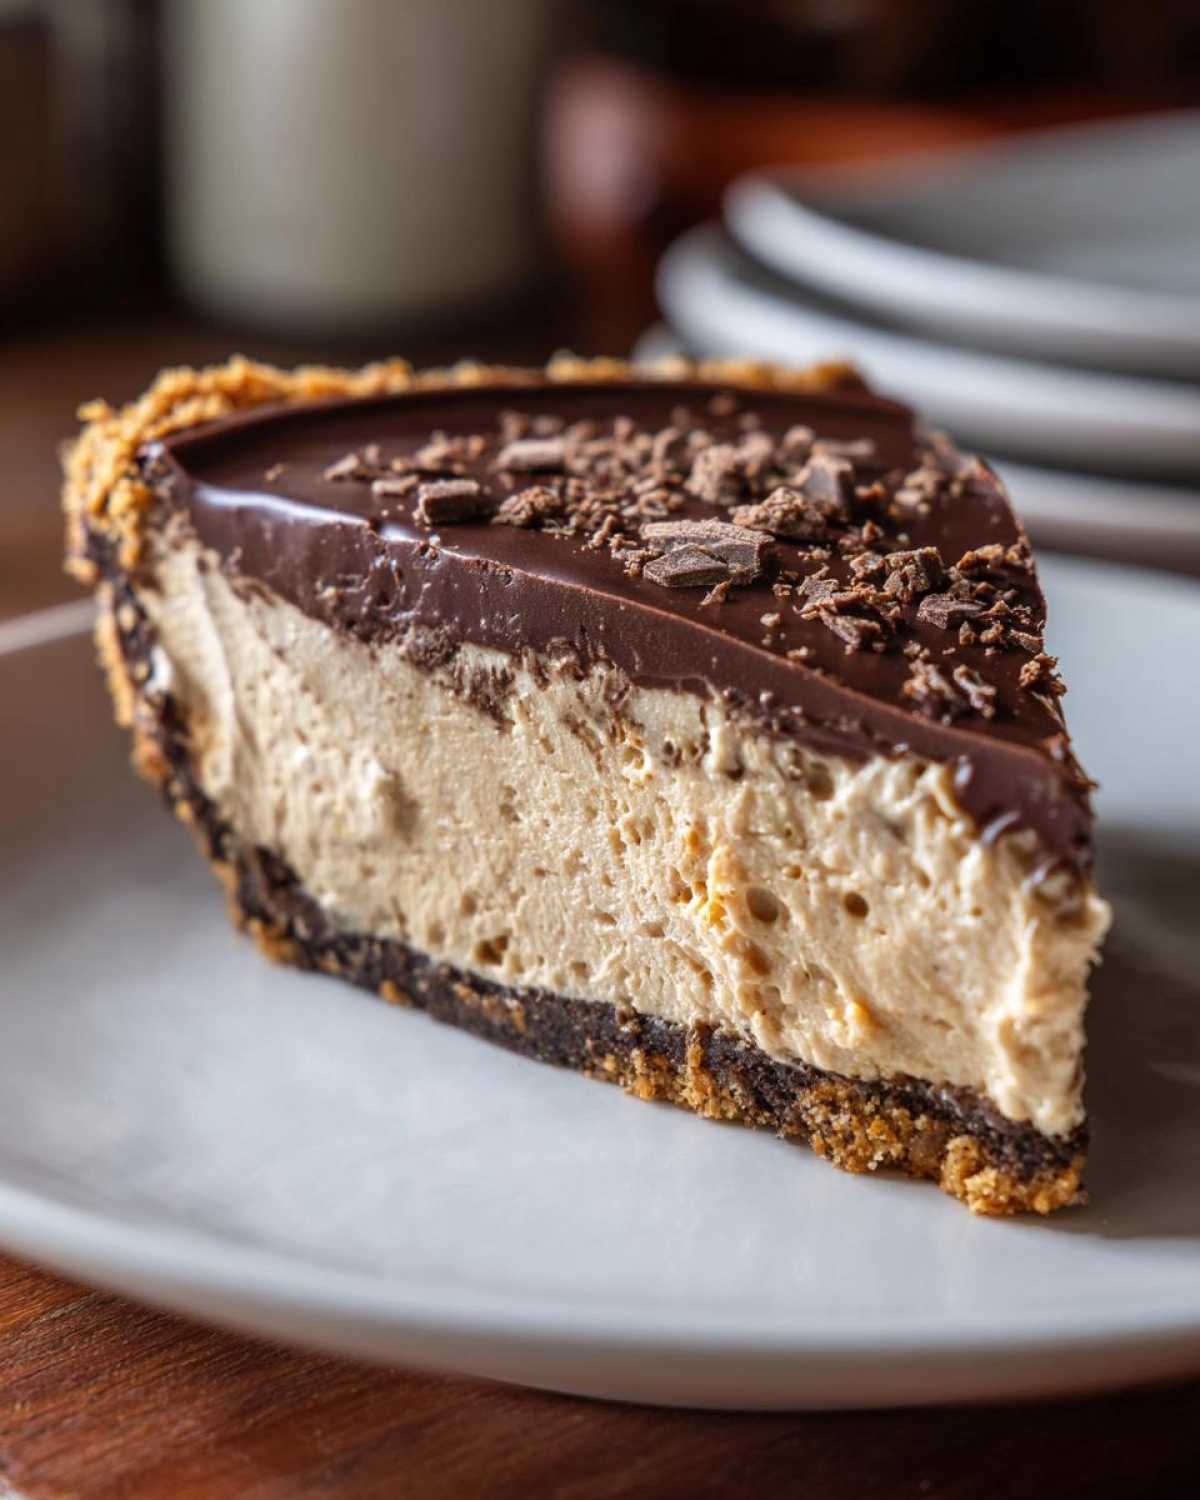
The graham cracker crust is classic—it gives us that wonderful sweet and slightly salty sandy crunch—but what if you’re out of crackers or just craving something even more chocolatey? You can swap it out! If you take about 2 cups of finely crushed Oreo cookies (and yes, include the creamy filling, that’s important!), you can use those instead of the graham crumbs for an Oreo Crust Peanut Butter Pie. Just follow the same steps with the melted butter. See? Instant flexibility!
Achieving a Rich Chocolate Topping
The simple melted chip topping is fantastic, honestly, it sets up firm and tastes great. But sometimes I want to go all out, especially if I’m making this for a big party. If you want that super decadent, dark, glossy finish, ditch the simple melt and make a quick ganache. You just gently heat up about half a cup of heavy cream until it’s just simmering—don’t let it boil! Then pour that hot cream right over a cup of chocolate chips. Let it sit for five minutes untouched, then stir it slow and smooth. That results in the richest topping for your peanut butter pie; it really elevates the entire dessert.
For more impressive-but-not-intimidating recipes, you should definitely check out our classic lasagna recipe. It’s another fail-proof crowd-pleaser!
Make Ahead Dessert Recipes: Storing Your Peanut Butter Pie
This is honestly the best secret weapon for holiday baking! Because this is such a wonderful Make Ahead Dessert Recipe, you can breathe easy when planning your big meals, like Thanksgiving dinner. Simon loves that I can get this done a couple of days early. Good news: this whole dreamy dessert holds up beautifully in the refrigerator. You can safely tuck it away for up to three days! Just cover it tightly with plastic wrap, and it’s ready to go when the guests arrive. See? Instant kudos for planning ahead!
Need more make-ahead ideas? You absolutely have to check out my full thoughts on make ahead dessert recipes!
Serving Suggestions for Your Crowd Pleaser Dessert
Once your peanut butter pie has set up perfectly—and trust me, you deserve a little dance break for getting it that far—it’s time for the final flourish! While the chocolate drizzle is amazing on its own, really lean into that sweet and salty vibe. If you want to go all out, pile on some chopped Reese’s Peanut Butter Cups right before serving; they add such a fun texture.
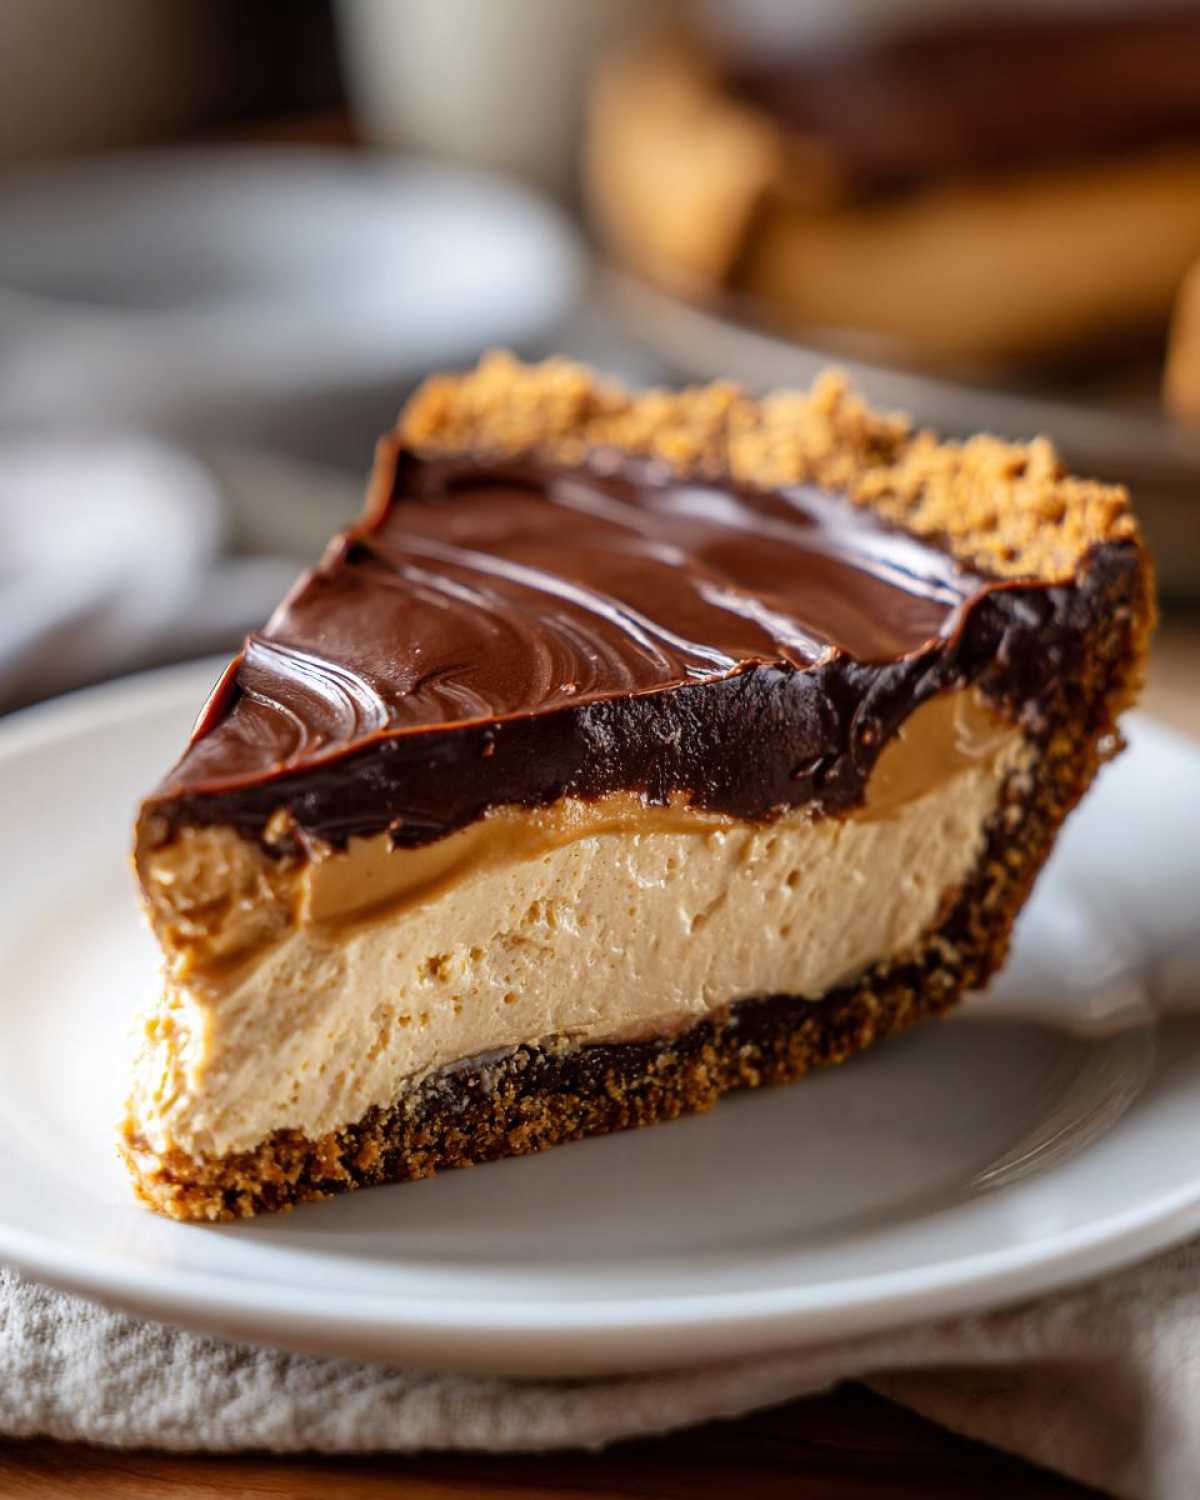
Some folks love a tiny dollop of extra whipped cream on each slice, too. For a fancier look, you can dust the edges of the plate with cocoa powder. Honestly, though, this simple, rich pie is perfect all by itself, but adding those little touches is always a great reason to give yourself kitchen kudos!
If you’re looking for another savory appetizer that’s just as easy to put together for your party spread, check out my thoughts on the cranberry pecan cheese ball!
Frequently Asked Questions About This Peanut Butter Pie
I always get so many questions chiming in after I post this recipe because people can’t believe how simple The Best Peanut Butter Pie turned out to be! It’s totally normal to wonder about substitutions or techniques when you’re diving into a new dessert, especially when you want that perfect, creamy texture. Simon says every question is an opportunity to give ourselves kudos for being curious cooks, so let’s tackle a few of the most common ones I hear about this pie!
Can I use crunchy peanut butter in this Easy Peanut Butter Pie Recipe?
Oh, absolutely, you can! If you love those little pops of peanut texture, crunchy peanut butter works just fine in the filling. It just changes the mouthfeel slightly. If you use crunchy, remember that the filling might not look *quite* as perfectly smooth when you’re beating everything, but I promise, the flavor is just as wonderful. It’s all about what you love!
What is the best way to get clean slices of peanut butter pie?
This is where patience earns you major kitchen praise! The key to those beautiful, clean slices—like the ones you see online—is the chilling time. You absolutely must let the pie chill for the full 4 hours, minimum, before you even think about taking the chocolate topping out of the fridge. Once the chocolate is on, give it that final 30 minutes set time. Then, dip your sharp knife in hot water and wipe it clean between *every single slice*. That’s the secret!
Can I skip the graham cracker crust and use a pre-made one for this Quick Peanut Butter Dessert?
Yes! If you are truly in a pinch or just really want to cut down on even that 20 minutes of prep time, go for it. Pre-made graham cracker crusts work perfectly fine. Just transfer the filling into the pre-made shell and follow the chilling instructions exactly. That saves you time and effort, which is a huge win in my book!
If you’ve tried this out and have other concerns, check out my notes on sweet potato salad—sometimes simple swaps work wonders there too!
Nutritional Estimates for Your Indulgent Peanut Butter Dessert
Okay, I know some of you are like me and wonder what kind of indulgence we are truly talking about when we make this rich dessert! Simon says we shouldn’t focus too much on numbers when we’re celebrating a win, but it’s good to have a general idea.
Please keep in mind that these are just estimates for one slice using the ingredients listed above. If you go heavy on the chocolate drizzle or maybe use a different kind of peanut butter, these numbers will certainly shift! Think of this as a fun guideline rather than strict science. If you need some inspiration for a slightly lighter weeknight meal, my chicken and wild rice casserole is a fantastic savory choice!
- Serving Size: 1 slice
- Calories: 450
- Sugar: 35g
- Sodium: 320mg
- Fat: 30g
- Saturated Fat: 10g
- Unsaturated Fat: 20g
- Trans Fat: 0g
- Carbohydrates: 40g
- Fiber: 2g
- Protein: 9g
- Cholesterol: 35mg
We made this delicious pie without any trans fats, which is a big plus in my book! That creamy goodness is all thanks to quality ingredients handled with care.
Share Your Kitchen Kudos on This Peanut Butter Pie
That’s it! You did it! You conquered that amazing peanut butter pie without even turning on your oven! Seriously, take a moment and give yourself a huge round of applause. Whether it looks exactly like the picture or it slumped a little (who cares!), you showed up and made something delicious. Pop over to that recipe link on 5 Recipes here if you want to see another version, but please, come back and tell me how yours turned out! I can’t wait to hear about your victory!
And if you need another easy win, check out my thoughts on Zuppa Toscana soup!
PrintThe Best No-Bake Creamy Peanut Butter Pie
You will love this easy, no-bake peanut butter pie. It features a rich, creamy filling in a buttery graham cracker crust, topped with chocolate. This recipe is a true crowd pleaser and perfect for any gathering.
- Prep Time: 20 min
- Cook Time: 5 min
- Total Time: 4 hours 25 min
- Yield: 8 servings
- Category: Dessert
- Method: No-Bake
- Cuisine: American
- Diet: Vegetarian
Ingredients
- 1 1/2 cups graham cracker crumbs
- 1/4 cup granulated sugar
- 6 tablespoons unsalted butter, melted
- 1 (8 ounce) package cream cheese, softened
- 1 cup creamy peanut butter
- 1 cup powdered sugar
- 1 teaspoon vanilla extract
- 1 (12 ounce) container frozen whipped topping, thawed (or homemade whipped cream)
- 1/2 cup semi-sweet chocolate chips
- 1 tablespoon butter
Instructions
- Prepare the crust: Mix graham cracker crumbs, 1/4 cup granulated sugar, and 6 tablespoons melted butter in a bowl until combined. Press the mixture firmly into the bottom and up the sides of a 9-inch pie plate. Place the crust in the freezer while you prepare the filling.
- Make the filling: In a large bowl, beat the softened cream cheese until smooth. Add the peanut butter, 1 cup powdered sugar, and vanilla extract. Beat until the mixture is fully combined and creamy.
- Fold in the whipped topping: Gently fold in the thawed whipped topping until no streaks remain. Do not overmix.
- Assemble the pie: Spoon the peanut butter filling evenly into the chilled graham cracker crust. Spread the top smooth with a spatula.
- Chill the pie: Refrigerate the pie for at least 4 hours, or until firm. This step is important for a clean slice.
- Prepare the chocolate topping: In a small saucepan over low heat, combine the chocolate chips and 1 tablespoon of butter. Stir constantly until the mixture is smooth and melted. Remove from heat.
- Top and serve: Pour the melted chocolate evenly over the chilled pie filling. You can also drizzle it or top with chopped peanut butter cups if you prefer. Chill the pie again for 30 minutes to set the chocolate layer before slicing and serving.
Notes
- For an Oreo crust, substitute 2 cups of finely crushed Oreo cookies (filling included) for the graham cracker crumbs.
- If you want a richer chocolate topping, use a ganache made with 1/2 cup heavy cream heated and poured over 1 cup of chocolate chips.
- You can make this entire dessert ahead of time; it holds up well in the refrigerator for up to three days.
Nutrition
- Serving Size: 1 slice
- Calories: 450
- Sugar: 35g
- Sodium: 320mg
- Fat: 30g
- Saturated Fat: 10g
- Unsaturated Fat: 20g
- Trans Fat: 0g
- Carbohydrates: 40g
- Fiber: 2g
- Protein: 9g
- Cholesterol: 35mg