

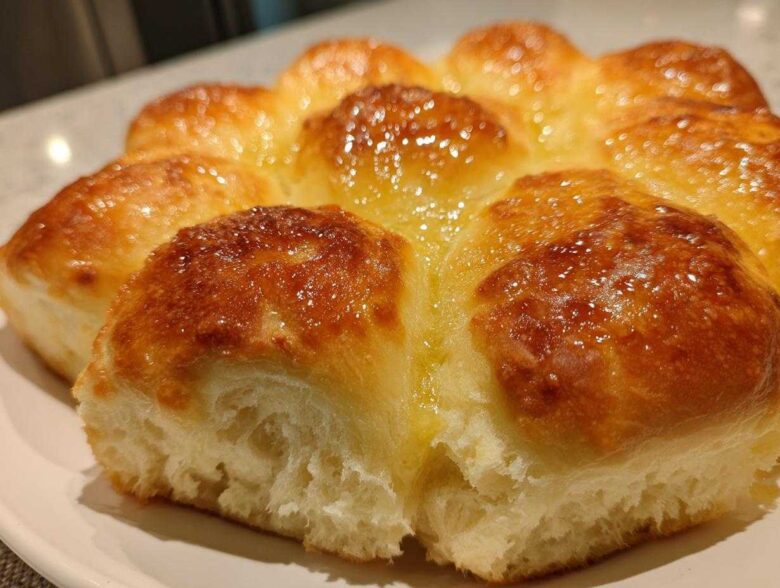
Oh, friends, when that heavenly scent of fresh bread fills your kitchen, doesn’t it just automatically make everything feel ten times better? For the longest time, I used to stress out over baking bread; I worried they wouldn’t rise, or they’d come out dense—just another failed performance! But Simon always just celebrated the attempt. He taught me that the goal wasn’t some stiff, perfect specimen, but something genuinely comforting. And guess what? Because we stopped worrying, we finally hit the jackpot! These **dinner rolls** are the real deal: the ultimate combination of soft, fluffy, and truly buttery. They are so much better than anything you’d grab off the shelf, and making them yourself is a definite win worth praising. Next time you are making a big meal, like my famous homemade lasagna, you absolutely need these on the table.
Why These Are The Best Homemade Rolls You Will Ever Make
I know, I know, everyone claims their recipe is the “best,” but hear me out! These **Soft Dinner Rolls Recipe** checks every single box. Forget those dry, sad little things you get at the grocery store. Our goal here is pure, comforting deliciousness, and we nail the buttery flavor every single time. That incredible texture comes down to a few tiny non-negotiables in the prep work. Trust me, it’s the little details that win the applause here, not the complicated steps.
We insist on using room-temperature ingredients, especially that egg. Warm ingredients mean happy yeast, and happy yeast means you get the **Best Homemade Rolls** possible! If you’re looking for something truly wonderful to serve up, whether it’s for a big holiday feast or just a Tuesday, these are your winners. Check out these homemade cheese crackers if you want another easy win!
Achieving That Fluffy Homemade Bread Texture
The real secret to achieving that melt-in-your-mouth feeling for your **Fluffy Homemade Bread** is twofold: yeast readiness and kneading time. You have to let your yeast proof properly in that little warm milk bath—that initial foamy top is your green light! If it doesn’t foam, dump it and start over, because that’s your foundation. Then, when you knead, don’t stop too early! You really need those 6 to 8 minutes to develop the gluten until the dough stops sticking and starts feeling smooth, almost like velvet. That stretchiness is what traps all those beautiful air bubbles during the rise. Promise yourself those few minutes; it’s worth every second!
Gathering Ingredients for Your Soft Dinner Rolls Recipe
Alright, time to gather our supplies! Since this recipe focuses on achieving those wonderful **Buttery Yeast Rolls**, the quality of your fat really matters. Simon won’t settle for anything less than real, unsalted butter in this recipe, and honestly, I agree. It just makes the rolls taste ten times better. Remember, precision here is a kind of self-care—it means you get the perfect final product!
We need things warmed up just right, so pay close attention to the milk temperature. If it’s too cold, the yeast naps. If it’s too hot, well, sad yeast means flat rolls, and we are absolutely not having that! Don’t forget to pull your egg out early so it hits room temperature—that helps it mix in so smoothly.
Here is exactly what you need to pull together for a dozen perfect rolls. If you’re planning on making homemade mayo later this week, go ahead and grab your eggs now to let them warm up!
- 1 cup warm milk (It absolutely must be between 105-115°F—use a thermometer, please!)
- 2 1/4 teaspoons active dry yeast
- 1/4 cup granulated sugar
- 1/4 cup unsalted butter, melted, plus 2 tablespoons saved for brushing later
- 1 large egg, room temperature!
- 3 1/2 cups all-purpose flour, plus a little extra for dusting the surface
- 1 teaspoon salt
- For the optional topping goodness: 4 tablespoons unsalted butter, melted, 1 teaspoon honey, and just a tiny pinch of cinnamon for that classic restaurant flair.
Step-by-Step Instructions for Perfect Dinner Rolls
Okay, this is where the magic happens! If you’ve made it this far, you’re just moments away from pulling off an absolutely stunning batch of **Easy Dinner Roll Recipe** that tastes like it came from a bakery case. The method is super straightforward, but remember what Simon always says: every step deserves a little praise for showing up! We are going to break this down into the three major phases: getting that dough going, letting it puff up like happy little clouds, and finally, getting that gorgeous golden bake.
Activating Yeast and Mixing the Dough for Dinner Rolls
This is the official start of your **From Scratch Bread** adventure! First things first, grab that warm milk—remember, we need that sweet spot between 105°F and 115°F. If it’s off, the yeast gets confused. Pour the yeast right in, sprinkle a little of that sugar on top, and just let it sit for five minutes. If you see foam, give yourself a quick high-five; that yeast is alive and ready to work!
Next, whisk in the melted butter, the rest of the sugar, and that room-temperature egg. Don’t overthink this part; just get them combined nicely. Now, mix your dry ingredients—the flour and salt—in a separate bowl. Start adding that flour mixture little by little into the wet ingredients. You’ll mix until you get what looks like a shaggy mess. That’s exactly what we want before we get our hands dirty!
Kneading and the First Rise for Perfectly Risen Rolls
Time to move to the counter! Turn that shaggy dough out onto your lightly floured surface. Now, you need to knead this for a solid 6 to 8 minutes. It feels like a workout, but stick with it! You’re looking for the dough to transform from sticky and rough to completely smooth and wonderfully elastic. When you can stretch a small piece thin without it tearing instantly, you’ve built the structure for **Perfectly Risen Rolls**.
Once it feels great, lightly grease a bowl—I use olive oil—and place the dough ball inside, turning it over once so it’s lightly coated. Cover it up tight so it doesn’t dry out. Find a warm, draft-free spot. This first rise is crucial; let it sit for a nice long hour, or maybe a bit longer if your kitchen is chilly, until it has clearly doubled. Patience here pays off monumentally!
Shaping and the Second Rise for Fluffy Dinner Rolls
Gently punch that glorious risen dough down to release the air—it lets out the most satisfying little deflating sound! Now, divide that dough into 12 equal pieces. I find using a kitchen scale helps here if you want every roll to be the same size, but just eyeballing them is fine too. Roll each piece into a tight, neat little ball between your palms. We want them tight so they get that perfect lift!
Grease up that 9×13 pan really well, then place those 12 little sculpted dough balls in there. Make sure they are nestled close together—the closer they snuggle, the softer their sides stay because they support each other as they bake! Cover the pan again and let them rest for their second rise for about 30 to 45 minutes. When they look puffy and have visibly swelled up again, they are ready to become **Fluffy Bakery Style Rolls**. Preheat that oven toward the end of this rise so it’s hot when these beauties go in!
For the baking instructions, remember, they go into a 375°F oven for about 15 to 18 minutes until they are gorgeously golden brown on top. Immediately upon pulling them out, brush them swiftly with that plain melted butter we saved. That simple brush seals in the steam and keeps the crust tender. For more guidance on baking methods, check out my tips for zesty lemon chicken piccata—another recipe where timing makes all the difference!
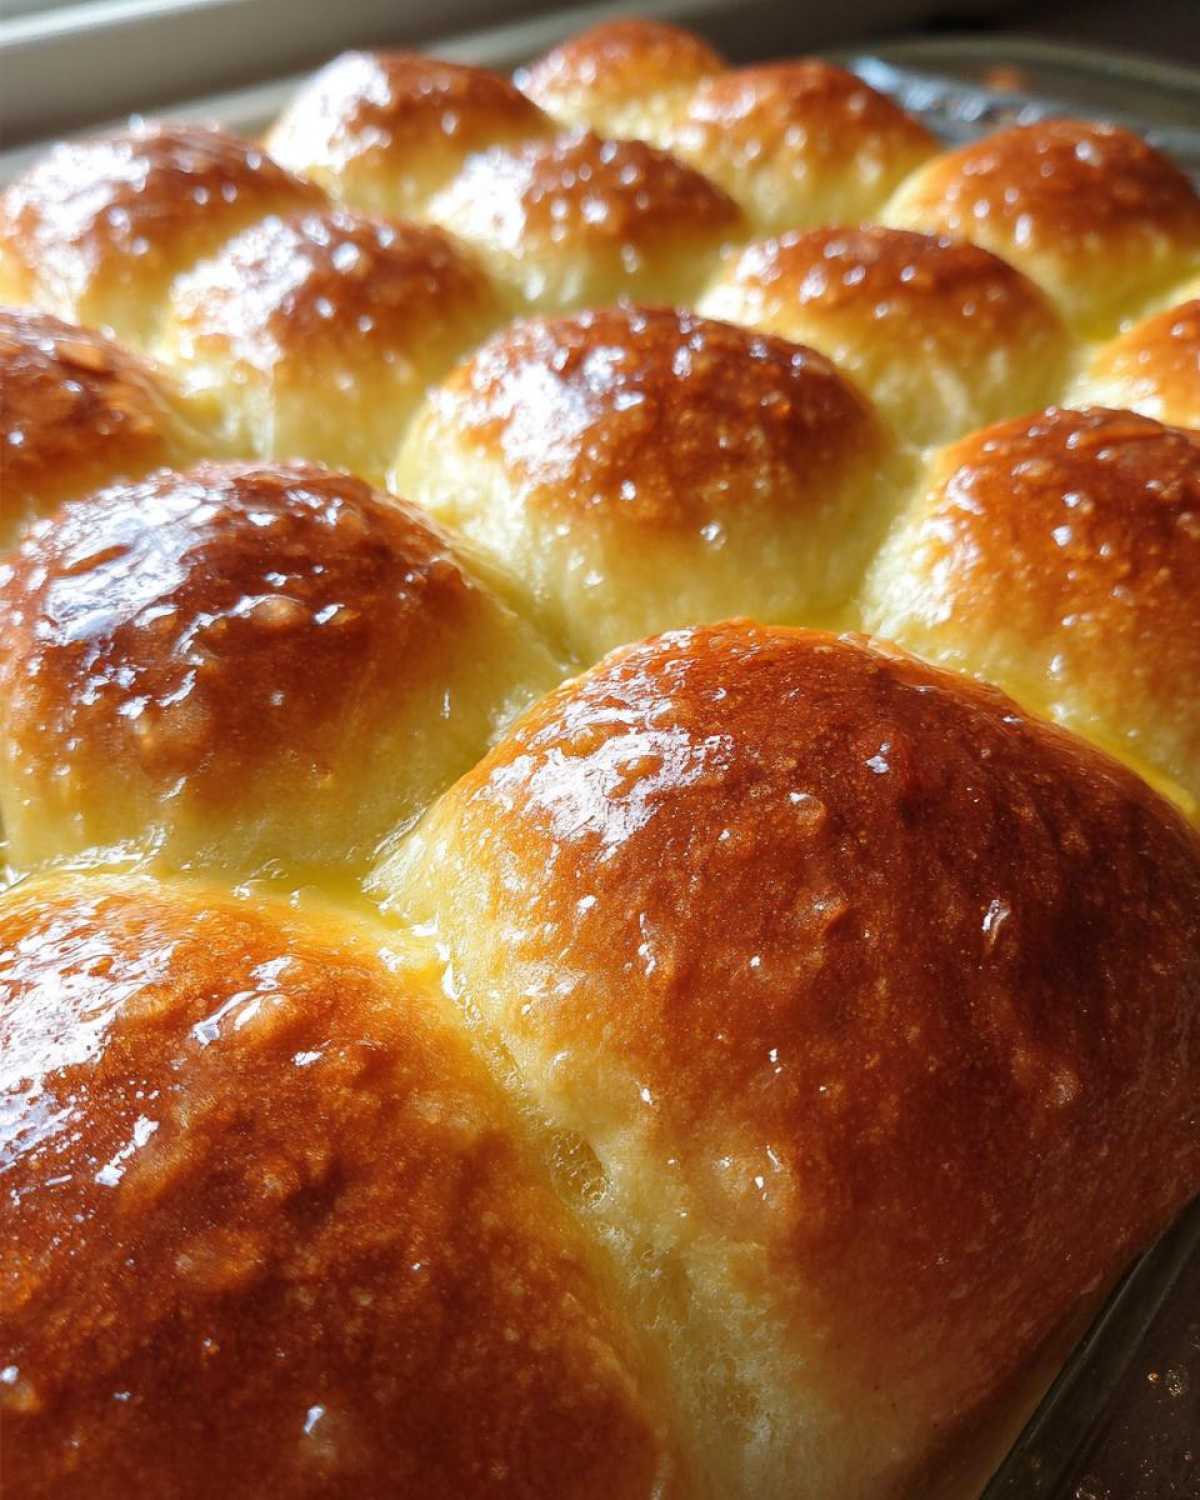
The Secret to Texas Roadhouse Style Rolls Copycat Finish
Okay, now can we talk about the real showstopper? If you, like me, dream about those slightly sweet, warm-from-the-oven rolls doused in that legendary honey-cinnamon butter at your favorite steakhouse, you are in the right place! This recipe is perfect as is for a classic buttery roll, but adding this extra step turns them into a sensational **Texas Roadhouse Style Rolls Copycat**. It’s so easy, and honestly, once you taste this topping, you’ll be making it all the time, even alongside your honey garlic chicken!
This isn’t some fancy add-on; it’s just melting a few extra bits of butter and jazzing it up slightly. The key, and I mean the absolute, must-do key, is timing. You wait until the rolls are out of the oven—golden brown and piping hot—and *then* you drown them in this flavor bomb. The heat of the rolls melts the butter instantly, letting that honey and cinnamon flavor soak right down into every crevice.
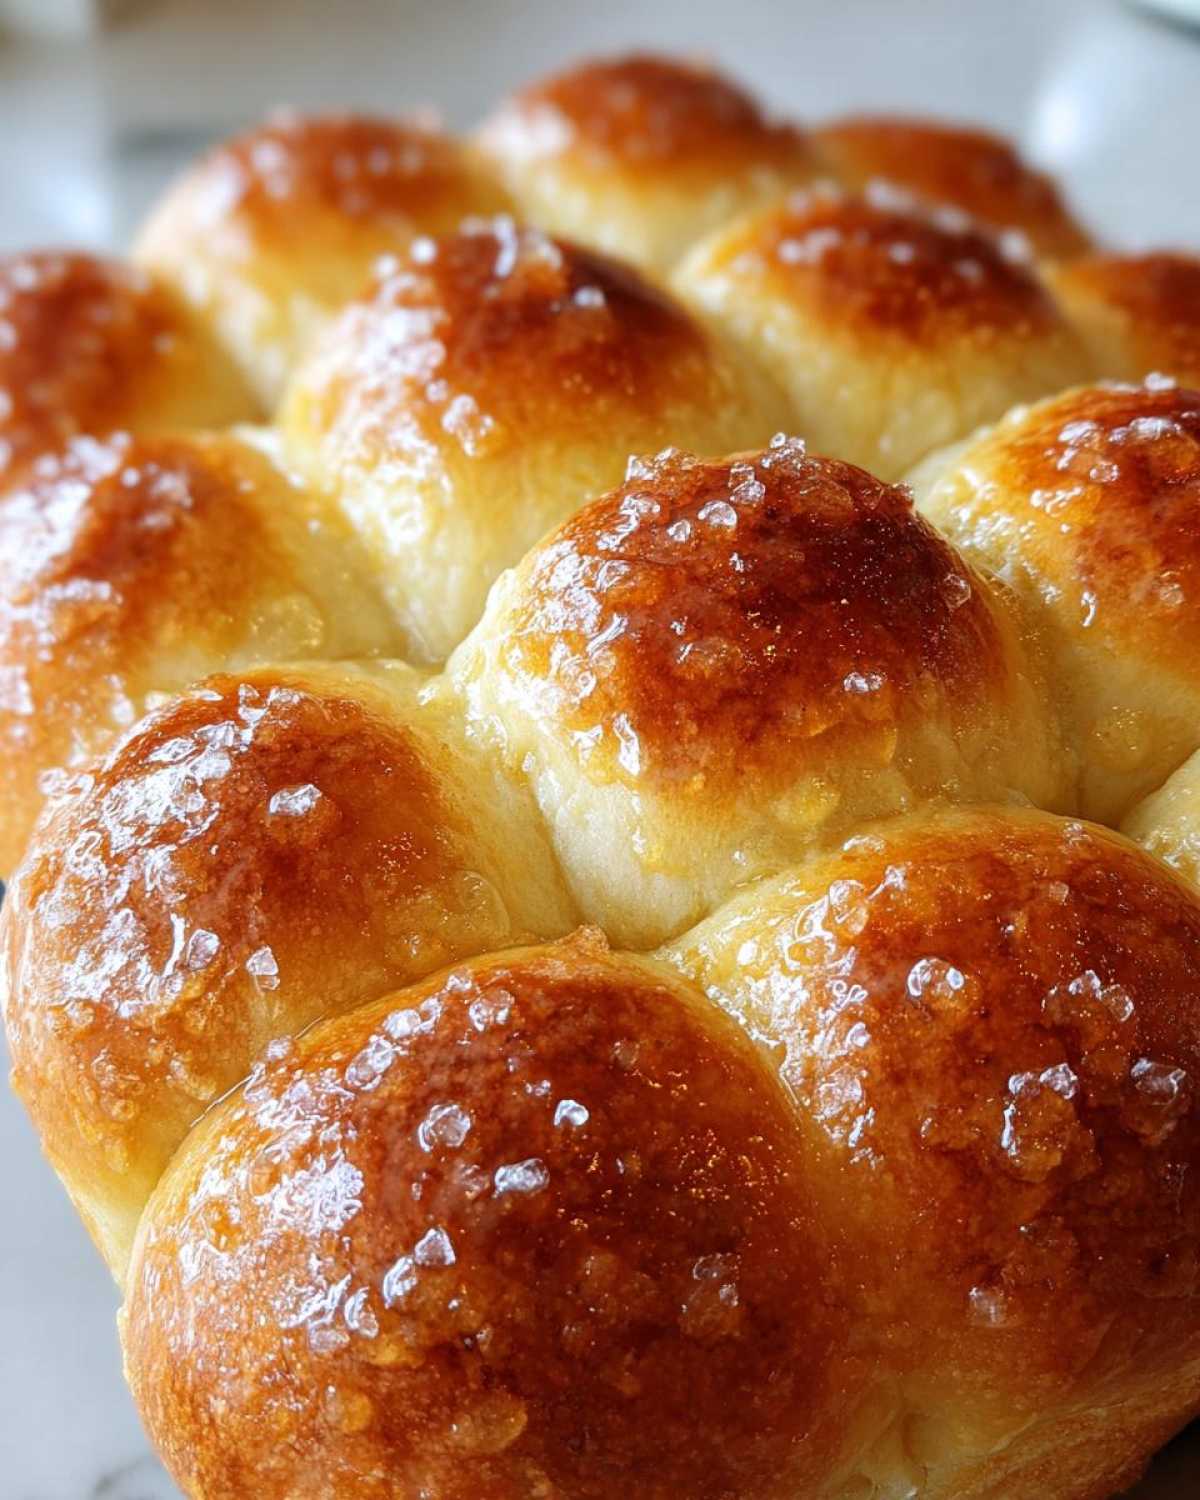
To make this magnificent finishing sauce, simply take those extra 4 tablespoons of melted butter (we saved the fat, brilliant move!) and mix it in a small bowl with one teaspoon of honey and just a tiny pinch of cinnamon. If you want a deep dive into how others achieve that authentic taste, you can check out this resource on Texas Roadhouse Rolls, but honestly, our own buttery base recipe sets you up for success!
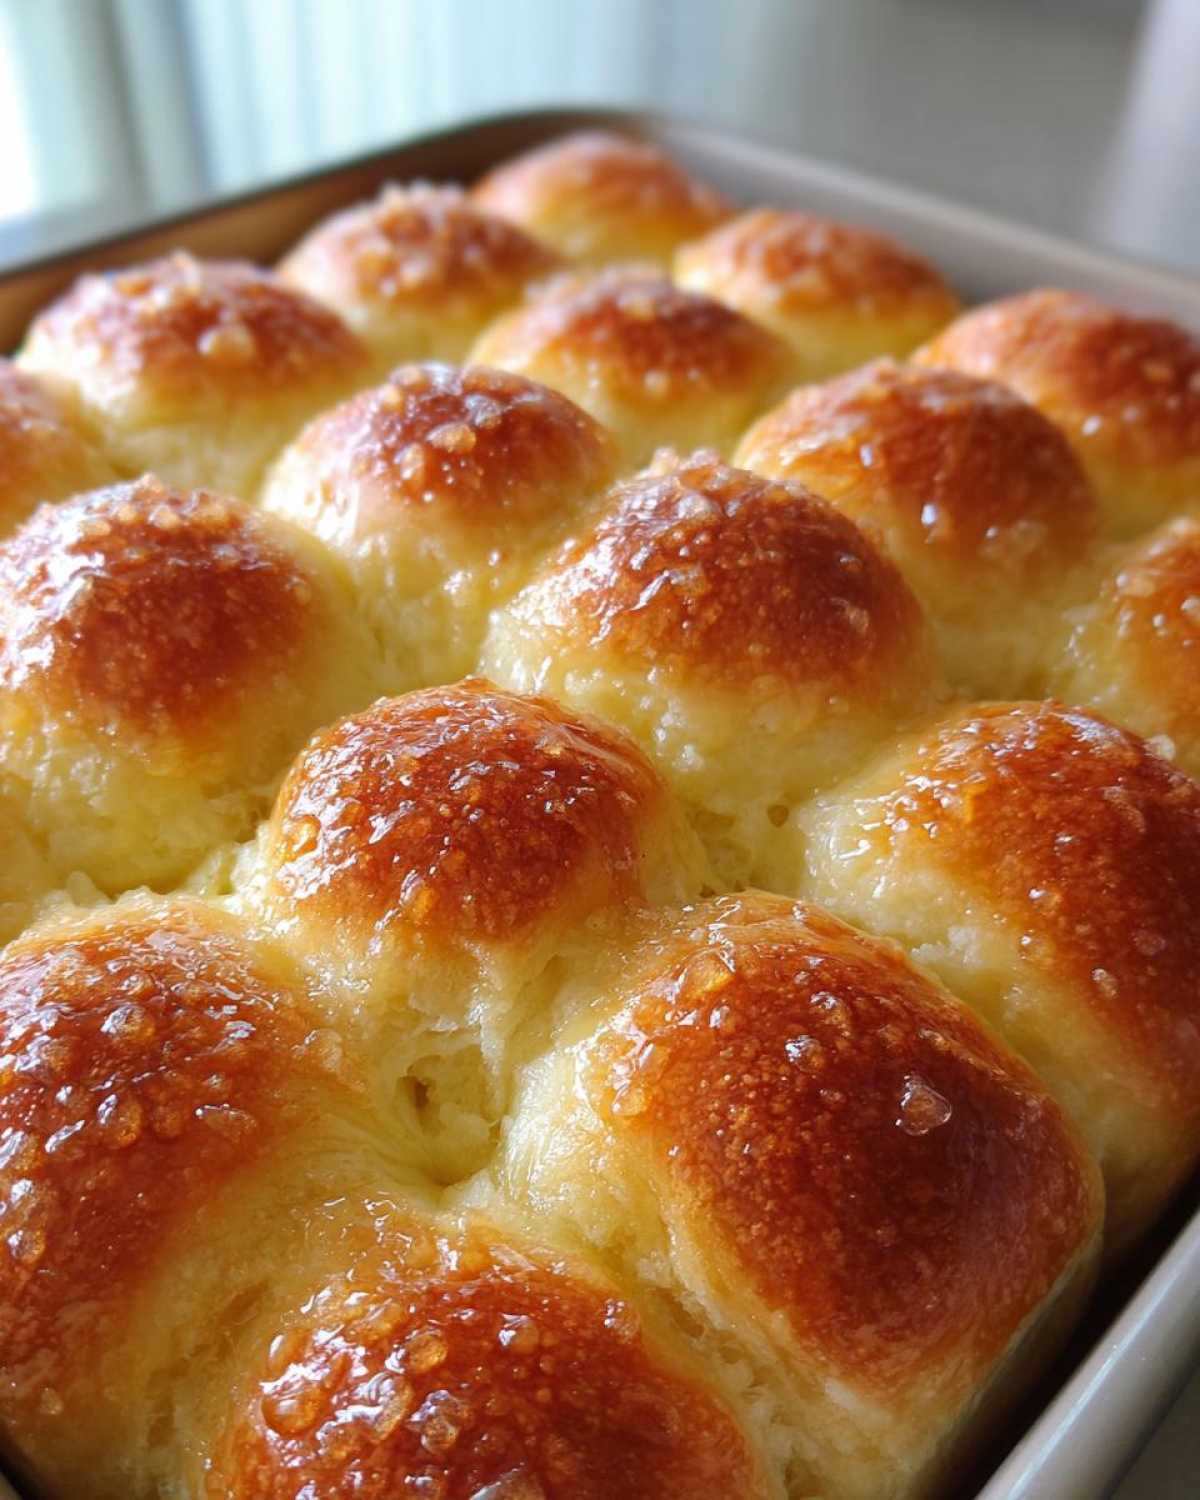
Brush this mixture generously over the hot tops right before serving. The slight sweetness complements the savory dough perfectly, and you get that unmistakable bakery-style coating. Seriously, make these once, and no one will ever ask for store-bought rolls again. You nailed it, give yourself a huge round of applause!
Tips for Success When Making Buttery Yeast Rolls
Baking yeast is honestly more about feeling than strict adherence to the clock, but a few little tricks can save you a ton of headache down the road. We want these **Buttery Yeast Rolls** to be fluffy and light, not sad little dense hockey pucks! Simon insists that a successful bake starts with celebrating the ingredients themselves. If you treat them right, they will treat you right!
I pulled some key advice straight from my notes about what guarantees success when you’re dealing with yeast dough. If you are following along, I highly recommend checking out Simon’s spatchcock chicken recipe next week—it’s the perfect counterpoint to these rolls!
- Don’t Rush the Warmth: This is my number one keeper tip! Remember how I stressed the 105°F to 115°F range for the milk? If your thermometer reads 125°F, you’ve killed your yeast, and the entire batch is compromised before you even mix the flour. Too cold, and it just won’t activate. That warm temperature is the kiss of life for your yeast!
- Butter Matters, Always: Since these are **Buttery Yeast Rolls**, don’t try to skimp here. Using real butter really changes the flavor profile, giving you that rich, savory base that store-bought options just can’t replicate. Save the margarine for something that doesn’t demand perfection!
- Humidity Check: This is a trick I learned from watching my baker neighbor. If your kitchen is freezing cold or super dry (hello, winter!), your dough might take ages to rise or dry out on top during the first proof. If that happens, stick the covered bowl in your oven—but make sure the oven is OFF! Sometimes just having the pilot light on offers the perfect little warm micro-climate for that dough heaven.
- Use the Right Pan Prep: When you’re greasing that 9×13 pan, don’t be stingy! Use softened butter or a really good non-stick spray. We want the rolls to bake together beautifully, but we absolutely need them to release cleanly when we pull them out for that final brush of butter.
Honestly, the most crucial thing I learned from Simon is to give yourself kudos for getting the dough mixed and kneaded, even before the major rising happens. Every step towards these amazing rolls is a win!
Make Ahead Dinner Rolls and Storage Instructions
I know how hectic things get, especially when you’re planning a big meal. If you’re using these rolls as a fantastic **Holiday Side Dish Baking** component, or maybe just prepping for a busy weeknight, good news: these are phenomenal for making ahead of time! Knowing you can have fluffy, warm bread ready to go without the rush is a massive stress reliever, and you deserve that kitchen kudos!
The short answer is yes, you can absolutely make these delicious rolls ahead of time, and they’ll still taste like they just came out of the oven. The key is handling the timing so you don’t over-proof them before baking, or knowing how to properly refresh them afterward. We want to keep that buttery goodness locked in!
- The Night Before (Unbaked): If you want to prep the dough the day before, you can do the first rise (Step 6) as usual. Then, instead of punching down, shaping, and doing the second rise, just put the whole bowl (covered tightly) into the refrigerator immediately after it doubles. The cold temperature basically puts the yeast to sleep. The next day, let the dough sit on the counter for about an hour to lose that fridge chill. Then, punch it down, shape your 12 rolls, place them in the greased pan, and let them do their second rise (Step 4 in the instructions). Once they are puffy, bake as directed!
- Freezing Baked Rolls: This is my personal favorite way to keep them fresh for months. Bake the rolls completely, let them cool down entirely—and I mean totally cooled, or you’ll get condensation—then place them snugly inside a heavy-duty freezer bag or an airtight container. They freeze beautifully for up to three months.
- Reheating for Softness: When you’re ready to serve your frozen **Make Ahead Dinner Rolls**, don’t zap them in the microwave! That’s a recipe for toughness. For the absolute best texture, preheat your oven to about 350°F. Place the frozen rolls (no need to thaw!) on a baking sheet, cover them loosely with foil, and let them heat through for about 10 to 15 minutes. That gentle heat warms the butter back up perfectly. If you want them extra special, brush them with a little bit of melted butter right when they come out!
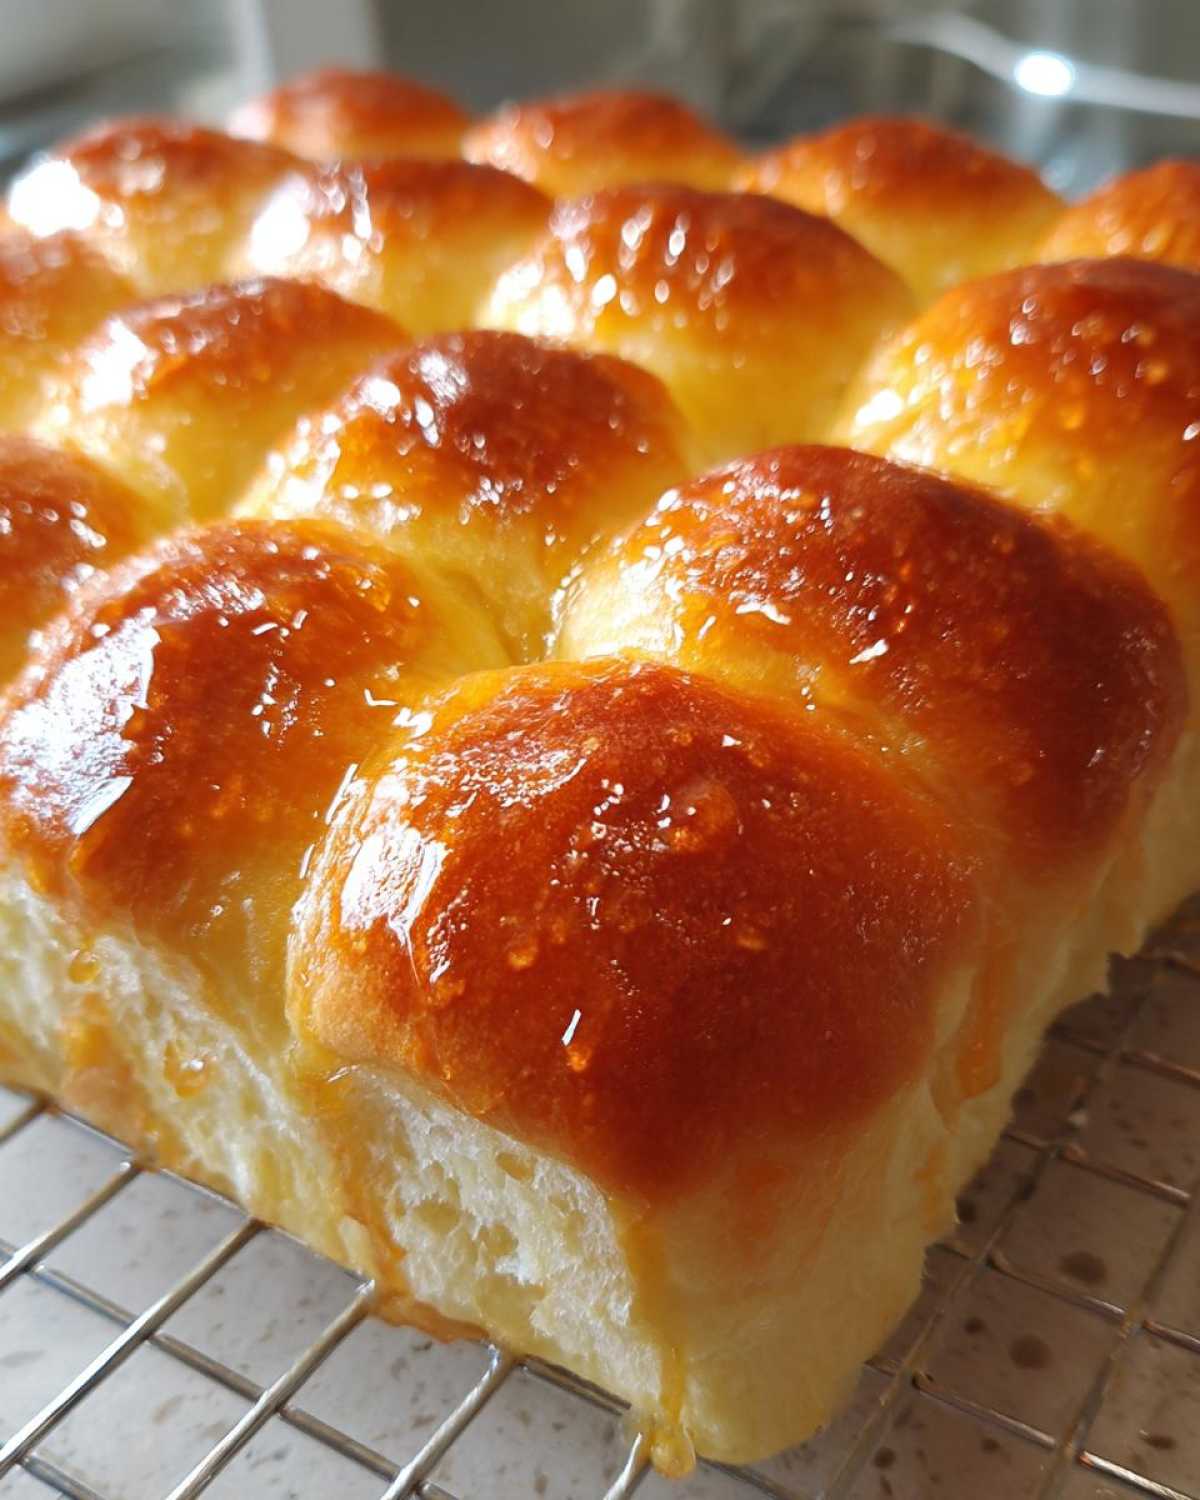
Managing the timeline for big meals can be tough, but having these ready takes one major thing off your to-do list. This strategy saves so much time when you are preparing something like my amazing chicken and wild rice casserole!
Common Questions About Making Dinner Rolls
It’s so smart to ask questions before you start baking! Even though these rolls are designed to be straightforward—truly an achievable benchmark for any home baker—yeast can sometimes be fussy, and it’s good to know what to do when things feel a little uncertain. We want everyone to feel the joy of pulling that pan of beautiful, warm bread from the oven. Simon says every question asked is just another step toward earning your kitchen kudos!
If you’ve ever wondered about speeding things up or changing the flavor profile slightly, you’re echoing what lots of other people wonder about when they tackle yeast bread for the first time. Don’t worry about needing a super **Quick Dinner Rolls** recipe; while we have the tips below, the two rises are truly what locks in that fluffy texture we love so much. To see how these rolls pair with a great soup, you should definitely check out my recipe for Zuppa Toscana Soup!
Can I make these Old Fashioned Dinner Rolls faster?
That’s a huge question for weeknight baking! While this recipe strives to be as efficient as possible, remember that yeast takes time to work its magic. You will see some recipes floating around claiming **One Hour Dinner Rolls**, and while you can technically *Rush* the rises—by placing the dough somewhere very warm, like on top of a preheating oven (but NOT in it!)—you are sacrificing texture. If you rush that second rise, you might get rolls that are a little flatter or slightly heavy. If speed is the ultimate goal, I’d say aim for a compromise: use slightly warmer milk (but still below 120°F!) and give the dough a dedicated warm spot. That’s the best way to honor the **Old Fashioned Dinner Rolls** method without sacrificing too much fluff!
What if I want Sweet Dinner Rolls instead of savory?
Oh, I love this idea! If you enjoy a distinctly **Sweet Dinner Rolls** flavor, you have a couple of really easy options here that don’t mess with the dough structure too much. The first and easiest tweak is simply upping the sugar in the dough mixture by an extra tablespoon or two. The yeast can handle it, and you’ll notice a sweeter crumb once they bake.
The second, which I prefer, is adding a basic glaze *after* they come out of the oven. Once they are brushed with the plain melted butter (before the optional honey topping), let them cool for just five minutes. Then, whisk together about half a cup of powdered sugar with 1 to 2 teaspoons of milk or vanilla extract until it’s drizzly, but thick. Drizzle that over the tops. It adds a lovely sweetness and a little chew to the crust, making them taste like they came straight from the bakery!
Nutritional Estimates for Your Homemade Dinner Rolls
It’s always helpful to know what you’re fueling everyone with, isn’t it? While baking these fluffy **dinner rolls** is all about comfort and joy, getting a rough idea of the nutritional breakdown is just good kitchen practice. Remember, this is just an estimate based on the standard ingredients we used—homemade food is always going to vary slightly depending on the exact butter content in your flour or the size of your egg!
I always feel so much better knowing that I made these from scratch, using whole ingredients, rather than relying on the preservatives found in the store-bought stuff. For a great pairing that balances out the richness of these buttery rolls, you might want to try my recipe for Sweet Potato Salad!
Here are the estimated counts for one of our delicious, soft, and buttery rolls:
- Serving Size: 1 roll
- Calories: 190
- Sugar: 4g
- Sodium: 250mg
- Fat: 7g
- Saturated Fat: 4g
- Unsaturated Fat: 3g
- Trans Fat: 0g
- Carbohydrates: 28g
- Fiber: 1g
- Protein: 5g
- Cholesterol: 25mg
Think of this as excellent data supporting the fact that a little homemade goodness never hurt anyone! You earned those kudos for making something wonderful from scratch.
Share Your Kitchen Kudos for These Dinner Rolls
Wow! Can you believe you just made these stunning, impossibly soft **dinner rolls** from scratch? Seriously, stop right there for a second. Before you devour the entire pan—which I totally know you want to do—I need you to take a big breath and give yourself a moment of praise! This is exactly what Kitchn Kudos is all about. You followed the yeast instructions, you kneaded patiently, and now you have **Buttery Yeast Rolls** that smell like heaven. That’s a huge win, and you deserve applause!
We are so eager to hear about your success! Did they turn out perfectly fluffy? Did you try that amazing honey-cinnamon brush to get the Texas Roadhouse Style Rolls Copycat finish we talked about? Spill the details! Head down to the comments section below and tell us how your baking journey went. Didn’t they blow those store-bought versions right out of the water?
Sharing your results—even the little hiccups that turned into unexpected successes—helps the whole community celebrate together. If you managed to take a photo of your golden, puffed-up rolls, we’d be thrilled if you tagged us online! Remember, the goal isn’t perfection; the goal is connection and conquering that little voice of doubt in the kitchen. You showed up, you baked bread, and you made something delicious for the people you love. That deserves all the kitchen kudos in the world!
Now go ahead, grab one while it’s perfectly warm. You earned it. Happy eating, and thanks for baking with us!
PrintThe Ultimate Soft and Fluffy Homemade Dinner Rolls (Classic Buttery Recipe)
You deserve soft, fluffy, and buttery dinner rolls that taste far better than anything store-bought. This easy recipe delivers perfectly risen, comforting homemade bread perfect for any family meal or holiday gathering.
- Prep Time: 20 min
- Cook Time: 18 min
- Total Time: 1 hour 58 min
- Yield: 12 rolls
- Category: Side Dish
- Method: Baking
- Cuisine: American
- Diet: Vegetarian
Ingredients
- 1 cup warm milk (105-115°F)
- 2 1/4 teaspoons active dry yeast
- 1/4 cup granulated sugar
- 1/4 cup unsalted butter, melted, plus 2 tablespoons for brushing
- 1 large egg, room temperature
- 3 1/2 cups all-purpose flour, plus more for dusting
- 1 teaspoon salt
- For topping: 4 tablespoons unsalted butter, melted, 1 teaspoon honey, pinch of cinnamon (optional for Texas Roadhouse style)
Instructions
- Activate the yeast: In a large bowl, combine the warm milk and yeast. Let it sit for 5 minutes until foamy. This shows your yeast is ready to go!
- Mix wet ingredients: Add the sugar, 1/4 cup melted butter, and egg to the yeast mixture. Whisk until combined.
- Combine dry ingredients: In a separate bowl, whisk together 3 1/2 cups of flour and the salt.
- Form the dough: Gradually add the flour mixture to the wet ingredients, mixing until a shaggy dough forms.
- Knead: Turn the dough out onto a lightly floured surface. Knead for 6 to 8 minutes until the dough is smooth and elastic. You are doing great!
- First rise: Place the dough in a lightly oiled bowl, turning once to coat. Cover the bowl with plastic wrap or a clean towel. Let it rise in a warm spot for 1 to 1.5 hours, or until doubled in size.
- Shape the rolls: Gently punch down the dough. Divide it into 12 equal pieces. Roll each piece into a smooth ball. Place the balls close together in a greased 9×13 inch baking pan.
- Second rise: Cover the pan loosely and let the rolls rise again in a warm place for 30 to 45 minutes, or until puffy.
- Bake: Preheat your oven to 375°F (190°C). Bake for 15 to 18 minutes, or until the tops are golden brown.
- Brush with butter: As soon as the rolls come out of the oven, brush them immediately with the remaining 2 tablespoons of melted butter.
- Optional Texas Roadhouse Finish: For that iconic flavor, quickly mix the 4 tablespoons of melted butter with the honey and cinnamon. Brush this mixture generously over the hot rolls immediately after baking.
- Serve warm and enjoy your success!
Notes
- For the softest rolls, make sure your milk is warm, not hot. Water that is too hot kills the yeast.
- If you are short on time, you can reduce the second rise time, but the rolls will be slightly less fluffy. Give yourself kudos for trying!
- These rolls freeze well after baking. Cool completely, place in an airtight container, and freeze for up to three months. Reheat in the oven to refresh.
Nutrition
- Serving Size: 1 roll
- Calories: 190
- Sugar: 4
- Sodium: 250
- Fat: 7
- Saturated Fat: 4
- Unsaturated Fat: 3
- Trans Fat: 0
- Carbohydrates: 28
- Fiber: 1
- Protein: 5
- Cholesterol: 25