

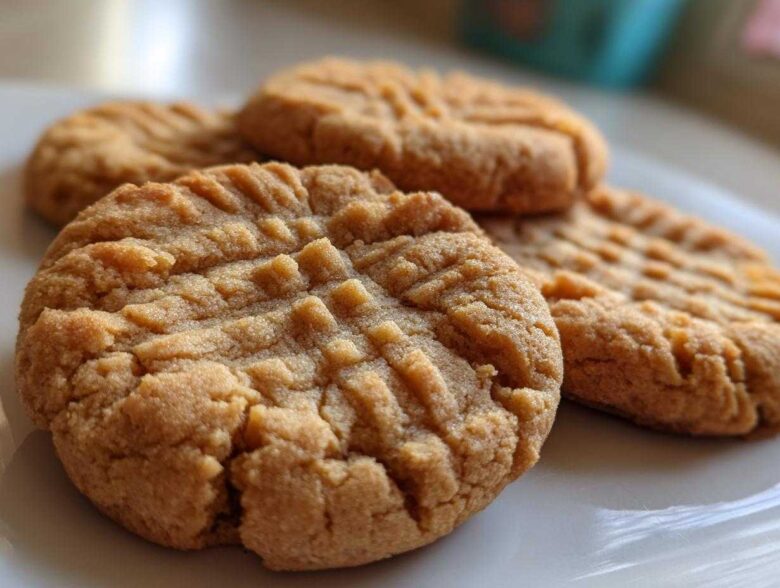
You know the cookie I’m talking about. It’s the one that haunts your Pinterest feed: perfectly golden, with those deep, iconic crisscross fork marks, promising crispy edges but hiding a ridiculously soft, melt-in-your-mouth center. Getting that balance right with peanut butter cookies used to feel impossible! Before I met my husband, Simon, baking felt like a high-stakes performance. But here at Kitchn Kudos, we threw out the rulebook that says you have to stress over every crumb. Simon showed me that the greatest ingredient is actually praise, and this recipe is designed to guarantee you a win. To learn more about our philosophy on joyful baking, check out our About Us page. Let’s make the best peanut butter cookies together!
Why These Are the Best Peanut Butter Cookies You Will Ever Make
I promise you, dear baker, that these homemade peanut butter cookies deliver exactly what you see online—that beautiful contrast of a slight crunch on the edge giving way to the softest, chewiest center. Baking shouldn’t be scary; it should be celebrated! We’ve fine-tuned this recipe so you get those picture-perfect results without any nervous second-guessing. Simon thinks you should take a little victory lap just for gathering the ingredients!
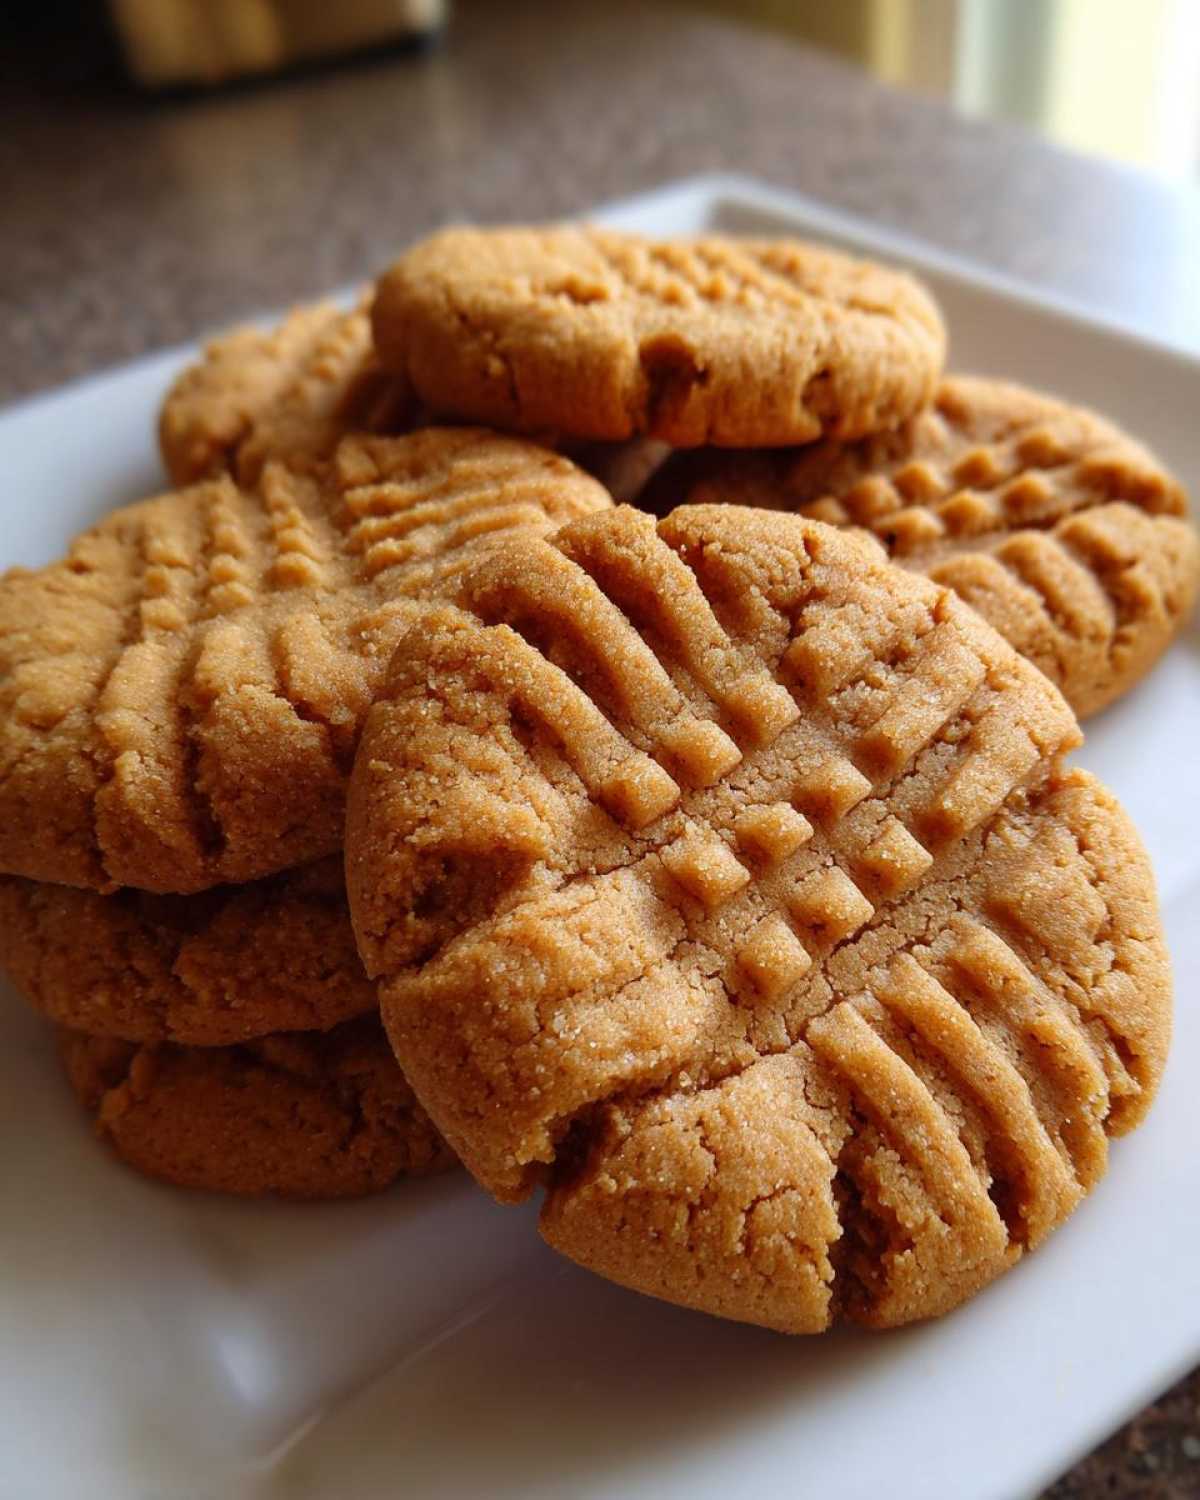
The Secret to Crispy Tender Cookies
The magic that gives you those coveted crispy tender cookies comes down to the sugar pairing. We use both granulated and light brown sugar because the blend provides the necessary structure for the crispness while the molasses in the brown sugar keeps the heart of these peanut butter cookies wonderfully soft.
Kudos for Making Classic Peanut Butter Cookies
If you’re looking for speed, you’ve hit the jackpot here. We are talking about seriously impressive traditional cookies ready to go from start to finish in under 30 minutes—the recipe notes say 27 minutes total! That’s the kind of efficiency that deserves a round of applause. You’re getting maximum flavor for minimum fuss, which is totally what Simon’s “Kitchn Kudos” philosophy is all about!
Gathering Ingredients for Perfect Peanut Butter Cookies
Okay, let’s talk about ingredients! I know some of you might be eyeing this list and starting to sweat because you’re worried about getting the measurements just right. Don’t let that analytical perfectionist part of your brain win today! Simon always reminds me that measuring is just a starting point; the real joy comes when you see those simple things turn into this amazing treat. For more inspiration on balancing the sweet, salty, and savory, check out our Peanut Butter Pretzel Bark recipe!
Ingredient List for Homemade Peanut Butter Cookies
Here’s exactly what you need for these homemade peanut butter cookies. Being precise with the softening of your butter is huge, so make sure that’s done right, but everything else is smooth sailing from here!
- 1 cup (2 sticks) unsalted butter, softened
- 1 cup creamy peanut butter
- 1 cup granulated sugar
- 1 cup packed light brown sugar
- 2 large eggs
- 1 teaspoon vanilla extract
- 2 1/2 cups all-purpose flour
- 1 teaspoon baking soda
- 1/2 teaspoon baking powder
- 1/2 teaspoon salt
Ingredient Notes and Substitutions for Peanut Butter Baking
A quick word from Simon on a couple of these players. If you want that really intense, deep peanut flavor, try swapping standard commercial peanut butter for a natural, unsweetened variety. It really boosts that classic peanut flavor we’re aiming for in this peanut butter baking adventure.
Now, about the butter: I know sometimes we reach for margarine out of habit or convenience. But listen, for the texture in these classic peanut butter cookies—that crucial crispy edge—using real, unsalted butter is non-negotiable. Margarine often doesn’t carry the fat content needed to structure the cookie correctly when it hits the heat.
Step-by-Step Instructions for Classic Peanut Butter Cookies
Alright, this is where the magic really starts to happen! We’ve got our ingredients ready, now it’s time to turn them into the most amazing treats. Remember what I told you about stressing over perfection? Forget it! Every single step you take is a win in my book. If you need some general inspiration about the joy of getting things done in the kitchen, hop over and check out our main blog page for a quick read!
Preparing the Dough for Your Peanut Butter Cookies
First things first, preheat that oven to 350°F (175°C) and get your sheets lined with parchment paper. Seriously, take a moment right there and give yourself a pat on the back for getting the oven on! That’s the first conquer of the day.
Next, grab your big bowl. You’re going to cream together that softened butter and all that creamy peanut butter until they’re completely smooth. You are doing great! Once that base is looking good, mix in both the granulated and the brown sugar. You want to beat this mixture until it looks light and fluffy—this is where we build air into the dough. Then, beat in those two eggs, one at a time, followed by your splash of vanilla extract.
In a separate bowl, whisk together your dry ingredients: the flour, baking soda, baking powder, and salt. Don’t overthink this part; just make sure everything is integrated. Now, slowly add those dry ingredients to your wet mixture, keeping the mixer on low. Mix only until they are *just* combined. Don’t overmix; you are so close to a win here!
Forming and Crosshatching the Traditional Cookies
Time to make some balls! Scoop or roll your dough into uniform 1-inch balls—using a cookie scoop helps keep them the same size, which is great for even baking. Place them about 2 inches apart on your prepared sheets.
Now here comes the iconic part that every person wants to see: the crosshatch pattern. Grab a fork, dip it in a little flour so it doesn’t stick, and press down gently on the top of each dough ball. Then, rotate the fork 90 degrees and press again to create that classic ‘X’. This isn’t just for looks, honest! Pressing them down slightly helps flatten the center, which ensures even baking and helps achieve those crispy edges you’re dreaming of!
Baking Time and Cooling for Perfect Peanut Butter Cookies
We’re at the final frontier! This is where you get to watch your gorgeous, crosshatched dough balls transform into what I call *real* cookies. Don’t just set the timer and walk away. The best thing you can do right now is watch them!
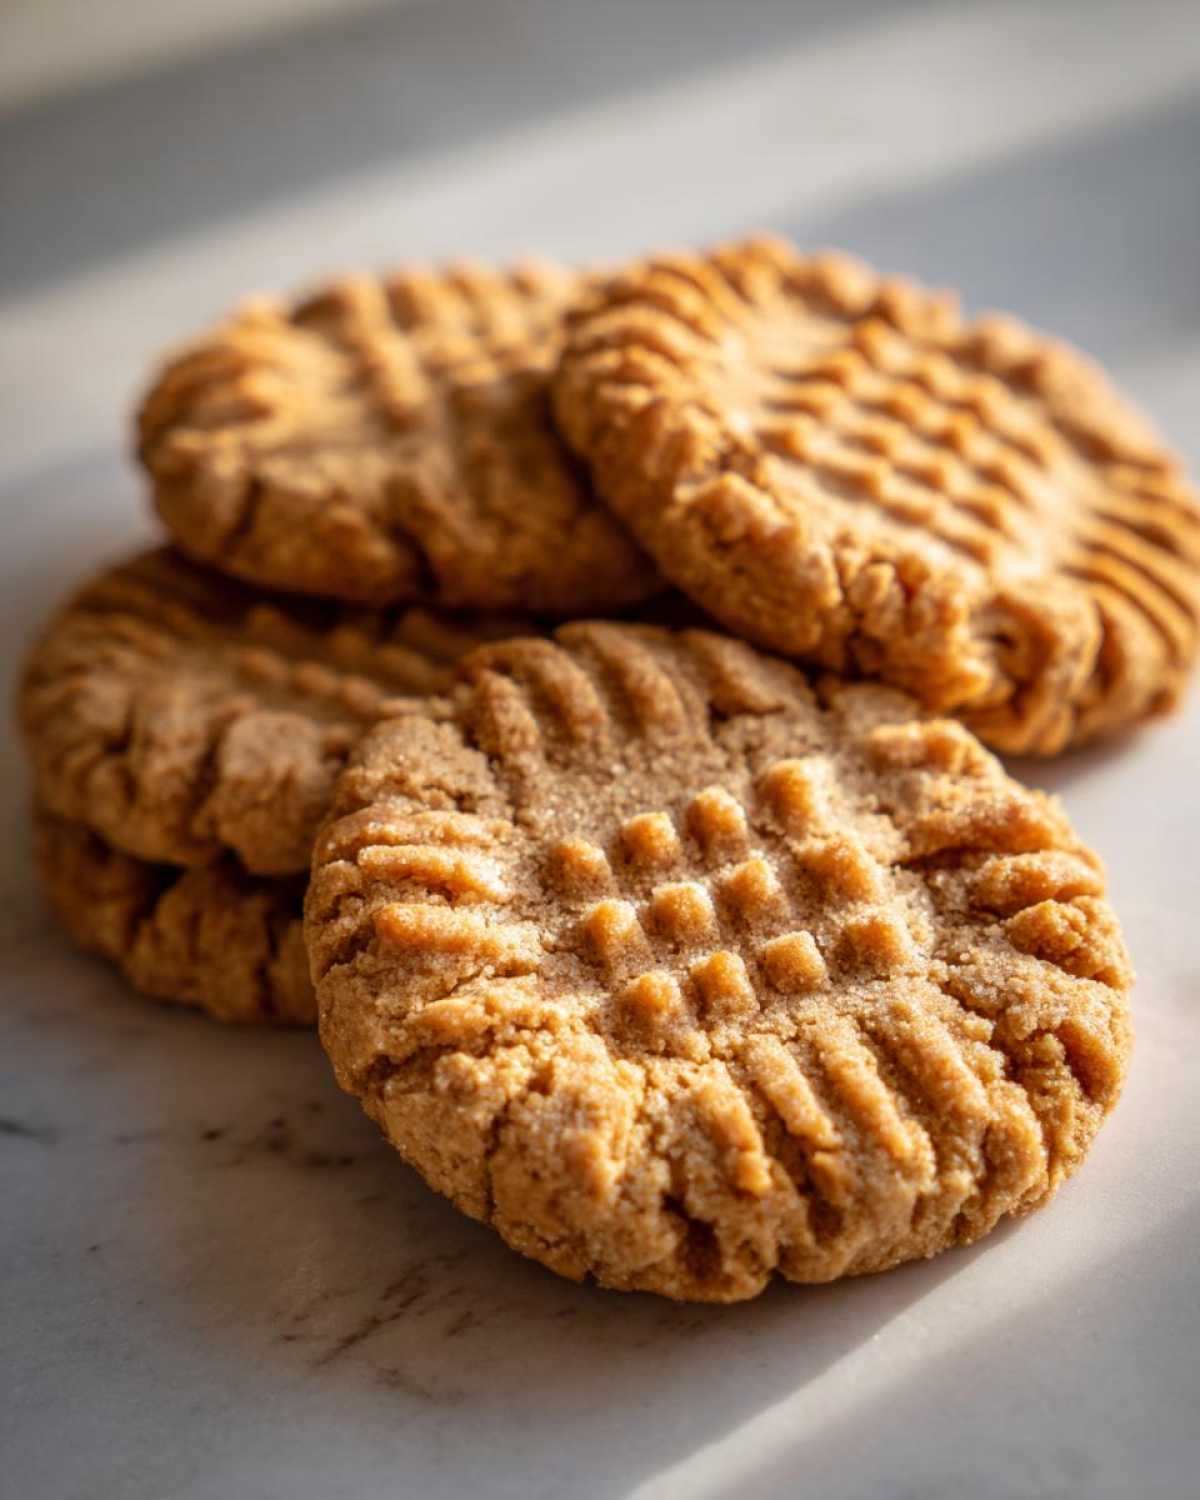
We are aiming for 10 to 12 minutes in that preheated 350°F oven. But more important than the clock is what you see. You want the edges to look lightly golden brown. If they look pale everywhere, give them another minute. If the whole cookie looks dark brown, you’ve gone too far! We want that gentle golden halo around the perimeter; that’s the visual cue that tells you inside is still tender.
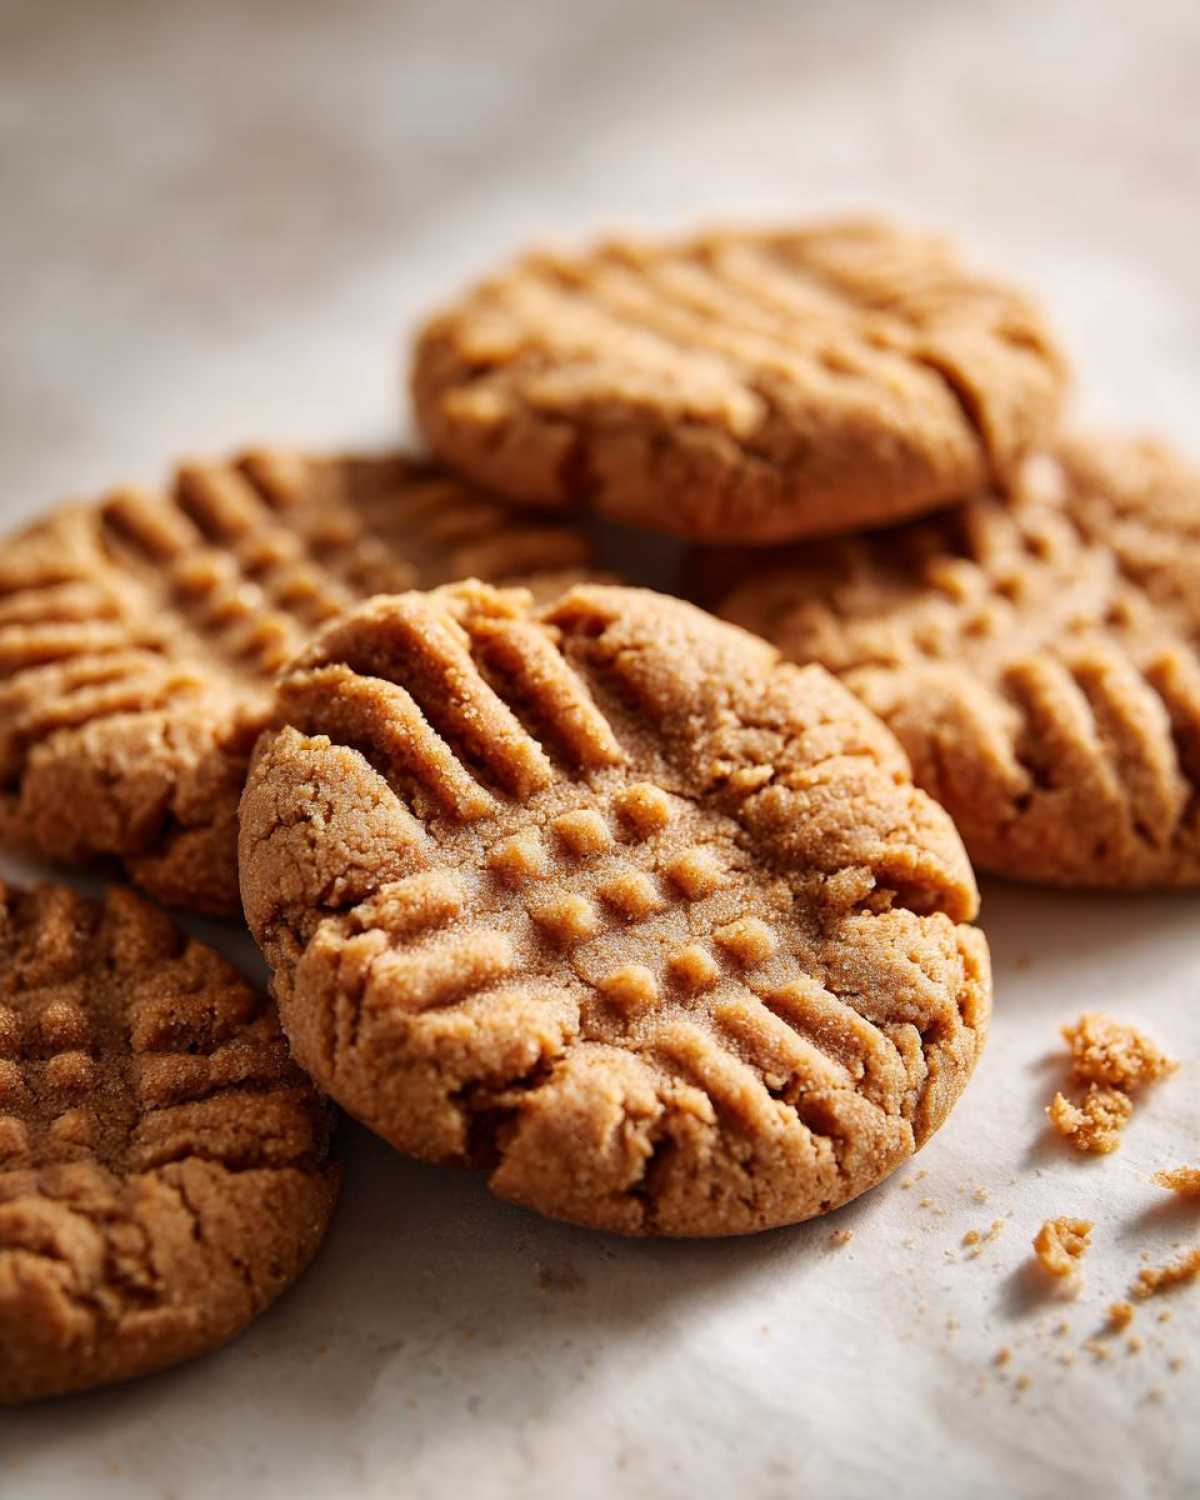
Now, here is a non-negotiable instruction from Simon: When the timer goes off, DO NOT touch them yet! These classic peanut butter cookies are still setting up on the hot baking sheet for a solid 5 minutes. This resting time is absolutely crucial for structural integrity. If you try to move them too soon, they might collapse or break, and we definitely don’t want to risk that after all this hard work!
After those five minutes are up, carefully use a spatula to transfer them to a wire rack to cool completely. You’ll instantly notice that the edges firm up as they cool, locking in that perfect crispy-yet-tender texture we talked about. Look at that beautiful golden color! You absolutely nailed it.
Tips for Success with Homemade Peanut Butter Cookies
Even though these are designed to be super straightforward—total wins, remember?—sometimes things go slightly sideways in the kitchen. Don’t fret! That’s just part of the learning process, and Simon says every small challenge is a reason to give yourself extra kudos. We’re going to quickly talk about temperature and structure so you can manage those minor hiccups like a seasoned pro. If you want to check out some other recipes that are designed to be wonderfully easy, take a peek at our guide for Easy Homemade Cheese Crackers!
Troubleshooting Common Peanut Butter Cookies Issues
The most common little drama we run into with these beautiful peanut butter cookies is spreading. You lovingly roll them into balls, you press your perfect crosshatch pattern, and then they bake up looking more like flat, golden pancakes than cookies. Oops!
If you find your dough feels too soft when you’re rolling it—maybe your kitchen is just naturally warmer, or your butter got a touch too soft—don’t worry at all. The absolute best fix is chilling time. Just pop those dough balls (or even the whole bowl of dough) into the refrigerator for about 15 minutes. Chilling firms up that fat just enough so that when they hit the heat, they hold their shape longer, giving you those lovely tall, thick centers.
Remember, if you are having to fight your dough a bit, that’s a sign you’ve done the hard part! A quick chill is just giving your dough a little moment to reset so you can keep marching toward those perfect traditional cookies!
Storing Your Delicious Peanut Butter Cookies
So, you’ve baked three dozen of the most perfect peanut butter cookies imaginable, and you are wondering how long they’ll actually last around here? (Spoiler: Not long, if Simon has anything to say about it!) But if you do manage to have leftovers—which I count as a major win for self-control—storage is simple.
These classic cookie recipes actually hold up beautifully at room temperature. The key to longevity, to keeping those edges slightly crispy and the centers soft, is keeping the air out. You need an airtight container for these beauties. No fancy layering or special wrapping required!
Just stack them gently inside your container. You don’t need parchment squares between layers, but if your cookies just came out of the oven, let them cool completely first, or you’ll end up with sticky, mushy bottoms, and we definitely don’t want to ruin that hard-earned crispy edge!
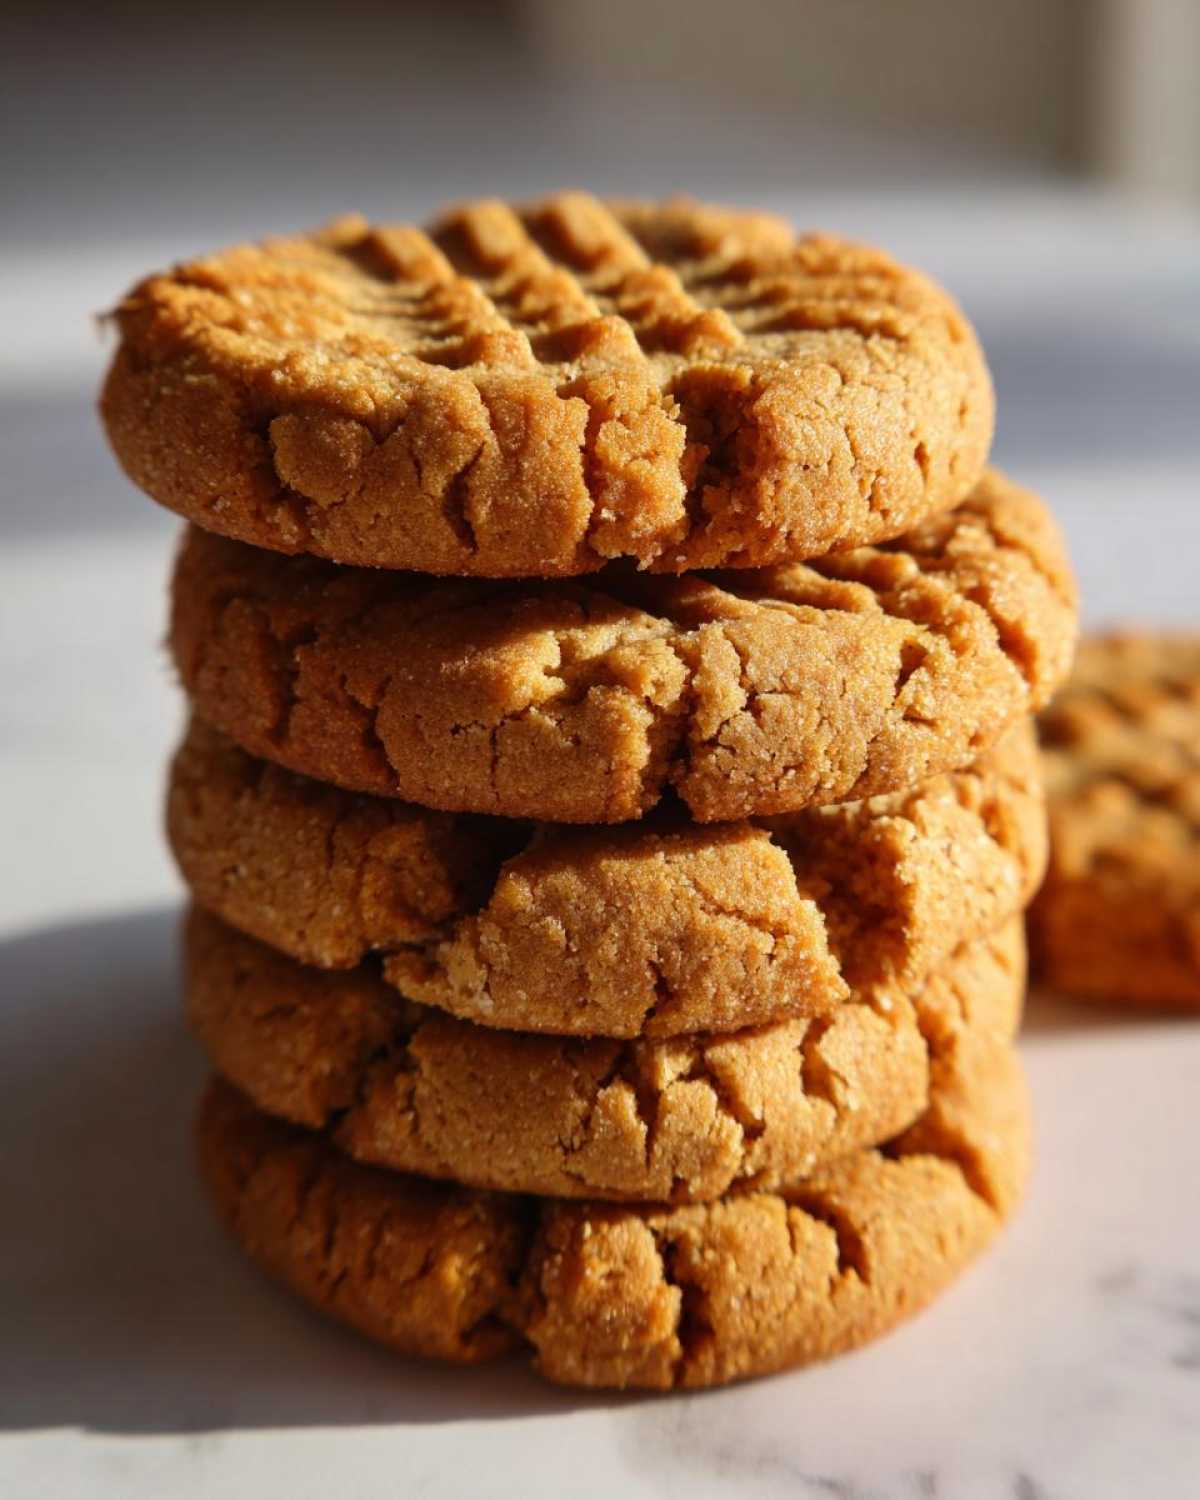
For what it’s worth, I think these taste even better the next day when the peanut butter flavor has had time to really settle into the crumb. If you’re looking for more easy, no-fuss desserts that store well, you absolutely have to try Simon’s Easy No-Bake Oreo Fudge Recipe. It’s another guaranteed win!
Serving Suggestions for These Classic Cookie Recipes
Now that you’ve successfully created these gorgeous, golden discs of pure peanut butter joy, the real question is: what do you serve them with? Part of the fun of baking to me now is setting up the perfect moment to enjoy the reward. These aren’t fussy cookies that need elaborate sauces or decorations—they are the real deal, the quintessential American classic!
Because they are so rich and deeply peanut-flavored, they pair unbelievably well with simple, comforting beverages. Simon, naturally, is a huge fan of dunking. If you’re looking for a great pairing, you cannot go wrong with ice-cold milk. It’s traditional, it’s messy in the best way, and it perfectly cuts through that lovely richness.
If you are reaching for a warm drink, I highly recommend pairing these classic cookie recipes with a strong cup of coffee. The bitterness of the coffee just enhances the sweetness and saltiness in the cookie dough. If you want a creamy coffee experience that still feels homemade and comforting, you should absolutely try out Simon’s recipe for the Pumpkin Cream Cold Brew Copycat—it’s amazing anytime of year, not just in the fall!
Honestly though, these cookies are perfect all on their own. They are a fantastic treat to have ready when unexpected guests pop by, or just for that 3 PM slump where you need a guaranteed hit of happy energy. Seriously, just setting a few of these fresh ones out on a simple plate is its own celebration!
Frequently Asked Questions About Peanut Butter Cookies
I know you might still have a few little questions buzzing around, and that is totally normal! When you’re aiming for what you hope will be the best peanut butter cookies ever, it’s smart to ask. Simon says that every question proves you’re paying attention, so let’s talk through the last few things so you can get back to enjoying the process!
Can I use crunchy peanut butter in this recipe?
You absolutely can! If you love a little extra texture and chew, go right ahead and swap the creamy peanut butter for crunchy. Just know this: the nuts themselves will change the internal texture slightly, making the center a little less perfectly smooth than these classic peanut butter cookies. But hey, more peanut bits? That’s a win in my book!
How do I get the perfect crosshatch pattern on my peanut butter cookies?
This might seem tricky, but it’s so easy once you get the rhythm. After you roll your dough ball and place it on the sheet, take your fork and press down gently until the dough flattens a bit. Then, lift the fork, turn the fork exactly 90 degrees—a straight sideways press—and press down again. That double press is what gives you those beautiful, deep crisscross marks that cook evenly and look so professional!
Are these considered traditional cookies?
Oh yes, 100 percent! These are about as American as it gets. If you look up any list of enduring, well-loved, traditional cookies, the peanut butter crosshatch is right there at the top. We use high-quality ingredients, but the method itself is classic comfort baking. Give yourself kudos for mastering a true baking staple!
Nutritional Estimate for Your Peanut Butter Cookies
Okay, let’s talk numbers for just a moment. I know that when we are focusing on joy and flavor, we aren’t usually thinking about the math behind our treats, but some of you like to know the score! Remember, because we are all about celebrating the effort here, these numbers are just an educated guess based on the ingredients listed. I’m not a certified nutritionist, so please treat these as a fun estimate rather than a guarantee for your personal dietary tracking. If you want to read more about how we approach these estimations, check out our official disclaimer.
The good news is that these cookies are packed with protein thanks to all that glorious peanut butter! Here’s what this recipe yields per cookie based on the standard 3 dozen batch size:
- Serving Size: 1 cookie
- Calories: 160
- Fat: 9g
- Saturated Fat: 3g
- Sugar: 11g
- Carbohydrates: 18g
- Protein: 4g
- Sodium: 110mg
See? A solid four grams of protein in a decadent cookie! That means you’re getting substance along with that amazing flavor. That’s another win worth celebrating today. Go ahead, have a second one—you earned it!
Share Your Kitchen Wins
Now that you have successfully navigated the world of classic peanut butter cookies—from creaming the sugar to pressing that perfect crosshatch pattern—it’s time to take a moment and celebrate the fact that you showed up and baked something wonderful! Remember, here at Kitchn Kudos, we don’t just want to see the final, perfect product; we want to celebrate the *effort* you put in.
Did they turn out looking exactly like the picture? Fantastic! That deserves high-fives all around. Did they spread a little more than you expected? Amazing! That means you learned exactly how your oven heats, and that knowledge is pure gold for your next batch of peanut butter baking adventures. Every attempt is a success story waiting to be told!
So please, don’t ghost us! Drop down into the comments below and tell me how they turned out. Let us know if you got that perfect crispy edge, or if you found a great drink pairing. You made these amazing homemade peanut butter cookies, and that deserves acknowledgment. Leave your rating, share your experience, and give yourself a huge round of applause for embracing the joy of the kitchen. We can’t wait to read about your win!
PrintClassic Peanut Butter Cookies: Crispy Edges, Tender Centers
Follow this straightforward recipe for the best peanut butter cookies, achieving that perfect balance of crispy edges and a soft, peanut-buttery middle. These homemade peanut butter cookies are a classic for a reason.
- Prep Time: 15 min
- Cook Time: 12 min
- Total Time: 27 min
- Yield: About 3 dozen cookies
- Category: Dessert
- Method: Baking
- Cuisine: American
- Diet: Vegetarian
Ingredients
- 1 cup (2 sticks) unsalted butter, softened
- 1 cup creamy peanut butter
- 1 cup granulated sugar
- 1 cup packed light brown sugar
- 2 large eggs
- 1 teaspoon vanilla extract
- 2 1/2 cups all-purpose flour
- 1 teaspoon baking soda
- 1/2 teaspoon baking powder
- 1/2 teaspoon salt
Instructions
- Preheat your oven to 350°F (175°C). Line baking sheets with parchment paper. Give yourself a pat on the back for getting the oven on!
- In a large bowl, cream together the softened butter and peanut butter until smooth. You are doing great!
- Add the granulated sugar and brown sugar to the butter mixture. Beat until light and fluffy.
- Beat in the eggs one at a time, then mix in the vanilla extract.
- In a separate medium bowl, whisk together the flour, baking soda, baking powder, and salt.
- Gradually add the dry ingredients to the wet ingredients, mixing on low speed until just combined. Do not overmix; you are close to a win!
- Roll the dough into 1-inch balls and place them 2 inches apart on the prepared baking sheets.
- Use a fork to press down on each ball to create a classic crosshatch pattern. This step looks impressive!
- Bake for 10 to 12 minutes, or until the edges are lightly golden brown.
- Let the cookies cool on the baking sheet for 5 minutes before transferring them to a wire rack to cool completely. Celebrate that perfect golden color!
Notes
- For extra peanutty flavor, use a natural, unsweetened peanut butter.
- If your dough feels too soft, chill it for 15 minutes before rolling.
- These are the best peanut butter cookies when stored in an airtight container at room temperature.
Nutrition
- Serving Size: 1 cookie
- Calories: 160
- Sugar: 11
- Sodium: 110
- Fat: 9
- Saturated Fat: 3
- Unsaturated Fat: 6
- Trans Fat: 0
- Carbohydrates: 18
- Fiber: 1
- Protein: 4
- Cholesterol: 20