

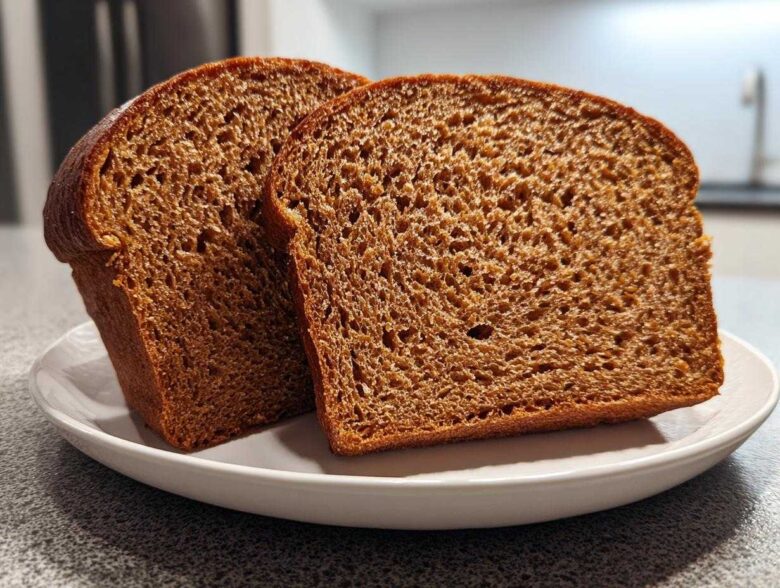
Oh, friends, can we just take a moment to appreciate the smell of freshly baked bread drifting through the house? Seriously, nothing beats it! For years, I was that baker—the one stressing over the exact rise, convinced that if the crust wasn’t shatteringly crisp, I’d failed. But since Simon taught me to lighten up and focus on the joy, baking has become my happy place. That’s why I’m thrilled to share this recipe for **whole wheat bread**! You can check out my tips for soft, fluffy garlic naan bread right here for another easy win.
This isn’t some dense, crumbly whole wheat loaf you secretly dread eating. Nope! This is soft, hearty, and surprisingly simple. It relies on just a few everyday ingredients, and I promise it takes the pressure off. You get that wonderful, wholesome flavor you want, but with a texture that makes you want to grab a slab immediately. This loaf is definitely worthy of your very first round of kitchen kudos!
Why This Easy Homemade Whole Wheat Bread Deserves Your Kudos
When I look back at my perfectionist days, I remember thinking that whole wheat meant sacrificing softness. Not anymore! This recipe takes all the earthy goodness of whole grains but delivers a loaf you actually want for sandwiches.
- It’s remarkably forgiving—so much so that even a beginner baker can feel like a champion.
- The final product is hearty enough for dinner but soft enough for your kids’ lunchboxes.
- Trust me, the aroma alone warrants applause!
Achieving Soft Texture
The secret to keeping this bread tender lies in how we handle the flour combination. We always use a bit of that regular all-purpose flour alongside the whole wheat. That little bit of white flour helps keep the final crumb open and springy, preventing that heavy feel some all-wheat loaves get. Plus, a good, focused kneading session ensures those gluten bonds develop perfectly.
The Joy of Baking Your Own Whole Wheat Bread
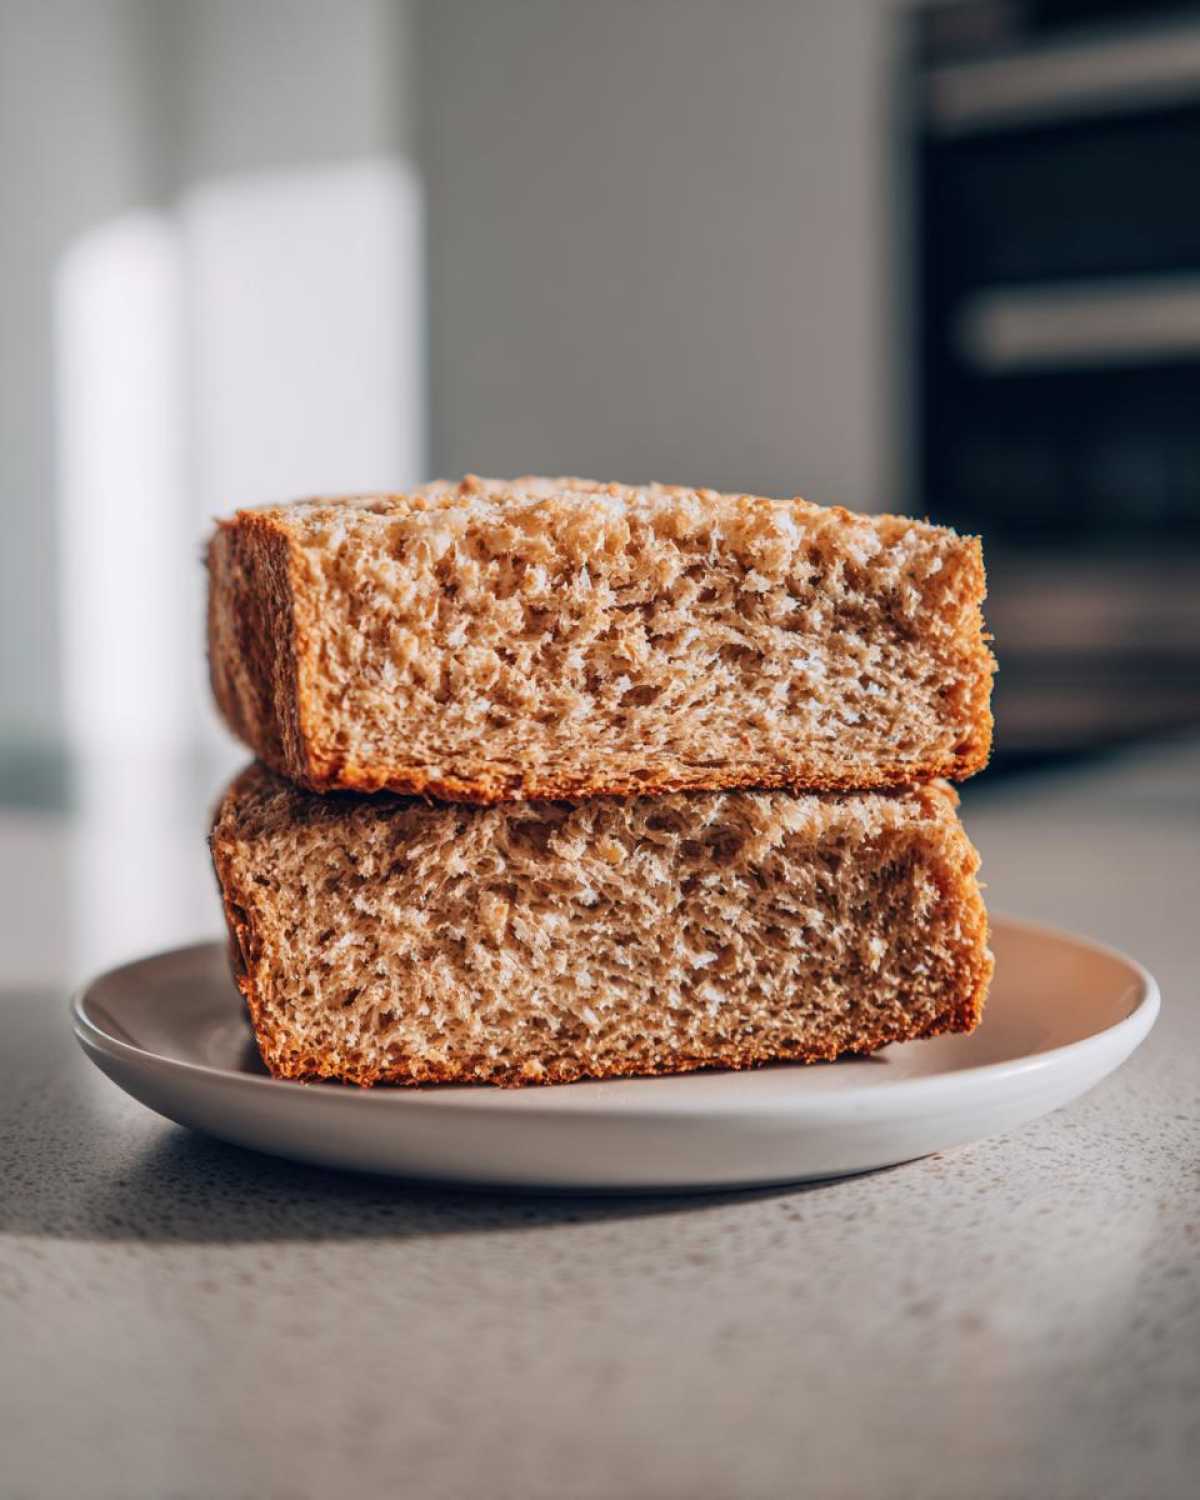
There’s something deeply satisfying about pulling a golden loaf of **whole wheat bread** out of your own oven. That first slice? Heavenly—especially with a smear of good butter melting right into the warm interior. It’s about creating something wholesome and real for the people you love. See? That’s a victory worth celebrating right there!
Gathering Ingredients for Your Whole Wheat Bread
Okay, setting up your ingredients is the first big win! When you have everything measured out before you start, the mixing process just flows. Simon calls this ‘mise en place,’ but really, it’s just making sure we don’t scramble later trying to find the honey while the yeast is waiting! This recipe doesn’t have a huge shopping list, which I love. You are going to need that good, hearty whole wheat flour, of course, but we sneak in a little something else to make sure we get that signature softness.
If you were looking for quick dinner rolls you can whip up, check out my tips for sourdough discard rolls, but for this loaf, let’s stick to the list!
- 2 1/4 teaspoons active dry yeast
- 1 cup warm water (105-115 degrees F—don’t burn your yeast!)
- 1/4 cup honey
- 2 tablespoons unsalted butter, melted
- 1 1/2 teaspoons salt
- 3 cups whole wheat flour (This is the star!)
- 1/2 cup all-purpose flour (plus more for dusting)
Ingredient Notes and Substitutions for Whole Wheat Bread
Let’s talk about those flours for a second. We use both for a reason! That three cups of whole wheat flour brings the nutrition and that lovely nutty depth, but that half-cup of all-purpose flour is our little insurance policy for a light, fluffy texture. Don’t skip it or your bread might get too heavy. And when you tackle the yeast, make sure that water is just warm to the touch—we want happy yeast, not hot, grumpy yeast!
Step-by-Step Instructions for Perfect Whole Wheat Bread
If you’ve ever felt intimidated by bread making, I want you to relax right here. Simon always tells me, “Alice, the dough knows when you’re stressed!” We are going to take this slowly, and I’m going to give you kudos at every major milestone. You can find guides for other fun baking projects, like Irish Potato Farls, but for now, let’s conquer this loaf!
Activating the Yeast and Mixing the Whole Wheat Bread Dough
First things first, we need to wake up that yeast! Pour your warm water into a big bowl—remember, 105 to 115 degrees F is the sweet spot. Dissolve the yeast right in there and try not to touch it for five minutes. When you come back and see that beautiful froth on top, give yourself a high-five! That’s your proof of life, and you’re already halfway to successful **whole wheat bread**. Stir in the honey, the melted butter, and the salt next. Don’t overmix yet; we’re just introducing everyone.
Kneading Time: Building Structure in Your Whole Wheat Bread
Now, we add the dry stuff. Start gradually with the bulk of the whole wheat flour until the mix gets shaggy and hard to stir. Then, you’ll scoop it out onto a surface lightly dusted with even more flour. This is where the real work happens, but it feels so good! Knead this dough diligently for a solid six to eight minutes. You are looking for it to completely transition from sticky and rough to smooth and wonderfully elastic. Feel it firm up under your hands; that’s the structure building!
The Two Rises for Your Homemade Whole Wheat Bread
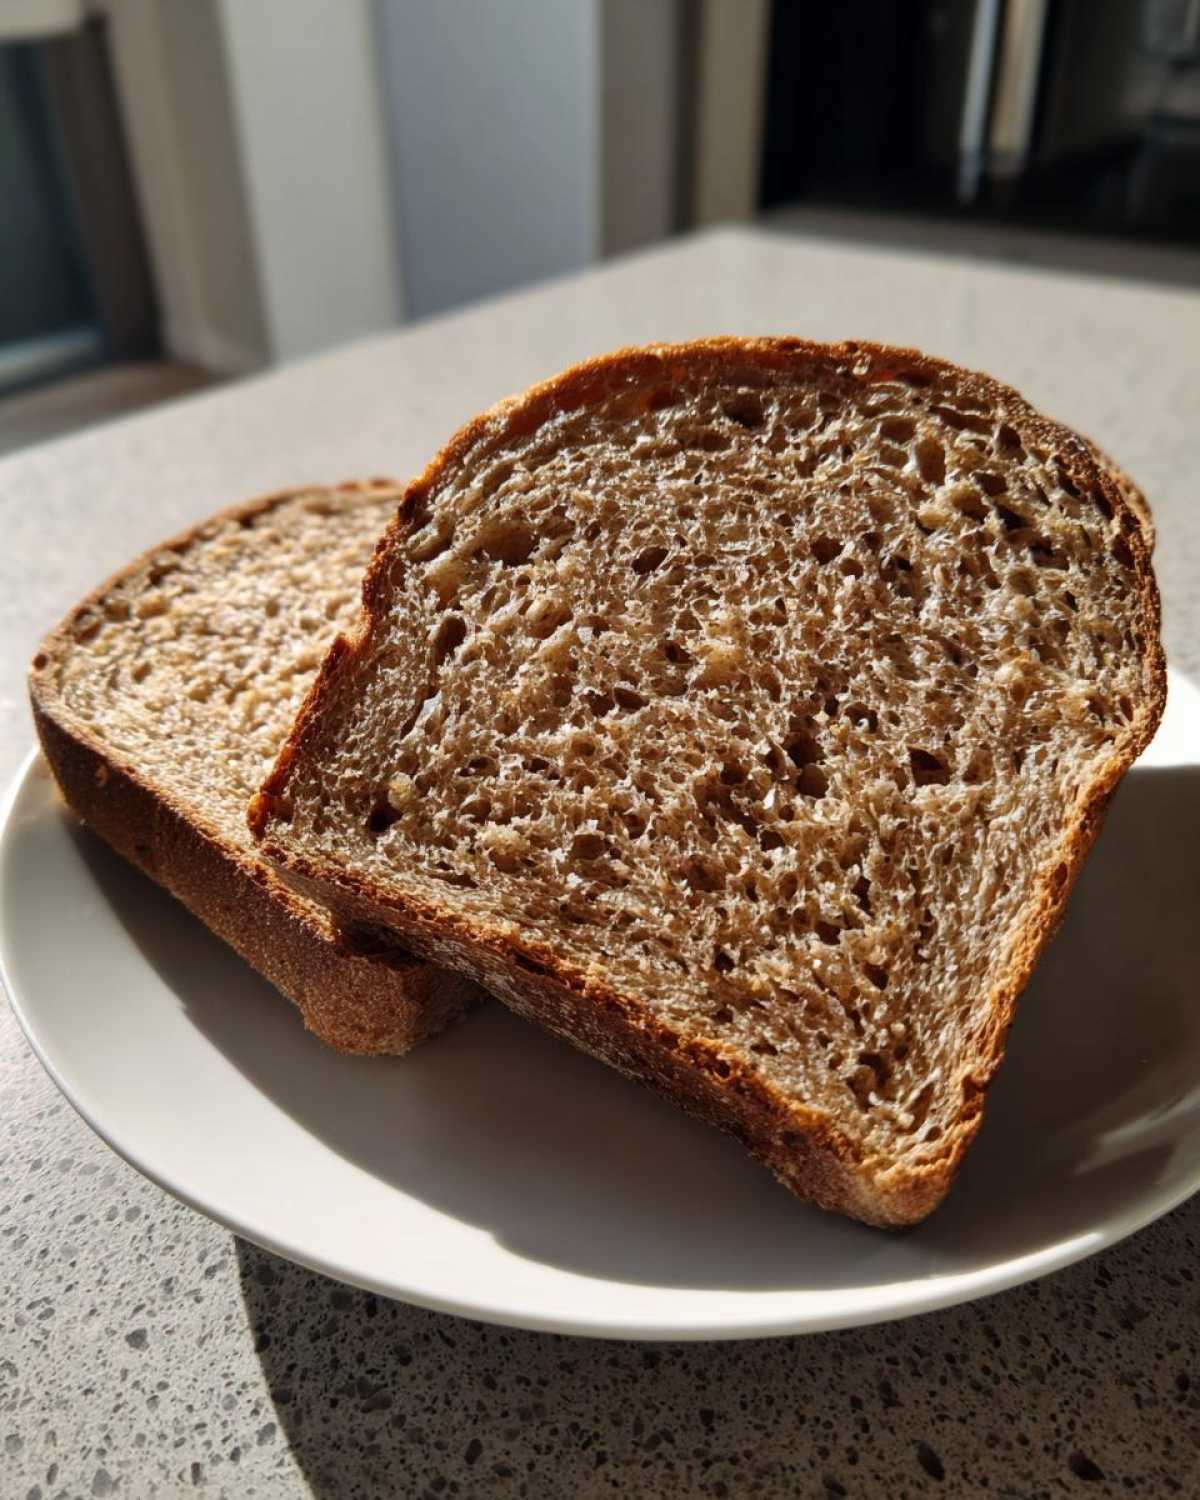
Once your dough feels like a smooth, supple ball, gently tuck it into an oiled bowl and cover it up. Find a warm spot—maybe near the oven that you’ll preheat later—and let it do its thing for about an hour to an hour and a half. It needs to double in size. After the first rise, gently deflate it—that’s satisfying! Shape it gently into a nice loaf and tuck it into your 9×5 pan. Then, let it rest again for about 30 to 45 minutes. This second rise is crucial for that gorgeous rise we want in our final loaf of **whole wheat bread**.
Baking and Cooling Your Hearty Whole Wheat Bread
We made it through the rises, and now for the best part—that incredible heat! About 15 minutes before your second rise is finished, crank that oven up to 375 degrees F. We want it ready to greet that beautiful loaf! Slide your pan in and let it bake for about 30 to 35 minutes. Don’t just rely on the color, though that golden brown top is a good sign. Stick a thermometer right into the center; we are aiming for 190 degrees F internally. That’s your real mark of success for this **whole wheat bread**.
Now, here is where I used to rush and ruin a perfectly good loaf. You *must* remove the bread from the hot pan right away. If you leave it in there, the steam trapped underneath makes the crust soggy. I know it’s hot, but be brave! Set that gorgeous loaf on a wire rack right away. And please, please, for the love of all things yeasty, let it cool completely before slicing. I know you want to dive in, but slicing when warm guarantees a gummy interior. Wait for it—you deserve that perfect, cool slice later! If you’re feeling incredibly ambitious after this win, you might want to check out my chocolate babka recipe next!
Tips for Success When Making Whole Wheat Bread
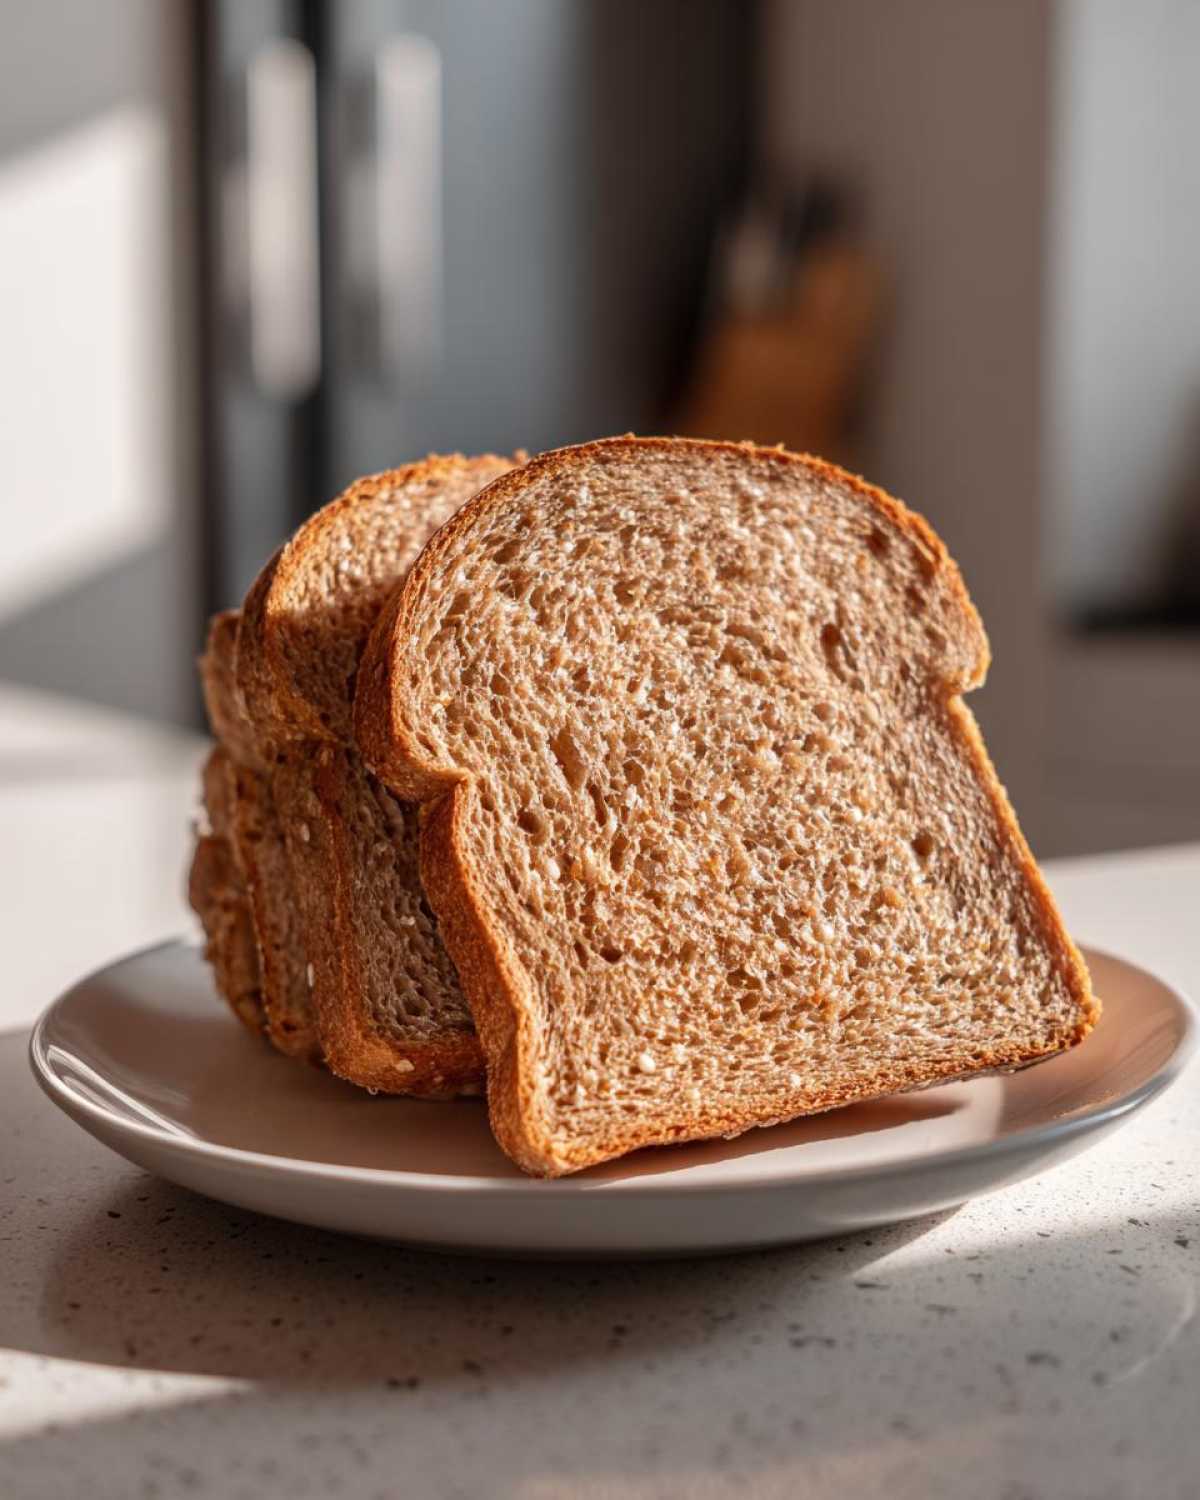
You’ve successfully baked your loaf, but there are a couple of little tricks that elevate this from a good bake to a truly amazing **whole wheat bread** experience. I’ve learned these over time, especially when Simon talks me down from the ledge when my dough looks a little too puffy!
One thing you might want to try, especially if you like a super soft eating experience, is brushing the top right when it comes out of the oven. Just melt a tablespoon of butter and lightly brush it over the top crust. It softens up beautifully, making that first slice even more luxurious. You can read more about achieving that soft texture in this great guide about soft whole wheat bread.
Also, remember you can tinker with the sweetness! If your family is more of a sourdough crowd and less into sweet loaves, feel free to dial back that honey down to just two tablespoons. For me, though, I often leave it at 1/4 cup because it adds a lovely roundness to the whole wheat flavor. My one personal warning is about that second rise: don’t get greedy! If you let it rise too long while you’re busy fussing over dinner, it can deflate in the oven. Keep an eye on it!
Storage and Reheating Whole Wheat Bread
So, you have this glorious, perfectly baked loaf sitting on the rack, and the temptation is to eat the whole thing immediately. I totally get it! But we want this bread to last longer than 24 hours, right? For short-term storage, just let it cool completely—and I mean *completely*—then wrap it up tightly in plastic wrap or pop it into a clean bread bag.
Keeping it airtight prevents it from drying out too quickly. It usually stays fresh on the counter for about three or four days. If you’re like us, and occasionally life gets busy (hello, Simon’s spontaneous road trips!), freezing is your absolute best friend. I usually slice the loaf first; this is crucial!
Once it’s sliced, wrap the whole loaf tightly in plastic wrap, and then throw that wrapped loaf into a large freezer bag. It keeps beautifully for up to three months! When you need a slice or two, just pull what you need out of the freezer and pop it straight into the toaster. It comes back to life perfectly golden and warm. This is part of why I love these recipes so much—they keep giving! You can find some great ideas for using up leftovers, like in these freezer-friendly breakfast sandwiches, if you ever find yourself with extra slices!
Serving Suggestions for Your Fresh Whole Wheat Bread
Now that you’ve nailed this bake, you get to enjoy the payoff! This hearty loaf is so versatile. Honestly, my favorite is just a thick slice toasted, smothered in salted butter—instant happiness. But if you’re trying to impress guests or just need a satisfying dinner side, this bread is perfect for dipping. It holds up beautifully underneath a rich, creamy soup. I always pair it with my creamy broccoli cheddar soup, and it’s always a huge hit.
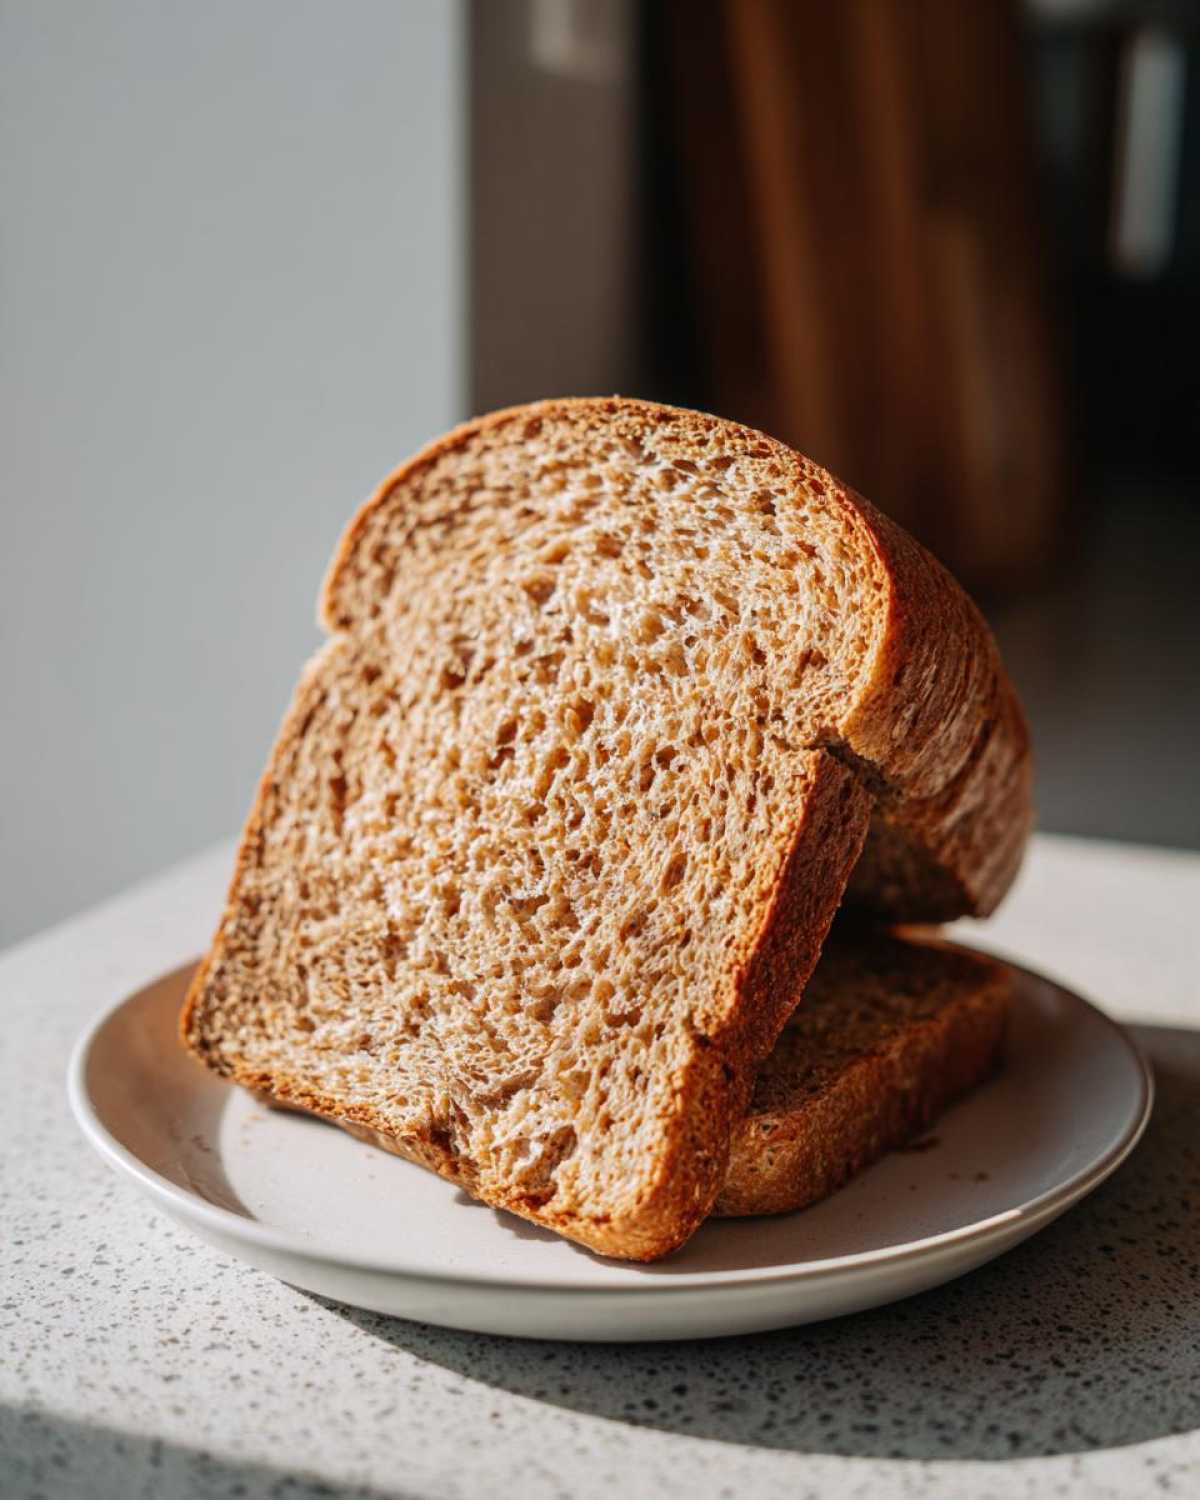
Of course, this makes the absolute best **whole wheat sandwich bread**. Go ahead and pile high those fillings—it won’t get soggy like the store-bought stuff! For more wholesome bread inspiration, check out this nice rustic loaf recipe from my friends over at Cook Breeze!
Frequently Asked Questions About Making Whole Wheat Bread
I know you might have a few lingering questions before you jump into your mixing bowl! That’s totally normal, especially when you are moving away from store-bought loaves toward baking your own **whole wheat bread**. Simon always says the only failures are the ones we don’t learn from, so let’s tackle these common sticking points right now. You’ve got this, and I’m cheering you on!
Can I make this whole wheat bread recipe using 100% whole wheat flour?
That’s the big question, isn’t it? You certainly *could* try it, but I wouldn’t advise it for your first attempt if you are aiming for that soft texture we keep talking about. Remember how I mentioned that half-cup of regular flour? That small amount is crucial for giving the loaf the structure it needs to stay light and fluffy instead of dense. Whole wheat flour is heavier because it includes the bran and germ, which can sometimes prevent a truly soft rise in a basic recipe like this. Stick to the mix, and you’ll guarantee a successful **whole wheat sandwich bread** every time!
Why did my homemade whole wheat bread not rise properly?
Oh, that is such a letdown, but it almost always comes down to timing or temperature with the yeast! First, check your water. If it was too cold (below 105°F), the yeast just fell asleep. If it was too hot (over 115°F), well, you accidentally killed them. Ouch! Make sure your water is just right for that first step. Second, check your yeast! If that packet has been lurking in your pantry for ages, it might be dead. Always check for that nice foam after the first five minutes—that foam means you are good to go! If you need more confidence in your baking skills, Simon and I share lots of encouragement over on our post about our favorite lasagna recipe—the principles of patience are the same!
Nutrition Estimates for This Whole Wheat Bread Recipe
We’ve talked flavor and function, but let’s look quickly at the numbers for this homemade **whole wheat bread**. Knowing what’s in the food you make is empowering, especially when you’re controlling every single ingredient that goes into the loaf.
Here is the breakdown based on one slice, but remember, Simon and I always preach that these are just friendly estimates! Your actual values will change based on the brand of honey you use or if you chose to bump up the butter a tiny bit (which, honestly, I won’t judge!). If you are counting macros strictly, you’ll want to run your specific brand numbers through a calculator, but this gives you a wonderful baseline for this wholesome bake.
- Serving Size: 1 slice
- Calories: 130
- Sugar: 3g
- Sodium: 180mg
- Fat: 2g
- Protein: 5g
- Carbohydrates: 25g
- Fiber: 3g
See that fiber count? That’s exactly why we love making **whole wheat bread** at home! It feels good to nourish your family with something you made with care. If you’re interested in learning more about how Simon and I approach cooking as an act of kindness rather than perfection, take a peek at our About Us page!
PrintEasy Homemade Whole Wheat Bread: Soft, Hearty, and Ready for Your Kitchen

You can bake a soft, hearty loaf of whole wheat bread at home with this simple recipe. It is perfect for sandwiches or toast, and you will love the fresh, wholesome flavor.
- Prep Time: 20 min
- Cook Time: 35 min
- Total Time: 1 hour 50 min
- Yield: 1 loaf
- Category: Baking
- Method: Kneading and Baking
- Cuisine: American
- Diet: Vegetarian
Ingredients
- 2 1/4 teaspoons active dry yeast
- 1 cup warm water (105-115 degrees F)
- 1/4 cup honey
- 2 tablespoons unsalted butter, melted
- 1 1/2 teaspoons salt
- 3 cups whole wheat flour
- 1/2 cup all-purpose flour (plus more for dusting)
Instructions
- In a large bowl, dissolve the yeast in the warm water. Let it sit for 5 minutes until foamy. This shows the yeast is active—give yourself a kudos for starting strong!
- Stir in the honey, melted butter, and salt into the yeast mixture.
- Gradually add the whole wheat flour, mixing until a shaggy dough forms.
- Add the all-purpose flour one tablespoon at a time until the dough pulls away from the sides of the bowl.
- Turn the dough out onto a lightly floured surface. Knead for 6 to 8 minutes until the dough is smooth and elastic. You are building structure now—great job!
- Place the dough in a lightly oiled bowl, turning to coat. Cover the bowl with plastic wrap or a clean kitchen towel.
- Let the dough rise in a warm place for 1 to 1 1/2 hours, or until it has doubled in size.
- Gently punch down the dough. Shape it into a loaf and place it in a greased 9×5 inch loaf pan.
- Cover the pan loosely and let the dough rise again for 30 to 45 minutes, or until it has almost doubled. Preheat your oven to 375 degrees F during the last 15 minutes of the second rise.
- Bake for 30 to 35 minutes, or until the top is golden brown and the internal temperature reaches 190 degrees F.
- Remove the bread from the pan immediately and let it cool completely on a wire rack before slicing. Enjoy the aroma—that is success!
Notes
- For a softer crust, brush the top of the loaf with a little melted butter immediately after removing it from the oven.
- If you want a slightly sweeter loaf, increase the honey to 1/3 cup.
- This recipe makes a wonderful base for homemade whole wheat sandwich bread.
Nutrition
- Serving Size: 1 slice
- Calories: 130
- Sugar: 3
- Sodium: 180
- Fat: 2
- Saturated Fat: 1
- Unsaturated Fat: 1
- Trans Fat: 0
- Carbohydrates: 25
- Fiber: 3
- Protein: 5
- Cholesterol: 0