

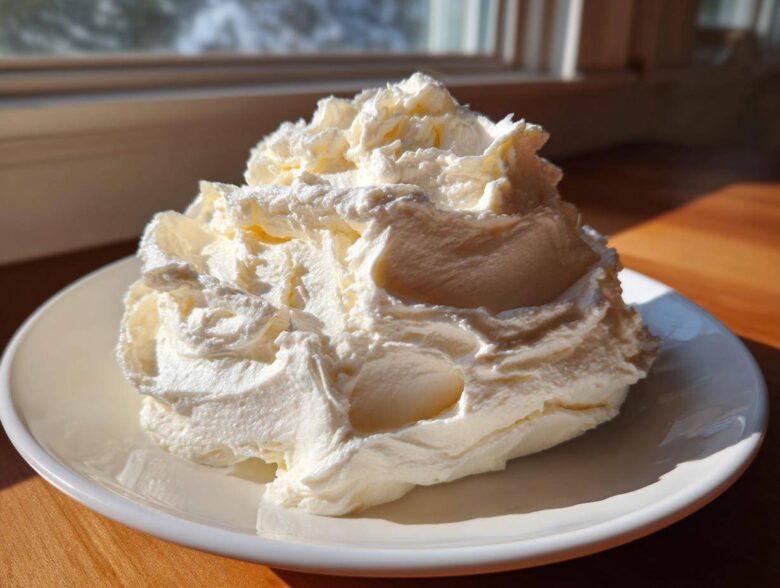
I used to stress so much over frosting. I mean, who hasn’t been there? You’re making a beautiful cake, and then you get to the topping, and suddenly everything is either too runny or full of hard little lumps. It drove me crazy! But Simon—my wonderful husband, the Chief Morale Officer around here—always tells me that the kitchen is no place for panic. So, we worked on this recipe together to make it completely foolproof. Seriously, this is the **best classic cream cheese frosting** you’ll ever whip up. It’s ultra-smooth, has that perfect little tang, and it’s never tooth-achingly sweet. This recipe is your guaranteed win, no need to sweat the small stuff! If you love this frosting, you absolutely have to check out our pumpkin spice cake pairing, too!
Why This Is the Best Classic Cream Cheese Frosting Recipe
I know everyone claims their recipe is the ‘best,’ but I stand by this one wholeheartedly. We focused on solving the biggest complaints people have, which means you get perfect results every single time. This **cream cheese frosting** isn’t just good; it’s reliable!
- It whips up in minutes, making it an incredibly easy cream cheese frosting recipe when you’re short on time.
- It’s stable enough to pile high on cakes or swirl onto cinnamon rolls.
- The flavor is spot on—rich but never cloyingly sweet.
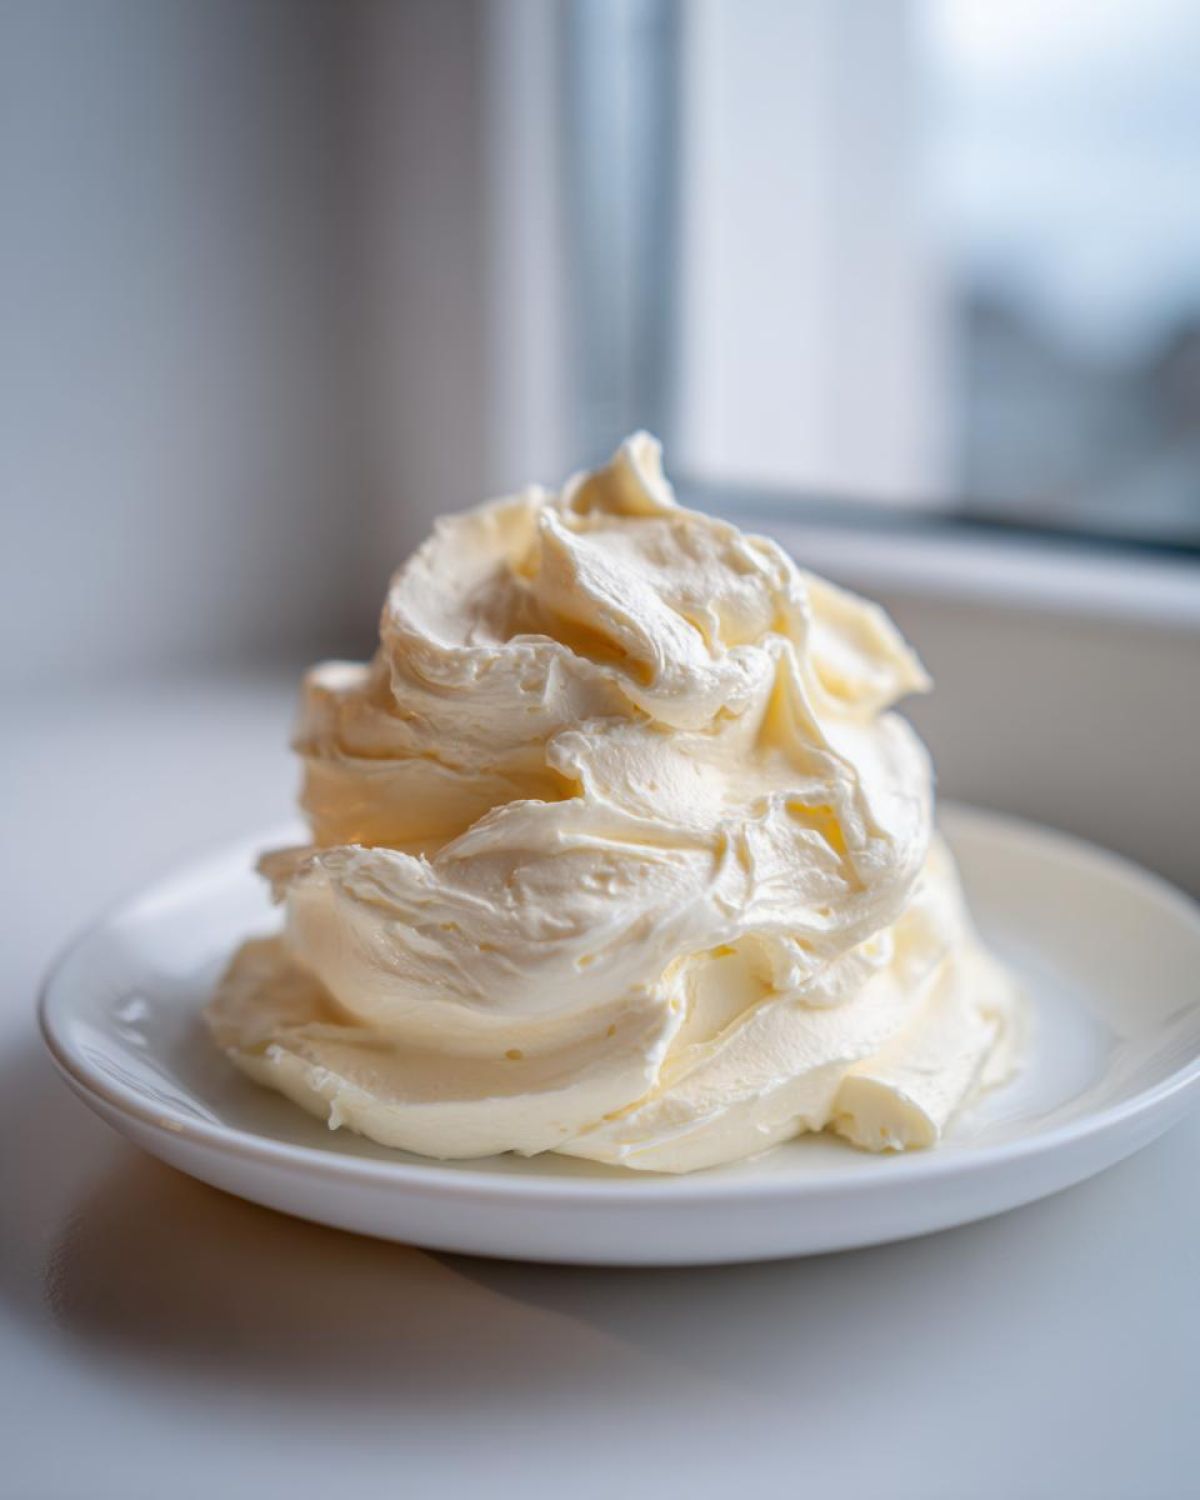
It’s the kind of topping that earns you kitchen kudos just for making it! People online agree—this recipe offers a wonderfully perfectly smooth and fluffy texture.
Achieving Fluffy Cream Cheese Frosting Texture
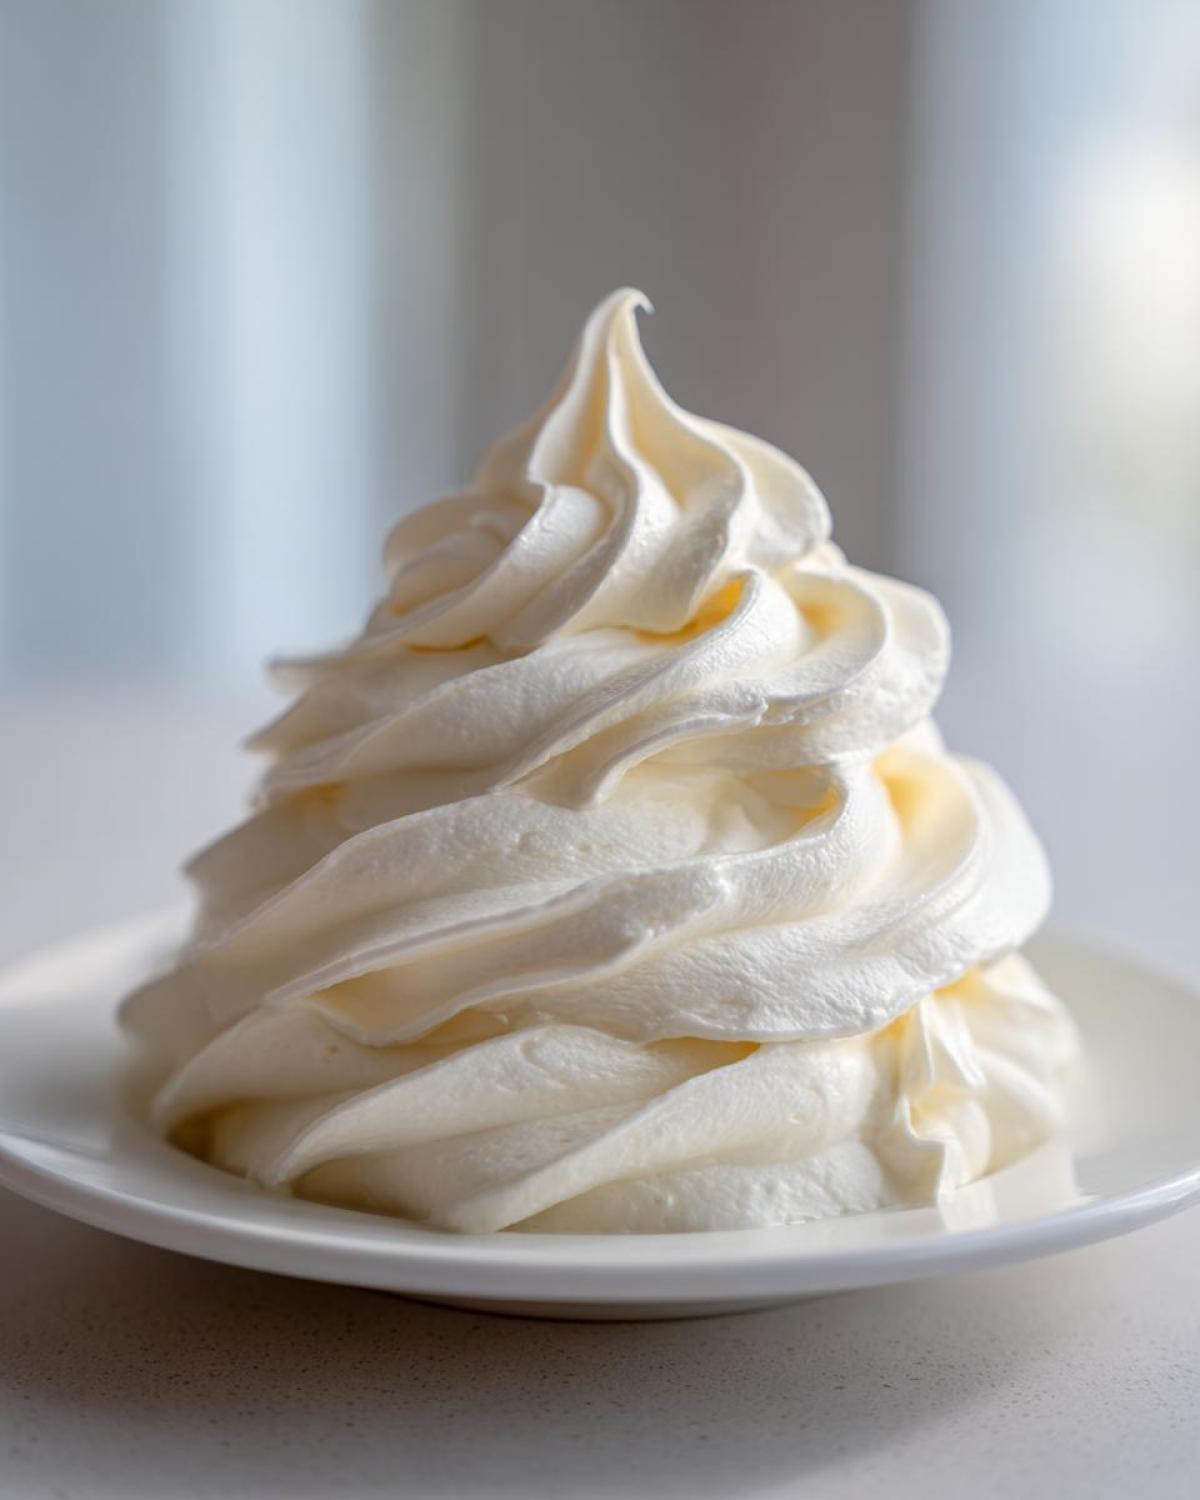
Lumps? We don’t know her! That awful, grainy texture happens when your dairy isn’t ready for action. For that gorgeous **fluffy cream cheese frosting**, both your butter and cream cheese must be at true room temperature. Seriously, if they are cold, you are asking for trouble. We beat them together *before* adding sugar, which creates the base air pockets. The final whipping time is essential, too—don’t rush that machine!
The Perfect Balance: Tangy Cream Cheese Icing
What I love most is how this frosting tastes decadent but light. That’s the magic of the cream cheese fighting the sugar head-on. If you’re bored of simple, sweet white icing, this is your answer. It delivers a genuinely pleasant sour note, making it the ultimate **tangy cream cheese icing**. It tastes homemade because it is, and it pairs beautifully with spice cakes or chocolate, if you ask me.
Ingredients for Your Smooth Cream Cheese Frosting
Alright, let’s look at what you need on the counter. Keeping things simple is Simon’s favorite trick for making sure we get that perfect, **cream cheese frosting** every time. Don’t worry about a long shopping list; this comes together with basic pantry staples. Remember, measure correctly, and we are already halfway to success!
- 8 ounces cream cheese, full fat, softened to room temperature
- 1/2 cup (1 stick) unsalted butter, softened to room temperature
- 4 cups powdered sugar, sifted
- 1 teaspoon vanilla extract
- 1/4 teaspoon salt
Ingredient Notes and Substitutions
Listen up, because this is where we guarantee no lumps! You absolutely must use full-fat cream cheese—none of that low-fat stuff, please; it breaks down too easily. Also, stick to unsalted butter so you can control the saltiness yourself. The most vital piece of advice I can give you for a **cream cheese frosting** that mixes beautifully is using ingredients that are truly at room temperature. If the butter fights you, the frosting glumps. That’s just science!
How to Make Quick Homemade Frosting: Step-by-Step Instructions
Okay, Simon says this is where the magic happens, and honestly, it takes less time than making my morning coffee! Since this is an incredibly fast frosting, the only thing you need to prep beforehand is making sure your ingredients are soft. Forget complicated steps; we’re mixing and that’s it. When you follow these steps, you’ll end up with that beautiful **pipeable cream cheese frosting** that holds its shape perfectly when you decorate.
The Creaming Stage for No Lump Frosting
This is step one and it’s super important for getting that promise of **no lump frosting**. Get your softened cream cheese and butter into your mixer—paddle attachment only, please! Run it on medium speed for a solid two minutes until it looks completely smooth. I mean it: no streaks, no chunks! Scrape the sides down once so everything is uniform. Then, toss in the vanilla and salt and give it a quick whirl.
Whipping for Fluffy Cream Cheese Frosting
Now, we introduce the sugar, but you have to be gentle at first! Keep the mixer on low while you gradually add the sifted powdered sugar, one cup at a time. Once it’s all in there, turn the speed up high—medium-high is perfect—and let it whir for three to five full minutes. This final whipping stage is what turns it into that dream, **fluffy cream cheese frosting** we all want. It adds so much air and makes it stiff enough for decorating. You can catch some great tips on getting that perfect texture over at Simple Joy!
Tips for Success with Your Cream Cheese Frosting
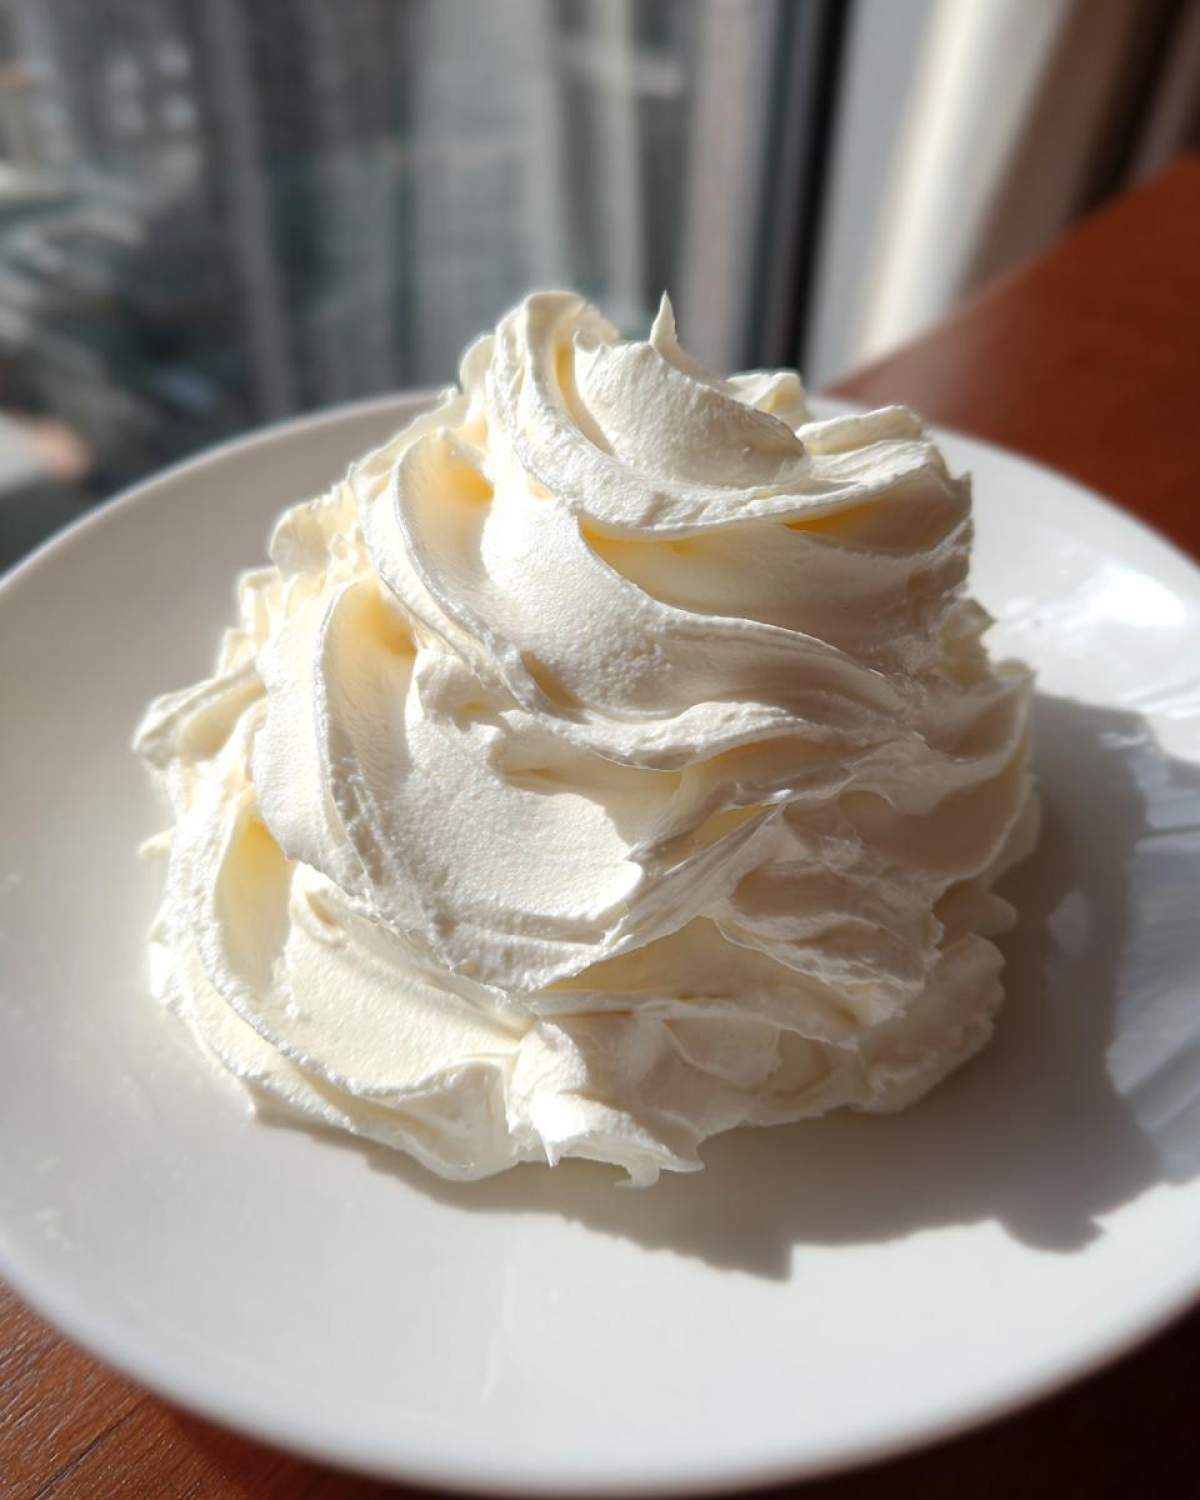
Even with the best instructions, sometimes the humidity gets in the way, or maybe you just wanted to pipe tiny little roses and need a stiffer finish. That’s okay! Simon always says we cheer for the attempt, but we definitely cheer louder for fixing the mess. This fantastic **cream cheese frosting** is usually pretty forgiving, but if you’re aiming for those sharp, intricate designs, you might need a little extra love.
Troubleshooting Soft Cream Cheese Frosting
If you find your frosting is looking a little floppy right when you go to the piping bag, don’t panic and don’t add more sugar—that just makes it gritty! The real trick here is chilling out, literally. Scoop your frosting into a bowl, cover it tightly, and pop it in the fridge for about 15 to 20 minutes. When you pull it out, give it a quick whip again for another minute on medium speed. That little chill firms up the fats, and the re-whip brings back all the air. It turns right back into that beautiful, **pipeable cream cheese frosting**!
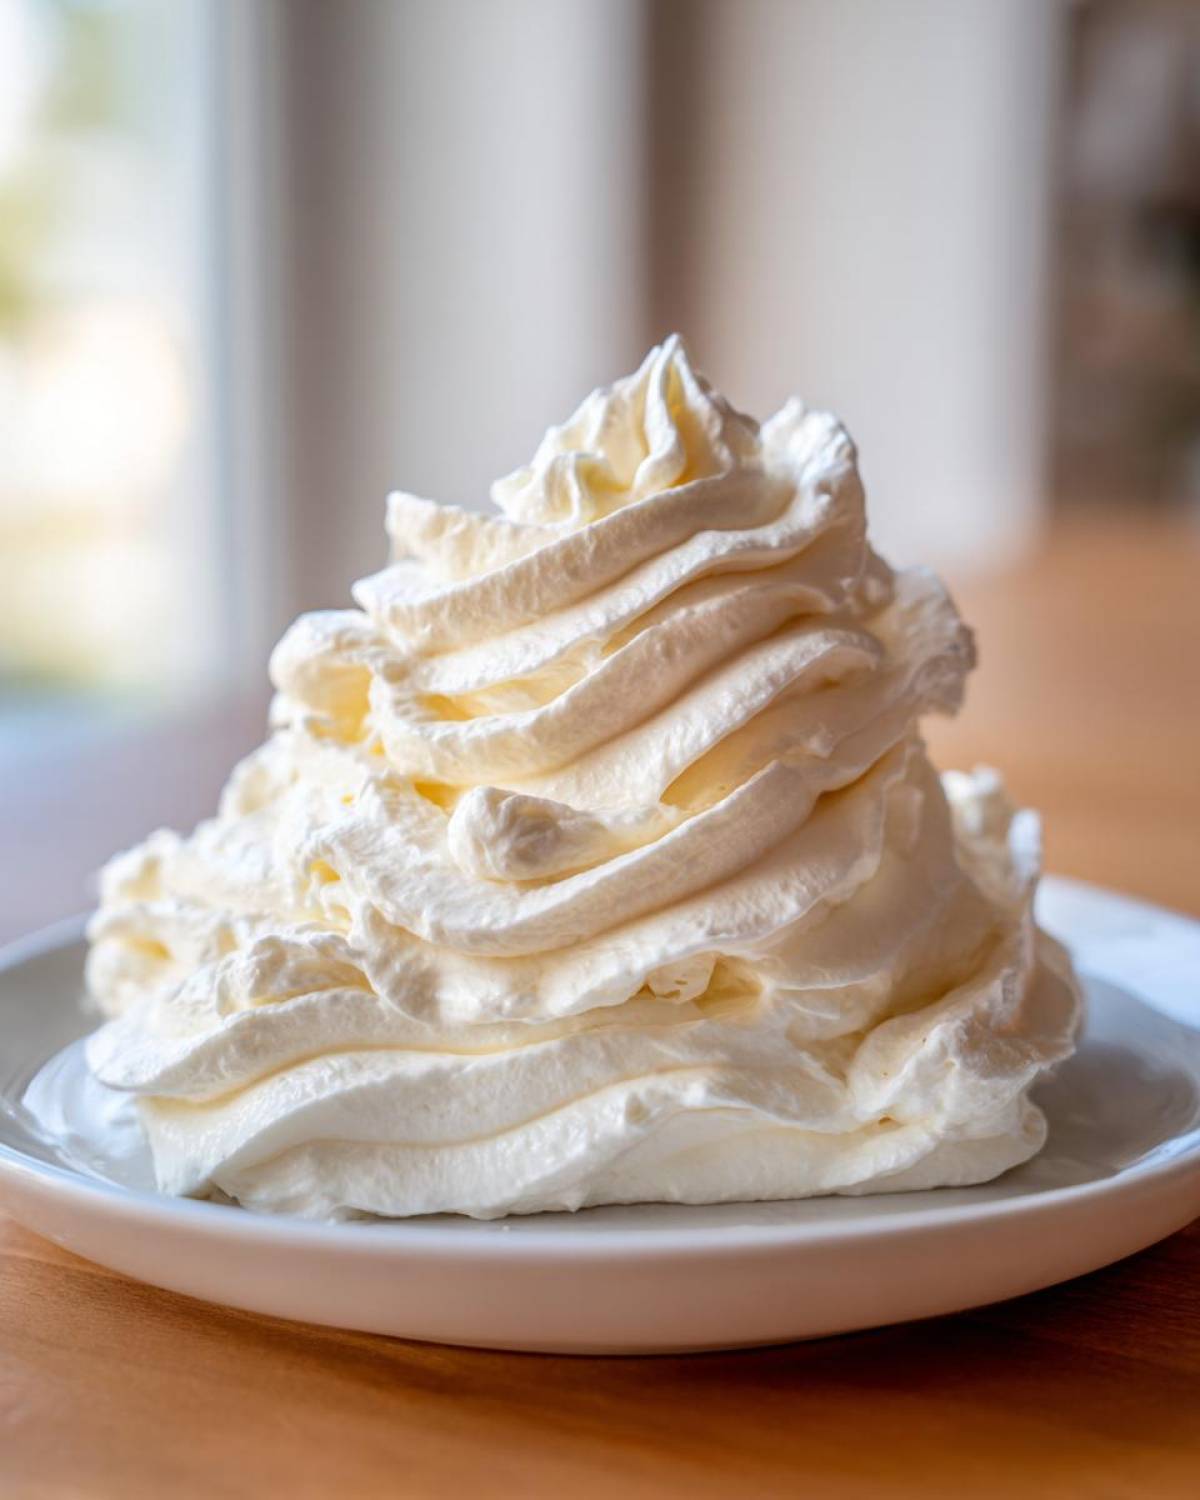
Also, remember that chilling is key if you’re making this ahead of time. You can see how well this handles flavor development by checking out my notes on our favorite sugar cookie icing which uses a similar technique. For more general tips, these folks over at Eats Delightful have some great pointers too!
Versatile Applications for Cream Cheese Frosting for Cinnamon Rolls
This is one of those recipes that works everywhere, which is why it’s such a winner. While it’s the absolute perfect pair for a classic red velvet cake, I have to admit my true weakness is using this thick, tangy topping on warm gooey cinnamon rolls. Seriously, the contrast between the hot, rolled dough and this cool, smooth **cream cheese frosting** is pure happiness. It’s thick enough to drape beautifully without just immediately melting right off the sides!
If you are making our cinnamon roll pancakes, this is mandatory. You can also use it as a decadent spread for homemade coffee cakes or even just dolloped onto fruit. It’s so rich and flavorful that you don’t need much. I even saw someone use it as a dip for pretzels once! If you want that iconic drizzly look, check out the amazing ideas for spreading cream cheese frosting for cinnamon rolls over there!
Storage and Reheating Instructions
So, what happens when you inevitably have leftover **cream cheese frosting**? Because let’s be honest, we usually make a double batch just in case! The good news is that this recipe holds up really well in storage, unlike some lighter buttercream siblings. Since it’s all about that dairy fat content, it keeps its structure nicely.
For storage, you want to keep it airtight. Pop it into a container with a tight-fitting lid, or just press a layer of plastic wrap directly onto the surface of the frosting before sealing the container. This stops that awful “skin” from forming on top. You can keep it in the fridge for up to about four or five days. It chills up quite firm, which is great if you need a really stiff topping for something later!
When you’re ready to use your refrigerated frosting again, don’t just scoop it straight out! That’s the trick to keeping this **easy cream cheese frosting recipe** perfect. Let it sit on the counter for about 30 minutes to warm up just a tiny bit. Then, put it back on medium speed in your mixer for just 30 seconds to a minute. That re-whip brings back all the lovely air we beat into it originally and makes it soft and spreadable again. You can see some other great storage ideas over at House of Nash Eats!
If you’re storing it for longer—maybe a month or so—freezing works too! Just make sure it’s wrapped well. If you’re freezing it, pull it out the day before and let it thaw slowly in the fridge, then follow that quick re-whip process when you’re ready to frost. It’s another simple win we can celebrate here at Kitchn Kudos! For other great kitchen efficiency tips, check out how we prepare our fluffy garlic naan bread.
Frequently Asked Questions About Cream Cheese Frosting
I know you probably searched looking for some secret way to avoid the worst frosting pitfalls, so let’s knock out a few common questions I get asked all the time about whipping up this spectacular **cream cheese frosting**!
How do I make my cream cheese frosting stable for piping?
This is one of the reasons I love promoting this recipe so much—it really does behave well! The stability comes from two main places: first, making sure you use the right ratio of butter to cream cheese (we keep the butter to a half-cup for that firmness). Second, and this is key for getting **pipeable cream cheese frosting**, you *must* whip it long enough at the end. That initial 3-5 minutes on high speed whips in the air that provides the structure. If you need it extra stiff for fancy designs, just chill it for 20 minutes and re-whip!
Can I use this as a smooth buttercream alternative?
That’s a fantastic question! Yes, you absolutely can use this as a **smooth buttercream alternative**, and it’s way easier on the mixer! The texture is wonderfully smooth and holds shape almost as well as a traditional buttercream when chilled. The big difference, of course, is the flavor. Buttercream is pure, creamy sweetness from the butter and sugar, whereas our frosting brings that wonderful, bright little funkiness from the cream cheese. It’s all about what flavor profile you’re hoping to achieve for the day!
If you’re looking for a perfect base for this topping, you should check out the details for our moist vanilla cake recipe—it’s a showstopper!
Estimated Nutritional Information
Now, I know Simon usually just eyeballs everything once he tastes it, but Alice (that’s me, Lead Documentarian!) makes sure we track the details, just in case you’re counting things up. I always tell people, don’t stress too much about the details when you’re celebrating—that’s not the Kitchn Kudos way—but here are the averages for your reference!
This table reflects an estimate based on the ingredients list for a standard serving of this glorious **cream cheese frosting**. Since we’re focusing on flavor and fun, take these numbers with a grain of salt; homemade always varies a little!
- Serving Size: 1/4 cup
- Calories: 350
- Sugar: 38g
- Sodium: 110mg
- Fat: 22g (with 14g saturated fat)
- Protein: 2g
Remember, this is rich stuff because it uses real butter and real cream cheese, which is what gives it that unbelievable flavor and texture. That little bit of fat is what makes it such a fantastic smooth buttercream alternative for richness!
Give Yourself Some Kitchen Kudos
That’s it, friends! You’ve made the most wonderfully smooth, tangy, and absolutely perfect **cream cheese frosting**! Seriously, take a moment right now and pat yourself on the back. That’s the Kitchn Kudos philosophy right there—every little success deserves a high-five and a bit of praise. Whether you spread this on a warm loaf, piped intricate designs onto cupcakes, or just dipped a spoon in while no one was looking (I won’t tell!), you did something delicious today!
I would truly love to hear how it went for you. Did it come out perfectly smooth the first time? Did you use it on a red velvet cake? Head down to the comments and let me know! Leaving a rating helps other bakers feel encouraged to try this recipe too. We celebrate all the wins here, especially the ones that taste this good. Don’t forget to check out the rest of the blog for more easily achievable wins when you’re ready for your next baking adventure, like browsing our main recipe collection!
PrintThe Best Classic Cream Cheese Frosting: Smooth, Tangy, and Pipeable
This is the easiest and most reliable recipe for classic cream cheese frosting. You will achieve a smooth, fluffy texture that is rich, tangy, and perfectly balanced—not too sweet. It holds its shape well for piping on cakes, cupcakes, or spreading thickly on cinnamon rolls.
- Prep Time: 10 min
- Cook Time: 0 min
- Total Time: 10 min
- Yield: About 4 cups
- Category: Dessert Topping
- Method: Mixing
- Cuisine: American
- Diet: Vegetarian
Ingredients
- 8 ounces cream cheese, full fat, softened to room temperature
- 1/2 cup (1 stick) unsalted butter, softened to room temperature
- 4 cups powdered sugar, sifted
- 1 teaspoon vanilla extract
- 1/4 teaspoon salt
Instructions
- Place the softened cream cheese and softened butter into the bowl of a stand mixer fitted with the paddle attachment. Beat them together on medium speed until completely smooth and creamy, about 2 minutes. Scrape down the sides of the bowl.
- Add the vanilla extract and salt to the mixture and mix briefly to combine.
- Reduce the mixer speed to low. Gradually add the sifted powdered sugar, one cup at a time, mixing until just incorporated after each addition.
- Once all the sugar is added, increase the mixer speed to medium-high. Beat the frosting for 3 to 5 minutes until it becomes light, fluffy, and smooth. This whipping time is key to preventing lumps and achieving a pipeable texture.
- Use immediately on your favorite cakes, cupcakes, or cinnamon rolls.
Notes
- For the smoothest frosting, make sure both your cream cheese and butter are truly at room temperature. Cold ingredients cause lumps.
- Sifting the powdered sugar removes any small clumps before they enter your frosting.
- If the frosting seems too soft for piping, chill it in the refrigerator for 15 to 20 minutes, then briefly re-whip it before using.
- This recipe makes enough frosting for one 9-inch layer cake or about 18 standard cupcakes.
Nutrition
- Serving Size: 1/4 cup
- Calories: 350
- Sugar: 38
- Sodium: 110
- Fat: 22
- Saturated Fat: 14
- Unsaturated Fat: 8
- Trans Fat: 0
- Carbohydrates: 39
- Fiber: 0
- Protein: 2
- Cholesterol: 65