

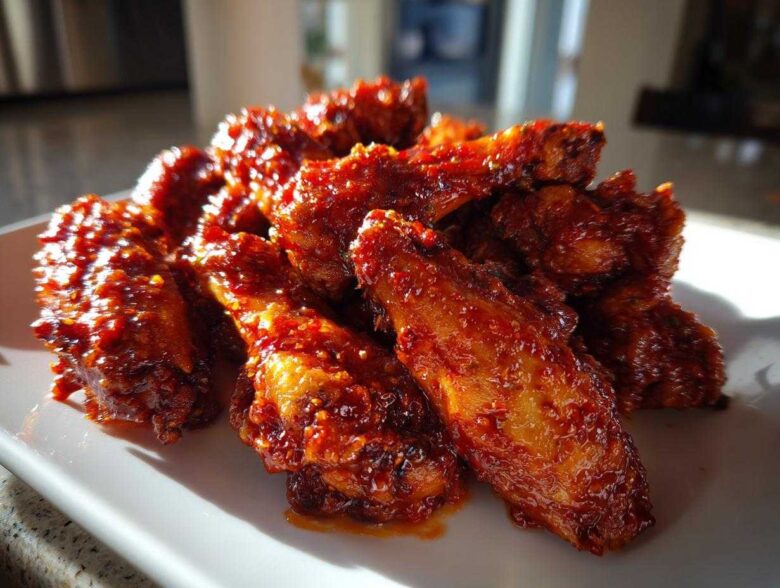
I swear, ordering wings out is getting ridiculous—they soak you for extra just for a decent crunch! For years, I thought achieving that crackly exterior paired with a thick, sticky sauce meant setting up a giant deep fryer in my driveway. Nope! I finally cracked the code to getting true, restaurant-quality crunch right here on a sheet pan. Trust me, this recipe for Sticky Sweet Chili Chicken Wings Crispy Oven is going to change your wing game forever. It took me about a dozen attempts, but I nailed the exact technique for whipping up crispy chicken wings in the oven that stay perfectly crisp even under that gorgeous sweet chili blanket. Get ready for your new favorite party appetizer!
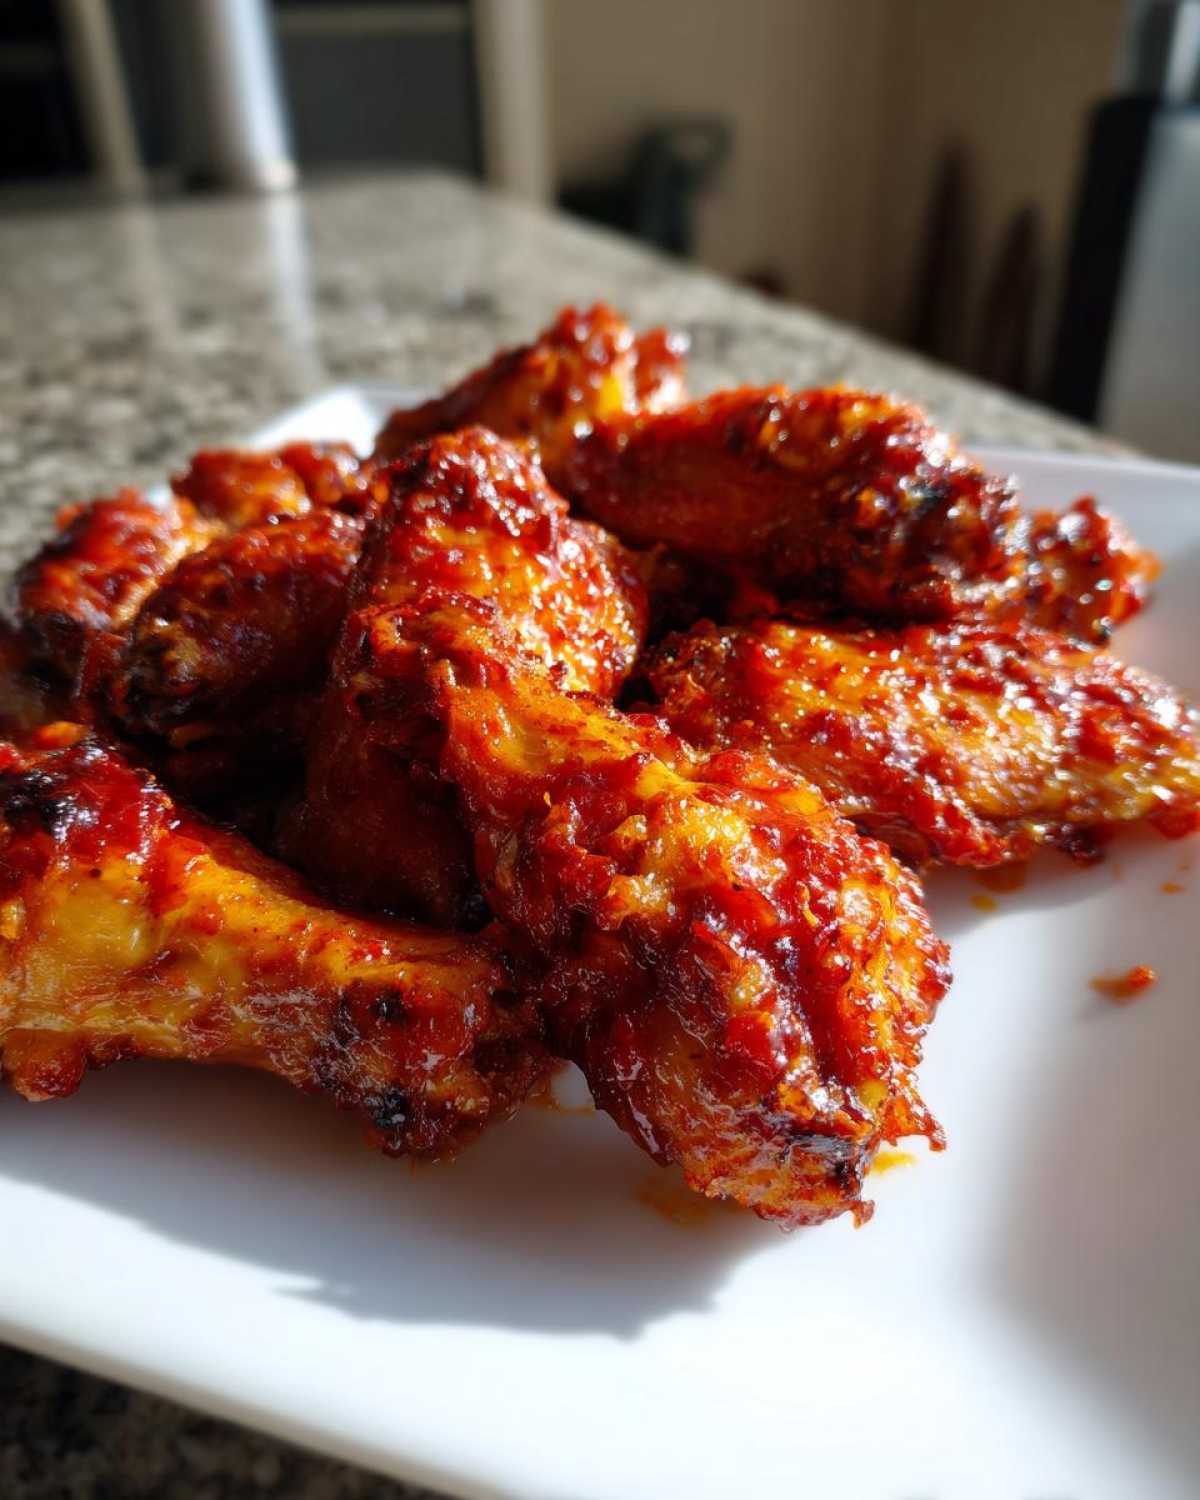
Why This Recipe Delivers the Ultimate Sticky Sweet Chili Chicken Wings Crispy Oven Results
Look, I know you’ve been let down before by wings that promised crunch but delivered sogginess. That’s because most oven wing recipes skip the crucial steps! I’ve tested loads of methods to make sure this recipe is foolproof. When you follow this protocol, you get that delightful shattering texture you’re hunting for.
The Secret to Non-Greasy Crispy Wings
- We use a tiny bit of baking powder—it’s not for lifting, it’s a magic trick for drying out the skin.
- The wings sit on a wire rack over a foil-lined pan. This lets the hot air circulate underneath them, which is how we avoid those sad, wet bottoms. Seriously, don’t skip the rack!
Achieving the Perfect Sticky Glaze Without Burning
The biggest mistake people make? Dousing the raw wings in sauce before baking. That sugar burns instantly! We bake them almost fully cooked first, introduce the glaze halfway through, and then give them a final quick blast. This locks in the flavor and creates that unbelievably thick, sticky coat without turning your glaze black.
Gathering Ingredients for Sticky Sweet Chili Chicken Wings Crispy Oven
Okay, let’s get our ducks in a row—or should I say, our wings ready! Getting the right components is half the battle when you’re trying to achieve crispy oven wings. Don’t go grabbing just any old baking powder, either; quality matters here. Everything needs to be measured out before the oven turns on, because once things start cooking, we move fast!
Ingredients for the Crispy Chicken Wings Base
First up is the base that’s going to get all crunchy for us. Remember, dry wings are happy wings! You’ll need:
- 2 lbs chicken wings (make sure you separate those flats and drumettes!),
- 1 tablespoon baking powder (and this MUST be aluminum-free, okay?),
- 1 teaspoon salt,
- And 1/2 teaspoon black pepper.
Components for the Homemade Sticky Glaze Recipe
This is where the flavor magic happens. We’re building that perfect sweet and spicy coating. Grab these items for the sauce, and get ready for a treat!
- 1/4 cup sweet chili sauce (the bottled kind is great!),
- 2 tablespoons honey,
- 1 tablespoon soy sauce,
- 1 tablespoon rice vinegar,
- 1 teaspoon grated fresh ginger (I mean *fresh*, not the dried stuff!),
- And 1 clove garlic, minced.
If you’re looking for other great sauces to try later, you can check out my recipe for honey garlic chicken—it uses similar savory notes!
Step-by-Step Instructions: How to Make Crispy Wings in the Oven
Alright, here’s where the magic happens! We’re marching through the steps to guarantee those wings come out shatteringly crispy before we even touch them with the glaze. Remember, we are baking at a high heat because that’s what gets the texture right for the Sticky Sweet Chili Chicken Wings Crispy Oven goal. It’s all about patience during the pre-bake phase.
Oven Setup and Initial Wing Preparation
First thing: crank that oven up to 425°F (220°C). Next, line a big baking sheet with foil—this makes cleanup a breeze, trust me. Then, you need that wire rack sitting right on top of the foil. This rack is our secret weapon for crispy bottoms! Now, take your wings and pat them absolutely, totally bone-dry with paper towels. Seriously, grab a fresh stack and scrub them dry. Moisture is the enemy of crunch! Toss those dry wings in your large bowl with the baking powder, salt, and pepper until they look dusty white and coated evenly.
Baking for Initial Crispness
Lay those coated wings out on the rack in a single layer. Do not let them touch! If they kiss, they steam! Pop them into that hot oven for a solid 25 minutes. After that first blast, pull them out quickly, flip every single wing over with tongs, and slide them back in for another 15 minutes of baking time.
Making the Thick Sticky Sweet Chili Sauce Recipe
While those wings are doing their initial crisping thing, whisk together all your glaze components in a small saucepan: that sweet chili sauce, honey, soy sauce, vinegar, the fresh ginger, and the minced garlic. Put it over medium heat and let it bubble gently. You only need to let it simmer for about three to five minutes, stirring often, until you see it thicken up just a little. Once it coats the back of a spoon nicely, pull it right off the heat. This sauce timing ensures it’s perfect by the time the wings are ready for glazing!
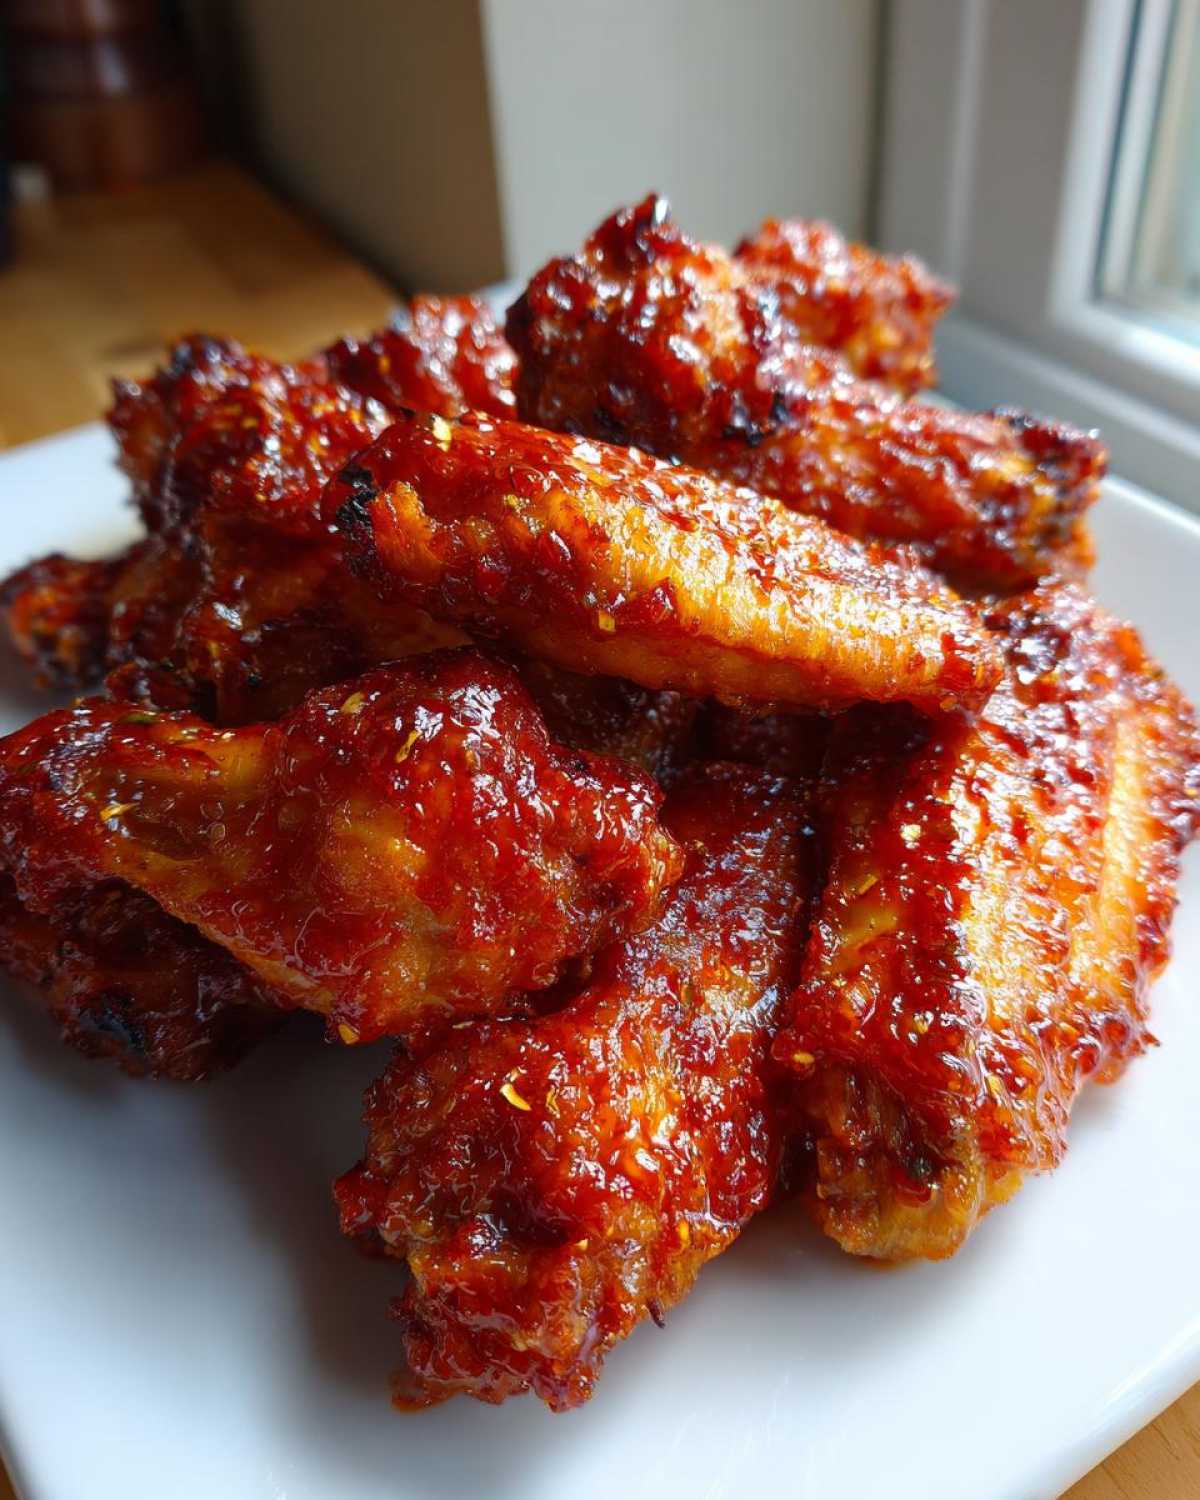
If you want other fantastic uses for a good baked marinade, check out these juicy crispy baked chicken techniques—they share some great structural tips!
The Glazing Technique for Perfectly Glazed Chicken Wings
Okay, this is the moment of truth where we transform those crackly-but-plain wings into the sticky, shiny masterpiece you came here for! The timing on the glaze is everything. If you add too much sauce too soon, all that honey and sugar caramelizes way too fast and you end up with burnt crust instead of sticky gloss. We don’t want that!
Once your wings have finished their second bake—they should be fully cooked and looking nicely browned—take them out of the 425°F heat. Brush a generous amount of that sweet chili sauce you just simmered (use about half of it!) directly onto the wings while they are still on the hot rack. Don’t worry, they are already almost done, and this helps the glaze set, not soak.
Slide them *back* into the oven for just 5 to 7 more minutes. I mean it—5 minutes! Set a timer and stand there and watch them. You want them bubbly and glossy, but not scorched brown. This quick final blast is what sets the stickiness.
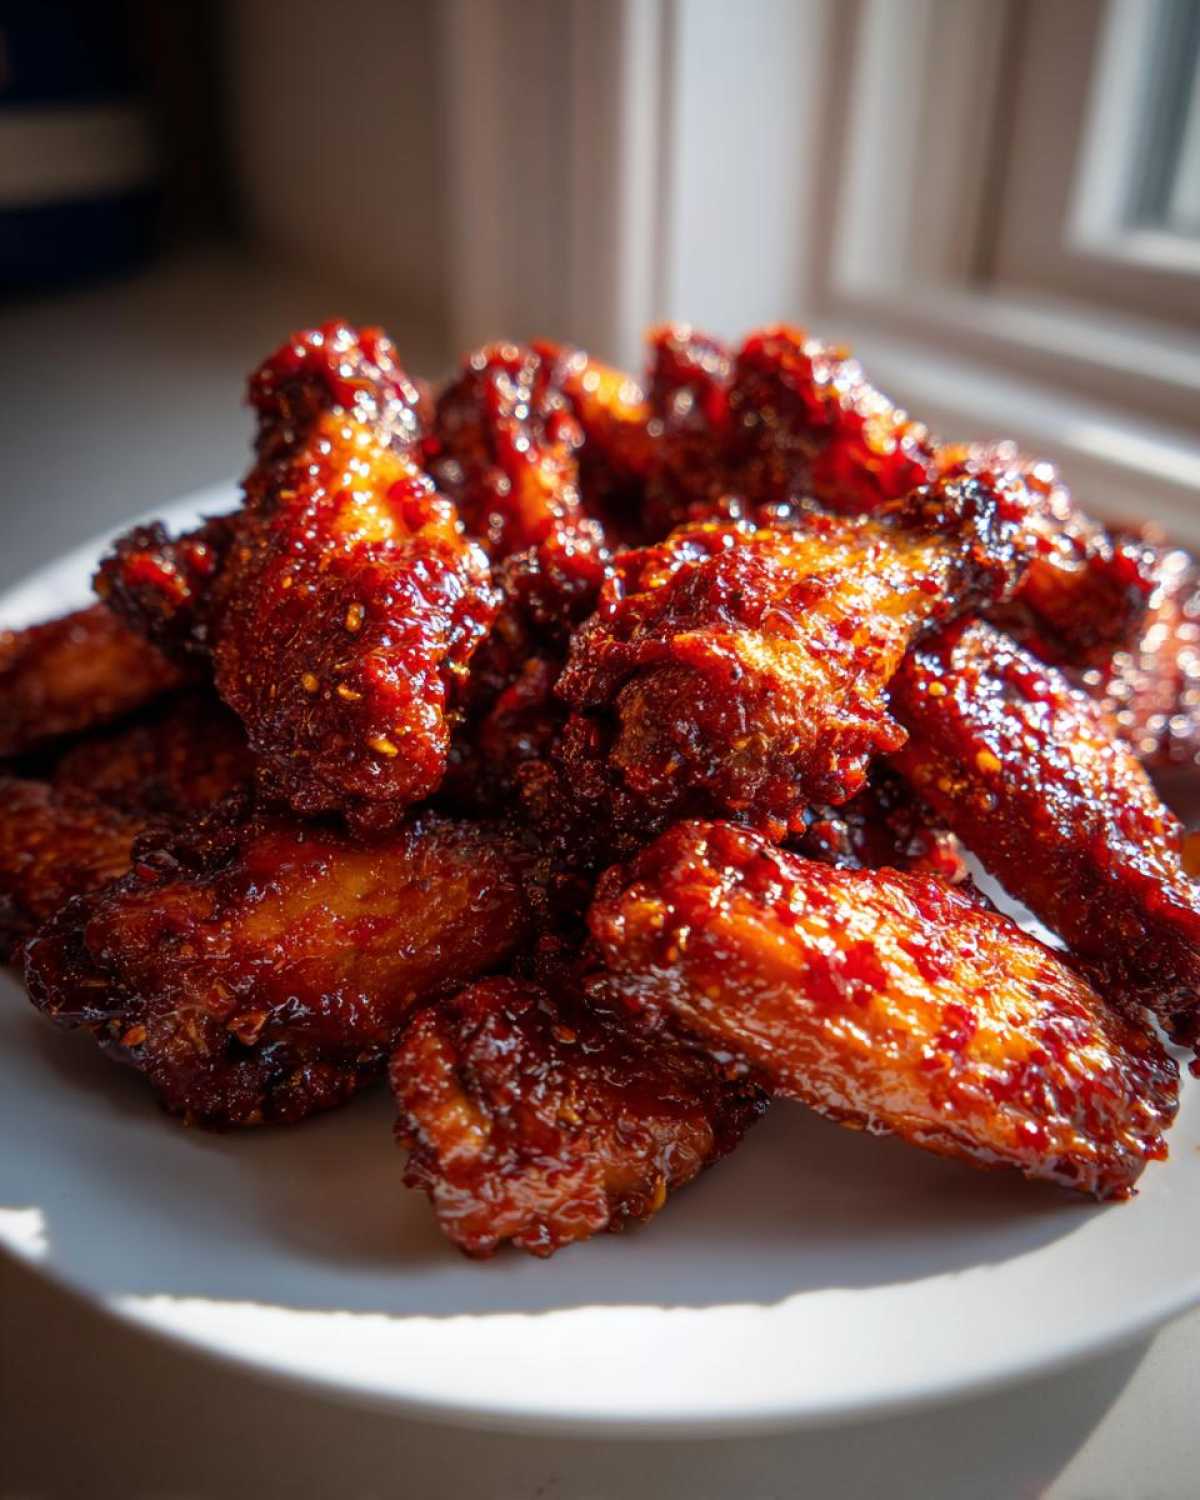
When you pull them out that last time, take them off the rack immediately and drop them into a clean mixing bowl. Pour the rest of your remaining glaze over the top, and toss them vigorously until every single wing is beautifully coated in that perfect, thick, shiny layer. If you’re looking for other awesome glaze ideas after you finish these, my recipe for an easy homemade BBQ sauce shows a similar technique for thickening sauces!
Serve these babies piping hot! That stickiness is best enjoyed right away when the glaze is still warm and tacky.
Tips for Success with Oven Baked Crispy Chicken Wings
You’ve got the timing down, but let’s talk secrets—the little chef tricks that guarantee your wings stay crunchy and non-greasy. Like I mentioned earlier, the baking powder isn’t for making them airy; it’s pure science acting on the chicken skin!
The key is that aluminum-free baking powder. When it hits the hot, dry skin, it raises the pH level just enough. This little chemical change speeds up something called the Maillard reaction, which is fancy wording for ‘amazing browning and crisping.’ If you don’t use baking powder, the moisture stays trapped, and you get rubbery skin instead of that satisfying shatter.
Also, one last time: if you are ever reheating these wings, for heaven’s sake, skip the microwave! Microwave heat steams the outside. Pop them on a baking sheet—maybe even toss them back on the rack—and heat them at 350°F for maybe 8 minutes. They won’t be *quite* as perfect as fresh out of the oven, but they’ll regain most of their crunch. You can check out how I get my baked eggplant crispy in the oven for more texture tips!
Why Aluminum-Free Baking Powder Matters for Crispy Chicken Wing Techniques Oven
I always stress aluminum-free just because I’ve noticed a slight metallic tang if I use the cheap stuff, though it works chemically either way! The main point is getting that surface alkalinity up; it helps the skin brown beautifully instead of steaming itself into submission. High heat plus this chemical assistance equals the best texture you can get without oil deep-frying. It’s what separates my wings from your average weeknight chicken!
Storage & Reheating Instructions for Leftover Sticky Sweet Chili Chicken Wings
If you somehow manage to have any leftovers—which I doubt, because these vanish fast—you definitely need to store them correctly. If you just toss them in a regular container in the fridge, they’re going to get soft. The sugar in that gorgeous sticky glaze basically acts like a magnet for moisture once it cools down, so they can get pretty sad looking by morning.
Your best bet is to put them in a shallow, airtight container and try to keep the sheets of parchment paper between layers if you have a lot. Don’t crowd them! They can hang out in the fridge for about three days, tops.
Now, reheating is the tricky part. Resist the urge to grab the microwave, seriously! That heat turns the skin instantly gummy and steams the crisp right out. If you want to rescue that crunch we worked so hard for, you absolutely have to use the oven again. Preheat it to about 375°F (190°C). Lay the wings out on your wire rack—yes, use the rack again!—and bake them for about 8 to 10 minutes. This gentle, dry heat dries the skin back out and warms that sauce up without incinerating the sugars. They won’t be *exactly* like fresh, but they’ll be delightfully crispy again and still have that great sticky glaze!
Serving Suggestions for Your Baked Sweet Chili Wings Recipe
These wings are bold, sticky, and packed with flavor, right? Because they are so rich and intensely flavored, you don’t want to pair them with equally heavy sides. What we need is something cool, crunchy, or neutral to balance out that sweet heat and the richness from that baked skin.
I usually keep things super simple because let’s be honest, the wings are the star of the show! Here are my top two go-to pairings that never fail:
- A Bright, Tangy Slaw: Forget the heavy mayo slaw; that just adds more richness. You want something acidic! Mix shredded cabbage and maybe some shredded carrots with a dressing made of rice vinegar, a tiny bit of sugar, and maybe a splash of lime juice. The vinegar cuts right through the stickiness beautifully. If you want a slightly warmer side, my recipe for sweet potato salad works wonderfully because the sweetness contrasts nicely with the chipotle heat in the chili sauce.
- Simple Steamed Rice: Nothing beats plain white rice for soaking up those extra flavorful drips left on your plate. Just steam a nice batch of jasmine rice until it’s fluffy. It provides a perfect neutral base so you can go all-in on a wing without feeling overwhelmed by flavor combinations.
- Cool Cucumber Spears: If you need something super quick, keep cucumber spears in the fridge. The coolness and high water content are incredibly refreshing after a spicy bite. It acts like a palate cleanser!
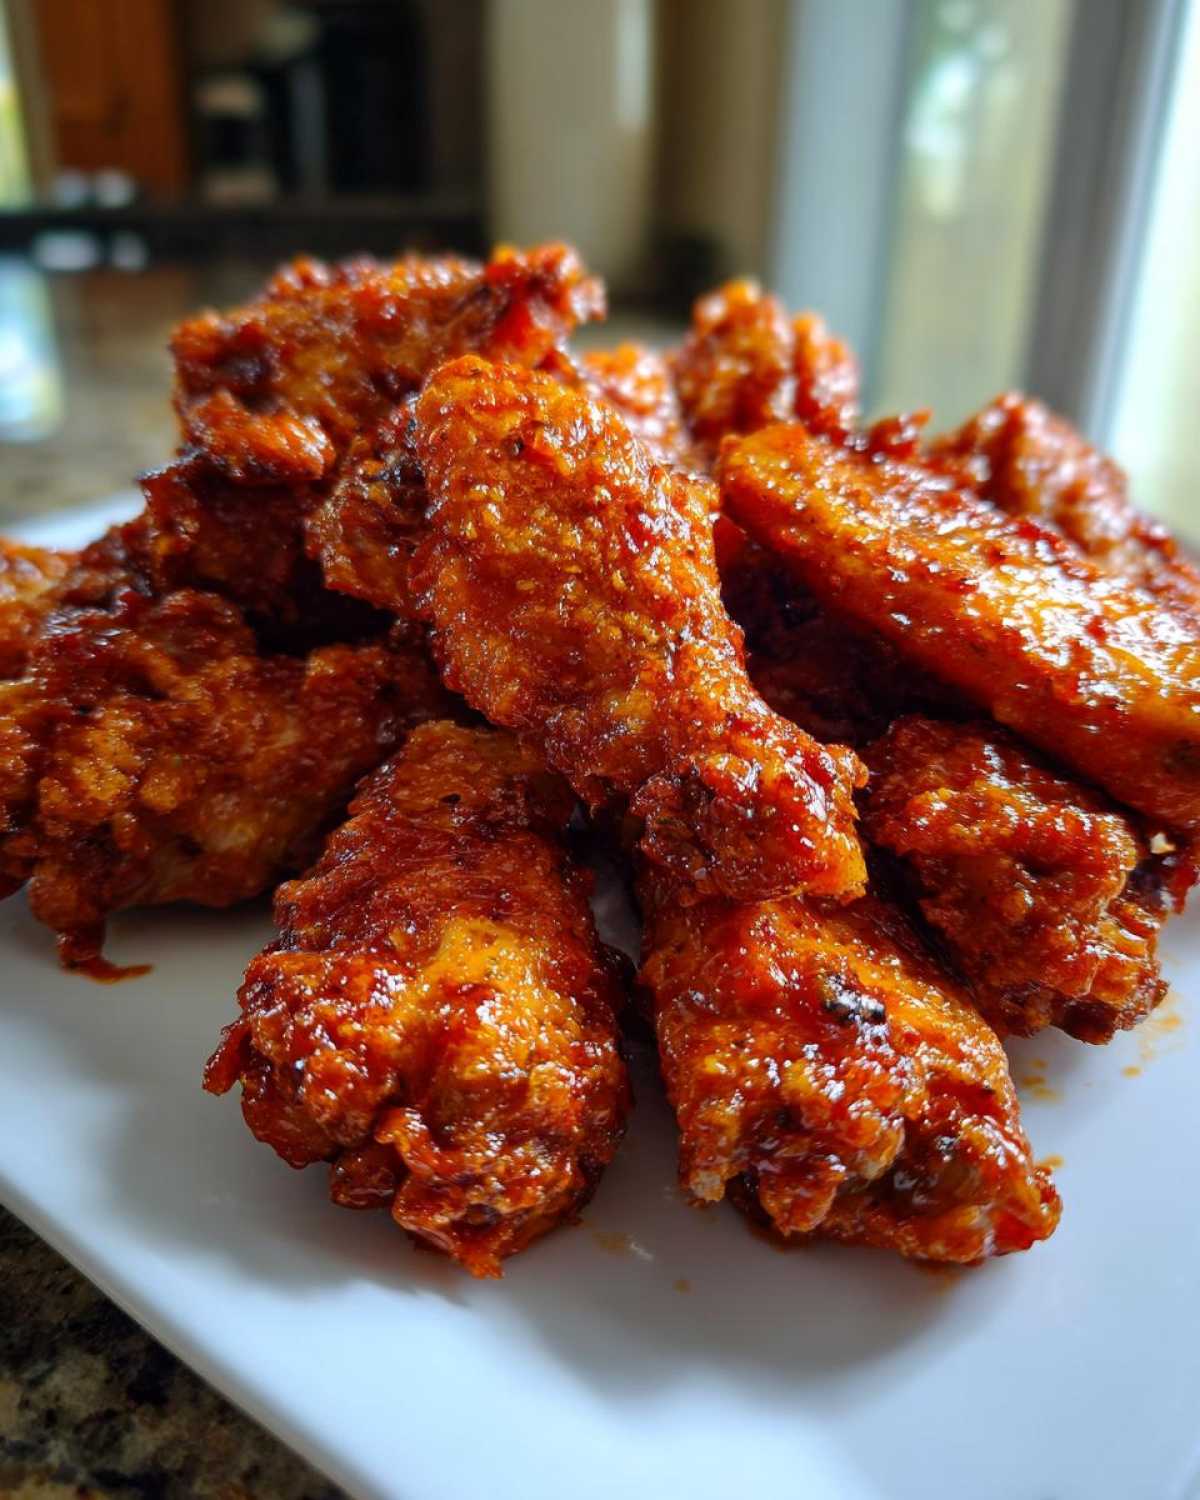
Keep it light on the sides, and everyone will keep coming back for more of those glorious wings!
Frequently Asked Questions About Making Sticky Sweet Chili Chicken Wings Crispy Oven
I knew you’d have questions! When you’re trying to nail a specific texture like this—that perfect combination of sticky, sweet, and crispy oven wings—you sometimes run into little snags. Don’t worry about that; that’s why I put this FAQ together. I’m covering the most common hiccups I get from folks trying this recipe for the first time!
Can I use baking soda instead of baking powder for Oven Fried Wings?
That’s a great question about the crisping agent! You can technically substitute baking soda, but I strongly advise against it unless you adjust the recipe completely. Baking soda is way more alkaline than baking powder. If you use a full tablespoon of soda where I use powder, you actually risk getting a metallic or soapy aftertaste in your oven baked crispy chicken wings. Baking powder does the job gently—it gives you the alkaline boost for browning without overpowering the chicken flavor.
How do I make the glaze thicker for my Homemade Sticky Glaze for Wings?
If your sauce didn’t thicken enough while simmering—maybe your heat was too low, or your sauce pan was too wide—don’t throw it out! You can save that glaze easily. Take the saucepan off the heat completely. In a tiny separate cup, stir one teaspoon of cornstarch with about two teaspoons of cold water until it’s totally smooth. This is your slurry. Pour that slurry into the warm sauce and whisk like crazy. Then, put it back on low heat for maybe 30 seconds to a minute until it thickens instantly. Instant fix for a thinner glaze!
Can I use a lower temperature for these Baked Sweet Chili Wings Recipe?
I know 425°F sounds hot, but trust me here: You absolutely need that high heat when you are aiming for non greasy crispy wings in the oven. The entire structure of this recipe relies on hitting the wings with intense dry heat fast. If you drop it down to, say, 350°F, the heat doesn’t evaporate the surface moisture quickly enough. Instead of crisping, the wings end up getting steamed in their own juices, and you’ll end up with mushy skin. Keep it hot for the crisp, and then drop it only for the final glazing step!
We’ve also got a few tips on using the air fryer instead if you ever wonder about an air fryer alternative—but for these specific wings, the rack method in the oven really shines!
Recipe Metrics and Details
Now that you’ve mastered the cook time and got that amazing sticky glaze on your wings, you probably want to know the logistics—how long it actually took, and how many people this recipe feeds! I’ve laid out all the important stats from the master recipe card below. It’s a fast process once the oven is hot, which makes these perfect for weeknights or when you need last-minute party wing recipes oven baked!
Here’s the breakdown:
- Prep Time: 15 minutes (mostly just drying and tossing the wings!)
- Cook Time: 47 minutes (split between the initial bake and the glaze set)
- Total Time: Just over an hour—62 minutes!
- Yield: This makes enough wings for about 4 hungry people as a main dish, or roughly 6–8 people as an appetizer.
- Category: Appetizer, but honestly, these are substantial enough for dinner!
- Method: Baking (The Best Oven Fried Wings method!)
- Cuisine: Asian-Inspired
Nutritional Information Disclaimer
Since we all use different sizes of wings and maybe even swap out honey for maple syrup in a pinch, I always like to mention that the nutritional estimates can vary quite a bit. The numbers I provide are based on using average-sized wings and the exact measurements listed in the recipe. These figures are just a general guideline, so please take them with a grain of salt! They are definitely not designed for strict diet tracking, but they are good enough for a general idea.
PrintUltra Crispy Oven-Baked Sticky Sweet Chili Chicken Wings (No Fry Method)
Follow these steps to make chicken wings that are crispy on the outside and coated in a thick, sticky sweet chili glaze, all cooked in your oven.
- Prep Time: 15 min
- Cook Time: 47 min
- Total Time: 62 min
- Yield: 4 servings
- Category: Appetizer
- Method: Baking
- Cuisine: Asian-Inspired
- Diet: Low Fat
Ingredients
- 2 lbs chicken wings (flats and drumettes separated)
- 1 tablespoon baking powder (aluminum-free)
- 1 teaspoon salt
- 1/2 teaspoon black pepper
- 1/4 cup sweet chili sauce
- 2 tablespoons honey
- 1 tablespoon soy sauce
- 1 tablespoon rice vinegar
- 1 teaspoon grated fresh ginger
- 1 clove garlic, minced
Instructions
- Preheat your oven to 425°F (220°C). Line a large baking sheet with foil and place a wire rack on top of the foil. This setup allows air circulation for crispiness.
- Pat the chicken wings completely dry using paper towels. This is crucial for crisping.
- In a large bowl, toss the dry wings with baking powder, salt, and pepper until evenly coated.
- Arrange the wings in a single layer on the wire rack, ensuring they do not touch.
- Bake for 25 minutes.
- While the wings bake, prepare the glaze: In a small saucepan, combine the sweet chili sauce, honey, soy sauce, rice vinegar, ginger, and garlic. Bring to a simmer over medium heat and cook for 3 to 5 minutes, stirring often, until the sauce thickens slightly. Remove from heat.
- After the initial 25 minutes, flip the wings. Return them to the oven and bake for another 15 minutes.
- Remove the wings from the oven. Brush them liberally with half of the prepared sweet chili glaze.
- Return the glazed wings to the oven for a final 5 to 7 minutes. Watch closely to prevent burning.
- Remove the wings from the oven. Toss them immediately in a clean bowl with the remaining glaze until fully coated. Serve hot.
Notes
- Using baking powder helps raise the pH level of the skin, leading to a crispier texture when baked.
- Do not skip drying the wings thoroughly; moisture prevents crisping.
- Apply the final glaze near the end of cooking to achieve stickiness without burning the sugars.
Nutrition
- Serving Size: 4 wings
- Calories: 350
- Sugar: 18
- Sodium: 450
- Fat: 18
- Saturated Fat: 5
- Unsaturated Fat: 13
- Trans Fat: 0
- Carbohydrates: 20
- Fiber: 0
- Protein: 28
- Cholesterol: 95