

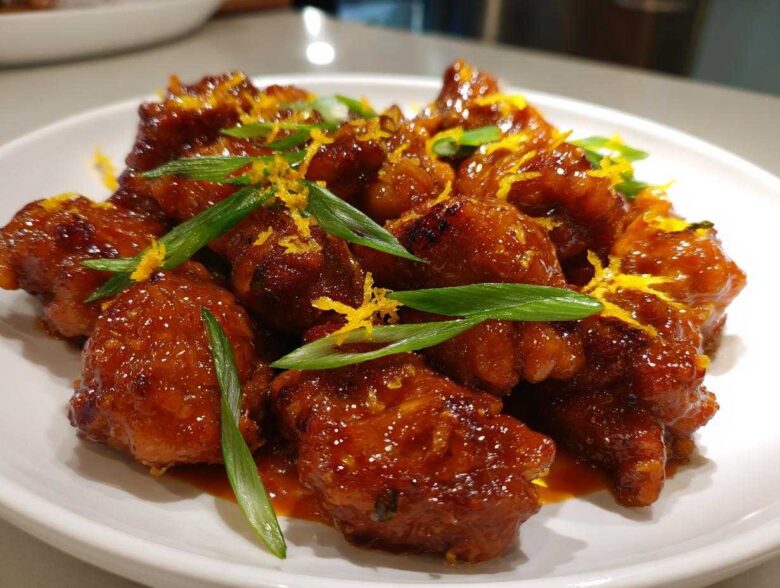
I swear, every time Friday rolls around, I get that *itch* for takeout orange chicken. You know the stuff? That crispy, glossy, slightly messy goodness you have to eat with chopsticks over the sink? Well, I got tired of waiting for delivery, so I spent ages tweaking until I landed on this absolute winner: Sticky Orange Chicken Thighs Better Than Takeout. I’m serious when I say this beats what you get down the street! The secret isn’t just the sauce, though that’s a huge part of it; it’s keeping those chicken thighs unbelievably juicy. Trust me, perfecting that thick, clingy glaze consistency took a few tries, but now that I’ve nailed it, I’m never going back. If you want that authentic punch of sweet citrus and tang, let’s get started!
For even more homemade goodness that skips the delivery fee, check out my recipe for Easy Chicken Fried Rice—it’s the perfect sidekick to this chicken!
Why This Sticky Orange Chicken Thighs Better Than Takeout Recipe Works
I know what you’re thinking: why not breasts? Breasts are fine for salads, but for a deep, flavorful, sticky dish like this? You need thighs. When they ask me why my Sticky Orange Chicken Thighs Better Than Takeout is so good, I always point back to the main ingredient and the sauce technique. These two things are non-negotiable if you want that magic mouthfeel!
Seriously, don’t skip reading why these small details make a massive difference. You can find my guide on getting crispy skin on my Crispy Homemade Orange Chicken Chicken if you want a variation, but for this recipe, focus on these tips:
- The chicken selection is key to success.
- The way we thicken the sauce guarantees it clings perfectly.
Juicy Chicken Thighs for Maximum Flavor
Chicken thighs are naturals for bold flavors like this sticky orange glaze because they have more fat marbled throughout. While chicken breasts dry out fast when you sear them, the thighs stay tender and moist, soaking up all that savory-sweet sauce. It’s just science! That extra little bit of fat melts during cooking, creating incredible flavor pockets that you just don’t get with leaner meat.
Achieving the Perfect Thick Orange Sauce for Chicken
The difference between a watery orange sauce and a proper sticky coating comes down to two things: simmering and cornstarch. We simmer the sauce base first—juice, vinegar, sugar—to let those flavors really concentrate. Then, you have to make that cornstarch slurry correctly! Whisking the cold water and starch until it’s completely smooth before adding it makes all the difference. That quick addition and whisking is what creates that glossy, thick orange sauce for chicken that clings beautifully instead of running all over your rice.
Gathering Ingredients for Sticky Orange Chicken Thigh Recipe
Pulling together what you need for this Sticky Orange Chicken Thigh Recipe is super quick, which is why it makes such a fun weeknight meal! We’re dealing mostly with pantry staples, but I really need you to pay attention to the fresh stuff for the best flavor punch. Skip the pre-bottled orange concoctions if you can manage it—fresh juice and zest make the whole dish taste vibrant, not artificial. It really elevates it to that ‘better than takeout’ level we’re aiming for!
We’re using boneless, skinless thighs cut into nice, manageable 1-inch pieces so they cook fast and evenly. Don’t forget to grab the little extras for garnish, like the green onions; presentation is half the fun!
If you’re looking for other easy flavor profiles, you might enjoy my Easy Honey Garlic Chicken while you’re in the cooking mood.
Here is everything you’ll need:
- 2 lbs boneless, skinless chicken thighs, cut into 1-inch pieces
- 1 tablespoon vegetable oil
- 1/2 cup low-sodium soy sauce
- 1/2 cup fresh orange juice (seriously, fresh is best!)
- 1/4 cup rice vinegar
- 1/4 cup packed brown sugar (make sure it’s packed down!)
- 2 tablespoons honey
- 1 tablespoon grated fresh ginger
- 2 cloves garlic, minced (don’t try to substitute this!)
- 1 teaspoon sesame oil
- 1/2 teaspoon red pepper flakes (optional, for a tiny kick)
- 1/4 cup cold water
- 2 tablespoons cornstarch
- For garnish: 2 green onions, sliced, and orange zest
Ingredient Notes and Substitutions
Okay, let’s talk swaps. If you’re absolutely desperate and can’t find fresh oranges, bottled 100% juice is the next best thing, just maybe hold off on the extra zest since bottled juice can sometimes taste a little sharp. Remember that red pepper flake amount? If you have sensitive eaters, just cut that in half or leave it out entirely—you still get great flavor from the ginger and garlic.
Also, a quick note from my recipe diary: to get that crispness I mentioned earlier, you can lightly dredge your chicken pieces in just a tiny bit of flour or cornstarch before heating the oil in step one. It gives the meat a microscopic coating that really helps it brown up nicely before we drown it in that amazing glaze!
How to Make Sticky Orange Chicken – Step-by-Step
Alright, here is where the magic really happens in our How to Make Sticky Orange Chicken journey. This process moves fast, so make sure you have everything chopped and ready to go before you even turn on the stove! We’re essentially doing three mini-phases here: searing the meat, building the flavor base, and then finally thickening everything into that beautiful, restaurant-quality glaze. Keep that heat steady and don’t walk away!
If you want to check out another fast stir-fry, my recipe for Quick Pepper Steak uses some similar stir-fry panic energy, but trust me, this orange chicken is worth the focus!
Searing the Chicken Thighs
First up, we need color on these thighs! Pat them really dry—this is the secret to searing, not steaming them. Heat that vegetable oil up in your wok or your biggest skillet over medium-high heat. Drop the chicken pieces in and let them get happy for about 6 to 8 minutes until they are nicely browned on all sides and cooked through. Remember that tip from before? If you dredged them lightly in flour, they’ll get a lovely crust here. Once they look good, scoop them out onto a clean plate and forget about them for just a minute while we tackle the sauce.
Creating the Sweet and Tangy Orange Glaze
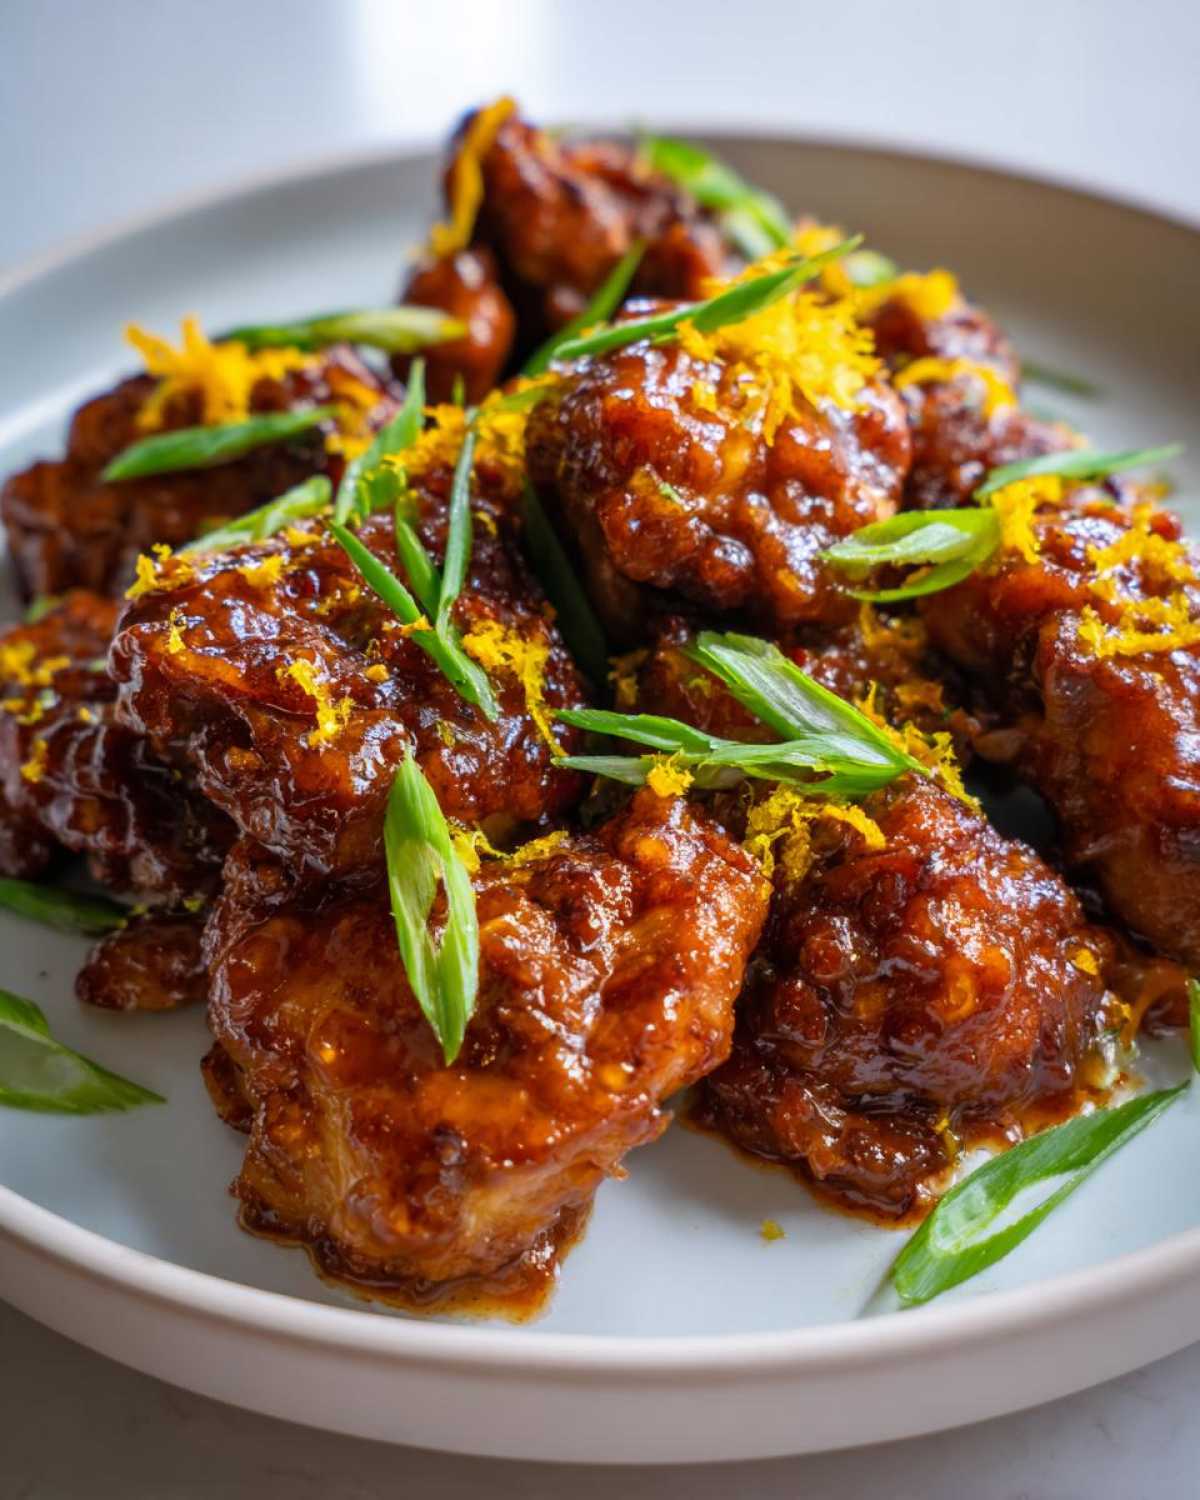
Now, using the same skillet (all those browned bits add flavor, don’t clean it out!), we’re going to layer the liquid flavors. Whisk in your soy sauce, fresh orange juice, vinegar, brown sugar, honey, ginger, garlic, sesame oil, and those pepper flakes if you’re feeling spicy. Bring this whole mixture up to a nice simmer over medium heat. Let it bubble gently for about three full minutes. This simmering step is so important because it allows the brown sugar to dissolve perfectly and deepens that wonderful tangy flavor profile of the Sweet and Tangy Orange Glaze before we thicken it up.
Thickening the Sauce to Achieve Stickiness
This is the moment of truth for achieving that perfect coating! While the sauce is simmering, quickly mix your 1/4 cup of cold water with the cornstarch in a tiny separate bowl until it is absolutely smooth—no lumps allowed! With the sauce still simmering, pour that slurry in slowly while whisking like mad! Don’t stop whisking! You will see the sauce go from watery to glossy and thick in maybe 60 to 90 seconds. Once it coats the back of a spoon, you’ve hit that glorious consistency. Now, quick! Return those cooked chicken thighs to the pan, toss them to coat completely, let them hang out in that thick sauce for just one minute until they’re piping hot, and then pull it off the heat immediately!
Tips for Crispy Orange Chicken Thighs
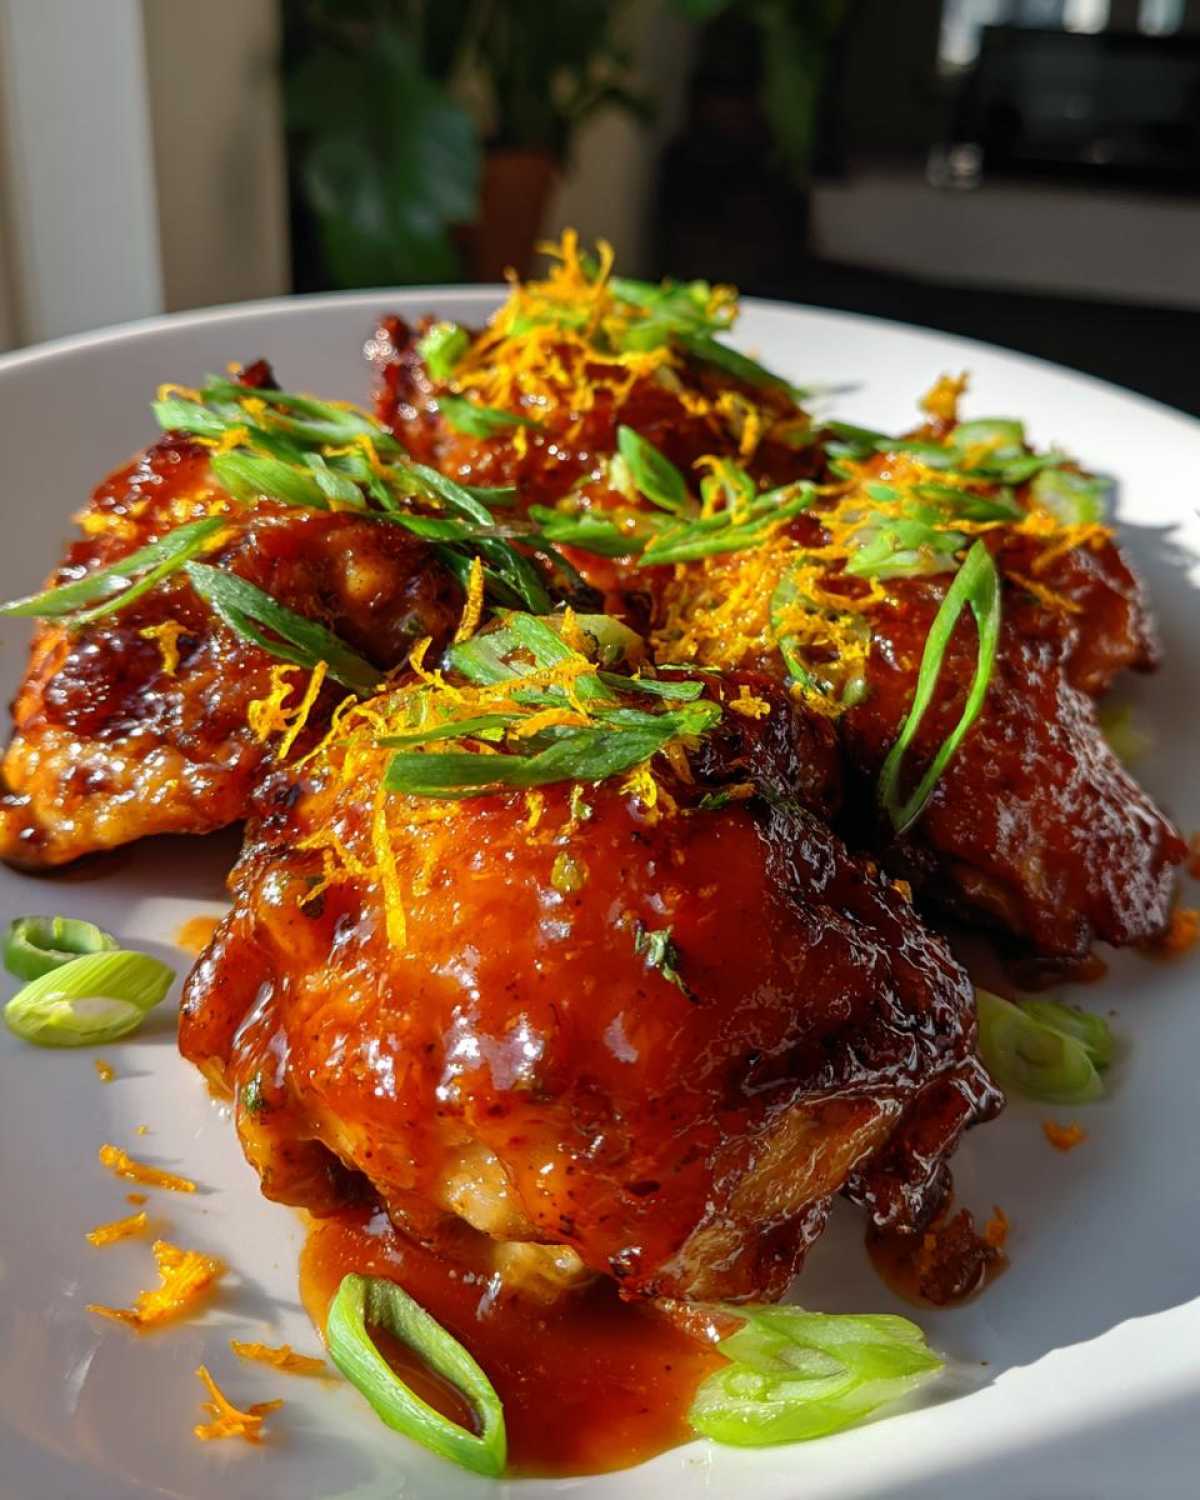
You want that takeout *crunch*, but you also want the juicy chicken thigh we talked about, right? It’s a delicate balance! Since our main recipe just focuses on perfectly searing the chicken before coating it, if you are chasing that extra crispiness for your Crispy Orange Chicken Thighs, I have a couple of tricks I pull out sometimes.
The simplest way is what I noted in the ingredients rundown: a light dusting of cornstarch or flour before they hit the hot oil. Shake off any excess, though! You don’t want a heavy breading, just enough to help the outside dry out and crisp up when it hits the pan. If you want to dive deeper into serious crunch techniques, I wrote all about it over in my post on Crunch Secrets, though that’s usually for a different style of chicken!
The key thing to remember is that once that sticky glaze hits the chicken, the crispiness starts to soften just a touch. So, you need to sear them harder and faster upfront to compensate for the impending sauciness!
Serving Suggestions for Your Glazed Chicken Thigh Dinner
This Glazed Chicken Thigh Dinner is so rich and flavorful, it doesn’t need much more than a simple base to soak up all that extra sauce pooling in the bottom of your bowl. I usually go for plain, fluffy white rice because it’s the perfect sponge for the sticky glaze. But if you want to jazz things up a bit, try pairing it with something light and green to cut through the sweetness—steamed broccoli or some quick sauteed bok choy work wonders!
If you’re looking for a really quick, delicious side that cooks up right alongside the chicken prep, you absolutely must check out my recipe for Easy One-Pot Spanish Rice. It’s hearty, colorful, and you clean up one pot, which, let’s face it, we all love!
Don’t skip the garnish, either! That fresh orange zest and the bright green onion slices aren’t just for looks; they give you a little pop of freshness right before you take that first bite.
Storage and Reheating **Sticky Orange Chicken Thighs Better Than Takeout**
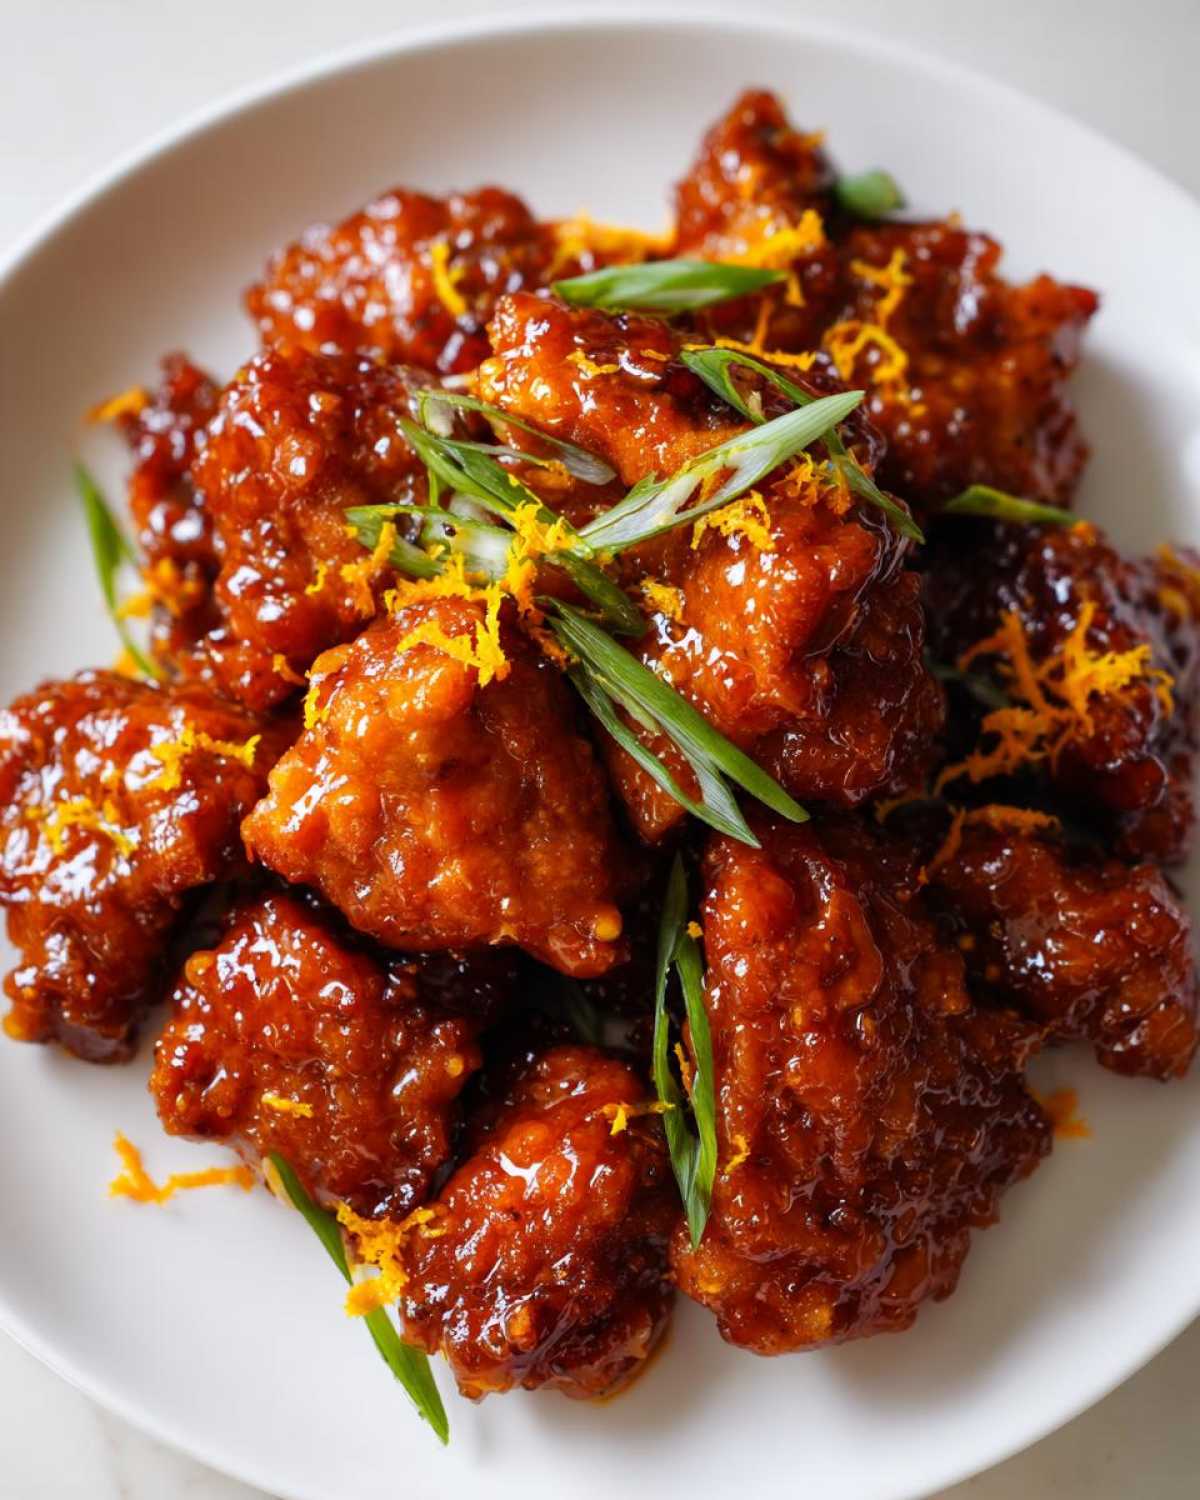
One of the great things about this Sticky Orange Chicken Thighs Better Than Takeout recipe is that it actually tastes fantastic the next day! When storing leftovers, make sure you keep them in a really tight, airtight container in the fridge. They should be good for about three or four days, no problem.
When you reheat them, the glaze might be a little stiff, so I never use the microwave for the whole batch! The microwave can easily dry out the chicken or make the sauce break. My preferred way is to toss them in a skillet over medium heat with just a tiny splash of water or orange juice. This rehydrates the sauce slightly and gets everything glossy and hot again without burning that sticky coating—you want that glorious clinger effect restored!
If you’re looking for something different to serve next time you have leftovers, try putting this chicken over my creamy Chicken and Wild Rice Casserole for a total comfort food makeover!
Frequently Asked Questions About This Easy Orange Chicken Thighs Recipe
I always get so many great questions after I post an Easy Orange Chicken Thighs recipe, which tells me you all love making it! It’s definitely a simple dish, but those little details can make a huge difference between ‘good’ and ‘restaurant-worthy.’ I wanted to tackle the most common things people ask me about when they try to recreate that takeout perfection at home.
Let me know if you have other questions, or better yet, let me know how it turns out! If you are looking for another fast skillet meal, you absolutely have to try my recipe for Easy Honey Garlic Chicken Stir-Fry!
Can I use chicken breast instead of thighs?
Oh, I really, really advise against it if you are chasing that ‘juicy’ result. Chicken breasts are much leaner and tend to dry out really fast when searing, especially when they sit in a hot sauce afterward. That said, if you must use breast, cut the pieces smaller than the thighs and cook them for only about 4 to 5 minutes until just barely opaque before removing them. You’ll need to watch them super closely when you return them to the sauce so they don’t turn rubbery!
How do I make the sauce less sweet?
That’s an easy fix! The sweetness comes mostly from the brown sugar and the honey. If you find the sauce is too sweet for your liking, try reducing the honey by a full tablespoon right at the start. You can also reduce the brown sugar slightly, maybe by a tablespoon or two. If you taste it right before you add the cornstarch, you’ll know exactly how much tang you need to balance it out!
Can I make the sauce ahead of time?
Yes, you absolutely can make the sauce base—everything *before* the cornstarch addition—a day ahead! Just mix those juices, vinegar, sugar, spices, etc., and keep it covered in the fridge. When you’re ready to eat, bring that base sauce to a simmer. Then, mix up your cornstarch slurry separately (always cold water for the slurry!) and whisk it in as usual to thicken everything right before you toss in the chicken. That way, you still get that fresh, glossy finish.
Nutritional Snapshot of Your Homemade Orange Chicken
So, we’ve talked about flavor and texture, but let’s get real for a second about what you’re actually eating! Knowing the nutritional breakdown is important, especially when you’re comparing this homemade gem to whatever mystery ingredients are lurking in your favorite takeout spot. Seriously, when you make it yourself, you control everything, which is a huge plus for me.
I pulled these numbers straight from my nutrition calculator based on the quantity of thighs and the amount of sugar and oil we used. These are just estimates, of course—yours might shift a little based on the brand of soy sauce or exactly how much glaze sticks to the chicken versus drips onto the rice!
Here is the breakdown per serving:
- Serving Size: 1 serving
- Calories: 450
- Sugar: 25g
- Sodium: 650mg (Low-sodium soy sauce helps keep this reasonable!)
- Fat: 18g
- Saturated Fat: 5g
- Unsaturated Fat: 13g
- Trans Fat: 0g
- Carbohydrates: 30g
- Fiber: 1g
- Protein: 40g (That’s the power of chicken thighs!)
- Cholesterol: 150mg
Isn’t that something? Forty grams of protein for under 500 calories! It proves that you don’t have to sacrifice your health goals just because you’re craving something bold and delicious. You’re getting real, recognizable ingredients, and that’s why this recipe is a winner in my book. Knowing what goes into your food just makes it taste better, I swear!
Share Your **Homemade Orange Chicken Better Than Takeout** Experience
Wow, we made it! You now have the roadmap to making what I truly believe is the Homemade Orange Chicken Better Than Takeout experience right there in your own kitchen. I get so excited when people try this, because I really want you to see how easy it is to ditch the delivery app for something so much fresher and better!
I’d absolutely love to hear how it turned out for you. Did those chicken thighs stay perfectly juicy? More importantly, did you nail that beautiful, thick, glossy glaze that really clings to every piece? That’s the true test!
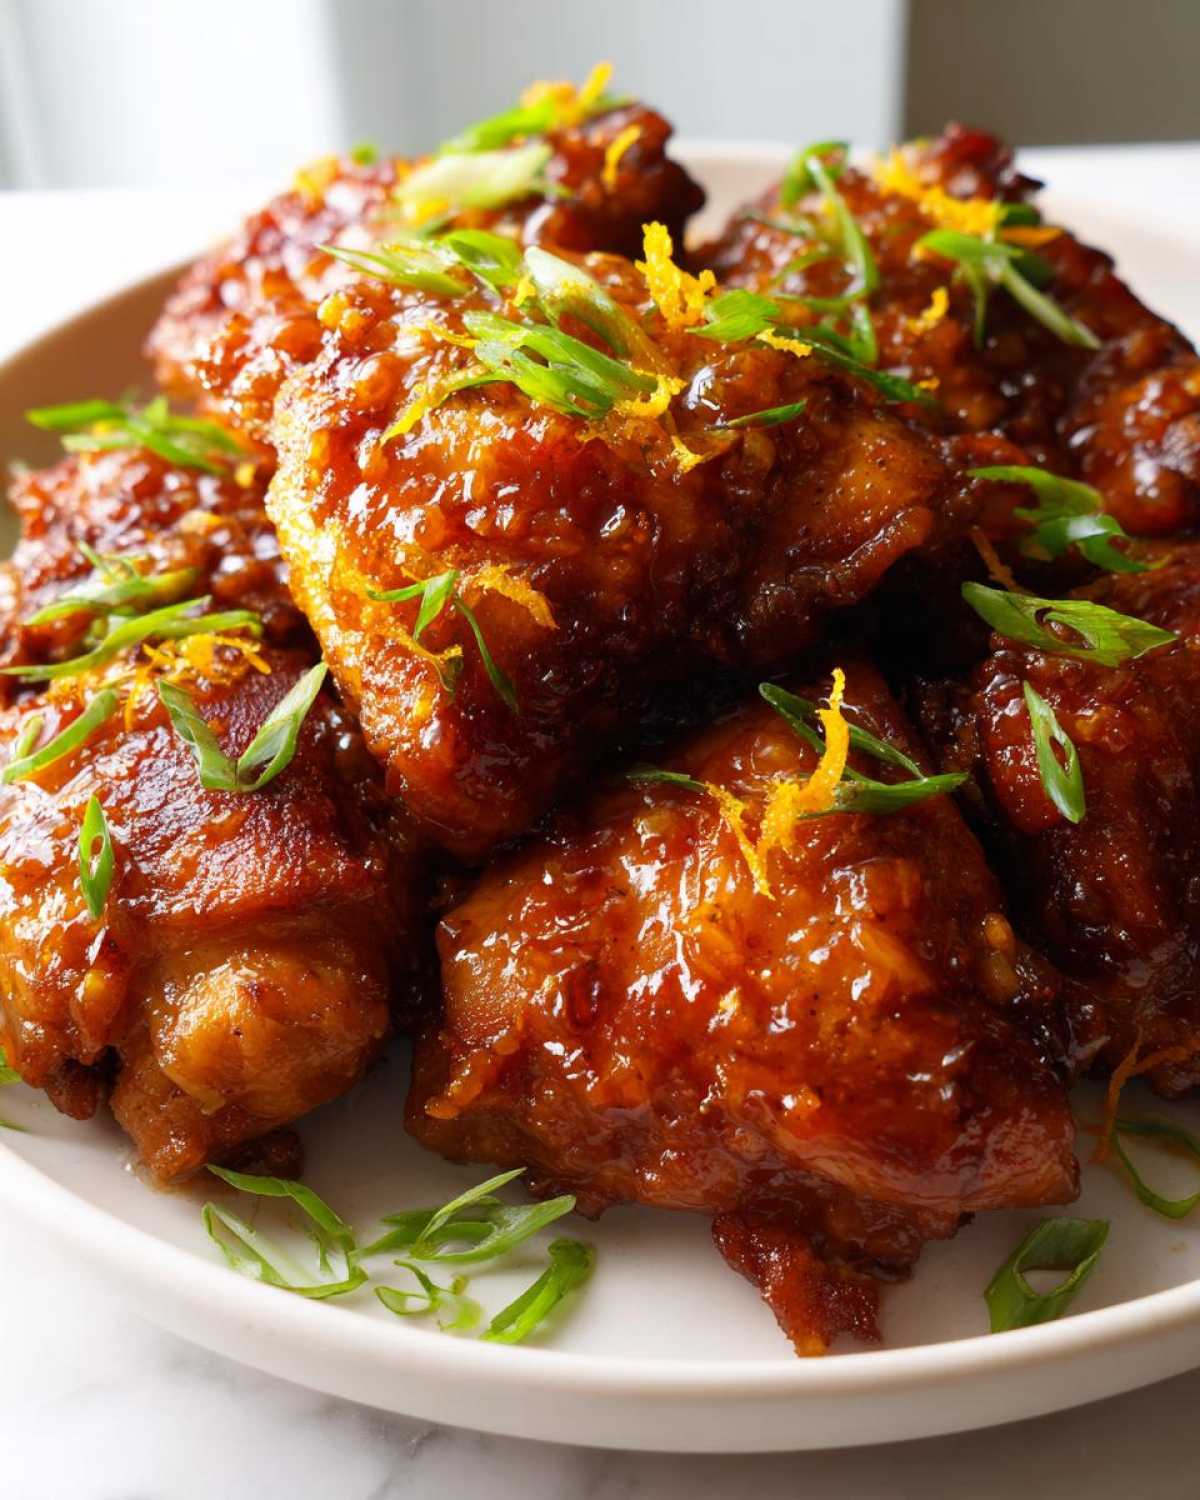
Please leave a comment below telling me how your dinner went! Did you serve it with rice, or try one of the veggie sides I mentioned? If you snapped a picture, tag me on social media—I love seeing my recipes in your kitchens. And if you’re curious about the folks behind the recipes here, you can always check out the about us page for a peek behind the curtain. Happy cooking, everyone! I hope this becomes a staple for your family!
PrintSticky Orange Chicken Thighs Better Than Takeout

Make juicy chicken thighs coated in a thick, sweet, and tangy orange glaze that tastes better than your favorite takeout spot.
- Prep Time: 15 min
- Cook Time: 20 min
- Total Time: 35 min
- Yield: 4 servings
- Category: Dinner
- Method: Stovetop
- Cuisine: Chinese-American
- Diet: Low Lactose
Ingredients
- 2 lbs boneless, skinless chicken thighs, cut into 1-inch pieces
- 1 tablespoon vegetable oil
- 1/2 cup low-sodium soy sauce
- 1/2 cup fresh orange juice
- 1/4 cup rice vinegar
- 1/4 cup packed brown sugar
- 2 tablespoons honey
- 1 tablespoon grated fresh ginger
- 2 cloves garlic, minced
- 1 teaspoon sesame oil
- 1/2 teaspoon red pepper flakes (optional)
- 1/4 cup cold water
- 2 tablespoons cornstarch
- For garnish: 2 green onions, sliced, and orange zest
Instructions
- Pat the chicken thigh pieces dry with paper towels. Heat the vegetable oil in a large skillet or wok over medium-high heat. Add the chicken and cook until browned on all sides and cooked through, about 6 to 8 minutes. Remove the chicken from the skillet and set aside.
- In the same skillet, combine the soy sauce, orange juice, rice vinegar, brown sugar, honey, ginger, garlic, sesame oil, and red pepper flakes if using. Bring the mixture to a simmer over medium heat, stirring until the sugar dissolves. Let it simmer for 3 minutes.
- In a small bowl, whisk together the cold water and cornstarch until smooth to create a slurry.
- Pour the cornstarch slurry into the simmering sauce while whisking constantly. Continue to cook and whisk until the sauce thickens significantly and becomes glossy, about 1 to 2 minutes. This is your sticky glaze.
- Return the cooked chicken thighs to the skillet. Toss gently to coat every piece thoroughly with the thick orange sauce. Cook for 1 minute until the chicken is hot and fully glazed.
- Remove from heat. Serve immediately over rice, garnished with sliced green onions and orange zest.
Notes
- For extra crispiness, lightly dredge the chicken pieces in a small amount of flour or cornstarch before searing them in step one.
- Use fresh orange zest for the best aroma and flavor in the final glaze.
- If you prefer a less sweet sauce, reduce the honey by one tablespoon.
Nutrition
- Serving Size: 1 serving
- Calories: 450
- Sugar: 25
- Sodium: 650
- Fat: 18
- Saturated Fat: 5
- Unsaturated Fat: 13
- Trans Fat: 0
- Carbohydrates: 30
- Fiber: 1
- Protein: 40
- Cholesterol: 150