

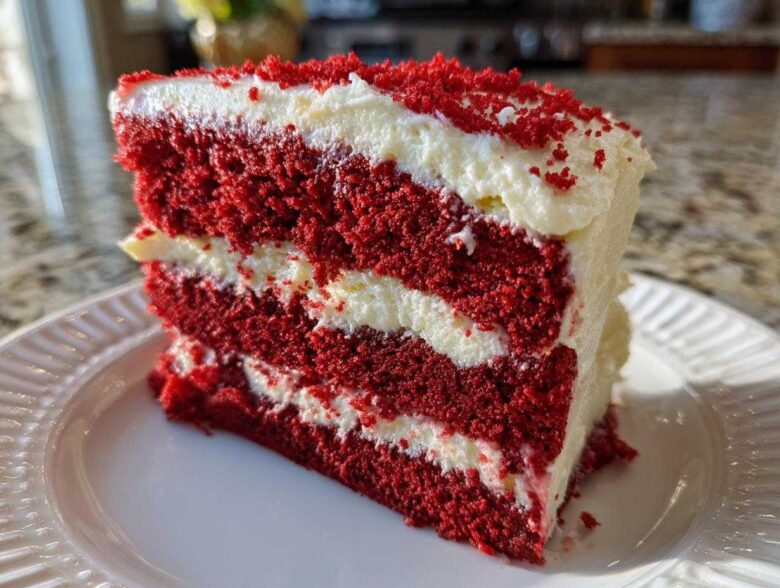
Some desserts look like they need a fussy, complicated science degree to pull off, right? Not today! We are diving headfirst into a true American classic that brings everyone together: the red velvet cake. Forget pale imitations; we are doing this the right way—authentic Southern style, completely from scratch, and guaranteed to be the most moist red velvet cake recipe you’ll ever meet.
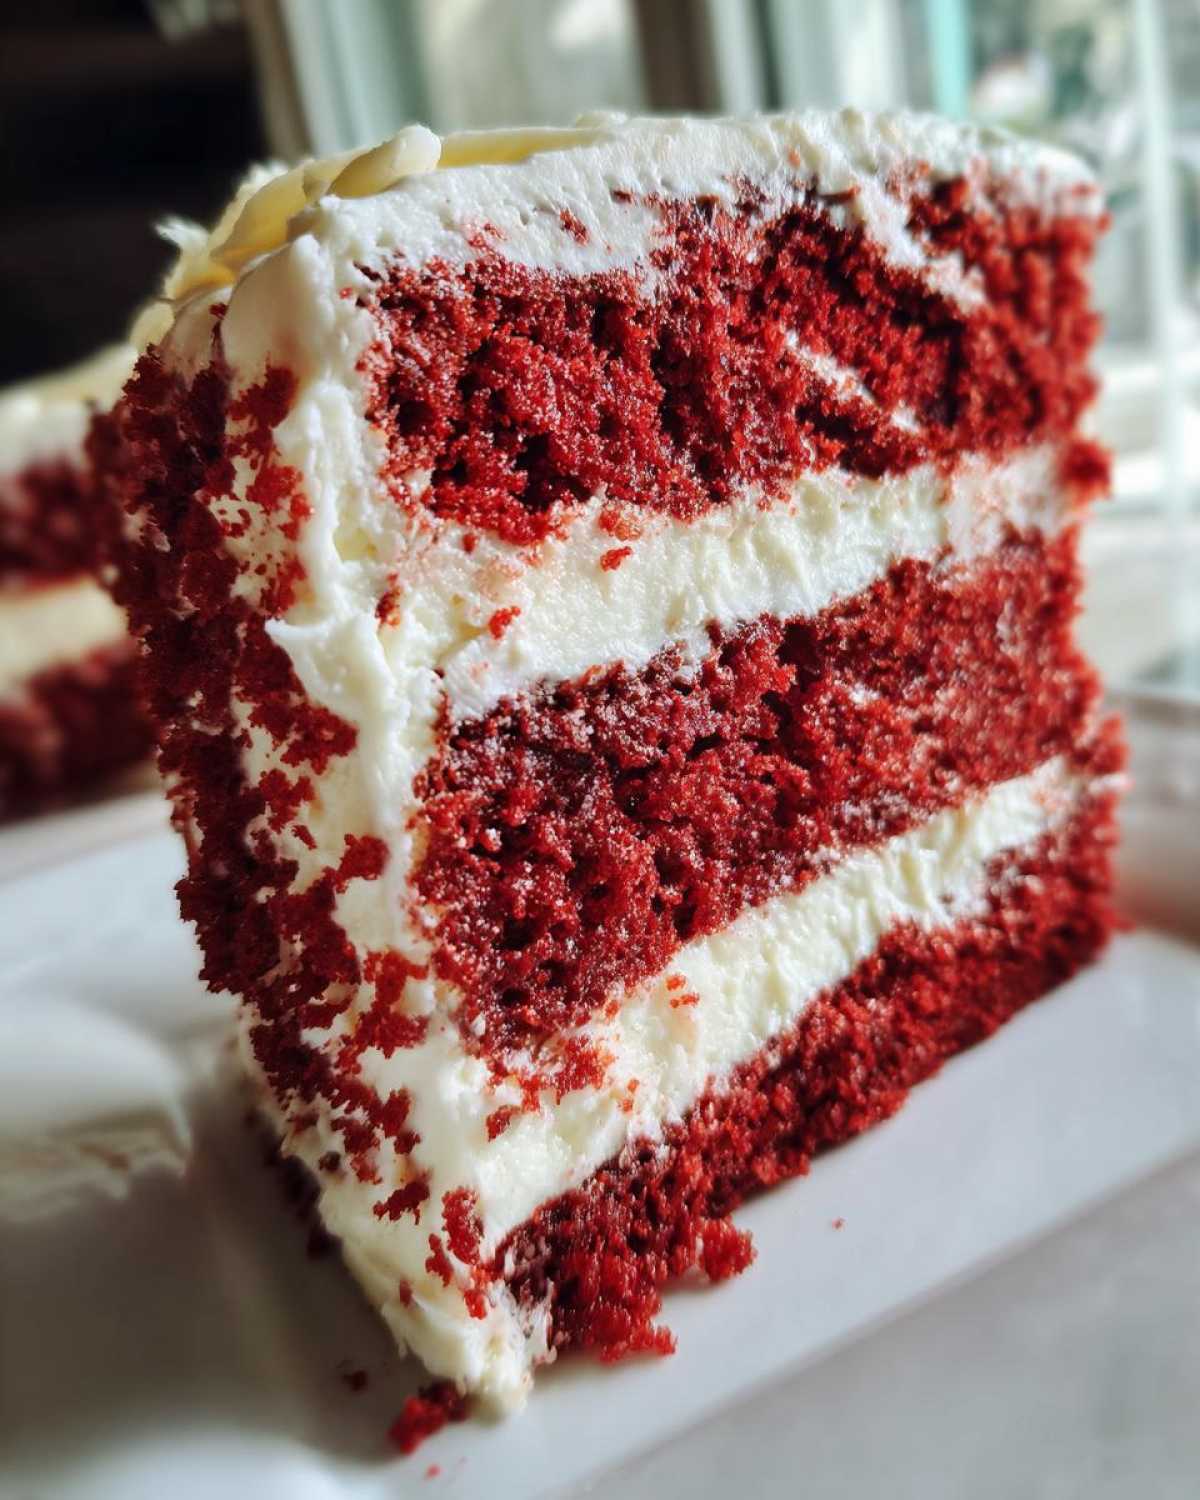
Simon insists that baking should feel like a victory lap, and making this ‘The Best Southern Style Moist Red Velvet Cake From Scratch with Classic Cream Cheese Frosting’ is proof of that. When you follow these steps, you are going to bake a cake that is unbelievably soft and fluffy. I remember how stressed I used to be about color and texture, but honestly, just showing up and trying deserves a cheer, and this cake always gets a big one!
If you want to know more about why we focus on celebrating the effort over perfection, check out our story here: The Only Ingredient That Matters is Praise. Now, let’s get that beautiful red color dialed in!
Why This Moist Red Velvet Cake Recipe Delivers Every Time
I know there are a million recipes out there, but trust me when I say this one truly is the best. It’s my favorite thing to pull out for a quick celebration because it tastes like it took days, when really, it’s such an easy red velvet cake to make from scratch! We aren’t aiming for perfection here, but we are aiming for amazing texture, and this recipe nails it. If you ever need a good base recipe to compare against, check out our fluffy vanilla cake—it uses the same texture principles!
- It’s unbelievably moist and soft—never dry, guaranteed!
- The flavor is authentically Southern, using just a hint of cocoa balanced perfectly.
- It comes together faster than you think, making it perfect for impromptu birthday cake ideas.
Achieving the Perfect Soft Homemade Cake Crumb
This is where the magic happens, and it’s all thanks to chemistry, which Simon absolutely loves! When you mix that buttermilk with a little vinegar, you create a beautiful, gentle acid. When that hits the baking soda, you get a fantastic, subtle lift—that’s what creates that signature delicate and wonderfully fluffy red velvet cake texture we’re chasing. You don’t just need color; you need that incredible crumb!
Ingredients for Your Authentic Southern Style Red Velvet Cake
Okay, let’s get down to brass tacks. For a cake to be truly authentic—and definitely to be as moist red velvet cake as possible—you can’t mess around with the ingredients list. Since we are baking this from scratch, getting the temperature right on your dairy and eggs is my little secret for the smoothest batter. It really helps everything blend before we start adding the liquids.
Cake Layer Ingredients for the Red Velvet Cake
Make sure your butter, eggs, cream cheese, and butter for the frosting are all sitting out on the counter getting happy and room temperature first. This is non-negotiable for that super soft homemade cake texture we love!
- 2 1/2 cups all-purpose flour
- 1 teaspoon baking soda
- 1 teaspoon salt
- 1 tablespoon unsweetened cocoa powder (Yes, just a tablespoon! That’s the secret depth!)
- 1 cup unsalted butter, softened
- 1 1/2 cups granulated sugar
- 2 large eggs, room temperature is best!
- 1 cup buttermilk
- 1 teaspoon white vinegar
- 1 teaspoon vanilla extract
- 1 to 2 tablespoons red food coloring (I prefer gel for a deeper shade!)
For the Best Cream Cheese Frosting Recipe
This frosting is essential—it cuts through the richness of the cake beautifully. For the absolute best cream cheese frosting recipe, you need patience while creaming the base ingredients so it stays light and doesn’t get too runny.
- 8 ounces cream cheese, softened
- 1/2 cup unsalted butter, softened
- 1 teaspoon vanilla extract
- 4 cups powdered sugar, sifted (Sifting stops lumps dead in their tracks!)
Step-by-Step Instructions for Your Red Velvet Cake From Scratch
Alright, deep breath! This is the fun part where we turn all those beautiful ingredients into a glorious, moist cake. We are going step-by-step, and I promise, you’ll be feeling those kudos moments before we even get to the frosting. Preheat that oven to 350°F (175°C) right now, and make sure those cake pans are ready—greased and floured! This entire process moves pretty quickly, especially if you have your music playlist ready!
Mixing the Fluffy Red Velvet Cake Batter
First thing’s first: we whisk those dry lovelies (flour, soda, salt, cocoa) together in a medium bowl. Set them aside to relax. Now, grab your big bowl and beat that softened butter and sugar until it’s truly light and fluffy. When Simon sees that mixture turn pale yellow, he always plays a little air guitar solo—it means you’ve incorporated all those wonderful air pockets critical for that fluffy red velvet cake texture! Then, eggs one by one, make sure each one blends in nicely. Next, mix your buttermilk, vinegar, vanilla, and all that gorgeous red coloring in a separate small bowl.
Listen up: when you start alternating the dry stuff with the red buttermilk mixture, we stop mixing the second everything looks combined. No cheating! A few streaks are totally fine; overmixing is the enemy of a soft homemade cake.
Baking and Cooling the Red Velvet Layer Cake
Divide that beautiful batter evenly between your two prepared pans. Pop them into that preheated oven for about 30 to 35 minutes. You’ll know they’re ready when a wooden pick slides right out clean! Here’s a crucial stop: let those cakes cool right in the pans for just 10 minutes. This gives the structure time to firm up before you gently flip them out onto the wire rack to cool completely. Seriously, do not rush this cooling stage, or your gorgeous red velvet layer cake might crack on you!
Crafting the Best Cream Cheese Frosting Recipe
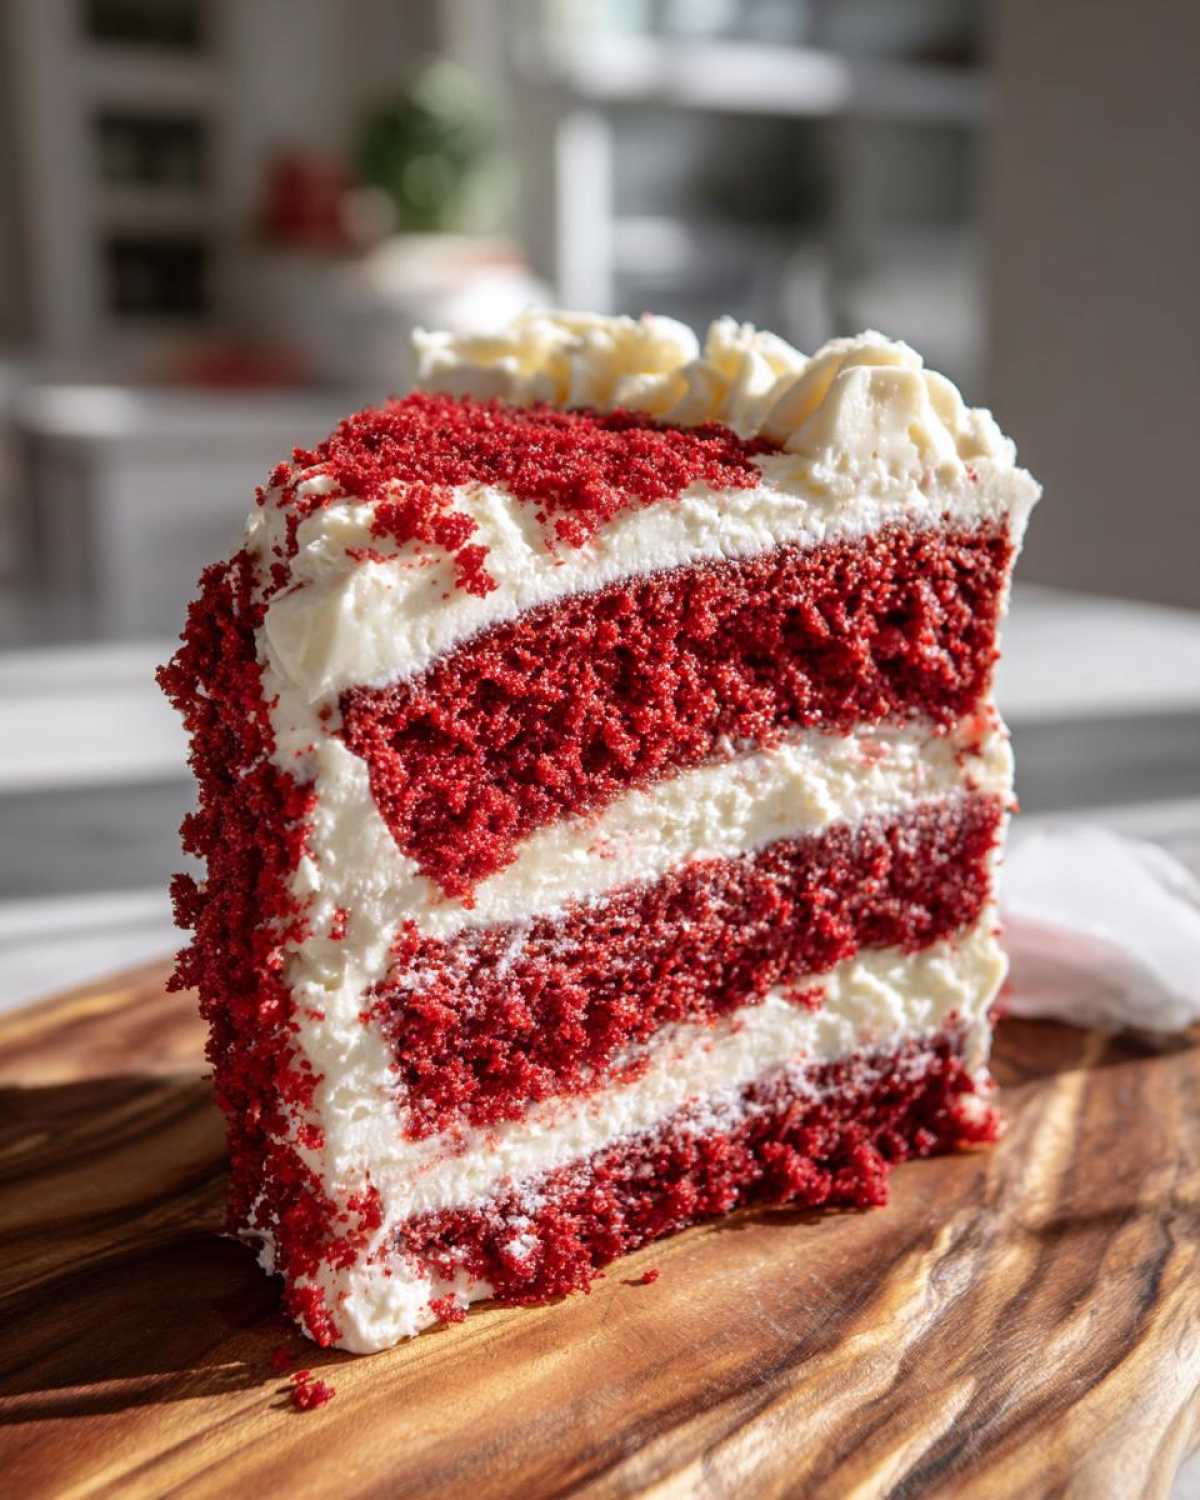
Okay, the cake layers are cooling down, which gives us the perfect time to whip up the star of the show: the frosting! This is where we make sure every bite is balanced. You absolutely need a really decadent, tangy frosting to go with that slightly acidic cake—and there is nothing better than rich, homemade cream cheese frosting.
Remember I mentioned checking ingredient temperatures? That matters here even more! Make sure both your cream cheese and butter are perfectly soft. If they aren’t, you’ll end up with little lumps floating around, and we absolutely want smooth, dreamy frosting, not chunky frosting!
Start by beating the softened cream cheese and the butter together in a clean bowl. You want this mixture to get light and fluffy first—I sometimes turn the mixer up to medium-high here and just let it go until it looks like cloud fluff. That’s where a lot of the volume comes from!
Next, we introduce the powdered sugar. Don’t just dump all four cups in at once, or you’re going to end up with a snowstorm in your kitchen—and trust me, cleaning powdered sugar off the ceiling is not a fun kudos moment! Add it one cup at a time, mixing on low speed until it’s incorporated, and then bump the speed up to blend it in completely. Beat in your vanilla extract last. If it feels stiff, add a tiny splash of milk, but honestly, that rich, thick consistency is exactly what we’re aiming for right now. It should be luscious, spreadable, and ready for action!
Tips for a Vibrant Red Velvet Cake Tutorial
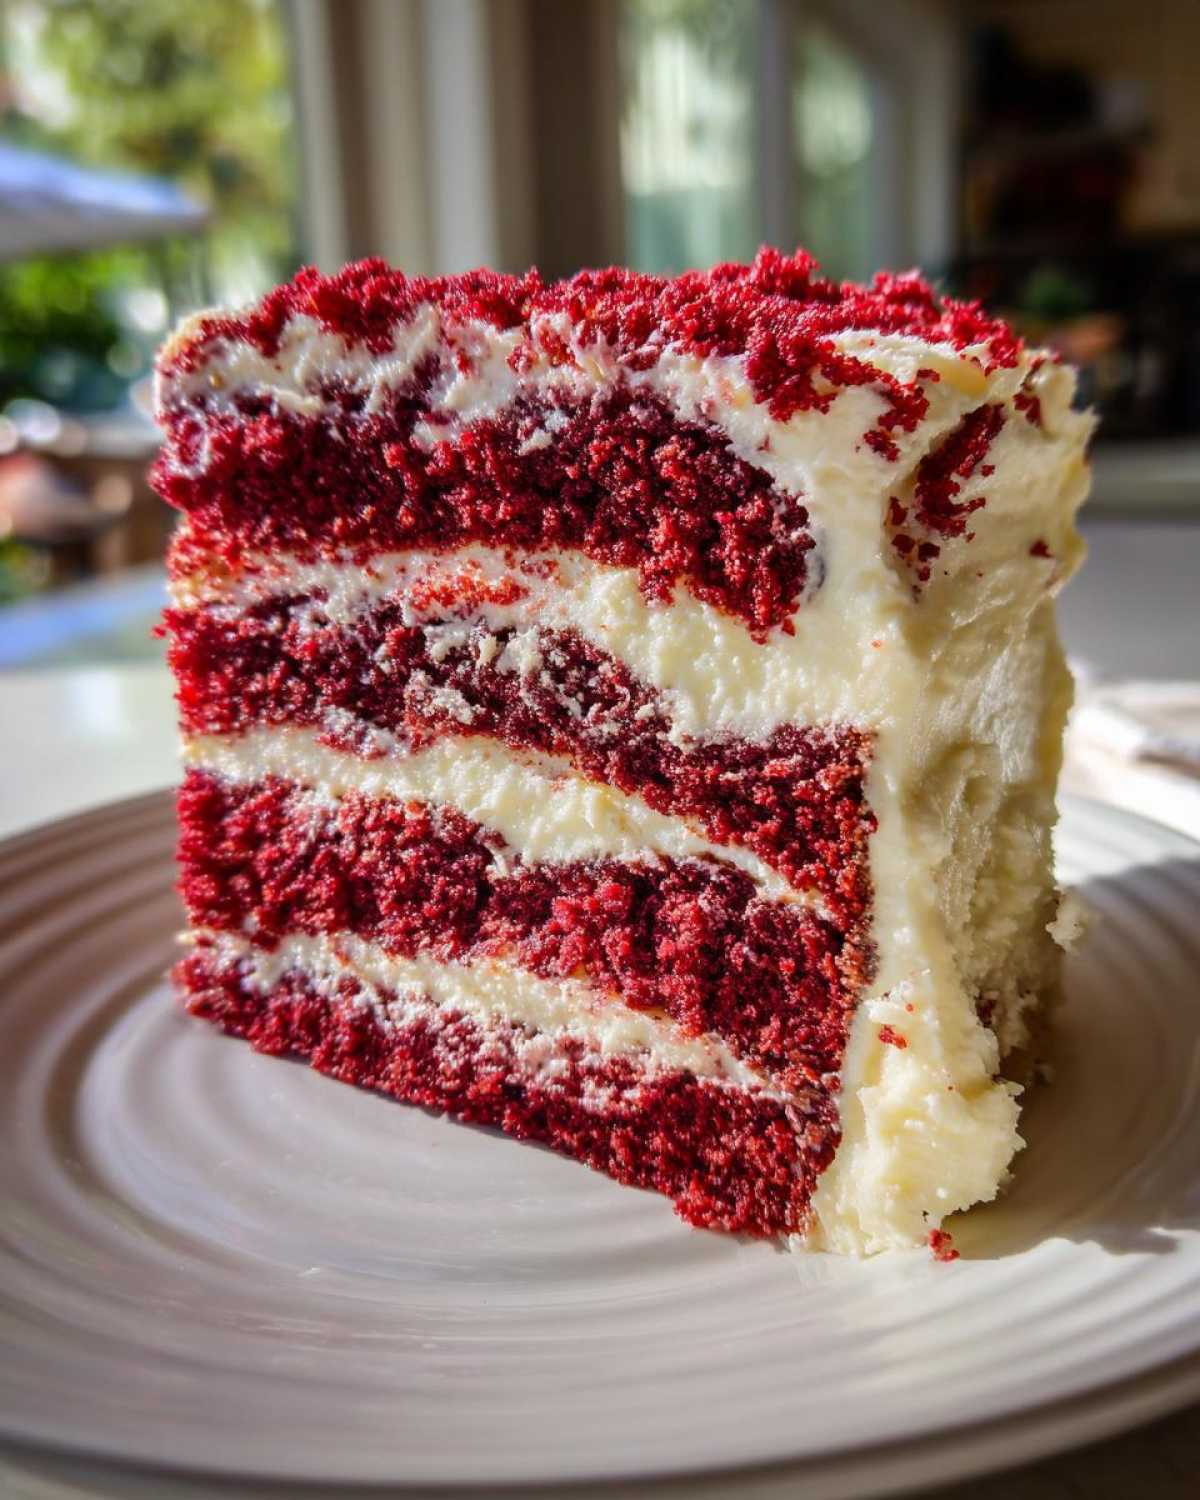
Okay, let’s talk about the color, because this is what separates a great red velvet cake from just a dyed chocolate cake. The richness we get from the small amount of cocoa powder, combined with the acidity of the buttermilk, is what creates that faint, traditional maroon hue—but we definitely need help from food coloring to get that showstopping bright red!
For the absolute most amazing vibrant red velvet cake tutorial results, please skip the liquid coloring if you can and go for a good quality gel paste. It concentrates the color without adding unnecessary liquid to the batter, which keeps our crumb wonderfully moist. Remember, authenticity comes from the tang, not just the color. This is the secret to an authentic southern red velvet experience.
Buttermilk Substitution for the Moist Red Velvet Cake Recipe
Buttermilk is absolutely key for that tang and the ultimate moisture in this recipe! However, I know sometimes the store doesn’t have it, or maybe you just forgot to grab it. Don’t sweat it, friend! Simon always says, ‘We improvise or we don’t bake!’ For a quick substitute that works perfectly for our moist red velvet cake recipe, just take 1 cup of regular whole milk and stir in 1 tablespoon of white vinegar or fresh lemon juice. Let it sit for about five minutes, and voilà—you have homemade buttermilk ready to go! If you love baking with buttermilk, check out our other buttermilk cake recipes for great ideas!
Assembling Your Showstopping Red Velvet Cake
The moment of truth is here! We’ve baked two magnificent, tender layers, and our cream cheese frosting is perfectly fluffy and waiting patiently. Before you stack anything, though, you absolutely must check that the cake layers are completely, totally cool. I mean it! If there is even a hint of warmth left, that beautiful frosting is just going to melt into a sad, sweet puddle, and that’s a baking moment we just can’t celebrate!
Once you are 100% certain they are cooled down, take a moment. Seriously, pause. Put on some great music, because you’ve earned it! This is the moment that turns ingredients into a gorgeous, towering red velvet cake centerpiece. I always like placing the first layer on my serving plate first, maybe adding a tiny dollop of frosting in the center to act like glue—that’s my little trick to keep things straight!
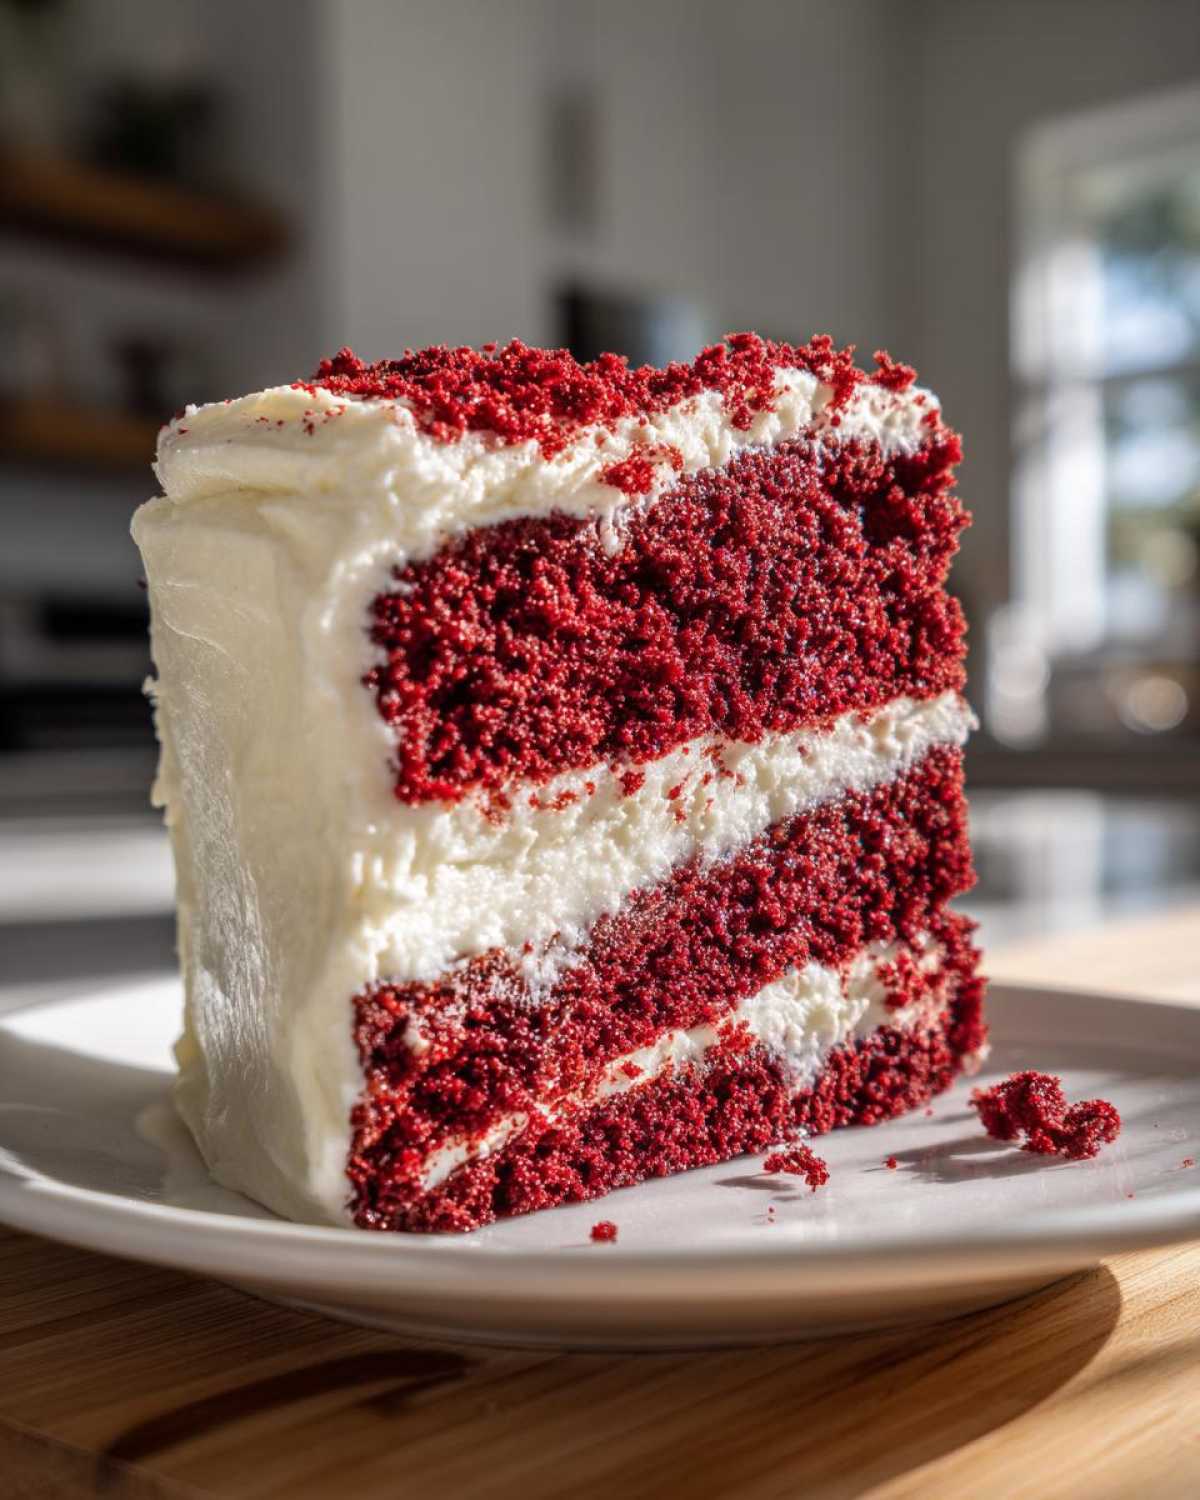
Use an offset spatula, or even a regular butter knife if you’re feeling brave like Simon often is, to get a nice, generous layer of frosting between the two layers. Don’t worry about making it perfect yet! Once they are stacked, smooth the frosting all over the top and down the sides. It doesn’t have to be salon-perfect; maybe you want that rustic, home-baked look? That’s fantastic! Every smear is a sign that you were here, you were present, and you created something wonderful for the people you love. This effort deserves massive kudos! It’s perfect for any event, whether you’re using it for birthday cake ideas or just a Tuesday night treat.
Storage and Reheating Instructions for Your Red Velvet Cake
Whew, you finished! That beautiful creation deserves to last more than just one sitting, right? But because we used that incredible, tangy cream cheese frosting, we have to treat this cake a little differently than, say, a plain loaf cake. That dairy means refrigeration is a must if you have leftovers.
Store your assembled cake tightly covered in an airtight container in the refrigerator. Make sure the container isn’t touching the sides of the frosting if you can help it, or use clear plastic wrap draped gently over the top edge. When stored properly, this layer cake will be fantastic for about three to four days. Honestly, it usually doesn’t last that long around here!
Now here’s the most important tip for serving leftovers: do not, under any circumstances, serve this cake straight from the fridge. If you cut into it cold, the cake layers will taste dense, and the frosting will be hard—we worked so hard for that soft crumb!
Take the slices (or even the whole cake!) out of the refrigerator about 30 minutes to an hour before you plan to enjoy it. Letting it sit on the counter allows the butter in both the cake and the frosting to soften just a little bit. That small wait time brings back all that wonderful softness and that beautiful melt-in-your-mouth texture we worked so hard to create. Give yourself kudos just for remembering to take it out early!
Frequently Asked Questions About Making Red Velvet Cake
It’s so common to have questions when you start a new baking adventure, and I love that you’re taking the time to make sure everything goes perfectly! We want every batch to be a win. Simon always says that asking questions is Step One in getting those kitchen kudos!
Is this an easy red velvet cake for beginners?
Absolutely, yes! While it has a few steps—alternating dry and wet ingredients is key—this recipe is designed to be straightforward. It’s one of my favorite beginner cake recipes because even if you mess up the timing a little, the result is still a wonderfully moist red velvet cake. Your first layer might not be perfectly level, but it will taste amazing, and that counts for everything!
Why is my cake more brown than red?
That’s a classic question when making an authentic southern red velvet! The slight amount of cocoa powder reacts with the buttermilk and vinegar, creating that wonderful depth of flavor, which naturally has a brownish tint. To get that iconic bright color, you really need to use concentrated gel food coloring, as mentioned in the tutorial section. Liquid color just waters down the richness!
Can I use milk instead of buttermilk in this red velvet cake?
You technically *can*, but I really, really advise against it if you want that authentic texture. The reaction between the acid in the buttermilk and the baking soda gives us that tender, fluffy red velvet cake crumb. If you must substitute, use the quick trick we listed in the tips section, which turns regular milk into a fine substitute. Keep learning about how different ingredients affect your bake by checking out other cocoa powder cake variations!
Can I freeze this red velvet layer cake?
Yes, these layers freeze beautifully! Once completely cool and unfrosted, wrap each layer tightly in plastic wrap, then foil. They freeze perfectly for up to three months. When you want to bake that special holiday cake later, just thaw them on the counter wrapped up—this traps moisture and keeps them tasting fresh!
Share Your Red Velvet Cake Success
Phew! You’ve done the thing! You took the time, you followed the steps, and you created a stunning, moist, homemade cake. Now it’s time for the most important part of our philosophy here at Kitchn Kudos: CELEBRATE IT!
I genuinely want to hear how it turned out for you. Did the frosting get perfectly creamy? Was the color vibrant? Did Simon dance while you were beating the butter? Whatever happened, I hope you gave yourself an enormous cheer, because baking something this delicious from scratch is a huge victory!
Did you take a picture of your beautiful creation? We absolutely love seeing what you make! Head over to our main blog page and let us know in the comments below. Tell us what you’re celebrating with this cake—a birthday, an anniversary, or maybe just a Tuesday night that needed a little cheer. Every single person who bakes deserves massive kudos for showing up and trying!
Leave a rating right underneath this section so other bakers know how much love is in this recipe. Happy baking, my friend, and keep those kitchen wins coming!
PrintThe Best Southern Style Moist Red Velvet Cake From Scratch with Classic Cream Cheese Frosting

Bake this authentic Southern Red Velvet Cake from scratch. It is perfectly moist, soft, and delivers that vibrant red color you want, paired with a rich, homemade cream cheese frosting. This recipe is easy to follow and perfect for any celebration.
- Prep Time: 25 min
- Cook Time: 35 min
- Total Time: 60 min
- Yield: 12 servings
- Category: Dessert
- Method: Baking
- Cuisine: American
- Diet: Vegetarian
Ingredients
- 2 1/2 cups all-purpose flour
- 1 teaspoon baking soda
- 1 teaspoon salt
- 1 tablespoon unsweetened cocoa powder
- 1 cup unsalted butter, softened
- 1 1/2 cups granulated sugar
- 2 large eggs
- 1 cup buttermilk
- 1 teaspoon white vinegar
- 1 teaspoon vanilla extract
- 1 to 2 tablespoons red food coloring (liquid or gel)
- 8 ounces cream cheese, softened
- 1/2 cup unsalted butter, softened
- 1 teaspoon vanilla extract
- 4 cups powdered sugar, sifted
Instructions
- Preheat your oven to 350°F (175°C). Grease and flour two 9-inch round cake pans.
- In a medium bowl, whisk together the flour, baking soda, salt, and cocoa powder. Set this dry mixture aside.
- In a large bowl, beat the softened butter and granulated sugar with an electric mixer until the mixture is light and fluffy. This is a great moment for some music!
- Beat in the eggs one at a time, mixing well after each addition.
- In a separate small bowl, mix the buttermilk, white vinegar, vanilla extract, and red food coloring until the color is uniform.
- Gradually add the dry ingredients to the wet ingredients, alternating with the buttermilk mixture, beginning and ending with the dry ingredients. Mix only until just combined. Do not overmix; we want a soft crumb!
- Divide the batter evenly between the prepared cake pans.
- Bake for 30 to 35 minutes, or until a wooden pick inserted into the center comes out clean. Let the cakes cool in the pans for 10 minutes before inverting them onto a wire rack to cool completely.
- While the cakes cool, make the cream cheese frosting. In a large bowl, beat the softened cream cheese and butter until smooth. Beat in the vanilla extract.
- Gradually add the sifted powdered sugar, beating until the frosting is light and creamy. If it seems too thin, add a little more powdered sugar.
- Once the cakes are completely cool, frost and stack the layers. You have made a showstopping dessert!
Notes
- For the most vibrant red velvet cake color, use a good quality gel food coloring.
- Buttermilk is key for the authentic Southern flavor and moist texture; do not skip it.
- If you do not have buttermilk, mix 1 cup of whole milk with 1 tablespoon of white vinegar or lemon juice and let it sit for 5 minutes before using.
- This recipe makes a perfect homemade birthday cake or holiday cake.
Nutrition
- Serving Size: 1 slice
- Calories: 450
- Sugar: 55g
- Sodium: 300mg
- Fat: 24g
- Saturated Fat: 14g
- Unsaturated Fat: 10g
- Trans Fat: 0.5g
- Carbohydrates: 58g
- Fiber: 1g
- Protein: 4g
- Cholesterol: 75mg