

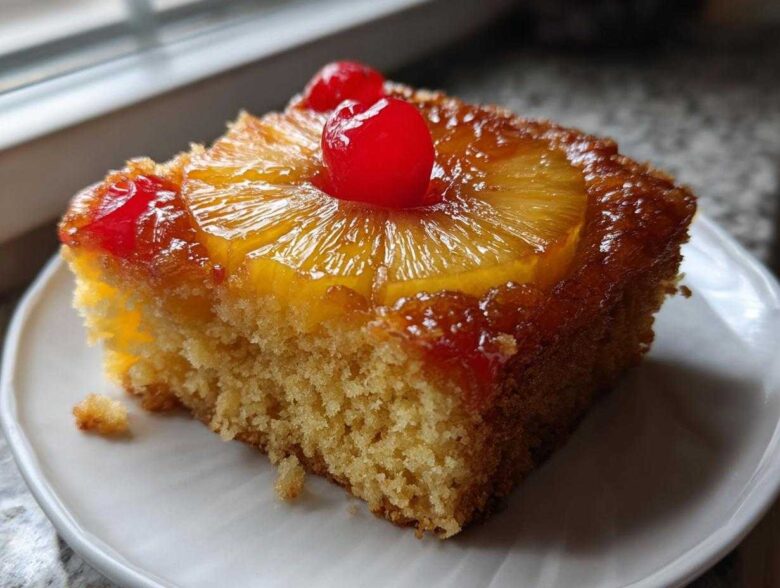
Oh, listen, if you need a dessert that instantly transports you back to childhood parties and Sunday dinners, you have found your recipe! We are talking about the ultimate pineapple upside down cake, made totally from scratch. Forget those versions that end up dry or sticky—ours delivers that beautiful, gooey, caramelized pineapple topping combined with a cake crumb that is unbelievably moist. Simon always says that baking shouldn’t feel like a final exam, right? Here at Kitchn Kudos, we celebrate the trying, not just the perfect flip! If you want to know more about our philosophy of praise, check out our About Us page. This version is our secret weapon for making a truly impressive, yet totally foolproof, classic pineapple cake.
Why This Classic Pineapple Upside Down Cake Recipe Deserves Applause
Honestly, this recipe is a showstopper, but it keeps things chill in the kitchen. Simon loves watching the anticipation build right before we flip it! This isn’t just another retro dessert idea; it’s a guaranteed win for any gathering, big or small. We focus on foolproof results so you can focus on having fun.
- It looks incredibly fancy—hello, gorgeous fruit arrangement!
- The flavor is pure, buttery nostalgia without relying on a box mix.
- It sets up beautifully, making clean serving easy.
Achieving the Best Caramelized Pineapple Cake
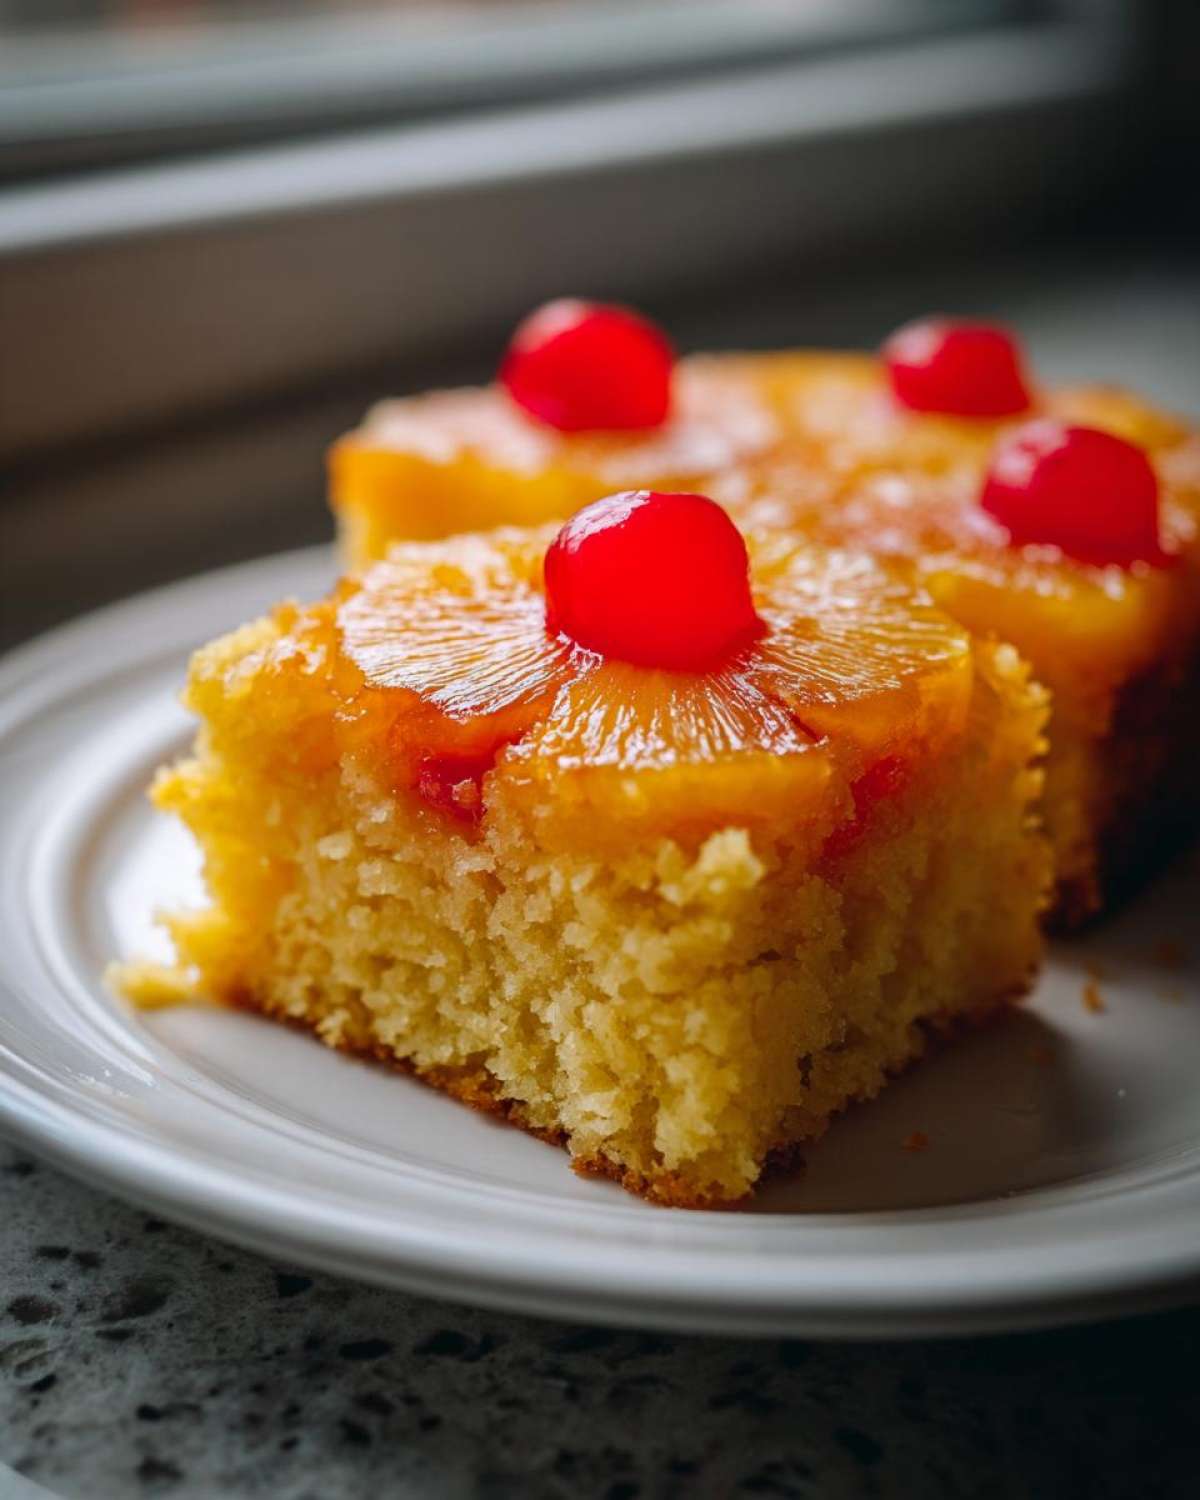
That deep, gorgeous amber color on top? That comes entirely from melting the butter right with the brown sugar in the bottom of the pan first. We skip confusing steps and just let that simple combination bubble away gently. It creates a thick, sweet syrup that bakes right into the fruit slices. Trust me, that rich caramel flavor is why this is the best pineapple upside down cake.
The Secret to a Truly Moist Pineapple Upside Down Cake
A lot of fruit cakes can go dry, but we make sure this one stays tender. While the toppings provide moisture, the real trick lives inside the batter itself! We make sure to save some of that glorious, sweet liquid from the canned pineapple. Using that reserved juice right in the batter adds a layer of tropical moisture that keeps every bite of this homemade pineapple cake soft for days.
Gathering Ingredients for Your Homemade Pineapple Cake
Okay, time for the main event! Shopping for this! When I gather supplies for our classic pineapple cake, I’m looking for quality, even though the recipe itself is totally simple. Simon reminds me that this isn’t the time to substitute; we stick to the list to get that perfect, buttery texture.
Don’t skip the step of draining the pineapple but reserving that juice! That juice is going into the batter later, so it’s essential, just like Simon says reserving the vanilla for just the right moment! Also, for the cherries? Try to find the good, bright red ones if you can, even if they cost a tiny bit more. They just look so much prettier once we flip this baby over!
Here is exactly what you need to pull together this gorgeous easy pineapple dessert:
- 1/2 cup unsalted butter (for the bottom layer)
- 1 cup packed light brown sugar
- 1 (20 ounce) can pineapple slices in juice, drained (make sure you reserve that juice!)
- 14 maraschino cherries, drained
- 1 1/2 cups all-purpose flour
- 1 1/2 teaspoons baking powder
- 1/2 teaspoon salt
- 1/2 cup unsalted butter, softened (for the cake batter)
- 3/4 cup granulated sugar
- 2 large eggs
- 1 teaspoon vanilla extract
- 1/2 cup milk
- 1/4 cup reserved pineapple juice
See? Mostly pantry staples! This is why it’s such a fantastic recipe for when you need something impressive fast. Prepare to be praised!
Step-by-Step Instructions for the Perfect Pineapple Upside Down Cake
Alright, here is where the magic happens! Following the instructions exactly in these early stages is key to getting that picture-perfect fruit topping. Don’t rush the topping prep, because that’s what makes this cake worth showing off! Once the cake is in the oven, we can start warming up the music for Simon’s victory dance. We’re aiming for maximum kudos on presentation! We’ll need that vanilla extract from our pantry for the batter, which reminds me of how we make sure our classic vanilla cake so light.
Preparing the Caramel Topping (The Foundation of Your Pineapple Upside Down Cake)
First things first, get that oven preheated to 350°F (175°C). You’re going to need a 9-inch round cake pan for this classic build. Now, grab that first 1/2 cup of butter and melt it. I prefer doing this right on the stovetop over low heat—it just feels more direct! Once it’s fully melted in the pan, sprinkle that cup of brown sugar evenly right over the top. This is your caramel base; don’t stir it in! It just needs to meld together in that pan before we add the fruit.
Assembling the Fruit Layer and Mixing the Batter
Time to arrange the stars of the show! Carefully lay out your drained pineapple slices over the sugar and butter mixture. Then, pop one drained maraschino cherry right into the hole of each pineapple ring. Take a breath here—they look gorgeous, don’t they? Now, on to the batter: whisk your flour, baking powder, and salt together in a bowl. Set that aside.
In your main mixing bowl, this is where Simon always claps! Cream the softened 1/2 cup of butter with the granulated sugar until it’s truly pale and fluffy—it should look like it’s holding air. Beat in your eggs one by one, and don’t forget that splash of vanilla. Next, gently alternate adding the dry mixture and the milk/pineapple juice combo. Remember our rule from the carrot cake? Start and end with the dry stuff! Mix only until you barely see flour streaks—over-mixing is the enemy of a moist pineapple upside down cake.
Baking and Inverting Your Caramelized Pineapple Cake
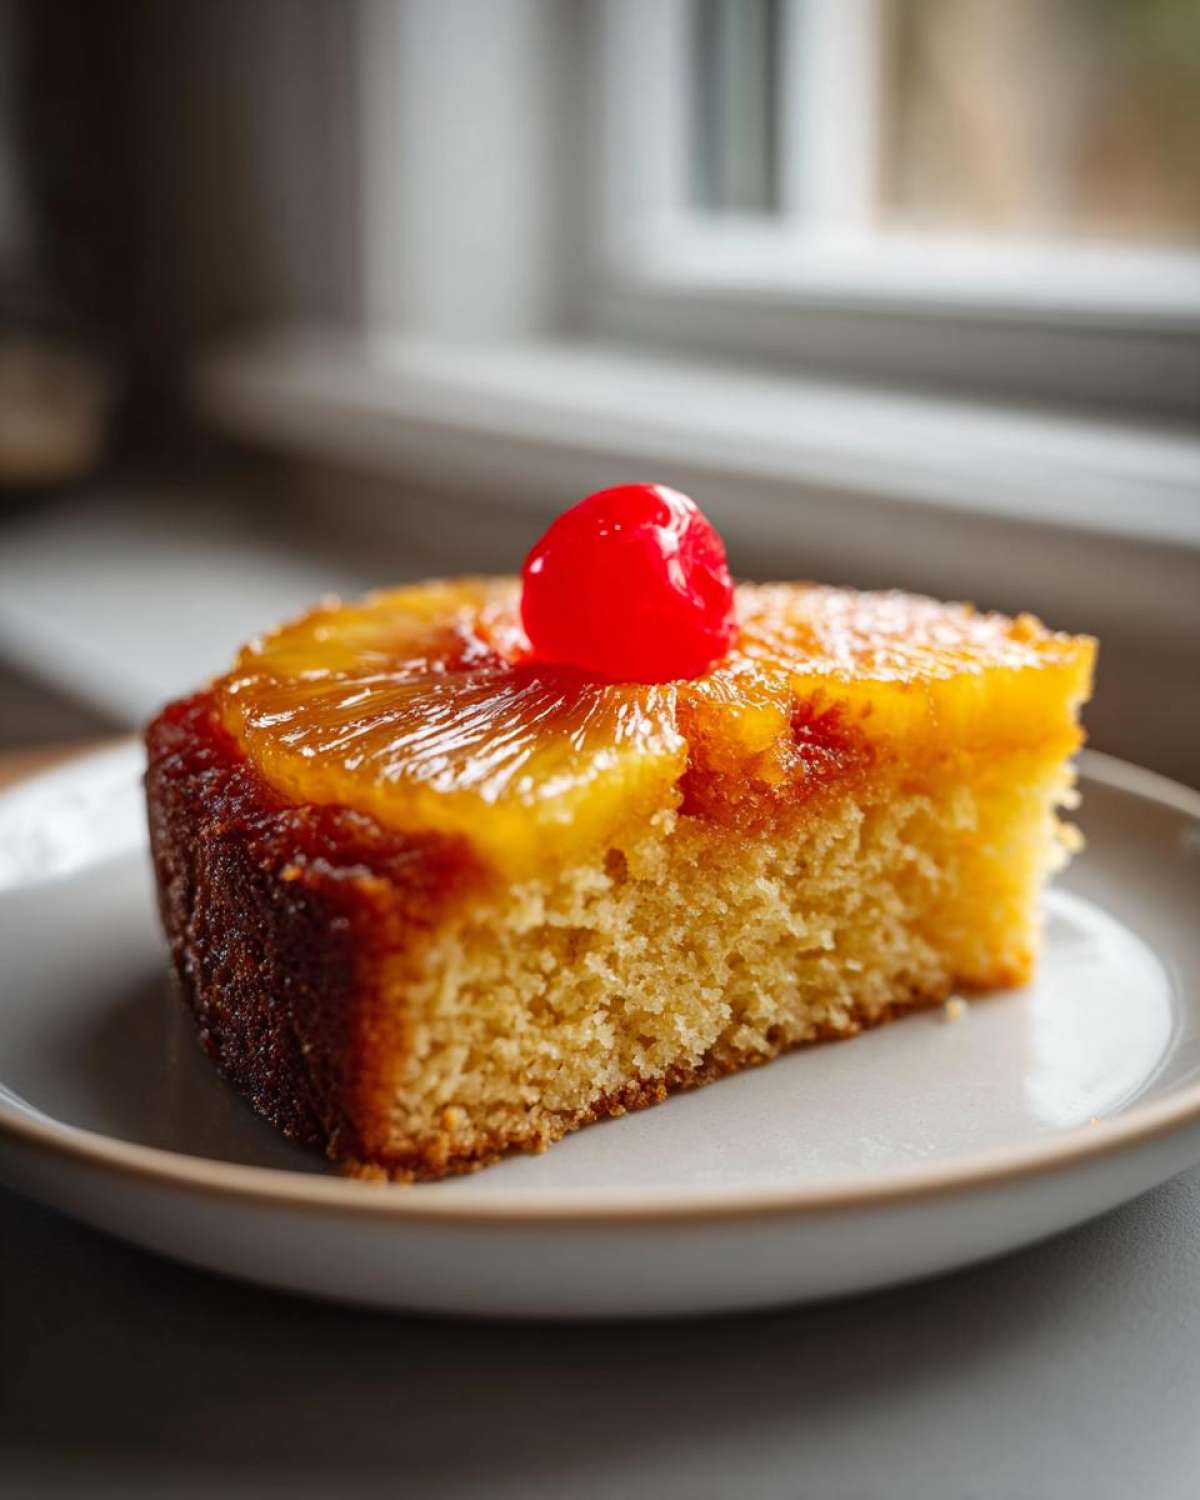
Gently spoon that wonderful cake batter right over the fruit layer. Try not to press it down; just let it spread naturally over the pineapples. Pop it into the oven for about 35 to 40 minutes. You know it’s done when a toothpick comes out clean, but I often give it a little bounce test too, just to feel that gentle springiness.
This next part causes me major swoon anxiety every time, but you’ve got this! Let the cake hang out in the hot pan on a wire rack for strictly 5 minutes. No more, no less! If you wait too long, it sticks. Too short, and the hot caramel runs everywhere. After those five minutes, place your serving plate upside down over the pan, hold the plate and pan together tightly, and flip! Lift the pan off slowly. If any little pieces of fruit stick, just take a small offset spatula, gently tease them out, and place them back where they belong. Ta-da! That stunning presentation is worth cheering for!
Tips for the Ultimate Moist Pineapple Upside Down Cake
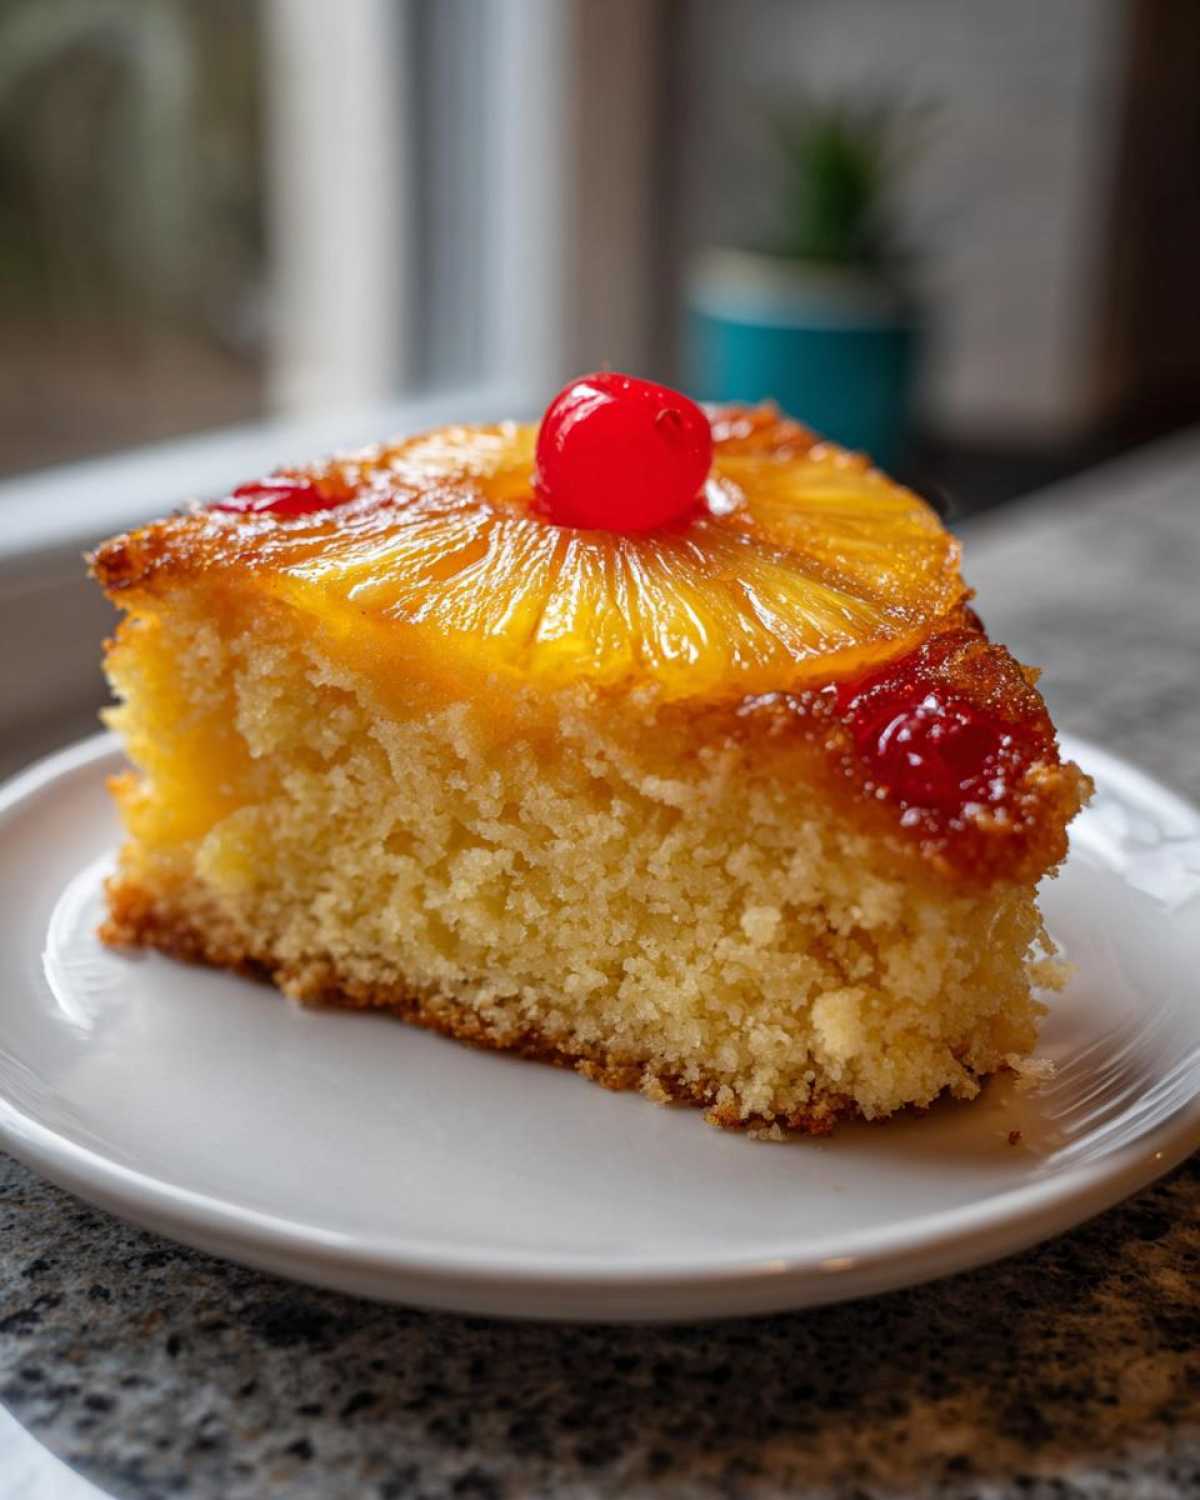
We’ve nailed the technique, but sometimes we want to jazz things up a tiny bit, right? These little tweaks are ones I’ve picked up over the years while testing this tropical cake recipe. They add depth without ruining that perfect, moist crumb we worked so hard for in the batter. You’ll get extra kudos from your guests with these small additions!
I love that this recipe is so adaptable. If you want a richer, almost grown-up flavor, try the rum trick. It completely changes the caramelized topping into something truly decadent. For those of you who prefer that classic Southern tang, swapping the milk for buttermilk is a game-changer.
-
Flavor Boost with Dark Rum: For an extra layer of flavor, add 1 teaspoon of dark rum to the melted butter and brown sugar mixture right before you add the pineapple. You’ll be thrilled with the depth it adds to the caramel. It doesn’t burn off entirely, leaving just a subtle, warm note that pairs brilliantly with the sweetness.
-
Going Southern Style with Buttermilk: If you want a slightly tangier crumb that cuts through the sweetness of the pineapple topping, use buttermilk instead of regular milk. Just like in my sweet potato biscuits recipe found here, buttermilk reacts beautifully with the baking powder, giving a lighter structure and a lovely, tender texture.
-
Moisture Control Tip: Remember how I said not to press the batter down? Seriously, don’t do it! Let gravity do the work when you spoon the batter over the fruit layer. If you overwork or compact it, you lock in too much air right near the fruit, and it can steam instead of bake properly, leading to a gummy spot right under the glorious topping.
Serving Suggestions for Your Tropical Cake Recipe
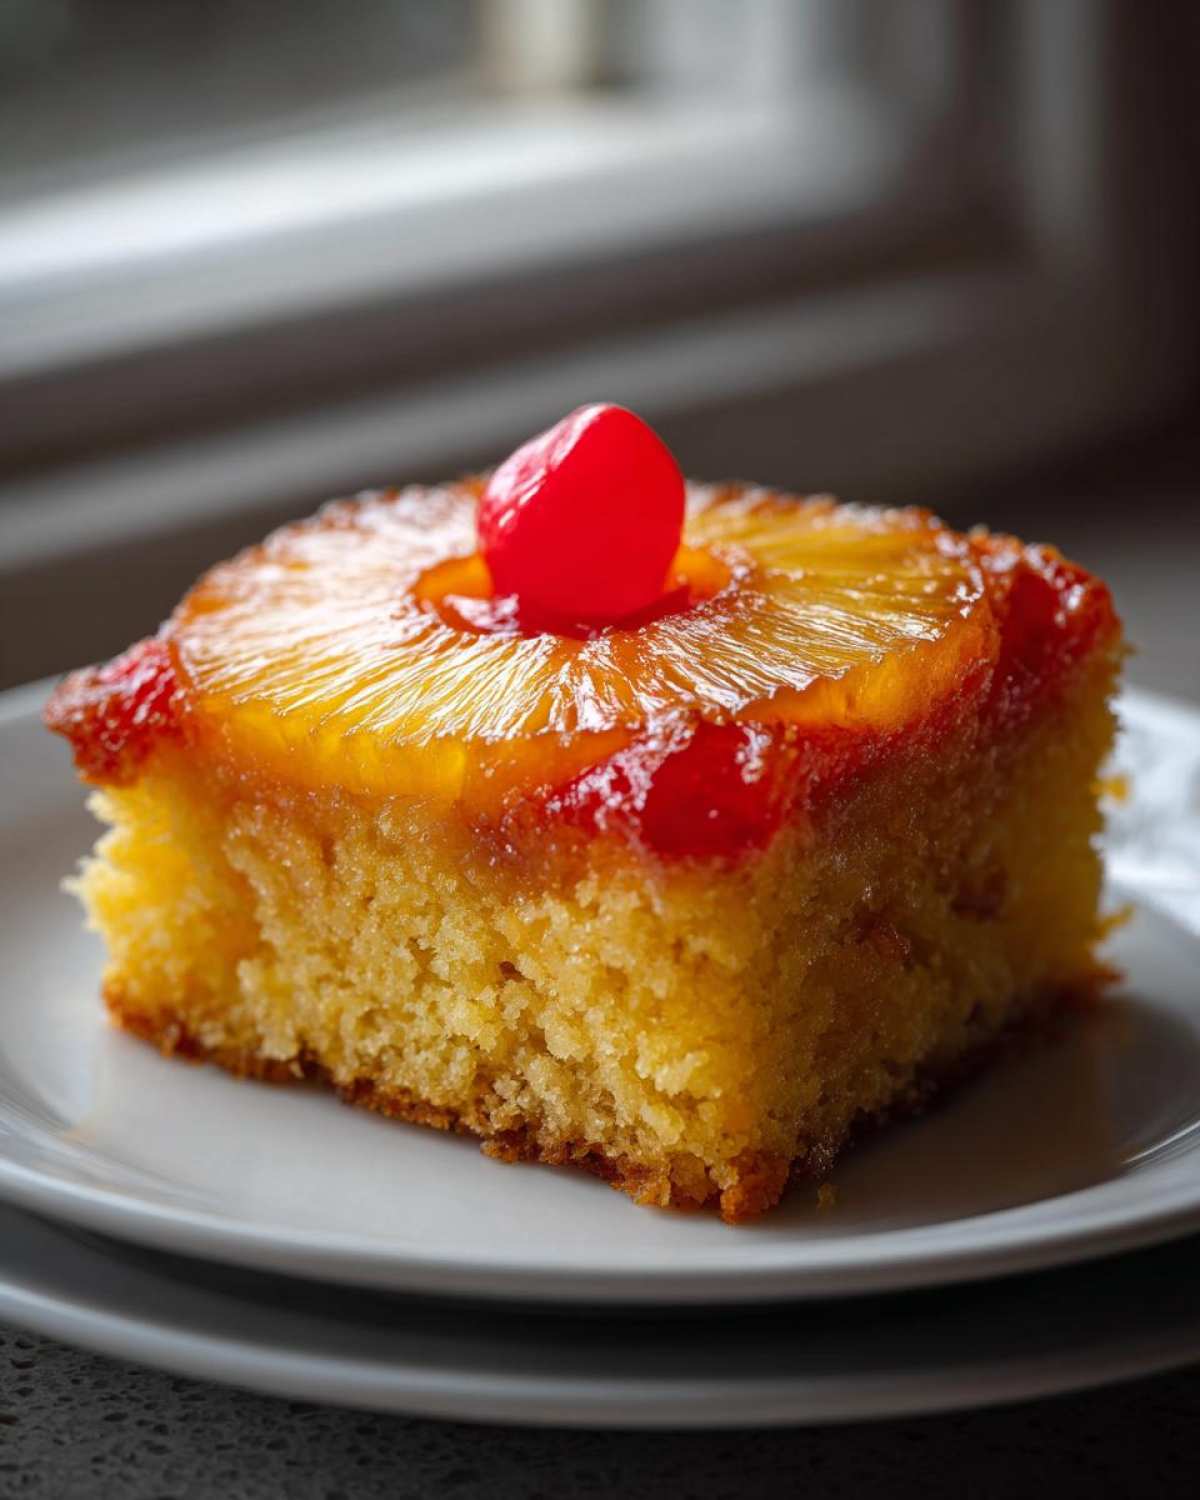
Once you flip that pan and see that gorgeous, glossy top, your first instinct might be to dig right in—and you should! But for an extra round of applause, what you serve it with matters. Because this pineapple upside down cake is so rich and buttery on its own, we like to keep the toppings light so they enhance the tropical flavors without hiding them.
Vanilla ice cream is the absolute classic here. The cold, creamy sweetness melts perfectly into the warm pineapple caramel. If you want to make it a little fancier for a party, a dollop of lightly sweetened whipped cream dusted with a tiny bit of toasted coconut flakes is heavenly. It keeps the focus right where it belongs: on that beautiful fruit!
Storage and Reheating Instructions for Leftover Pineapple Upside Down Cake
Okay, I know what you’re thinking: there won’t be any leftovers! But just in case you manage to keep a slice or two, we need to talk about storing this beauty. Since the topping is so luscious and moist, it needs a little care so it doesn’t get weirdly soggy overnight. Simon insists we cover it right away, but I have a specific method that works best for this caramelized pineapple cake.
The absolute best way to store this is actually right in the pan, covered tightly with plastic wrap or a good lid. If you’ve already inverted it, make sure the plate you are using has a dome or that you tent the plastic wrap lightly so it doesn’t stick right onto that beautiful fruit layer. This tends to keep the moisture locked in the cake where we want it, rather than pulling too much moisture from the topping.
If you need to keep it for longer than two days, I would carefully transfer the slices to an airtight container. It’s generally fine sitting on the counter for a day, but if your kitchen is warm, pop it into the fridge. If it hits the fridge, it will firm up a bit—that’s normal for cakes with lots of butter and sugar!
When it’s time to reheat? Don’t just blast it in the microwave! That will turn that perfect crumb rubbery, and we absolutely don’t want that kind of kitchen failure around here. I have a trick for bringing it back to life. Microwave the portion for just 10 to 15 seconds—really short bursts. This warms up the fruit layer just enough to melt the caramel slightly again, bringing that fresh-from-the-oven silkiness back. If you want to go the extra mile for maximum kudos, serve that warmed slice with a small scoop of vanilla ice cream. You earned that little bit of extra applause!
Frequently Asked Questions About Pineapple Upside Down Cake
It’s funny, even with a perfectly detailed recipe, there are always a few little questions that pop up when you step away from the oven. Simon always says that when you ask questions, you’re taking the next step toward becoming a master baker—so let’s celebrate your curiosity! We get asked a lot about variations, especially when people want to make mini pineapple upside down cakes or try different pan styles.
Can I use fresh pineapple instead of canned for this pineapple upside down cake recipe?
Oh yes, you absolutely can! I love using fresh pineapple when it’s in season because the flavor is dazzlingly bright. If you go this route, you have to peel it, core it, and slice it yourself. Because fresh pineapple tends to be a bit drier than the canned fruit sitting in syrup, I have one small adjustment for you.
For fresh pineapple, you’ll want to mix your slices with the brown sugar and butter, and then let that sit for about 15 minutes before baking. This gives the natural fruit enzymes time to start releasing some juice. You might also need to add a tiny splash of water or extra juice to the cake batter just to compensate for the liquid the baked fruit will soak up. It makes a fantastic retro dessert!
How do I convert this recipe for a Pineapple Upside Down Bundt Cake?
Converting to a Pineapple Upside Down Bundt Cake is a super popular choice, and it makes serving easier! The important thing to know is that a standard 10-inch Bundt pan holds more volume than our 9-inch round pan. You’ll likely have a little extra batter, so don’t overfill the Bundt pan past about two-thirds full.
Because the cake is deeper, the baking time will increase significantly. We baked the round cake for 35–40 minutes, but for the Bundt, plan on starting to check around 50 minutes. Like any deep cake, the center takes longer to set. Keep checking with that toothpick. When you invert it, treat it just like the round cake: let it sit for exactly 5 minutes on the wire rack before flipping onto your plate. Slow and steady wins the caramel race here!
We actually have a whole post dedicated to making individual servings, which you might love for parties. Check out our guide on Mini Pineapple Upside Down Cakes if you want perfectly portioned treats!
Nutritional Estimate for This Classic Pineapple Cake
Now, I know some of you like to track things, and that’s totally fine! But here at Kitchn Kudos, we focus on joy over spreadsheets. The nutritional estimations for this classic pineapple cake really depend on whether you use full-fat butter, the brands of cherries, and exactly how much of that gooey topping ends up on your personal slice versus the serving plate.
Please know that the numbers are just a guideline. If you feel like you nailed the baking process, that’s the most important metric for us! If you made this and feel like you deserve a high-five, that’s far more valuable than chasing a precise calorie count. Keep celebrating your delicious efforts!
Share Your Kitchen Kudos on This Pineapple Upside Down Cake
Seriously, I want to hear everything! Did the flip go perfectly? Did Simon make you dance while the batter was in the oven? Did you opt for that easy cake mix variation or stick to the scratch recipe? Whatever happened, you showed up in the kitchen and created something delicious—that deserves major praise!
Don’t be shy! Drop your thoughts, your star rating, or even a picture of your gorgeous, gleaming topping in the comments below. Your feedback helps other bakers feel confident about tackling this nostalgic treat. We love seeing your creations over on the main blog page too. Happy baking, and remember to give yourself some serious kitchen kudos today!
PrintClassic Pineapple Upside Down Cake: A Moist, Retro Favorite

Bake this classic Pineapple Upside Down Cake from scratch for a moist, buttery dessert with perfectly caramelized fruit. This recipe delivers a nostalgic treat that is impressive but simple to make.
- Prep Time: 15 min
- Cook Time: 40 min
- Total Time: 55 min
- Yield: 8 servings
- Category: Dessert
- Method: Baking
- Cuisine: American
- Diet: Vegetarian
Ingredients
- 1/2 cup unsalted butter
- 1 cup packed light brown sugar
- 1 (20 ounce) can pineapple slices in juice, drained (reserve juice)
- 14 maraschino cherries, drained
- 1 1/2 cups all-purpose flour
- 1 1/2 teaspoons baking powder
- 1/2 teaspoon salt
- 1/2 cup unsalted butter, softened
- 3/4 cup granulated sugar
- 2 large eggs
- 1 teaspoon vanilla extract
- 1/2 cup milk
- 1/4 cup reserved pineapple juice
Instructions
- Preheat your oven to 350°F (175°C). You will need a 9-inch round cake pan. Give yourself a high-five for getting the oven on!
- Melt 1/2 cup of butter in the cake pan over low heat on the stovetop, or carefully in the oven. Once melted, sprinkle the brown sugar evenly over the butter.
- Arrange the drained pineapple slices over the sugar mixture. Place one maraschino cherry in the center of each pineapple ring.
- In a medium bowl, whisk together the flour, baking powder, and salt. This is a great step to celebrate!
- In a separate large bowl, cream together the 1/2 cup softened butter and granulated sugar until light and fluffy. You are doing great!
- Beat in the eggs one at a time, mixing well after each addition. Stir in the vanilla extract.
- In a small bowl, whisk together the milk and the reserved pineapple juice.
- Gradually add the dry ingredients to the wet ingredients, alternating with the milk mixture, beginning and ending with the dry ingredients. Mix until just combined; do not overmix.
- Gently spoon the cake batter over the pineapple and cherry layer in the pan. Spread it evenly.
- Bake for 35 to 40 minutes, or until a toothpick inserted into the center comes out clean.
- Let the cake cool in the pan on a wire rack for 5 minutes. This short wait is important.
- Place a serving plate upside down over the cake pan. Carefully and quickly invert the cake onto the plate. Lift the pan away slowly. If any topping sticks, gently place the fruit back into position.
- Let the cake cool slightly before slicing and serving. You made a beautiful, moist pineapple cake!
Notes
- For an extra layer of flavor, add 1 teaspoon of dark rum to the melted butter and brown sugar mixture before adding the pineapple.
- If you want a truly Southern Style Pineapple Cake, use buttermilk instead of regular milk for a slightly tangier crumb.
- To ensure a moist pineapple upside down cake, do not press the batter down over the fruit; let it settle naturally.
Nutrition
- Serving Size: 1 slice
- Calories: 380
- Sugar: 35g
- Sodium: 250mg
- Fat: 19g
- Saturated Fat: 11g
- Unsaturated Fat: 8g
- Trans Fat: 0.5g
- Carbohydrates: 50g
- Fiber: 1g
- Protein: 4g
- Cholesterol: 85mg