


There is nothing, absolutely nothing, quite like seeing a towering, golden-brown lemon meringue pie sitting on the counter. It just screams celebration, doesn’t it? For the longest time, the sheer drama of that meringue kept me frozen in the kitchen. I used to think making a perfect lemon meringue pie meant I was finally conquering my perfectionism, but honestly, it was just adding stress!
Well, I’m telling you now: put the boxed stuff down! Simon finally convinced me that trying—and maybe messing up a little—is way more fun than getting it flawless on the first go. This recipe is the result of all those joyful, messy attempts. I promise you, this is the ultimate, from-scratch guide to getting the **Best Lemon Meringue Pie** you’ve ever tasted, complete with that incredible, zesty layer you dream about.
Why This Homemade Lemon Meringue Pie Recipe Deserves Applause
If you’re worried about making this pie because you think it’s too fussy, let me stop you right there! Simon always says, “Just show up, Alice, that’s half the battle!” This recipe is designed to give you a huge win because it nails the texture trifecta every single time. No more mediocre pie results here!
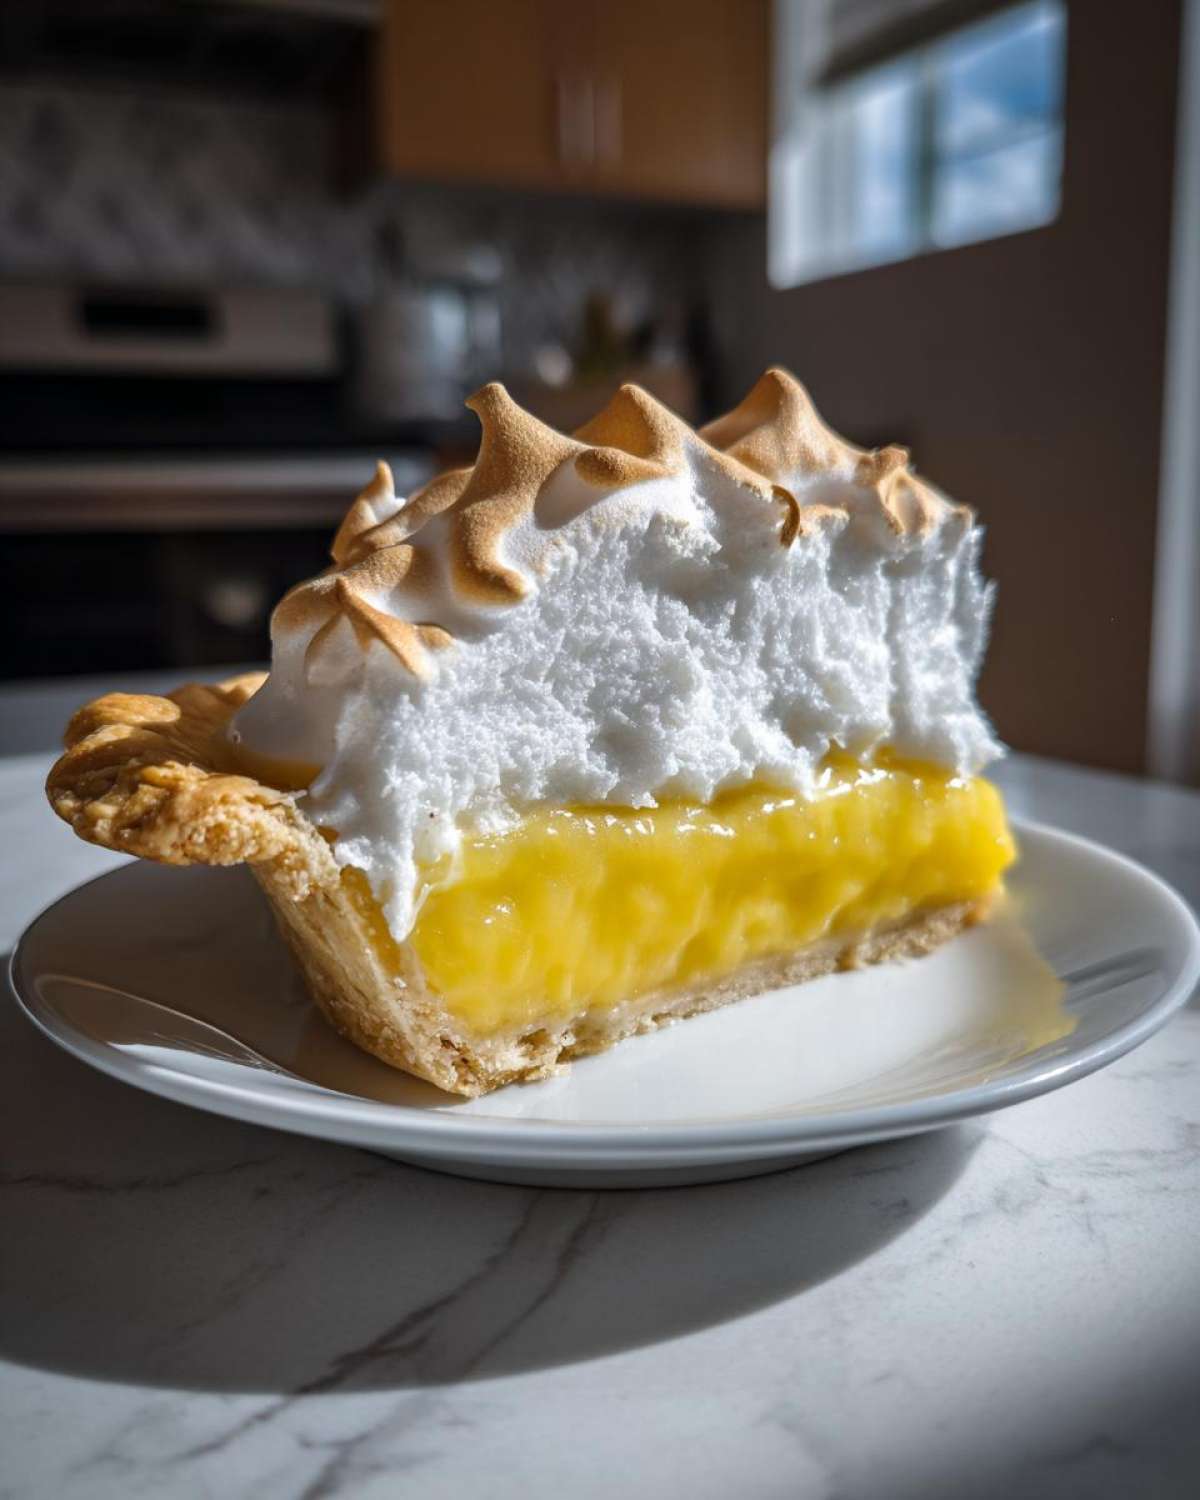
- It’s Totally From Scratch: Forget those dusty boxes; we’re using real ingredients for real flavor.
- The Texture is Spot On: You get that satisfying shatter from the buttery crust followed by pure, creamy heaven.
- It’s Approachable: We’ve built in simple steps so that even if you’re nervous, you’ll feel like a baking rockstar when you pull this out.
Achieving the Perfect Lemon Meringue Balance
The joy of this Zesty Lemon Pie is that perfect collision of flavors. The filling is sharp enough to make your cheeks pucker just a little, but it’s sweetly balanced by the rich, almost pastry-like crust. Then, BAM! You hit that cloud of toasted meringue on top. It’s sweet, tart, rich, and light all at once. It’s a masterpiece, honestly, and you made it!
Tips for a No Weeping Meringue Topping
Okay, let’s talk meringue trauma. Weeping—where little puddles of syrup form between the meringue and the filling—is the absolute worst. But don’t panic! I’ve baked this dozens of times now, and the secret is all in the temperature control when you finish it off. We include very simple No Weeping Meringue Tips later on that will keep those beautiful, fluffy peaks high and dry.
Gathering Ingredients for Your Classic Lemon Meringue Pie Recipe
Before we start whipping anything into glorious peaks, we need to take inventory! Simon always makes sure everything is out on the counter before we turn on the mixer—he calls it ‘setting the stage.’ Having all your components ready means you won’t panic when the custard starts thickening up fast. Trust me, you want everything measured out before we tackle that Homemade Lemon Meringue Pie filling. When you’re searching online, you’ll see tons of recipes, but this one, this one is the keeper, just like the folks over at Tasty Delight Recipes agree!
Here’s what you’ll need for this showstopper:
- One (9-inch) unbaked pie crust—and please, make it your favorite Buttery Pie Crust Recipe!
- 1 1/2 cups granulated sugar
- 1/3 cup cornstarch (this is the magic thickener!)
- 1/4 teaspoon salt
- 1 1/2 cups cold water
- 4 large egg yolks, lightly beaten
- 1/2 cup fresh lemon juice (this is non-negotiable, see notes below!)
- 1 tablespoon lemon zest
- 2 tablespoons unsalted butter
- For the meringue: 6 large egg whites, room temperature
- 1/2 teaspoon cream of tartar
- 1/2 cup granulated sugar (for the meringue)
Ingredient Notes and Substitutions for Lemon Meringue
Now, let’s talk about the stars of this lemon meringue show. First, the juice: you absolutely need fresh lemon juice here. Bottled stuff just doesn’t give you that bright, intense flavor we’re aiming for in this From Scratch Lemon Custard. Secondly, those egg whites for the topping? They MUST be at room temperature. If they are cold from the fridge, they won’t whip up into that huge, stiff, glorious pillow we want the oven to kiss golden brown later. Give them about 30 minutes sitting out before you start!
How to Prepare the Best Lemon Meringue Pie From Scratch
This is where the magic happens! Remember I said Simon taught me to stop stressing? Well, this process is so logical, you’ll feel like a baking genius by the time we’re done. First thing’s first: make sure that buttery crust you prepared is totally cool—we don’t want any melted edges when we pour in the hot filling. You can check out the method we swear by for perfectly crisp pastry here: zesty lemon sauce inspiration can sometimes translate to crust flavor, trust me!
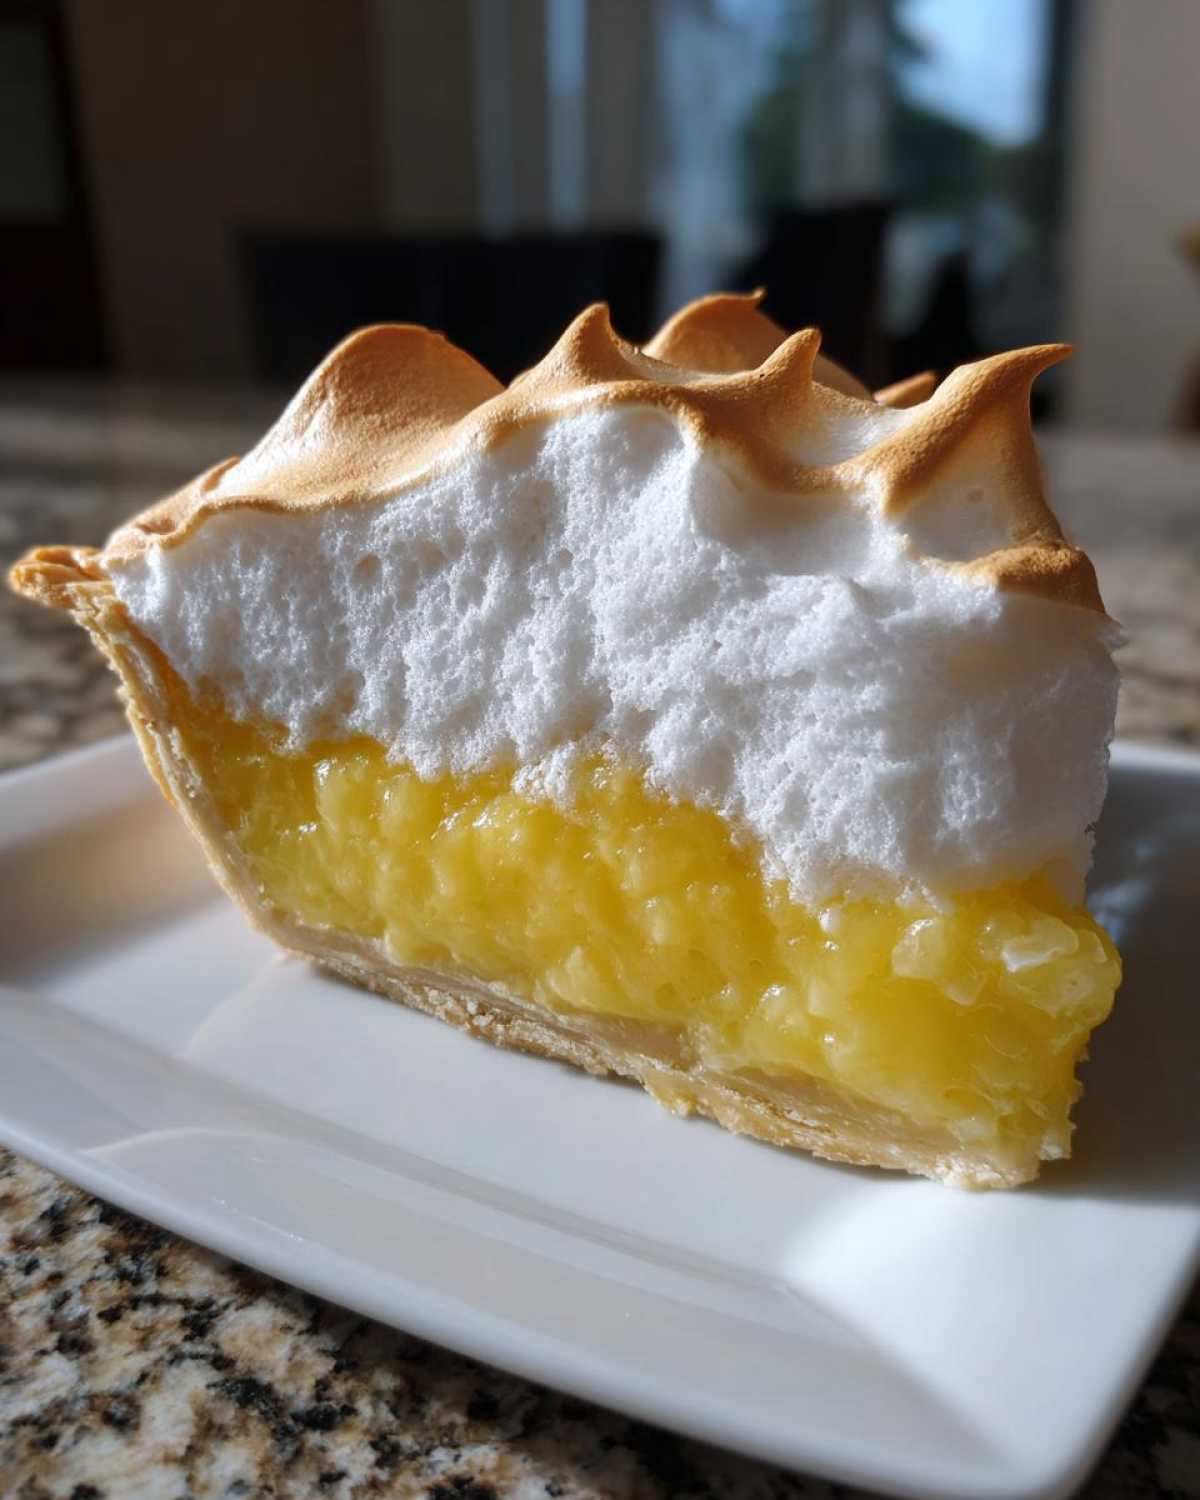
We’re building that vibrant, From Scratch Lemon Custard in two main stages. I always crank up some upbeat music here—Simon says it helps the mixture thicken properly! If you are following the experts like the team at Rock Recipes, you know patience during the stirring phase is key.
Step-by-Step: Creating the Zesty From Scratch Lemon Custard
To start the filling, you combine the sugar, cornstarch, and salt in your saucepan, then whisk in the cold water until it looks smooth, like thin paint. Now, you cook this over medium heat, BUT you must, must, must stir constantly! I mean it, don’t walk away! Keep stirring until it gets really thick and then let it boil for a full minute to cook out that starchy taste. Pull it off the heat.
Here comes the one trick that trips everyone up: tempering the eggs. Take about a cup of that hot sugar mixture and pour it *very slowly* into your beaten egg yolks while whisking like crazy. If you dump it in too fast, you get scrambled egg soup! Once tempered, pour that yolk mixture right back into the main saucepan. Put it on medium heat and cook again until it thickens up nicely again. Then, kill the heat and stir in your lemon juice, zest, and that glorious butter until everything melts together. Pour that gorgeous, tangy filling right into your cooled pie shell!
Whipping the Fluffy Meringue Topping
While the filling is setting up a bit, let’s focus on the clouds. Get your egg whites and cream of tartar in an absolutely spotless, grease-free bowl—grease is the enemy of fluffy lemon meringue! Beat those whites until they hold soft peaks. You know they’re ready when you lift the whisk, and the tip flops over gently. Now, add your meringue sugar one tablespoon at a time. Keep beating until those peaks stand up stiff and glossy—when you lift the whisk for the last time, that peak should look proud and hold its shape perfectly. That’s your signal!
Baking and Cooling Your Showstopping Lemon Meringue
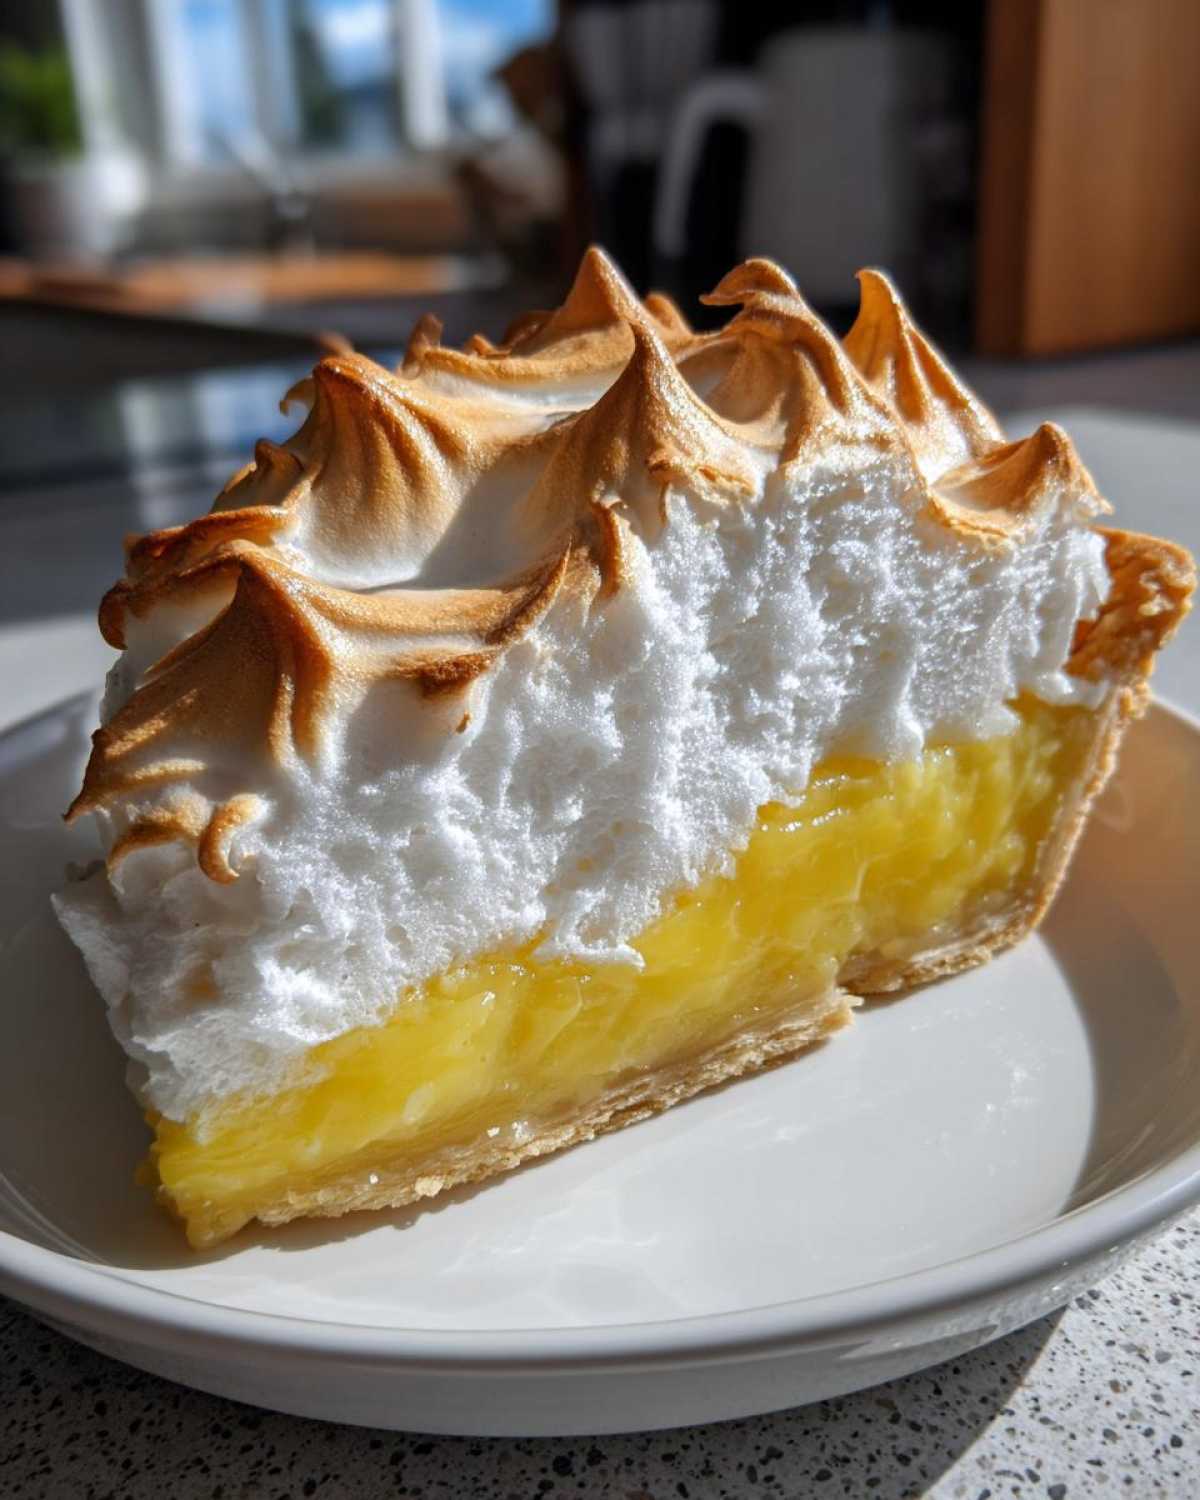
Alright, we’ve got the sunny custard and the towering, glorious meringue peaks atop our buttery crust. Now for the grand finale! You’re going to slide this beauty into an oven set at 350°F for about 12 to 15 minutes. We’re really just kissing the meringue tips until they turn that perfect golden-brown color. Don’t walk away during this short bake, because those pretty peaks go from golden to burned way too fast!
Once it’s browned, Simon says we need to practice patience—which is hard when something smells this good! You must let this Showstopping Dessert cool completely on a wire rack at room temperature for at least four hours before even thinking about slicing it. If you put it in the fridge too soon, the rapid temperature change shocks the meringue, and that’s when it starts weeping syrup all over the filling. We worked too hard for weeping! Let it set naturally; you’ve earned this beautiful result.
Tips for Success with Lemon Meringue Pie
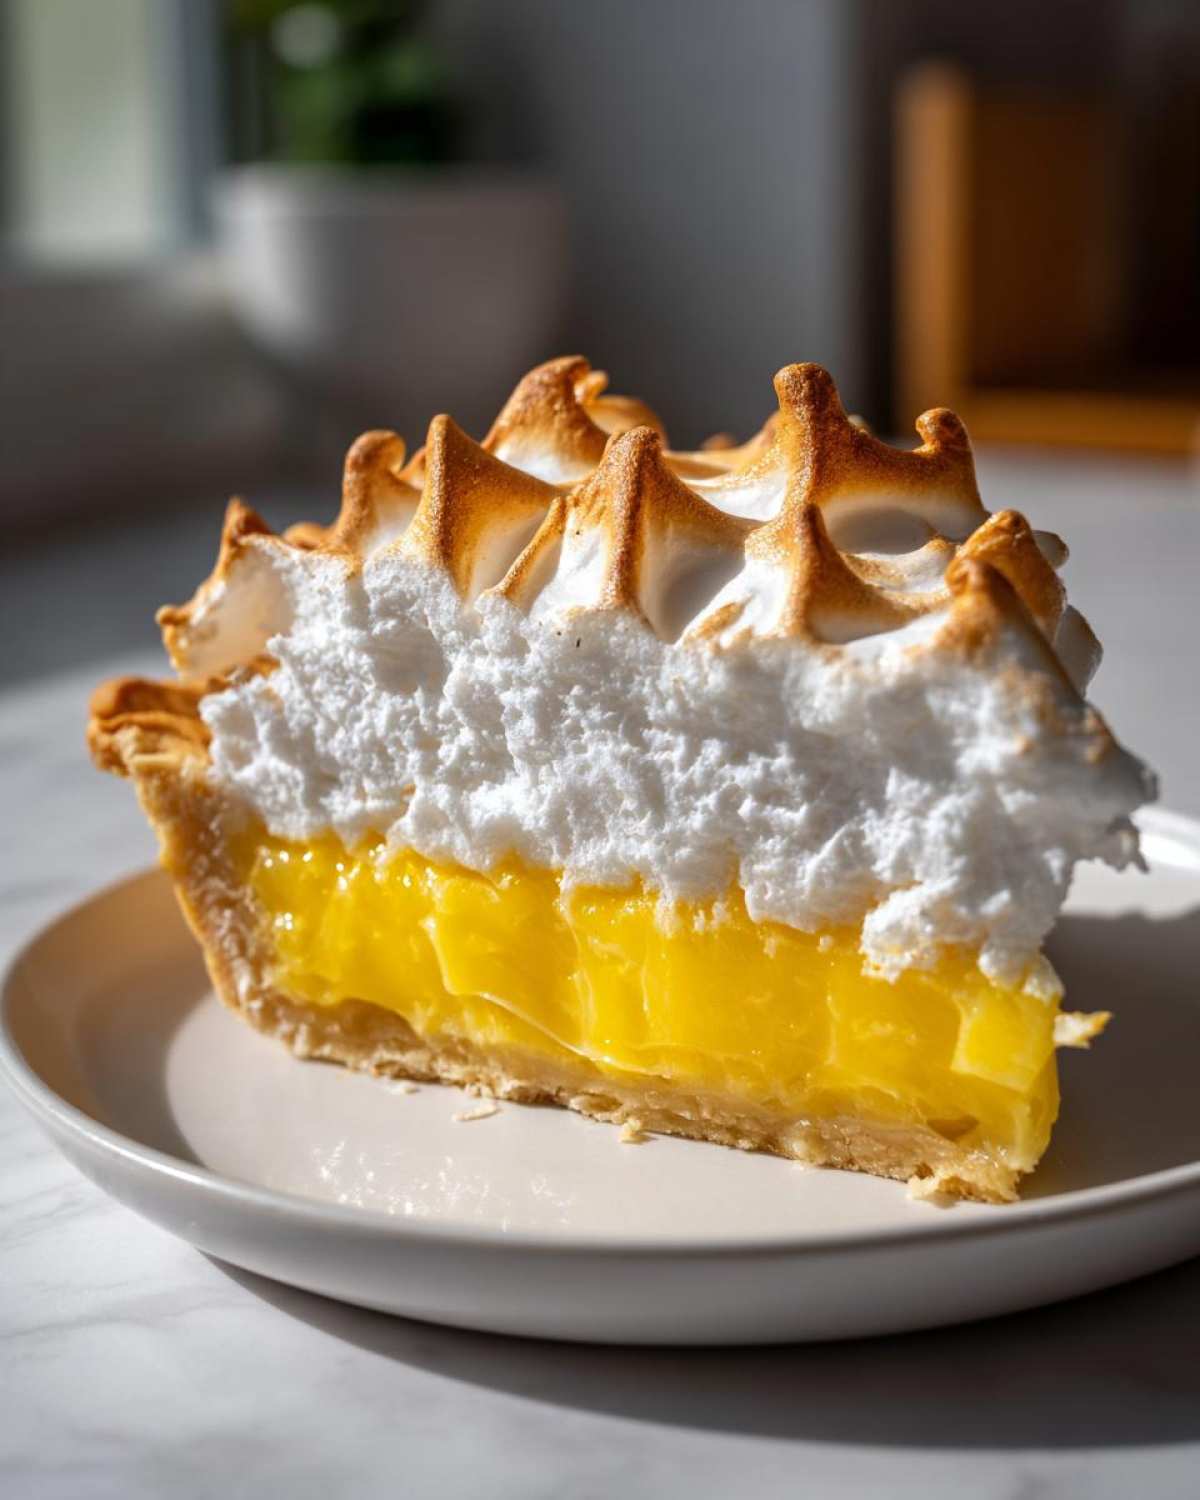
You followed the recipe perfectly, and now you have a gorgeous pie! High-fives all around! But just in case you are a fellow recovering perfectionist like me, here are a few final things I’ve learned that keep my lemon meringue pie stable and delicious. These little nudges really make the difference between a good pie and a ‘wow, I need this recipe’ pie.
First, remember that zero grease rule for the meringue bowl? That’s crucial because any fat or yolk residue ruins the structure. Also, when you are spreading that Fluffy Meringue Topping over the hot custard, take the time to seal it to the crust edge all the way around. If there are gaps, the meringue shrinks when it bakes, and we end up with that sad gap. Then, when you finally go to slice it—and I know it’s torture waiting—use a sharp knife dipped in hot water between each cut. That keeps the filling from dragging and ruining those beautiful swirls. For more great insights, check out the tips over at Hayley Recipes!
Storage and Serving Suggestions for Perfect Lemon Meringue
I know you want to devour this whole lemon meringue pie the second it cools, but try to hold off! For the absolute best texture—that firm custard against the crisp crust—it tastes best the day it’s made. If you must store leftovers, cover it loosely; plastic wrap directly on the meringue is a guaranteed stick-fest!
It’s safer to keep leftovers covered in the fridge for maybe two or three days, but honestly, the crust might soften, and the meringue might start to weep a tiny bit over time. When it comes to serving, I find a strong cup of coffee or maybe a cozy cinnamon maple latte cuts through that rich sweetness perfectly. Enjoy every single slice!
Frequently Asked Questions About Classic Lemon Meringue Pie
When I first started tackling this pie, I had about a million questions swirling around in my head—mostly ending in, “What if I ruin my amazing Fluffy Meringue Topping?” Don’t worry, I’m sharing those common head-scratchers right here. Simon always says that asking questions is a sign of a cook who cares, so let’s give you some kudos for wanting to get this right!
Can I use a store-bought crust for my Lemon Meringue Pie Recipe?
Look, if you’re in a real pinch, yes, you absolutely can! We all have those days, right? If you buy one, just make sure it’s blind-baked until it’s golden brown before you start filling it. But honestly? My biggest praise goes out to anyone who makes that crust completely from scratch. That buttery flakiness is what takes this Classic Lemon Meringue Pie from good to phenomenal. It’s worth the extra effort, I promise!
What causes the lemon meringue filling to be runny?
This is almost always about that starch working its magic. If your From Scratch Lemon Custard ends up runny, you probably didn’t boil the sugar/cornstarch/water mixture long enough in that first stage. You need to let it boil—yes, properly bubble—for a full minute while stirring non-stop. That boiling activates the cornstarch fully. If you skip that minute, it won’t set up firm enough to hold the meringue!
Are there variations like Lemon Meringue Bars I can try?
Oh, definitely! Once you master this big beautiful pie, you’ll be itching to try things like Lemon Meringue Bars Recipe or maybe those cute little Mini Lemon Meringue Tarts! They use the same concept, just spread into a different shape. But here’s my advice: master this classic pie first. Once you nail the zesty filling-to-fluffy-meringue ratio here, transferring that knowledge to bars or cookies is a breeze. Give yourself a major high-five just for learning this core recipe first!
Estimated Nutritional Data for Your Lemon Meringue
Now, since this is a homemade dessert that features a beautiful, rich custard and a substantial meringue cloud, I have to give you the estimated numbers, though Simon always reminds me that the joy of eating this pie is immeasurable! Remember, as detailed in our official disclaimer, these are just estimates based on the ingredients we used. They will change based on how much butter sneaks into your crust or how thick you make your meringue layer.
- Serving Size: 1 piece
- Calories: Approx. 380
- Sugar: Around 45g (that’s the good stuff!)
- Fat: About 18g
- Protein: About 6g
But honestly? If you followed the steps and made this incredibly tangy sweet dessert from scratch, you deserve every single bite without checking the calculator twice. Give yourself major kudos just for putting in the effort!
Share Your Kitchen Kudos Moments
Well, there you have it! You’ve tackled the crust, you’ve tamed the zesty custard, and you’ve built a magnificent, fluffy mountain of meringue. Simon and I are just so incredibly proud of you for making this lemon meringue pie completely from scratch. We always say that the best part of sharing these recipes is hearing the wins from you folks at home!
Did you nail the stiff peaks? Did your filling set perfectly? Did you have a little dance party while the custard was thickening? I want to hear all about it! Please, leave a rating below—even four stars means you’re thrilled and ready for your next challenge. And if you snapped a picture of your towering, golden beauty, please share it in the comments!
Every time you make something from this kitchen, you’re practicing giving yourself praise, and that’s why we created Kitchn Kudos. Head over to our main blog page to see what other amazing projects Simon and I are tackling next. Happy baking, and don’t forget to give yourself a huge round of applause for this spectacular dessert!
PrintThe Ultimate Homemade Lemon Meringue Pie: A Showstopping Dessert From Scratch

Make the best Lemon Meringue Pie from scratch. This recipe delivers a buttery crust, a zesty lemon custard filling, and a tall, fluffy, toasted meringue topping that resists weeping. This classic dessert is perfect for spring, summer, or any special gathering.
- Prep Time: 30 min
- Cook Time: 30 min
- Total Time: 210 min
- Yield: 8 servings
- Category: Dessert
- Method: Baking
- Cuisine: American
- Diet: Vegetarian
Ingredients
- 1 (9-inch) unbaked pie crust (buttery homemade crust recommended)
- 1 1/2 cups granulated sugar
- 1/3 cup cornstarch
- 1/4 teaspoon salt
- 1 1/2 cups cold water
- 4 large egg yolks, lightly beaten
- 1/2 cup fresh lemon juice (about 3 lemons)
- 1 tablespoon lemon zest
- 2 tablespoons unsalted butter
- 6 large egg whites, room temperature
- 1/2 teaspoon cream of tartar
- 1/2 cup granulated sugar (for meringue)
Instructions
- Prepare and partially bake your 9-inch pie crust according to your favorite recipe until lightly golden. Cool completely.
- For the lemon custard, whisk together 1 1/2 cups sugar, cornstarch, and salt in a medium saucepan. Gradually whisk in the cold water until smooth.
- Cook the mixture over medium heat, stirring constantly, until it thickens significantly and boils. Boil for 1 minute, stirring constantly. Remove from heat.
- In a separate bowl, lightly beat the 4 egg yolks. Slowly temper the yolks by whisking about 1 cup of the hot sugar mixture into the yolks. Then, pour the tempered yolk mixture back into the saucepan with the remaining hot mixture.
- Return the saucepan to medium heat. Cook, stirring constantly, until the custard thickens again and just begins to bubble. Do not boil again. Remove from heat immediately.
- Stir in the lemon juice, lemon zest, and butter until the butter melts completely. Pour the hot lemon custard into the cooled, pre-baked pie shell.
- For the fluffy meringue topping, place the 6 room temperature egg whites and cream of tartar in a clean, grease-free mixing bowl. Beat with an electric mixer on medium speed until soft peaks form.
- Gradually add the remaining 1/2 cup sugar, 1 tablespoon at a time, beating well after each addition. Increase the speed to high and beat until stiff, glossy peaks form. This is your no weeping meringue base.
- Spread the meringue evenly over the hot custard, making sure the meringue touches the inside edge of the crust all the way around to prevent shrinking. Create decorative swirls on top.
- Bake at 350°F (175°C) for 12 to 15 minutes, or until the meringue peaks are golden brown.
- Cool the pie completely on a wire rack at room temperature for at least 4 hours before slicing. Do not refrigerate immediately, as rapid cooling can cause the meringue to weep.
Notes
- To prevent meringue weeping, make sure your mixing bowl for the egg whites is completely free of any grease or yolk.
- For a stable meringue, ensure your oven temperature is correct and bake until the meringue is set and lightly browned.
- This pie is best served the day it is made for the best texture contrast between the crust and the filling.
Nutrition
- Serving Size: 1 slice
- Calories: 380
- Sugar: 45g
- Sodium: 150mg
- Fat: 18g
- Saturated Fat: 8g
- Unsaturated Fat: 10g
- Trans Fat: 0g
- Carbohydrates: 52g
- Fiber: 1g
- Protein: 6g
- Cholesterol: 110mg