

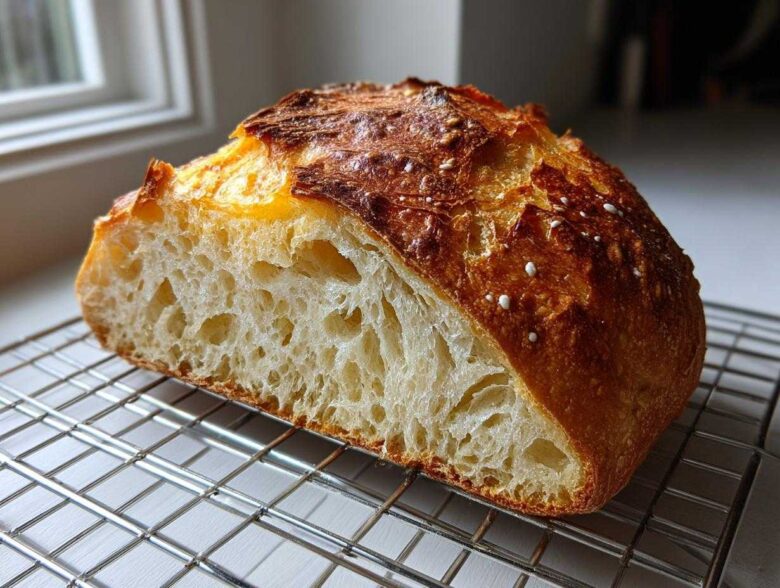
Oh, friends, honestly, is there anything better than the sound of a crackling, fresh-from-the-oven crust? For years, I thought making truly amazing, bakery-style Italian bread meant fussing and failing, channeling my inner perfectionist. Simon always laughed at me, reminding me that the goal isn’t perfection, it’s joy! He taught me to embrace the process, and now I’m sharing it with you. This Easy Crusty Homemade Italian Bread gives you that incredible golden, crunchy exterior and the soft, chewy heart you dream about. It’s truly beginner-friendly, and I promise, you’re going to give yourself some major kudos after this bake! You can read more about our philosophy over at the About Us page, but trust me, this bread recipe is designed for success!
Why This Homemade Italian Bread Recipe Earns Kudos
You deserve amazing bread without the stress, and that’s what this recipe delivers! If you struggle with bread sometimes, stop worrying—this is where Easy Crusty Bread Baking becomes an actual joy, not a chore. Everyone wants that perfect loaf, and we nail the texture every single time.
It truly is the perfect example of Soft Inside Crusty Outside Bread. Simon keeps reminding me that the initial steps are what set you up for success, and this straightforward process ensures your bake ends up looking like a true Bakery Style Italian Loaf.
Achieving That Bakery Style Italian Loaf Texture
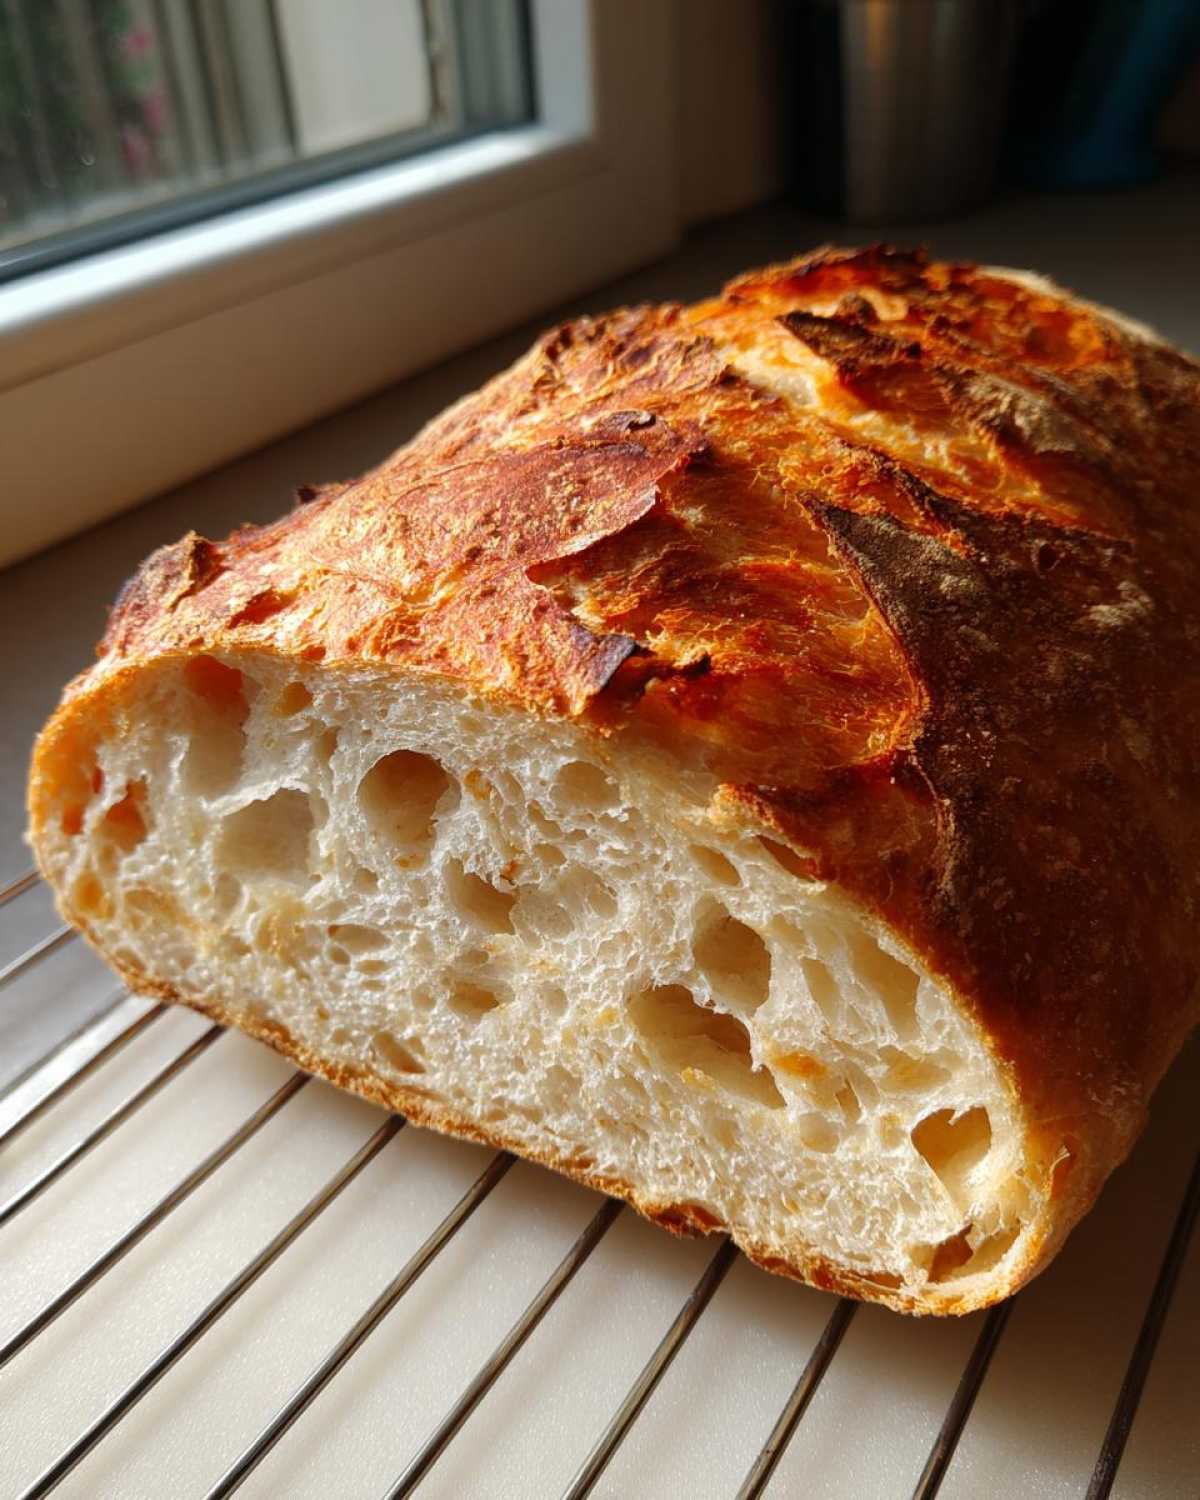
That crackly, deep golden perfection you see in bakeries? We get it by using steam! Don’t skip the little trick of tossing a pan of hot water in the bottom of the oven when the bread goes in. That burst of steam keeps the outside tender just long enough for the loaf to fully expand before the crust sets into a beautiful, hard shell. That steam is key for that winning, Golden Brown Crust Bread.
Simple Ingredients for Classic Italian Bread
Seriously, look at the ingredient list—there’s nothing fancy in here! We rely on the basics because that’s what makes Classic Italian Baking timeless. Forget specialized, hard-to-find flours or strange additives. You need flour, yeast, water, salt, and a touch of sugar and oil. If you have these things in your pantry right now, you can have fresh Homemade Italian Bread Recipe goodness ready soon!
Gathering Your Ingredients for Perfect Italian Bread
Okay, Simon is now hovering, probably telling me to crank up the music, but let’s write down exactly what we need so we can celebrate when we start mixing! This list uses the most basic things, so don’t panic about running to the store. We need just six things for this wonderful Italian bread loaf. We aren’t using any crazy additives here; just pure, simple goodness for that incredible final aroma that fills the whole kitchen!
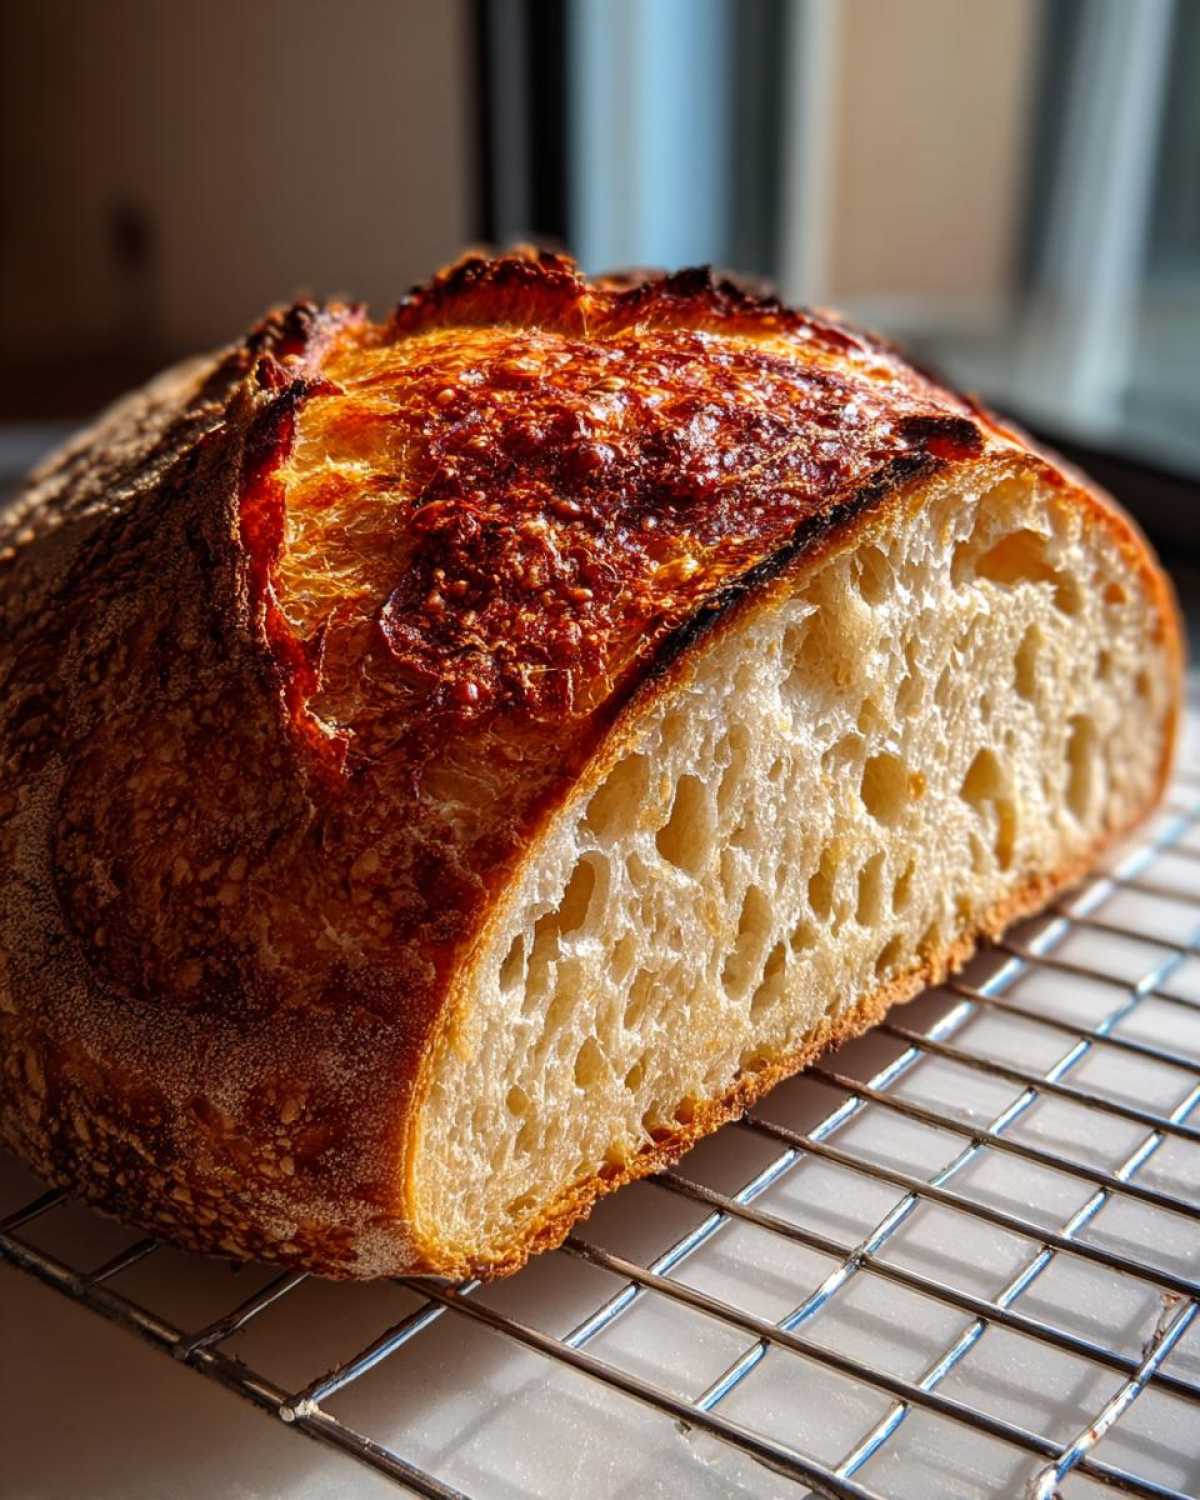
Remember, success starts with good technique, but having the right starting materials certainly helps! You can check out some fantastic tips on getting that crust just right over at this crust guide, but first, let’s talk specifics.
Ingredient Notes and Substitutions for Your Italian Bread
The most important thing you need to watch is the water temperature for activating your yeast. If it’s too cold, nothing happens, and that’s a failure we definitely don’t want! Aim for 105–115°F. If it’s too hot—say, straight from the kettle—you’ll kill those little yeast guys instantly. Also, we’re using all-purpose flour here to keep it super easy, but if you want just a tiny bit more structure and chewiness, you could swap out half a cup for bread flour. Just don’t go all the way bread flour, or the texture shifts too much from that classic, soft center we’re aiming for in this Homemade Italian Bread Recipe.
Step-by-Step Instructions for Your Homemade Italian Bread Recipe
Alright, this is where we turn ingredients into actual bread, and this is where Simon always starts playing his upbeat playlist! Don’t stress about the steps; we’re taking this slow and steady to nail that perfect texture. Remember, every step you complete is a win. If you’re looking for more great baking inspiration after this, I keep all my favorite achievable recipes over on the Blog page!
Activating Yeast and Mixing the Italian Bread Dough
Go grab your warmest water—105° to 115°F, warm like a cozy bath. Mix in that sugar and the yeast, and just wait ten minutes. If it gets foamy on top, give yourself a huge round of applause! That foam tells us the yeast is alive and ready to work magic. If it doesn’t foam, we toss it and start that first step again. It’s worth checking!
Kneading and the First Rise for Chewy Italian Loaf
Once you get the flour and oil in there, it’s going to look messy—that’s normal, don’t panic! Turn that shaggy dough out onto your counter and knead it hard for about 8 to 10 minutes. Keep going until it feels smooth and elastic, like a soft earlobe. Pop that baby into an oiled bowl, cover it up, and let it hang out for an hour to an hour and a half. This first rise builds all the flavor and gives us that beautiful, Chewy Italian Loaf interior.
Shaping and Preparing for the Golden Brown Crust Bread Bake
Gently punch the air out—it feels so satisfying! Then, shape it tightly how you want your final loaf to look. Cover it back up for a short second nap, about 30 to 45 minutes. Crucially, during the last 15 minutes of this rest, crank that oven up to 400°F! If you want that amazing bakery crust, make sure you put a shallow pan on the bottom rack while it heats up so you can generate steam later. That steam is the secret weapon for that Golden Brown Crust Bread!
Tips for Success When Baking Artisan Bread at Home
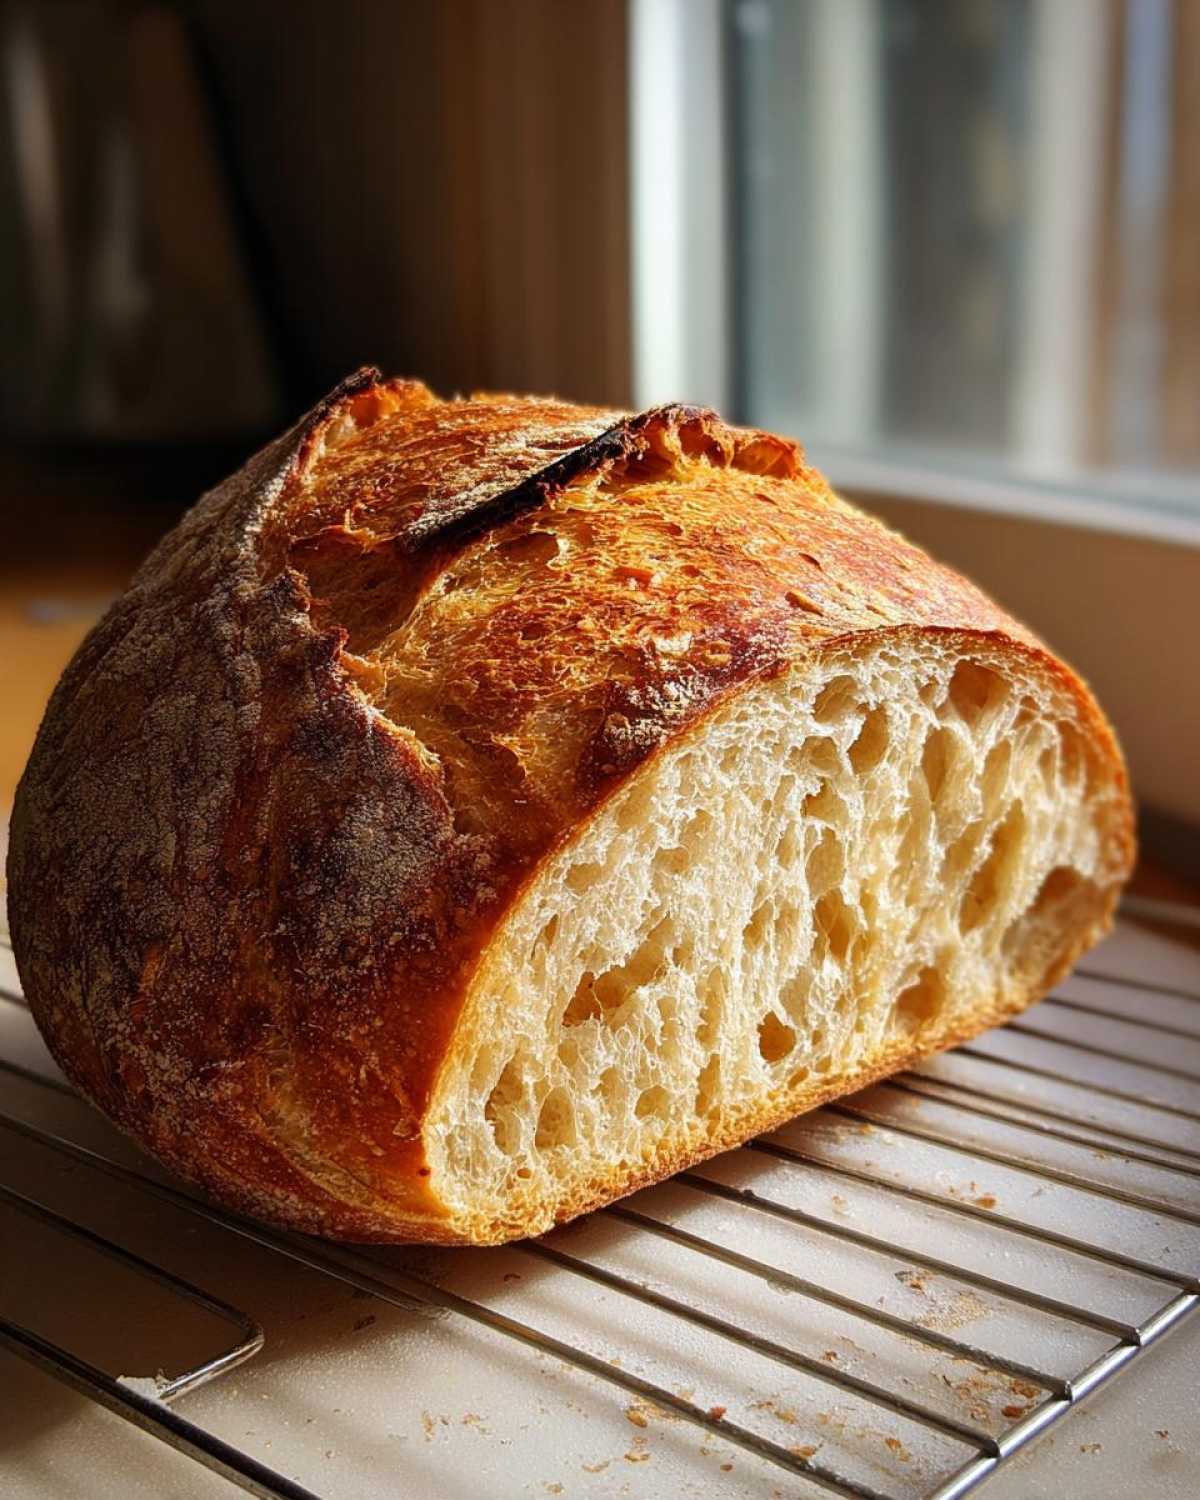
Now that you’ve mastered the rising and shaping, let’s talk about making sure this Italian bread is absolutely perfect when it comes out of the oven. We want that crunch, right? If you really want to level up and achieve that true rustic feel, you need to think about baking surface. My big tip, lifted straight from professional kitchens, is to preheat a pizza stone or even a baking steel inside the oven while it warms up. That retained heat makes the bottom crust spring beautifully, which is super impressive for a home bake!
If you look under the Notes section of the recipe, you’ll see an alternative for a softer experience—which is great for sandwiches. If you skip the steam bath in the oven, brush the loaf with melted butter right when it hits the cooling rack. Seriously, do it immediately! That stops the crust from tightening up too fast and keeps it soft and tender. Either way you choose, you’re earning those kudos for baking fresh bread. For more easy-to-achieve baking wins, check out some of my favorite simpler recipes over at this collection.
Serving Suggestions for Your Fresh Baked Bread Aromas
That moment when you pull this loaf out, and the smell just takes over the whole house? That’s the best part! Seriously, the Fresh Baked Bread Aromas are worth the effort alone. Now that you have this incredible Italian bread, what are you using it for? If you’re like me, you need it immediately for dipping!
This bread is absolutely fantastic for quick, authentic Dipping Bread Recipes. Pour a good quality olive oil into a shallow bowl—the fruity kind, not the watery supermarket stuff—add a pinch of freshly cracked black pepper, and tear off huge chunks. It’s perfect for soaking up the last bits of sauce from a big pasta dish, making it a must-have for Dinner Side Bread Recipes.
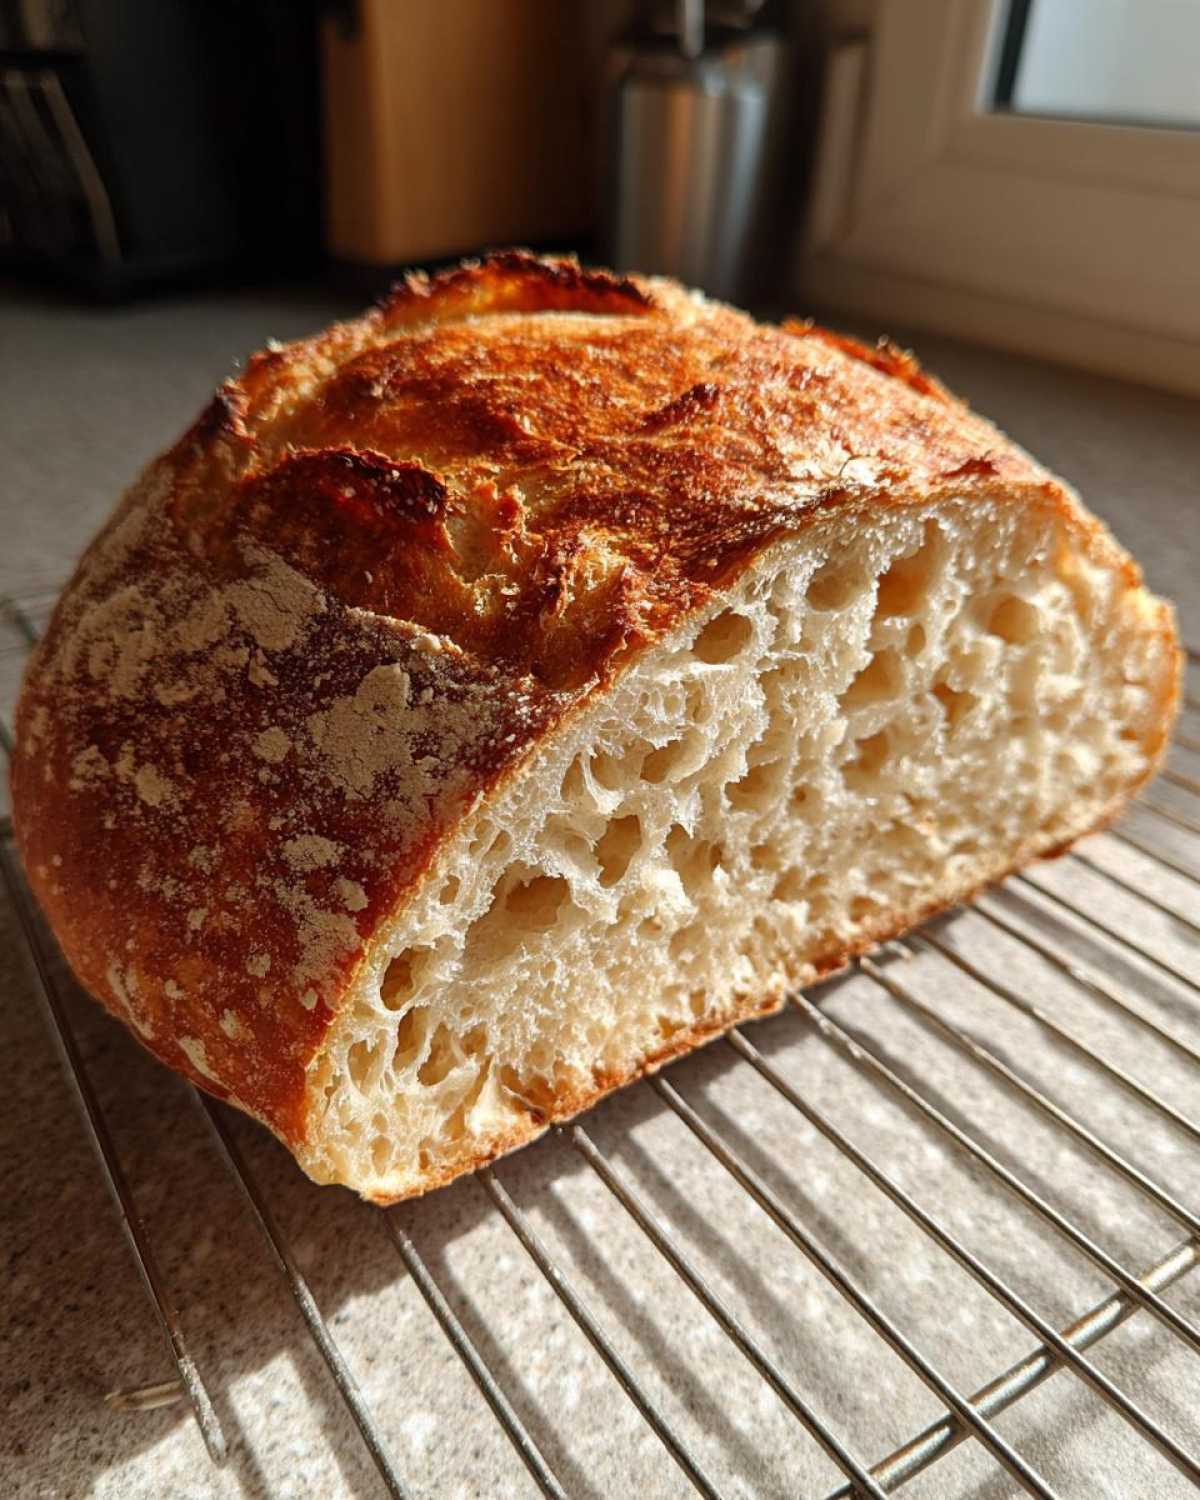
If you’re serving it with something saucy, try reheating a thick slice and topping it with good fresh basil and crushed garlic before serving it alongside a hearty stew or soup, like the amazing Zuppa Toscana I make; you can find that easy one-pot wonder right here on our site! And if you want more ideas on how to use up that amazing crust, check out what the lovely folks at this baker suggests for sandwiches!
Storage and Reheating Instructions for Leftover Italian Bread
Look, I know this loaf probably won’t last long—it’s too delicious! But if you happen to have leftovers, we need to treat them right so the crust stays crunchy. Trust me, the single fastest way to ruin that gorgeous crust is by wrapping it in plastic wrap. Plastic seals in moisture, which turns our lovely crispy shell into soft, sad bread overnight.
Instead, keep your Italian bread wrapped loosely in a clean kitchen towel on the counter for a day or two. When you’re ready for a slice, make it warm again! Pop the piece directly onto the rack in a 350°F oven for about five minutes. That blast of dry heat brings that golden crunch right back to life. You’ll be amazed how fresh it tastes!
Frequently Asked Questions About This Italian Bread
I know questions pop up when you’re diving into baking, especially when you’re aiming for a perfect crust! Simon always tells me, “Alice, there are no stupid questions, only missed opportunities for kudos!” So let’s clear up any lingering doubts about mastering this lovely Homemade Italian Bread Recipe.
For instance, many people ask if this works perfectly for sandwiches—yes, absolutely! Because we get that great inner chewiness, it holds up brilliantly without getting soggy. If you want even more professional insights into getting that crispy perfection, you should definitely check out this step-by-step tutorial.
Can I make this a No Knead Italian Bread Tutorial?
This specific recipe really relies on kneading for that classic texture; those 8 to 10 minutes build the gluten structure necessary for the perfect chew. If you love a No Knead Italian Bread Tutorial approach, you can try it, but you’ll need to let the dough ferment in the fridge overnight instead of the short second rise. It changes the flavor profile a bit, but it’s a fun experiment for another day!
How long does the dough need for the second rise of this Italian Bread?
We keep the second rise short because we already developed a lot of strength during the kneading process. You are looking for it to puff up noticeably, about 30 to 45 minutes, after you shape it. You want it nice and relaxed, but not doubled over like the first rise. The dough should look pillowy and slightly puffy right before you launch it into the oven alongside your chicken piccata!
We always celebrate those small wins, like getting the rise time just right! For more fail-proof recipes that guarantee success, peek at my easy chicken piccata recipe.
Nutritional Estimates for Your Simple Sandwich Bread
Okay, so we’ve made this beautiful, artisanal loaf, but maybe you’re counting macros or are just curious! Here are the ballpark figures you can expect per slice for this Simple Sandwich Bread. Remember, these are just estimates based on the basic ingredients—your actual numbers might vary slightly based on how thick you slice it (and let’s be honest, ours are usually thick!).
- Calories: 150
- Fat: 2g
- Carbohydrates: 30g
- Protein: 5g
We keep things simple, so no cholesterol or weird saturated fats to worry about here. Just good, honest bread! Give yourself a cheer for eating something so delicious that’s also this straightforward!
Share Your Kitchen Kudos for This Italian Bread
Now for the fun part! We want to celebrate this win with you. Did you nail that crust? Did the aroma fill your house? Please leave a rating for this italian bread recipe below and tell us how it went! We adore seeing your photos, so definitely tag us if you share them online. Your positive feedback really helps others feel confident trying their hand at this Homemade bread! If you have any quick questions, you can pop over to the contact page. And hey, if you want to see how others achieved that perfect texture, check out the tips right here!
PrintEasy Crusty Homemade Italian Bread: Bakery Style Loaf
You can bake a bakery-style Italian loaf at home with this easy recipe. It results in a golden, crunchy crust and a soft, chewy interior. This recipe is perfect for beginners and uses simple pantry ingredients.
- Prep Time: 20 min
- Cook Time: 35 min
- Total Time: 2 hours 5 minutes
- Yield: 1 loaf
- Category: Baking
- Method: Baking
- Cuisine: Italian
- Diet: Vegetarian
Ingredients
- 3 1/2 cups all-purpose flour
- 1 1/2 teaspoons salt
- 1 teaspoon granulated sugar
- 2 1/4 teaspoons active dry yeast (1 packet)
- 1 1/2 cups warm water (about 105-115°F)
- 1 tablespoon olive oil, plus more for the bowl
Instructions
- In a large bowl, mix the warm water, sugar, and yeast. Let this stand for 5 to 10 minutes until the mixture becomes foamy. This shows your yeast is active—give yourself a kudos for starting strong!
- Add the flour, salt, and 1 tablespoon of olive oil to the yeast mixture. Mix with a wooden spoon until a shaggy dough forms.
- Turn the dough out onto a lightly floured surface. Knead the dough for about 8 to 10 minutes until it becomes smooth and elastic. You are building great texture here!
- Lightly oil a large bowl. Place the dough in the bowl, turning it once to coat. Cover the bowl with plastic wrap or a clean kitchen towel.
- Let the dough rise in a warm place for 1 to 1.5 hours, or until it has doubled in size. This first rise is where the magic happens.
- Gently punch down the dough to release the air. Shape the dough into a tight loaf or oval shape.
- Place the shaped loaf on a baking sheet lined with parchment paper or in a lightly oiled loaf pan. Cover it loosely again.
- Let the dough have a second, shorter rise for about 30 to 45 minutes. Preheat your oven to 400°F (200°C) during the last 15 minutes of this rise. For an extra crispy crust, place a shallow pan on the bottom rack while preheating to create steam later.
- Just before baking, lightly brush the top of the loaf with water. If using the steam method, carefully pour 1 cup of hot water into the preheated shallow pan on the bottom rack and quickly close the oven door.
- Bake for 30 to 35 minutes, or until the crust is deep golden brown and sounds hollow when tapped.
- Remove the bread from the oven and transfer it to a wire rack to cool completely before slicing. Enjoy the aroma filling your kitchen!
Notes
- For a truly bakery-style crust, place a pizza stone or baking steel in the oven while preheating.
- If you want a softer crust, skip the steam pan and brush the loaf with melted butter immediately after it comes out of the oven.
- This bread is fantastic for dipping in olive oil or serving alongside pasta dishes.
Nutrition
- Serving Size: 1 slice
- Calories: 150
- Sugar: 1
- Sodium: 250
- Fat: 2
- Saturated Fat: 0.3
- Unsaturated Fat: 1.7
- Trans Fat: 0
- Carbohydrates: 30
- Fiber: 1
- Protein: 5
- Cholesterol: 0