

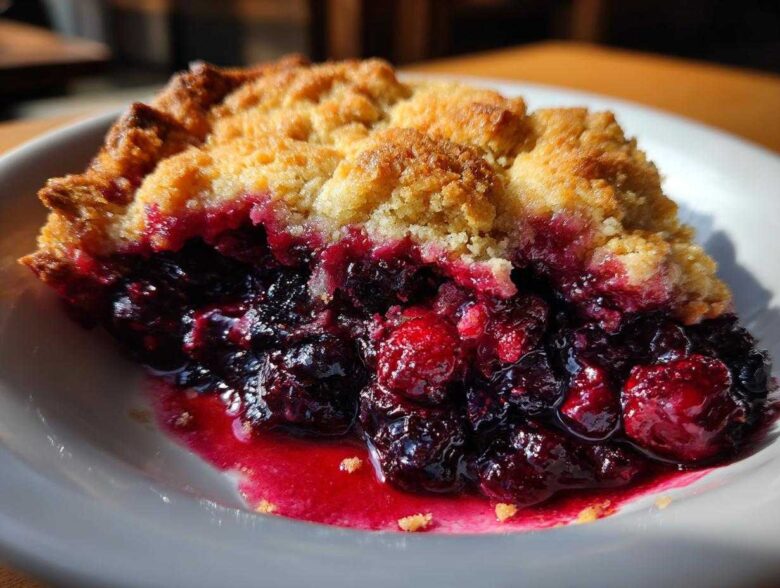
When life gets a bit hectic—and doesn’t it always?—what do we really crave? Not fussy soufflés, that’s for sure. We crave comfort. For me, nothing says cozy, achievable joy quite like a warm, bubbling berry cobbler. I used to stress over dessert, measuring everything down to the milligram, but Simon just laughed and taught me that the best food comes from relaxing! If you’re ever looking for more recipes that celebrate just showing up, check out our main recipe index.
This recipe is my declaration of independence from kitchen anxiety. It is the ultimate simple baking recipe because it works perfectly whether you grab those gorgeous fresh berries or pull a bag of frozen ones from the deep freeze. We’re making a classic cobbler with biscuit topping, and trust me, it is designed for giving yourself a big high-five when it comes out of the oven. Forget perfection; let’s make something delicious!
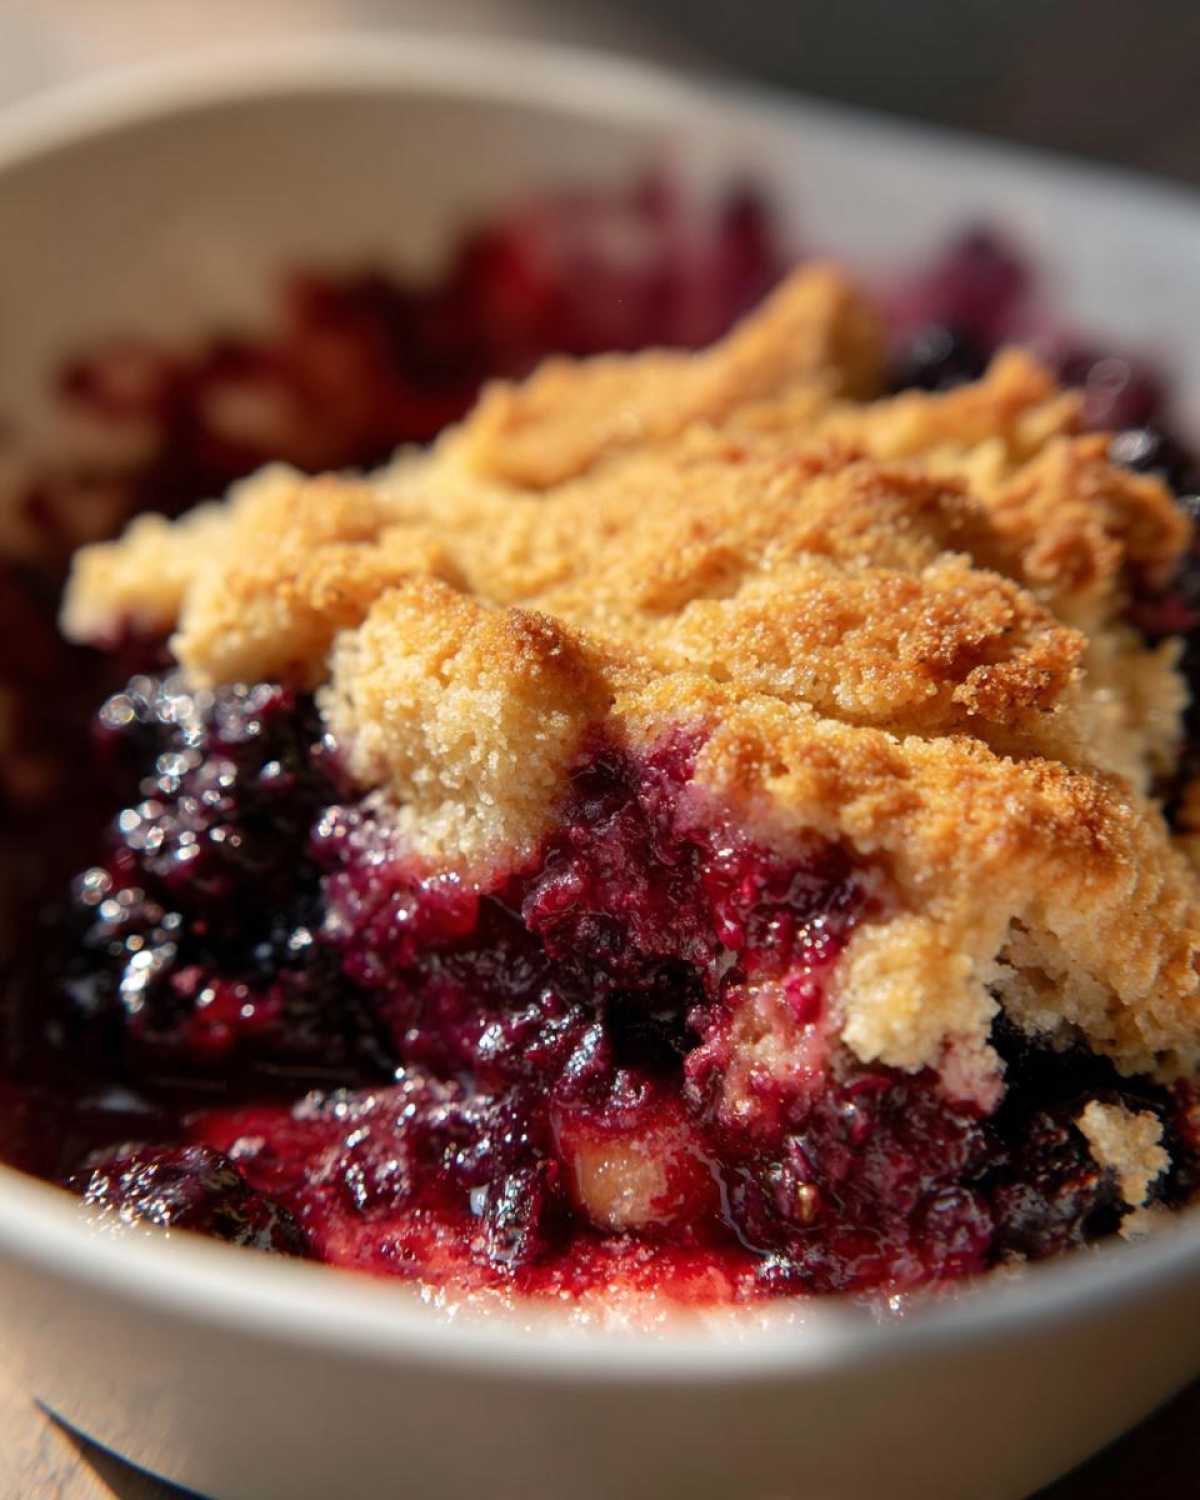
Why This Easy Berry Cobbler Recipe Deserves Your Kudos
I know you’re looking for an easy berry cobbler recipe that doesn’t demand you spend all afternoon wrestling with flour. That stress? We are leaving it at the door! Simon would insist that this particular berry cobbler recipe is a guaranteed win because it takes the guesswork out of baking. You do the minimal work, and the oven does the magic. It’s an absolute masterpiece of comfort!
Here is why you should feel excited to make this dessert tonight:
- It genuinely doesn’t care if your mixed berries are straight from the farmer’s market or the bottom of your freezer bag. Seriously, don’t even bother to thaw the frozen ones! It’s the ultimate quick fruit dessert savior.
- We aren’t messing around with fussy pastry dough. This features a gorgeous, fluffy, cobbler with biscuit topping that you stir together in about five minutes. It bakes up golden and soft right on top of the sweet fruit.
- This is the definition of reliable comfort food. It’s gooey, sweet, tart, and perfectly suited to be a warm berry dessert on a chilly evening or a fun summer treat after dinner.
- If you need something impressive for company but only have thirty minutes to whip it up, this is going to be your new go-to. It’s truly one of the best simple baking recipes in my rotation!
We want you to feel the praise, not the pressure, when you bake. If you’ve ever tried making an overly complicated pie crust and wanted to give up, try this instead. You can find more desserts that let you skip the fuss over at the Chicken Piccata post—yes, I know it’s chicken, but the philosophy about easy wins is the same!
Gathering Ingredients for Your Homemade Cobbler Recipe
Okay, let’s gather what we need for this satisfying homemade cobbler recipe. Don’t stress about gathering fancy supplies; Simon says the best magic comes from what we already have! Having these ingredients ready means we can get this dessert into the oven fast. It’s all about setting ourselves up for that sweet moment of praise later.
Here is the game plan for what you need to pull out:
- Six cups of mixed berries—remember, fresh or frozen works here, the more the merrier!
- For the fruit layer: 1/2 cup granulated sugar to balance the tartness, 2 tablespoons of cornstarch (our thickening secret!), 1 tablespoon of bright lemon juice, and just a tiny dash of cinnamon for warmth.
- For the biscuit topping: 1 1/2 cups of all-purpose flour and 2 teaspoons of baking powder.
- We also need 1/2 cup of sugar specifically for the biscuit part, 1/2 teaspoon of salt, 1/2 cup (that’s one full stick!) of unsalted butter that is wonderfully cold and cut small, and finally, 1/2 cup of milk. That’s it!
If you’re looking for more quick, flavor-packed meals, you have to see my Honey Garlic Chicken Stir-fry post. It really hits those comfort notes too.
Ingredient Notes and Substitution Tips for Berry Cobbler
This is where we talk specifics to make sure your berry cobbler is perfect. Remember our rule? If you’re reaching for frozen berries, please—I beg you—do not thaw them first! You want them icy cold. If you try to thaw them, you’ll end up with a soupy mess instead of that perfect, jammy filling. Trust me on cutting corners elsewhere, but not here!
Also, for the topping, while the recipe calls for regular milk, if you happen to have buttermilk sitting around, use it! Buttermilk adds this amazing, very slight tang that just elevates the biscuit dough from good to great. And hey, if you sprinkle just a tablespoon of coarse sugar over the tops of those biscuit dollops before they go in, Simon always calls that little crunch ‘extra kudos’ points!
Step-by-Step Instructions for the Best Berry Cobbler
This is it! The part where we bring everything together. Don’t look at this mountain of steps and feel the old pressure creeping in. Simon says every step is a victory worth celebrating, so let’s go! We’re going to tackle this berry cobbler in clear stages. Grab your 8×8 inch dish—and give yourself kudos for getting that oven warming up to 375°F (190°C) right now!
I included a link to our recipe for Oven Roasted Rib Roast if you ever need a centerpiece meal, but today, we focus on easy fruit magic!
Preparing the Fruit Filling for Your Berry Cobbler
First up is the jammy sweetness underneath. In a big bowl—the bigger the better so you can stir without messy spills—toss those mixed berries with the 1/2 cup of sugar we set aside for the filling. Now sprinkle in the cornstarch—that’s what thickens everything up so you get gooey filling instead of watery soup. Add your lemon juice for brightness and that whisper of cinnamon. Mix this super gently. I mean it! We want to coat everything without smashing our beautiful berries. They are the star of this mixed berry cobbler, after all.
Once everything is coated, pour that lovely purple-red mixture into your prepared baking dish. Easy start, right? Knew you could do it!
Creating the Perfect Cobbler with Biscuit Topping
Time for the topping, which is what separates a good cobbler—a great cobbler with biscuit topping—from just a fruit bake. In a separate bowl, whisk together the flour, baking powder, salt, and the remaining 1/2 cup of sugar. Make sure they are friends before we move on to the butter!
Now, take that cold butter you chopped up and drop it in. This is so important: you have to cut that butter in until the texture is like coarse crumbs—think tiny, uneven peas. You can use a pastry blender, or honestly, just use your clean fingers! Simon says feeling the dough is half the fun. Once it looks crumbly, pour in the milk. Stop mixing immediately once you see a shaggy dough form! If you keep stirring, you’ll overwork the gluten, and guess what? We get tough biscuits instead of tender ones. A few little dry spots are totally fine; they’ll bake up just great.
Take spoonfuls of that dough—maybe a tablespoon size is good—and just drop them randomly over the berry mixture. Don’t stress about making them perfect circles, just cover most of the top. Imperfect is delicious, I promise!
Baking and Resting Your Warm Berry Dessert
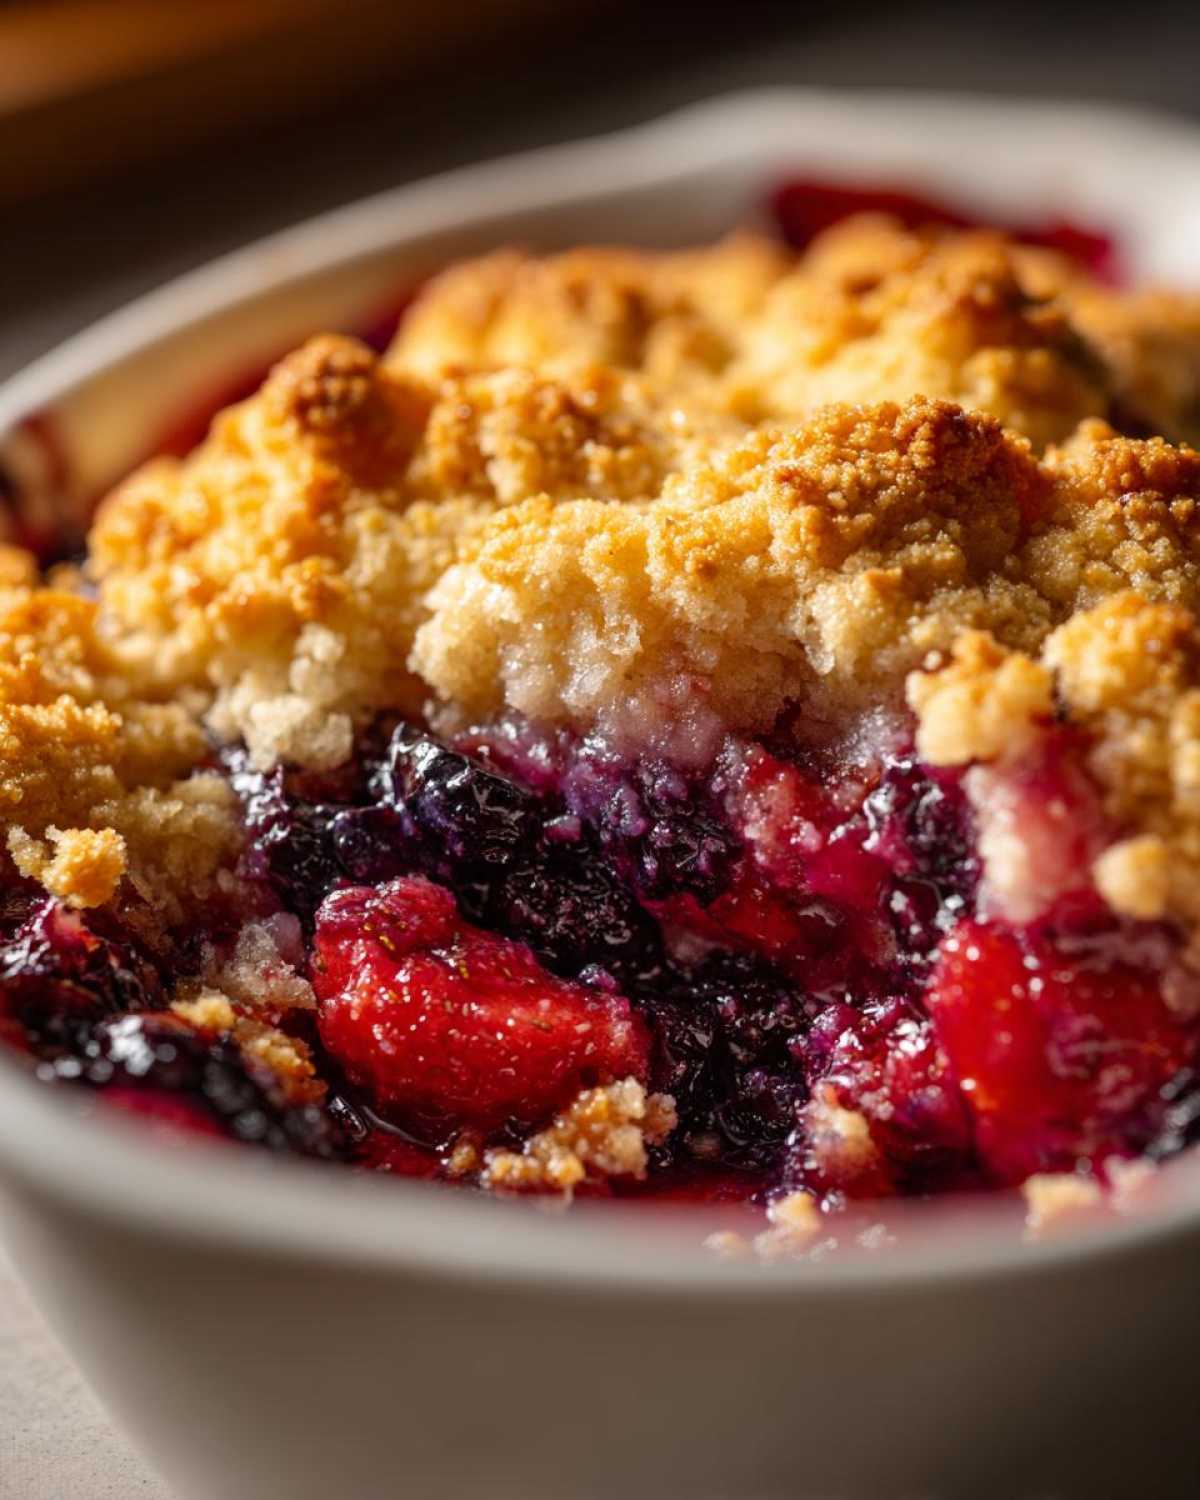
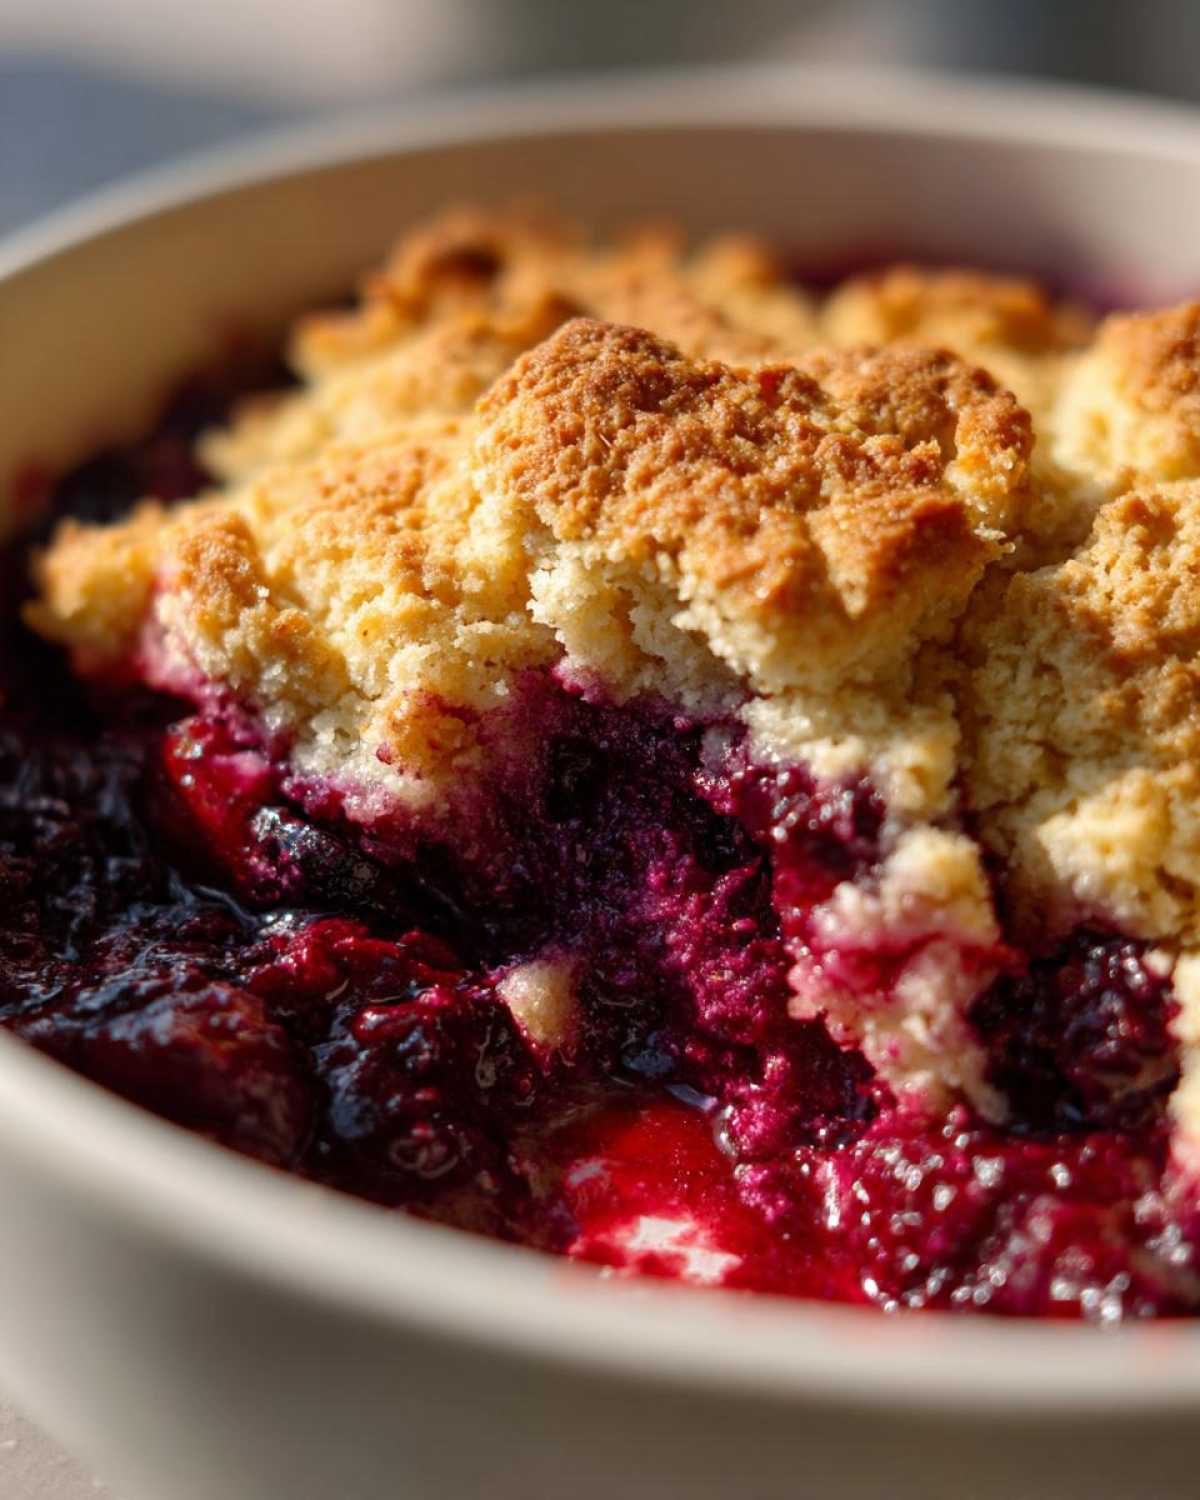
Pop the whole thing into that preheated 375°F (190°C) oven. You are looking for a bake time between 35 and 45 minutes. How do you know it’s done? You watch for those berries to start bubbling up around the edges like happy little volcanoes, and the biscuit topping should be beautifully golden brown. If you want to check out another comforting baked treat, this recipe for cozy dessert inspiration might give you some ideas!
Okay, here’s the tough part that requires true patience: Wait! Once it comes out, you absolutely must let this warm berry dessert rest for at least 15 minutes. If you cut into it right away, all that beautiful, thickened juice will just run out everywhere. Resting time lets it settle, and it’s a perfect moment for you to grab the vanilla ice cream!
Tips for the Best Berry Cobbler Success
Even though this is such an easy recipe, those extra little touches are what make Simon stop mid-sentence and give me serious kitchen kudos. You see, perfecting this berry cobbler isn’t about being a pastry chef; it’s just about knowing a few insider secrets to boost that flavor and texture, especially since we want that topping to sing!
If you want to elevate this from merely good to absolutely show-stopping, here are the things I always do:
- The Coarse Sugar Sprinkle: I mentioned this briefly, but I want to emphasize it! Before it goes into the oven, grab about one tablespoon of coarse sugar—sometimes called turbinado sugar—and just sprinkle it randomly over the tops of the dough dollops. When they bake, it creates this amazing sugary crust that sparkles and adds the perfect little crunch. It’s such a minor step, but trust me, it makes all the difference in the texture of your berry cobbler topping.
- Don’t Fear the Cornstarch: Cornstarch is crucial here. Baking with frozen berries means extra water release, and we need that cornstarch to handle the moisture. If you notice your berries are overly watery when you mix them, add just a tiny *heaping* teaspoon more. Better too thick than having dessert soup!
- Butter Must Be Cold: When you are cutting in the butter for the biscuit dough, if it starts feeling soft or greasy in your hands, just pop the bowl into the freezer for five minutes. Cold fat creates steam pockets when it heats up, which is what gives you that light, flaky texture we want in a proper biscuit topping.
We don’t fuss over complicated techniques here, just smart ones! If you need another straightforward recipe that always turns out beautifully, take a look at my Chicken and Wild Rice Casserole. It’s another one that proves simple ingredients make for the best comfort food.
Serving Suggestions for Your Berry Cobbler with Biscuit Topping
Now that you’ve waited patiently (and maybe peeked a little!), it’s time for the moment of truth. This is where we transform a wonderful baked dessert into an absolute showstopper. Simon insists that serving it hot, almost straight from the oven, is the only way to truly enjoy a berry cobbler. When you finally get to serve up this amazing comfort food dessert, do not hold back on the toppings!
The picture in my head—the one that always gets me excited—is right here:
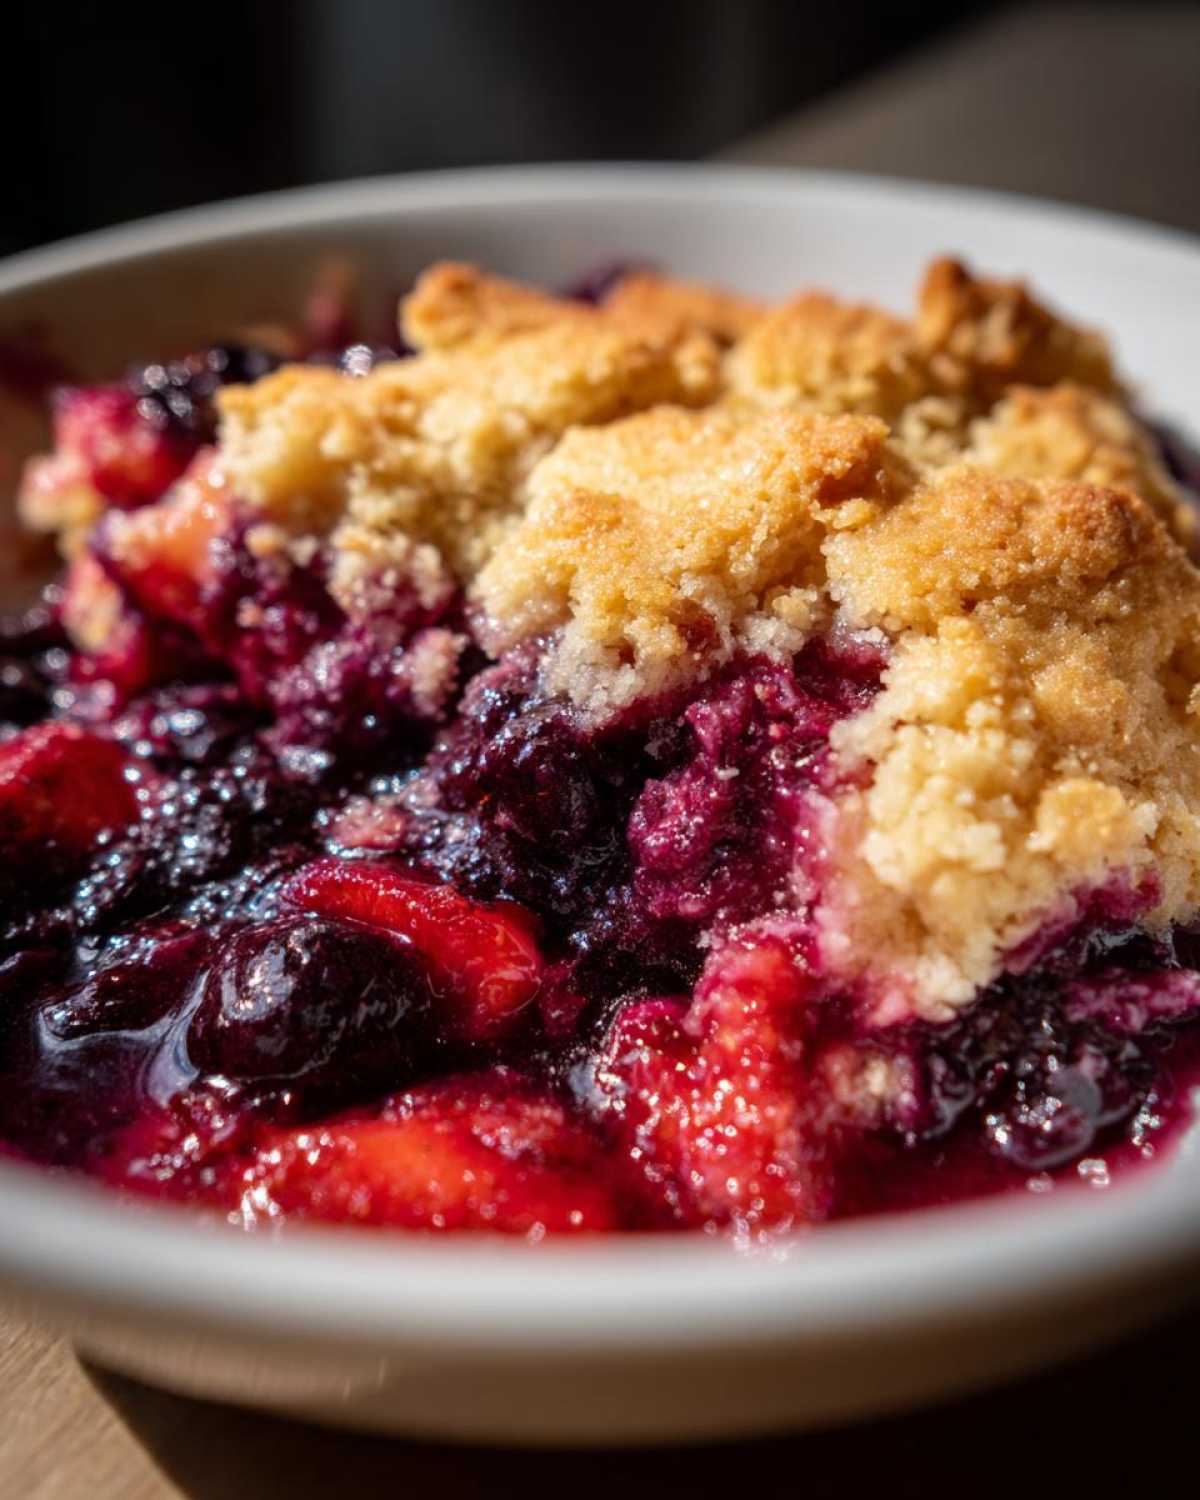
- The Ice Cream Hug: This is non-negotiable for me. A generous scoop, maybe two, of high-quality vanilla ice cream perched right on top of the warm, bubbly biscuit topping. The flavor contrast is just stunning—hot, tart berries against cold, sweet vanilla creaminess. This combination makes it the ultimate dessert topped with ice cream.
- Simple Spice Dusting: If you didn’t sprinkle that coarse sugar on before baking, you can still add a lovely touch after it cools slightly. Take a small sifter and lightly dust the cobbler with biscuit topping with a tiny bit of powdered sugar or a gentle dusting of ground cinnamon right before serving. It looks so professional!
- A Little Drizzle: If you’re feeling extra celebratory (and believe me, you should be!), a light drizzle of chocolate sauce or maybe even a thin caramel sauce can be amazing over the ice cream. It’s not traditional Southern Style Cobbler, but hey, we are making kitchen memories here!
If you are looking for another simple recipe that brings this level of warmth and satisfaction to the dinner table, you absolutely have to try our Zuppa Toscana soup. It’s pure comfort in a bowl!
If you want to see another beautiful example of how bloggers handle fruit toppings, feel free to look at this idea for blackberry cobbler. But honestly, I still think our mixed berry version using fresh or frozen fruit is the winner for speed and taste!
Storing and Reheating This Simple Baking Recipe
One of the best things about this recipe being such a fantastic last minute dessert idea is that you often have leftovers because it’s just *that* good! When that happens, don’t fret; storing and reheating your berry cobbler is super simple, meaning you can capture that cozy feeling all over again tomorrow.
For storage, let the cobbler cool completely first. Simon wants to dig in right away, but I make him wait! Once cool, cover the baking dish tightly with plastic wrap or foil. I usually keep leftovers right on the counter for the first day if the kitchen isn’t too hot, but if you aren’t eating it within 24 hours, pop it into the fridge. It keeps wonderfully for about three or four days, which is excellent because you now have dessert sorted!
When it’s time for round two—the ultimate leftover moment—reheating is key, especially for that biscuit topping. You *could* microwave it, but honestly, that makes the biscuit topping go soft and a little chewy, and we want praise, not gummy texture! The best way to bring this back to life is in the oven.
Reheating for Maximum Biscuit Fluffiness
To get that fresh-baked feel back, set your oven down to about 325°F (160°C). Place the amount you want to eat right into an oven-safe dish if you cut it out, or just put the whole thing back in if you’re feeling brave. Heat it gently for about 10 to 15 minutes. You just want it warmed through and bubbling gently. This low and slow method warms the berries lovingly while crisping up the topping again. Simon insists that a quick reheat deserves an extra high-five!
If you need another great make-ahead side that you can keep on hand, check out my recipe for Sweet Potato Salad. It’s surprisingly popular year-round, proving that great food doesn’t need to be complicated!
Frequently Asked Questions About Making Berry Cobbler
I always get so many questions when people try this berry cobbler for the first time—and honestly, that’s my favorite part! It means people are actually making it and finding joy in the process. Simon always says that questions mean you’re learning, and learning means you deserve kudos! If you’re newer to the kitchen and looking for more simple inspiration, you should definitely check out the main recipe index here on the site.
Can I use only one type of berry instead of mixed?
Absolutely! This is one of the things I love about this fruit dessert: its flexibility. If you only have beautiful fresh blackberries or a ton of frozen raspberries, go for it. If you’re making a single-fruit situation, like a dedicated blackberry raspberry cobbler, just keep an eye on the moisture. If you happen to be using a very watery fruit (like fresh strawberries sometimes are), you might want to add just one extra half-teaspoon of cornstarch to make sure your filling thickens nicely. The triple berry cobbler recipe is just one flavor profile; your favorite berry is the right berry!
What is the difference between a berry cobbler and a berry crumble?
That’s a great question, and it’s all about the topping you choose! With our classic berry cobbler, we are dropping dollops of biscuit dough right over the fruit filling. It bakes up soft, almost like a scone sitting on top of the bubbling berries. A crumble, on the other hand, uses a streusel topping—that’s sugar, flour, and butter that you rub together until it’s sandy and crumbly. That streusel then covers everything. Both are delicious, but if you want that wonderful, fluffy mound of dough, you want the cobbler method we used here! For an example of the other style, you can check out this ultimate berry crumble recipe.
How do I make this a quick fruit dessert using cake mix?
I know that some recipes out there use a box of cake mix stirred with butter to make a super-fast topping, and yes, that is certainly a speedy way to get a dessert baked! However, Simon and I really prefer the texture we get from making our own biscuit topping from scratch, as we did here. It’s just a couple of extra minutes, but the lift and tenderness you get with real baking powder and flour just can’t be beaten when you’re going for that perfect texture. For us, the slight effort is worth the major kudos!
Estimated Nutritional Data for This Berry Cobbler
I’ve done the best I can to lay out what you can expect nutritionally from a slice of this wonderful berry cobbler. Remember, Simon always tells me that focusing too much on the numbers steals the joy from the eating experience, but since you’re asking, here are the details!
This data is calculated based on 6 generous servings from an 8×8 dish, but remember, because we are working with fresh fruit and the sugar content can change based on berry sweetness, these are just close estimates. Don’t let the numbers stop you from enjoying this amazing dessert!
- Serving Size: 1 serving
- Calories: 380
- Sugar: 35g (Mostly from the fruit and the topping!)
- Fat: 15g
- Protein: 5g
- Carbohydrates: 60g
- Fiber: 4g
If you used buttermilk or added extra coarse sugar on top, those numbers will shift a bit, so take this information as a general guide. The real measurement here is how happy you are eating it! If you want another, slightly different sweet treat idea, go take a peek at my Peanut Butter Pretzel Bark for a fun contrast!
Share Your Kitchen Wins
You did it! You made the easiest, coziest, most satisfying berry cobbler, and I am genuinely so proud of you. Seriously, take a moment right now—put your spoon down, step away from the sink—and give yourself a huge round of applause. That warm, bubbly smell filling your kitchen? That’s the smell of a kitchen win, and you earned it!
This is what Kitchn Kudos is all about. It’s not just the instructions; it’s celebrating the fact that you showed up, grabbed some berries, and made something delicious happen. Simon would be out here demanding a slow dance right now!
I really want to hear all about it! Head down to the comments section and tell me:
- Did you use fresh or frozen berries?
- How perfect was that biscuit topping?
- Did you manage to save any for breakfast (or did it disappear immediately)?
Your success stories are what motivate us to keep sharing these simple, wonderful recipes. If you feel like you need to send us a picture of this gorgeous dessert melting your vanilla ice cream, by all means, reach out via our contact page! We love seeing your victories.
If you enjoyed this recipe and want to see other ways folks handle their fruit desserts, feel free to look at this version of a berry bake from Julie’s site, Julie’s Eats & Treats. But don’t forget, if you loved the biscuit topping, you’ve got to stay here with us!
Go enjoy that warm dessert. You deserve all the praise!
PrintThe Easiest Mixed Berry Cobbler with Biscuit Topping (Uses Fresh or Frozen Berries)
You will love this easy mixed berry cobbler that uses fresh or frozen berries for a warm, comforting dessert. The biscuit topping bakes up perfectly golden. This is a simple baking recipe perfect for any night.
- Prep Time: 15 min
- Cook Time: 40 min
- Total Time: 55 min
- Yield: 6 servings
- Category: Dessert
- Method: Baking
- Cuisine: American
- Diet: Vegetarian
Ingredients
- 6 cups mixed berries (fresh or frozen)
- 1/2 cup granulated sugar
- 2 tablespoons cornstarch
- 1 tablespoon lemon juice
- 1/4 teaspoon ground cinnamon
- 1 1/2 cups all-purpose flour
- 2 teaspoons baking powder
- 1/2 teaspoon salt
- 1/2 cup granulated sugar (for topping)
- 1/2 cup (1 stick) cold unsalted butter, cut into small pieces
- 1/2 cup milk
Instructions
- Preheat your oven to 375°F (190°C). Lightly grease an 8×8 inch baking dish. Give yourself kudos for getting the oven ready!
- In a large bowl, gently combine the mixed berries, 1/2 cup sugar, cornstarch, lemon juice, and cinnamon. Pour this berry mixture into your prepared baking dish.
- Prepare the biscuit topping: In a separate medium bowl, whisk together the flour, baking powder, salt, and the remaining 1/2 cup sugar.
- Cut in the cold butter using a pastry blender or your fingertips until the mixture resembles coarse crumbs. You are doing great!
- Pour in the milk and stir just until a shaggy dough forms. Do not overmix; a few dry spots are fine.
- Drop spoonfuls of the biscuit dough evenly over the berry filling. You can space them out or cover the entire surface.
- Bake for 35 to 45 minutes, or until the topping is golden brown and the berry filling is bubbly around the edges.
- Let the cobbler cool for at least 15 minutes before serving. This warm berry dessert is best served with a scoop of vanilla ice cream. Celebrate this delicious victory!
Notes
- If you use frozen berries, do not thaw them first. You may need to add 5-10 minutes to the baking time.
- For a richer topping flavor, substitute buttermilk for the milk.
- If you want a slightly crispier topping, sprinkle 1 tablespoon of coarse sugar over the dough before baking.
Nutrition
- Serving Size: 1 serving
- Calories: 380
- Sugar: 35g
- Sodium: 250mg
- Fat: 15g
- Saturated Fat: 9g
- Unsaturated Fat: 6g
- Trans Fat: 0g
- Carbohydrates: 60g
- Fiber: 4g
- Protein: 5g
- Cholesterol: 35mg