

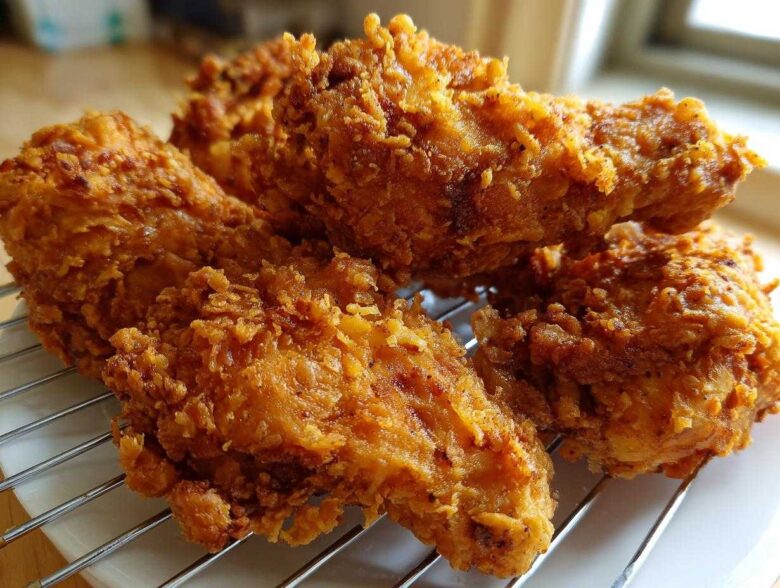
Look, I’m going to tell you a secret right now: I spent years chasing that perfect, shatteringly crispy coating. You know the one—that audible crunch when you bite into it, the beautiful golden color that looks exactly like restaurant quality? Well, after way too many oily, sad attempts, I finally cracked the code. Forget flimsy coatings that slide right off! This recipe delivers the ultimate Crispy Fried Chicken with Golden Crunch, and it all comes down to a super intentional double-dredging method. I remember the absolute joy the first time my husband actually stopped mid-chew just to compliment the texture. If you want to ditch bland, soggy chicken forever, you should check out my guide on crispy baked chicken wings for other times you don’t want to deep fry. Trust me, once you nail this technique, you’ll never go back to just dunking your chicken once.
Why This Method Guarantees Crispy Fried Chicken with Golden Crunch
So, what makes this approach so different? It’s all about chemistry and texture management! My biggest fight used to be against grease absorption, which is the enemy of crispness. We solve that by setting up layers that actively resist sogginess. You’ll want to read up on my friend’s thoughts on other crunch secrets sometime soon, but the foundation here is what matters most.
The Role of Buttermilk in Tenderizing
The buttermilk bath isn’t just for flavor, though it tastes amazing! The mild acidity goes to work on the chicken proteins, making the meat incredibly tender. Plus, that leftover buttermilk clinging to the surface when you pull the chicken out is the perfect sticky base for our crunchy coating. You can learn more about the full buttermilk fried chicken technique here if you’re curious!
Building the Ultimate Crunchy Chicken Batter Guide
This is where we build the armor! We aren’t just coating the chicken once; we’re doing a double dredge. That means flour, then back into the wet, and then back into the flour again. This layering process creates those wonderful, craggy, uneven bits—the peaks that crisp up into those addictive crunchy flakes. Adding cornstarch to the flour mix is key, too; it helps stabilize the coating and keeps it from falling off halfway through frying. That’s how you get that restaurant-style shell!
Ingredients for Crispy Fried Chicken with Golden Crunch
Okay, let’s get everything measured out! I like to have all my ingredients lined up before I even think about prepping the chicken. It makes the process so much smoother, and frankly, less stressful when you’re dealing with hot oil later on. For the best color, and trust me on this, make sure you grab some good quality paprika; those paprika notes really help drive that beautiful, deep golden hue we are after. If you want to see some amazing alternatives for wet brines, check out this ultimate zesty lemon garlic marinade, but stick to the buttermilk for this one!
Here is what you’ll need for 4 hungry people:
- 3 lbs chicken pieces (bone-in, skin-on—this is important for flavor and juiciness!)
- 2 cups buttermilk – don’t skimp here!
- 1 tablespoon hot sauce – just whatever you have on hand, Frank’s works great.
- 1 tablespoon salt
- 1 teaspoon black pepper
- 2 cups all-purpose flour
- 1/2 cup cornstarch – this is your secret weapon for that super light crunch!
- 1 tablespoon paprika (the richer the color, the better the final fry!)
- 1 tablespoon garlic powder
- 1 tablespoon onion powder
- 1 teaspoon cayenne pepper – adjust this if you’re sensitive to heat!
- Vegetable oil, for frying (you’ll need about 2 inches in your pot)
How to Prepare Crispy Fried Chicken with Golden Crunch
Alright, buckle up, because this is where the magic happens! If you follow these steps intentionally, you’ll get that amazing texture every single time. The timing and temperature checks are non-negotiable if you want that coveted Crispy Fried Chicken with Golden Crunch without the greasiness.
Brining and Preparing the Chicken
First thing—and please listen to me on this—you must let this chicken brine! Combine your buttermilk, hot sauce, salt, and pepper, completely cover those pieces, and stash them in the fridge for at least four hours. I swear by leaving mine overnight; it makes the inside so juicy it cries when you bite into it. When you pull the chicken out, just let the excess buttermilk drip off. Don’t wipe it dry! You need that wet layer clinging on to grab the flour.
Executing the Double Dredge for Maximum Crunch
Next, get your dry mix ready. Once your chicken drips off a bit, dredge it *hard* in the flour mixture. Really press that coating into every nook and cranny—this creates those crunchy little valleys! Then, dip it *quickly* back into the leftover buttermilk—don’t leave it sitting, just a fast dunk. Immediately, that piece goes back into the flour for the second dredge. You gotta press down again, really compacting that coating to build those thick, uneven flakes. That second coat is what turns into the extra-crispy, craggy shell!
Deep Fried Chicken Perfection: Oil Management
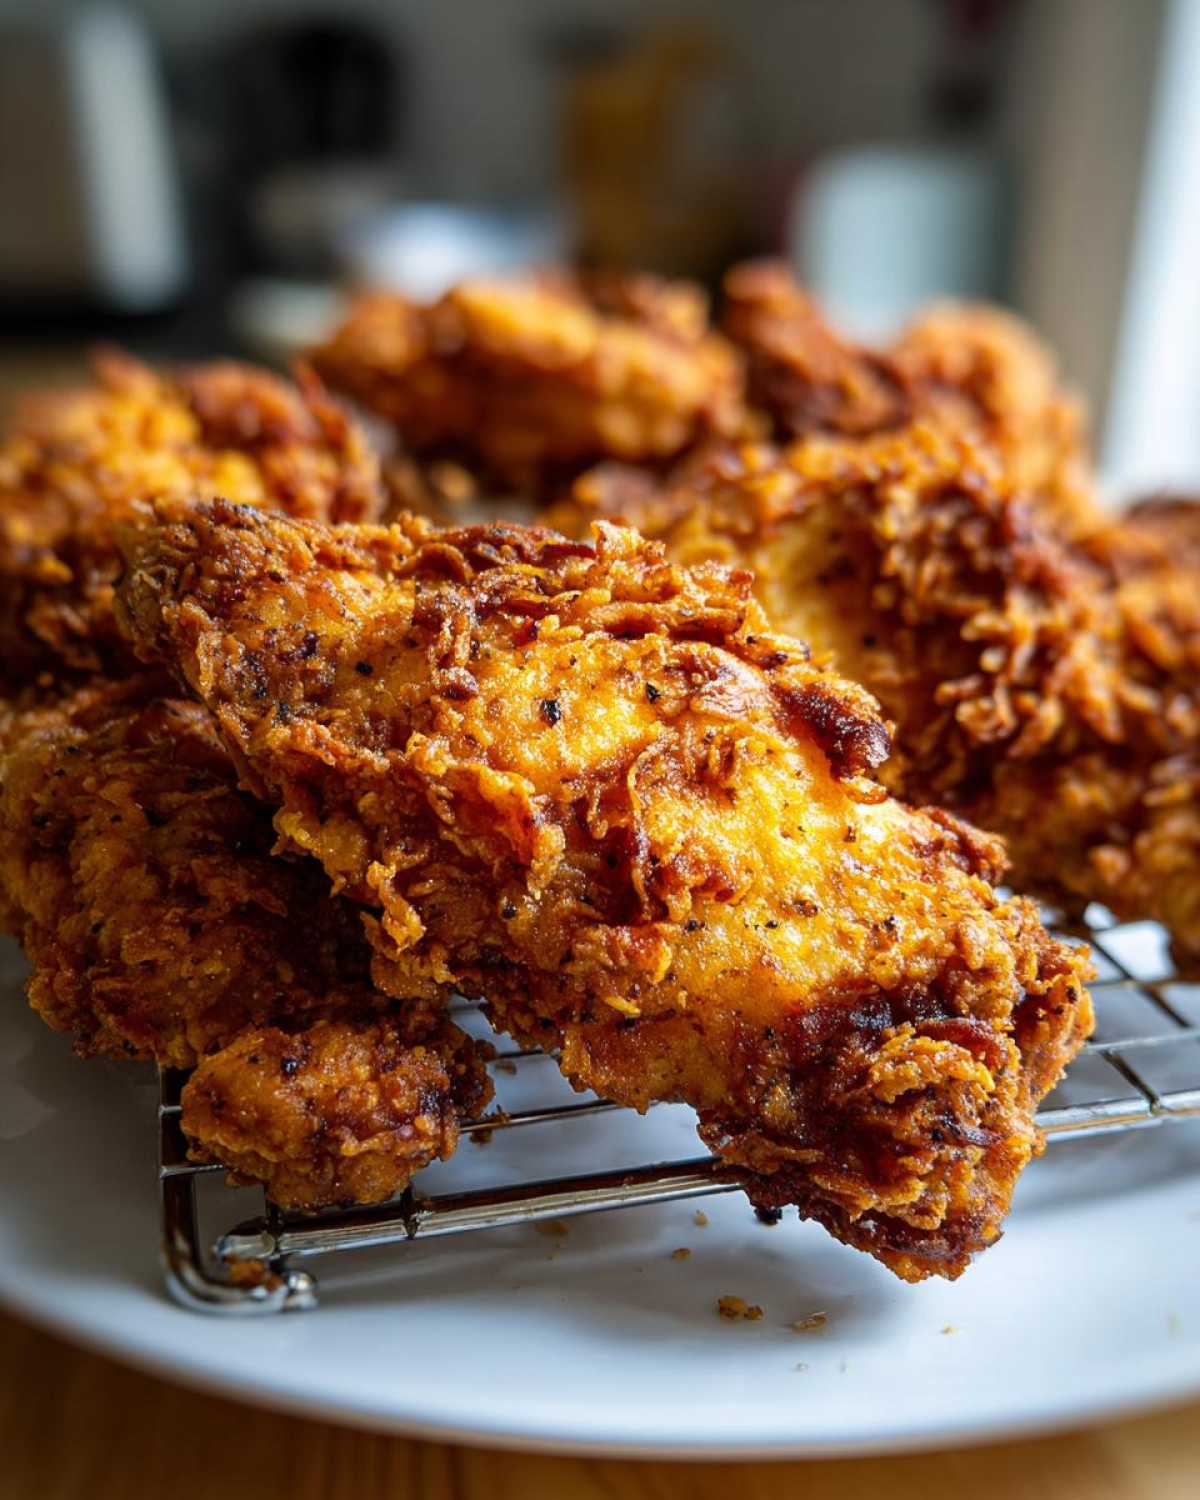
This is serious business. You need a heavy pot, about two inches of oil, and you have to get that oil to a steady 325 degrees Fahrenheit (160 degrees Celsius). Use a thermometer; guess work leads to raw chicken or burnt crusts! Carefully place just 3 or 4 pieces in at a time—do not crowd the pot, or the temperature will plummet, and we said no soggy chicken! Fry about 6 to 8 minutes per side. If you have really thick thighs, drop the heat slightly to 300°F (150°C) so the inside cooks through. Now, for the ultimate, the absolute best, oil temperature for perfect fried chicken matters immensely! If you want that extreme crunch, let the chicken rest for 10 minutes after the first fry, crank the oil up to 375°F (190°C), and flash fry it for just 1-2 minutes. That locks in the crunch and gives it the deepest golden color possible.
Tips for Success: Never Soggy Fried Chicken
Even with the best double dredge, you can ruin the crunch in the last five minutes! My absolute number one rule for keeping this chicken crispy is avoiding paper towels for draining. Seriously, toss them out! When hot, steamy chicken sits on paper towels, that trapped steam instantly softens your beautiful crust. Instead, always drain your fried chicken on a clean wire rack set over a baking sheet. This lets the air circulate all around the piece, keeping the bottom crisp too.
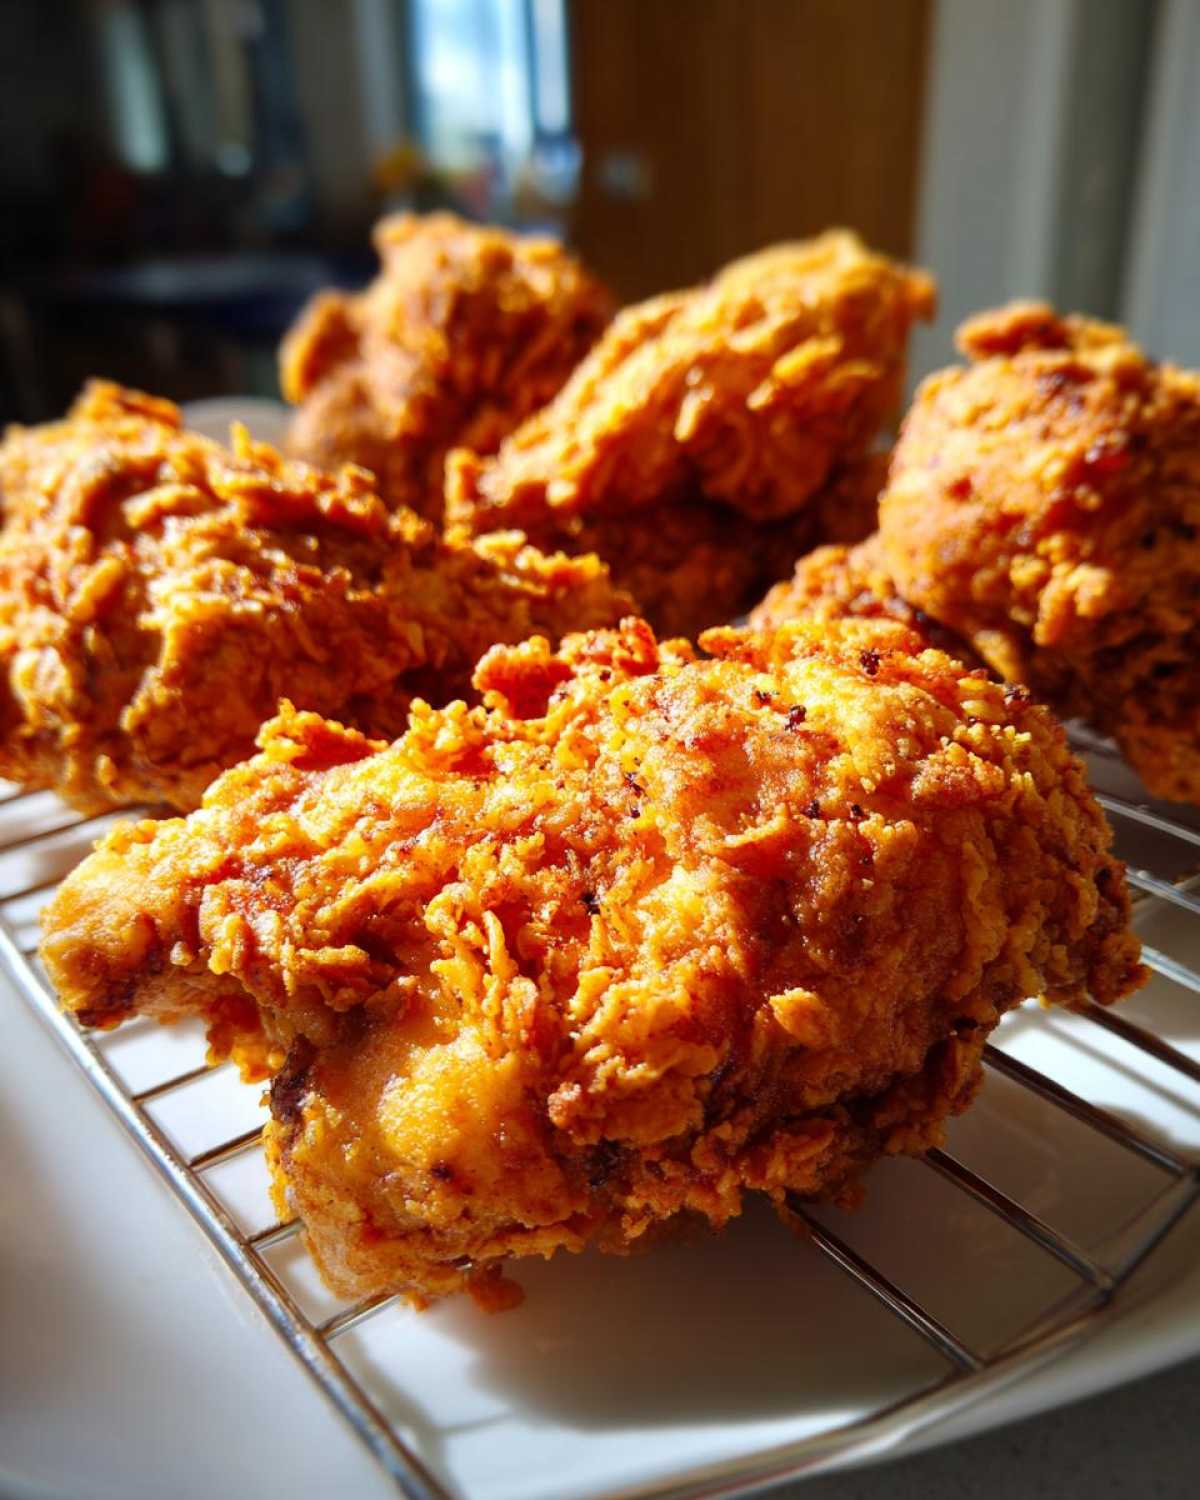
Also, when dealing with those big bone-in thighs or breasts, you have to manage your heat carefully. Once the chicken is beautifully golden brown, I usually drop the oil temperature down just a touch—maybe 25 degrees—to finish cooking the inside slowly. This ensures the meat is perfectly cooked (165°F internal, always!) without burning the exterior crust we worked so hard to build. It takes feeling the process, but you’ll get there! If you’re looking for another great way to cook large cuts of meat without drying them out, you have to peek at my easy oven-roasted rib roast recipe.
Variations on Your Homemade Crispy Chicken Coating
Now that you’ve mastered the base dredge—flour, cornstarch, and our spice mix—it’s time to get creative! This is where you can really personalize your chicken and lean into different flavor profiles while keeping that essential, amazing crunch alive. Remember, the key to our successful Homemade Crispy Chicken Coating is the double dredge, so no matter what you mix in, we still need two layers of that fantastic texture builder.
If you’re looking for recipes that lean into some gluten-free options, you should absolutely check out my gluten-free garlic cheddar biscuits recipe for something else great to bake! But let’s stick to the chicken dredge for now!
Smoked Paprika Kick
Want a deeper color and a little smoky depth that complements the spice we already have? Swap out about a tablespoon of your regular paprika for smoked paprika. Don’t just dust it on top after frying, though; you need to mix it right into that flour mix before you start dredging. It gives the crust this fantastic, almost rich, earthy undertone that works wonders with the buttermilk brine. You won’t believe the difference it makes in the final golden color!
Herb Garden Dredge
For something a little fresher, try incorporating some dried herbs into your second dredge. My favorite combination is a teaspoon each of dried thyme and dried sage, finely crushed between your fingers before adding them to the flour. It gives the chicken an almost poultry-seasoning vibe. You want those herbs to be fine enough, though, so they don’t burn at those high oil temperatures. Keep the ratio small so you don’t overshadow the spice mix, but enjoy that aromatic boost!
The Gluten-Free Crunch Swap
I know a lot of you are working around gluten sensitivities, and I never want anyone to miss out on great fried chicken! If you need a swap, I’ve had great success replacing half the all-purpose flour with a good quality, all-purpose 1-to-1 gluten-free baking blend. The cornstarch helps stabilize it, and most GF blends provide enough structure. Just be extra careful during that second dredge to press it on firmly because GF flours can sometimes be a bit slicker than regular wheat flour. It yields a surprisingly light and crispy result!
Serving Suggestions for Your Golden Brown Fried Chicken Tips
Okay, you’ve done the hard work, and you have this gorgeous, crunchy chicken resting on the rack. Now you need the perfect supporting cast! A rich, deep-fried chicken needs sides that are bright, cool, or creamy to cut through that richness. You absolutely have to serve this with proper creamy coleslaw—that tang is essential!
If you want something starchier, you cannot go wrong with fluffy mashed potatoes. Have you ever tried my easy Duchess potatoes? They look fancy but are so simple and pair beautifully! For a slightly sweeter edge, which goes unexpectedly well with the cayenne spice, you must try a batch of my sweet potato salad. Honestly, any combination of creamy, tangy, and fresh vegetables makes this whole meal sing. Enjoy every crunchy bite!
Storage and Reheating Instructions for Crispy Fried Chicken with Golden Crunch
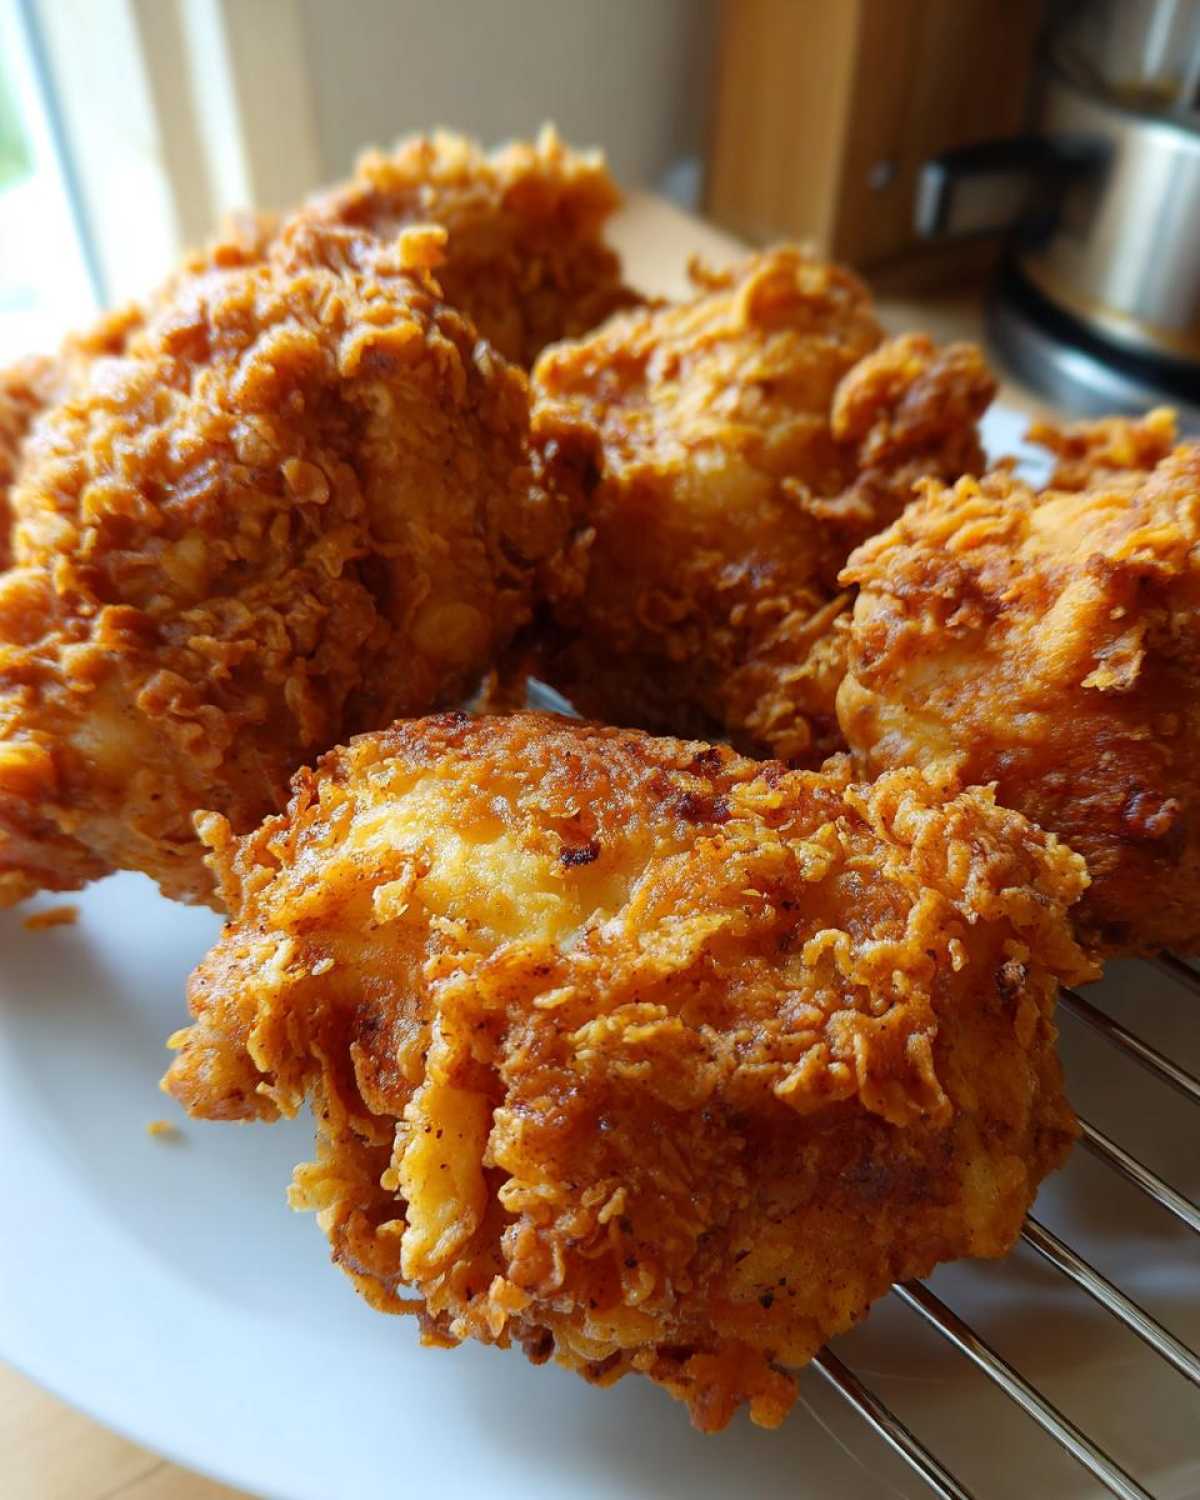
Oh, leftovers! The second-best part of making a huge batch of amazing fried chicken. The challenge, of course, is making sure that gorgeous, hard-won crunch survives the night in the fridge. If you store it incorrectly, you end up with that rubbery, slightly damp coating, and honestly, that’s a crime after all the work we put into getting the perfect double dredge!
Here is my absolute rule for keeping your Crispy Fried Chicken with Golden Crunch as crunchy as possible when you reheat it. First, make sure all the chicken is completely cooled down to room temperature before you even think about putting it away. Don’t put hot chicken into a sealed container; that traps steam right against the crust, and boom—sogginess city!
Once it’s totally cool, you want to store it in a container that isn’t completely airtight. I prefer laying the pieces in a single layer in a container lined with a paper towel, and then throwing a loose lid on top. You *have* to let it breathe a little bit so moisture doesn’t condense on the crust. Don’t try to reheat in the microwave, ever! Microwaves just turn delicious fried crusts into chewy rubber blankets.
For reheating, the oven, or better yet, the air fryer, is your best friend. Preheat your oven to about 375 degrees Fahrenheit (190 degrees Celsius). Place the chicken directly onto a wire rack set over a baking sheet—remember that wire rack trick we used for draining the fresh batch? It works for reheating, too, because it keeps air circulating underneath!
Bake them for about 10 to 15 minutes, depending on the thickness of the piece. You’ll notice the crust start to dry out and tighten back up after about 10 minutes. If you have an air fryer, that’s even faster: set it to 350 degrees and let it go for 5 to 7 minutes. You’ll get that beautiful crisp back in no time! If you want to see another great way to get amazing crispness using an air fryer, check out my recipe for air fryer gnocchi; the science for crisping vegetables is surprisingly similar!
Frequently Asked Questions About Achieving the Best Crispy Fried Chicken Recipe
I get so many questions about frying because, let’s be honest, it can feel intimidating! But once you know the rules of the oil, achieving that Best Crispy Fried Chicken Recipe is totally doable at home. Here are a few things folks ask me all the time about getting that perfect crust and juicy interior.
What is the ideal Oil Temperature for Perfect Fried Chicken?
If you remember one thing from this whole guide, remember this temperature! For the initial cook, we absolutely need that oil settled at 325 degrees Fahrenheit (160 degrees Celsius). That temperature is the sweet spot. It’s hot enough to immediately seal the coating—which locks moisture in and creates that glorious crunch—but not so hot that it burns the exterior before the bone-in chicken cooks through. If your temperature creeps too high (say, over 345°F), you’ll get dark chicken skin that tastes bitter and isn’t fully cooked inside. If it drops too low, the crust acts like a sponge, absorbs tons of oil, and leaves you with greasy, soggy chicken. Consistency is everything here!
Can I use chicken breast instead of bone-in pieces for this recipe?
You certainly can use breast pieces! Chicken breast is leaner than thigh or drumstick, which is great if you’re watching fat intake, but it cooks much faster. If you use breast pieces, I’d highly recommend you keep the oil temperature right at 325°F the entire time—don’t reduce it down like you do for the bone-in pieces. You’ll likely only need about 5 to 7 minutes per side max, depending on thickness. You need to be very diligent with a meat thermometer, pulling them out right at 165°F internal temperature. If you overcook them by even a minute, they tense up and get dry! For an awesome way to handle leaner cuts like a whole bird, check out my method for the best spatchcock chicken recipe, which helps them cook more evenly.
How do I fix my coating if it keeps falling off?
That’s usually due to two things: either your chicken is too wet when it hits the flour, or you aren’t pressing the coating on hard enough. Remember, after the buttermilk dip, you shouldn’t scrub off the excess, but you shouldn’t leave giant globs hanging off either. When you do that second, final dredge for the Crunchy Chicken Batter Guide, you need to physically press that flour mixture onto the chicken with your hands. Really work it in! Those craggy bits that form are the magic that sticks. If you’re worried about keeping the coating intact while lowering it into the oil, try using tongs or a spider tool to gently lower the meat, rather than dropping it from high up.
Estimated Nutritional Data for Crispy Fried Chicken with Golden Crunch
Okay, let’s talk numbers for a second, because while this chicken is purely about indulgence and that incredible crunch, I know some of you track your macros! Please know that these figures are just rough estimates. I didn’t account for every drop of oil we cooked it in, and the actual breakdown changes depending on the exact cut of chicken you use (a big breast has different stats than a small wing).
Think of this as a general guideline based on one serving piece from the recipe. When I’m making this incredible marinated chicken, I usually figure it’s a weekend treat, not an everyday staple!
Here is the nutritional breakdown based on one serving piece:
- Serving Size: 1 piece
- Calories: 450
- Fat: 28g (Remember, this includes the fat absorbed during frying, which is why perfect oil temperature is so critical for managing that number!)
- Saturated Fat: 8g
- Trans Fat: 0g (Yay, no nasty stuff here!)
- Protein: 30g (That buttermilk is working wonders!)
- Carbohydrates: 18g
- Sugar: 2g
- Sodium: 650mg (This is higher due to the brine, so be mindful of salt in other parts of your meal!)
It’s rich, it’s satisfying, and every single calorie is worth it when you hear that amazing crunch. If you want to see how I manage macros when I’m NOT deep frying, you should check out my crispy baked chicken wings recipe—it’s a totally different process but still delicious!
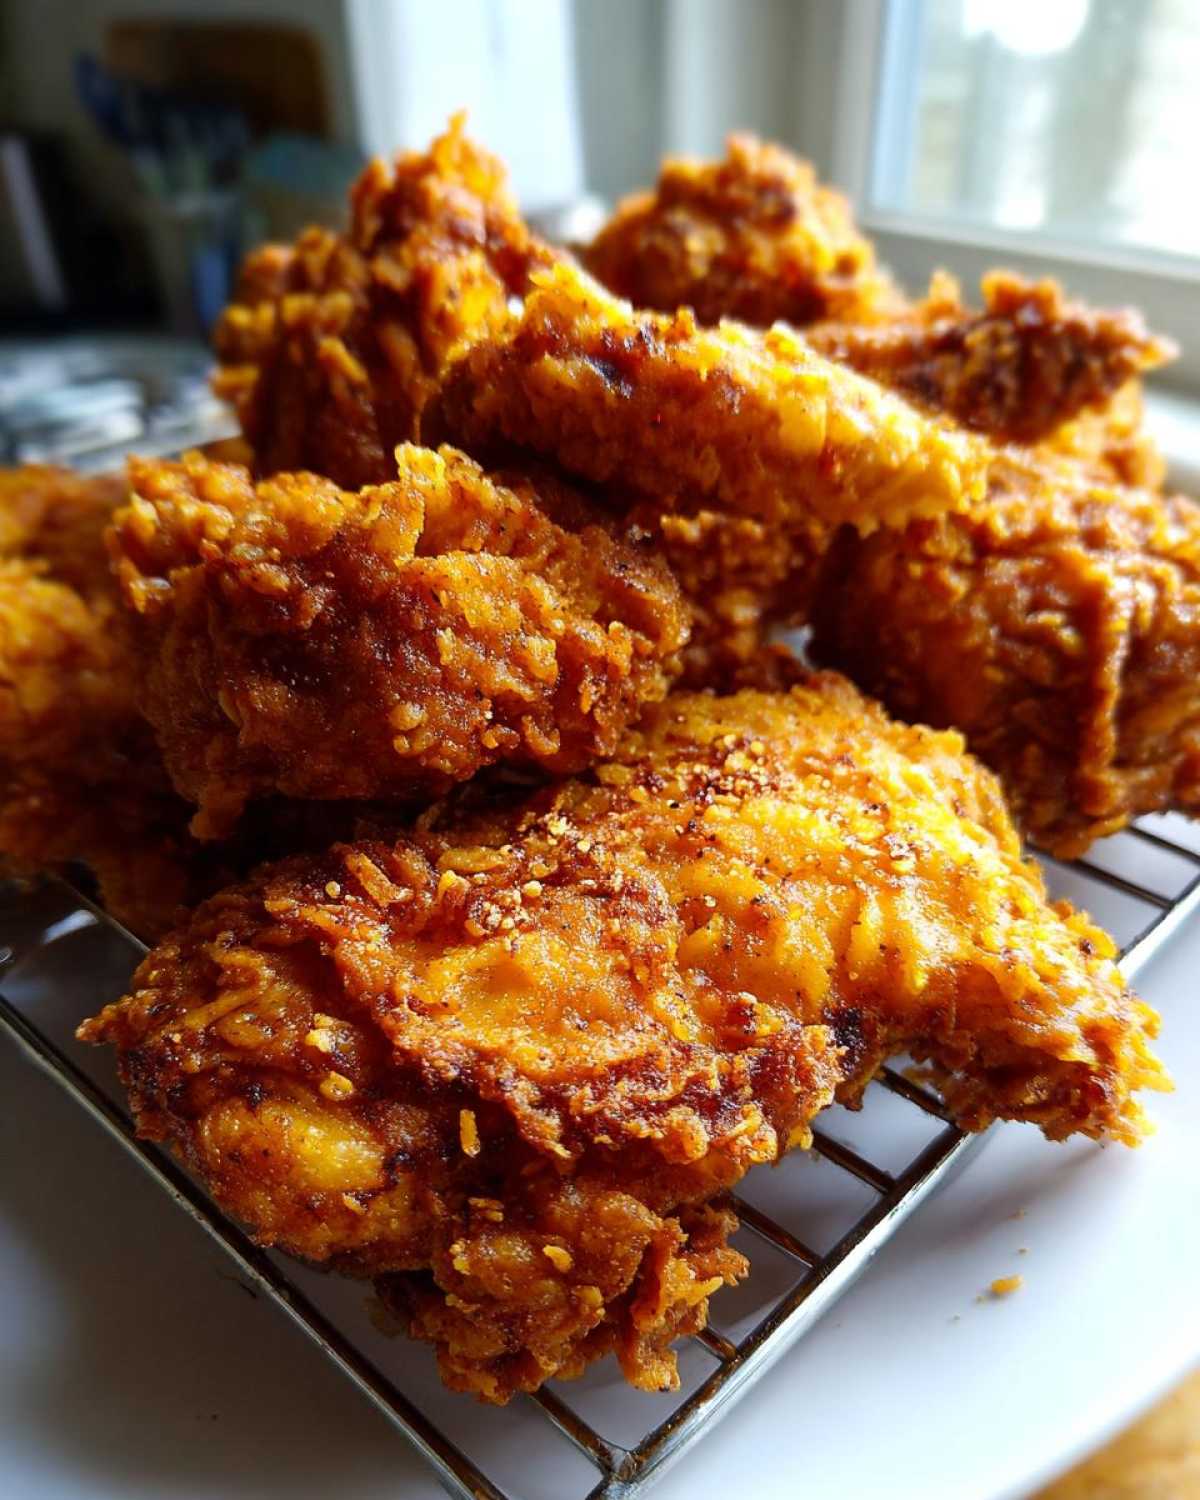
Crispy Fried Chicken with Golden Crunch

Follow this detailed method using a buttermilk brine and double dredging to achieve exceptionally crispy, golden-brown fried chicken that stays crunchy.
- Prep Time: 30 min
- Cook Time: 25 min
- Total Time: 55 min
- Yield: 4 servings
- Category: Main Course
- Method: Deep Frying
- Cuisine: American
- Diet: None
Ingredients
- 3 lbs chicken pieces (bone-in, skin-on)
- 2 cups buttermilk
- 1 tablespoon hot sauce
- 1 tablespoon salt
- 1 teaspoon black pepper
- 2 cups all-purpose flour
- 1/2 cup cornstarch
- 1 tablespoon paprika
- 1 tablespoon garlic powder
- 1 tablespoon onion powder
- 1 teaspoon cayenne pepper
- Vegetable oil, for frying
Instructions
- Combine buttermilk, hot sauce, salt, and pepper in a bowl. Submerge chicken pieces and refrigerate for at least 4 hours, or preferably overnight.
- In a separate shallow dish, whisk together flour, cornstarch, paprika, garlic powder, onion powder, and cayenne pepper to create the dredge mix.
- Remove chicken from the buttermilk, letting excess drip off, but do not wipe dry.
- Dredge each piece thoroughly in the flour mixture, pressing the coating firmly onto the chicken.
- Dip the coated chicken back into the leftover buttermilk mixture briefly.
- Immediately return the chicken to the flour mixture for the second dredge. Press the coating on again to build a thick, craggy crust. Place coated pieces on a wire rack.
- Heat 2 inches of vegetable oil in a deep, heavy-bottomed pot or Dutch oven to 325 degrees Fahrenheit (160 degrees Celsius). Use a thermometer to monitor temperature.
- Carefully place 3-4 pieces of chicken into the hot oil, ensuring you do not overcrowd the pot, which lowers the oil temperature.
- Fry the chicken for 6-8 minutes per side until golden brown. For thicker pieces, reduce heat slightly to 300 degrees Fahrenheit (150 degrees Celsius) after the initial browning and continue cooking until internal temperature reaches 165 degrees Fahrenheit (74 degrees Celsius).
- Remove chicken from the oil and place it on a clean wire rack set over a baking sheet to drain excess oil. Do not place on paper towels, as this traps steam and softens the crust.
- Let the chicken rest for 10 minutes before serving.
Notes
- For extra crunch, you can perform a quick second fry: After the initial fry, let the chicken rest for 10 minutes, then increase the oil temperature to 375 degrees Fahrenheit (190 degrees Celsius) and fry for 1-2 minutes until the crust darkens slightly.
- Maintain oil temperature strictly; too low results in greasy chicken, too high burns the crust before the inside cooks.
- Use a heavy-duty thermometer for accurate readings.
Nutrition
- Serving Size: 1 piece
- Calories: 450
- Sugar: 2
- Sodium: 650
- Fat: 28
- Saturated Fat: 8
- Unsaturated Fat: 20
- Trans Fat: 0
- Carbohydrates: 18
- Fiber: 1
- Protein: 30
- Cholesterol: 110