

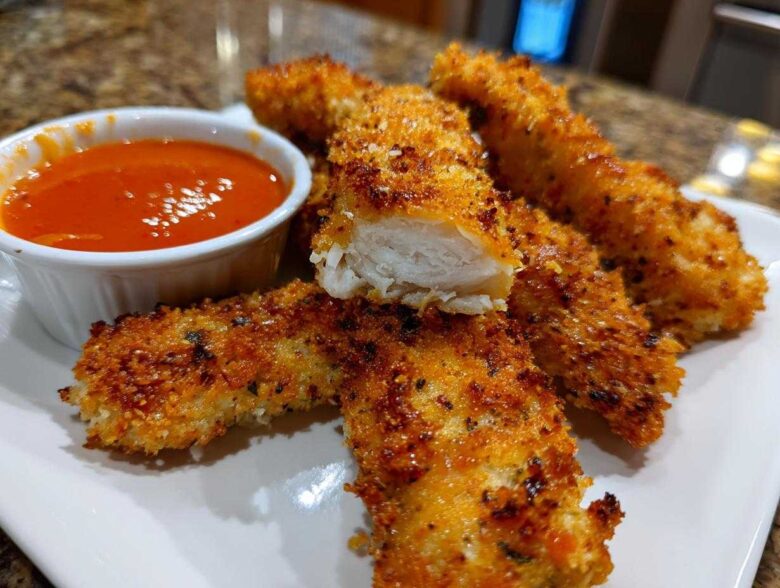
Oh, I know the feeling. You bite into what looks like a perfect chicken strip, and honestly? It’s just… sad. Soggy, floppy, and totally disappointing. That search for the *ultimate* crunch ends right here, trust me!
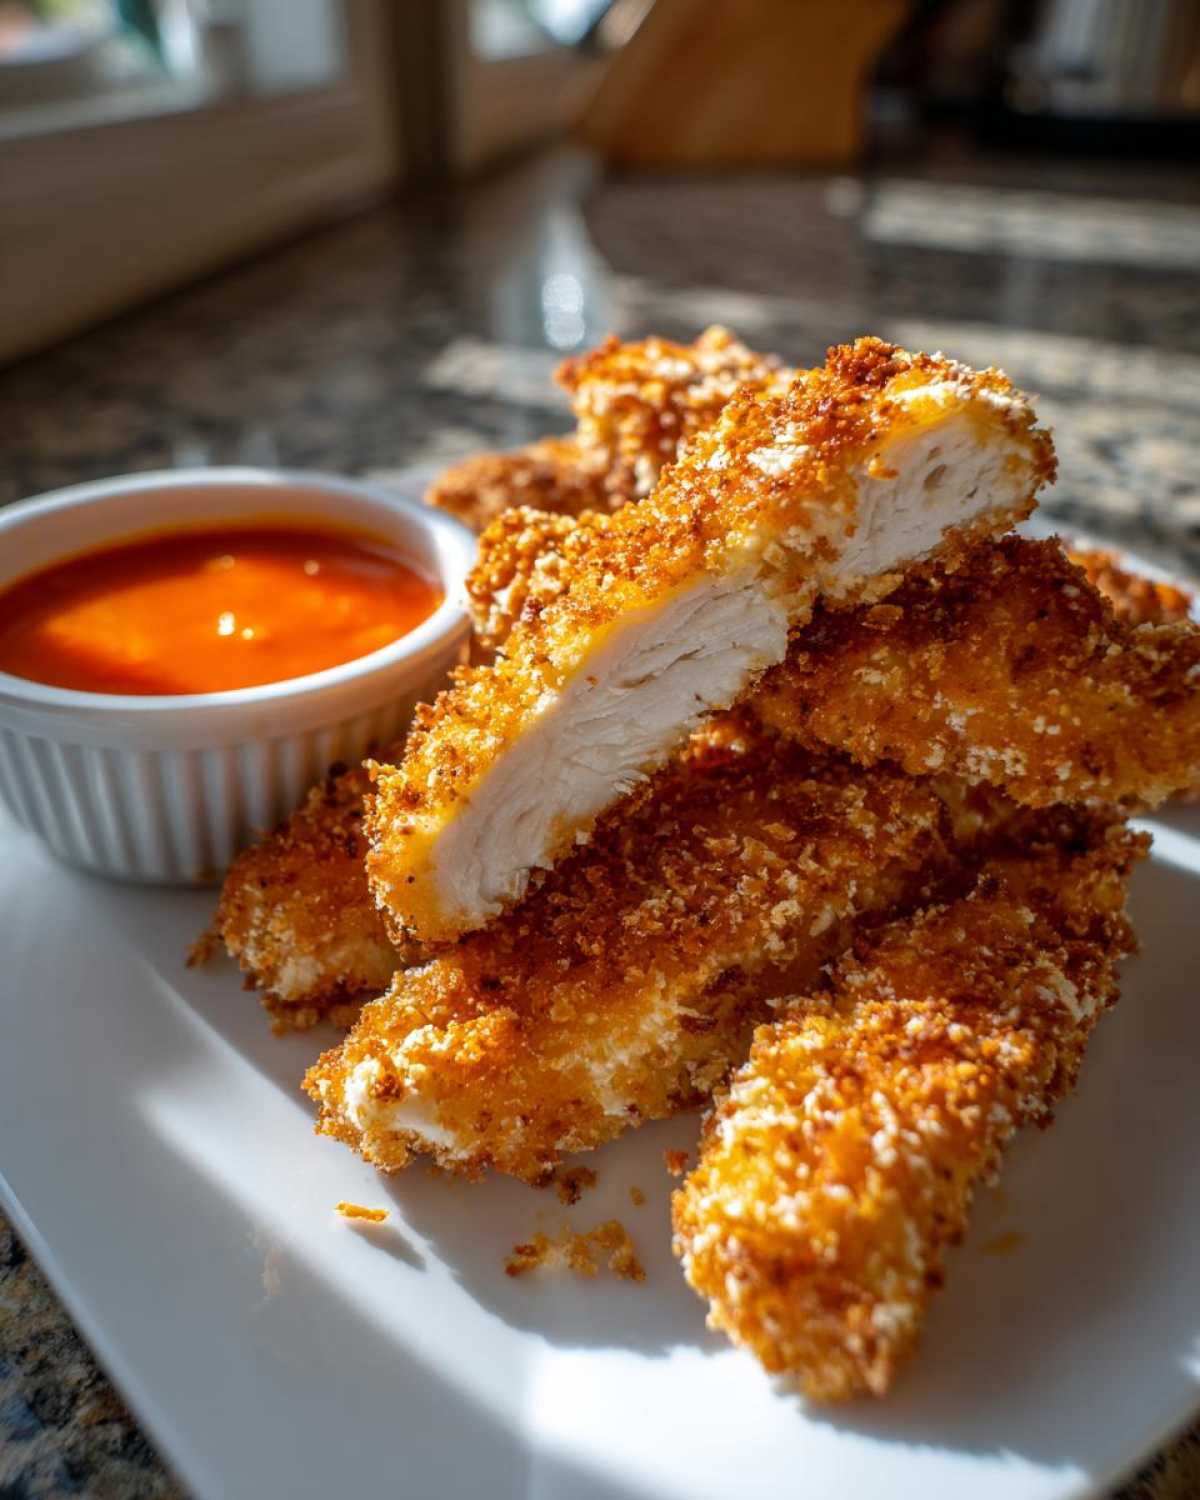
I have spent years—I mean, *years* of late-night testing—to create what I truly believe is the best homemade chicken strips recipe out there. We aren’t messing around with weak batters. These Crispy Chicken Strips with Spicy Dip are engineered for maximum crackle, staying crunchy whether you deep fry them or dare to toss them in the air fryer.
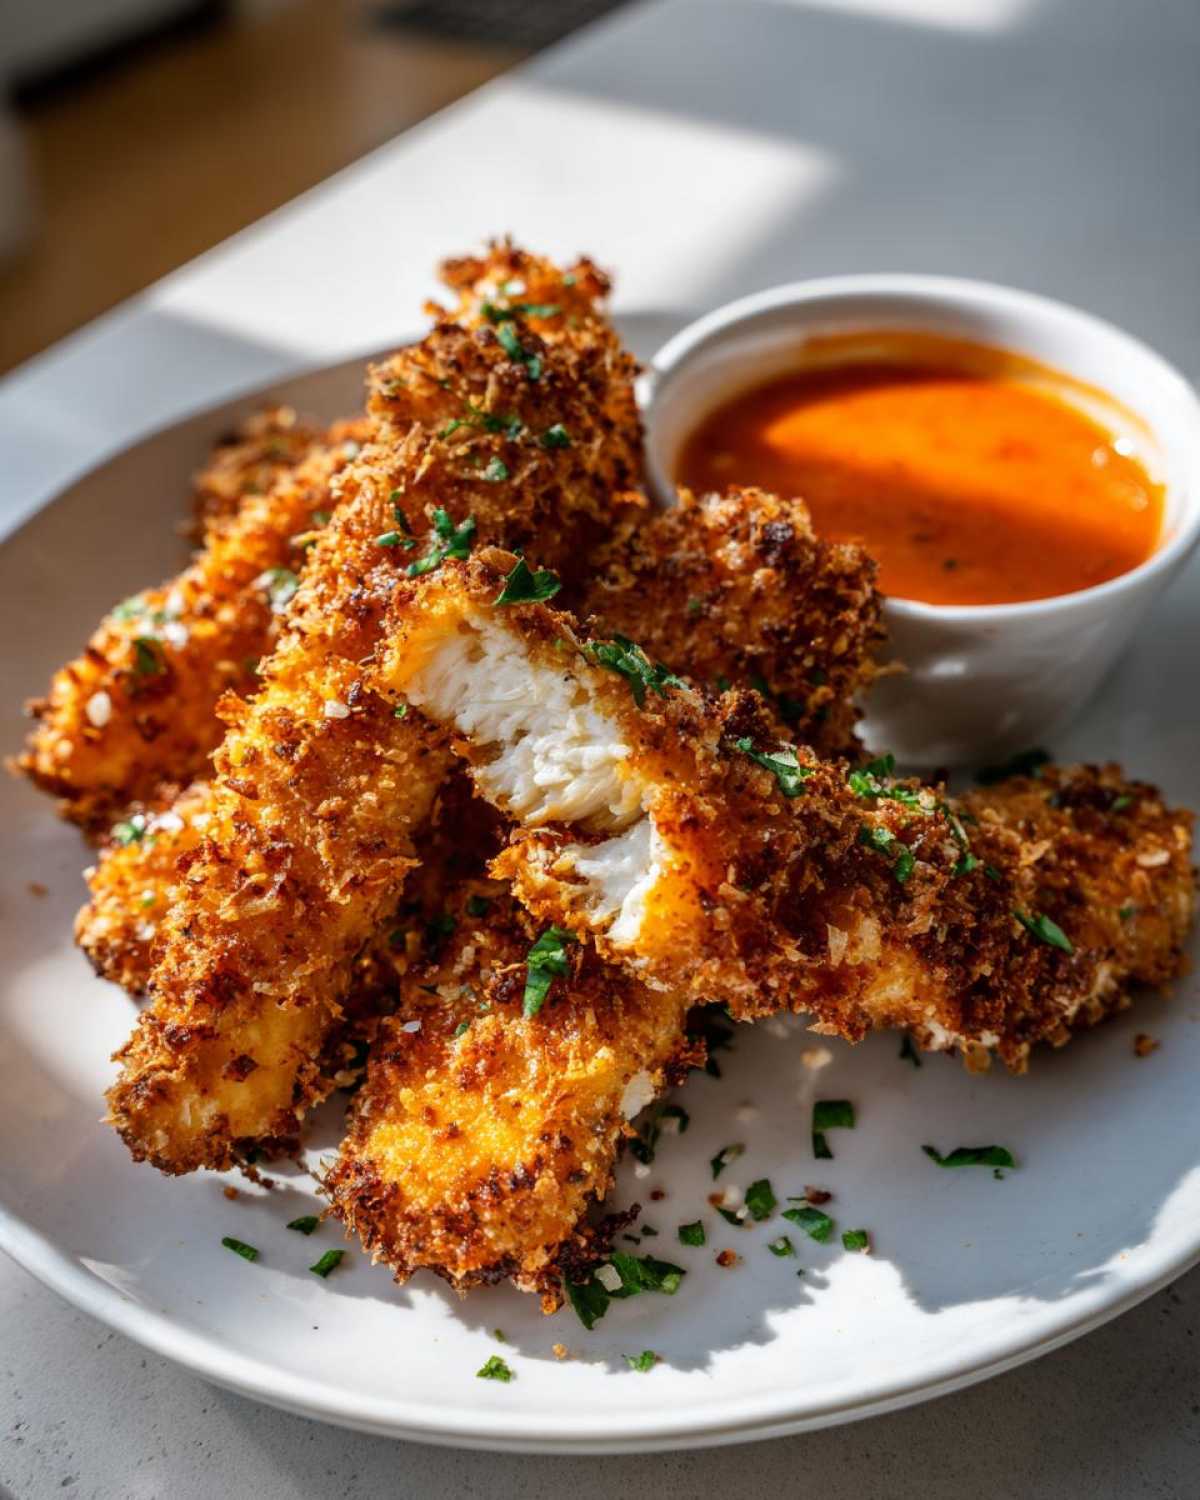
And the dip? It’s sweet, it’s spicy, and it cuts through the richness perfectly. Get ready, because your game day snacks just got a serious upgrade!
Why You Will Love These Crispy Chicken Strips with Spicy Dip
When I set out to make the best homemade chicken strips recipe, I had three main goals. Anything less than perfect wasn’t making it onto my weekly rotation, and I think you’ll agree these hit all the marks:
- Guaranteed Crunch: We are using panko breadcrumbs and a special cornstarch blend. You will hear the crunch with every single bite! Seriously, it’s loud.
- Juicy Inside, Never Dry: Cutting the tenders just right and using a smart dredging technique traps all that wonderful chicken moisture inside. No more dry hockey pucks, I promise.
- Cook It How You Want: I give you straightforward instructions for the traditional deep-fry for ultimate crispiness, *and* a killer method for the air fryer crispy chicken strips if you’re keeping things a bit lighter.
- The Dip Steals the Show: The Fiery Sriracha-Honey Dip is incredibly fast to whip up—honestly, it takes less than five minutes—but it adds that sweet heat that screams “professional appetizer.”
- Quick Dinner Win: You can go from zero to serving these crunchy chicken strips on the table in about 30 minutes total. Perfect for those hectic weeknights when the kids (or I!) need game day snacks, fast.
Ingredients Needed for Crispy Chicken Strips with Spicy Dip
Okay, let’s get down to brass tacks. You can’t have the crunchiest coating without the right lineup! The magic is really in that panko, but the blend of spices in the flour coating is what gives us that lovely color and flavor. Don’t skimp on the cornstarch; that’s our little insurance policy against sogginess, even if you decide to bake them later. Seriously, get everything ready before you start coating!
Here is exactly what you need to pull off these crispy chicken strips with spicy dip. I’ve listed everything out so you can check your pantry right now. If you’re looking for more crunchy fun while you shop, check out this great pickled bean recipe too!
For the Chicken Strips:
- 1.5 lbs boneless, skinless chicken breasts, cut into strips about 1-inch thick—make sure they are uniform!
- 1 cup all-purpose flour (don’t pack it tight!)
- 1/2 cup cornstarch (the secret weapon!)
- 2 teaspoons salt
- 1 teaspoon black pepper
- 1 teaspoon paprika (for that nice orange hue)
- 1/2 teaspoon garlic powder
- 2 large eggs
- 1/2 cup milk (any kind works fine for the wash)
- 1 cup panko breadcrumbs—these are non-negotiable for the best crunch!
- Vegetable oil, enough for about 2 inches if you choose to deep fry.
For the Fiery Sriracha-Honey Dip:
- 1/4 cup sriracha sauce (adjust to your spice level!)
- 1/4 cup honey
- 1 tablespoon apple cider vinegar
- 1 teaspoon Dijon mustard
The Secret to Extra Crispy Chicken Strips with Spicy Dip: Dredging Technique
Alright, listen up, because this is where most people mess up their supposedly crispy chicken strips with spicy dip. You can have the best oil temperature or the fanciest air fryer, but if your coating doesn’t hold, you’re left with sad, floppy chicken. We are setting up a professional-grade dredging station right on our counter. The goal here is maximum adhesion and maximum texture. Remember I told you to use panko? Panko flakes are bigger and drier than regular breadcrumbs, acting like little crispy armor plating for the chicken.
My biggest piece of advice? Be aggressive about shaking off the excess flour everywhere! If you dip a wet piece of chicken into the flour and it comes out looking like a caked-on dough ball, that excess flour will burn in the oil and make everything muddy. Shake, shake, shake!
Preparing the Three-Step Coating Station
We use a standard three-step process, but we customize each dish slightly to build our structure. First, we hit the chicken in our seasoned flour and cornstarch mix. That cornstarch is the key starch that helps create that light, airy crunch we want. Get it fully coated and shake off the obvious clumps.
Next, the egg wash—milk and egg whisked together—is just the glue. Quickly dip the floured strip in the egg wash, making sure it’s mostly coated, but let the extra drip back into the bowl. Finally, and this is crucial for our crunchy chicken strips tutorial, press the strip firmly into the panko breadcrumbs. Don’t just toss it! Press the panko onto the slick, eggy surface until it’s completely covered. Pro tip: I sometimes gently roll the panko onto the strip with the back of a spoon to really compact it. If you want to see another great crunch prep trick, check out this homemade cheese crackers recipe—the coating logic is similar!
Cooking Methods for Perfect Crispy Chicken Strips with Spicy Dip
Okay, the moment of truth! We’ve got these beautifully coated strips; now we need to cook them so we achieve that glorious, restaurant-quality crunch we talked about. Whether you want the absolute *most* crispy version or you’re leaning toward the faster air fryer method, temperature control is your absolute best friend here. Remember, we need the chicken cooked through to 165°F internally for safety, but we need the outside to crisp up before the inside has a chance to dry out. That’s the balancing act for juicy chicken inside crispy outside!
If you’re looking for alternatives to frying, make sure you check out my general advice on cooking things in the air fryer—it really makes a difference when you’re trying to replicate that deep-fried texture.
Deep Frying for Maximum Crunch
If you want that deep, golden, shatteringly crisp coating for your crispy chicken strips with spicy dip, you have to deep fry. It’s unbeatable! Set up your heavy-bottomed pot with about 2 inches of vegetable oil and get your thermometer ready. We are aiming exactly for 350°F (175°C). If the oil is too cool, the panko will soak up all that grease and you’ll end up with mush. If it’s too hot, the coating burns before the center is done.
Carefully start dropping 4 or 5 strips into the hot oil. Don’t overcrowd the pot! Seriously, do not be greedy here. Overcrowding drops the oil temperature instantly. Let them fry, undisturbed, for about 3 to 4 minutes per side. They should look deeply golden brown when they come out. Pull them out gently with tongs, let them drain for just a moment on paper towels, and they are ready to go!
Air Fryer Crispy Chicken Strips Tutorial
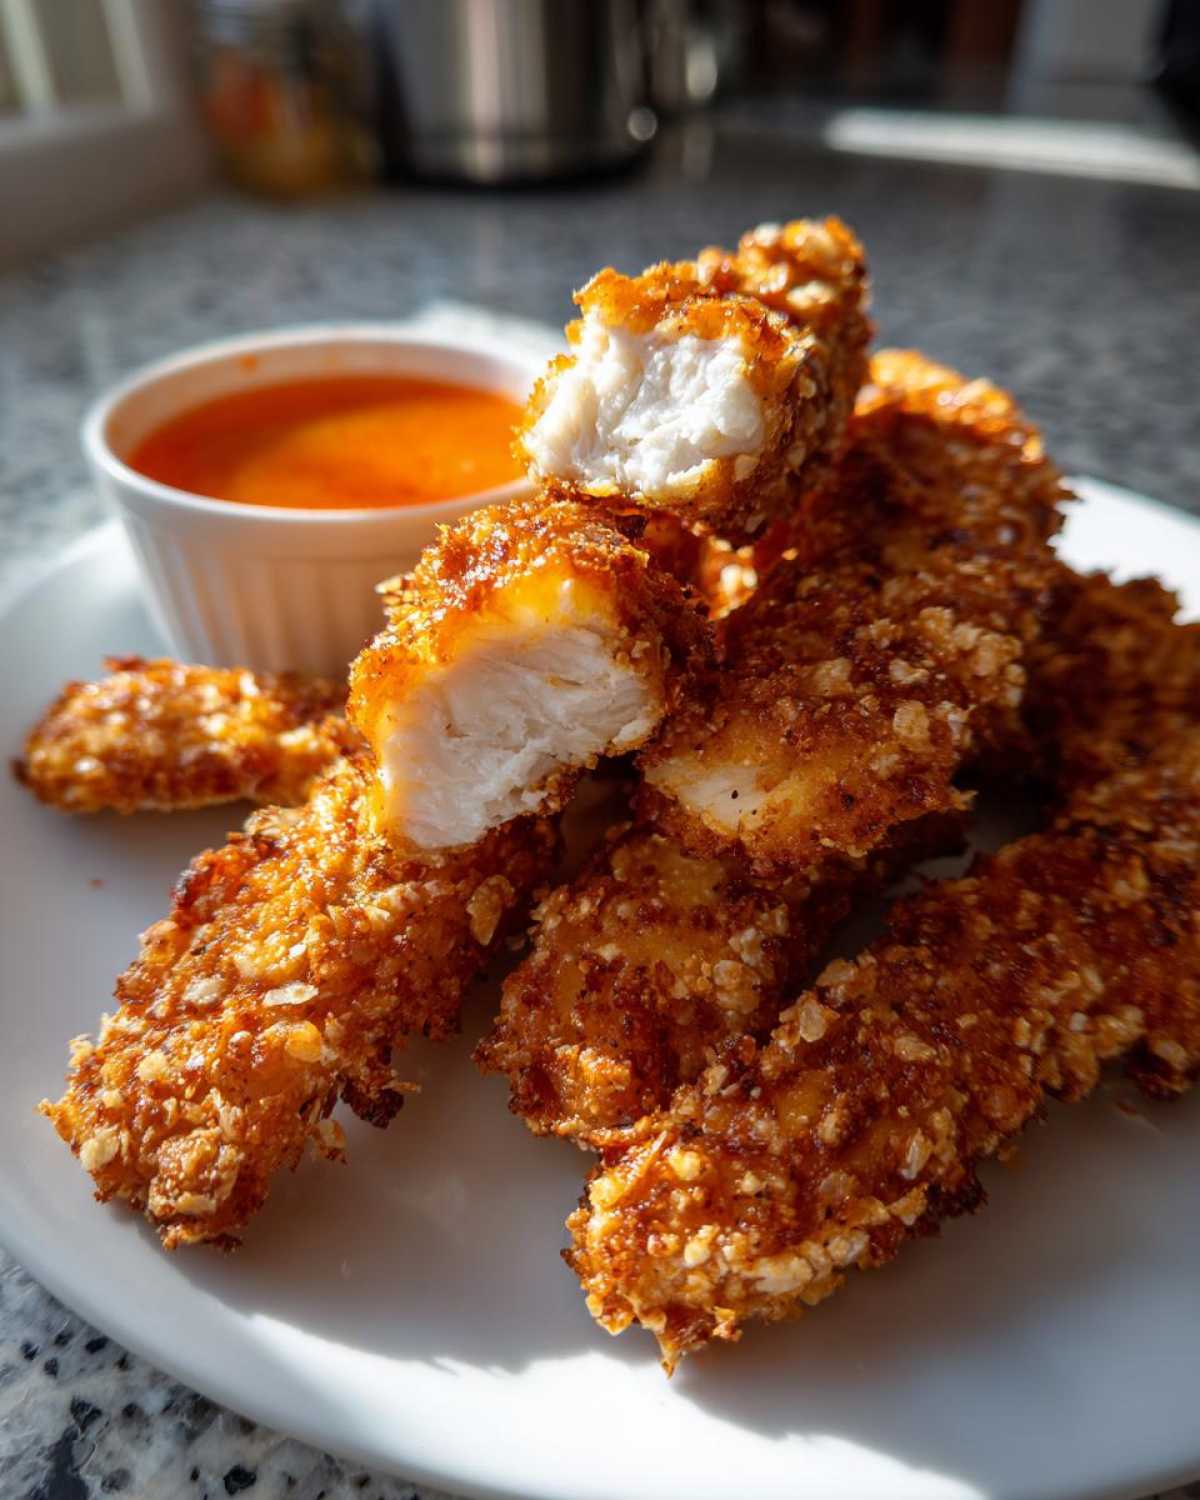
For those hectic nights or when I’m making a big batch for family dinner, the air fryer is my go-to for these crispy chicken strips with spicy dip. It’s faster cleanup and still delivers fantastic results! You need to preheat your air fryer because we want instant high heat hitting that panko. Set it to 380°F (195°C).
Here’s the key for the air fryer: Lightly spray your coated strips—and I mean *lightly*—with a neutral cooking spray or olive oil mist. This oil droplet is what allows the heat to really activate the crumbs and make them brown instead of just baking them pale. Lay the strips in a single layer in the basket; you will probably need to do this in batches. Cook them for 10 to 12 minutes total, but make sure you flip them halfway through so both sides get that even, glorious crunch.
Making the Quick Spicy Dipping Sauce for Chicken
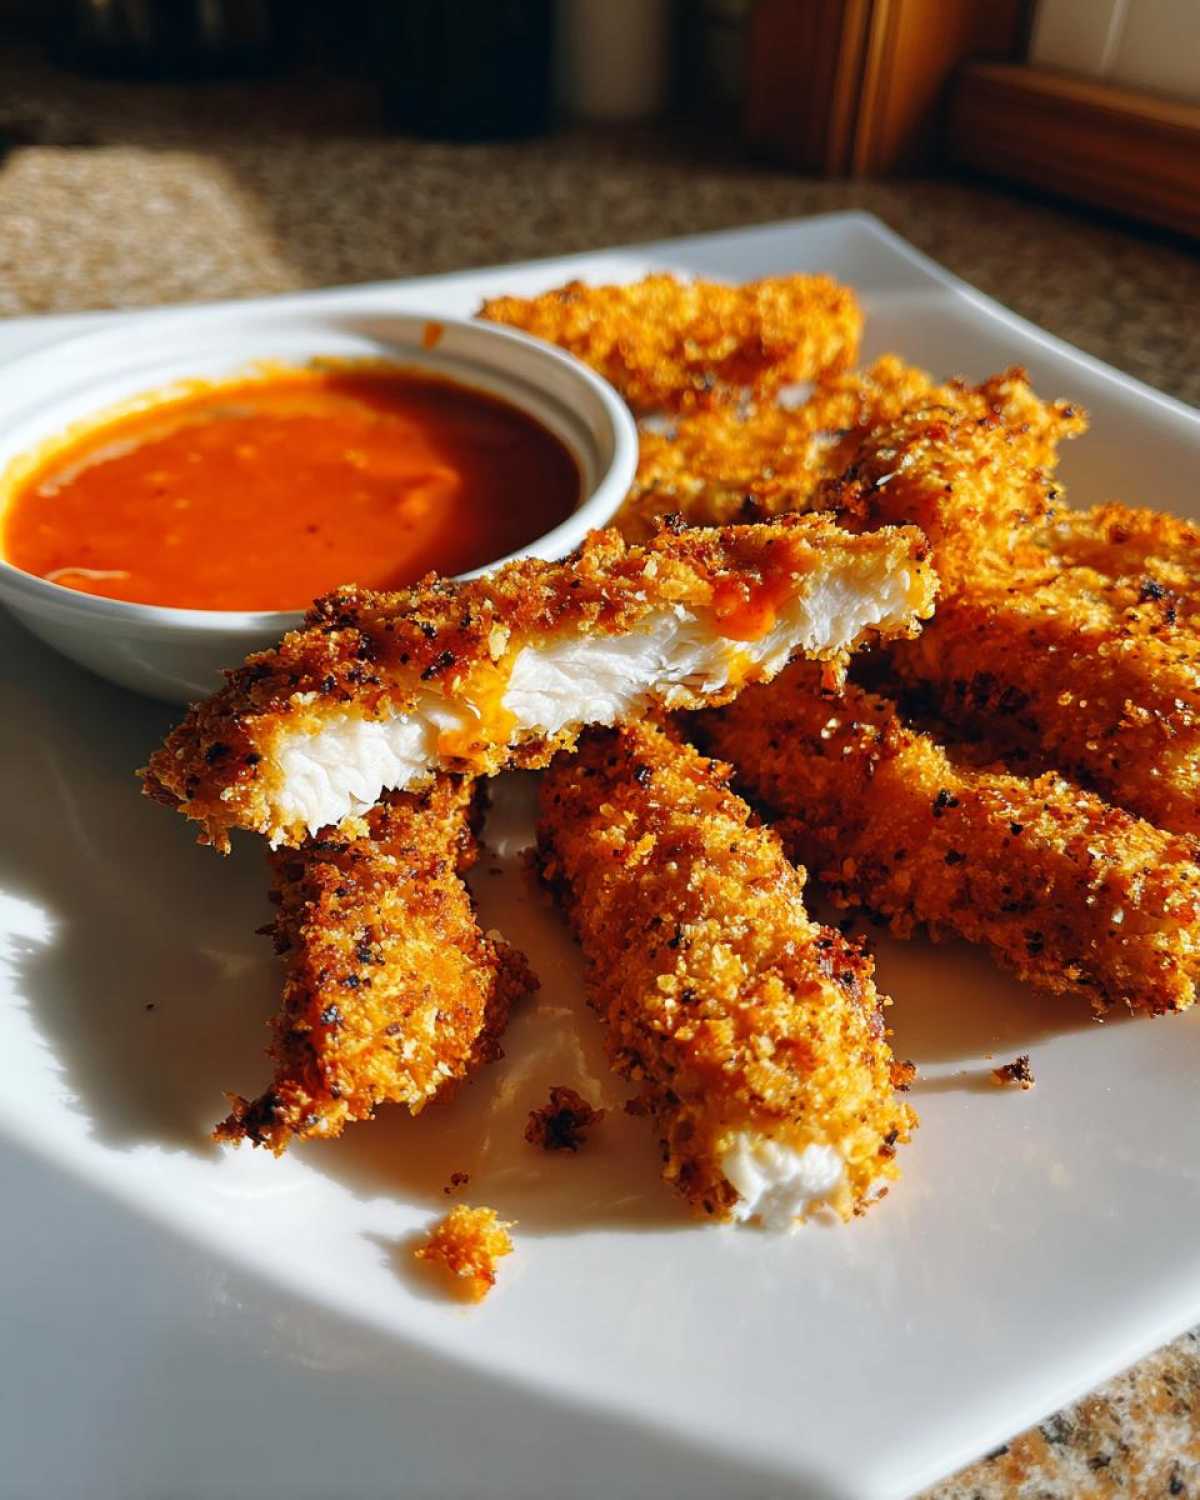
If you’ve just pulled a batch of the most beautiful, golden, crispy chicken strips with spicy dip out of the fryer, you can’t let them sit around waiting for sauce, right? This dip is so ridiculously easy, you’ll be shocked it tastes this good. It’s the perfect counterpoint to the salty crunch of the chicken—sweet, tangy, and packing a solid little kick.
I usually mix this up while the chicken is chilling out between dredging and cooking, just to make sure it’s ready to go the second the first batch is done draining. It’s really just a matter of combining four things in a bowl. You don’t even need a whisk if you don’t want one; a fork works just fine if you stir vigorously!
We’re using sriracha because it’s reliable, but feel free to swap in your favorite chili paste. If you want to explore other amazing sauces, I highly recommend checking out my recipe for a creamy cilantro lime sauce if you want something brighter next time. For now, though, let’s get this sweet heat happening!
Here are the simple steps:
- Grab a small bowl—don’t use anything huge, we want this sauce nice and thick enough to cling to the strips.
- Pour in the 1/4 cup of honey and the 1/4 cup of sriracha sauce. If this seems too spicy for the little ones, use a little less sriracha and maybe bump up the honey slightly.
- Add the tablespoon of apple cider vinegar. This acid is important because it brightens everything up and keeps the sauce from being too cloyingly sweet.
- Finally, whisk in that teaspoon of Dijon mustard. It adds a layer of background flavor that you can’t quite place, but without it, the dip feels flat.
Give it a good whisk until it’s completely smooth and glossy. It should be thick enough that when you pull your whisk out, the mixture falls off in a heavy ribbon. Serve immediately alongside your fresh, hot, crispy chicken!
Tips for Juicy Chicken Inside Crispy Outside
This is such an important part of the cooking process! We’ve gone through all the work to get that amazing, crunchy panko coating on, but if the inside tastes like shoe leather, what was the point? Achieving that perfect contrast relies on a few small things I noticed over the years. Honestly, if you follow the coating steps perfectly, you’ve done 90% of the hard work, but these little tweaks really seal the deal for a fantastic meal.
If you’re looking for ways to add even more flavor before you even reach the breading station, you should absolutely check out my guide on how to make an ultimate zesty lemon garlic marinade. Even a quick 20-minute soak makes a world of difference to the final juiciness!
Here are the key secrets I rely on to keep those strips moist:
- Don’t Cut Too Thin: I specify 1-inch thick strips because if they are too skinny, they cook instantly, and the outside burns before the inside even warms up enough to feel tender. Uniformity helps everything cook evenly!
- Use the Right Oil Temperature: Whether you are frying or air frying, high, consistent heat attacks the breading quickly, setting the crust fast. This creates a barrier that seals juices in. If you’re deep frying, remember the tiny crumb test: if it doesn’t instantly sizzle aggressively, the oil isn’t hot enough yet.
- Trust the Internal Temperature, Not Just the Color: This is food safety 101, but it works for texture too. Gold = done coating, 165°F = done chicken. You need both. Using a quick-read thermometer is the best defense against overcooking. Once you hit that number, pull them out right away!
- Let Them Rest (Briefly!): After they come out of the oil or the air fryer, don’t immediately dunk them in the dip. Let the strips sit on a wire rack over a paper towel for two minutes. This lets the residual heat finish cooking them gently and allows the exterior to firm up a little more, preventing steam from making the bottom soggy.
Storing and Reheating Your Crispy Chicken Strips with Spicy Dip
So you made a huge batch of these incredible crispy chicken strips with spicy dip, and you have leftovers. Good problem to have! The tricky part with anything that has a perfectly crunchy coating is storage—that wonderful crispness really fades once it hits ambient moisture, especially overnight.
If you plan on saving them, you have to resist the urge to put them straight into a sealed plastic container while they are still warm. That traps steam, and steam equals soggy chicken strips, which defeats the entire glorious purpose of this recipe!
Here is exactly how I handle my leftovers to maximize crunch on day two:
- Cool Completely: After you finish frying or air frying, let the chicken strips cool down completely on a wire rack. We want zero residual heat escaping near them.
- Airtight but Careful: Once they are totally cold, transfer them into an airtight container. I like to line the bottom of the container with a paper towel first, just to absorb any little bits of condensation that might form overnight. Store them in the fridge for up to two days max.
- Ditch the Dip: Never store the spicy Sriracha-Honey dip with the chicken! The dip should be stored separately in a clean, sealed jar in the fridge. It’s a quick mix, so you can easily whip up a fresh small batch if you run out.
Now for the crucial part: reheating! If you remember my instructions for the air fryer, you know that dry heat is our best friend. You are going to want to skip the microwave entirely—it will turn these beauties into chewable rubber bands, guaranteed.
For the absolute best results when recreating that initial crunch on your crispy chicken strips with spicy dip, use the oven or the air fryer. Preheat your air fryer to about 370°F (188°C) and toss the leftover strips in there for about 4 to 6 minutes. If you use the oven, spread them on a baking sheet lined with foil (or parchment, if you’re feeling fancy!) and bake at 400°F (200°C) for about 8 to 10 minutes. Check them halfway through. They’ll heat up quickly and the panko coating will crisp right back up. If you’re looking for more air fryer resurrection tips, my guide on reheating tortilla strips has some similar concepts!
Frequently Asked Questions About Crispy Chicken Strips
I get so many questions about this recipe—which is great, because they are just that good! People often wonder about variations, especially if they are trying to avoid deep frying or if they’re missing a specific ingredient. Don’t worry; this easy chicken tender recipe is flexible, but some swaps are better than others if you want that signature crunch!
If you’re looking for other ways to use chicken breasts, you should check out my zesty lemon garlic chicken piccata next week. You can find the technique for that wonderful brightness in my easy chicken piccata recipe. But for now, let’s tackle the crunch queries!
Can I make these oven baked crispy chicken strips?
Yes, you absolutely can turn this into an oven baked crispy chicken recipe, though they won’t be quite as shattering as the fried or air-fried versions. If you bake them, I highly recommend you do the full three-step dredge, and then lightly spray them all over with oil before placing them on a wire rack set over a baking sheet. The rack lets air circulate underneath so the bottoms don’t steam. Bake at 425°F (220°C) for about 15 to 20 minutes, flipping halfway through. Make sure you go right up to the 165°F internal temp!
What is the best oil to use for deep frying?
When I deep fry, I always reach for a neutral oil with a high smoke point. Anything that won’t impart a weird flavor into your gorgeous coating is the way to go. Canola oil or plain vegetable oil (the kind that’s bright yellow) are my usual choices. You just need enough depth so the strips are submerged, and you must make sure it hits that 350°F mark. If the oil is too cool, the panko will soak up all that grease and you’ll end up with mush. If it’s too hot, the coating burns before the center is done.
Can I substitute the panko breadcrumbs?
You *can*, but if you want the absolute crunchy chicken strips tutorial results, you have to use panko. If panko is unavailable, you can use regular fine breadcrumbs, but you’ll need to increase the amount of oil absorption slightly, or you might even want to dip them a second time in the egg wash before the final breading. Honestly, panko is worth seeking out for this recipe—it’s the texture game changer!
How much rest time does the chicken need before dredging?
This is a great question for food safety and texture! Since we are only cutting the chicken right before we start, it doesn’t need a long marinade rest time like some recipes require. However, once you have your strips cut, I like to let them sit for just maybe 5 minutes while I set up the three dishes. That small rest on a cutting board helps the surface dry just a hair, which helps the flour stick better in the first dredge. Don’t let them sit out for too long, though, especially if your kitchen is warm!
Serving Suggestions for Your Homemade Chicken Strips Recipe
You’ve made the best appetizer ever, but now what? These crunchy beauties deserve the perfect supporting cast! Whether you’re planning a huge Super Bowl spread, a fun Friday movie night, or just need a satisfying family dinner that everyone actually agrees on, having good sides makes all the difference.
Honestly, I usually end up eating the entire batch with the dipping sauce, but I try to be more responsible for the kids! If you’re looking for something fantastic that’s a little lighter than a heavy potato side, you have to try serving these alongside a crisp salad. My favorite creamy sweet potato salad balances the heat of the dip surprisingly well!
Here are my top picks for turning these crispy tenders into a full meal or the star of your snack table:
- The Classic Comfort Lineup: You can never, ever go wrong with crispy chicken and fries. But seriously, upgrade the fries! Homemade seasoned waffle fries or sweet potato wedges make the texture contrast even better. Keep a little extra spicy dip on the side just for the fries.
- As the Main Event Salad Topper: Forget boring grilled chicken on your salads! Slice these crispy strips thinly once they are cool enough to handle and lay them right over a big bowl of mixed greens, cucumber, and crunchy bell peppers. A light ranch dressing usually works wonders here.
- Kid-Friendly Veggie Dippers: If you’re trying to sneak in some veggies, serve the strips right alongside carrot sticks, celery sticks, and maybe some broccoli florets. Everything just gets dipped in that amazing Sriracha-Honey Dip—it’s a trick that works every single time!
- The Ultimate Snack Medley: If this is for a party, spread the tenders out on a big platter surrounded by other salty snacks. Think pretzels, a bowl of olives, maybe some crunchy cheese crackers. It makes everyone assemble their perfect bite!
No matter what you pair them with, just make sure you serve them hot right after cooking. That’s when they truly sing!
PrintExtra Crispy Homemade Chicken Tenders with a Fiery Sriracha-Honey Dip

Follow these steps to make chicken tenders with a very crunchy coating, served with a simple spicy and sweet dipping sauce. The recipe includes instructions for deep frying and air frying.
- Prep Time: 20 min
- Cook Time: 12 min
- Total Time: 32 min
- Yield: 4 servings
- Category: Appetizer
- Method: Frying or Air Frying
- Cuisine: American
- Diet: Low Lactose
Ingredients
- 1.5 lbs boneless, skinless chicken breasts, cut into 1-inch strips
- 1 cup all-purpose flour
- 1/2 cup cornstarch
- 2 teaspoons salt
- 1 teaspoon black pepper
- 1 teaspoon paprika
- 1/2 teaspoon garlic powder
- 2 large eggs
- 1/2 cup milk
- 1 cup panko breadcrumbs (for extra crispiness)
- Vegetable oil, for frying (if deep frying)
- 1/4 cup sriracha sauce
- 1/4 cup honey
- 1 tablespoon apple cider vinegar
- 1 teaspoon Dijon mustard
Instructions
- Prepare the chicken: Place chicken strips in a bowl. In a separate shallow dish, whisk together the eggs and milk. In a third shallow dish, combine the flour, cornstarch, salt, pepper, paprika, and garlic powder.
- Set up the dredging station: You will use a three-step process: flour mixture, egg wash, and then the panko breadcrumbs.
- Coat the chicken: Take one chicken strip and dredge it thoroughly in the flour mixture, shaking off excess. Dip it into the egg wash, letting excess drip off. Finally, press the strip firmly into the panko breadcrumbs until fully coated. Place coated strips on a wire rack.
- Make the dip: Whisk together the sriracha, honey, apple cider vinegar, and Dijon mustard in a small bowl. Set aside.
- Cook the chicken (Deep Fry Method): Heat 2 inches of vegetable oil in a heavy-bottomed pot to 350°F (175°C). Carefully lower 4-5 strips into the hot oil, ensuring not to overcrowd the pot. Fry for 3-4 minutes per side until golden brown and cooked through (internal temperature reaches 165°F). Remove and drain on a paper towel-lined plate.
- Cook the chicken (Air Fry Method): Preheat your air fryer to 380°F (195°C). Lightly spray the coated chicken strips with cooking spray. Place them in a single layer in the air fryer basket. Cook for 10-12 minutes, flipping halfway through, until golden and crisp.
- Serve immediately with the spicy dip.
Notes
- For the crispiest coating, use panko breadcrumbs instead of standard breadcrumbs.
- If baking or air frying, spraying the coated chicken with a light layer of oil helps the exterior brown and crisp up properly.
- To check if the oil is hot enough for frying, drop a few stray flour crumbs in; they should sizzle immediately and float to the top within a few seconds.
Nutrition
- Serving Size: 4 strips and 2 tbsp dip
- Calories: 450
- Sugar: 18
- Sodium: 650
- Fat: 20
- Saturated Fat: 4
- Unsaturated Fat: 16
- Trans Fat: 0
- Carbohydrates: 45
- Fiber: 2
- Protein: 28
- Cholesterol: 120