

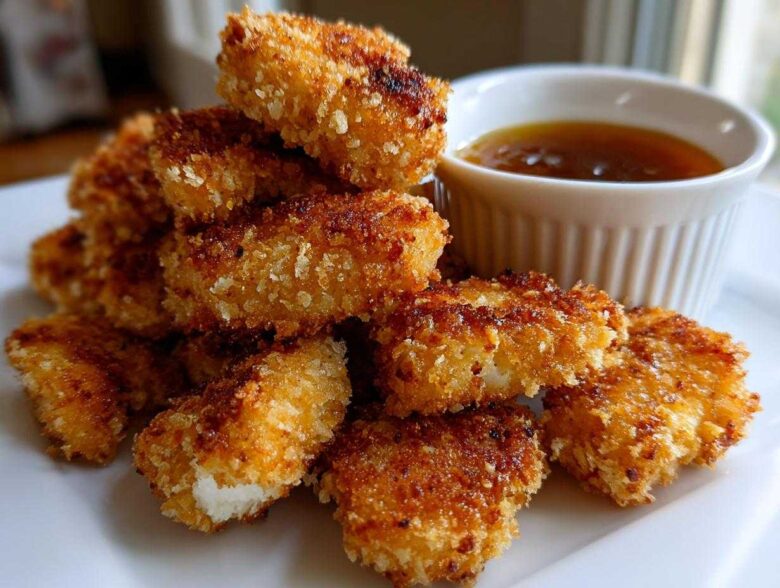
You know those days, right? You’re driving home after a long one, and all you can think about is sinking your teeth into a perfect, golden, unbelievably crispy chicken nugget. But then you remember that deep fryer sitting in the back of the pantry, and suddenly, you’re craving something a little cleaner. Friends, I have solved this essential weeknight dilemma!
Forget the soggy bottoms and the grease overload. We are making the best Crispy Chicken Nuggets with Honey Garlic Dip you’ve ever had, and we are doing it right in the oven! I spent what felt like years testing breading ratios—I swear my kitchen looked like a flour bomb went off—but I finally cracked the code for max crunch without drowning them in oil. The secret, trust me, is all in the Panko breadcrumb application and making sure you set them up for success on a wire rack before they ever see the oven heat.
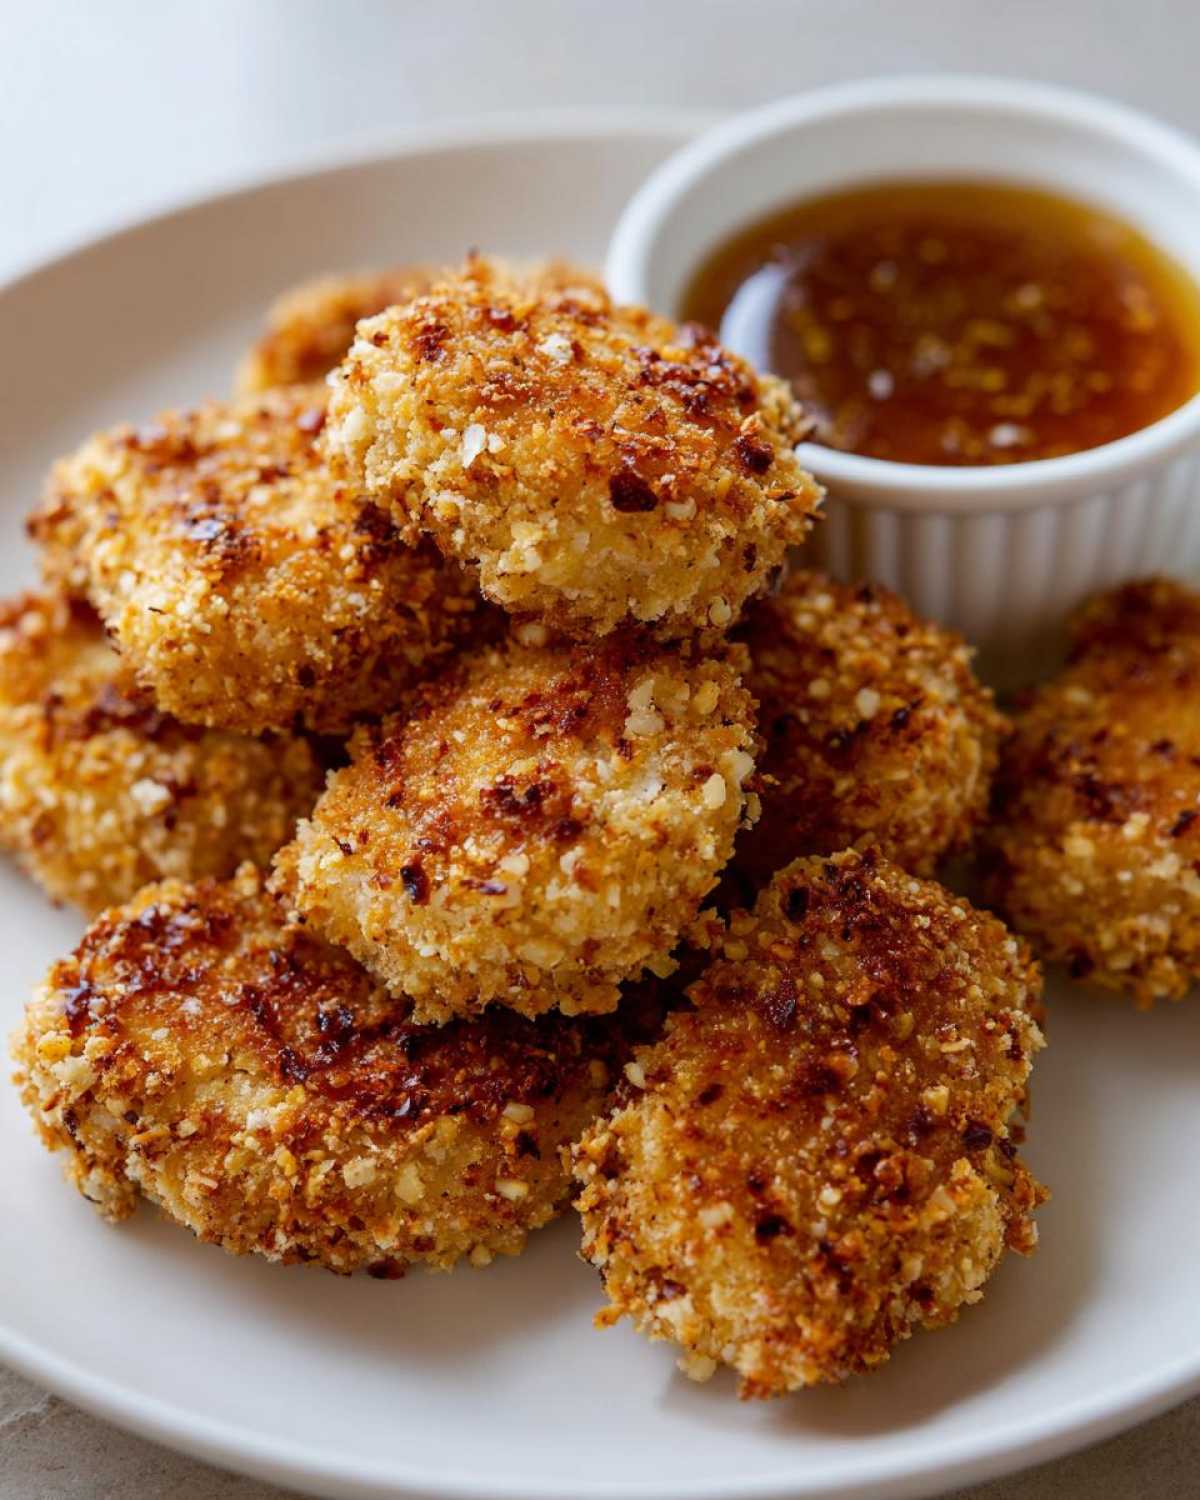
And because no nugget is complete without the perfect dunk, we’re whipping up a sticky, sweet, and slightly tangy Honey Garlic Dip from scratch. It’s just a few pantry staples, but the flavor payoff is huge. Get ready, because your homemade fast food favorites just got a serious upgrade!
Why You Will Love These Crispy Chicken Nuggets with Honey Garlic Dip
I seriously can’t wait for you to try these. They tick every single box for a perfect weeknight winner, especially when you need a quick dinner that all the picky eaters will actually devour. We aren’t sacrificing flavor or texture here, not even a little bit!
- Serious Crunch Factor: Thanks to that Panko breading and the oven rack setup, these nuggets have the best crispy crust imaginable—no fryer required!
- The Ultimate Dip: That simple honey garlic sauce is sticky, sweet, and savory all at once. Seriously, you’ll want to dip everything in it.
- Easy Setup: This recipe is incredibly straightforward. We use a classic three-step breading station, making cleanup surprisingly simple.
- Family Friendly Approved: These are such a fun, family friendly treat that tastes way better than the frozen stuff. Plus, you control exactly what goes into them!
Essential Ingredients for Crispy Chicken Nuggets with Honey Garlic Dip
Okay, let’s talk about what you actually need to make this magic happen. Getting the right ingredients lined up is half the battle, especially when you’re aiming for that textbook crispiness. I’ve broken this down so you know exactly what goes where. Don’t try to substitute the specific breadcrumb here—it’s truly non-negotiable if you want that signature crunch!
Seriously, having your mise en place ready to go makes the breading station run so smoothly. If you’re planning on making homemade mayo later in the week, these are the kinds of fresh ingredients that make a big difference in every recipe.
Ingredients for the Homemade Chicken Nuggets Recipe
You need about a pound and a half of chicken breast, cut into nice, uniform one-inch bites. Uniformity is important so they cook evenly! The real star of the show, though, is the coating.
- 1.5 lbs boneless, skinless chicken breasts, cut into 1-inch pieces
- 1 cup all-purpose flour
- 2 large eggs, lightly beaten
- 1.5 cups Panko breadcrumbs – These are your crispiness secret weapon!
- 1 teaspoon salt
- 0.5 teaspoon black pepper
- 0.5 teaspoon garlic powder
- 0.25 teaspoon paprika
- Cooking spray (Trust me, you need this for the oven!)
Ingredients for the Simple Honey Garlic Sauce Recipe
This dip comes together in literally five minutes while the nuggets are baking. The fresh garlic and ginger really punch up the flavor so it’s much better than anything you get in a bottle.
- 0.5 cup honey
- 0.25 cup soy sauce
- 2 tablespoons apple cider vinegar
- 2 cloves garlic, minced
- 1 teaspoon grated fresh ginger
How to Prepare Crispy Chicken Nuggets with Honey Garlic Dip: Step-by-Step
This is where the magic happens, people! Seriously, taking the time to set up your station correctly is the difference between slightly dry nuggets and the crunchiest, most satisfying homemade chicken nuggets recipe you will ever make.
Setting Up for the Best Oven Baked Crispy Nuggets
First things first: we need heat! Go ahead and preheat your oven way up high to 425°F (220°C). This blast of heat is what helps us mimic that deep-fried texture. Next, grab a sturdy baking sheet and line it with parchment paper—that saves you scrubbing later, thank goodness. The most essential part of this setup, however, is the wire rack placed right on top of that sheet. We need air circulation all the way around those nuggets!
Lightly spray that wire rack with cooking spray. This keeps the bottom from getting soggy while the top gets golden.
Breading Technique for Perfect Crispy Chicken Nuggets
Now, get your dredging station ready. You need three shallow dishes. Put your flour in the first one. Whisk up those two eggs in the second dish until they are nice and frothy. In the third dish, mix your Panko breadcrumbs with the salt, pepper, garlic powder, and paprika. That spice mix is crucial for flavor!
Take each piece of chicken and dunk it first into the flour—shake off the excess so you aren’t carrying too much powder over. Then, dip it cleanly into the egg wash. Finally, the grand finale: press that chicken firmly into the Panko mixture. Don’t just roll it; press! We want those Panko flakes adhered tightly for a truly sturdy, crispy breading. Place the coated nuggets onto your prepared wire rack, making sure none of them are touching. They need their space to breathe and crisp up!
Baking Instructions for Maximum Crispiness
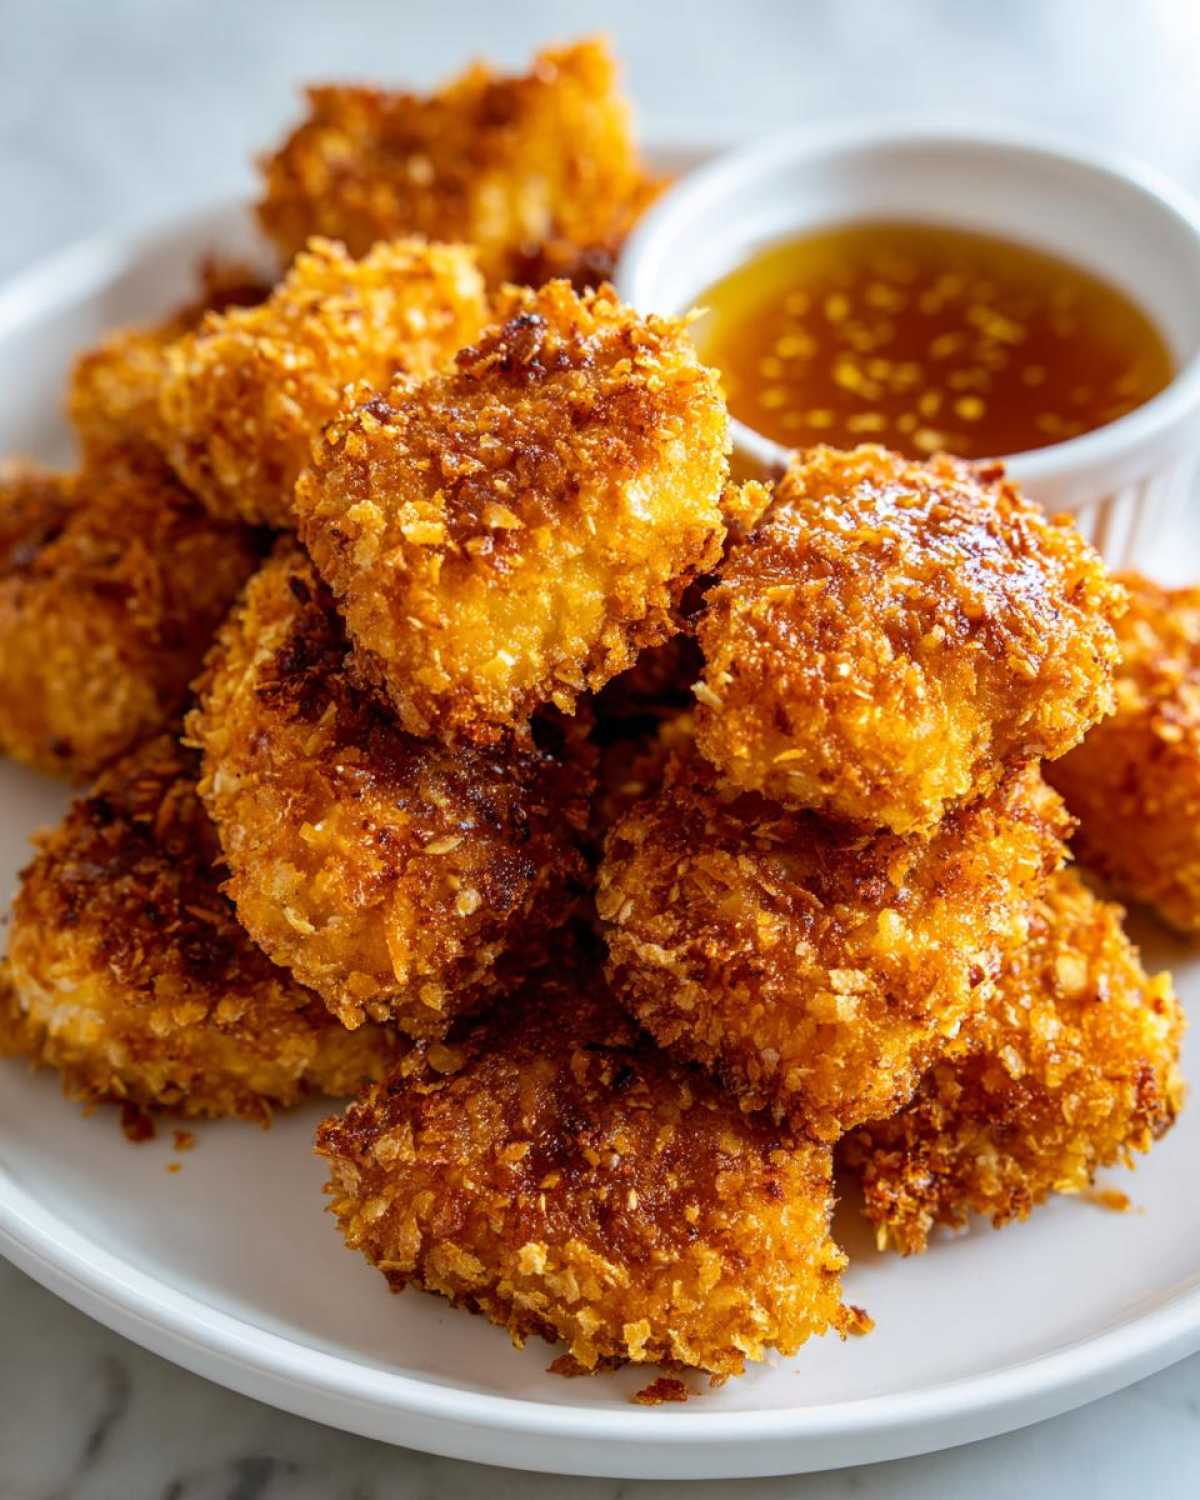
Once they are all lined up, grab your cooking spray again and spray the tops of the nuggets generously. I mean, give them a good misting! This fat helps everything turn that gorgeous golden brown, and it’s how we cheat that deep-fried texture in the oven. Bake them for about 18 to 22 minutes total. About halfway through the baking time, you need to carefully flip them over. After flipping, give the other side another little spritz of spray.
Remember food safety: you are looking for an internal temperature of 165°F (74°C). If you have a meat thermometer, check a thick nugget right through the middle. They should look golden brown and feel firm!
Making the Honey Garlic Dip
While those beauties are crisping up, let’s make the simple honey garlic sauce recipe. Pour the honey, soy sauce, apple cider vinegar, minced garlic, and ginger into a *small* saucepan. Set that over medium heat. You just need to stir this constantly until it starts to bubble gently and thickens up just a bit—usually about 3 to 5 minutes is all it takes. As soon as it coats the back of your spoon lightly, pull it right off the heat. It will keep thickening as it cools down, and trust me, you don’t want to accidentally make candy!
Serve those hot, crunchy bites immediately with that sweet and savory dip!
Tips for Success with Your Crispy Chicken Nuggets Recipe
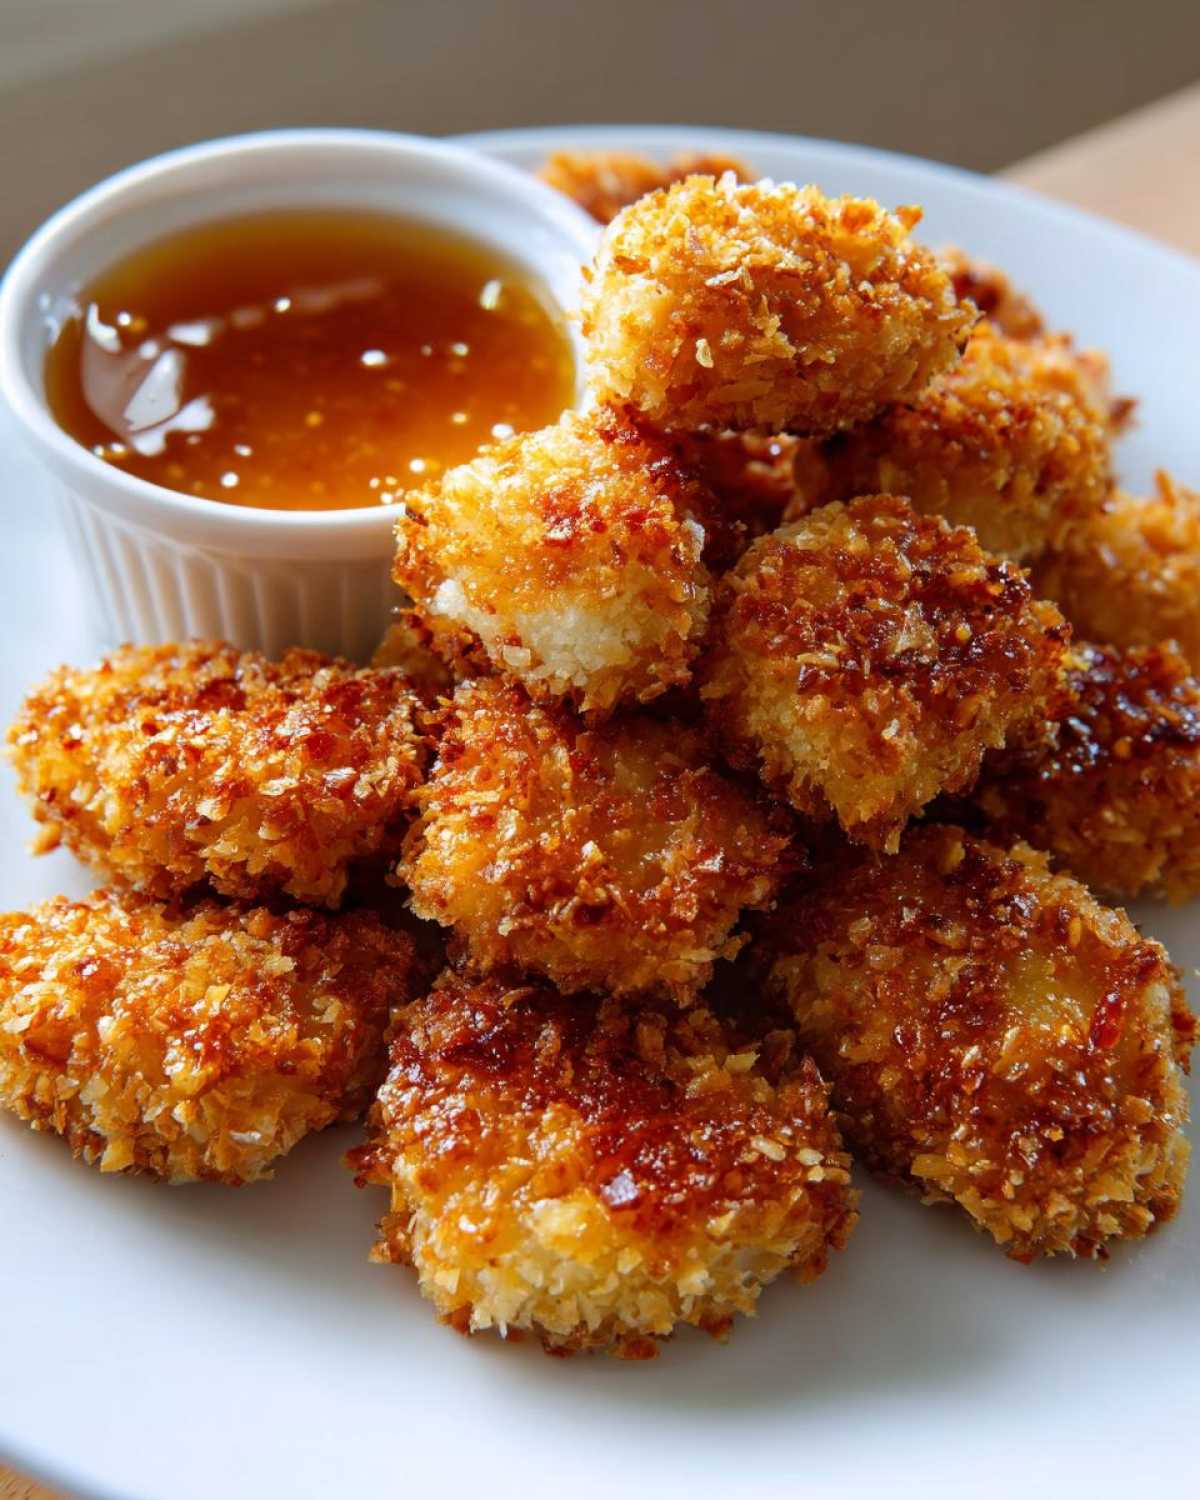
Now that you’ve mastered the breading station, let’s chat about making sure these nuggets are absolutely, unequivocally crispy when they hit the table. Baking works wonders, but sometimes you want speed and crunch in one go, right? If you happen to have an air fryer chicken nuggets recipe tucked away in your notes, this recipe translates beautifully.
If you’re using the air fryer, just pop those sprayed nuggets into the basket—remembering not to overcrowd them! I cook mine at 400°F (200°C) for about 10 to 12 minutes, giving the basket a good shake halfway through. That method is hands-down the quickest way to get shatteringly crisp results.
Another thing my notes reminded me of is that these are amazing for meal prep! If you want to make a huge batch for lunches, go ahead and bread them ahead of time. Keep them uncovered in the fridge for up to four hours. Because the Panko is dry, it won’t get soggy sitting there waiting. When you’re ready to eat, just pop them straight into that 425°F oven for maybe two extra minutes, or use the air fryer for a fast reheat!
Oh, and about the dip? If you find your honey garlic glaze recipe got a little too thick on the stove (oops, happens to all of us!), just whisk in a tablespoon of warm water once it’s off the heat. It loosens it up perfectly so it dribbles beautifully over the nuggets!
Variations on Crispy Chicken Nuggets with Honey Garlic Dip
The beauty of this basic structure is how easy it is to customize! We have this amazing foundation for maximum crispiness, so we can now play with the spices or even tweak the coating to make healthier chicken nuggets if we want to. I usually keep the core wet ingredients the same, but changing up the dry station makes everything feel exciting again.
For a little kick, especially if you have older kids or grown-ups eating these, try adding cayenne pepper right into that Panko mix. Just a quarter teaspoon gives you a nice warmth that complements the sweet dip later. Or maybe you want a Parmesan crust? Swap out about a quarter cup of the Panko breadcrumbs in the third dish for finely grated Parmesan cheese!
If you’re looking for those healthier chicken nuggets, you don’t have to skip the crunch! Instead of standard all-purpose flour in step one, try using whole wheat flour. It still coats well, and the whole wheat flavor plays surprisingly nicely with the spices. You might notice they brown a little slower, so keep an eye on them, but the texture stays fantastic!
Finally, don’t forget about the dip! If you’re tired of honey garlic (though I can’t imagine why!), you can pivot easily. Try swapping that honey for maple syrup for a deeper flavor, or add a teaspoon of sriracha to the saucepan instead of cayenne in the breading for a totally different sweet heat profile.
Make-Ahead and Storage for Homemade Chicken Nuggets Recipe
I get asked all the time if you can prep these ahead of time. Because who has time on a Tuesday night to set up a three-stage breading station from scratch? I totally get it. The good news is yes, absolutely, you can totally plan ahead with this make ahead chicken nuggets recipe!
The absolute best part to prep in advance is that breading process. Once the nuggets are fully coated in that beautiful Panko mixture, you need to give them space. Don’t just pile them into a container because they’ll steam and turn mushy instantly. I take my fully breaded nuggets and arrange them single-layer on a baking sheet (you can use a freezer friendly sheet pan, or just use the one you plan to bake on later).
Here’s the critical storage step: pop that sheet pan, uncovered, right into the refrigerator for up to four hours. That air circulation is your friend! Letting them rest uncovered dries the coating slightly, which helps the crust set right before cooking.
If you’re planning even further out, you can freeze them too! Place the sheet pan with the uncovered nuggets straight into the deep freezer until they are rock solid, about an hour. Then, you can transfer those frozen nuggets into a heavy-duty freezer bag. They’ll last for about a month—just make sure you label the bag, or you’ll end up with a bag of mystery frozen chicken pieces!
When it comes time to eat, reheating is simple and restores that beloved crispiness. If you’re using the oven, increase your temperature slightly to 450°F (230°C) and bake them directly from the fridge (or frozen) for about 25-28 minutes, flipping halfway. If you use the air fryer, start at 380°F (195°C) and cook until hot through, maybe 14 minutes if they were frozen. Don’t try to reheat the honey garlic dip in the oven, though; just make a fresh batch right before serving so it’s glossy and perfect!
Serving Suggestions for Your Crispy Chicken Nuggets
So you’ve got a massive, beautiful batch of these golden, crunchy nuggets, and you’ve got a bowl of that sticky, perfect honey garlic dip begging to be used. What do you serve alongside them? Since this is leaning into that fun, comfort-food territory, we need sides that are quick, easy, and maybe sneak in a vegetable or two without anyone noticing too much!
For a truly classic, kid-approved meal, you can never go wrong with fries, but let’s get creative since we worked so hard on the main course! I like to lean into things that balance out the sweetness of the dip.
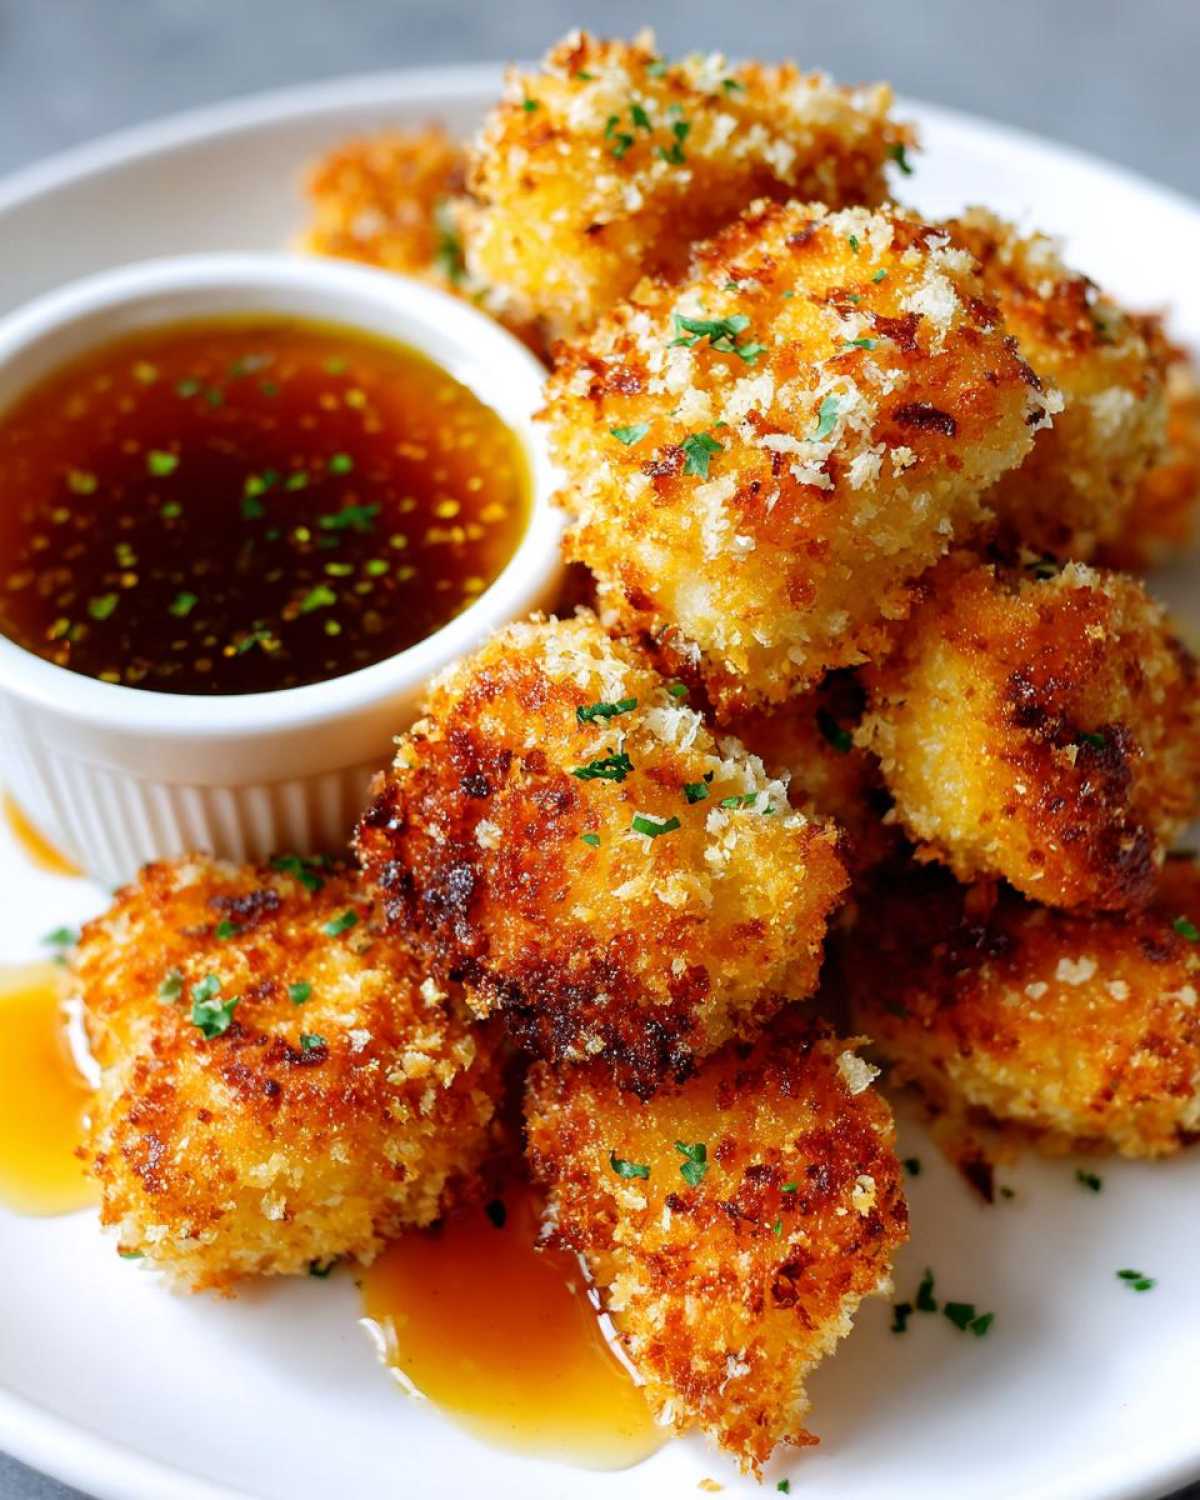
Here are my go-to pairings for a complete, quick weeknight chicken dinner:
- Crispy Roasted Broccoli Florets: Don’t just steam them! Toss broccoli with a little olive oil, salt, and garlic powder and roast them on a separate tray while the nuggets are in the oven. They get slightly charred and sweet, making them addictive next to that honey garlic sauce.
- Creamy Coleslaw: This adds a wonderful cool crunch that cuts right through the richness of the golden crust. It’s a classic pairing for reason—the tang of the slaw is phenomenal with sweet barbecue-style dips.
- Simple Side Salad with Lemon Vinaigrette: If you want something really light, just tear up some romaine lettuce, toss it with some sliced cucumbers and grape tomatoes, and hit it with a bright, zesty lemon vinaigrette. The acidity is great for refreshing your palate between dips.
Honestly, these nuggets are so good they can stand alone, but piling a plate high with crispy broccoli and dipping everything? That’s just good planning!
Frequently Asked Questions About Making Crispy Chicken Nuggets
I know you probably have a few speedy questions swirling around after seeing how easy this from scratch chicken nuggets process is. It’s good to ask! When you’re aiming for that perfect crunch, a quick question answered now saves a batch of mushy chicken later. Here are the things folks usually ask me after trying my air fryer chicken nuggets recipe.
Can I substitute Panko breadcrumbs in this homemade chicken nuggets recipe?
Look, I’m going to be honest with you: Panko is the reason these are the best crispy chicken nuggets! Panko flakes are larger and absorb less moisture before they hit the heat, which creates that light, airy crunch we’re after. If you absolutely must substitute them, you can use regular fine breadcrumbs, but you’ll need to watch them closely.
If you use regular crumbs, I highly recommend giving them an extra, very light final spray of cooking oil and maybe adding an extra minute or two to the baking time. They tend to brown faster and might not get quite the lift of the Panko, but they will still be delicious!
How do I store leftovers of the honey garlic dip?
The good news is that the honey garlic dip keeps wonderfully because of that high sugar content! Once it’s cooled completely, transfer the leftover sauce into a clean, airtight container. It should stay good in the refrigerator for at least a week, maybe longer. It will thicken up quite a bit when it chills, turning almost jammy.
When you pull it out to use it again, don’t panic! Just spoon the thick dip into a very small, microwave-safe bowl and heat it in 10-second bursts, stirring well after each burst. It should return to a lovely, pourable consistency. If it seems too thick even after heating, just whisk in a tiny splash of water or warm apple cider vinegar until you get that perfect dipping texture back.
Can I use chicken thighs instead of breasts?
You absolutely can! This is a great way to make them more flavorful and naturally a little more forgiving since dark meat has more fat. If you swap the chicken breasts for boneless, skinless thighs, you might need to add about 3 to 5 minutes to the baking time, depending on the exact size you cut them into. Thigh meat is a little more resilient, so don’t stress too much about overcooking it, but always check that internal temperature for safety!
What if I want to deep-fry these instead of baking?
If you’re feeling traditional and want that old-school texture, go for it! Heat about two inches of neutral oil (like canola or vegetable) in a deep, heavy-bottomed pot until it hits 350°F (175°C). Because we are using Panko, the breading fries up super fast. You only need to fry the nuggets for about 3 to 4 minutes total, flipping halfway, until they are gorgeous golden brown. Drain them immediately on a rack set over paper towels—not directly onto paper towels, as that traps steam and makes them soft!
Can I make these ahead of time and freeze them?
Yes, and this is my favorite trick for having a super quick weeknight chicken dinner! Follow all the steps right up until they are breaded. Place the breaded nuggets single-layer on a parchment-lined baking sheet and freeze them completely solid (this is key!). Once solid, transfer them to a zip-top freezer bag. When you want to cook them later, bake them straight from frozen at 425°F (220°C) for about 25-27 minutes, flipping halfway. Since they start frozen, they take longer to reach that safe internal temperature of 165°F.
Nutritional Estimates for Crispy Chicken Nuggets with Honey Garlic Dip
Now, I know we aren’t making these for the veggies, but if you’re tracking things at home, it’s always good to have a baseline! We worked hard to make these oven-baked nuggets on the healthier side compared to their deep-fried counterparts, especially since we are using lean chicken breast and focusing on that great Panko crust instead of heavy batter.
I ran the numbers based on the ingredients listed, serving four people as directed. Keep in mind that because we are making everything from scratch—both the nuggets and the simple honey garlic sauce recipe—your actual counts can shift a bit based on how much honey you drizzle on or the fat content in your specific cut of chicken.
Here’s what my standard batch comes out to for one serving (about 5 nuggets plus 2 tablespoons of dip):
- Serving Size: 5 nuggets plus 2 tbsp dip
- Calories: 380
- Sugar: 25g (Mostly from that fantastic honey dip!)
- Sodium: 550mg
- Total Fat: 9g
- Saturated Fat: 2g
- Carbohydrates: 45g
- Protein: 30g
I really want to stress that these figures are just estimates. If you skip the dip entirely, your sugar and calorie count drops significantly! If you use chicken thighs instead of breasts, the fat content will jump up a little too. It’s all about what works for your kitchen, but hopefully, this gives you a great starting point for your tracking!
PrintCrispy Oven-Baked Chicken Nuggets with Honey Garlic Dip
Make crispy, homemade chicken nuggets using an oven-baking method and pair them with a simple, sweet and savory honey garlic dipping sauce.
- Prep Time: 20 min
- Cook Time: 22 min
- Total Time: 42 min
- Yield: 4 servings
- Category: Main Course
- Method: Baking
- Cuisine: American
- Diet: Low Fat
Ingredients
- 1.5 lbs boneless, skinless chicken breasts, cut into 1-inch pieces
- 1 cup all-purpose flour
- 2 large eggs, lightly beaten
- 1.5 cups Panko breadcrumbs
- 1 teaspoon salt
- 0.5 teaspoon black pepper
- 0.5 teaspoon garlic powder
- 0.25 teaspoon paprika
- Cooking spray
- For the Dip:
- 0.5 cup honey
- 0.25 cup soy sauce
- 2 tablespoons apple cider vinegar
- 2 cloves garlic, minced
- 1 teaspoon grated fresh ginger
Instructions
- Preheat your oven to 425°F (220°C). Line a baking sheet with parchment paper and lightly coat a wire rack with cooking spray; place the rack on the baking sheet.
- Set up a standard breading station with three shallow dishes. Place flour in the first dish. Whisk the eggs in the second dish. Mix the Panko breadcrumbs, salt, pepper, garlic powder, and paprika in the third dish.
- Dredge each chicken piece first in the flour, shaking off excess. Dip it into the egg mixture, allowing excess to drip off. Finally, press the chicken firmly into the Panko mixture to coat completely.
- Place the breaded nuggets on the prepared wire rack, ensuring they do not touch. Spray the tops of the nuggets generously with cooking spray to aid crisping.
- Bake for 18 to 22 minutes, flipping the nuggets halfway through, until they are golden brown and the internal temperature reaches 165°F (74°C).
- While the nuggets bake, prepare the dip. Combine honey, soy sauce, apple cider vinegar, minced garlic, and ginger in a small saucepan.
- Heat the sauce mixture over medium heat, stirring constantly until it simmers and thickens slightly, about 3 to 5 minutes. Remove from heat.
- Serve the hot, crispy chicken nuggets immediately with the honey garlic dip.
Notes
- For extra crispiness, you can air fry the nuggets at 400°F (200°C) for 10 to 12 minutes, shaking the basket halfway through.
- If you prefer a thinner sauce, add one tablespoon of water to the finished dip while it is still warm.
- You can prepare the breaded nuggets up to 4 hours ahead of time and store them, uncovered, in the refrigerator before baking.
Nutrition
- Serving Size: 5 nuggets plus 2 tbsp dip
- Calories: 380
- Sugar: 25
- Sodium: 550
- Fat: 9
- Saturated Fat: 2
- Unsaturated Fat: 7
- Trans Fat: 0
- Carbohydrates: 45
- Fiber: 2
- Protein: 30
- Cholesterol: 95