

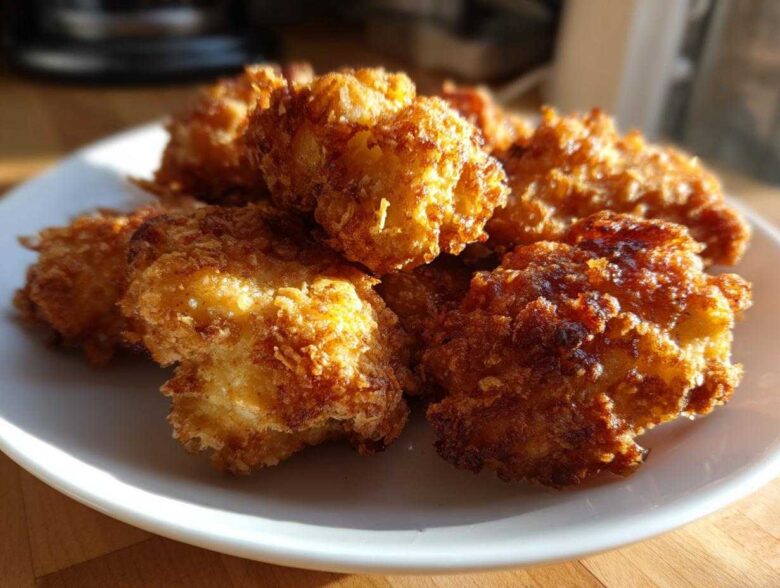
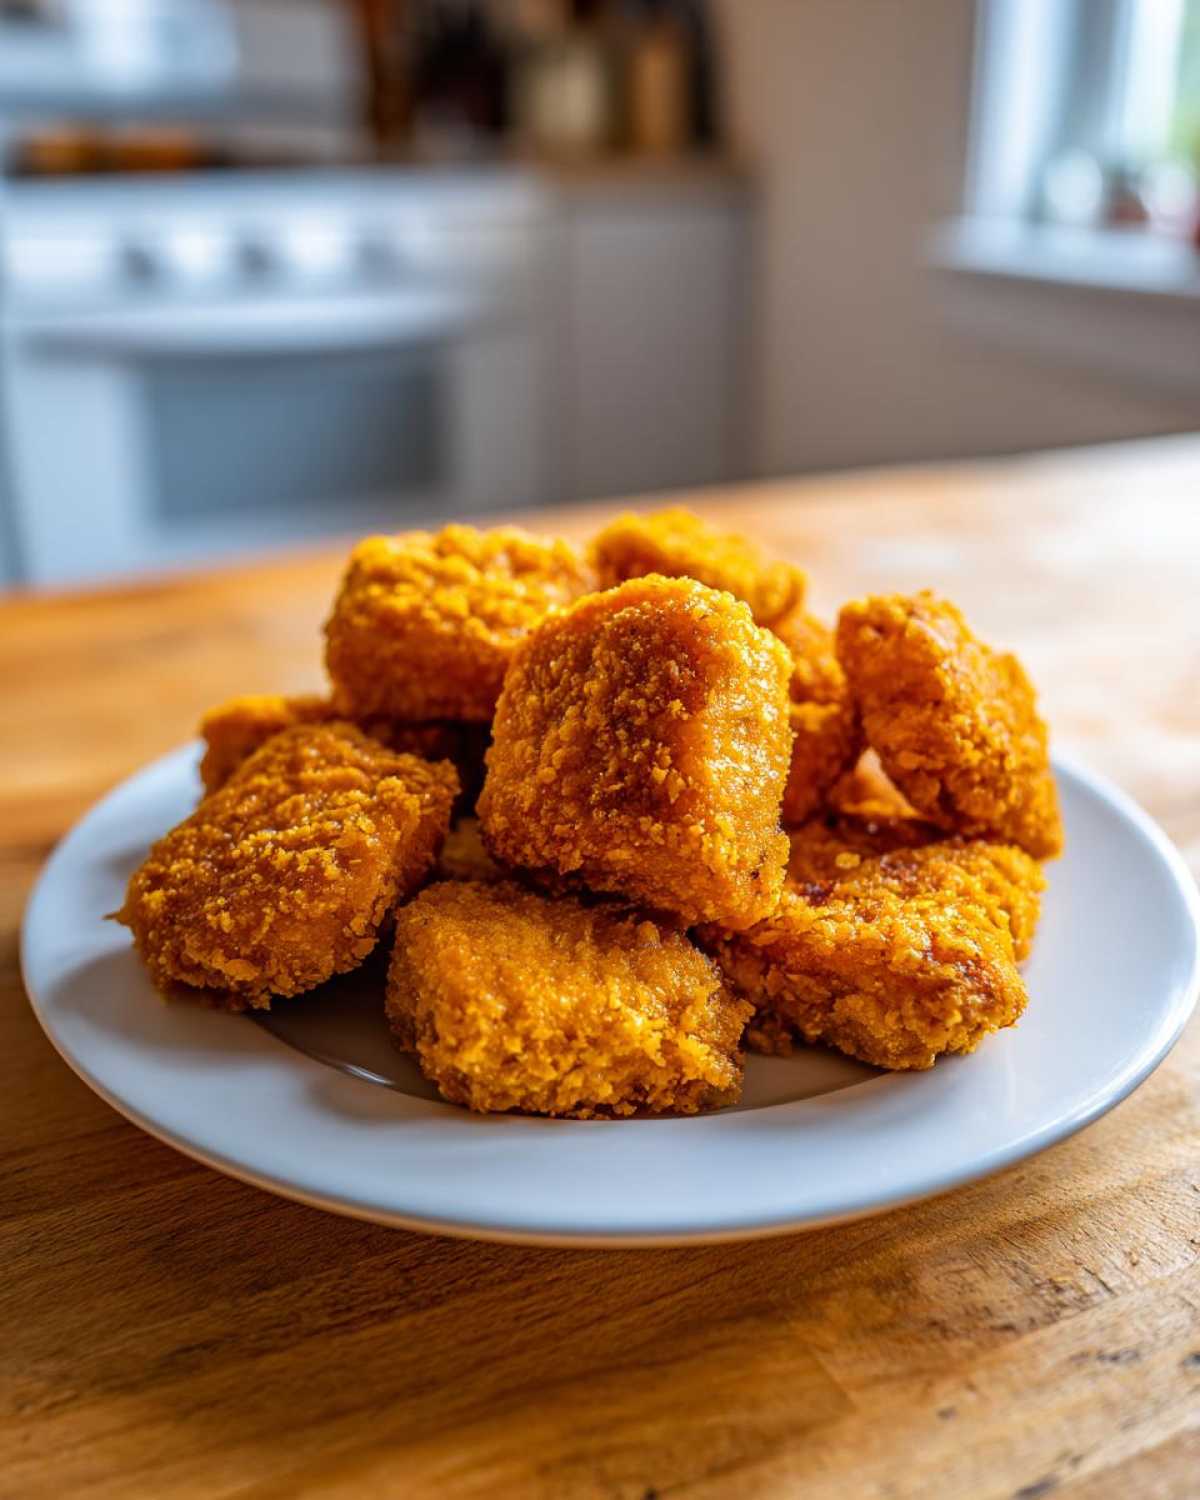
I am so excited you clicked on this, because if you are tired of sad, soggy homemade nuggets that look pale and taste like regret, you are in the right place! Forget the drive-thru; we are making Crispy Chicken Nuggets Homemade Extra Crunchy right here in your kitchen. Seriously, I spent months figuring out how they get that unbelievably textured shell, and I cracked the code.
It’s all about technique—specifically, how we manage the breading layers. Mastering this three-step coating process is what separates the good nuggets from the legendary ones. If you want that copycat crunch, understanding the crust is everything—it’s similar to the principles I learned while testing out the crunchiest wings! Trust me, once you master this, you’ll never look back. Get your oil heating, because incredible crunch is coming your way, and don’t forget to check out my secrets for deep-frying crispiness here.
Why This Recipe Makes the Best Crispy Chicken Nuggets Homemade Extra Crunchy
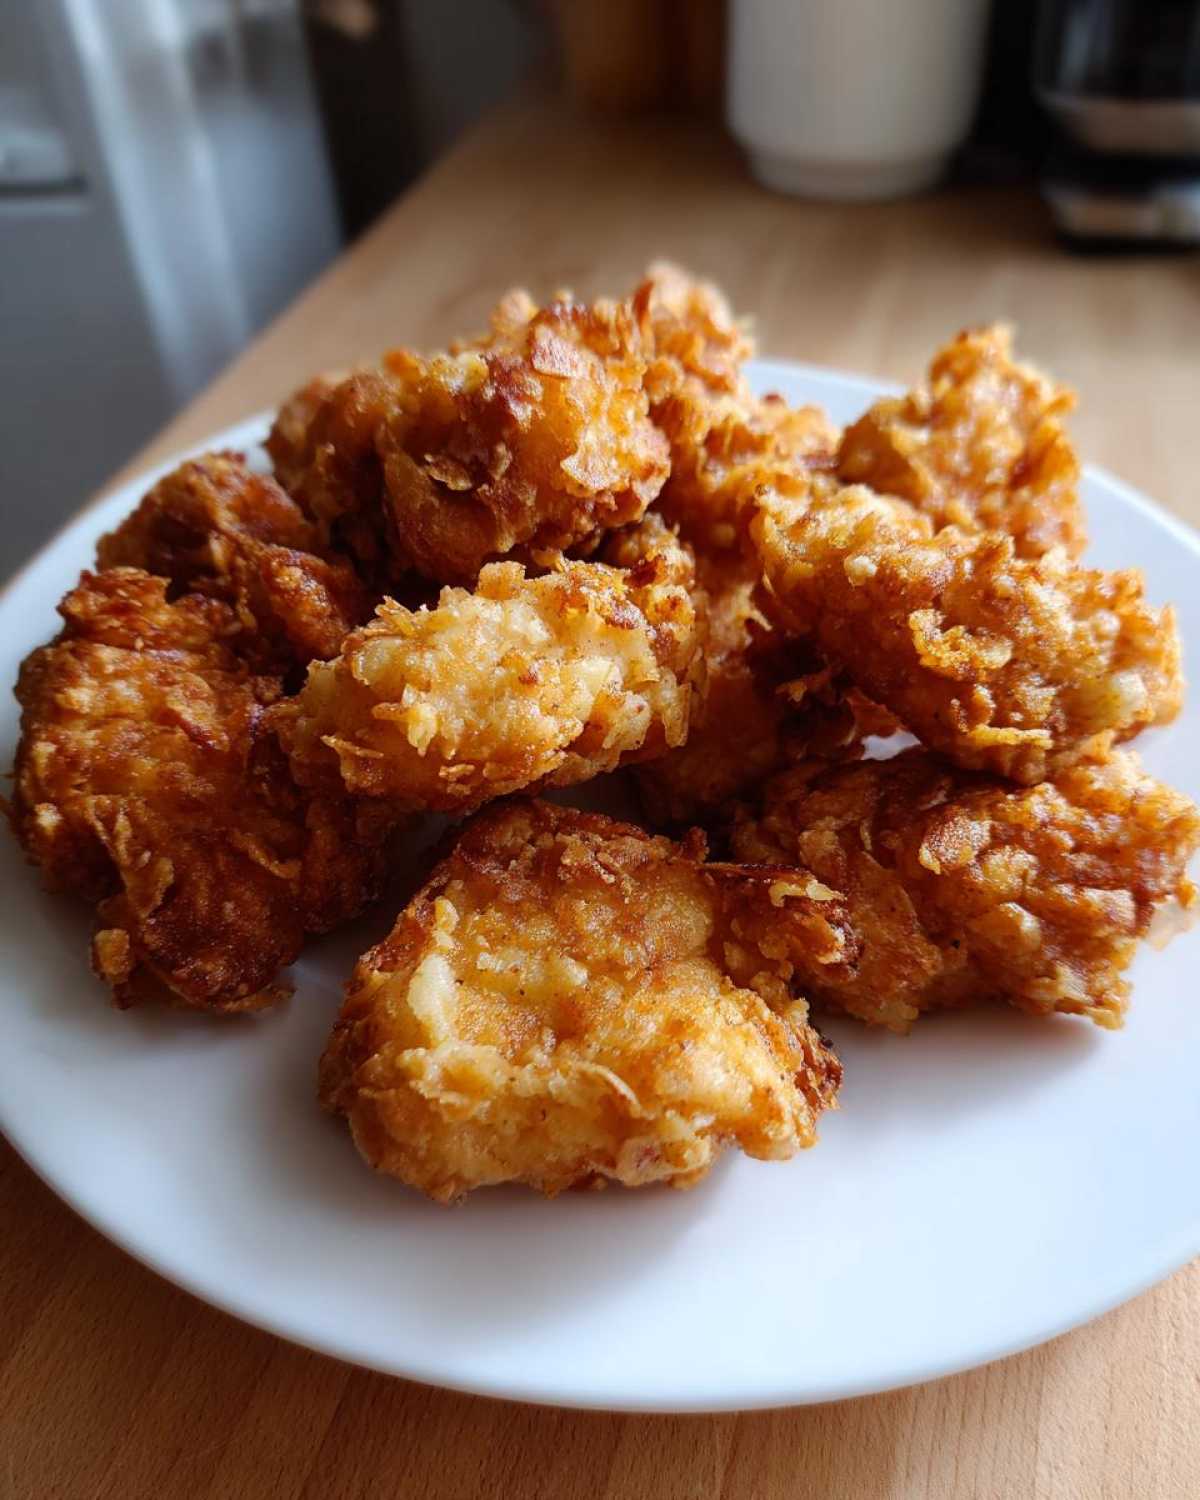
You won’t get this texture just by tossing chicken in flour and calling it a day, no way. We are aiming for maximum structural integrity here! This recipe beats the rest because we cheat just a little bit.
- We use the double-dip method. That second coat of egg wash and breading is the absolute secret to a thick, almost shatter-like crust.
- We ditch standard breadcrumbs for Panko—they are just flakier and shatter better.
- That optional crushed cornflake blend? It adds a layer of toasted grit that locks in the crunch for longer.
If you want to dive deeper into all the different breading techniques that actually work, this guide is fantastic!
Ingredients Needed for Crispy Chicken Nuggets Homemade Extra Crunchy
Okay, let’s talk about what you need to grab from the pantry and fridge. Having everything measured out before you start breading is non-negotiable; you don’t want messy hands fiddling with spices when you’re trying to seal in the crunch!
For the actual chicken, I like to use a mix of breast and thigh meat. The breast gives you that classic white nugget look, but the thighs? They keep things incredibly juicy inside, which is key when you have such a rugged, crunchy exterior. You’ll want about 1.5 pounds of boneless, skinless chicken parts, all cut into nice, uniform 1-inch pieces.
Here’s exactly what you need to gather. Remember that link I mentioned about the best breading for crispy chicken? These specific items make all the difference:
- 1.5 lbs boneless, skinless chicken breast or thighs, cut into 1-inch pieces
- 1 teaspoon salt
- 1/2 teaspoon black pepper
- 1/2 teaspoon garlic powder
- 1/4 teaspoon paprika (just for a little color!)
- 1 cup all-purpose flour (your first layer, don’t skip shaking off the excess!)
- 2 large eggs, beaten with 1 tablespoon water (that splash of water makes the egg wash a little thinner, which helps the breading stick better)
- 1 cup Panko breadcrumbs (the larger flakes are essential for that light, airy crunch)
- 1/2 cup crushed cornflakes (This is optional, but trust me, crushing them up and mixing them right into the Panko gives you that next-level, almost flaky crust.)
- Vegetable oil, for frying (if you are frying, of course!).
Preparing the Chicken for Crispy Chicken Nuggets Homemade Extra Crunchy
Before we even think about flour or Panko, we have to flavor the meat! If you skip this step, no matter how crunchy the crust is, the inside of your nugget is going to taste bland. That’s not how we do things here; we want flavor in every single bite, crunchy outside and juicy inside!
Remember I mentioned using a mix of chicken breast and thigh? Thighs are just superior for keeping things moist, so if you want juicy inside crispy outside nuggets, make sure you’ve got at least half thighs in there. Cut up all your meat into uniform 1-inch chunks so they cook evenly. If one piece is huge and the other is tiny, you end up with burnt coating and raw centers. Nobody wants that!
Seasoning the Chicken Pieces
This seasoning mix is simple because we are relying on the coating for texture, but the meat needs a good base flavor. Grab a medium bowl and toss those chicken pieces with just a few things:
- Salt
- Black pepper
- Garlic powder
- A tiny pinch of paprika for a little bit of warmth and color.
Just toss it all around until everything is lightly coated. Let that sit for about ten minutes while you get your breading station organized. It gives the flavors just a little bit of time to soak in before we drown them in flour!
The Breading Station Secrets for Extra Crunchy Chicken Nuggets Homemade Extra Crunchy
Listen up, because this is where the magic happens—this is the literal secret to super crunchy coating! We are setting up a professional breading line right on my kitchen counter. You need three shallow dishes lined up in this specific order: Flour first, then the egg wash, and finally, your glorious Panko mix.
The secret weapon for that ridiculously thick, crunchy shell is what I call the ‘Second Dip.’ You don’t just coat the chicken once; you coat it, then dip it back into the egg, and then back into the Panko one more time! Press that final coating on firmly—really massage it into the chicken. This technique creates those ridges and valleys that crisp up beautifully when cooked. If you really want to understand the power of this layering, check out this note on the double dipped chicken nuggets secret; it makes all the difference for maximum crunch!
Setting Up Your Three-Stage Breading Process
Get those three dishes ready to go. The first dish is your simple flour dredge, just regular all-purpose flour. This first layer is designed to dry out the surface of the chicken slightly so the egg has something dry to grab onto. Make sure you *shake off* all the excess flour before moving on! We want dust, not clumps.
The middle bowl is your liquid glue: the beaten eggs with that splash of water. Dip quickly here, letting it drip just for a second or two. Then comes the star: the Panko mixed with those crushed cornflakes. You need to press the mixture onto the chicken piece really well—like you’re trying to spackle a hole. That firm pressure ensures the coating doesn’t fall off during frying.
Cooking Methods for Crispy Chicken Nuggets Homemade Extra Crunchy
Alright, we’ve got our perfectly breaded nuggets sitting on the rack; now we have to cook them! This is a common split in the kitchen—some people swear by the deep fryer for that true fast-food texture, and others want to be a little mindful and use the air fryer. Luckily, both methods work beautifully for making an extra crunchy air fryer chicken nuggets result, but the technique is slightly different.
The most important thing, no matter which route you take, is making sure we get that chicken cooked through to a safe temperature without burning that gorgeous crust we worked so hard on. Remember, the oil temperature or the air fryer setting dictates how fast that exterior browns!
Deep Frying for Maximum Crispiness
If you’re after that classic, golden-brown, shattering crunch—the kind that mimics the best crispy chicken nuggets in the world—deep frying is your best bet. Pour about 2 inches of vegetable oil into a heavy-bottomed skillet. Bring that oil up to 350°F (175°C). You really need a thermometer here; if the oil isn’t hot enough, the nuggets soak it up and get greasy, not crispy. Oops!
Carefully drop your breaded nuggets into the hot oil, but only use a few at a time! You cannot overcrowd the pot, or the oil temperature crashes instantly, and you end up with soggy nuggets. Seriously, cook them in small batches. They only need about 3 to 4 minutes, just turning them gently until they are perfectly golden brown all over. Pull them out when they hit that safe 165°F (74°C) internal temperature.
Air Frying for a Lighter Extra Crispy Chicken Recipe
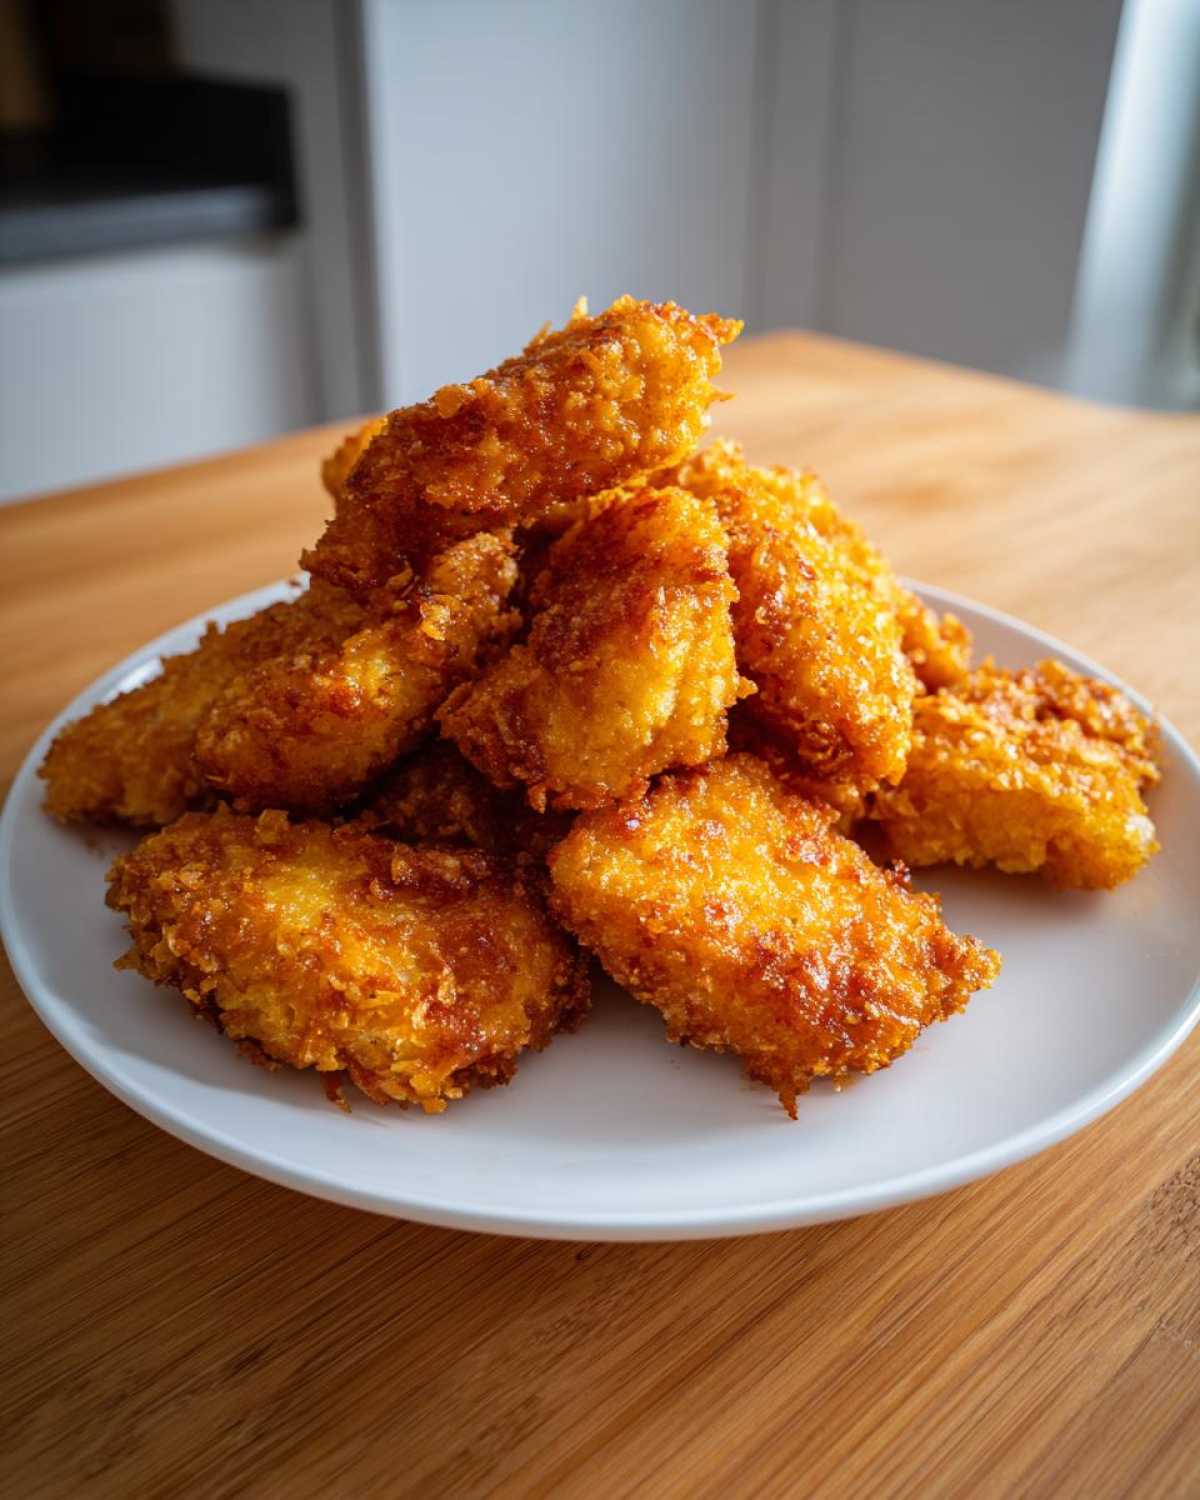
If you’re going the air fryer route for an easy extra crispy chicken recipe, preheat it first! Set our air fryer to 380°F (195°C). The air fryer works by blasting hot air all around the food, which is great for crisping, but you have to help it along.
Once your nuggets are breaded, lay them in a single layer in the basket—again, no overlapping allowed, or you get pale, unhappy tops. Take your spray bottle of oil (or just drizzle carefully) and give them a good spritz over the top. This fat helps them achieve that golden color. Cook them for 10 to 12 minutes total, making sure you pull the basket out halfway through to flip them over and maybe spritz the other side again for even coverage!
Tips for the Crunchiest Homemade Nuggets Ever
We’ve covered the double-dip, which is the biggest component for achieving those the crunchiest homemade nuggets ever, but there are a few other little tricks my grandma used to use when she was experimenting with keeping her fried chicken crispy overnight! These small adjustments make a huge difference, especially if you’re planning on making these ahead of time.
First thing’s first: you need to let your breaded nuggets chill out for about 15 minutes before they hit the hot oil or the air fryer. I know it feels like waiting forever when you are excited to eat, but this resting time is crucial.
Why? It lets the egg wash completely absorb into the flour and Panko. When that coating hits the heat, it sets up almost instantly, forming a solid, dry shell instead of starting to steam right away. That firm shell is what prevents sogginess later on. If you want to see what happens when you mess up the coating texture, you should check out my notes on the secret to super crunchy coating; it explains why setting that crust is so important!
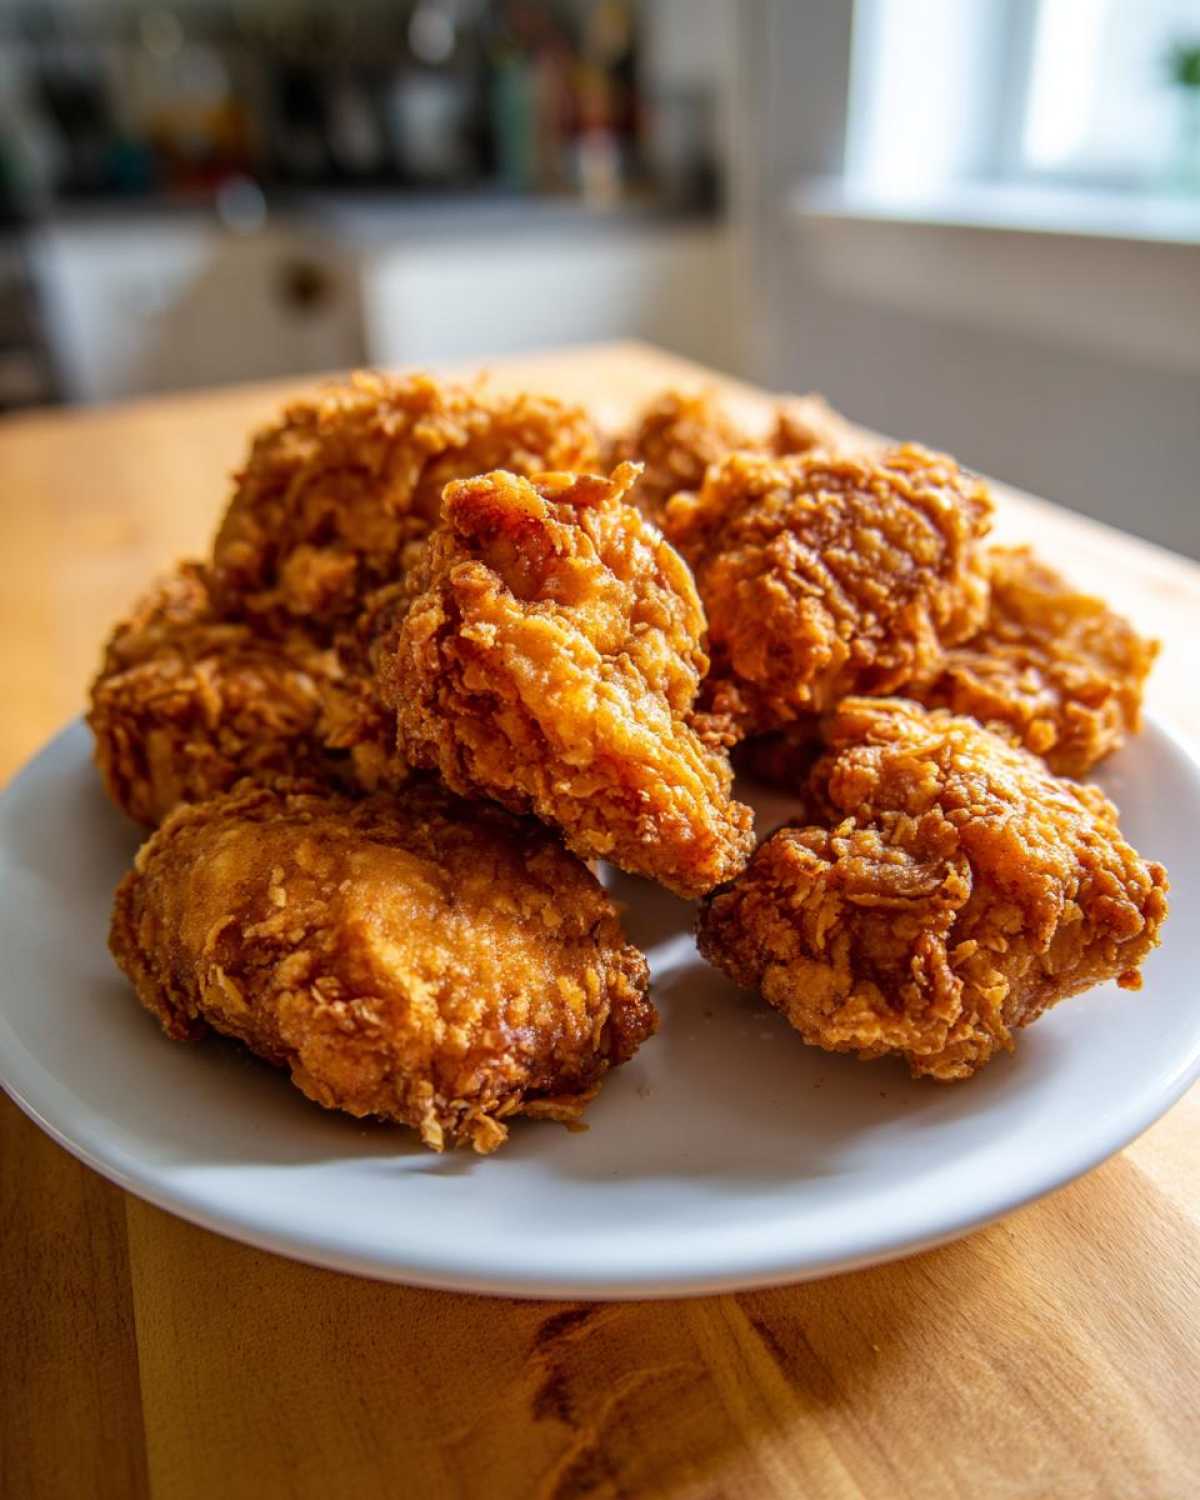
My second tip relates to flavor right at the end. Once those nuggets come out of the oil or air fryer, immediately toss them in a bowl—yes, a clean bowl—with just a tiny shake of seasoning salt right on top. Not too much, just a light shake. This gives you that instant savory hit that commercial nuggets have, and the residual heat helps the final seasoning adhere perfectly.
Finally, if you are air frying, don’t be shy with the oil spray you use before cooking. It needs to look visibly coated, almost slightly dewy. That fat right on the surface is what helps the Panko turn that desirable golden brown instead of just looking dry and pale yellow. A little extra fat ensures a lot of extra crunch!
Serving Suggestions for Homemade Crispy Chicken Nuggets Recipe
Okay, your nuggets are ridiculously crunchy—congratulations! Now, we have to talk about the supporting cast. A perfect nugget deserves a perfect dip, right? I think homemade sauces just elevate everything, making this feel less like a quick snack and more like a real meal, even if you’re eating them straight over the sink like I sometimes do!
These crunchy little guys are amazing on their own, but they definitely shine when paired with something tangy or creamy. I usually keep things classic, but I have a couple of go-to extras that everyone always asks for.
First off, you simply have to have a good, homemade BBQ sauce. Seriously, toss out the bottle! My recipe is super simple—mostly ketchup, brown sugar, vinegar, and a little bit of smoke—and it cooks down fast. You can find the whole guide to my easy homemade BBQ sauce recipe right here. It’s sweet and tangy, which cuts through the richness of the fried chicken perfectly.
Next up, something creamy is a must. Forget plain ranch; we need something with a little bite. Mix up some mayonnaise with a spoonful of Dijon mustard, a splash of pickle juice (don’t skip the pickle juice!), and some onion powder. It’s my fast-food secret sauce copycat. It’s super satisfying on these homemade crispy chicken nuggets recipe bites!
And for a side? Honestly, nothing beats a tangy, vinegary coleslaw. It’s cool, crunchy, and offers a complete textural break from the hot, crispy nuggets. Plus, my kids actually eat their vegetables when they’re mixed with vinegar and a little bit of sugar. Win-win!
Storing and Reheating Your Extra Crunchy Chicken Nuggets
You made an entire batch of the best chicken nuggets known to humanity? That means there are absolutely leftovers, and we have to treat those leftovers with respect! The biggest mistake people make when saving nuggets is thinking the microwave is their friend. Newsflash: the microwave is the enemy of crispiness! It heats the water molecules inside the coating, turning your beautiful crust into sad, wet dough. We simply cannot allow that drama in this house.
If you have any of these Crispy Chicken Nuggets Homemade Extra Crunchy left over, get them cooled down quickly and slide them into an airtight container once they reach room temperature. You can usually keep them in the fridge for about three or four days. They are still delicious cold, but let’s be honest, they are *best* when reheated properly.
For bringing back that glorious, shattering crunch, you have two options, and one is definitely better than the other. First, the best way to revive them is actually to use that air fryer again! It’s the only way to truly get back to that fried texture without adding gallons of new oil.
If you want to see how I get my air fryer to revive all sorts of crispy leftovers, you can check out my deep dive on air-frying pretzel bites—the technique for reviving nuggets is exactly the same!
Set your air fryer to about 375°F (190°C). You don’t even need to spray them with more oil this time. Just place the nuggets in a single layer and let them heat for about 5 to 7 minutes, flipping halfway through. They will come out steaming hot and the crunch will be nearly brand new—I promise!
If you don’t have an air fryer, the oven is your next best bet for restoring crispiness. Forget soaking them in oil; just use a wire rack set over a baking sheet. Preheat the oven to about 400°F (200°C) and bake them for about 8 to 10 minutes. The wire rack is essential because it lets the hot air circulate underneath, ensuring the bottom doesn’t steam against the pan while the top crisps up. Anything less, and you’re asking for sogginess!
Frequently Asked Questions About Making Crispy Chicken Nuggets Homemade Extra Crunchy
When testing any new recipe, you always run into little snags or questions, especially when you’re trying to nail down that perfect crunch! These are the things I get asked most often about achieving Crispy Chicken Nuggets Homemade Extra Crunchy results.
Can I bake these to get the same extra crunchy texture?
You *can* bake them, sure, and for a healthier option, the oven works okay, but I’m going to be totally honest: baking will never give you the exact same texture as deep frying or even air frying. When you bake these, you need to crank the heat up high—like 400°F (200°C)—and you absolutely must place the breaded nuggets on a wire rack set over a baking sheet. This allows air to hit the bottom, otherwise, you’re steaming that gorgeous crust we worked so hard on! You’ll need about 18–20 minutes, flipping them halfway through, but you won’t quite reach that deep-fried snap.
What is the secret ingredient for the best breading for crispy chicken?
If I have to pick just ONE thing, it’s not an ingredient, it’s the labor involved: the double-dip! Coating once gives you something crunchy, but coating twice—flour, egg, Panko, *then* egg again, then more Panko—that creates a thick barrier that locks in the chicken moisture and forms those beautiful, jagged peaks that explode with crunch when they hit the hot oil. If you insist on a secret ingredient, though, it’s the addition of crushed cornflakes mixed into your Panko. That little bit of cornflake adds such a distinctive texture to the best breading for crispy chicken!
Can I use frozen chicken to make these copycat fast food chicken nuggets?
Please, please don’t try to bread frozen chicken for this recipe! When you are aiming for an *extra crunchy* coating, moisture is the enemy, and frozen chicken sweats more than you can imagine as it thaws in the breading station. That excess moisture makes your flour gummy and prevents the Panko from sticking properly. You’ll end up with a coating that slides right off during cooking. For the best results, always use fresh, patted-dry chicken pieces. If you need a good sauce for those new nuggets, check out my recipe for zesty lemon sauce, which is surprisingly great with these!
PrintHomemade Extra Crunchy Chicken Nuggets
Follow this guide to make homemade chicken nuggets with an extra crunchy coating, achieving a texture similar to popular fast-food versions.
- Prep Time: 20 min
- Cook Time: 15 min
- Total Time: 35 min
- Yield: 4 servings
- Category: Main Course
- Method: Frying or Air Frying
- Cuisine: American
- Diet: Low Fat
Ingredients
- 1.5 lbs boneless, skinless chicken breast or thighs, cut into 1-inch pieces
- 1 teaspoon salt
- 1/2 teaspoon black pepper
- 1/2 teaspoon garlic powder
- 1/4 teaspoon paprika
- 1 cup all-purpose flour
- 2 large eggs, beaten
- 1 tablespoon water
- 1 cup Panko breadcrumbs
- 1/2 cup crushed cornflakes (optional, for extra crunch)
- Vegetable oil, for frying (or cooking spray for air frying)
Instructions
- In a bowl, toss the cut chicken pieces with salt, pepper, garlic powder, and paprika until coated.
- Set up a standard breading station with three shallow dishes. Place the flour in the first dish.
- In the second dish, whisk the eggs and water together.
- In the third dish, combine the Panko breadcrumbs and crushed cornflakes, if using.
- Take one piece of seasoned chicken and dredge it thoroughly in the flour, shaking off excess.
- Dip the floured chicken into the egg wash, letting excess drip off.
- Coat the chicken completely in the Panko mixture, pressing the breading firmly onto the surface. For extra crunch, repeat the egg wash and breading steps (double dip).
- Place the breaded nuggets on a wire rack while you finish the remaining pieces.
- To fry: Heat 2 inches of oil in a deep skillet to 350°F (175°C). Fry the nuggets in batches for 3 to 4 minutes, turning occasionally, until golden brown and cooked through (internal temperature 165°F or 74°C).
- To air fry: Preheat your air fryer to 380°F (195°C). Lightly spray the nuggets with cooking oil. Cook for 10 to 12 minutes, flipping halfway through, until golden and crisp.
- Remove nuggets and place them on a paper towel-lined plate to drain excess oil. Serve immediately.
Notes
- For the juiciest interior, use chicken thighs instead of breast meat.
- If baking, place nuggets on a wire rack set over a baking sheet and bake at 400°F (200°C) for 18 to 20 minutes, flipping halfway.
- The double-dipping method is the secret to achieving the thickest, crunchiest exterior layer.
Nutrition
- Serving Size: 5 nuggets
- Calories: 280
- Sugar: 1
- Sodium: 350
- Fat: 15
- Saturated Fat: 3
- Unsaturated Fat: 12
- Trans Fat: 0
- Carbohydrates: 12
- Fiber: 1
- Protein: 24
- Cholesterol: 90