

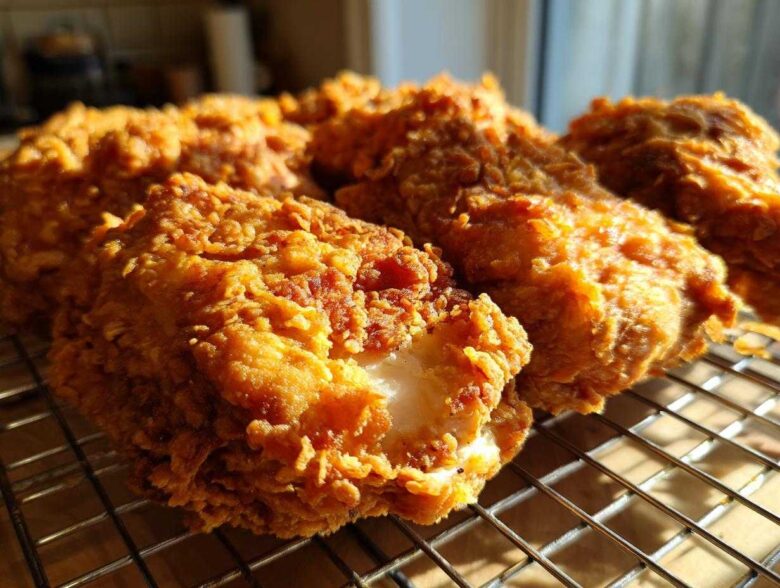
Forget everything you thought you knew about getting that perfect, crackly crust! Simon always says that true success in the kitchen isn’t about avoiding failure; it’s about celebrating the attempt—and believe me, achieving that ultra-crispy, juicy Southern fried chicken is a victory worth cheering for. That’s why I, Alice, spent weeks documenting Simon’s technique for this batch of fried chicken. His relaxed confidence combined with my obsessive note-taking means this recipe delivers the absolute best homemade fried chicken every single time. So, put on some great music, grab your skillet, and get ready to give yourself some serious kitchen kudos!
Why This Ultra-Crispy Fried Chicken Recipe Earns Kitchen Kudos
Look, finding the best homemade fried chicken recipe that actually delivers on both the crunch *and* the juiciness can feel like searching for buried treasure. But this method? This is the map! We’ve locked down the technique that guarantees you get that glorious, craggy coating that just sings when you bite into it. We aren’t messing around here!
- We use our signature buttermilk brine, which absolutely guarantees that your meat stays moist, even if you’re new to frying (no more dry chicken, I promise!).
- The secret sauce for texture is the double-dip dredge. It sounds extra, but trust me, it builds that sturdy, golden crust.
Achieving Juicy and Crispy Chicken Every Time
It all comes down to chemistry, but don’t let that scare you! The magic of the buttermilk is that the mild acids get right into the muscle fibers, tenderizing them beautifully. Then, when that wet chicken hits the seasoned flour mixture twice? Powder—liquid—powder! That process builds peaks and valleys on the surface, which fry up into those amazing crunchy bits you always want more of. It’s pure edible architecture!
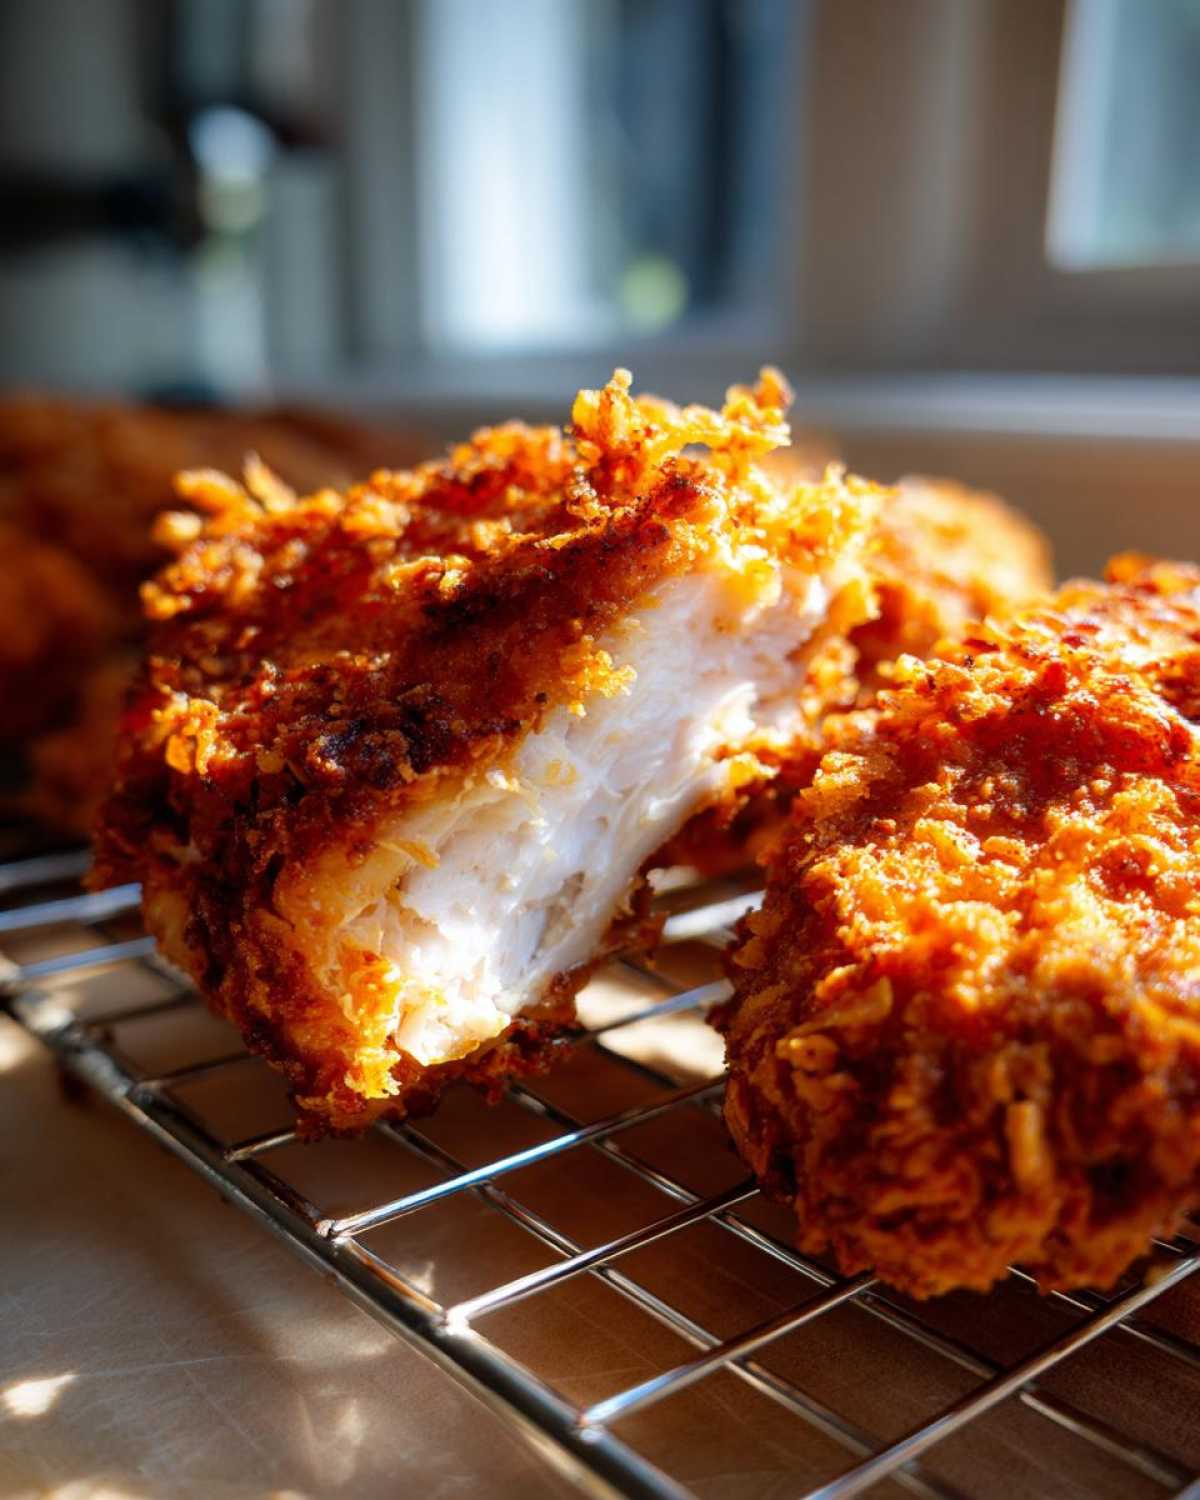
The Comfort Food Chicken Recipes Standard
If you want that classic, savory Southern Fried Chicken experience, this is where you stop looking. We aren’t doing strange breadings or fancy sauces here. This is pure, deep-dish, Sunday-dinner excellence. When you pull this golden beauty out of the oil, you’ll know you’ve nailed a true comfort food chicken recipes staple. Give yourself a pat on the back before you even sit down to eat!
Essential Ingredients for Perfect Fried Chicken
Okay, now for the fun part: assembling our champion lineup! Simon always says you can’t win a game if you don’t have the right players on the field. For this **fried chicken** recipe, every single item plays a vital role in hitting that sweet spot between tender meat and that irresistible crunch. I’ve split these into three main groups, just like we do when we set up the kitchen for smooth frying. Trust me, having everything ready before the oil heats up means zero stress later.
Don’t be tempted to skip the cornstarch in the dredge—that’s a non-negotiable step for serious crispiness! You can check out my notes on making homemade condiments later, but for now, let’s focus on the chicken itself.
For the Buttermilk Brine
This soaking time is where the juiciness is locked in, so make sure you have enough liquid to completely cover everything. We want total immersion here!
- 3 lbs bone-in, skin-on chicken pieces (I like using a mix of thighs and drumsticks for the best flavor payoff!)
- 4 cups buttermilk (Yes, that much! It needs to swim.)
- 2 tablespoons hot sauce (This adds flavor, not necessarily heat, but you can crank it up if you like it spicy!)
- 1 tablespoon kosher salt
- 1 teaspoon black pepper
For the Crunchy Chicken Coating Dredge
This dry mix is what creates our famous crust. The cornstarch is our secret weapon for that next-level crunch in this **Crispy Fried Chicken Recipe**!
- 4 cups all-purpose flour
- 1/2 cup cornstarch (Don’t even think about leaving this out; it makes the coating extra durable!)
- 2 tablespoons paprika (For that beautiful golden brown color)
- 1 tablespoon garlic powder
- 1 tablespoon onion powder
- 1 teaspoon cayenne pepper (Optional, but I always add it for a little zip!)
We also need enough vegetable oil or shortening for frying—you’ll want at least 2 inches deep in your skillet. Proper oil depth is key to fantastic **deep fried chicken**!
How To Make Fried Chicken: Step-by-Step Instructions
Alright, friend, this is the moment we put all that prep work to good use! Making incredible fried chicken is less about luck and more about following these key steps in order. Simon reminds me constantly: move with purpose, but don’t rush the important waiting parts. We need patience in the brine, but fast hands when we start dredging and frying!
Step 1: The Buttermilk Brined Chicken Soak
First things first: your chicken needs a spa day! Get those pieces swimming in that seasoned buttermilk mixture we whipped up. Cover that whole bowl up tight—I mean *really* tight—and stick it in the fridge. You must let it soak for a minimum of 4 hours, but I’m telling you, overnight is when the magic really happens. That brine does all the heavy lifting to ensure you get that super tender, juicy and crispy chicken!
Step 2: Preparing the Golden Brown Chicken Coating
Once your chicken is ready to come out, it’s time to create that signature crust. Take a piece out, let the excess buttermilk drip off—don’t shake it hard, just let gravity work a little—and press it firmly into your seasoned flour mix. Now, here’s the *kudos* move: dip it straight back into the leftover buttermilk for just one second, and immediately throw it into the flour for a second, heavier coat. Really press that second layer on! Those flaky, uneven bits are what create that perfect craggy, crunchy coating.
Step 3: Mastering the Deep Fried Chicken Temperature
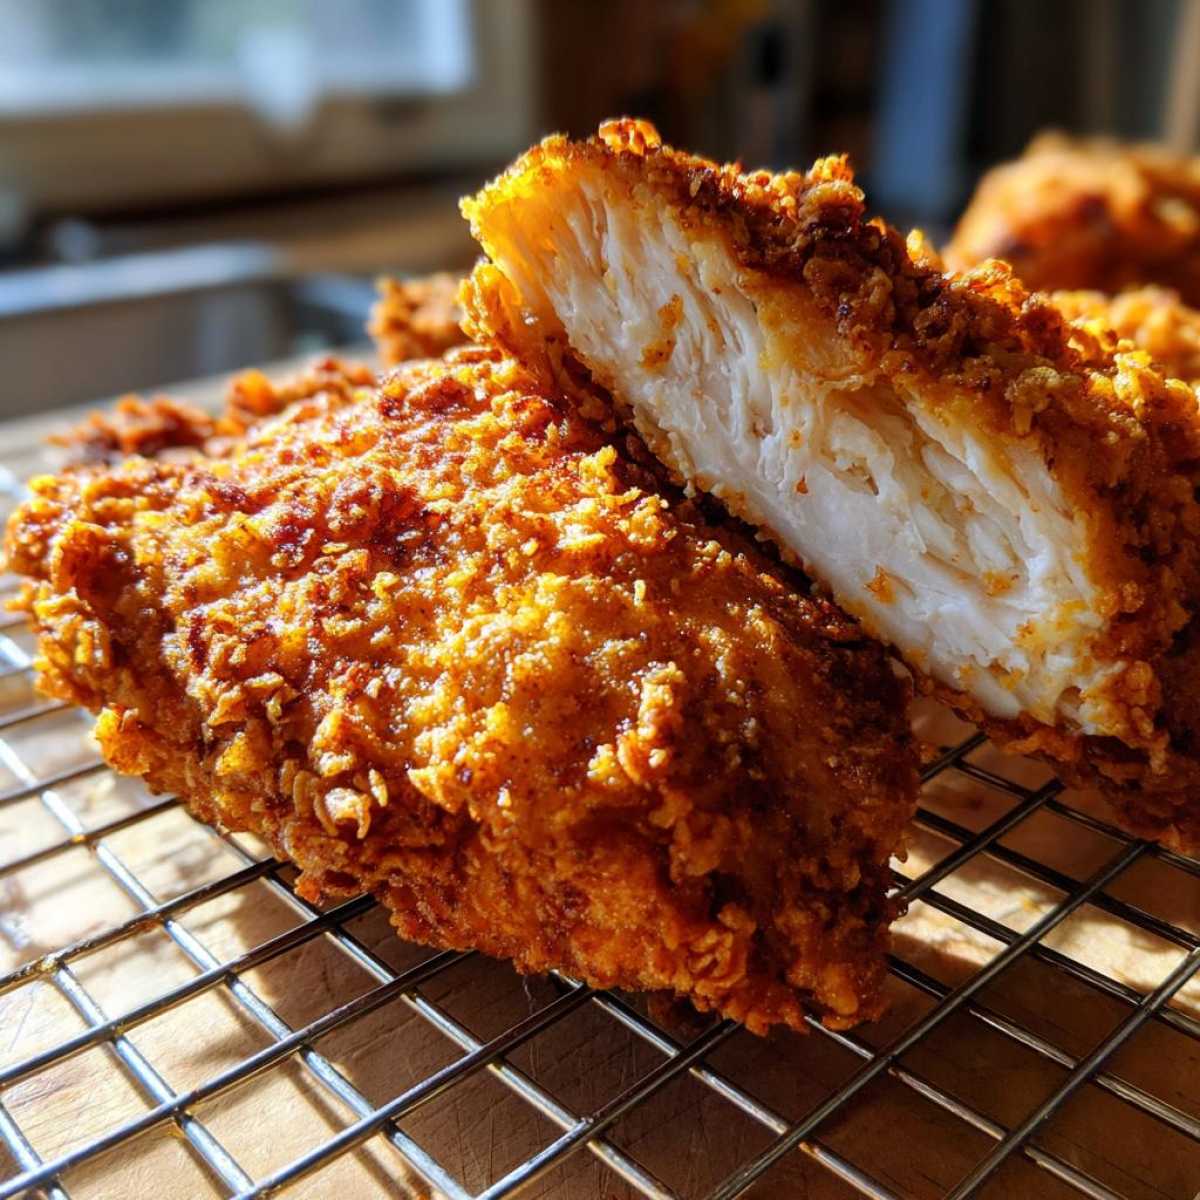
This is where we need your attention! Get your oil simmering, aiming strictly for 325°F (160°C). If it’s too hot, the outside burns before the inside cooks; if it’s too cool, the crust gets soggy. Seriously, use that thermometer! When you drop the coated chicken in, work in small batches—never overcrowd the pan! Simon calls overcrowding the “soggy chicken death spell.” If the oil starts bubbling too aggressively, turn the heat down instantly. Listen for a steady, happy sizzle, not a terrified shriek!
We’ll talk about checking for doneness next, but for now, just keep that temperature steady and watch that chicken turn beautifully golden brown chicken.
Tips for Success: Creating the Best Homemade Fried Chicken
Okay, we’ve done the hard part—the soaking and the delicious double-dredge! Now, I want to share a few crucial, Simon-approved pointers that elevate this from “good” to “Best Homemade Fried Chicken Ever.” These details might seem small, but they are the difference between a decent meal and that truly memorable, crispy masterpiece we’re aiming for. I’ve learned that when making fried chicken, preparation and the right tools matter just as much as the ingredients themselves.
Oil Management for Consistent Results
Seriously, you absolutely need a thermometer when you are deep frying. I know, I know, Simon sometimes cooks by “feel,” but for this, we need data! If you let the oil temperature drop too low, your crust will soak up oil like a sponge, and you’ll end up with a greasy mess instead of that beautiful, crunchy coating. We want that oil steady at 325°F (160°C).
Also, think about your pan choice. If you have a cast iron skillet, use it! It holds onto heat like nothing else. That consistency is what keeps the crust developing beautifully while the chicken cooks through. If you’re aiming for a truly Foolproof Fried Chicken experience, cast iron is your best friend here.
Draining Technique for Maximum Crunch
This is a huge place where people sabotage their own hard work! Once that chicken comes out of the oil—deep golden brown and smelling incredible—your instinct might be to set it right onto a stack of paper towels. DON’T DO IT! Trust me, those towels trap steam underneath the chicken. Steam is the mortal enemy of crispiness, and we just spent all that time creating a rock-solid crust.
Instead, take a wire cooling rack—the kind you use for cookies—and set that right over a baking sheet. Place your freshly fried pieces directly on that rack. This allows air to circulate all around the chicken piece, letting all the excess oil drip away while keeping the bottom crunchy. It’s the best trick for keeping your coating perfectly crisp until serving time! If you want more tips on making amazing dinner sides to go with this, check out my instructions for zesty lemon chicken piccata—just kidding, stick to potatoes!
Savory Chicken Dinner Ideas and Serving Suggestions
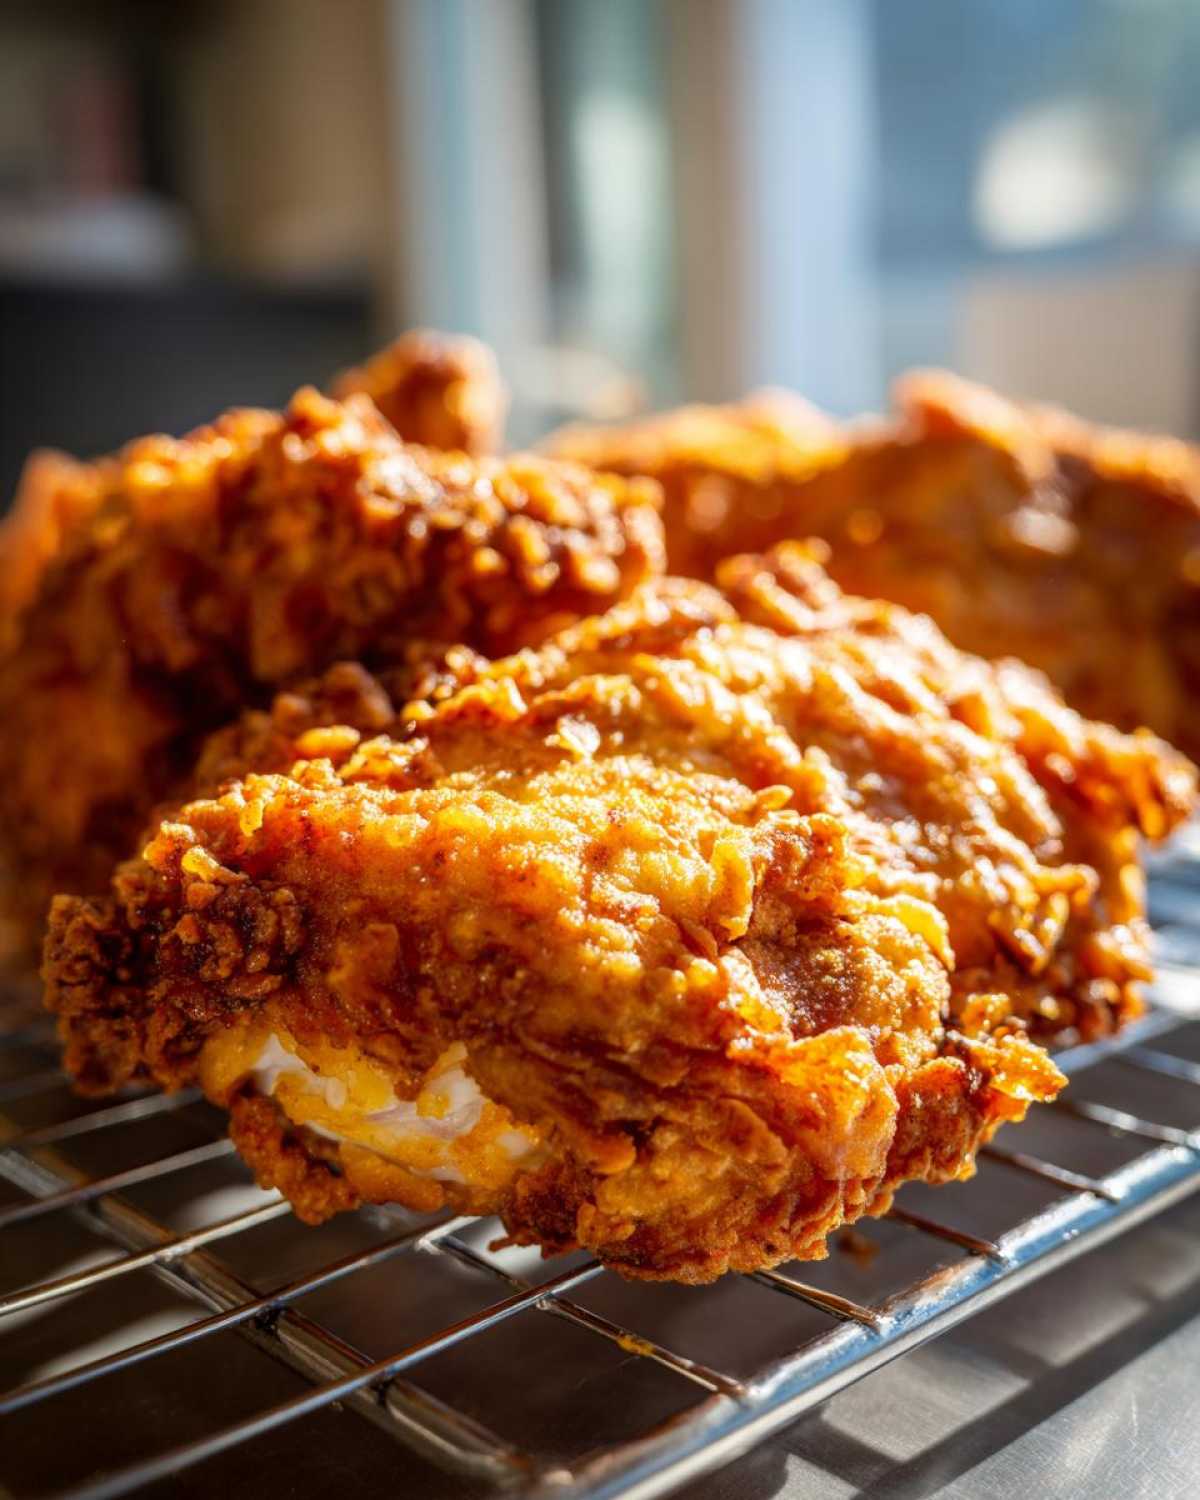
Now that you’ve mastered the ultimate fried chicken—give yourself a huge round of applause!—we need to talk about what goes on the plate beside this masterpiece. A classic **Southern Fried Chicken** deserves worthy companions, Simon insists. We aren’t just serving protein here; we are serving a full, happy memory!
For me, the perfect match has to balance that richness. Think cool slaws or creamy starches. I absolutely adore these with a side of my creamy sweet potato salad when the weather is warm. If you want something really decadent that soaks up all the flavors, you cannot go wrong with Simon’s unbelievably fluffy Duchess Potatoes. It turns an easy dinner into an event!
Storing and Reheating Your Crunchy Chicken Coating
Okay, let’s talk about the day after, because, honestly, this amazing fried chicken is almost always better the next day (if you have any leftovers, that is!). Simon has a strict rule: you can’t just microwave it. Microwaving is the fastest way to turn that glorious, crunchy coating into sad, chewy sadness. We worked too hard for that!
The goal when reheating is to blast the exterior dry again while gently warming the inside. If you’re planning ahead, try to store the chicken pieces separately from any side dishes. Don’t stack them tightly in a container, either, because that humidity will destroy the texture you worked so hard to create with the buttermilk brine and double dredge.
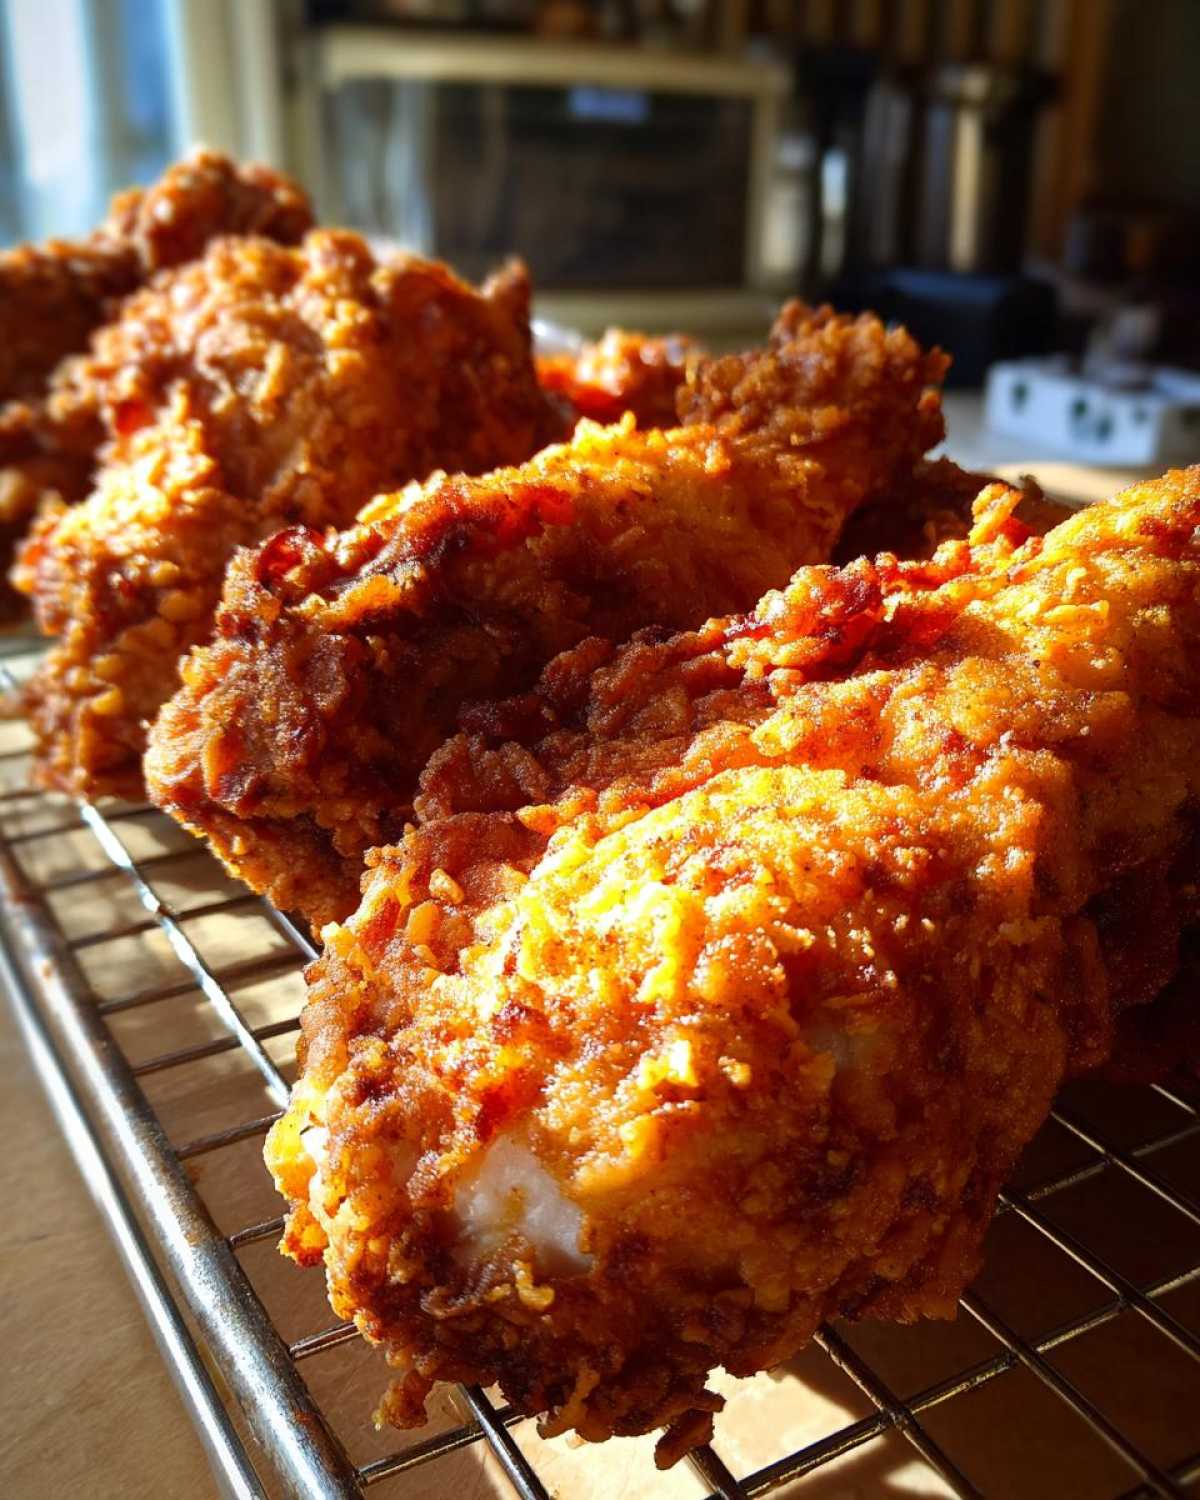
Here are the two ways—the *Kudos* ways—to bring this crispy goodness back to life:
- The Oven Method (My Go-To for Multiple Pcs): Set your oven to about 375°F (190°C). Place the cooled chicken directly onto a wire rack set over a baking sheet. This allows heat to circulate all around the piece. Pop it in for about 10 to 15 minutes, or until it sounds crisp again when you tap it lightly.
- The Skillet Refry (For One or Two Pieces): If you just have one or two drumsticks left, you can bring back the sizzle! Heat about half an inch of fresh oil (or use a neutral oil like canola) in your skillet over medium heat—you want this hotter than what you used for the initial fry, maybe around 350°F (175°C). Briefly fry each piece for just 2-3 minutes per side until that crust snaps back. Watch it closely, because since it’s already cooked, it heats up fast!
See? Even leftovers get the royal treatment in this kitchen. You deserve crispy chicken, no matter what day it is!
Frequently Asked Questions About Perfect Fried Chicken
I just knew people would have questions! When you strive for the absolute best, sometimes the finer points need clarification. Simon and I gathered up the questions we hear most often after making a batch of our juicy and crispy chicken. Don’t feel silly asking—even I had to learn these steps the hard way!
Can I make this recipe in an air fryer for an Easy Fried Chicken Dinner?
Oh, the air fryer question! Look, you totally can try to make this an easy fried chicken dinner in an air fryer, and it will certainly be healthier, but you have to manage your expectations about the coating. Remember how we talked about creating those glorious craggy bits using the buttermilk double-dip? The air fryer works by circulating hot air, which tends to dry the coating out before it gets that deep, rich, oily crispiness you get from the skillet. If you air fry, I suggest spraying the dredged chicken heavily with oil spray before cooking, but know that the texture will be drier and perhaps less rugged than true deep-fried perfection.
What is the best type of oil for deep frying chicken?
This is crucial for achieving that beautiful, **golden brown chicken** crust without burning everything! For deep frying chicken, you need an oil with a high smoke point. Simon and I almost always stick to good old vegetable oil—it’s neutral, it’s cheap, and it handles the 325°F heat like a champ. Peanut oil is also fantastic if you have it, as it handles high heat very well too. Avoid olive oil, though; that will smoke and taste bitter before your chicken is even close to being done!
How do I know when my fried chicken is fully cooked?
This is a matter of food safety, so we never guess! You can look for that deep, rich golden color, and you can stick a knife in the thickest part of the meat to check that the juices run clear. But honestly, for 100% assurance? You need a meat thermometer. For any chicken, especially bone-in pieces, you want the internal temperature to hit exactly 165°F (74°C). That’s your golden ticket! Pull it out right when it hits that mark; it will carry over cook just a tiny bit more while resting on the rack, guaranteeing no pink bits and maximum juiciness for your classic fried chicken.
Nutritional Snapshot for This Fried Chicken Recipe
Simon always jokes that tracking calories is like trying to count grains of salt in the ocean, but I know that as we focus on incredible comfort food, some of you want the general picture of what you’re eating. Just remember, every piece of chicken is a little different in size, and how much oil it absorbs during frying can really change these numbers! So, treat these figures as a very friendly guideline—a little kudos to your planning!
This snapshot is based on the recipe yielding 4 servings, assuming one thigh piece per serving. If you end up eating three pieces (because you absolutely should!), you’ll just need to triple these estimates. These are just rough markers to help you balance out the rest of your incredibly delicious meal.
- Serving Size: 1 piece (thigh)
- Calories: 450
- Fat: 28g
- Saturated Fat: 8g
- Trans Fat: 0g
- Carbohydrates: 15g
- Protein: 32g
- Sugar: 1g
- Sodium: 650mg
See? Great protein, and not too much hidden sugar, which is a win in my book! If you want to explore something lighter later on—maybe a baked option to give your frying hand a rest—you can check out my recipe for baked Caprese chicken. But for now, savor every bite of that crispy, juicy goodness you just created!
Share Your Kitchen Kudos Victory
Whew! Now that you’ve got that incredible, golden, crispy fried chicken cooling on the rack, you deserve a standing ovation—seriously! That took skill, patience, and a willingness to get your hands a little messy. Whether this was your first time or your fiftieth, we want to celebrate this moment with you. That’s what Kitchn Kudos is all about: acknowledging the amazing effort you put in.
Did the buttermilk work its magic? Did the double-dredge give you the craggiest crust ever? Tell us! Please, scroll down and leave a star rating and a quick comment telling us how it went. Simon is always the first one in the comments section ready with a high-five and an encouraging word.
If you snapped a picture of your amazing dinner—maybe piled high with creamy sides? We’d love to see it! You can find other encouragement and great recipes over on our main blog page. Sharing your victory encourages others who are just starting their own kitchen journeys. We love seeing how our recipes become part of your family’s happy memories. Thanks so much for joining us today; we can’t wait to see you celebrate your next delicious win!
PrintUltra-Crispy Buttermilk Southern Fried Chicken
Achieve the best homemade fried chicken with this recipe. We use a buttermilk soak and a special dredge to give you juicy meat and an ultra-crispy, golden-brown crust every time. This is comfort food perfection!
- Prep Time: 20 min
- Cook Time: 30 min
- Total Time: 4 hours 50 min
- Yield: 4 servings
- Category: Dinner
- Method: Deep Frying
- Cuisine: Southern American
- Diet: None
Ingredients
- 3 lbs bone-in, skin-on chicken pieces (thighs, drumsticks, breasts)
- 4 cups buttermilk
- 2 tablespoons hot sauce
- 1 tablespoon kosher salt
- 1 teaspoon black pepper
- 4 cups all-purpose flour
- 1/2 cup cornstarch
- 2 tablespoons paprika
- 1 tablespoon garlic powder
- 1 tablespoon onion powder
- 1 teaspoon cayenne pepper (optional, for a spicy kick)
- Vegetable oil or shortening, for frying (enough to reach 2 inches deep)
Instructions
- In a large bowl, combine the buttermilk, hot sauce, 1 tablespoon salt, and 1 teaspoon pepper. Add the chicken pieces, ensuring they are fully submerged. Cover and refrigerate for at least 4 hours, or preferably overnight. This buttermilk brine makes the chicken juicy.
- In a separate shallow dish, whisk together the flour, cornstarch, paprika, garlic powder, onion powder, and cayenne pepper. This is your crunchy coating dredge.
- Remove the chicken from the buttermilk, letting excess drip off, but do not rinse.
- Working with one piece at a time, dredge the chicken thoroughly in the flour mixture, pressing firmly to make sure the coating adheres well. For an extra crispy fried chicken texture, dip the floured piece back into the remaining buttermilk for just a second, then immediately return it to the flour mixture for a second, heavy coating. Set the coated chicken on a wire rack.
- Pour oil into a large, heavy-bottomed skillet or Dutch oven until it reaches about 2 inches deep. Heat the oil to 325°F (160°C). Use a thermometer to monitor the temperature; maintaining this heat is key for golden brown chicken.
- Carefully place 3-4 pieces of chicken into the hot oil, ensuring you do not overcrowd the pan. Overcrowding lowers the oil temperature and results in soggy chicken.
- Fry the chicken for about 6-8 minutes per side, turning carefully, until it is deep golden brown and cooked through (internal temperature should reach 165°F or 74°C). Adjust heat as needed to maintain 325°F.
- Remove the cooked chicken and place it on a clean wire rack set over a baking sheet to drain excess oil. Do not place it on paper towels, as this traps steam and softens the crust.
- Allow the chicken to rest for a few minutes before serving. Give yourself kudos for making the best homemade fried chicken!
Notes
- For the crispiest coating, use a cast iron skillet. It holds heat better than other pans.
- If you are frying chicken breasts, you may need to cook them slightly longer or cut them into thinner cutlets to ensure they cook through evenly.
- This recipe is excellent for chicken thighs or drumsticks, which stay very juicy during frying.
Nutrition
- Serving Size: 1 piece (thigh)
- Calories: 450
- Sugar: 1
- Sodium: 650
- Fat: 28
- Saturated Fat: 8
- Unsaturated Fat: 20
- Trans Fat: 0
- Carbohydrates: 15
- Fiber: 1
- Protein: 32
- Cholesterol: 110