

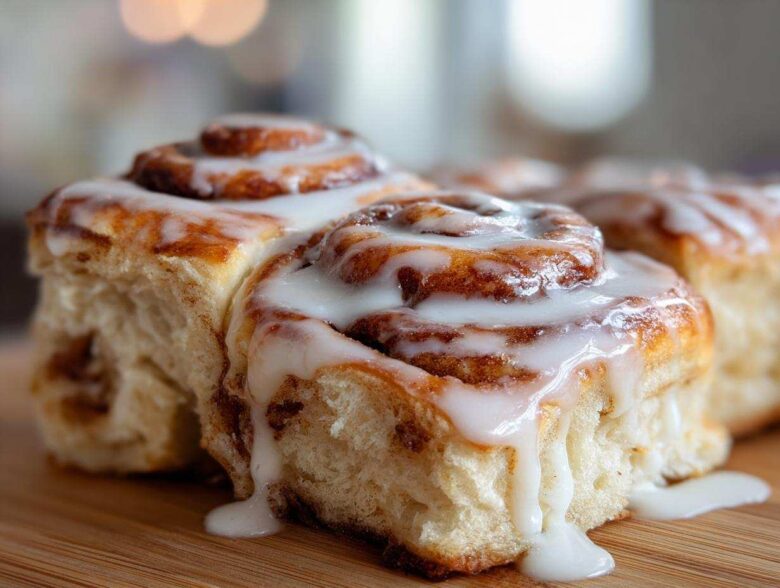
Oh, friends, that smell! You know the one—the instant your house fills up with the sweet, yeasty aroma of butter, brown sugar, and spice? That smell means magic is happening. I’m Alice, and when I first started baking, I made things overly complicated because I believed everything had to be perfect right away. But my husband, Simon, changed all that for me, reminding me that the kitchen is supposed to be fun!
That’s why I’m so thrilled to share what I truly believe is the best cinnamon roll recipe out there. Forget dry, lackluster rolls; these are soft, pull-apart legends covered in icing. This recipe is a guaranteed win, and it’s the perfect excuse to throw on some music and celebrate the joy of making something incredible with your own hands. For more on how Simon taught me to embrace the process, you can actually read about it over on our About page.
Why This Homemade Cinnamon Roll Recipe Deserves a Round of Applause
I know there are a million recipes out there, but trust me when I say this one is worth your time. Simon always tells me, "Alice, make food that gets high-fives!" Well, these sweet breakfast rolls are guaranteed applause-worthy. We focus on making sure the dough is manageable—no overly sticky messes here—and that the filling is so generous it practically oozes out the sides when you bake them. This isn’t just a recipe; it’s your ticket to bakery-quality results, even if you’re wrestling with yeast for the first time.
- Guaranteed soft, fluffy texture every single time.
- Rich, buttery filing that prevents dry spots.
- A classic, reliable method that reduces the chance of baking drama.
Achieving the Softest Yeast Roll Recipe Dough
The secret to that cloud-like texture starts way back at step one: activating the yeast. If your milk is too hot, you’ve killed your yeast, and the dough won’t rise properly. It’s that crucial! Keep that milk around 110°F—warm to the touch, but not hot enough to sizzle your finger. When you hit that temp right, your dough becomes an amazing, pliable base. This robust yeast roll recipe is designed just for that tender pull you are looking for.
Tips for the Perfect Cinnamon Roll Swirl
When it comes to the swirl, more is absolutely more! After you roll out that gorgeous rectangle of dough, you need a full, even coating of melted butter. Don’t leave bare patches! Then, pack on that cinnamon-sugar mixture right to the edges. When you roll it up tightly, that butter helps the sugar liquefy just enough so that every slice of your cinnamon roll has that coveted gooey center when it comes out of the oven.
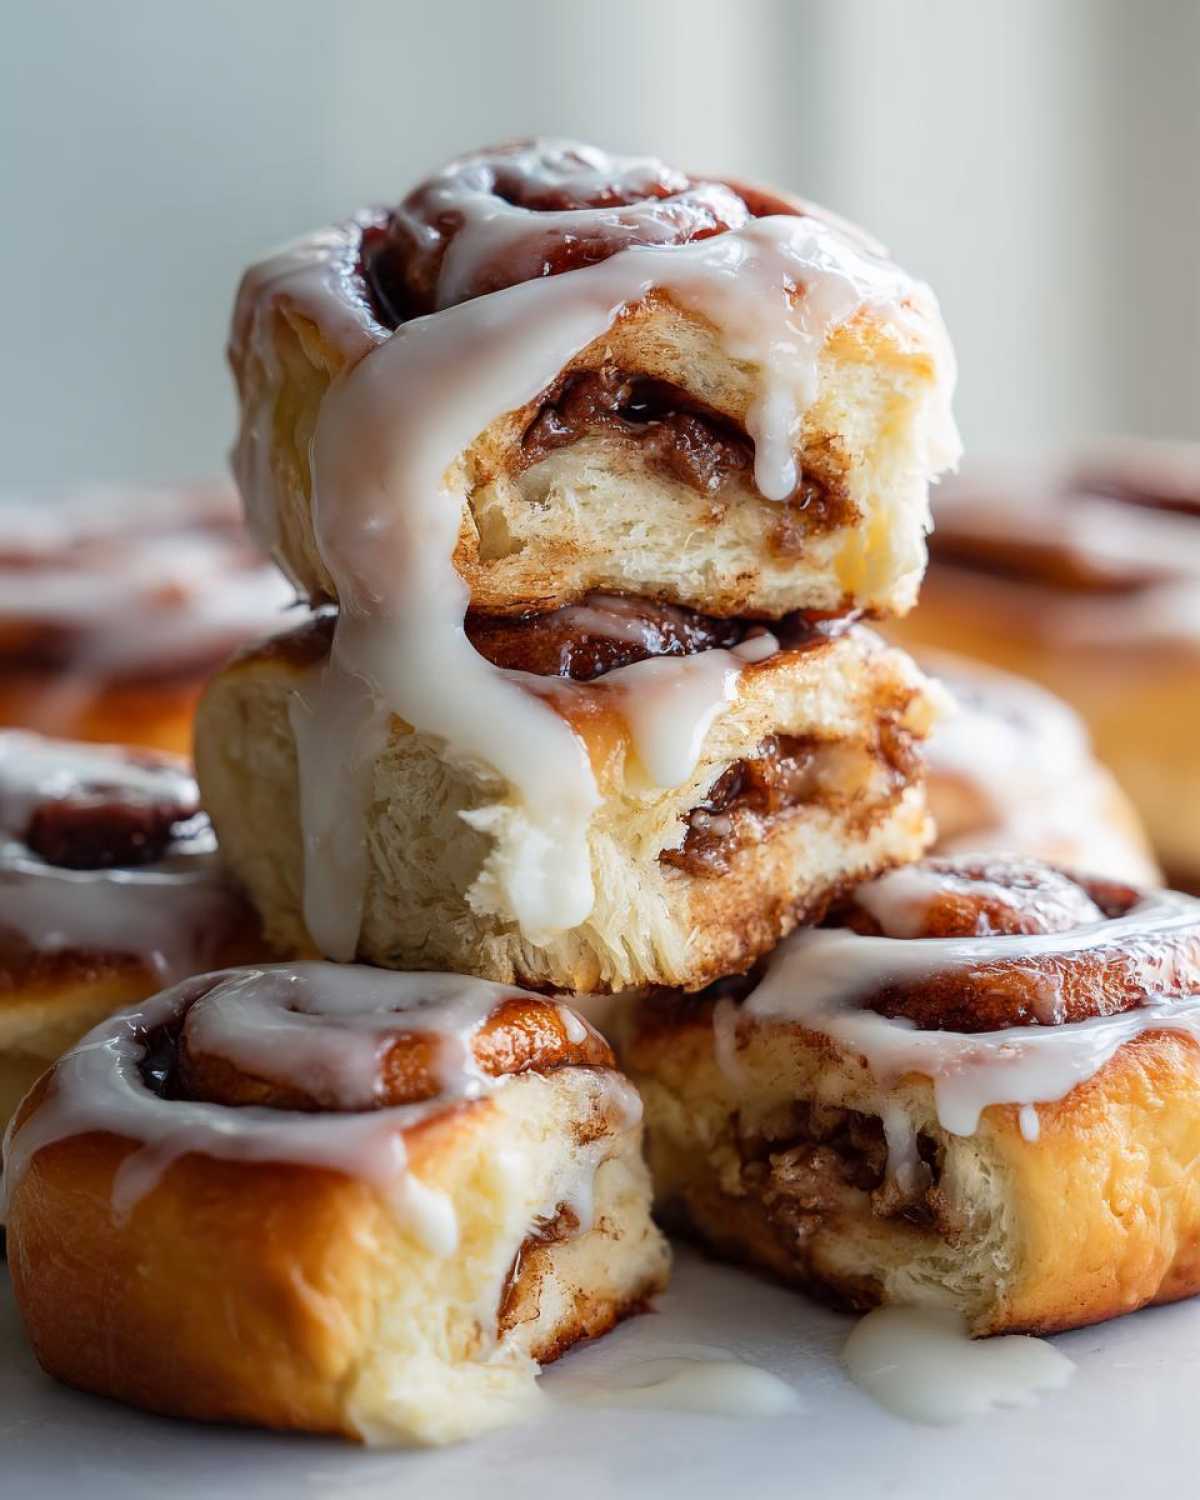
Gathering Your Ingredients for Bakery-Quality Cinnamon Rolls
Okay, let’s get organized! Simon insists that laying everything out first—what he calls *mise en place*—is the secret to staying relaxed while baking. When we see all the components ready to go, I feel that old perfectionist pressure melt away because I know I won’t have to hunt for anything mid-mix. Having these ingredients prepped exactly as written guarantees you’ll get those gorgeous, bakery-quality cinnamon rolls we are aiming for. Trust me on this!
Dough Components for Your Sweet Breakfast Recipe
For our wonderful dough base, we need simple things, but the preparation matters. Remember, your whole milk needs to be warm, around the 110°F mark, so we don’t shock the yeast. This mixture is what creates the base for our sweet breakfast recipe.
- 1 cup whole milk, warm (about 110°F)
- 2 1/4 teaspoons active dry yeast
- 1/2 cup granulated sugar, plus 2 tablespoons for yeast
- 1/2 cup unsalted butter, softened
- 2 large eggs, room temperature
- 4 cups all-purpose flour, plus more for dusting
- 1 teaspoon salt
The Gooey Cinnamon Roll Filling
This is where the flavor explosion happens! Don’t skimp here, folks. You absolutely must use packed light brown sugar; it holds moisture better than white sugar and gives us that essential gooey texture we love so much. This is the heart of our perfect swirl.
- 1 cup packed light brown sugar
- 2 tablespoons ground cinnamon
- 1/2 cup (1 stick) unsalted butter, melted
Rich Cream Cheese Icing for the Cinnamon Roll
Finally, the glorious crown! For the icing, please make sure both your cream cheese and butter are truly softened. If they are cold, your icing will end up looking lumpy and sad, and we certainly don’t want that for these spectacular cinnamon rolls!
- 8 ounces cream cheese, softened
- 1/2 cup (1 stick) unsalted butter, softened
- 3 cups powdered sugar, sifted
- 1 teaspoon vanilla extract
- 2-4 tablespoons milk
Step-by-Step Instructions to Make the Best Cinnamon Roll
Alright, this is where we stop chatting and start assembling our masterpiece! Don’t let the yeast intimidate you—it’s just living organisms waiting for a warm hug. I’ve broken down these steps so you can focus on celebrating each small victory along the way. If you get lost, remember you can always pop over and check out the full instructions on our main recipe page, but I think you’ll find this clearer!
Mixing and Kneading the Cinnamon Roll Dough
First up, we wake up that yeast! Follow instruction one—sprinkle it gently over your warm milk and sugar and watch the foam appear. That’s your sign! Once it’s foamy, dump everything else in the mixer bowl. Use that dough hook, mix until it’s just combined, and then let the machine work for about five to seven minutes until you get that smooth, elastic dough. If you don’t have a mixer, don’t panic! Grab your apron, put on some loud music (Simon’s influence!), and knead it by hand on a lightly floured counter for a solid ten minutes. You know it’s right when it bounces back slowly when you poke it.
Rising and Preparing the Cinnamon Roll Filling
Now comes the waiting, which is actually the hardest part! Lightly oil your bowl, place your dough inside, cover it, and let it rest in a nice warm spot for about an hour and a half—or until it’s doubled in size. This is your official dance break! While the dough is happily puffing up, quickly whip together your brown sugar and cinnamon for the filling. We want that spice mixture ready to go the second the dough is done proving.
Rolling, Filling, and Slicing the Cinnamon Roll Log
Gently punch down that glorious, airy dough. On your floured surface, roll it out into that big, perfect 12 by 18-inch rectangle. Next, grab all that melted butter and brush it evenly across the surface—no dry corners! Then, sprinkle that spiced sugar right over the top, making sure you go nearly edge-to-edge. Roll it up tightly, starting from the long side, sealing that seam with a pinch. Now for my favorite trick: use unflavored dental floss to cut 12 equal rolls. It slices cleanly through the soft dough without squishing the filling out like a knife sometimes does!
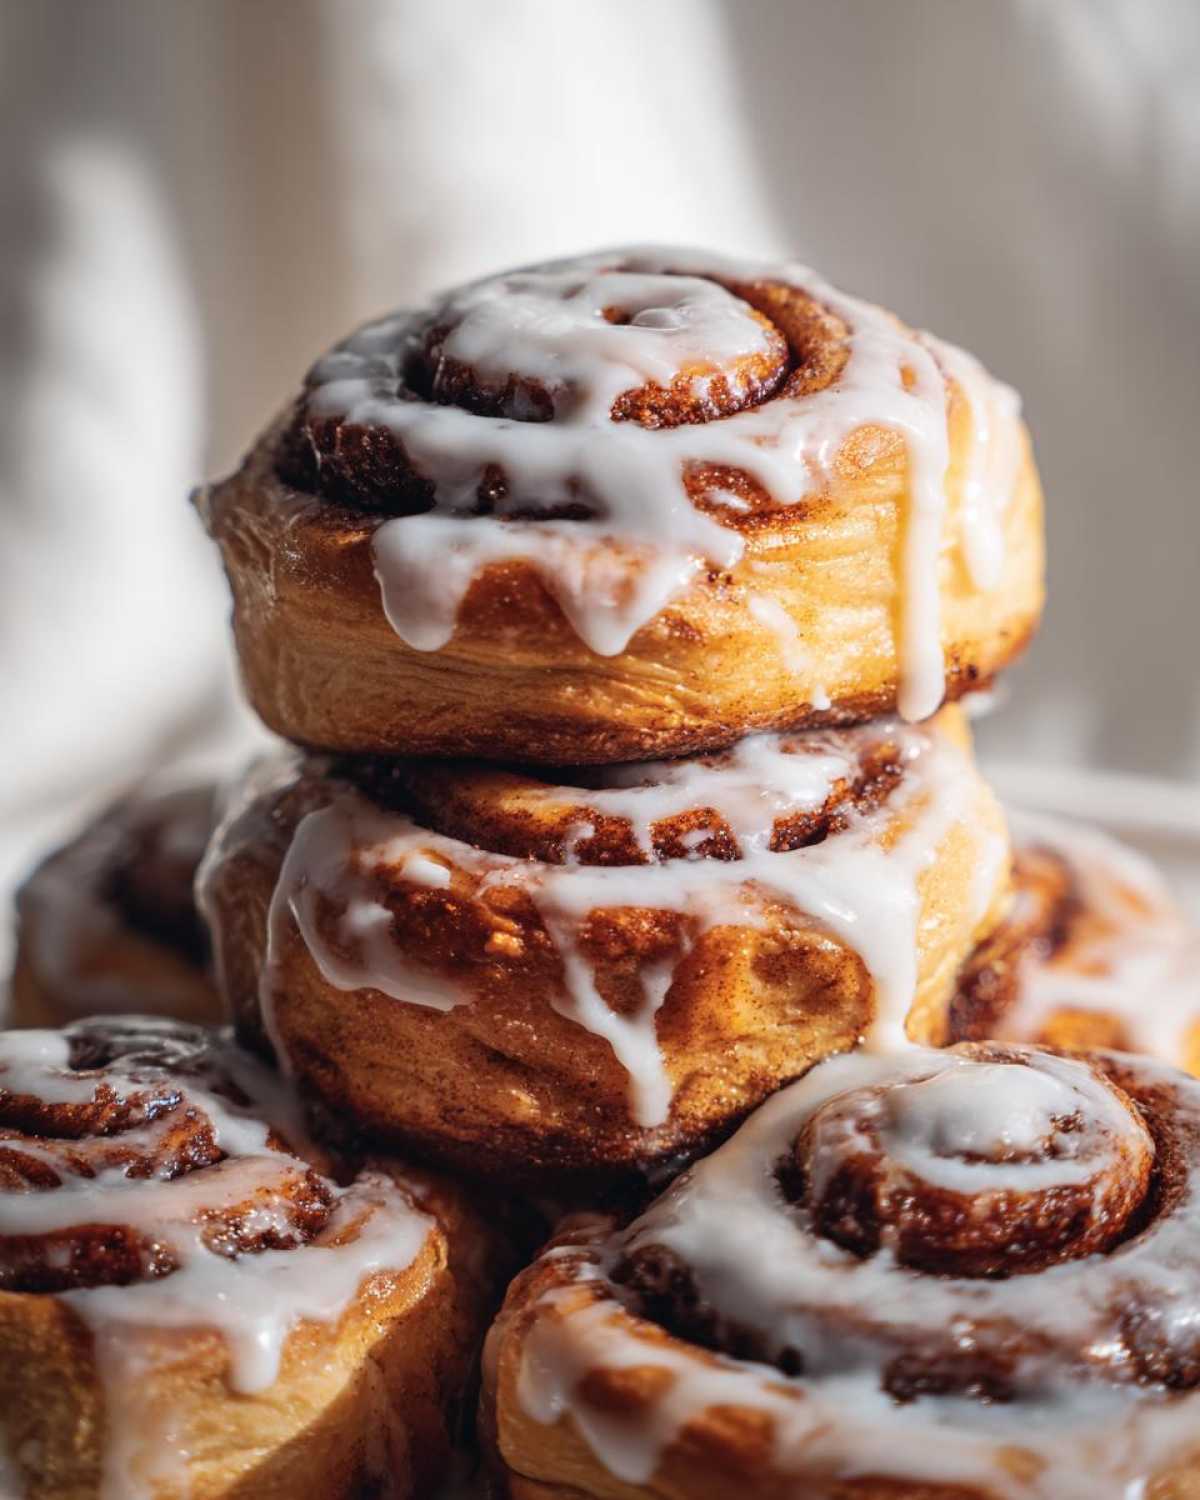
Final Proof and Baking the Cinnamon Roll
Place your cut rolls snugly into the prepared pan. Cover them loosely and let them do one more little puff for about 30 to 45 minutes. You’ll know the oven is ready when the rolls look visibly puffy! Preheat to 375°F during the last 15 minutes of this rise. Bake them now for 20 to 25 minutes until they are beautifully golden brown on top. Go celebrate!
Mastering the Cream Cheese Icing for Your Cinnamon Roll
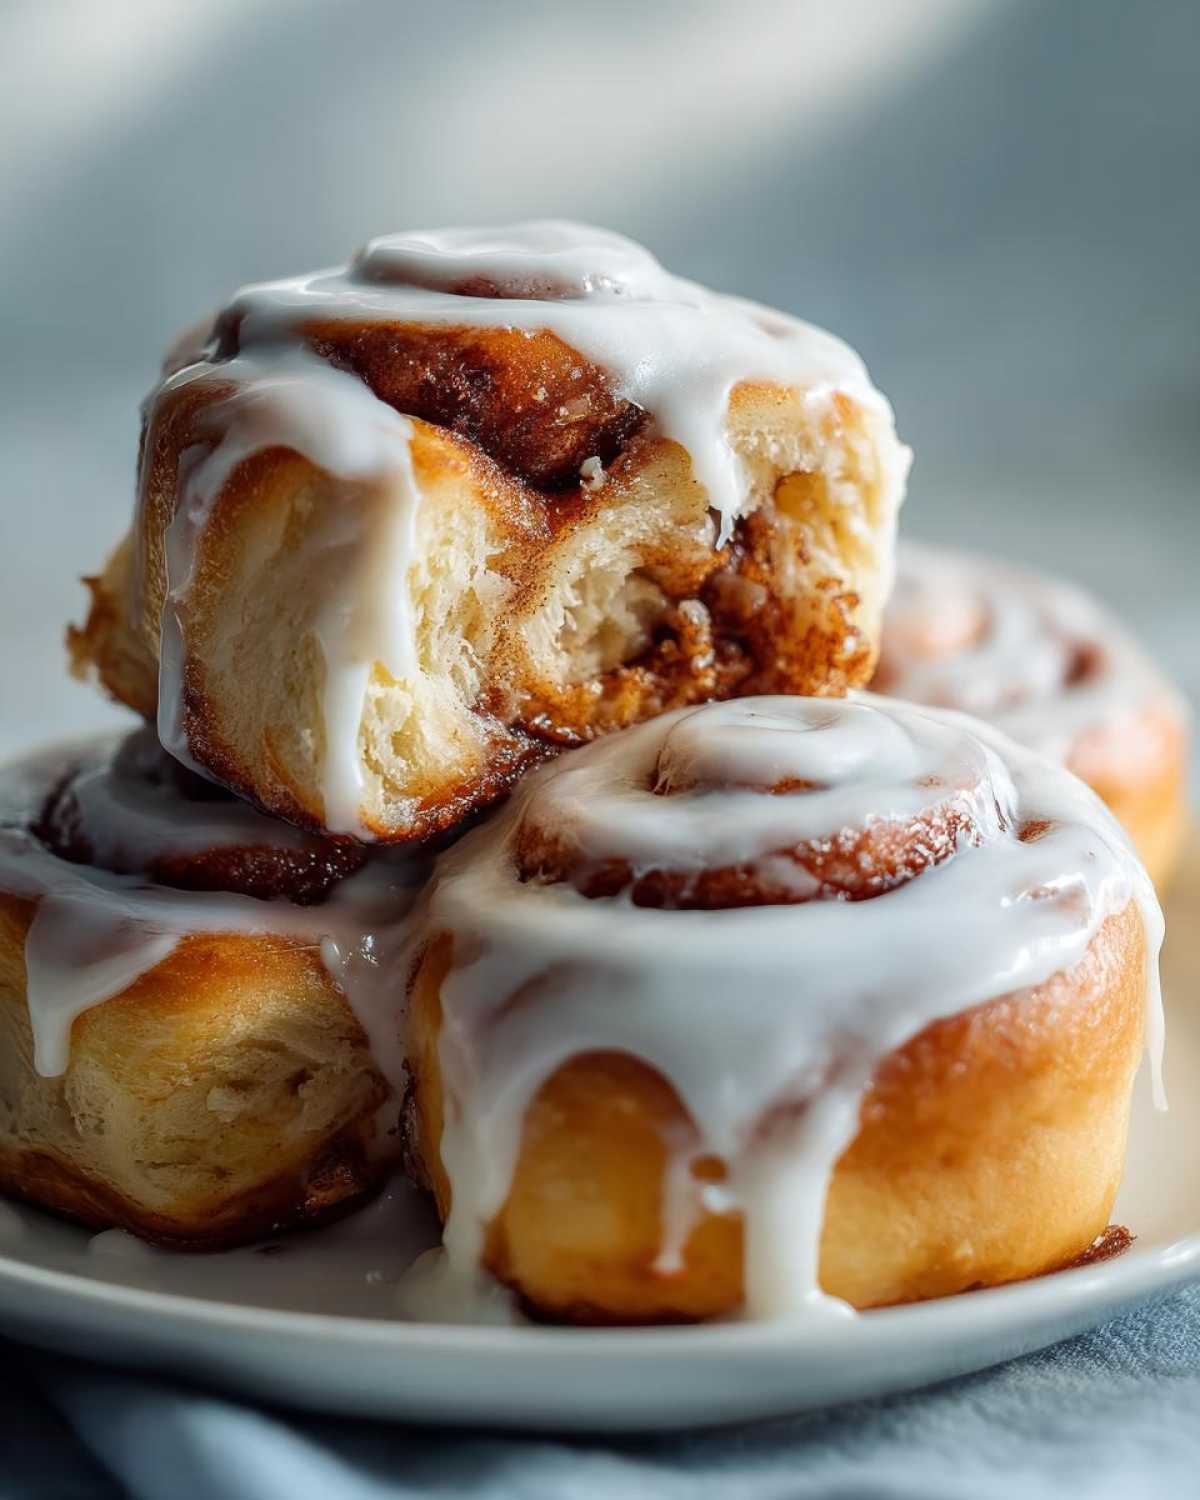
We’ve done the hard work with the dough, so now we get the real reward: the icing! This is where things can sometimes go sideways if you rush. We want that luxurious, pourable, yet thick topping for our easy cinnamon rolls—not something runny that immediately disappears into the nooks and crannies.
The absolute key is starting with softened cream cheese and butter. If they are fridge-cold, you’ll just end up whipping air into lumps! Beat those two ingredients together until they are completely smooth and creamy. Then, start adding that sifted powdered sugar a cup at a time. Once you get to the milk, go slow. I’m talking one tablespoon at a time. You might think you need four tablespoons, but stop at two and see how it spreads. You want it thick enough that when you drag a spoon through it, the line stays visible for a moment. This final topping makes these rolls truly irresistible!
If you ever struggle with getting your icing just right, I have some similar tips on achieving that perfect consistency over in my post about sugar cookie icing that applies here too!
Tips for Success with Your Homemade Pastry
Even with a foolproof recipe like this one, sometimes the kitchen throws you a curveball! I remember the first time I ever tried making a big batch of these. I was so excited to get them rising, but I rushed the butter for the filling. It wasn’t melted enough, so when I rolled the dough, it ripped open, and half the cinnamon sugar just spilled right out onto the counter. Simon just laughed and said, "Well, guess we have an extra-buttery sheet pan treat!" It was a total mess, but we still ate it! Don’t stress if things aren’t perfect; just roll with it!
Here are a few things I learned the hard way that will help you get those beautifully soft rolls every time. If you are looking for other recipes that are super forgiving, I talk about my love for easy soft fluffy garlic naan bread all the time!
Ingredient Notes and Substitutions for Soft Rolls
Let’s talk temperature one more time because it’s vital when you are dealing with yeast dough. Remember that milk for the yeast activation? It must be 110°F. If you don’t have a thermometer, that’s fine—it should feel comfortably warm when you dip your finger in, but certainly not hot. If it’s too cool, your dough will take forever to rise. If it’s too hot, the yeast dies, and you end up with dense patches. It’s a delicate balance, but you can feel it!
As for substitutions, I always stick to butter here because it gives the best flavor and texture overall. But if you’re in a pinch and need to swap the flour, you can try using bread flour instead of all-purpose flour. Bread flour has a higher protein content, which creates a slightly chewier, stronger dough, resulting in a glorious, slightly more structured roll. It’s just a little firmer than the standard result, but still delicious!
Serving Suggestions for Your Cinnamon Roll Feast
You’ve pulled them out of the oven, the icing is melting perfectly, and your kitchen smells like a dream bakery. Now what? You can’t just eat these magnificent things standing over the sink while staring at the dirty dishes! These homemade pastries were made for celebration, and Simon and I have our favorite ways to turn a casual weekend morning into a real event. Presentation matters, but only in the sense that it makes you happy!
If you’re aiming for the best cinnamon roll moment possible, presentation is everything. We often serve these warm, piled high on Simon’s vintage cake stand—it just makes them look more special than they already are. Don’t be afraid to drizzle a little extra icing over the plate if you’re feeling decadent; make it messy, make it pretty, make it yours!
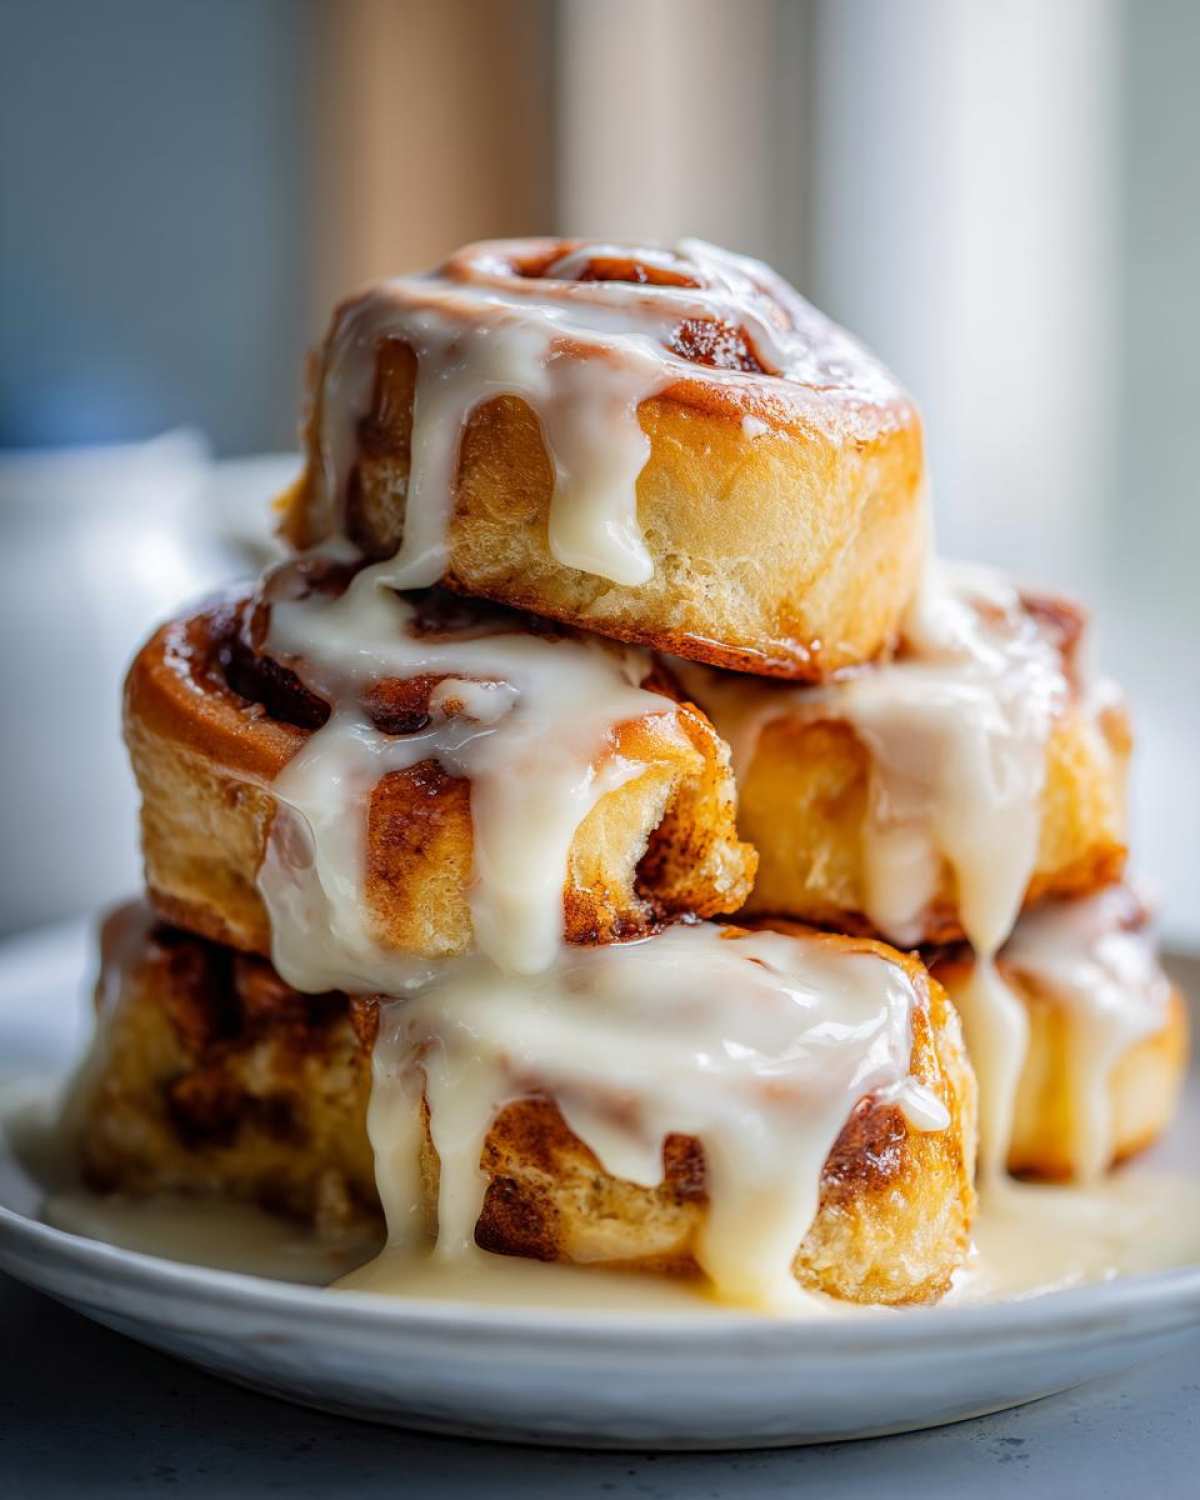
To really complete the experience, you need the perfect beverage pairing. Anything too sweet competes with that rich cinnamon flavor, so we always keep things simple but cozy. I highly recommend brewing a large pot of strong black coffee. If you want to step up your game slightly, try making one of my favorite special drinks.
You absolutely must try the Cinnamon Maple Latte recipe! The maple note blends so beautifully with the brown sugar in the rolls. It’s warm, it’s comforting, and it doesn’t overwhelm the main event. This instantly turns a nice breakfast into the perfect cozy brunch setup. Now go grab a plate and enjoy the fruits of your labor!
Storage and Reheating Instructions for Leftover Cinnamon Rolls
Okay, sometimes—and I mean *sometimes*—we manage to have leftovers of these glorious spirals of sweet goodness. Even covered in that rich cream cheese icing, they are still wonderful the next day, but only if you treat them right! Simon and I have totally failed at storing rolls before, resulting in hard, sad breakfast bricks the next morning. We don’t do that anymore!
If you plan on eating them within a day, keeping them on the counter is usually best, but you must keep the air out. Place your leftover cinnamon rolls in an airtight container or a large Zip-top bag. You don’t even need to put them in the fridge right away if your kitchen isn’t too warm. That icing on top is pretty robust, so room temperature storage for 24 hours usually keeps them wonderfully soft.
If you absolutely must keep them for longer than two days, the fridge is your friend. Pop them in a sealed container, and they should last about four days. But here’s the critical part: you *must* reheat them.
Bringing That Fresh-Baked Gooeyness Back
Cold cinnamon rolls are simply not going to cut it, even if they have icing! You need a little heat to bring that butter and sugar back to life and soften the dough again. Simon has two ways he champions for revival, depending on how many rolls you’re resurrecting.
For just one roll, the microwave is the fastest way to get kudos. Pop it on a microwave-safe plate and heat it for just 15 to 20 seconds. It gets hot and incredibly soft, fast! If you have a few rolls, or if you want to go the extra mile for that *fresh-from-the-oven* texture, use the oven. Wrap the rolls loosely in foil—this keeps them from drying out—and warm them in a 300°F oven for about 10 minutes. They come out steaming and ready to pull apart. Don’t forget to add an extra dollop of icing if the old stuff melts in!
Frequently Asked Questions About Making Cinnamon Rolls
I totally get it—when you invest the time into making a big batch of these amazing homemade pastries, you want them to turn out perfectly! We all have those moments where we hold our breath, waiting for the dough to rise or wondering if we used too much cinnamon. That’s okay! Simon says these are the moments where we learn the most, so let’s talk through a few common snags!
Can I make this yeast roll recipe ahead of time?
Oh yes, you absolutely can! This is such a great thing to ask, especially if you want warm rolls on a Sunday morning without waking up at the crack of dawn. You can definitely get the shaping done the night before. After you slice your rolls and place them snugly in the baking pan (Step 10), cover them tightly with plastic wrap. Instead of letting them proof on the counter, pop the whole pan right into the refrigerator. The cold slows the yeast way down. Leave them overnight, and in the morning, take them out while your oven preheats. Let them sit on the counter until they look nice and puffy—usually about an hour—and then bake as directed. That makes for an unbelievably easy sweet breakfast recipe!
What if my dough doesn’t double in size?
This usually comes down to two things: temperature or yeast condition. If your kitchen is chilly, the dough just gets lazy! Try putting the covered bowl inside your oven with just the light turned on (make sure the oven is OFF, obviously!). That little bit of warmth is usually enough of a nudge. If the room seems warm enough, your yeast might have been old, or maybe that milk was too hot. If your dough hasn’t moved *at all* after two hours, I hate to say it, but you might need to start that first step over again with fresh yeast. Don’t feel bad if that happens; it happens to me too! It just means we get to make another batch of delicious cinnamon sugar treats another day!
If you’ve tried troubleshooting and still have questions about why your yeast roll recipe isn’t cooperating, feel free to reach out to us using our contact form. We love hearing what you’re baking!
Give Yourself Kitchen Kudos for Baking This Cinnamon Roll
Wow, look at what you did! You took raw ingredients—flour, butter, yeast—and turned them into something that smells like pure weekend happiness. Seriously, take a moment right now and give yourself a huge high-five. That’s what Kitchn Kudos is all about. We aren’t aiming for magazine perfection; we are aiming for joy, and I know you nailed the joy factor with these soft rolls.
The magic isn’t just in following the steps; it’s in showing up to the kitchen and trying! Whether they spread out a little too much in the pan, or maybe you ate one before you even got around to the icing (oops!), that’s a victory in my book. Simon would be making up a victory song right about now!
I’d absolutely love to hear about your experience making this dough. Did you knead by hand or use the mixer? Did you manage to save a roll for the next day? Hop over to our contact page and let us know how your bake went. You made the best cinnamon roll, and you deserve praise for it!
You can connect with us right here: Send us a note!
PrintSoft and Gooey Homemade Cinnamon Rolls with Cream Cheese Icing

Follow this simple recipe for bakery-quality cinnamon rolls that are soft, fluffy, and covered in a rich cream cheese glaze. You will achieve that perfect pull-apart center every time.
- Prep Time: 45 min
- Cook Time: 25 min
- Total Time: 145 min
- Yield: 12 servings
- Category: Breakfast
- Method: Baking
- Cuisine: American
- Diet: Vegetarian
Ingredients
- 1 cup whole milk, warm (about 110°F)
- 2 1/4 teaspoons active dry yeast
- 1/2 cup granulated sugar, plus 2 tablespoons for yeast
- 1/2 cup unsalted butter, softened
- 2 large eggs, room temperature
- 4 cups all-purpose flour, plus more for dusting
- 1 teaspoon salt
- For the Filling:
- 1 cup packed light brown sugar
- 2 tablespoons ground cinnamon
- 1/2 cup (1 stick) unsalted butter, melted
- For the Icing:
- 8 ounces cream cheese, softened
- 1/2 cup (1 stick) unsalted butter, softened
- 3 cups powdered sugar, sifted
- 1 teaspoon vanilla extract
- 2-4 tablespoons milk
Instructions
- Activate the yeast: In a large bowl, combine the warm milk and 2 tablespoons of sugar. Sprinkle the yeast over the top. Let it sit for 5 to 10 minutes until foamy. Give yourself a high-five for starting!
- Mix the dough: Add the remaining 1/2 cup sugar, softened butter, eggs, flour, and salt to the yeast mixture. Mix with a stand mixer using the dough hook on low speed until a shaggy dough forms.
- Knead: Increase the speed to medium-low and knead for 5 to 7 minutes until the dough is smooth and elastic. It should clear the sides of the bowl.
- First Rise: Place the dough in a lightly oiled bowl, turning to coat. Cover the bowl with plastic wrap or a clean towel. Let it rise in a warm spot for 1 to 1.5 hours, or until doubled in size. You earned a dance break!
- Prepare the filling: While the dough rises, mix the brown sugar and cinnamon in a small bowl. Set aside.
- Roll the dough: Gently punch down the risen dough. On a lightly floured surface, roll the dough into a large rectangle, about 12 by 18 inches and 1/4 inch thick.
- Fill the dough: Brush the melted butter evenly over the entire surface of the dough. Sprinkle the cinnamon-sugar mixture over the butter, covering it completely.
- Shape the rolls: Starting from the long edge, tightly roll the dough into a log. Pinch the seam closed.
- Slice: Use unflavored dental floss or a sharp knife to cut the log into 12 equal rolls, about 1.5 inches thick each.
- Second Rise: Arrange the rolls in a greased 9×13 inch baking pan. Cover loosely and let them rise again for 30 to 45 minutes, or until puffy. Preheat your oven to 375°F during the last 15 minutes of rising.
- Bake: Bake for 20 to 25 minutes, or until golden brown.
- Make the icing: While the rolls cool slightly, beat the softened cream cheese and butter together until smooth. Gradually add the powdered sugar and vanilla. Add milk, one tablespoon at a time, until you reach a thick, spreadable consistency.
- Glaze and serve: Spread the cream cheese icing generously over the warm rolls. You made it!
Notes
- For the softest rolls, make sure your milk is warm but not hot when activating the yeast; too hot will kill the yeast.
- If you want extra gooey centers, use slightly more melted butter when brushing the dough before adding the cinnamon sugar.
- If you do not have a stand mixer, you can knead the dough by hand on a clean counter for about 10 minutes.
Nutrition
- Serving Size: 1 roll
- Calories: 450
- Sugar: 45
- Sodium: 250
- Fat: 24
- Saturated Fat: 15
- Unsaturated Fat: 9
- Trans Fat: 0.5
- Carbohydrates: 55
- Fiber: 2
- Protein: 6
- Cholesterol: 60