

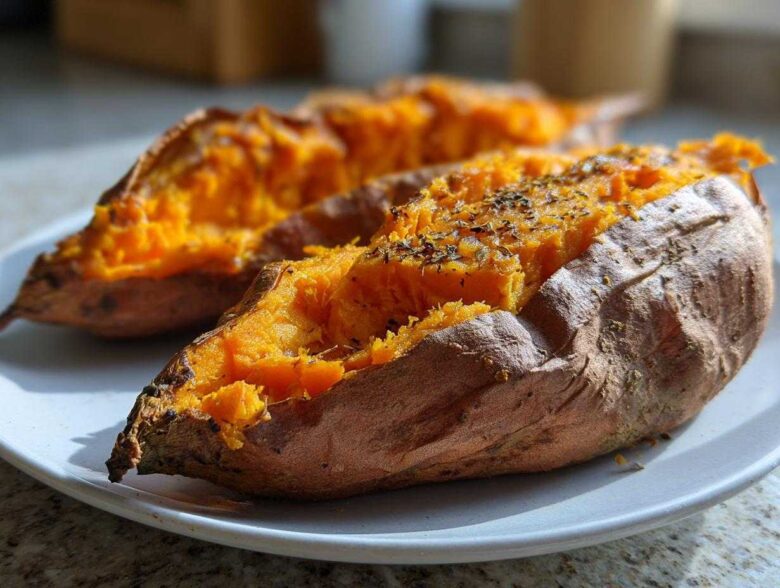
When I think about pure, undeniable comfort food that warms you right down to your socks, it’s definitely a perfectly cooked potato. But sometimes our expectations can make cooking feel like a high-stakes test, right? Simon, my husband, never got that stress. He taught me that the goal isn’t a flawless performance; it’s creating a happy memory. Welcome to Kitchn Kudos! As the Lead Documentarian here, I’m translating our joyful, low-pressure approach into recipes that are guaranteed wins. We’re diving into **baked sweet potatoes** today—we’re ditching the soggy bottoms and aiming for that magical combo: skin that’s beautifully crispy and an inside so fluffy it practically floats. Trust me, this foolproof oven method is going to change how you see this simple vegetable. You can read more about our philosophy over on our About Us page!
Why Our Method for Baked Sweet Potatoes Delivers Fluffy Perfection
If you’ve ever baked sweet potatoes only to find the skins soggy or the insides stubbornly mushy, I get it. We spent ages trying to figure out **how to bake sweet potatoes perfectly** because I hated that gummy texture! The biggest mistake people make is trapping steam. That’s why you will *never* find me lining a baking sheet or wrapping these beauties in foil. We want steam to escape, not condense underneath the potato skin!
By placing the seasoned potatoes directly onto the middle oven rack, we allow that hot air to circulate all around them. This is the key to getting those **baked sweet potatoes** fluffy inside while simultaneously drying out and caramelizing that gorgeous exterior. It builds instant trust in the process, I promise!
The Secret to Crispy Skin Sweet Potatoes
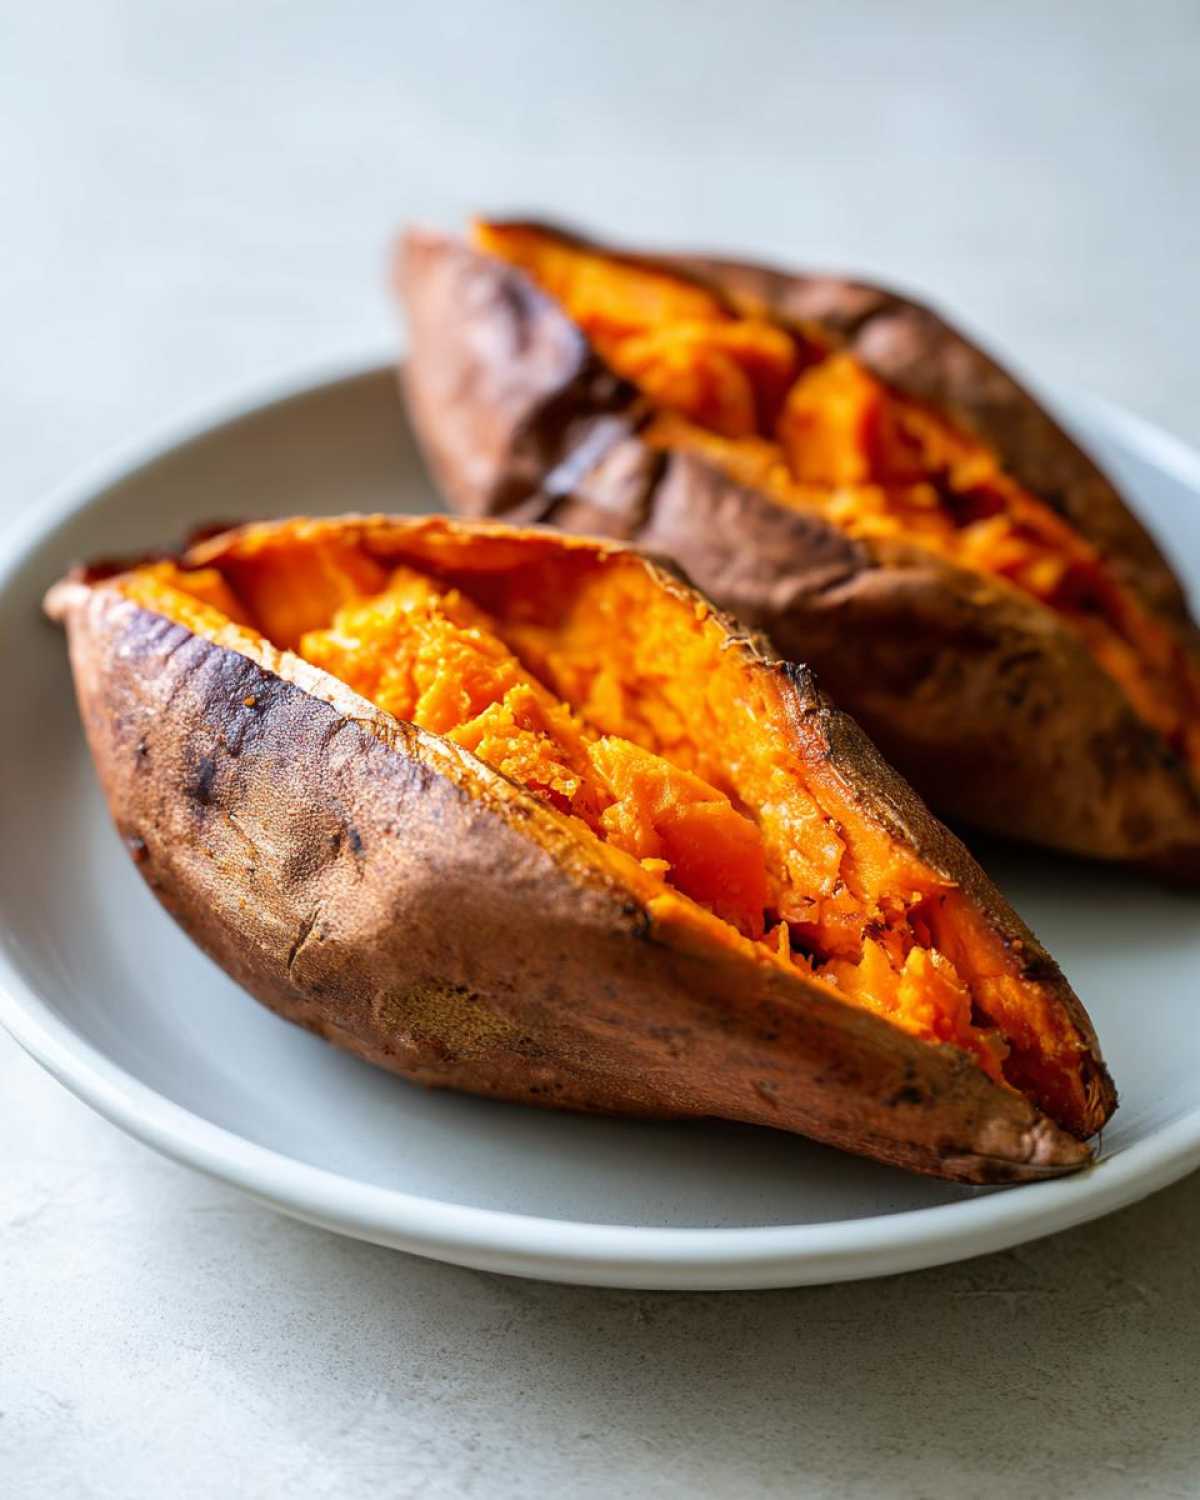
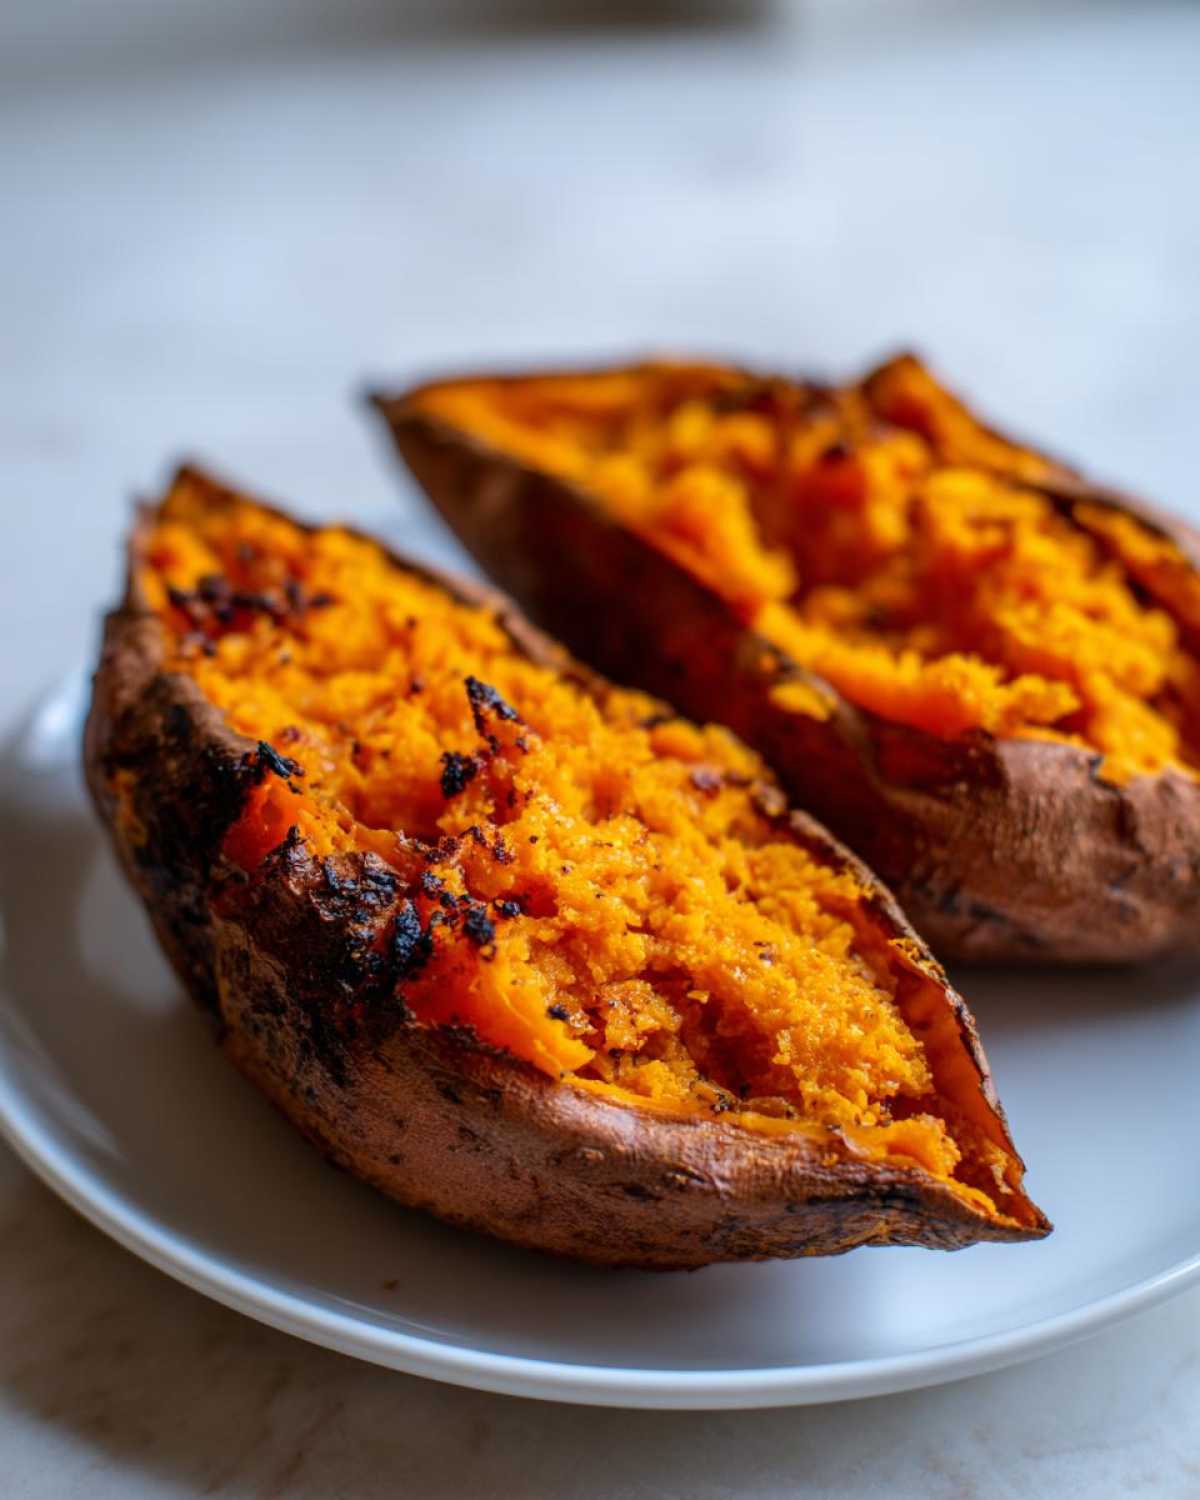
That dry, slightly wrinkled skin—that’s the kudos moment right there! To get those **crispy skin sweet potatoes**, you have to dry them thoroughly after scrubbing. Any residual water turns immediately to unproductive steam. After they are bone dry, you want a thin little layer of olive oil covering every surface, followed by a sprinkle of coarse salt. The oil acts like a little heat conductor, helping the skin crisp up beautifully. Don’t skip the salt; it draws out just a little moisture and helps achieve that wonderful, slightly crunchy texture we’re chasing.
Ingredients for Easy Baked Sweet Potatoes
Seriously, this is where we give ourselves the first big pat on the back for keeping things simple! This recipe relies on the quality of the potato itself, not a massive grocery list. You only need four things to get started. When Simon sees this ingredient list, he usually shouts, “Look at all those healthy baked vegetables we don’t have to chop!” We’re focusing on a **minimal ingredient sweet potato recipe** here, letting the oven do the real hard work.
- 4 medium sweet potatoes (aim for about 8 to 10 ounces each—don’t go too huge!)
- 1 tablespoon olive oil (the good stuff works best for the skin!)
- 1 teaspoon coarse salt (not fine table salt; the coarse kind helps with crisping)
- 1/2 teaspoon black pepper
How to Prepare Perfect Oven Baked Sweet Potatoes Time and Temperature
Alright, let’s get this oven going! For the best **baked sweet potatoes**, we need heat. Preheat your oven right now to 400 degrees Fahrenheit. Seriously, do it! Simon always yells, “Preheating is the first standing ovation!” It’s a small step, but getting that oven hot means we immediately start working toward that fluffy inside and crisp skin. We are looking at an **oven baked sweet potatoes time** of about 45 to 60 minutes, but we’ll use our senses to tell when they’re truly done, not just rely on the clock. You can check out more of our step-by-step guides over on the main Kitchn Kudos blog if you need visual reminders!
Crucial Prep Steps for Fluffy Baked Sweet Potatoes Recipe
Before anything touches the oven, we prep. First, scrub those potatoes until they look clean! Then, and this is vital, dry them off completely using a paper towel. If there is any water left, it turns into steam and sabotages our crispy skin goal. Next, grab a fork and prick each potato several times all over. This lets the internal steam escape, ensuring a wonderful, light texture for your **fluffy baked sweet potatoes recipe**.
Baking Technique for Best Baked Sweet Potatoes
This part feels counterintuitive, but trust me on this one! After oiling and salting them, place the potatoes directly onto the middle oven rack. I repeat: no baking sheets! Foil traps steam and melts the skin into rubber. We want heat exposure everywhere. You’ll know they are ready when the skin looks slightly wrinkled and firm, and when you poke the thickest part, it gives way easily—no resistance! That’s the sign of a job well done.
Simple Sweet Potato Side Dish: Serving and Topping Ideas
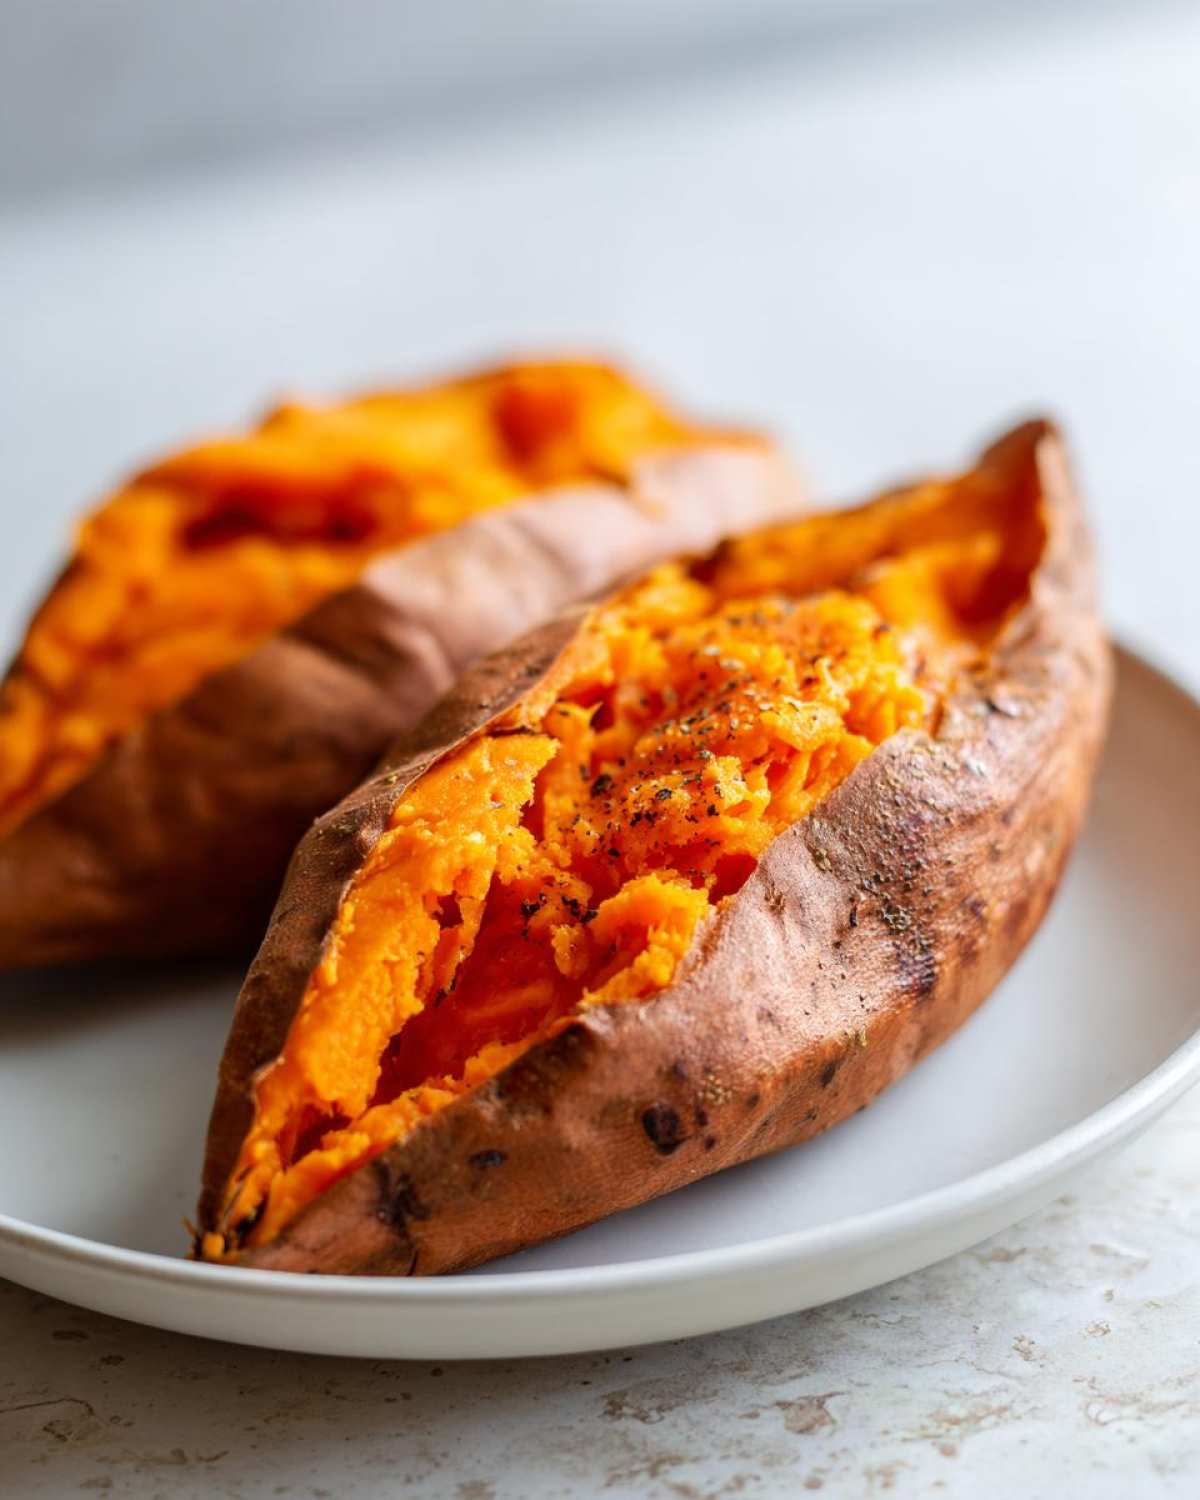
Okay, the hard part is done! You successfully baked sweet potatoes without resorting to foil—that deserves a serious high-five! Now comes the really fun part: making them yours. This is where you can really show off with minimal effort. Whether you need a gorgeous **simple sweet potato side dish** for Thanksgiving or something quick for a Tuesday night, these potatoes are the perfect canvas. I love seeing the steam curl up when you slice them open; it’s the best visual cue that you nailed this! If you’re looking for other simple vegetable wins, check out my sweet potato salad recipe sometime!
Here are a few ways we love dressing them up. Remember, there are no wrong answers here, only delicious victories!
- The Classic Sweet: A tablespoon of softened butter mixed with a sprinkle of cinnamon and a drizzle of maple syrup. Pure cozy comfort.
- Savory & Sharp: A dollop of Greek yogurt or sour cream, freshly cracked black pepper, and finely chopped chives.
- Slightly Spicy: A spoonful of salsa, a squeeze of lime, and a sprinkle of crumbled cotija cheese. Wowza!
- Nutty Crunch: Toss on some toasted pecans or walnuts with a tiny pinch of sea salt.
Turning Baked Sweet Potatoes into a Meal
Don’t stop at just a side dish! These fluffy bases are fantastic for creating a full meal, too. You’ve already mastered the base for amazing **twice baked sweet potatoes**—just scoop out that flesh and mix it back in with cheese and spices before stuffing it back in the skin. Or, if you’re making a big dinner, use these potatoes as the foundation for a hearty **sweet potato roast recipe** base. Just load them up with leftover roast veggies or chili leftovers. Instant, impressive dinner!
Tips for Success with Your Homemade Baked Sweet Potatoes
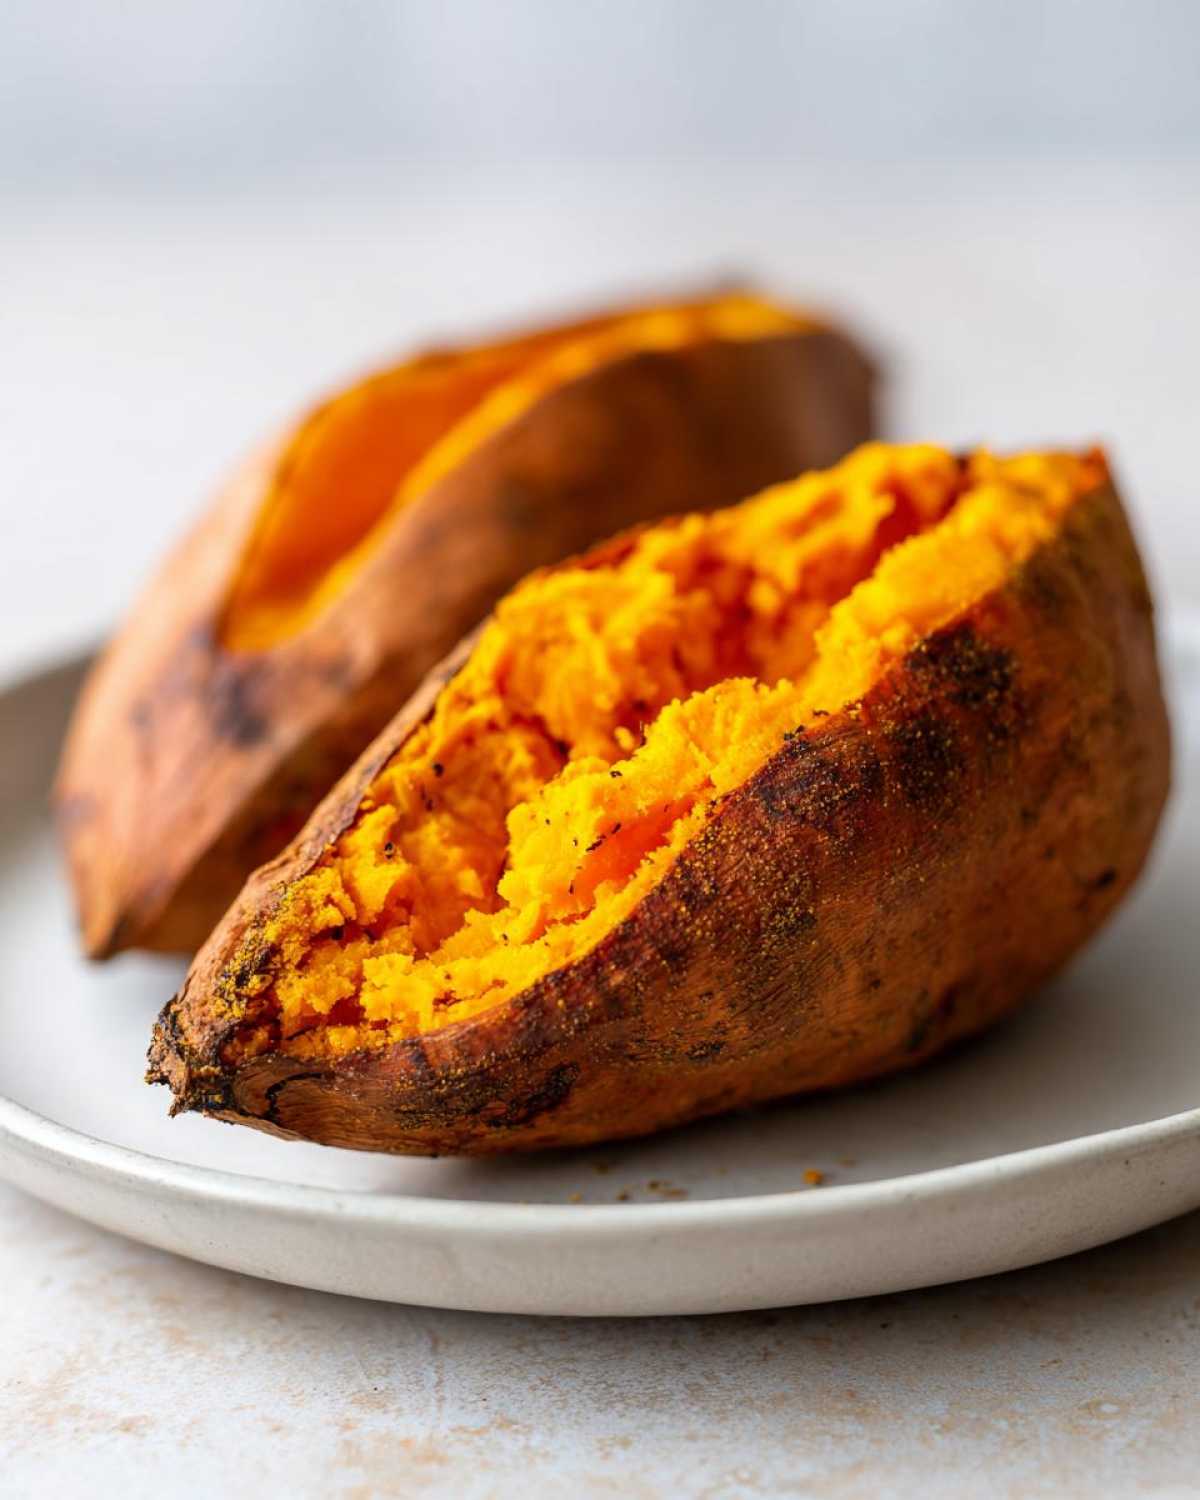
You’ve mastered the timing and the rack placement, which is huge! But if you want brownie points—or in our case, kitchen kudos points—let’s talk about elevating these just a touch. Remember how I said we used olive oil? That’s fantastic for crisping, but if you’re heading toward dessert territory, try rubbing them down with a thin layer of melted butter instead before salting. Butter browns just a bit differently, giving the skin a richer flavor profile. Seriously, try it once; it’s amazing!
Another thing I learned when meal prepping for busy weeks is that these beauties hold up incredibly well. If you need **baked sweet potatoes** ready to go, bake them until they are just tender, let them cool completely, and you can tuck them safely into the fridge for up to three days. When you pull them out later to serve, don’t just microwave them! Pop them back into a 400°F oven for about ten minutes. That quick blast of dry heat brings that wonderful crispy skin right back to life. It’s like magic, and it ensures they taste fresh!
Storage and Reheating Instructions for Leftover Baked Sweet Potatoes
The beauty of these **baked sweet potatoes** is that they are the absolute champions of **sweet potato meal prep**! If you don’t polish them all off in one sitting—which, let’s be honest, is usually my goal—storage is super easy. Once they are completely cool, tuck them into an airtight container in the fridge. They hold up perfectly for about three days. That’s three days of instant, healthy vegetable side dishes ready to go. Simon loves having these on hand for quick lunches. The real trick, though, is bringing back that crispiness when you reheat!
Frequently Asked Questions About Baking Sweet Potatoes
I totally get it; sometimes you have a quick question pop up while the oven is preheating and you don’t want to dig through the whole article! I’ve compiled some of the most common things I always hear about getting the best **baked sweet potatoes**—especially the things I used to stress about when I was first learning this method.
Is it okay to wrap the sweet potatoes in foil?
Oh, please don’t! This is where so many people get a less-than-perfect result. Wrapping them in foil traps all the steam that tries to escape. That steam condenses and basically steams your potato instead of baking it, leaving you with soft, rubbery skin instead of those amazing **caramelized sweet potatoes** we want. Keep them naked on the rack for the best texture!
Can I use my microwave for quick baked sweet potatoes instead?
You absolutely can if you are in a massive hurry, but you won’t get the classic texture. Microwaving makes them tender, but the skin turns out totally soft, not crispy at all. If you’re after the **fluffy baked sweet potatoes recipe** texture with crisp skin, the oven is the way to go. If you must microwave, try popping them in the oven for 10 minutes afterwards just to crisp up the outside!
How can I make these into a great meal prep option?
These are fantastic for make-ahead meals! Bake them until they are just tender using our standard time guidance. Once they are cool, store them whole in the fridge. Then, whenever you need a **simple dinner side** or lunch, reheat them at 400°F for about 10 minutes. That flash of dry heat re-crisps the exterior beautifully. If you’re interested in turning them into something more substantial, check out my guide to twice baked sweet potatoes!
What if my potatoes are different sizes—how do I adjust the time?
That’s a great question about **oven baked sweet potatoes time** variation! Generally, bigger spuds need more time; small ones can be done closer to the 45-minute mark. If you have wildly different sizes, it’s better to separate them on the rack so the smaller ones don’t overcook while waiting for the big ones. For an in-depth look at timing variations, I saw a great breakdown over at Evolving Table that covers every size imaginable!
Nutritional Snapshot of These Healthy Baked Vegetables
Since we’re celebrating good, simple food here at Kitchn Kudos, I always like to give a little nod to what we’re putting into our bodies. These beautiful **baked sweet potatoes**, made with minimal effort and just a touch of oil, are packed with goodness. They are definitely one of my favorite go-to **healthy baked vegetables** when I need an easy side dish.
Please remember these numbers are just estimates based on using the standard ingredients listed in this recipe, but they show you just how wholesome this **simple sweet potato side dish** truly is:
- Serving Size: 1 medium potato
- Calories: 180
- Fat: 0.5g
- Carbohydrates: 41g
- Protein: 4g
- Fiber: 7g
See? All that natural sweetness and fiber without any fuss. Give yourself kudos for making such a smart choice!
Give Yourself Some Kitchen Kudos Today
Wow, congratulations! You just made the most perfectly **baked sweet potatoes** with a crispy skin and that incredibly fluffy inside. See? No stress, no fuss, just pure deliciousness. That’s what Kitchn Kudos is all about—celebrating those little wins! Seriously, take a moment and give yourself a big clap for this success. If you loved this recipe, please come say hello or share your topping creations over on our Contact page! We always love hearing about your kitchen celebrations.
PrintFoolproof Oven Baked Sweet Potatoes: Crispy Skin and Fluffy Inside

Learn the simple method for baking sweet potatoes in the oven to achieve a perfectly caramelized skin and a wonderfully fluffy interior. This recipe is easy and makes a great healthy side dish.
- Prep Time: 5 min
- Cook Time: 50 min
- Total Time: 55 min
- Yield: 4 servings
- Category: Side Dish
- Method: Baking
- Cuisine: American
- Diet: Vegetarian
Ingredients
- 4 medium sweet potatoes (about 8-10 ounces each)
- 1 tablespoon olive oil
- 1 teaspoon coarse salt
- 1/2 teaspoon black pepper
Instructions
- Preheat your oven to 400 degrees Fahrenheit (200 degrees Celsius). You want a hot oven for that crispy skin.
- Scrub the sweet potatoes well under running water to remove any dirt. Dry them completely with a paper towel; moisture prevents crisping.
- Prick each sweet potato several times all over with a fork. This allows steam to escape during baking.
- Rub the outside of each potato lightly with olive oil. This helps the skin crisp up and caramelize.
- Sprinkle the potatoes evenly with coarse salt and black pepper.
- Place the seasoned potatoes directly onto the middle oven rack. Do not use foil or a baking sheet, as this traps steam and makes the skin soft.
- Bake for 45 to 60 minutes. The time depends on the size of your potatoes. Start checking at 45 minutes.
- The potatoes are done when the skin is slightly wrinkled and firm, and you can easily pierce the center with a fork or knife with no resistance.
- Remove from the oven. Let them cool for 5 minutes before slicing them open lengthwise down the center. Gently squeeze the ends to fluff up the inside.
- Serve immediately with your favorite toppings.
Notes
- For extra crispy skin, you can rub the potatoes with a thin layer of melted butter instead of olive oil before seasoning.
- If you want to make these ahead, bake them until just tender, let them cool, and store them in the refrigerator for up to 3 days. Reheat them in a 400°F oven for 10 minutes to crisp the skin again.
- Try these with cinnamon butter, sour cream and chives, or black beans and salsa for a complete meal.
Nutrition
- Serving Size: 1 medium potato
- Calories: 180
- Sugar: 13
- Sodium: 150
- Fat: 0.5
- Saturated Fat: 0.1
- Unsaturated Fat: 0.4
- Trans Fat: 0
- Carbohydrates: 41
- Fiber: 7
- Protein: 4
- Cholesterol: 0