

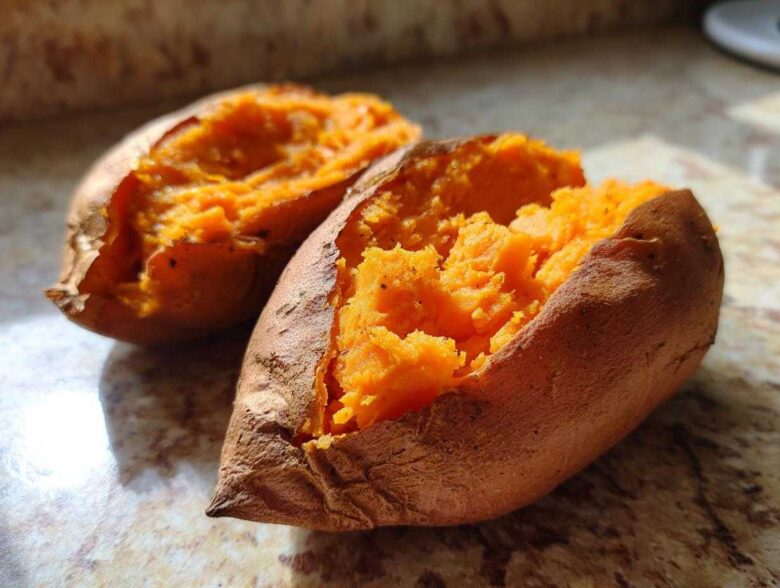
You know, when I used to cook, I stressed over every single thing looking *exactly* right. Especially when it involved side dishes! But folks, let me tell you the secret to a truly perfect **baked sweet potato**: it’s all about the texture inside. I’m talking fluffy, creamy, utterly tender, almost like custard!
Simon always told me to put the recipe down and just enjoy the sizzle, and honestly, that’s what this method is built on. We aren’t complicating things with foil wraps or fancy gadgets. Alice always says that understanding our philosophy over at Kitchn Kudos is what helps turn kitchen stress into joy. This is the simplest, no-fuss approach for getting that ideal fluffy result every single time you bake them. It’s a total win, and you deserve the kudos for making something this simple taste this amazing!
Why This is the Best Way to Make a Baked Sweet Potato
When it comes to baked roots, I truly think this method is unbeatable. Forget wrapping them in foil! When you place the potato directly onto the oven rack, you let that intense, dry heat work its magic all around. That’s how you get those beautiful, slightly browned, almost caramelized spots on the skin while the inside turns into pure sweet silk.
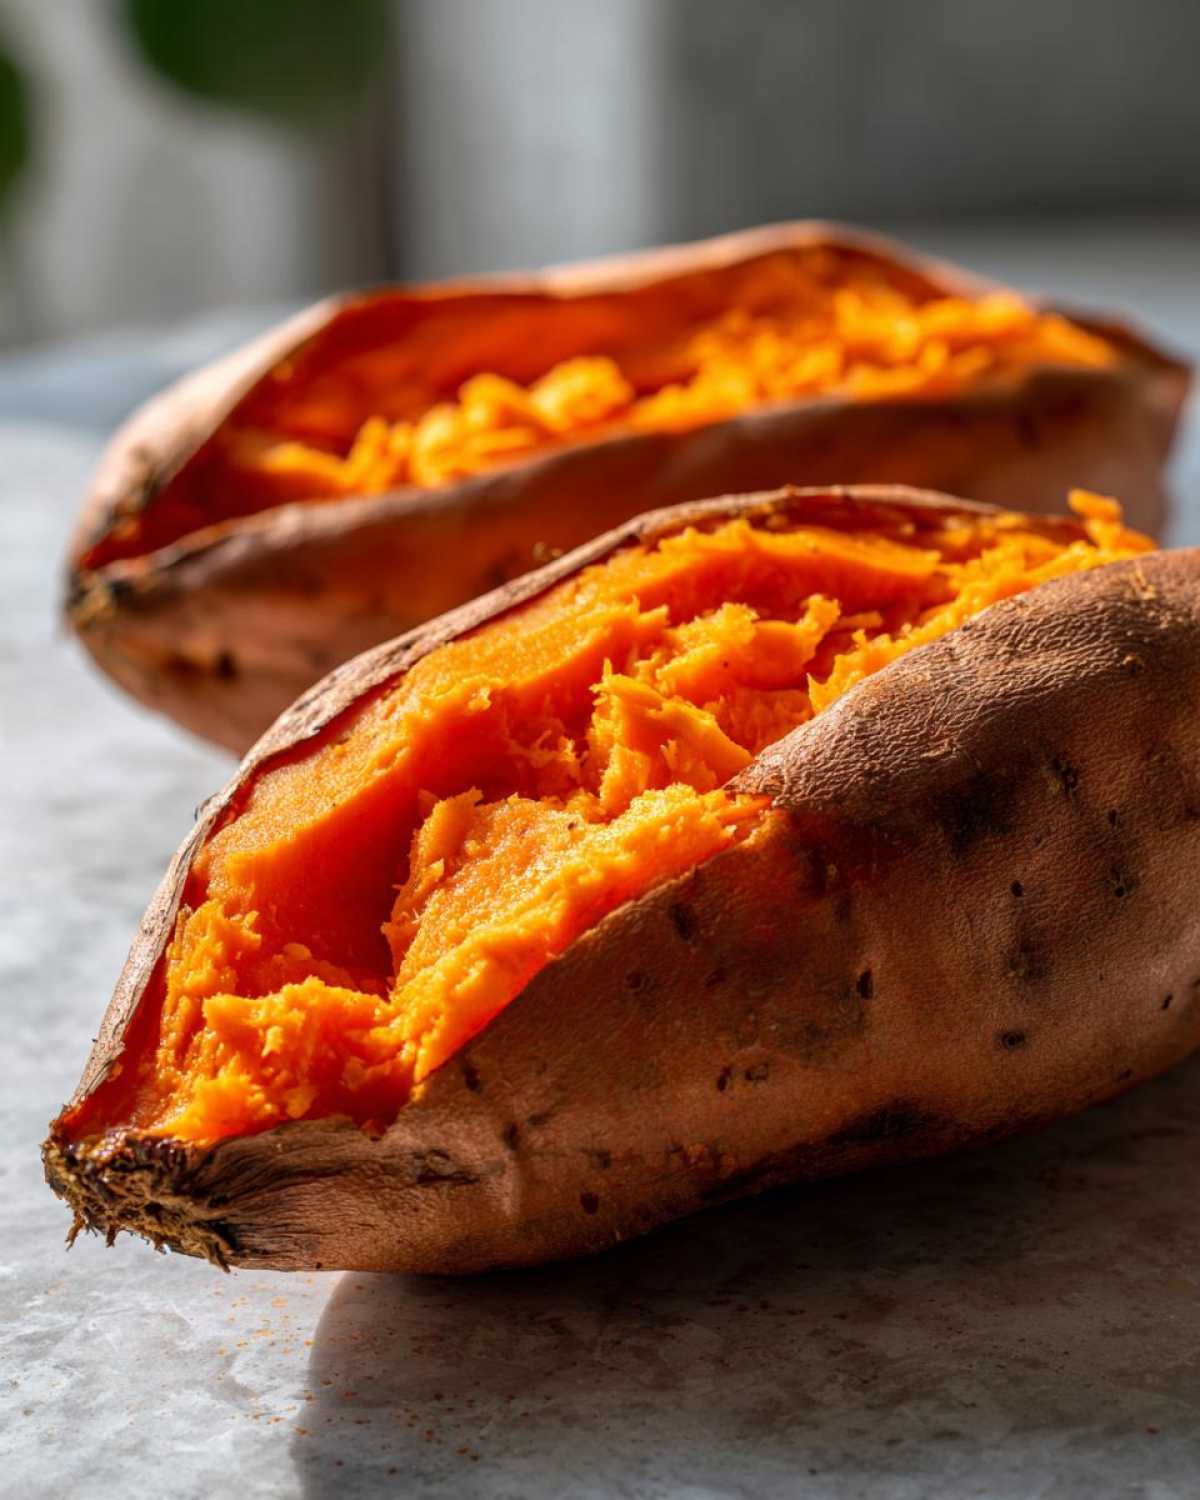
This isn’t just about speed; it’s about texture integrity. We want that delicious contrast between the outside and the creamy center. I think Alice even linked to some other great baking tips over on the blog if you get curious later. Trust me, this technique guarantees you won’t end up with gummy or tough potatoes!
Achieving that Fluffy Sweet Potato Interior
The secret weapon for cloud-like insides is super simple: the fork! You absolutely must prick the potatoes a few times before they go in. If you skip this, the steam builds up inside, and you risk having a potato that explodes or, worse, one that turns dense instead of airy.
It lets the built-up moisture escape slowly. It feels almost surgical, but you’re just setting the stage for extreme fluffiness. Be generous with those pricks!
Tips for Caramelized Skin on Your Baked Sweet Potato
If you love the taste of roasting, this step is critical. We are using high heat—400°F high heat—and rubbing the surfaces down lightly with oil or butter. The fat helps transfer the heat and encourages browning, which is where all that incredible, slightly nutty flavor comes from.
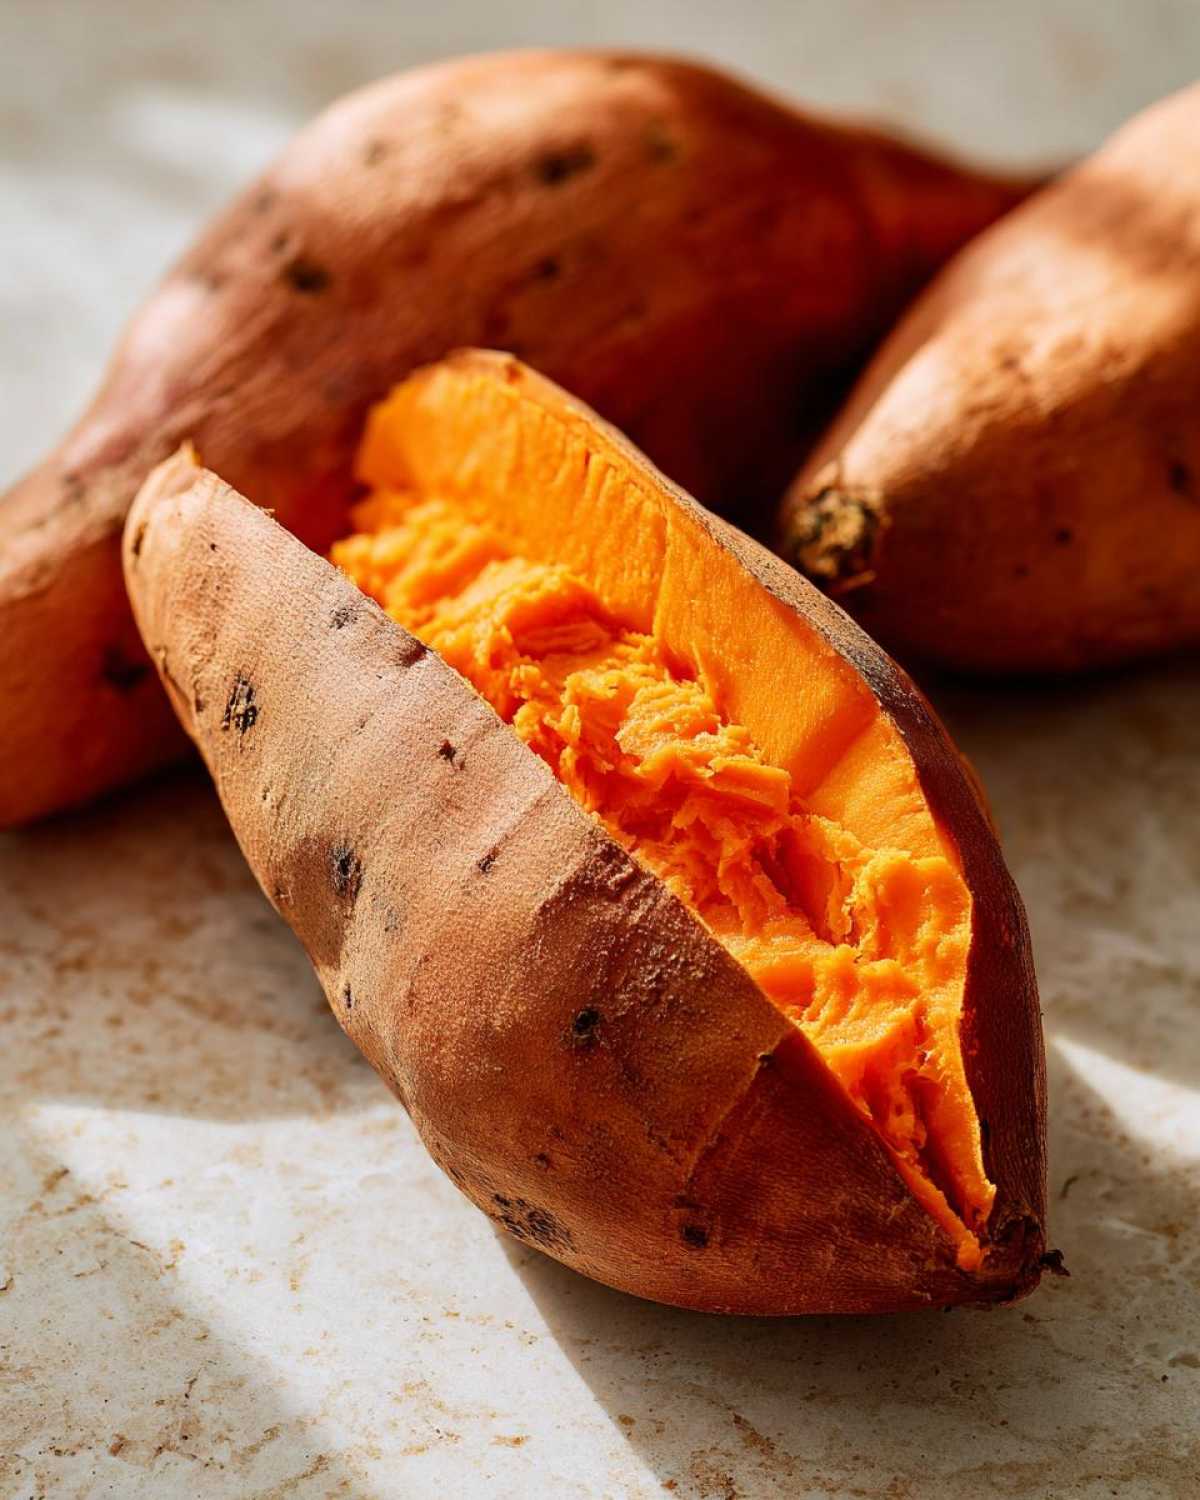
The direct contact with the metal rack seals the deal! This little bit of effort ensures your final baked sweet potato looks as good as it tastes.
Gathering Ingredients for Your Baked Sweet Potato
Okay, I love that we’ve established *why* this technique works so well, but now let’s talk about what you actually need. This recipe is so ridiculously simple, which means the quality of your main ingredient really shines through. For this glorious method, you just need four medium sweet potatoes. That’s it for the main event!
Then, we keep the seasoning easy so that natural sweetness wins. Grab about one tablespoon of olive oil or melted butter—whatever you have handy works great here. And finally, you season the outside skin generously with salt and pepper, always tasting as you go! See? No pressure here, just good simple ingredients for your incredible baked sweet potato.
Step-by-Step Instructions for the Perfect Baked Sweet Potato
Alright, this is where the magic happens! We’re going to move fast and make sure we set these potatoes up for success before they even see the oven. Remember what I always say? Prepping right means celebrating later! This method is designed to be efficient, especially focusing on getting that skin dry first. You’ll want to preheat that oven to 400 degrees Fahrenheit right away. Don’t skimp on the heat; that’s what gives us that crispy exterior we love, just like we aim for when making our perfect rib roast!
Preparation and Seasoning for Oven Baked Sweet Potatoes
First things first: grab a brush and scrub those potatoes like you mean it! We need to get every speck of dirt off. Then, dry them completely. I mean bone dry! If there’s any moisture left, you’ll steam your skin instead of crisping it. Next, take a fork and poke them all over—six or seven times per potato. This lets the steam escape so they don’t go boom on us! Then, rub them down with your oil or melted butter. Don’t forget to season that outside skin! Give yourself a high-five for seasoning the skin; it adds so much flavor!
Baking Time and Doneness Check for Baked Sweet Potato
Now, they go straight onto the oven rack. No foil allowed here, seriously. Bake them for about 45 to 60 minutes. The time really just depends on how big your potatoes are, so don’t panic if yours need a few extra minutes.
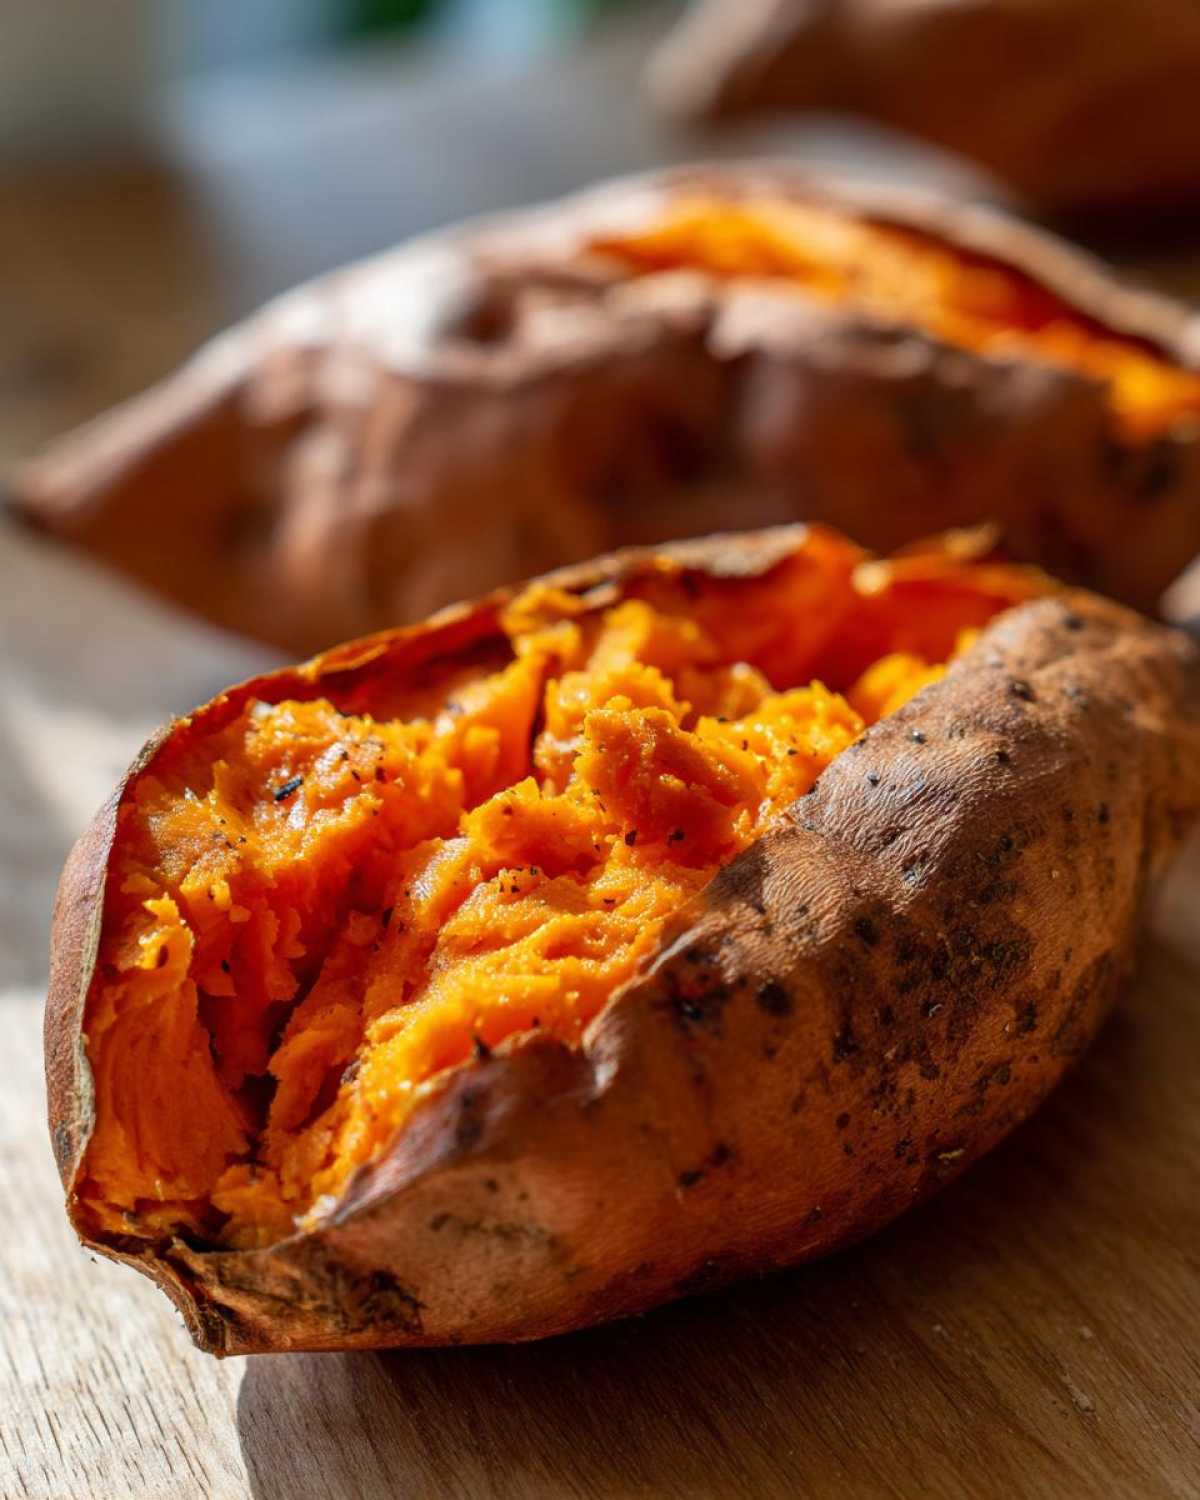
The fail-safe way to check if they’re ready is the fork test. If a fork slides all the way into the center without any resistance, your baked sweet potato is done! If it feels like you’re hitting rock, let them bake longer. Once they’re tender, pull them out and let them chill for just five minutes before you slice them open for that grand reveal!
Serving Suggestions for Your Fluffy Baked Sweet Potato
Doesn’t that fluffy interior just beg for some toppings? This is where you celebrate your effort! If you need a touch of sweetness—and honestly, who doesn’t?—I love using cinnamon butter or a drizzle of pure maple syrup. It truly brings out the best in the natural flavor profile. It pairs wonderfully with savory things too, maybe some crumbled feta and fresh herbs if you’re feeling fancy!
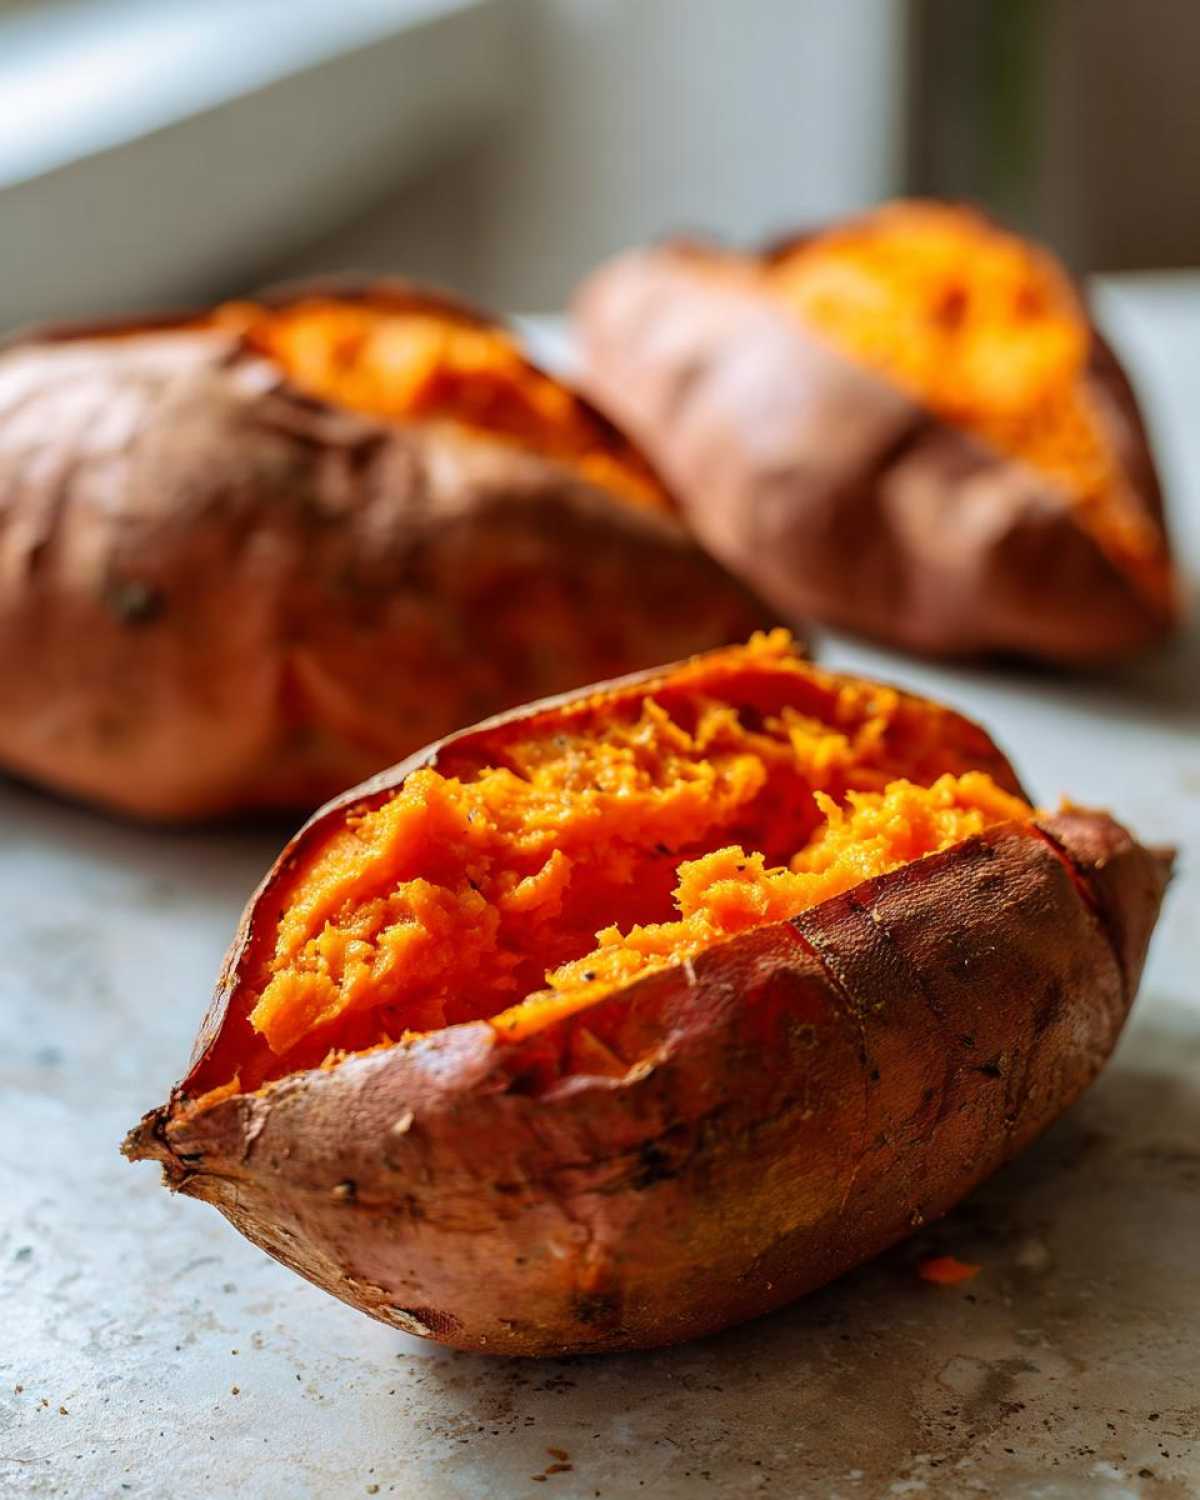
If you find yourself with leftover baked potatoes, don’t stress about them going to waste. You can dice them up the next day and toss them into a bright sweet potato salad! Or, if you want more amazing sweet potato vibes but in a different texture, check out our recipe for creamy mashed sweet potatoes. But for now, enjoy that perfect baked sweet potato right out of the oven!
Make-Ahead and Storage Tips for Baked Sweet Potatoes
One of the best gifts you can give your future self is prepping these ahead of time. Honestly, having a beautifully baked potato ready to go mid-week is such a win! The great news here is that the baked sweet potato holds up wonderfully after cooking.
You can store these leftovers right in the refrigerator for up to four whole days. Just make sure they are cooled down before you seal them up in an airtight container. Do *not* leave them sitting on the counter for hours; we want them good for tomorrow!
When you’re ready to eat one later, you have a couple of options. You can microwave it briefly, but if you want to recapture that amazing crispy skin, pop it back into a 350°F oven for about 10 to 15 minutes. That little bit of reheat time brings back all the texture we worked so hard for!
Troubleshooting Common Baked Sweet Potato Issues
Even with the perfect method, sometimes things don’t go exactly to plan, right? Don’t sweat it! That’s why we keep practicing. If your potatoes just aren’t cooking through, even after an hour, they might have been too large or the oven temperature wasn’t quite spot-on. My advice? Just give them another 10 or 15 minutes uncovered. Patience is the key!
Now, if your skin is looking a little sad and wrinkly instead of nicely caramelized, it almost always comes down to moisture. Did you skip patting them dry, or did you wrap them in foil accidentally? Remember, foil steams them, so keep them bare on the rack. A little extra rub of oil next time will solve that right up!
Nutritional Estimate for One Baked Sweet Potato
I always get asked about the health side of things, and it’s great that these are such a fantastic, naturally sweet option! For just one potato prepared simply with the oil and salt—no heavy toppings—the estimate looks something like this. Keep in mind, these numbers are just ballpark figures based on our recipe measurements, so they can change based on what you put on top!
- Serving Size: 1 potato
- Calories: about 180
- Total Fat: 4g
- Carbohydrates: 35g (with 6g of fiber!)
- Protein: 3g
See? A powerhouse of goodness that still feels like a treat. That’s why they’re one of my favorite easy side dishes to whip up. No fuss, big nutritional return!
Your Next Kitchen Kudos: Enjoying the Baked Sweet Potato
That’s it! You’ve done the work, and now it’s time to truly celebrate this perfectly fluffy creation. I hope making this easy side dish gave you a moment to relax and enjoy the process.
What are your favorite toppings for a fresh baked sweet potato? Drop a comment below and tell us how this recipe helped silence your internal kitchen critic today. We love hearing your wins!
PrintHow to Bake Perfect Sweet Potatoes: Fluffy and Tender Every Time

Learn the simple, no-fuss method for baking sweet potatoes that results in a creamy interior and perfectly caramelized skin. This recipe guarantees a delicious and healthy side dish for any meal.
- Prep Time: 5 min
- Cook Time: 50 min
- Total Time: 55 min
- Yield: 4 servings
- Category: Side Dish
- Method: Baking
- Cuisine: American
- Diet: Vegetarian
Ingredients
- 4 medium sweet potatoes
- 1 tablespoon olive oil or melted butter
- Salt, to taste
- Black pepper, to taste
Instructions
- Preheat your oven to 400 degrees Fahrenheit (200 degrees Celsius). This high heat helps create that desirable crispy skin.
- Scrub the sweet potatoes well under running water to remove any dirt. Pat them completely dry with a paper towel. Getting them dry is key for crispy skin!
- Prick each sweet potato several times all over with a fork. This allows steam to escape while baking.
- Rub the outside of each potato lightly with olive oil or melted butter. Sprinkle generously with salt and pepper. You are seasoning the outside skin for flavor!
- Place the seasoned sweet potatoes directly onto the oven rack. Do not use foil; direct heat yields the best texture.
- Bake for 45 to 60 minutes. The exact time depends on the size of your potatoes. They are done when a fork easily pierces the center.
- Remove the potatoes from the oven. Let them cool for about 5 minutes before slicing them open lengthwise.
- Fluff the inside flesh with a fork and serve immediately with your favorite toppings. Give yourself a high-five for a job well done!
Notes
- For an extra sweet treat, try topping with cinnamon butter or a drizzle of maple syrup after baking.
- If you are short on time, you can microwave the potatoes for 5-7 minutes before baking to reduce the oven time significantly.
- This method works great for meal prep; store baked potatoes in the refrigerator for up to four days.
Nutrition
- Serving Size: 1 potato
- Calories: 180
- Sugar: 13
- Sodium: 150
- Fat: 4
- Saturated Fat: 1
- Unsaturated Fat: 3
- Trans Fat: 0
- Carbohydrates: 35
- Fiber: 6
- Protein: 3
- Cholesterol: 0