

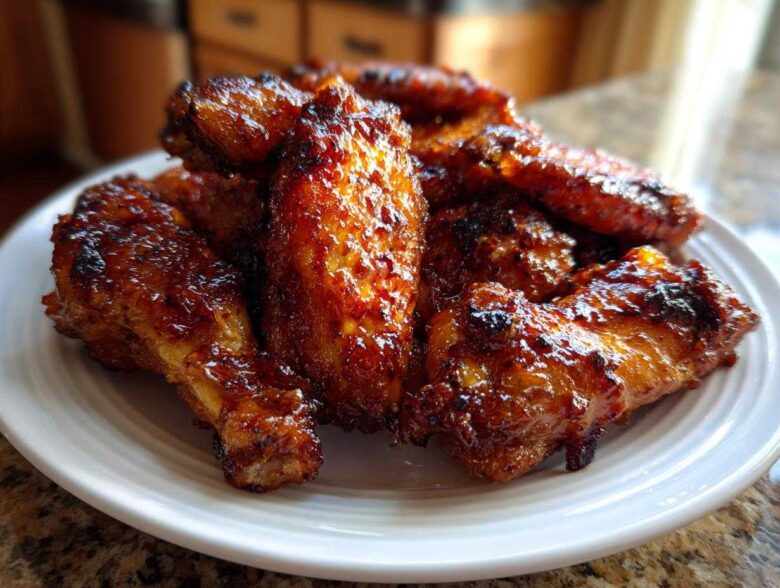
Oh my gosh, are you ever craving wings, but the thought of deep-frying them sends shivers down your spine? Me too! Seriously, who wants that mountain of oil cleanup just for a little appetizer? That’s why I spent ages, I mean ages, perfecting a method that lets you get that intensely satisfying crust and ridiculously thick coating right in your own oven. Trust me when I tell you, these Sticky Honey Garlic Wings Oven Baked are a weeknight game-changer. After years of testing racks, temperatures, and glaze timings, I finally cracked the code for truly crispy skin and a glaze that actually sticks, not just slides off!
Why This Recipe Delivers the Best Sticky Honey Garlic Wings Oven Baked
If you’ve ever made oven wings and ended up with sad, flabby skin, this is for you! My method is all about delivering those coveted Sweet and Sticky Chicken Wings without touching a drop of frying oil. We use a two-part attack: one to crisp the skin before saucing, and another crucial step to set that thick, beautiful glaze afterward. It’s honestly brilliant!
- The combination of high heat and that mystery ingredient guarantees crispy texture.
- We use a separate glaze build and a final bake to ensure everything caramelizes perfectly onto the chicken.
The Secret to Crispy Skin Without Frying
Forget expensive air fryers; the real magic here is the baking powder! I know, it sounds bizarre, but hear me out. When you toss your dry wings with baking powder, it slightly raises the pH level on the skin. This causes the skin to dry out incredibly fast in the hot oven and allows it to brown beautifully. It’s pure chemistry making your life easier, creating a texture you won’t believe came from a regular oven.
Achieving the Perfect Sticky Glaze Consistency
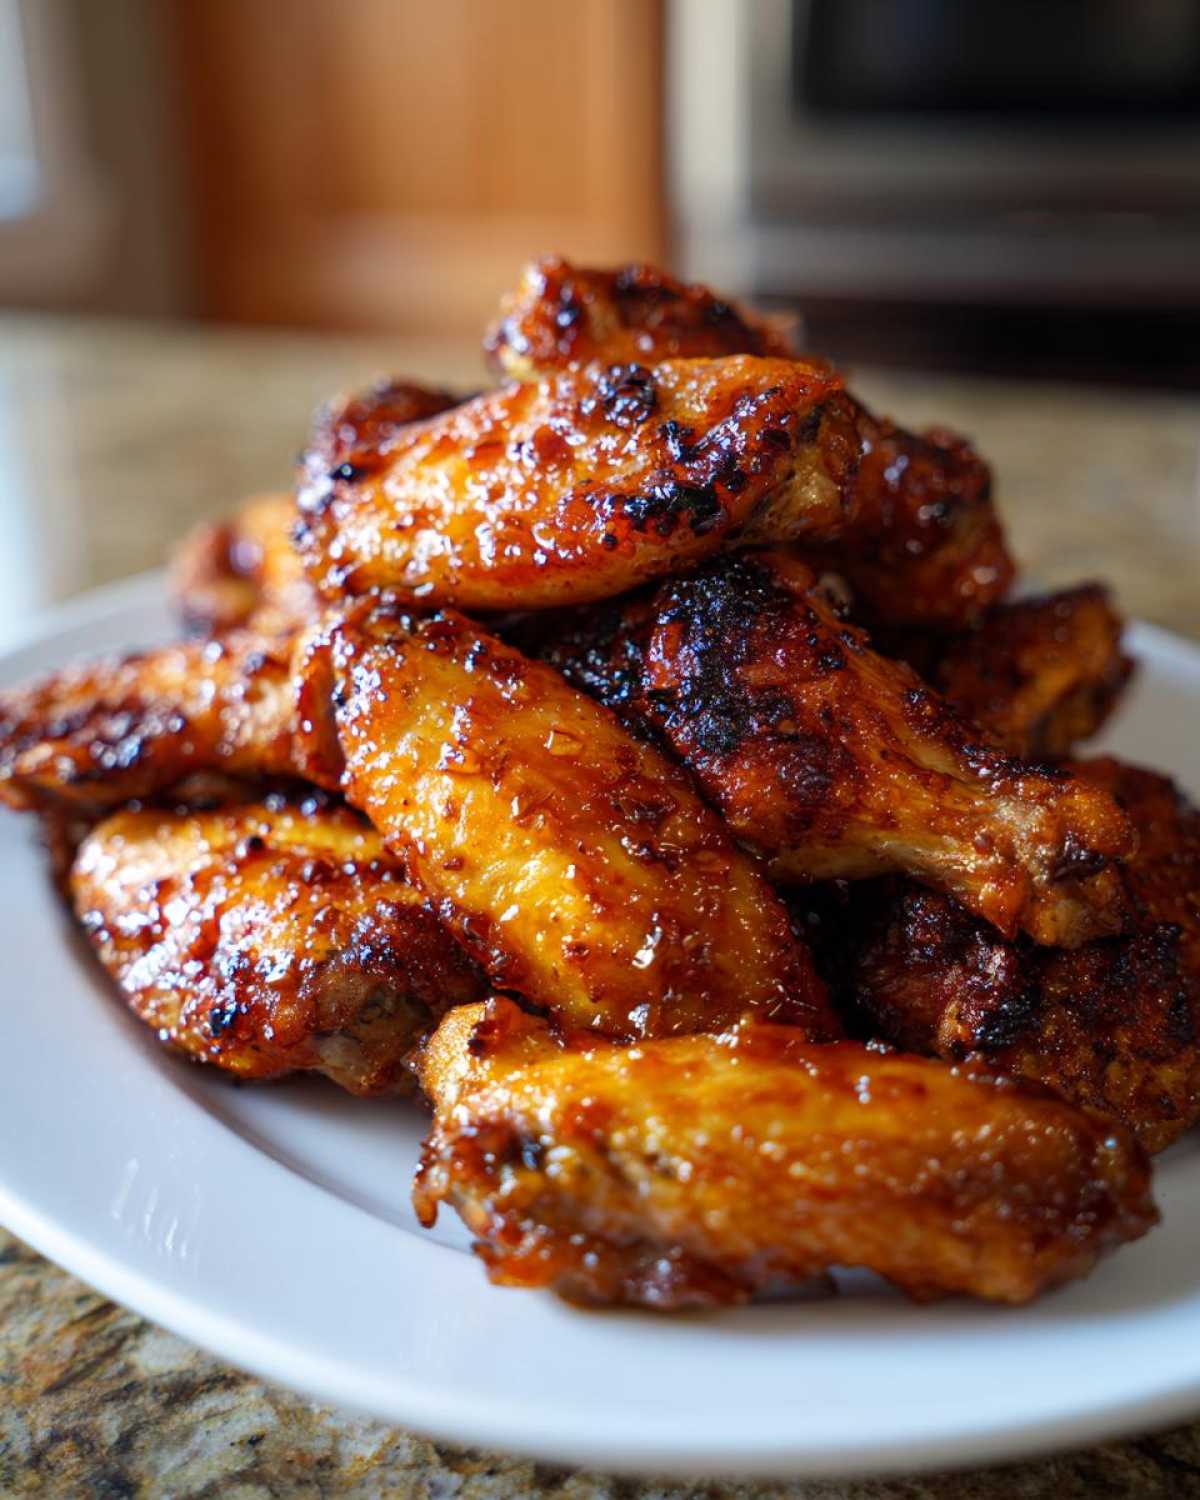
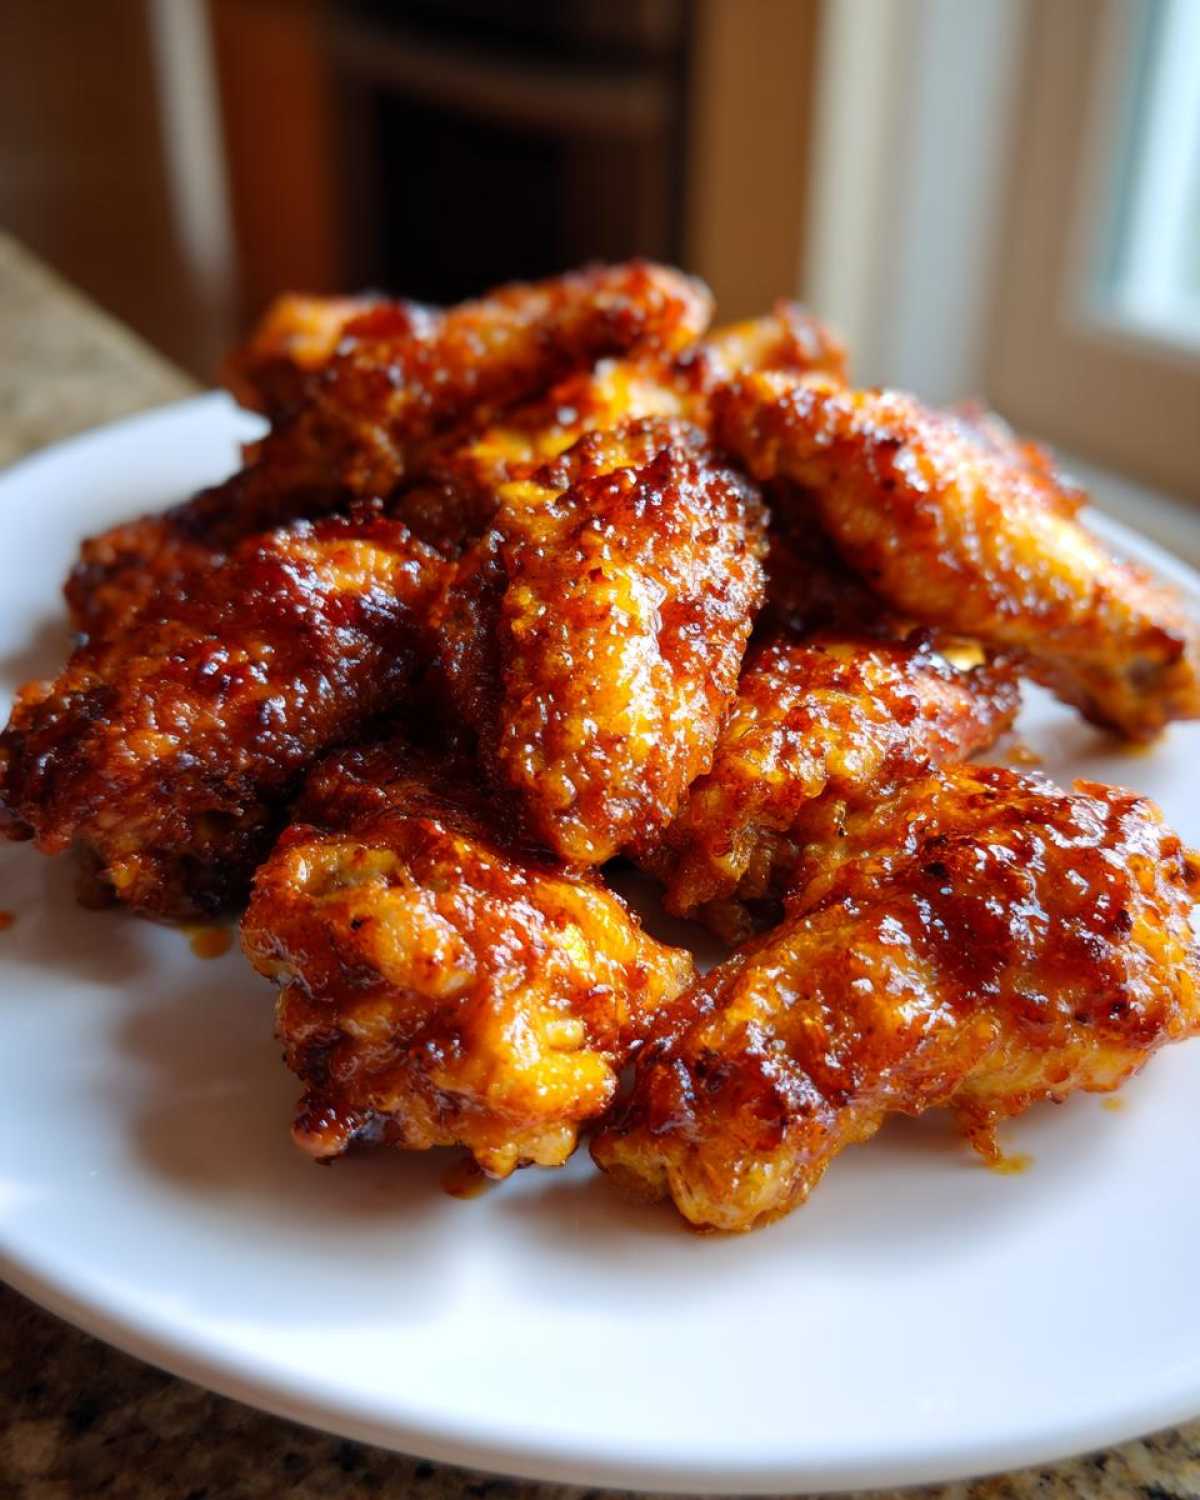
The sauce has to be thick enough to cling to those crispy wings, right? That’s where the cornstarch slurry comes in! We don’t add the starch until the very end of the sauce-making process, just as it’s simmering. This makes it glossy and thickens it up fast. But the most important part? After you toss the wings in that lovely sauce, you send them back into the heat for five extra minutes. That final little bake melts the honey right into that crisp surface, turning them into proper Sticky Honey Garlic Wings Oven Baked.
Essential Ingredients for Sticky Honey Garlic Wings Oven Baked
Gathering your ingredients is half the battle, and for these wings, you probably have most of this stuff sitting in your pantry right now! We separate the ingredients into two groups because they serve totally different purposes: one for making the wings super crispy, and the second for creating that iconic, thick, and savory glaze. This is the foundation of the Best Homemade Honey Garlic Sauce you’ll ever make!
For the Crispy Wing Prep
This small grouping is what transforms a standard baked wing into a crispy superstar. Don’t skip the baking powder! And I mean baking powder, not baking soda. They act differently, and we need the powder to get that beautiful high heat reaction.
- 2 lbs chicken wings (I always use a mix of flats and drumettes, whatever looks fresh!)
- 1 tablespoon baking powder (Make sure it’s fresh, it loses power over time!)
- 1 teaspoon salt
- 1/2 teaspoon black pepper
For the Sticky Honey Garlic Sauce
When you combine these, you get that perfect sweet, salty, and rich flavor. The cornstarch and water are added at the very end to give us that thick, glossy coating that truly sticks to the wings after glazing.
- 1/2 cup honey (Real honey works best for that rich caramel flavor)
- 1/4 cup soy sauce (Use low sodium if you watch your salt!)
- 4 cloves garlic, minced (Don’t cheat here—minced fresh garlic is non-negotiable!)
- 2 tablespoons apple cider vinegar (This cuts through the sweetness so it’s not cloying)
- 1 tablespoon cornstarch
- 2 tablespoons water (For mixing the slurry)
If you want to sneak in some spice, this is where you’d add chili flakes when you simmer the sauce! Check out my easy honey garlic chicken stir-fry where I use some of these same sauce components!
Step-by-Step Instructions for Sticky Honey Garlic Wings Oven Baked
Alright, roll up your sleeves because we are moving fast once these babies hit the oven! We need organization here, but don’t stress—I’m walking you through every single minute because timing is everything when you’re aiming for that perfect crispy coating followed immediately by that incredible stickiness. Following these steps precisely is what lets us pull off these Sticky Honey Garlic Wings Oven Baked without turning on the deep fryer!
Preparing and Baking the Wings for Maximum Crispiness
First things first: heat! Crank your oven up to 425°F (220°C). I always line a baking sheet with foil and top it with a wire rack—this allows the air to flow all the way around the wing, which is key to mastering How to Make Crispy Oven Wings. Once your setup is ready, grab those wings and pat them down until they feel bone dry. I mean really dry! Then, toss them aggressively with your baking powder, salt, and pepper. Spread them out on that rack so none of the pieces are touching. Bake them for 20 minutes, flip them carefully, and bake for another 20 to 25 minutes until they look golden and sound crisp when you tap them.
Making the Thick, Sticky Honey Garlic Glaze
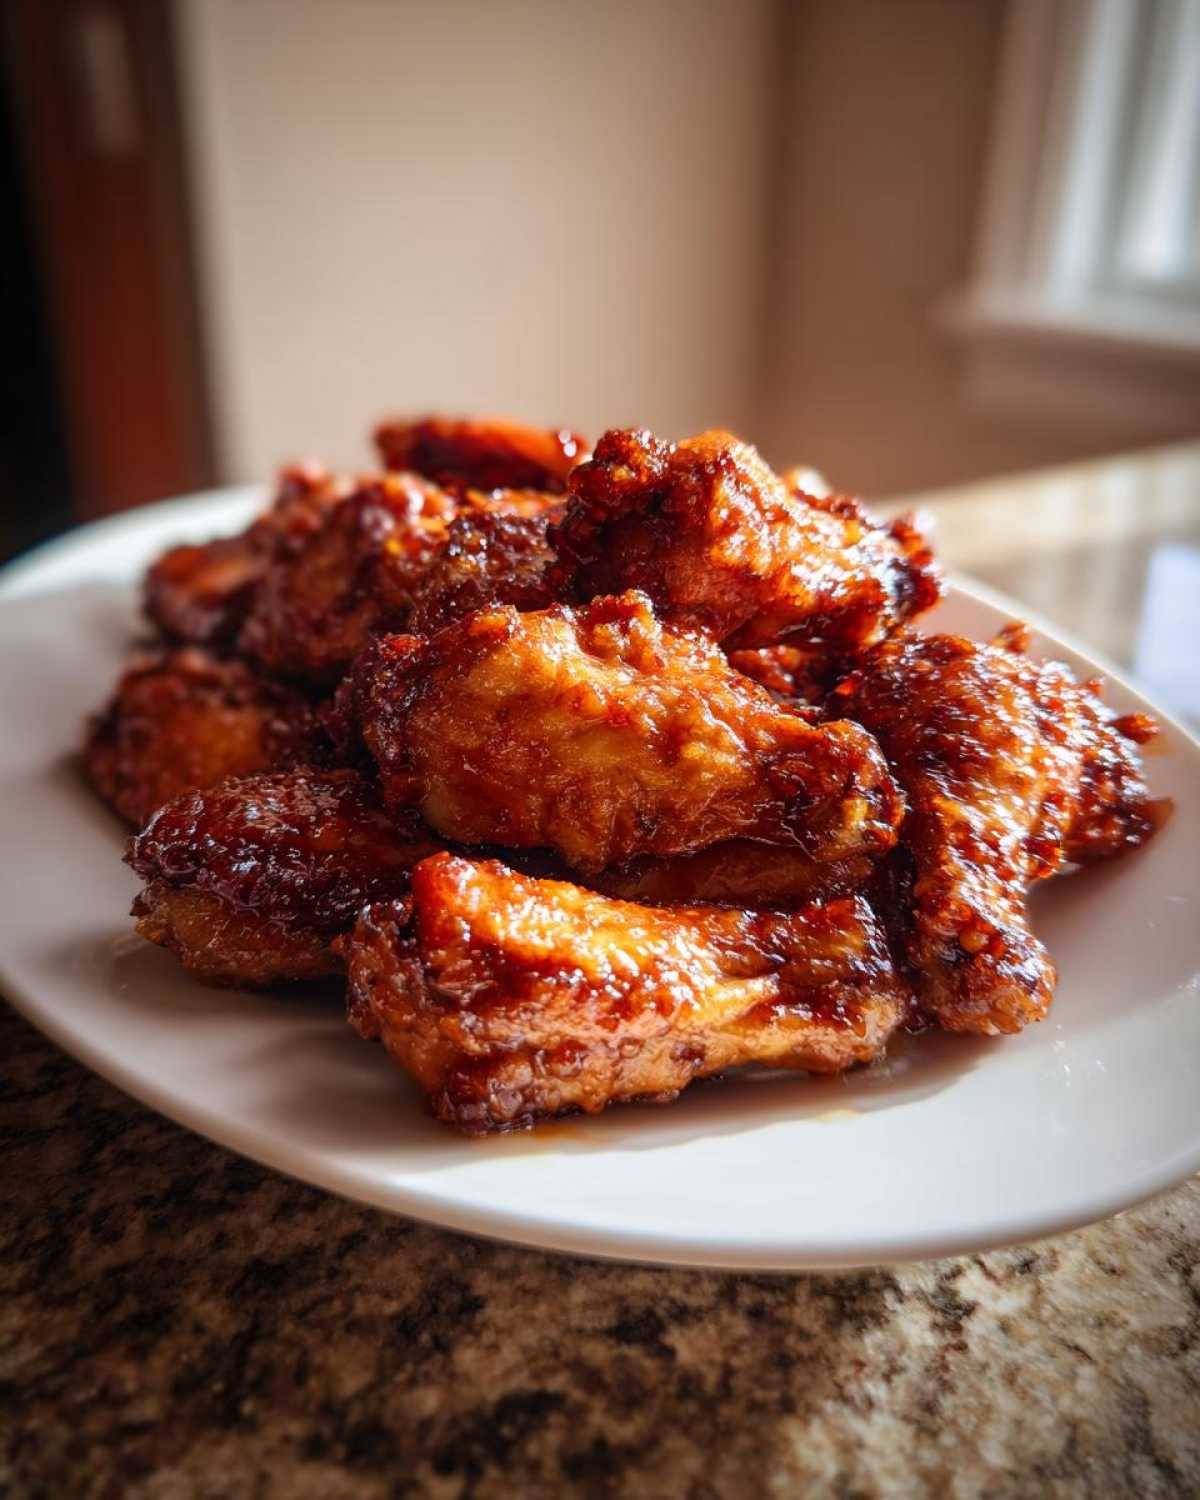
While the wings are finishing up, whip up that sauce! In a saucepan over medium heat, we combine the honey, soy sauce, minced garlic, and vinegar. Let that simmer gently until it just starts bubbling nicely. Now, here’s the critical part for that unbelievable thickness: make the slurry. Mix your cornstarch and water vigorously in a tiny bowl until it’s totally smooth. Whisk this slurry right into your simmering sauce. Keep whisking constantly—it thickens up surprisingly fast, usually in about 60 to 90 seconds, turning shiny and truly adhesive. Pull it right off the heat once it coats the back of a spoon!
The Final Glaze and Set
This is where the magic really happens! As soon as the wings come out of the oven, drop them right into a big bowl—don’t let them cool down! Pour about three-quarters of that gorgeous glaze over them and toss gently yet thoroughly until every single wing is glistening. Don’t waste time! Immediately put those sauced wings back onto the wire rack. We bake them for just five more minutes at the same high temperature. This crucial final minute sets that glaze firmly onto the skin, guaranteeing the wings are saucy but not soggy. Check out my recipe for easy oven-roasted rib roast if you want more high-heat kitchen tricks!
Tips for Perfect Sticky Honey Garlic Wings Oven Baked Every Time
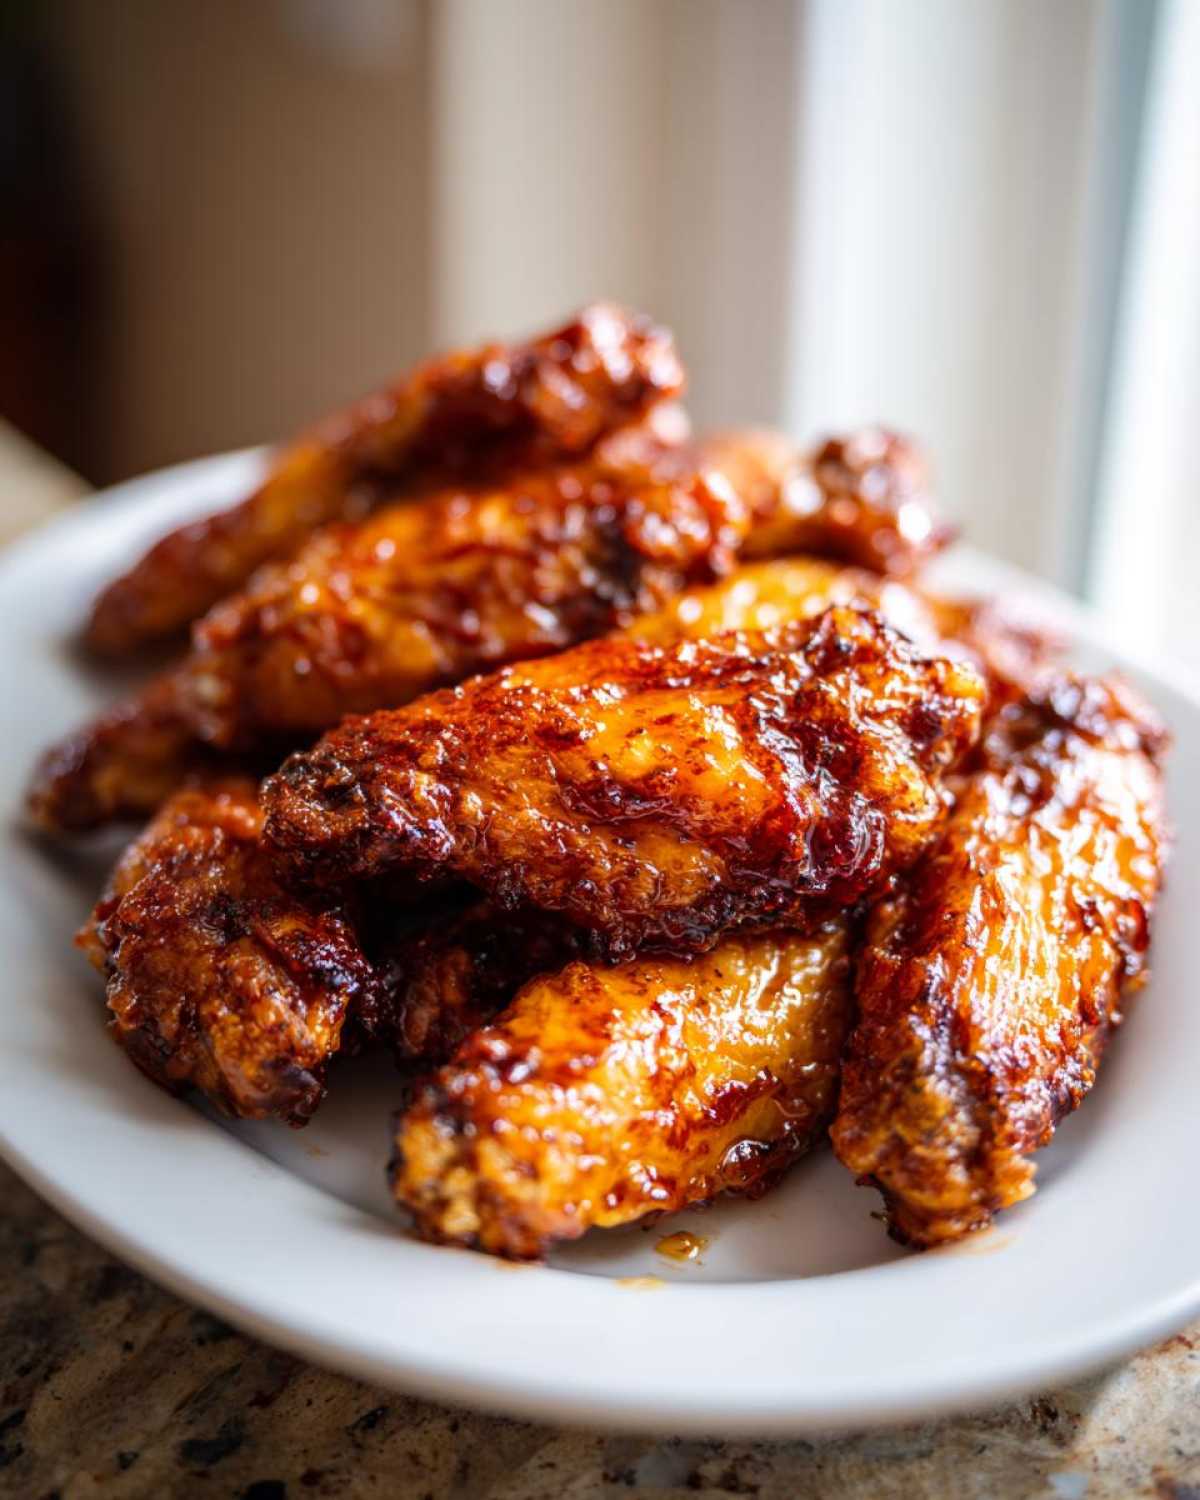
You’ve mastered the recipe, but sometimes the wings (or life!) throws a curveball, right? Don’t panic! Getting truly professional results with these Baked Chicken Wing Techniques sometimes means knowing a couple of little tricks I discovered after making hundreds of batches. These tips ensure you get that perfect crispiness and maximum stick required for delicious Sticky Honey Garlic Wings Oven Baked.
Ingredient Quality and Wing Drying
I cannot stress this enough: dry wings equal crispy wings. If you skip drying the chicken with paper towels, you’re basically steaming them in the oven, and that baking powder won’t work its magic! Also, that baking powder needs to be fresh. If yours has been lurking in the back of the pantry since 2021, it’s probably lost its leavening power. Test it! Put a tiny bit in hot water—if it fizzes immediately, you’re good to go. If it just sits there, toss it and grab a new canister. This attention to small details is what separates an okay wing from an amazing one.
Customizing Your Garlic Honey Glaze Wings
These Garlic Honey Glaze Wings are perfectly balanced as written, but maybe you like things hotter or tangier! If you want some heat, toss about half a teaspoon of red pepper flakes right into your simmering sauce mixture along with the honey and soy sauce. It blooms beautifully during the simmer. If you find your batch of honey was particularly floral or sweet, you can easily balance it by adding an extra teaspoon of apple cider vinegar when you reduce the sauce. That little bit of extra acid really makes the honey flavor pop without making it sour.
Oh, and one last pro-tip, since I know the next question is always about the air fryer: this recipe converts beautifully! If you have one, you can cook these wings at 380°F (195°C) for about 18 to 22 minutes total, making sure to flip them halfway through. Remember, since the air fryer is more intense, you’ll still want to do that final 5-minute sauce set back in the oven if you want the glaze super sticky, or you can use the roast setting on your air fryer for the final phase!
If you found these techniques helpful, you might love the crispy results I get when making crispy garlic parmesan gnocchi in the air fryer; it’s the same game of temperature control!
Serving Suggestions for Your Oven Baked Chicken Wings Recipe
These Sticky Honey Garlic Wings Oven Baked are so versatile! They’re amazing as a centerpiece appetizer for game day, but honestly, I make them as an Easy Weeknight Chicken Appetizer when I need something quick and everyone loves them. Because the sauce is so rich and savory-sweet, you want to pair them with sides that offer a nice, cooling contrast or something simple to soak up any extra glaze.
Here are my favorite ways to round out a plate when these wings are the star:
- Cooling Cucumber Salad: A simple salad made of thinly sliced cucumbers, rice vinegar, a tiny bit of sugar, and sesame seeds is perfect. The crunch and the vinegary bite cut right through the richness of the honey glaze.
- Fluffy White Rice: If you’re serving these as a main course (which you totally should!), steaming a batch of plain white rice is the way to go. It’s fantastic for soaking up every last bit of that sticky, garlicky residue left on the plate.
- Simple Steamed Veggies: Don’t overthink this! A side of crisp-tender broccoli or snap peas, maybe lightly tossed with a dash of sesame oil, brings in some much-needed green without competing with the bold wing flavor. Check out how I prepare sweet potato salad sometimes, but honestly, for wings, simple is better!
- Celery Sticks and Blue Cheese Dip: Some traditions are sacred! Having cold, crunchy celery sticks and a thick, tangy dip on the side gives you something to refresh your palate between those sticky bites.
Seriously, whether it’s a party platter or just me and the kids fighting over the last drumette, these pairings make it a complete meal!
Storing and Reheating Leftover Sticky Glazed Wings No Fry
Listen, sometimes we make a giant batch because, frankly, leftovers taste amazing the next day. But the biggest challenge with Sticky Glazed Wings No Fry is keeping that gorgeous crispness! If you save them correctly, you can absolutely get them back to near-perfection. Don’t even think about the microwave; we need that crisp skin back!
When it comes to storage, the key is getting them cool fast. Once the wings have cooled down a bit after dinner, transfer them to an airtight container. You can store these in the fridge safely for about three to four days. I try not to let them hang around longer than that, just to be safe, especially since they are coated in that sticky honey glaze.
The Best Way to Bring Back the Crisp
If you use your microwave, the honey glaze is just going to steam the skin and turn everything into a sad, soggy mess. We fight that sogginess with dry heat! Skip the microwave entirely. Your two best friends for reheating these wings are either your oven or your air fryer.
For the oven method, preheat it to about 375°F (190°C). Lay the wings out in a single layer on a wire rack set over a baking sheet—just like we did when cooking them fresh! Pop them in for about 8 to 10 minutes. This time allows the oil residue in the skin to crisp back up and the honey glaze to get warm and sticky again without burning.
Air Fryer Reheat for Speedy Results
If you are like me and rely on the air fryer for quick fixes, this is even faster! Set your air fryer to 360°F (180°C). Place the wings in the basket in a single layer—don’t overcrowd them, or they steam! Cook for just 4 to 6 minutes. You’ll pull out wings that are piping hot, perfectly sticky, and unbelievably crispy again. It’s cheating, but I’m not telling anyone that these aren’t fresh from the oven!
I’ve learned that any time you are reheating something that has been heavily glazed, always err on the side of slightly lower heat for a longer time rather than high heat too quickly. High heat will burn that honey right off before the inside warms up!
Frequently Asked Questions About Sticky Honey Garlic Wings
It’s totally normal to have questions when you’re tackling a new technique, especially when you’re trying to achieve that perfect balance of crispy skin and thick, sticky coating! I get asked all the time about ingredient swaps or why a wing didn’t turn out as crunchy as they hoped. Here are some of the most common hurdles people face when making these incredible Garlic Honey Glaze Wings.
Can I use chicken thighs instead of wings in this recipe?
Yes, you absolutely can! These Sticky Honey Garlic Wings Oven Baked translate really well to bone-in, skin-on chicken thighs. However, since thighs are much thicker than wings, you need to adjust that cooking time significantly for safety and texture. Instead of the 40-45 minutes we use for wings, you’ll want to bake those thighs for about 55 to 65 minutes total at 425°F (220°C), flipping halfway through. After they are fully cooked, then you apply the glaze and do that final 5-minute bake to get everything sticky. They will be amazing, but just budget a little extra time!
What is the best way to make these wings crispy if I don’t have a wire rack?
The wire rack is hands-down the champ because it lets hot air circulate underneath the wing, which dries out the bottom skin. But if you don’t have one—no worries! Your next best option is to create a sturdy barrier layer. Line your baking sheet with heavy-duty foil, and then scrunch up a second piece of foil into two or three long, thick ‘logs.’ Lay those logs onto the baking sheet and place your wings over those logs. This creates an air channel underneath, mimicking the effect of a real rack. It’s not quite as perfect as the real thing, but it stops the bottoms from sitting in any rendered fat.
If you want to skip the rack barrier entirely, you can try a heavy parchment paper layer, but be warned: the parchment might stick slightly to the bottom of the wings when you flip them. If you’re using parchment, make sure you use the biggest pinch of baking powder possible on the skin! You can see some of my other fantastic roasting techniques over on the chicken piccata page, which use similar high-heat principles!
Why aren’t my wings sticky—they slid right off after tossing?
This is almost always a sauce consistency issue, meaning you missed that crucial final step! If your glaze is too thin before you toss the wings, it just pools around the bottom of the bowl. Remember, that cornstarch slurry is essential! Did you let the sauce simmer long enough after adding the slurry? It needs 1 to 2 minutes of active simmering, whisking constantly, to activate the cornstarch and thicken up until it’s glossy. If it’s still watery, the glaze won’t adhere. The absolute final key to stickiness, though, is that last 5-minute bake! That short time in the oven caramelizes the sugars in the honey and seals the sauce onto the dry, crispy skin. If you skip that last bake, you end up with Saucy Baked Chicken Drumettes instead of truly sticky wings.
Can I make the sauce ahead of time?
You totally can prep the Best Homemade Honey Garlic Sauce ahead of time, and I often do! Make the sauce completely, including adding the cornstarch slurry and simmering until thick. Once cooled, store it in an airtight container in the fridge. It will get super stiff, almost like jam, because of the honey and cornstarch. When you’re ready to coat your cooked wings, you must reheat the sauce gently in a small saucepan with just a tablespoon or two of water. Whisk it constantly over low heat until it thaws out and returns to its smooth, pourable, sticky consistency before tossing with your hot wings.
Nutritional Estimates for Baked Chicken Wing Techniques
I know, I know, when you’re deep into making mouthwatering Sticky Honey Garlic Wings Oven Baked, the last thing you want to think about is nutrition labels. But since we went through all the trouble of baking these instead of deep-frying, it’s worth noting that they are genuinely a slightly lighter way to enjoy wings! You deserve to know what’s in your favorite Baked Chicken Wing Techniques.
Keep in mind these numbers are just estimates based on the specific ingredient amounts listed in the recipe—things like the exact size of your wings or how much extra sauce you slather on can change things. But this gives you a great ballpark figure for a typical serving size!
- Serving Size: 4 wings
- Calories: 350
- Fat: 18g
- Protein: 22g
- Carbohydrates: 25g
- Sugar: 22g (Yep, that’s the honey working its magic!)
- Sodium: 650mg
See? Not too bad for something this incredibly satisfying! The fact that we skip the deep fryer really cuts down on unnecessary fat, even though the honey definitely amps up the sugar content. Enjoy them guilt-free!
Share Your Sticky Honey Garlic Wings Oven Baked Success
That’s it! You’ve made the crispiest, stickiest batch of wings without making a huge mess. I truly hope you love these Sticky Honey Garlic Wings Oven Baked as much as my family and I do. Now comes the best part: telling me how they turned out!
I absolutely live to hear about your kitchen adventures. Did you manage to get that skin extra crispy? Was the final glaze perfectly tacky? Please, take a minute to leave a quick rating right here on the recipe card. Even better, snap a picture of your platter of glistening wings!
If you post photos on social media, please tag me! I love seeing your delicious results and sharing them on my feed. It makes all those testing years worth it when I see you enjoying a perfect batch of Oven Baked Chicken Wings Recipe.
Thanks so much for cooking with me today! Head over to the main blog page to see what other easy, flavor-packed meals I’ve been whipping up this week!
PrintSticky Honey Garlic Wings Oven Baked
Make crispy, sticky honey garlic chicken wings in the oven without frying. This recipe uses baking powder for crisp skin and a thick, sweet and savory glaze.
- Prep Time: 15 min
- Cook Time: 50 min
- Total Time: 65 min
- Yield: 4 servings
- Category: Appetizer
- Method: Baking
- Cuisine: American
- Diet: Low Fat
Ingredients
- 2 lbs chicken wings (flats and drumettes)
- 1 tablespoon baking powder (not baking soda)
- 1 teaspoon salt
- 1/2 teaspoon black pepper
- 1/2 cup honey
- 1/4 cup soy sauce
- 4 cloves garlic, minced
- 2 tablespoons apple cider vinegar
- 1 tablespoon cornstarch
- 2 tablespoons water
Instructions
- Preheat your oven to 425°F (220°C). Line a large baking sheet with foil and place a wire rack on top of the foil.
- Pat the chicken wings very dry using paper towels. This step is key for crispiness.
- In a large bowl, toss the dry wings with baking powder, salt, and pepper until evenly coated.
- Arrange the wings in a single layer on the wire rack. Do not let them touch.
- Bake for 20 minutes. Flip the wings over and bake for another 20 to 25 minutes, or until the skin is golden brown and crispy.
- While the wings finish baking, prepare the sauce. In a small saucepan, combine honey, soy sauce, minced garlic, and apple cider vinegar. Bring the mixture to a simmer over medium heat.
- In a separate small bowl, whisk together the cornstarch and water to create a slurry.
- Pour the slurry into the simmering sauce, whisking constantly. Continue to cook for 1 to 2 minutes until the sauce thickens and becomes glossy and sticky. Remove from heat.
- Place the hot, cooked wings into a large bowl. Pour about three-quarters of the honey garlic sauce over the wings. Toss gently until every wing is fully coated.
- Return the sauced wings to the wire rack on the baking sheet.
- Bake for an additional 5 minutes to set the glaze and make it sticky.
- Remove from the oven, let cool slightly, and serve immediately with any remaining sauce on the side for dipping.
Notes
- For extra crispiness, ensure your baking powder is fresh and that you pat the wings completely dry before seasoning.
- If you prefer a spicier wing, add 1/2 teaspoon of red pepper flakes to the sauce mixture while it simmers.
- This recipe converts well to an air fryer by cooking at 380°F (195°C) for 18-22 minutes, flipping halfway.
Nutrition
- Serving Size: 4 wings
- Calories: 350
- Sugar: 22
- Sodium: 650
- Fat: 18
- Saturated Fat: 5
- Unsaturated Fat: 13
- Trans Fat: 0
- Carbohydrates: 25
- Fiber: 0
- Protein: 22
- Cholesterol: 85