

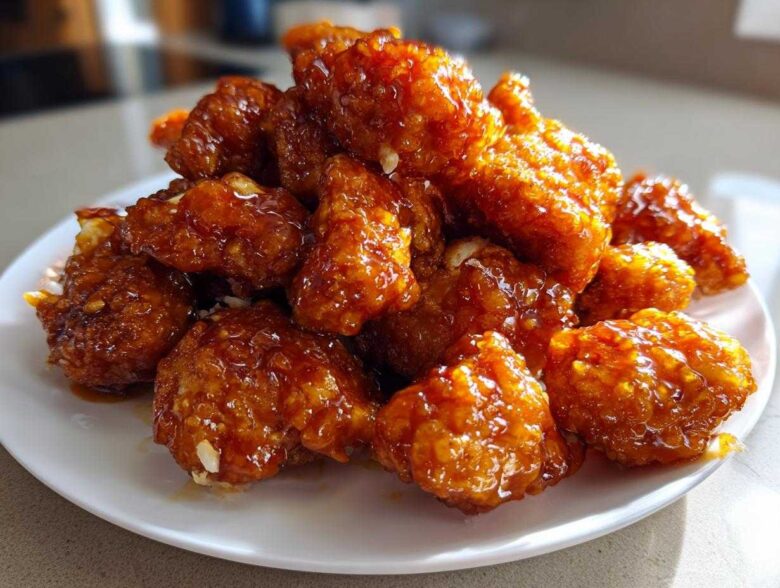
I swear, nothing hits that sweet spot like that perfect Chinese takeout order—until you try to recreate it at home and end up with soggy chicken swimming in overly sweet, thin sauce, right? Ugh! For years, I fought the battle of the bland sauce and the limp coating. But folks, I cracked the code! This recipe for Sticky Orange Chicken Better Than Takeout finally delivers that glorious textural crunch combined with a thick, intensely flavored, perfectly balanced orange sauce. It took me nearly a dozen tries, tweaking the oil temp, the zest ratio, and definitely the slurry consistency, but trust me, this is the one that tastes genuinely restaurant-quality, probably even better because I know exactly what went into it. If you want to see my early messy attempts, check out my deep-dive post on orange chicken recipe crispy homemade!
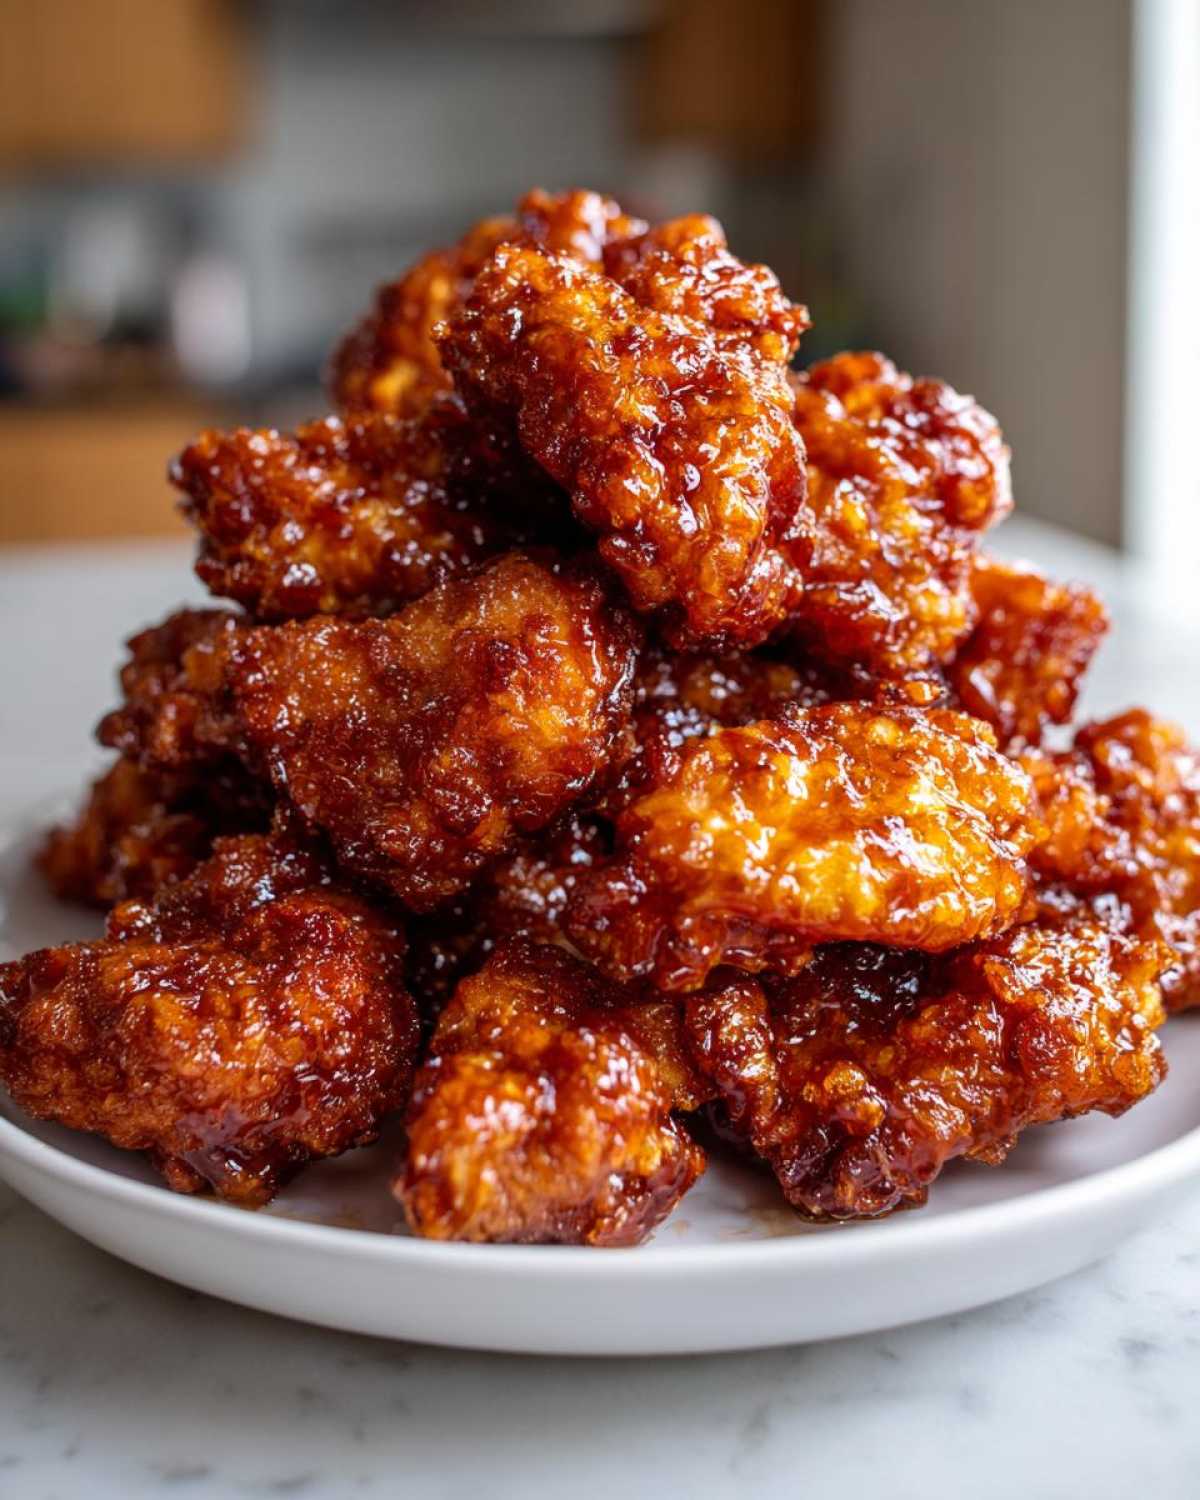
We are aiming for that deep, glossy coat that actually adheres beautifully to genuinely crispy chicken. Forget watery glazes; we are going professional on this!
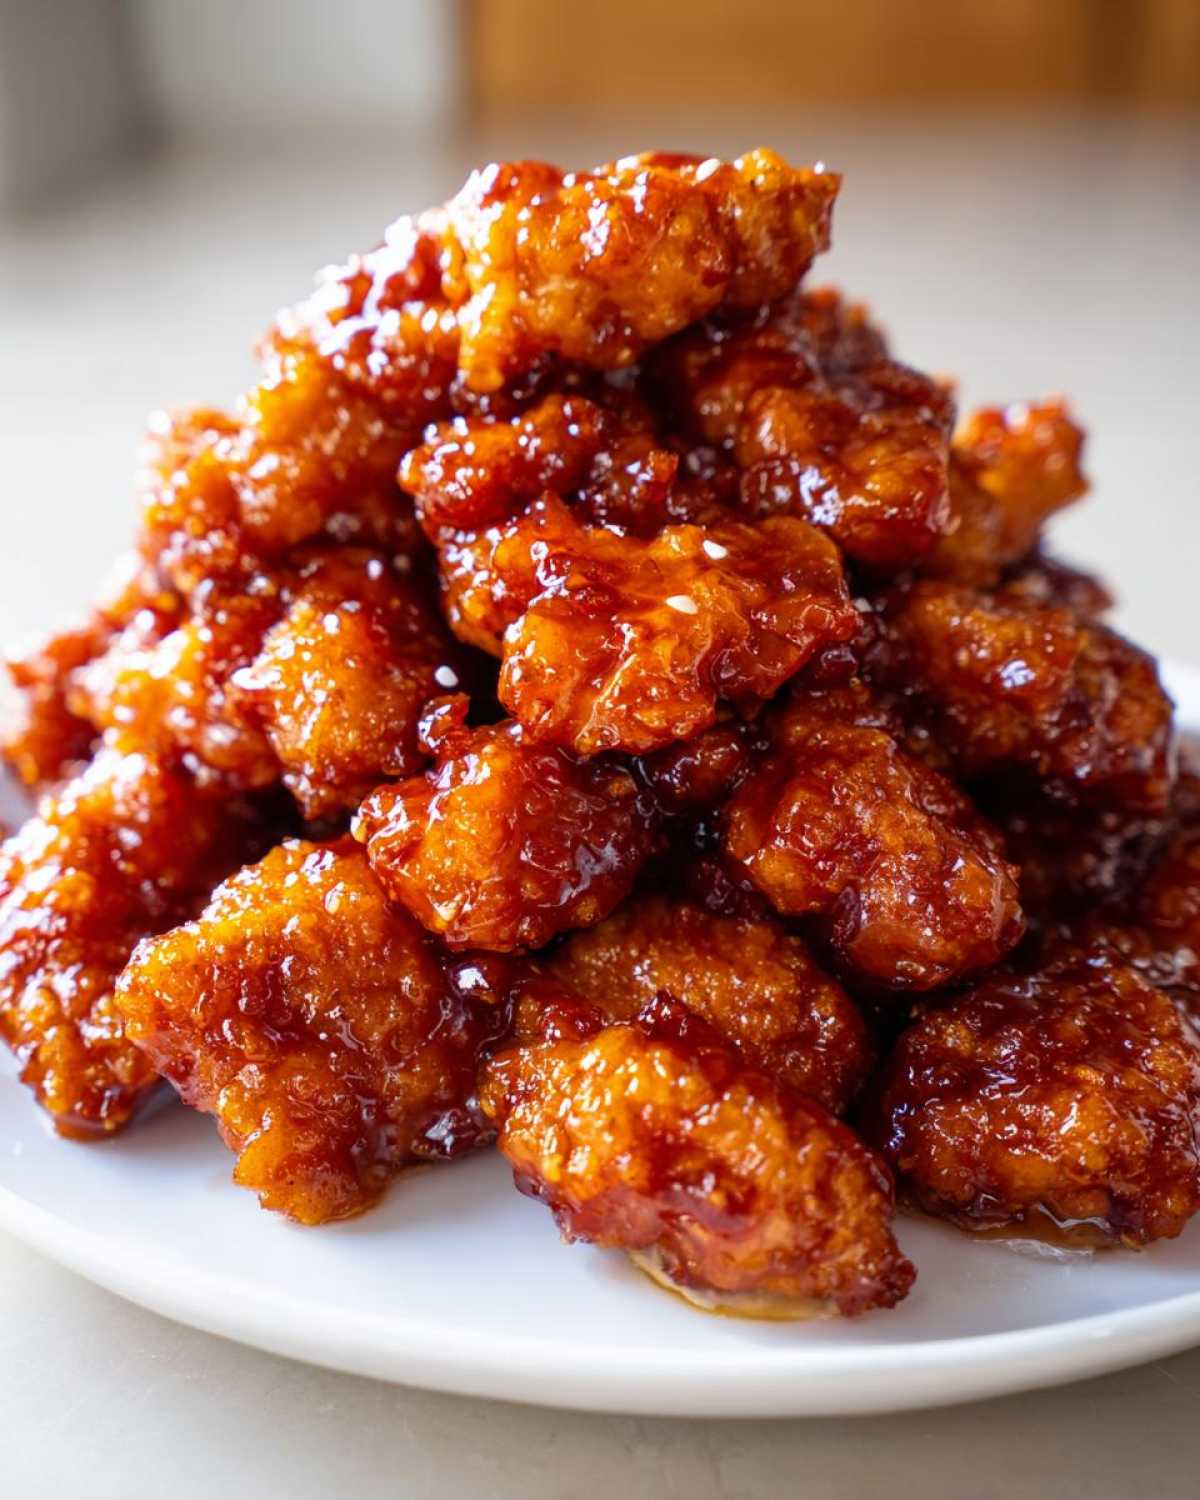
Why This Sticky Orange Chicken Is Better Than Restaurant Versions
So, what makes this version of Sticky Orange Chicken Better Than Takeout? Simple: we nail the two things most restaurants rush—the crunch and the sauce depth. Most places let their chicken sit too long or use too much filler in the coating. Not us! We treat the coating and the glaze like separate masterpieces that come together at the very last second.
- The chicken stays shatteringly crispy even under a thick coat of sauce.
- The sauce clings perfectly; it doesn’t pool at the bottom of the bowl.
- We use fresh zest for that bright, real orange flavor you never get from concentrate.
If you loved figuring out how to get that perfect fried texture, you might also want to check out my guide on chicken fried rice recipe better than takeout—it follows similar principles of layering flavor!
Achieving Ultimate Crispiness for Your Sticky Orange Chicken
It all comes down to the dredge and the heat, folks. We do a double coating using both flour and cornstarch for maximum structural integrity when it hits the hot oil. Make sure your vegetable oil is a solid 350°F! If it’s too cool, the crust absorbs oil and gets greasy instantly. Don’t worry if deep frying seems like a chore; I’ve tested this method and you can get nearly the same amazing crunch popping the coated chicken in the air fryer at 400°F for about 15 minutes. It works like a charm!
Crafting the Perfect Thick and Glossy Sticky Sauce Chicken
This is where the magic of Sticky Orange Chicken Better Than Takeout really happens. We are *not* messing around with weak sauces here. The secret weapon is two-fold: using loads of fresh orange zest, which really amps up the citrus bite, and adding that cornstarch slurry right at the end. You have to whisk constantly when you pour that slurry in, letting it bubble up for just a minute. That step transforms your liquid flavor bath into that beautiful, thick orange glaze chicken consistency we all crave!
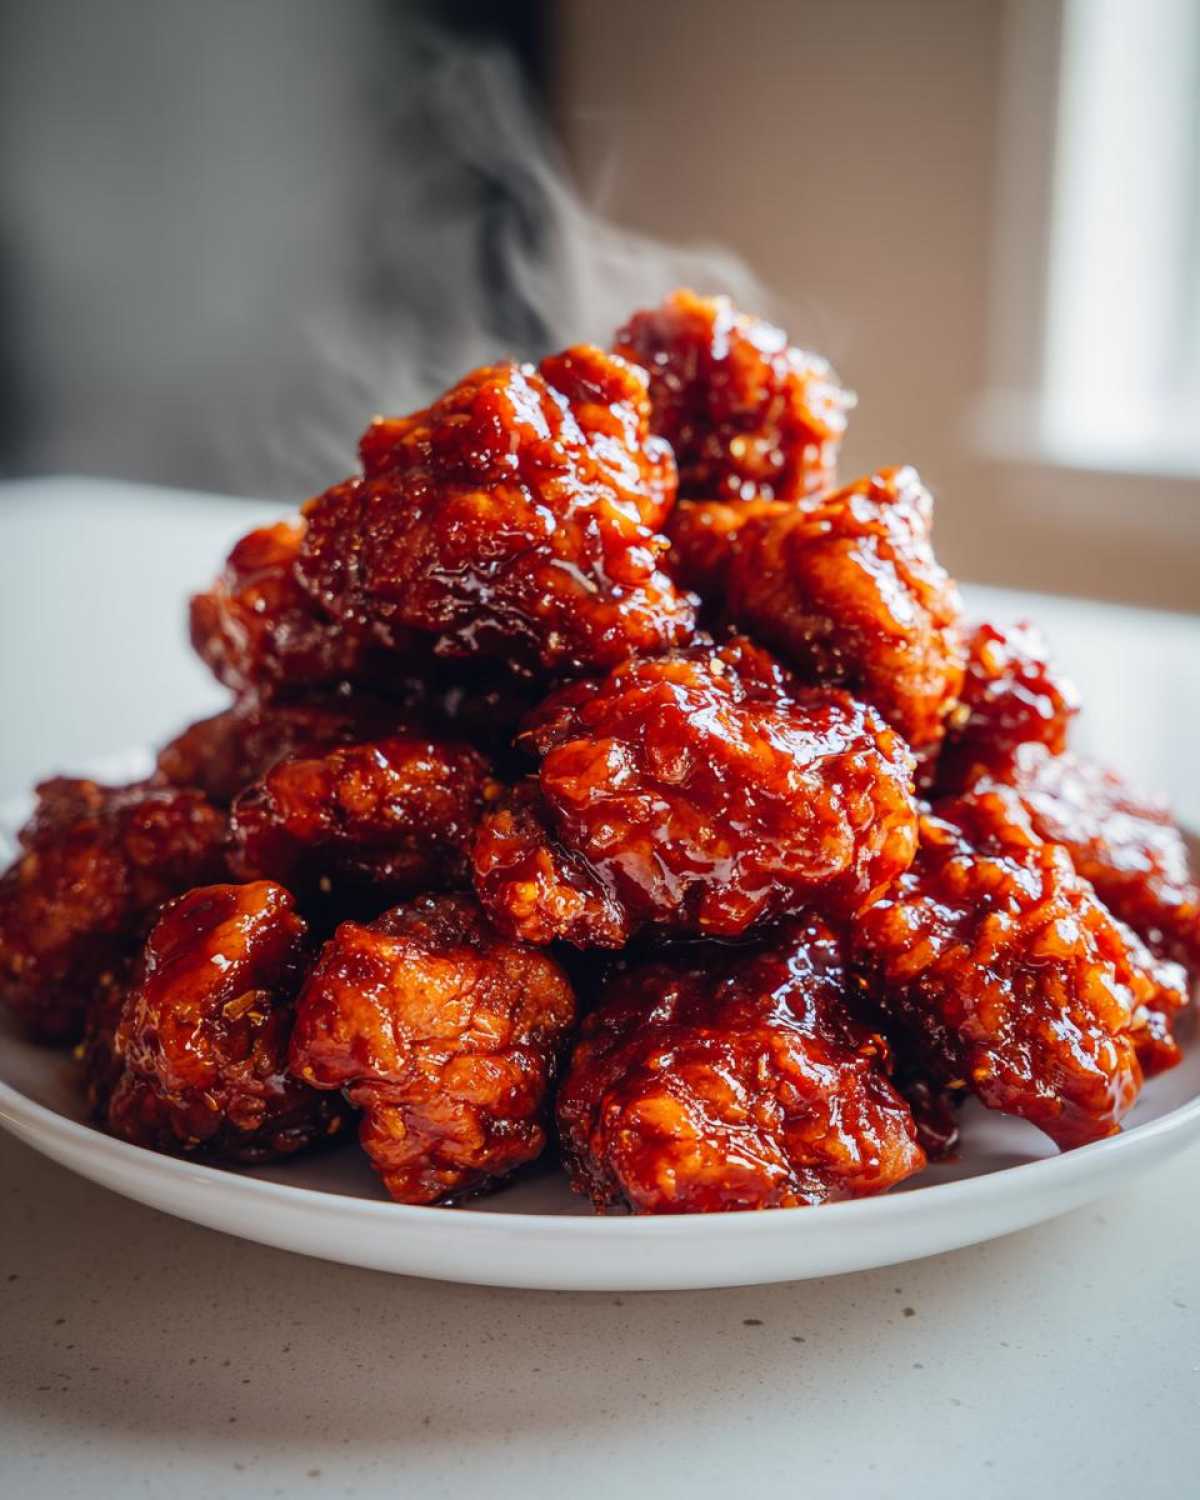
Ingredients for Your Sticky Orange Chicken Better Than Takeout
Okay, let’s talk gear! You don’t need a million special items to pull this off, thankfully. I’ve laid out everything you need below, but listen up: fresh orange juice is non-negotiable. I’m serious! Those little bottles won’t give you the punch we need for the Sticky Orange Chicken Better Than Takeout experience. You’ll need about 1.5 pounds of boneless chicken cut into nice 1-inch chunks.
Here’s what you’re grabbing:
- 1.5 lbs boneless, skinless chicken breasts or thighs, cut into 1-inch pieces
- 1 large egg
- 1/4 cup all-purpose flour
- 1/4 cup cornstarch (plus 2 Tbsp more for the slurry!)
- 1/2 teaspoon salt and 1/4 teaspoon black pepper
- Vegetable oil, enough for frying (this is important!)
- 1 cup fresh orange juice and 1/2 cup orange zest (that’s about two oranges, get zesting!)
- 1/2 cup granulated sugar
- 1/4 cup rice vinegar
- 2 tablespoons soy sauce
- 1 tablespoon grated fresh ginger
- 2 cloves garlic, minced fine
- 1 teaspoon sesame oil
- 2 tablespoons cornstarch mixed with 3 tablespoons cold water (that’s your final slurry!)
- Optional Garnish: Sliced green onions and sesame seeds
If you want to check out another fantastic saucy chicken recipe while you’re gathering supplies, my easy honey garlic chicken is a huge hit too!
Step-by-Step Instructions for Sticky Orange Chicken Better Than Takeout
Alright, let’s get cooking! We need to keep our focus here because the timing between the crispy chicken finishing and the sauce thickening is tight. You want that gorgeous coating to remain crunchy when it gets drenched in the sauce, and that’s what makes this Sticky Orange Chicken Better Than Takeout! We’ll handle the chicken first, then get that sweet, tangy flavor sauce simmering right away. Don’t rush the sauce thickening part, that’s crucial for the glaze effect.
Preparing and Frying the Crispy Orange Chicken
First things first: you have to coat the chicken like you mean it! Dip those cut pieces first into the whisked egg, let the excess drip off. Then, immediately press them firmly into your dry flour and cornstarch mix. Shake off the really loose stuff. If you want the absolute crunchiest version—the next level of Crispy Orange Chicken at Home—fry them once until they’re just pale gold, pull them out, let them sit for about five minutes while you heat the oil back up, and then fry them again until they’re deep golden brown. That double-fry method is what keeps them crispy under that heavy sauce!
Simmering the Thick Orange Glaze Chicken Sauce
While that chicken is resting or doing its second fry, get your sauce going. Whisk together your fresh orange juice, sugar, vinegar, soy sauce, ginger, garlic, zest, and sesame oil in a saucepan. Bring that lovely fragrant mix up to a slow simmer until the sugar melts completely, about three minutes.
Now for the sticky part! Whisk your cornstarch slurry one more time—it settles fast—and pour it in slowly while whisking the sauce constantly. Keep cooking it! It needs to bubble and thicken up until it coats the back of a spoon heavily. That’s when you know you have the perfect glaze for your Thick Orange Glaze Chicken.
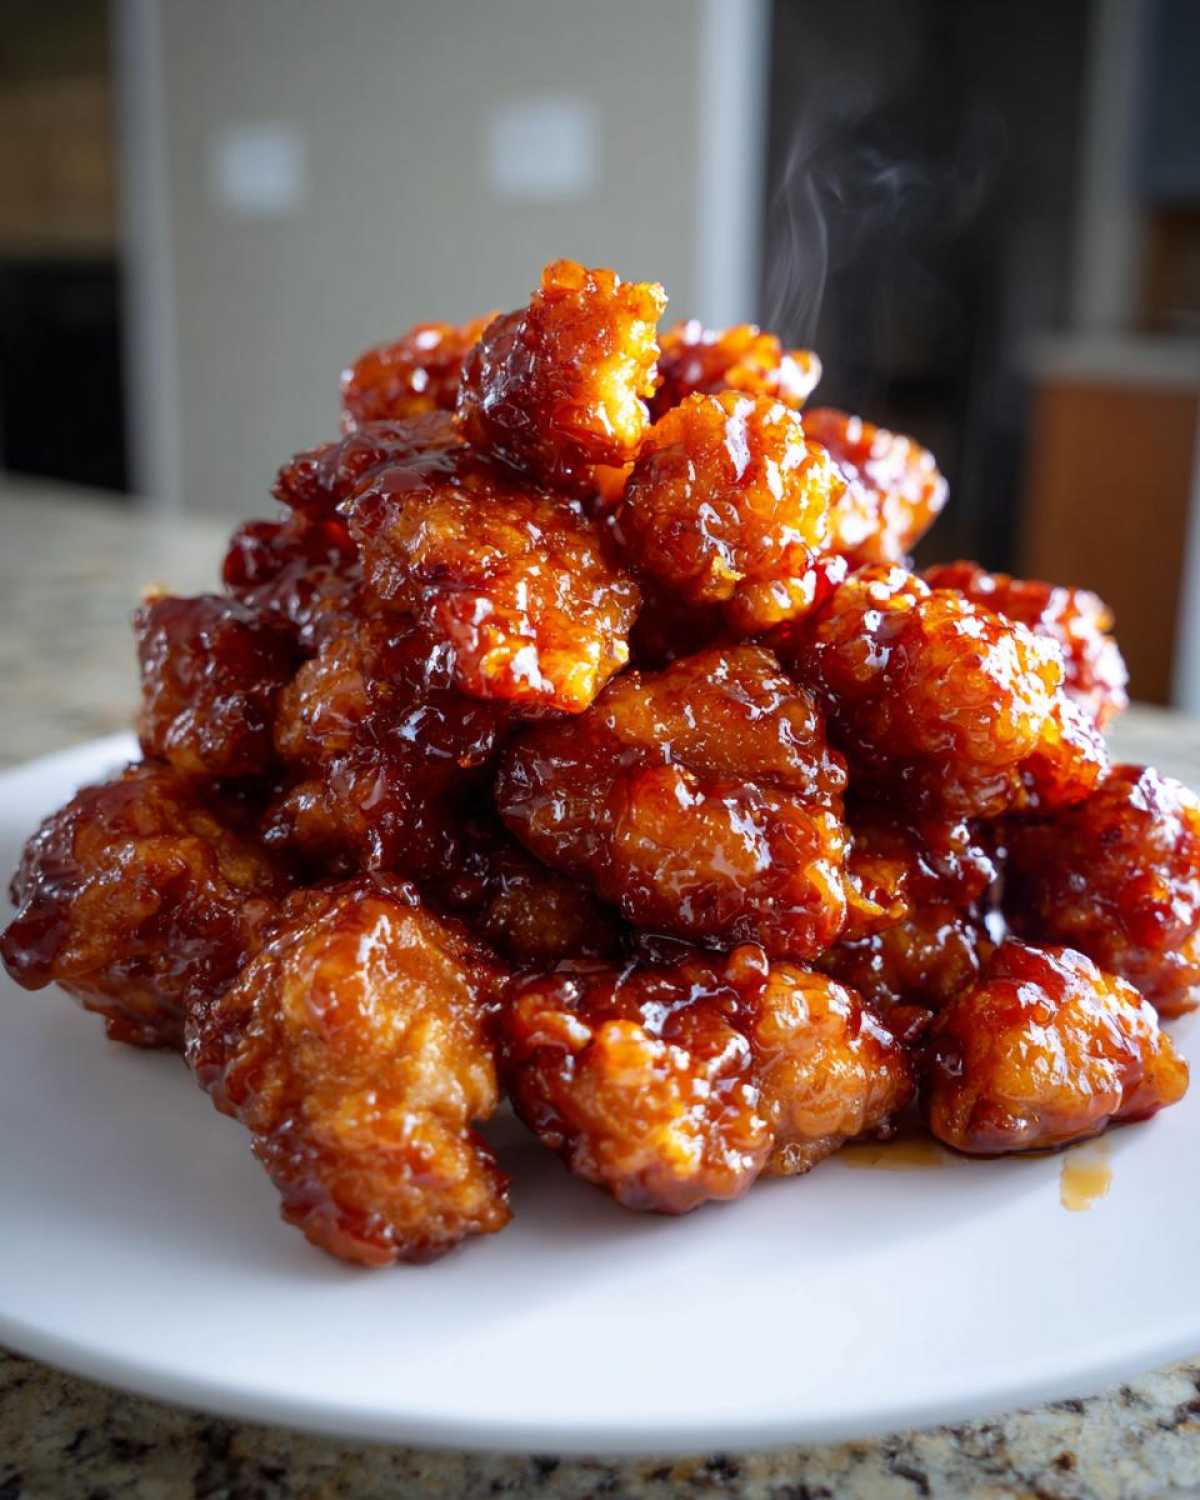
Once the chicken is finished frying and drained, toss it immediately into a big bowl with the warm, thick sauce. Give it a good, quick toss so every last piece is coated and looking shiny. Serve it up fast while that crunch is still singing!
If frying sounds like too much work tonight, remember you can check out my air fryer notes from the earlier section, or perhaps try my method for crispy baked chicken wings no-fry recipe for another totally hands-off approach.
Tips for Success Making Sticky Orange Chicken at Home
I learned the hard way that mastering this Sticky Orange Chicken Better Than Takeout means paying attention to the little details. Trust me, you don’t want to waste all that effort just to have a watery sauce! The first, and most important, tip is using fresh juice—the bottled stuff just tastes flat and processed when you’re trying to achieve that top-tier orange flavor.
Also, remember that crispiness magic we talked about earlier? Either go for that double-fry technique if you’re comfortable with oil, or lean into the air fryer option mentioned in the notes if you want an easier clean-up. Either way, the coating needs to be perfect before it ever sees the sauce. If you’re looking for a dedicated tutorial on the air fryer side of things, I break down my process for the air fryer orange chicken right here. Don’t let that chicken get soggy; keep it crispy!
Ingredient Notes and Substitutions for Your Sweet and Tangy Chicken Recipe
Let’s get specific because ingredient quality really separates an okay dinner from our Better Than Restaurant Orange Chicken experience. When you reach for chicken, use thighs if you want something richer, but breasts are totally fine—just cut them evenly! The biggest non-negotiable for me is the orange component. Bottled juice is a flavor shortcut that just doesn’t pay off here. You absolutely must use fresh orange juice and, honestly, don’t skip grating that zest!
That zest is pure aromatic oil, and it’s how we get that intense flavor without drowning the sauce in sugar. If you’re short on standard vegetable oil for frying, canola works beautifully as a neutral substitute. If you decide to try my zesty lemon chicken recipe sometime, which is similar in spirit, you’ll want fresh lemons for that one too!
If you’re making this for the millionth time like I do, you can always check out my notes on making easy chicken piccata zesty lemon sauce for a nice flavor variation using citrus.
Serving Suggestions for Your Family Favorite Orange Chicken Dinner
Now that you have conquered the perfect crispy texture and that incredibly thick glaze, how do you plate this masterpiece? We want simple sides that let this Chinese Takeout Style Chicken shine! You absolutely must have a big bowl of simple steamed white rice to soak up any extra sauce that dares to escape the chicken pieces.
I usually steam some bright green broccoli right alongside the main cooking. The slight earthy bitterness of the broccoli is the perfect contrast to all that sweet tanginess. If you’re feeling ambitious and want another homemade win, why not try mastering my easy chicken fried rice recipe better than takeout? Total game changer for a full takeout feast!
Storage and Reheating Instructions for Leftover Sticky Orange Chicken
This Sticky Orange Chicken is so delicious that leftovers never last long at our house, but when they do, you want to keep that crunch! Store any leftover sauced chicken in a solid, airtight container. It will keep happily in the fridge for about three days, though honestly, the texture starts to soften after day two because that sauce is so clingy.
The microwave is the enemy here; it’s basically a steam bath that guarantees sogginess. My absolute favorite way to revive these beauties is spreading them out on a baking sheet and popping them into a 350°F oven for about 8 minutes. If you’re feeling speedy, the air fryer works even better—just 4 minutes at 380°F will bring back most of that lovely crispness we worked so hard for! If you’re planning on leftovers frequently, maybe look into making my chicken and wild rice casserole recipe next time for a different kind of crowd-pleaser!
Frequently Asked Questions About Making Sticky Orange Chicken Better Than Takeout
I know you’re going to follow these steps perfectly, but sometimes questions pop up when you’re deep in the cooking process. Here are a few things people usually ask when they are trying to make their Sticky Orange Chicken Better Than Takeout!
Can I bake or pan-fry instead of deep frying?
Yes, you totally can. If deep frying just isn’t your jam, you can definitely achieve a decent coating using parchment paper in the oven at 400°F until crispy—just be aware it won’t be *quite* as universally crisp as the deep-fried version. Pan-frying is less ideal because the chicken is heavily coated, and it tends to steam instead of crisp up nicely. If I’m skipping the deep fryer, I always opt for the air fryer method I mentioned earlier!
My sauce came out thin. How do I fix it next time?
Oops! Thin sauce usually means the cornstarch wasn’t fully activated, or you didn’t simmer it long enough after adding the slurry. For future batches of this Sweet and Tangy Chicken Recipe, make sure you are whisking that slurry in *slowly* and then letting it go for a full 60 to 90 seconds until it visibly thickens and becomes glossy. You’ll know it’s ready; it will pull away from the sides of the pan slightly.
How can I make this homemade takeout orange chicken spicier?
That’s an easy fix! For a spicy kick in your Saucy Chicken Breast Recipe, add some fresh minced chili or a teaspoon of red pepper flakes right into the sauce mixture along with the ginger and garlic. If you really like heat, a dash of Sriracha stirred in right at the very end before tossing with the chicken works wonders too!
If you are looking for a different zesty dinner idea after mastering this, check out my guide on easy chicken parmesan recipe quick dinner!
Estimated Nutritional Data for This Orange Glaze Chicken Recipe
You’re probably wondering what kind of nutritional punch this amazing Orange Glaze Chicken packs. Since we are using oil for frying, it’s definitely a treat meal! Please remember, these numbers are just my best guess based on standard ingredient weights and my serving size of four people. They might change depending on how much sauce you pile on!
For one serving of this Sticky Orange Chicken Recipe, here’s the ballpark:
- Calories: About 550
- Total Fat: Around 20g
- Protein: A solid 40g
- Carbohydrates: Roughly 55g
- Sugar: 45g (Yep, it’s sweet!)
- Sodium: About 550mg
If you want a lighter option, you should absolutely follow the air fryer method mentioned earlier! If you’ve finished eating and need a lighter meal next time, try my amazing chicken lettuce wraps recipe!
PrintThe Ultimate Crispy Sticky Orange Chicken
Make sticky orange chicken at home that tastes better than your favorite takeout spot. This recipe features crispy chicken pieces coated in a thick, glossy, sweet, and tangy orange sauce.
- Prep Time: 20 min
- Cook Time: 25 min
- Total Time: 45 min
- Yield: 4 servings
- Category: Dinner
- Method: Frying
- Cuisine: Chinese American
- Diet: Low Fat
Ingredients
- 1.5 lbs boneless, skinless chicken breasts or thighs, cut into 1-inch pieces
- 1 large egg
- 1/4 cup all-purpose flour
- 1/4 cup cornstarch
- 1/2 teaspoon salt
- 1/4 teaspoon black pepper
- Vegetable oil, for frying
- 1 cup fresh orange juice
- 1/2 cup granulated sugar
- 1/4 cup rice vinegar
- 2 tablespoons soy sauce
- 1 tablespoon grated fresh ginger
- 2 cloves garlic, minced
- 1 teaspoon sesame oil
- 1/2 cup orange zest (from about 2 oranges)
- 2 tablespoons cornstarch mixed with 3 tablespoons cold water (slurry)
- Optional: Sliced green onions and sesame seeds for garnish
Instructions
- In a medium bowl, whisk the egg. In a separate shallow dish, combine the flour, 1/4 cup cornstarch, salt, and pepper.
- Dredge the chicken pieces first in the egg mixture, letting excess drip off, then coat thoroughly in the flour mixture. Shake off any excess coating.
- Heat about 1 inch of vegetable oil in a deep skillet or Dutch oven to 350°F (175°C). Fry the chicken in batches until golden brown and cooked through, about 4-6 minutes per batch. Remove chicken and drain on a wire rack or paper towels.
- While the chicken fries, prepare the sauce. In a small saucepan, combine the orange juice, sugar, rice vinegar, soy sauce, ginger, garlic, sesame oil, and orange zest.
- Bring the mixture to a simmer over medium heat, stirring until the sugar dissolves. Let it simmer for 3 minutes.
- Whisk the cornstarch slurry again and pour it slowly into the simmering sauce while whisking constantly. Continue to cook until the sauce thickens significantly and becomes glossy, about 1-2 minutes. Remove from heat.
- Place the crispy chicken in a large bowl. Pour the thickened orange sauce over the chicken. Toss gently until every piece is evenly coated and sticky.
- Serve immediately, garnished with green onions and sesame seeds if desired.
Notes
- For extra crispy chicken, fry the pieces twice: once until lightly golden, remove, let rest for 5 minutes, then fry again until deep golden brown.
- If you prefer not to deep fry, you can air fry the coated chicken at 400°F (200°C) for 12-15 minutes, flipping halfway, until crispy.
- Use fresh orange juice for the best flavor; bottled juice may alter the taste balance.
Nutrition
- Serving Size: 1 serving
- Calories: 550
- Sugar: 45
- Sodium: 550
- Fat: 20
- Saturated Fat: 4
- Unsaturated Fat: 16
- Trans Fat: 0
- Carbohydrates: 55
- Fiber: 2
- Protein: 40
- Cholesterol: 110