

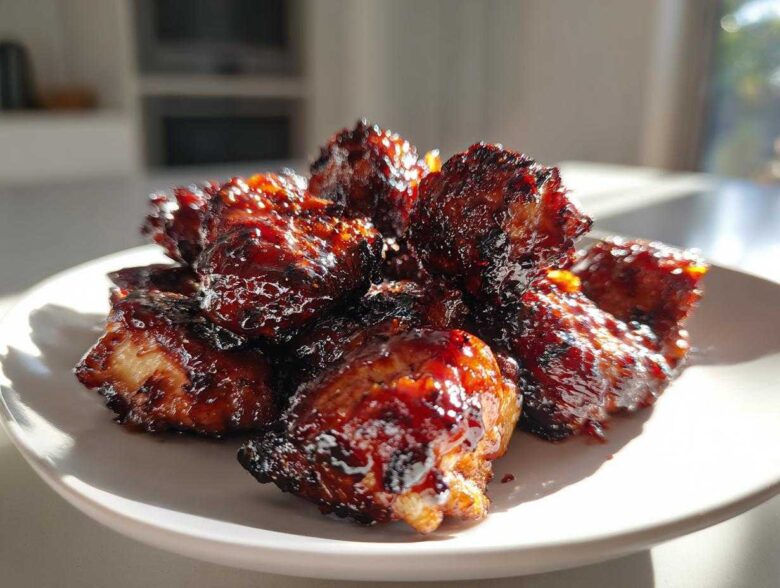
Listen, when that craving hits—that absolute *need* for something sweet, sticky, and got just a little bit of that charred, smoky bite around the edges—nothing else will do. I spent years messing around with pans and deep fryers trying to nail that perfect texture. Deep frying is messy, and frankly, my kitchen just can’t handle it most nights! But I finally perfected the ultimate super simple oven method to get those incredible Sticky BBQ Chicken Bites with Caramelized Edges. Trust me, using chicken thighs and layering the sauce is the key. You get all that amazing, thick glaze that sets up beautifully, giving you that perfect sweet crispness on the outside while the inside stays juicy. Forget the takeout menus; this is the best game day snack or easy weeknight win you’ll ever make!
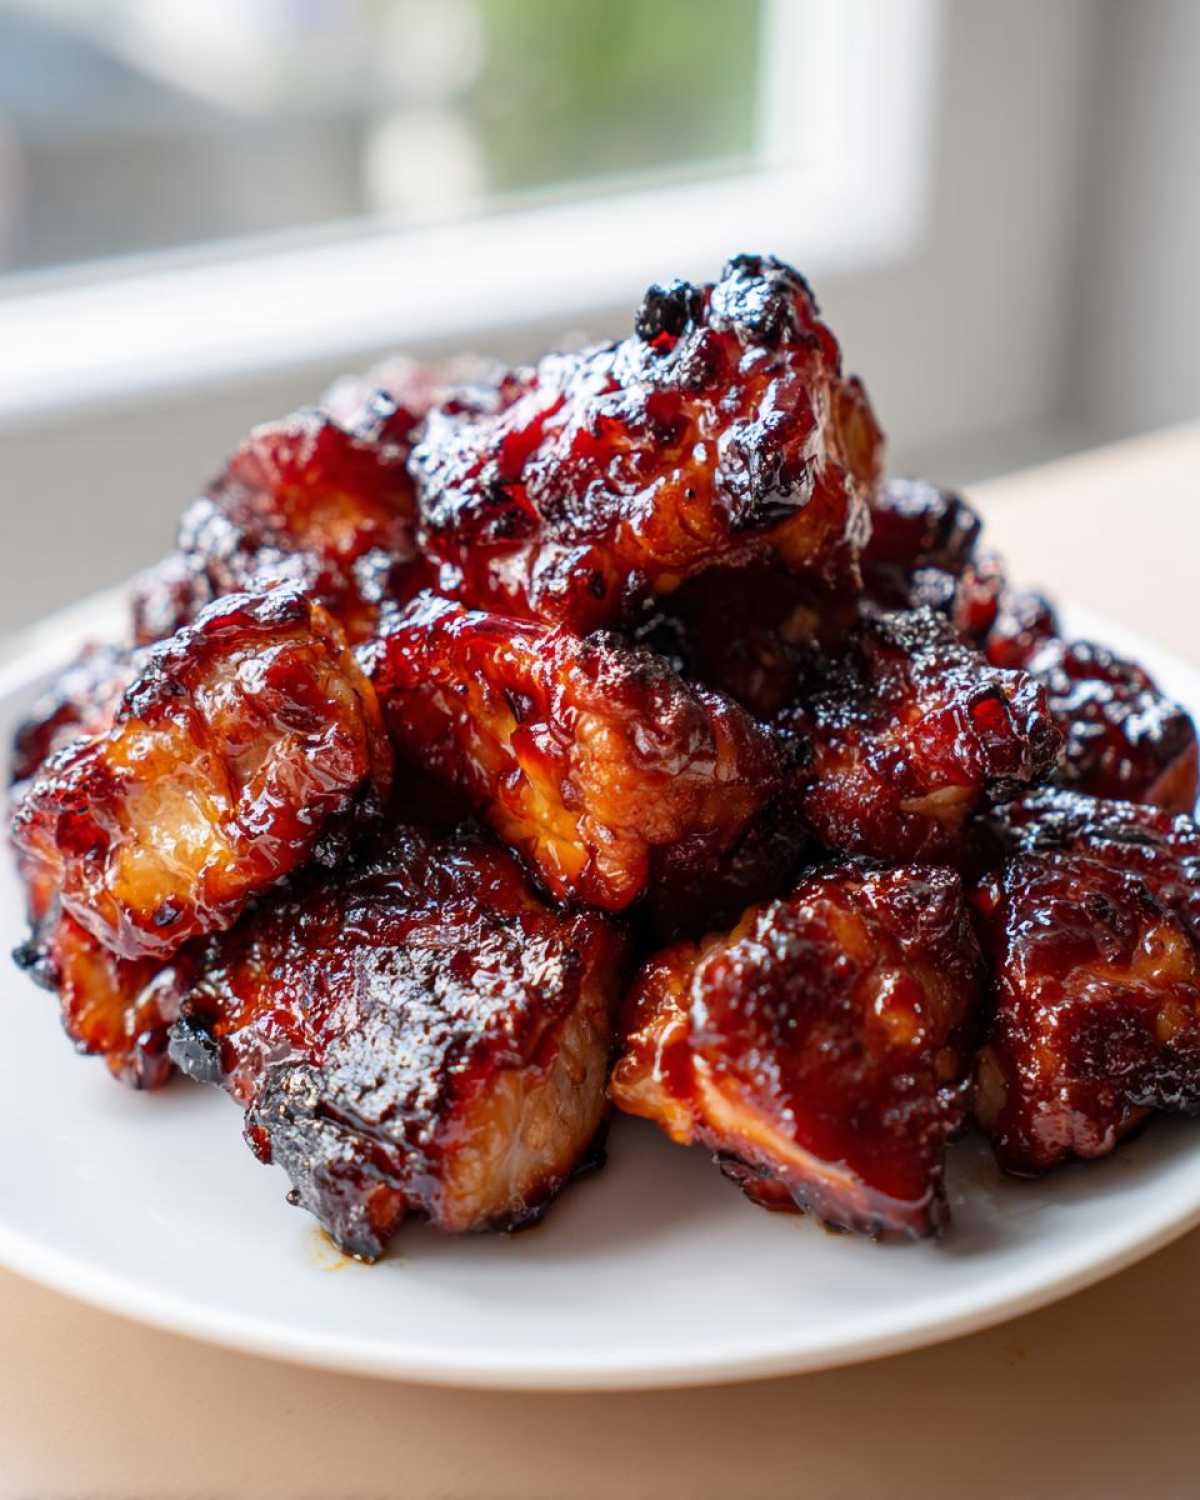
Why You Will Love These Sticky BBQ Chicken Bites with Caramelized Edges
I know you’ve got a million chicken recipes bookmarked, so why should this one make the cut? Well, the texture here is just unbeatable, and it barely dirties a single pan! Every single bite delivers exactly what the name promises, and that’s the high standard I hold all my favorite recipes to.
- Serious Caramelization, Zero Frying: We achieve those dark, sticky, almost crispy edges using just the oven—no dangerous oil splatters needed!
- Crazy Good Flavor Layers: By glazing the chicken twice and finishing it hot, the brown sugar in the sauce creates a deep, smoky-sweet crust that you just can’t get with a simple toss-and-bake.
- Super Fast Prep: Honestly, the prep time is only about 15 minutes. The chicken just needs dicing, seasoning, and then you whisk together the sauce while it’s in the oven. You’ll have these ready in under 45 minutes total!
- Perfectly Juicy Inside: Because we use boneless, skinless thighs (my secret weapon!), the inside stays incredibly tender while the outside gets wonderfully caramelized.
- Party Favorite or Dinner MVP: Serve these with toothpicks for a fantastic party snack, or pile them over rice or a salad for a full, easy weeknight meal. They are so versatile!
If you’re looking for a ridiculously easy appetizer that tastes like it took hours of tending over a grill, these are it. Seriously, bookmark this one!
Essential Ingredients for Sticky BBQ Chicken Bites with Caramelized Edges
Okay, you asked for the recipe, and here are the components that get us to that deeply flavored, sticky outcome. You’ll notice we rely on boneless thighs because they handle the high heat required for true caramelization so much better than breast meat. Also, pay attention to the sauce ingredients—that brown sugar is doing heavy lifting here!
You’ll need:
- 1.5 pounds of boneless, skinless chicken thighs—make sure you cut these into nice, even 1-inch pieces. Uniformity helps them cook at the same speed!
- 1 tablespoon of olive oil—just enough to stop everything from sticking right at the start.
- 1 teaspoon of salt and 0.5 teaspoon of black pepper—simple seasoning lets that BBQ sauce shine later.
- 1 cup of thick BBQ sauce—I use my favorite store-bought brand, but if you check out my Sweet and Smoky Chicken Recipe, you can make your own killer version!
- 0.25 cup of brown sugar, and this *must* be packed tight into the measuring cup. That molasses content is crucial for the caramelization we are aiming for.
- 2 tablespoons of apple cider vinegar—this adds that essential tang to cut through the sweetness.
- 1 tablespoon of Worcestershire sauce—don’t skip this; it deepens that savory, smoky flavor profile.
- 1 teaspoon of smoked paprika—a little extra smokiness never hurt anybody, right?
That’s really it! Simple pantry staples coming together to make something that tastes way more complicated than it is. Let’s get that oven preheating!
Step-by-Step Instructions for Perfect Sticky BBQ Chicken Bites with Caramelized Edges
Getting these to turn out perfectly—juicy chicken covered in that deep, burnt-sugar crust—is all about timing the glaze. Seriously, this process takes about 45 minutes from start to finish, and it’s so much easier than standing over a hot grill! We work in three distinct stages: an initial bake, a coat, a second bake, and then the magic high-heat finish. Pay close attention to that final blast in the oven; that’s where the caramelization happens! For more quick glazing ideas, check out how I handle sauce layering in my Oven Baked Sticky Chicken guide.
Preparing the Chicken and Initial Bake
First things first, crank that oven up to 400°F (200°C). You want it hot when the chicken goes in! Grab a big baking sheet and line it perfectly with parchment paper—this helps immensely later when we deal with sticky glaze. Toss your diced chicken thighs with just a tiny bit of olive oil, salt, and pepper. Don’t oversauce it yet! Spread those little pieces out evenly on the pan. They need space so they can start to cook; we are baking them for just 15 minutes to get them mostly cooked through.
Making the Thick BBQ Sauce Glaze
While that first batch is baking away, we make the sauce that’s going to turn these into true masterpieces. Grab a small saucepan—medium heat is plenty. Dump in your BBQ sauce, that packed brown sugar, the apple cider vinegar, the Worcestershire sauce, and the smoked paprika. Stir it constantly until that sugar disappears completely. Once it starts to lightly simmer, let it go for about three minutes until it looks a little thicker, almost heavy. It should coat the back of a spoon well. Give it a quick taste test—if it’s too sweet for your liking, splash in one more tiny dash of vinegar to balance it out! If you want a different savory profile, you might look into the sauce I use for my easy honey garlic chicken.
Glazing and Achieving Caramelized Edges on Sticky BBQ Chicken Bites
This is where we transition from plain chicken to amazing Sticky BBQ Chicken Bites with Caramelized Edges. Pull the pan out after those first 15 minutes. Now, take half of that beautiful glaze you just made and brush it *generously* over every single piece. Don’t be shy! Pop the pan back into the 400°F oven for 10 more minutes. Once that time is up, pull them out again. Brush on the *rest* of the glaze. Now, for the crucial last step: crank the heat up to 425°F (220°C) or switch right over to the broiler if you feel confident! Broil them for just 3 to 5 minutes, but seriously, stand right there and watch them. You want those edges dark, sticky, and bubbling—that’s the caramelization! Pull them out the second they look deeply browned and glossy.
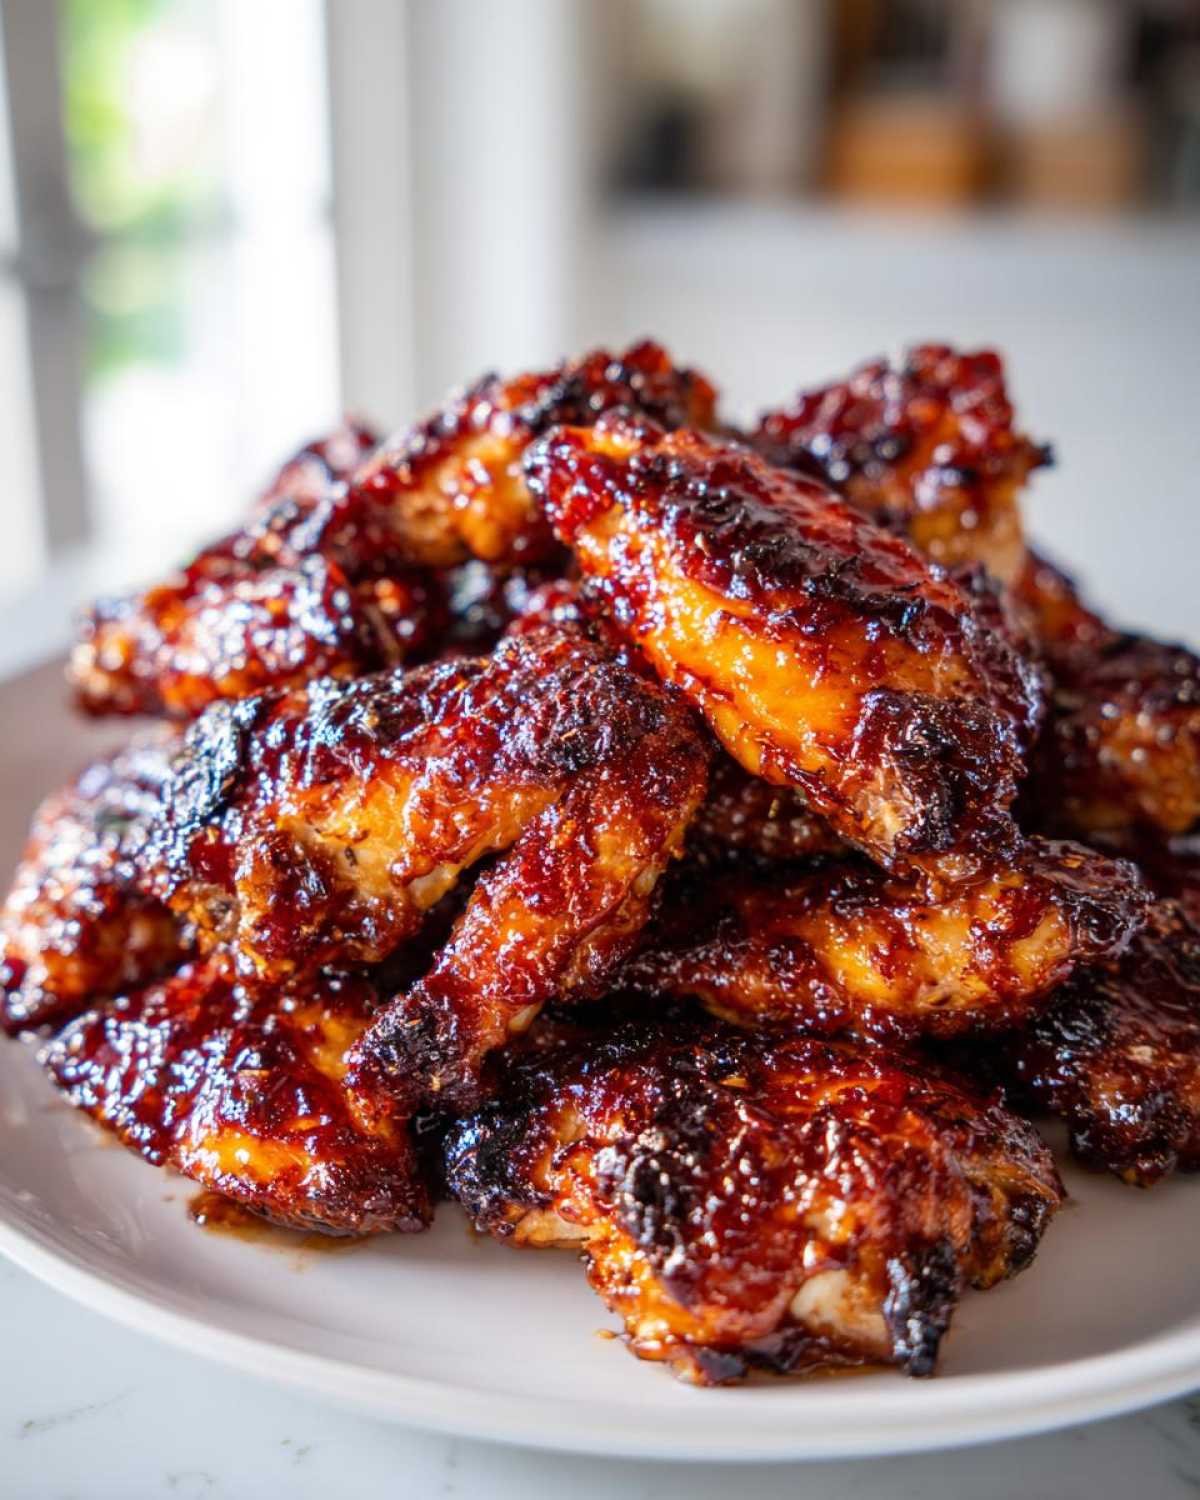
Expert Tips for Achieving the Best Caramelized Edges
I get asked all the time how to make sure those edges truly get sticky and dark without burning the whole bite. The secret comes down to two things: the cut of meat and the sugar you use in the sauce. If you must use chicken breasts—maybe you’re cutting back on fat—you have to pull them out of the oven about three minutes sooner than chicken thighs. Breasts dry out fast!
My absolute favorite trick, though, if you want next-level dark color, is swapping out a tablespoon of that brown sugar for a tablespoon of molasses. Molasses is pure caramelized goodness and it grabs onto the heat beautifully. It brings out the smoky notes in the paprika too! If you’ve ever tried to get that gorgeous depth of color in my famous caramelized onions, you already know the power of that rich sugar!
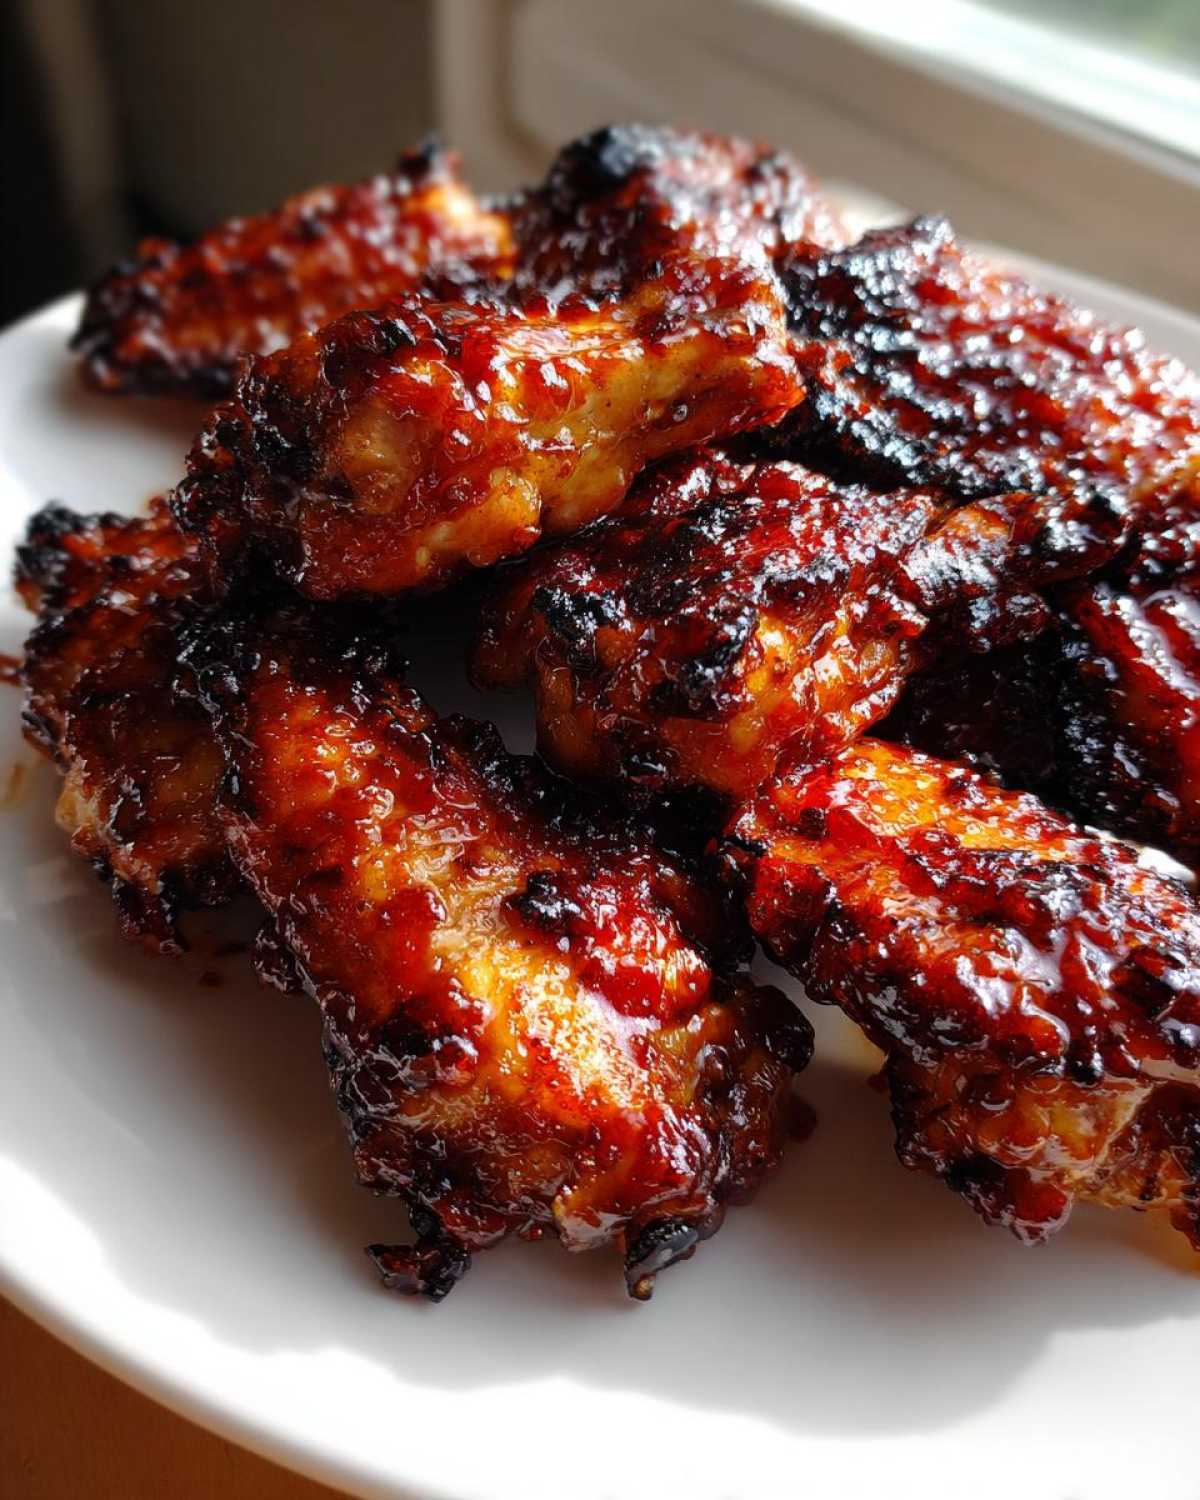
Remember: The final, high-heat blast is non-negotiable for those perfect caramelized edges on your Sticky BBQ Chicken Bites. That quick exposure to intense heat is what sets that sugary glaze just right.
Variations for Your Sticky Glazed Chicken Appetizer
Now, while I absolutely stand by this recipe for yielding the best Sticky BBQ Chicken Bites with Caramelized Edges, I know sometimes you need a little twist! It’s your kitchen, after all, so feel free to customize this superstar recipe. If you like things spicy, this sweet and smoky base is the perfect canvas.
My family loves a little heat, so when I make these for a party, I often grab my bottle of hot sauce—just a teaspoon mixed right into the glaze before simmering works wonders. If you want a true kick, try adding a pinch of cayenne pepper right in with your smoked paprika. It sneaks up on you in the best possible way!
Another great change for a brighter, summery flavor is swapping out the apple cider vinegar for fresh lime juice. That citrus tang pairs unbelievably well with the sweetness of the glaze and really cuts through the richness of the dark brown sugar. If you play around with that sweet and sour element, you might even love it more than the original! If you’re looking for other flavor directions, you definitely need to check out my Easy Honey Garlic Chicken recipe for a totally different but equally addictive flavor profile.
However you choose to tweak it, remember the goal: maximize stickiness and get those dark spots near the end! These additions help keep it interesting, which is why I love having a staple like this in my rotation. They make for such memorable Quick Chicken Bites for Party snacking!
Serving Suggestions for Sticky BBQ Chicken Bites
So, you’ve got these glorious, perfectly caramelized pieces of chicken sitting on your counter, glistening under the kitchen light. Now what? The great thing about Sticky BBQ Chicken Bites is they are incredibly flexible! They can totally star as the main event or just shine as that unforgettable appetizer everyone flocks to.
When I make these for game day or just a casual get-together, they are usually the absolute first thing to disappear. My go-to presentation for when you want Quick Chicken Bites for Party is super simple:
- Line a platter neatly with some crisp lettuce leaves—it looks nice and catches any extra drips!
- Stick a fun, colorful toothpick into every single bite. Trust me, finger food always goes faster.
- Serve them next to small bowls of creamy ranch dressing and maybe a sharp blue cheese dip. The cooling dairy is a fantastic contrast to that sweet, smoky glaze.
But if these happen to be the main event for dinner? They are amazing paired with something that soaks up all those rich BBQ juices. I rarely make a big spread without a vibrant, tangy side dish nearby to keep things balanced.
If you haven’t tried them over a bed of fluffy white rice, you are missing out! The rice soaks up all the sticky goodness left on the pan. For a lighter, healthier meal option, these go perfectly alongside a crisp green salad. If you want a side that truly complements the sweet profile, try whipping up a batch of my sweet potato salad—the earthiness ties into the smoky flavor profile beautifully.
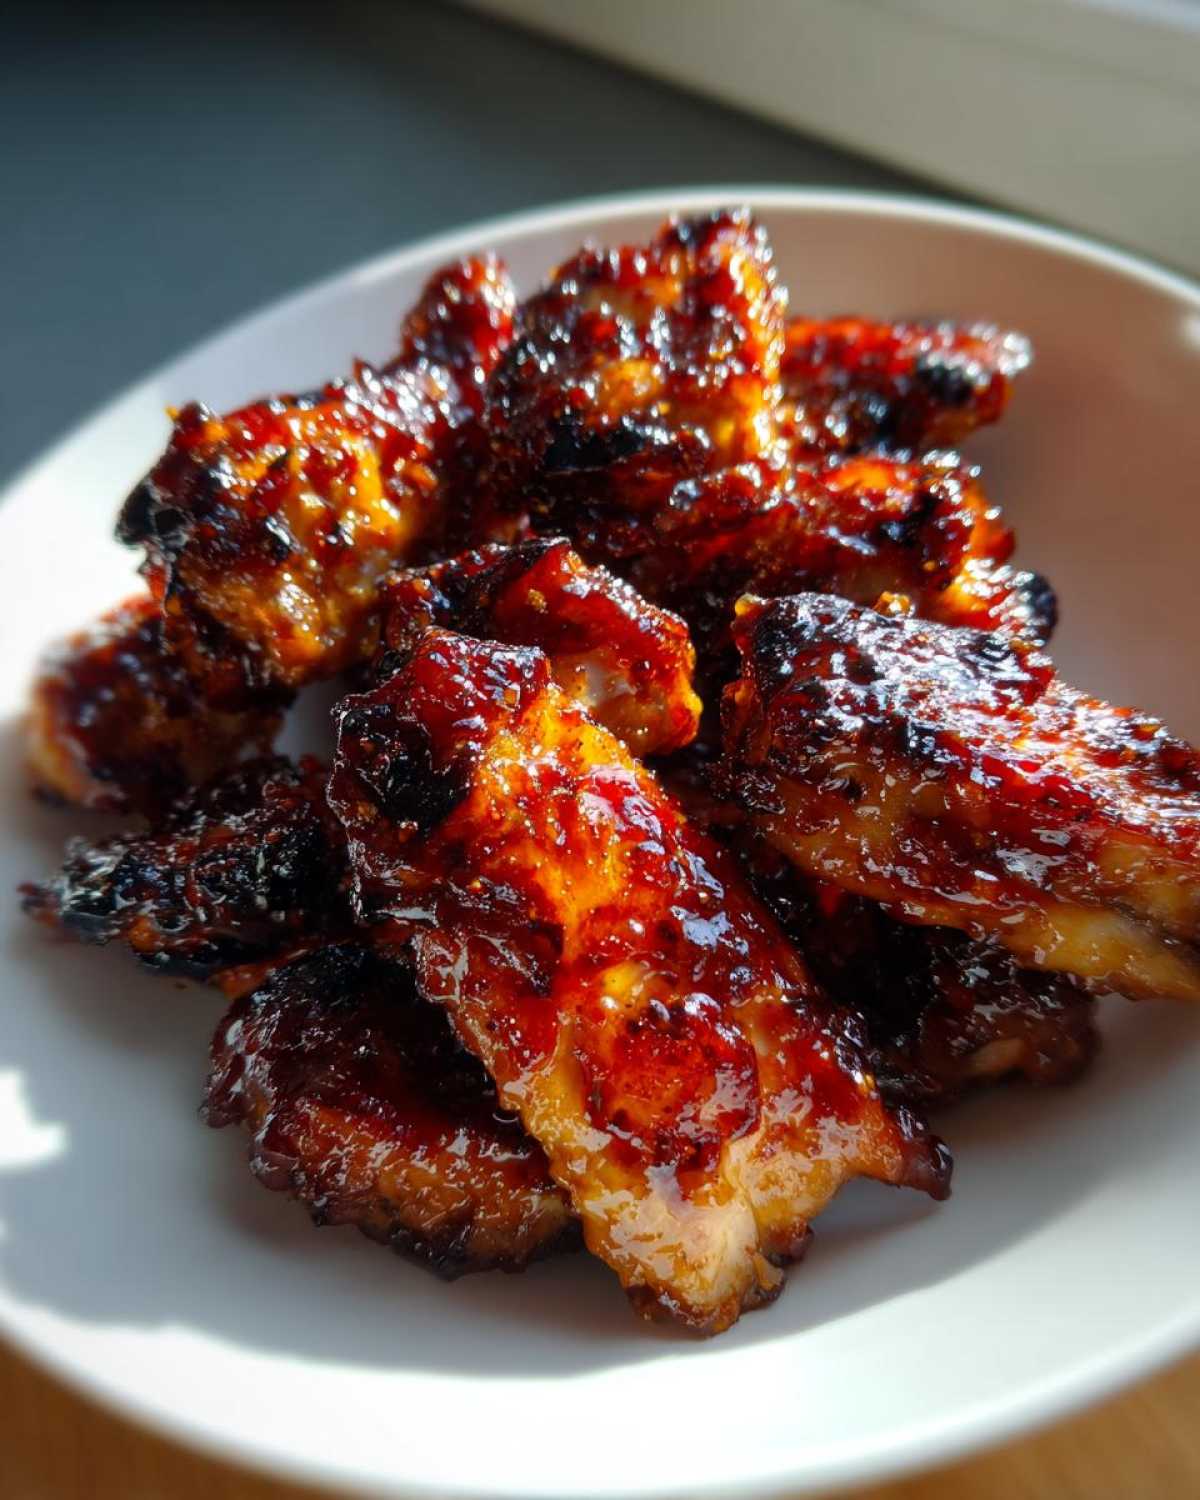
No matter how you serve them, just make sure you put them out warm. That tender inside and the slightly hardened, caramelized shell are what make these bites legendary!
Storage and Reheating Sticky BBQ Chicken Bites with Caramelized Edges
Look, the hardest part about making these incredible Sticky BBQ Chicken Bites with Caramelized Edges is stopping yourself from eating them all in one sitting! But if you manage to have leftovers (which, good for you, you have self-control!), you need to know the right way to store them so they are just as amazing the next day.
The glaze is the tricky part here because it’s sugar-based. You want to cool them completely before putting them away. Once cool, stash them in an airtight container. I usually line the bottom of the container with a paper towel first—this sounds fussy, but it helps trap any excess moisture that might try to dampen that beautiful crust.
Seriously, just say NO to the microwave. Microwaving reheats them, sure, but that sticky, caramelized edge turns into sad, chewy rubber almost instantly. We worked too hard for that! We need heat that restores a bit of that exterior crispness.
If you’re having just a few pieces, pull only what you need and toss them into your air fryer. Pop them at about 350°F (175°C) for maybe four or five minutes. That little blast of dry heat refreshes the outside beautifully. For a bigger batch, the oven is your best friend. Spread them out on a parchment-lined sheet pan—just like you did when cooking them the first time!—and pop them back into a 375°F (190°C) oven for about 8 to 10 minutes. That allows the glaze to melt and reset just enough for that satisfying sticky chew without burning.
If you want to learn how to get other leftovers crispy again, I’ve shared my technique for getting crispy garlic parmesan gnocchi in the air fryer, which uses the same principle of using dry, circulating heat to revive texture!
Frequently Asked Questions About Making Sticky BBQ Chicken Bites
It happens every time I post a picture of these—I get flooded with questions! People want to know about swapping out the heat source or changing the flavor profile. Don’t worry; these are super forgiving! I tried to answer the most common things here so you can customize your batch perfectly. If you’re looking for other ways I use circulation heat to get things crispy, check out my guide on air fryer crispy buffalo chicken taquitos!
Can I make these Sticky BBQ Chicken Bites in an Air Fryer?
Oh yes, you absolutely can! The air fryer is actually fantastic for this because it circulates the heat so well, giving you fantastic texture. You’ll follow the initial steps for seasoning and the first short cook—skip the initial 15-minute bake in the oven and instead air fry the seasoned chicken pieces at 380°F (190°C) for about 10 minutes. Then, sauce them, and return them to the air fryer at 400°F (200°C) for just 5-7 minutes. Since the air fryer is more intense, you might not need that final high-heat broil, but keep an eye on them to make sure they get nice and dark!
What happens if I use chicken breasts instead of thighs?
You can use breasts if you want, but I highly advise against it if your main goal is achieving that juicy interior while perfecting those caramelized edges. Chicken breasts are much leaner, and they are notorious for drying out fast under high heat. If you insist on using breasts, you MUST cut them slightly larger than 1-inch pieces, and you should reduce the total baking or air frying time by at least 3 to 5 minutes to prevent them from becoming tough!
How do I know if I have achieved true caramelized edges?
This is the most important part for that perfect texture we talked about! True caramelization happens because of the sugar—that gorgeous brown sugar or honey in the sauce. When you hit that final stage of baking or broiling, you’re looking for the sauce to look deep mahogany brown, almost black in spots, and slightly taut or bubbly on the surface. If it just looks shiny and wet, it’s glazed but not caramelized. You need that intense, final blast of dry heat to set that sugar layer and give you that slight chew and crispness around the edges. That’s how you make crispy chicken bites that are still tender inside!
What if I don’t have Worcestershire sauce? Can I substitute it?
Worcestershire sauce brings fermentation and deep umami flavor—it’s sneaky, but important! If you absolutely don’t have it, you can make a decent substitute for these Sticky BBQ Chicken Bites by mixing a teaspoon of soy sauce with a splash of balsamic vinegar. It won’t be exactly the same, but it will give you that necessary dark depth and saltiness that balances the sweet brown sugar! Don’t go without some sort of savory depth, or the bites might taste too sugary.
Nutrition Estimate for Sticky BBQ Chicken Bites
Here’s a rough idea of the nutritional breakdown for these incredibly tasty bites. Please remember this is based on using chicken thighs and standard store-bought BBQ sauce, so your exact numbers might look a little different depending on what brand of sauce or how much sugar you decide to pack in!
- Serving Size: 1 serving
- Calories: 350
- Sugar: 25g
- Sodium: 650mg
- Fat: 12g
- Saturated Fat: 3g
- Unsaturated Fat: 9g
- Trans Fat: 0g
- Carbohydrates: 28g
- Fiber: 1g
- Protein: 32g
- Cholesterol: 95mg
These are pretty solid for a party snack or a lighter dinner component, especially with all that protein! If you’re trying to keep the sugar down, you can always use a low-sugar or sugar-free BBQ sauce, but you might lose some of that essential caramelization we worked so hard to achieve. When I serve these as a lighter alternative to full meals, I always pair them with something simple, like my amazing chicken lettuce wraps for a fresh side!
PrintSticky BBQ Chicken Bites with Caramelized Edges
Make easy, sticky BBQ chicken bites that develop deeply caramelized edges using a simple oven baking method.
- Prep Time: 15 min
- Cook Time: 30 min
- Total Time: 45 min
- Yield: 4 servings
- Category: Appetizer
- Method: Baking/Broiling
- Cuisine: American
- Diet: Low Fat
Ingredients
- 1.5 lb boneless, skinless chicken thighs, cut into 1-inch pieces
- 1 tablespoon olive oil
- 1 teaspoon salt
- 0.5 teaspoon black pepper
- 1 cup your favorite thick BBQ sauce
- 0.25 cup brown sugar, packed
- 2 tablespoons apple cider vinegar
- 1 tablespoon Worcestershire sauce
- 1 teaspoon smoked paprika
Instructions
- Preheat your oven to 400°F (200°C). Line a baking sheet with parchment paper.
- In a bowl, toss the chicken pieces with olive oil, salt, and pepper. Spread the chicken in a single layer on the prepared baking sheet.
- Bake the chicken for 15 minutes until lightly cooked through.
- While the chicken bakes, prepare the glaze. In a small saucepan, combine the BBQ sauce, brown sugar, apple cider vinegar, Worcestershire sauce, and smoked paprika. Heat over medium heat, stirring until the brown sugar dissolves and the sauce simmers lightly. Cook for 3 minutes until slightly thickened.
- Remove the chicken from the oven. Brush half of the BBQ glaze mixture generously over all sides of the chicken pieces.
- Return the chicken to the oven and bake for another 10 minutes.
- Remove the chicken again. Brush the remaining glaze over the bites. Increase the oven temperature to 425°F (220°C) or switch to the broiler setting (watch carefully).
- Bake or broil for 3 to 5 minutes, watching constantly, until the edges of the chicken are dark, sticky, and caramelized.
- Remove from the oven and serve immediately as an appetizer or main dish component.
Notes
- For extra caramelization, use a sauce containing honey or molasses in addition to brown sugar.
- If using chicken breasts, reduce the initial baking time by 3 minutes to prevent drying.
- Serve these bites with toothpicks for easy party serving.
Nutrition
- Serving Size: 1 serving
- Calories: 350
- Sugar: 25
- Sodium: 650
- Fat: 12
- Saturated Fat: 3
- Unsaturated Fat: 9
- Trans Fat: 0
- Carbohydrates: 28
- Fiber: 1
- Protein: 32
- Cholesterol: 95