

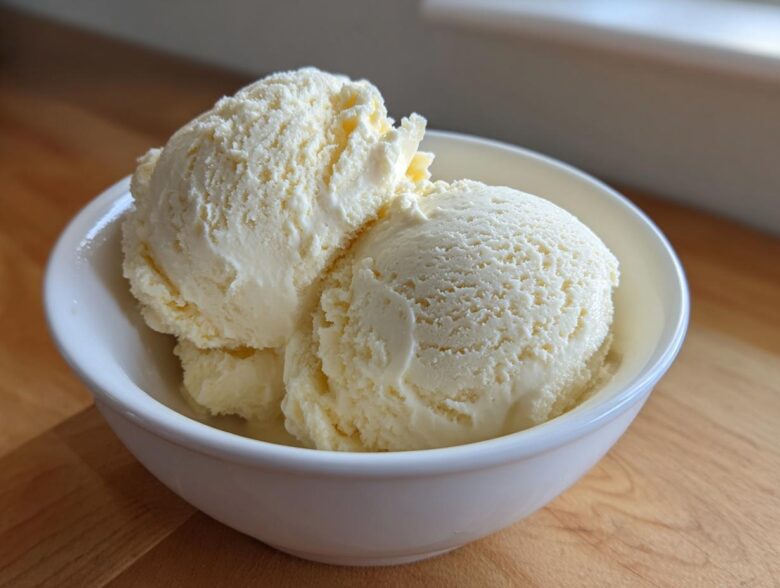
If you’re tracking your macros but desperately need a sweet fix that feels like cheating, I totally get it. For the longest time, I thought enjoying dessert meant sabotaging my work, but now I know better! Welcome to the easiest, creamiest batch of protein ice cream you’ll ever make. This Simple No-Churn Vanilla recipe is a guaranteed win for every single time you make it. Honestly, I think Simon actually clapped when I finally nailed this one because it’s just *that* good and requires zero fancy machinery. This is pure, guilt-free indulgence, and I know you’re going to love watching it freeze!
Why This Simple No-Churn Protein Ice Cream Deserves Your Kudos
This isn’t just another bowl of frozen yogurt, promise! What makes this recipe a massive win is that it checks every box you could possibly have for a great snack. We nail the creamy texture, it’s super high in protein, and the best part? You absolutely do not need an ice cream maker. Simon almost shed a tear when he realized we could have these Guilt Free Frozen Treats ready to go anytime.
It truly shines as one of the best Macro Friendly Desserts you can whip up without spending half an hour churning.
Achieving Creamy Texture Without Churning
I know the fear—rock-hard, icy scoops that scrape your teeth! But since we’re using Greek yogurt as the star, we already have a base that’s less water-heavy than traditional milk. It’s the secret to that amazing Creamy Protein Frozen Yogurt feel. It freezes beautifully without churning, resulting in a texture that holds up really nicely.
The High Protein Content in This Protein Ice Cream
Let’s talk fuel! This simple vanilla protein ice cream blasts out about 28 grams of protein per serving. Think about that! It makes this the perfect Post Workout Frozen Dessert or a seriously filling afternoon snack. That’s why we made sure every single ingredient supported that goal.
Gathering Ingredients for Your Easy Protein Ice Cream Base
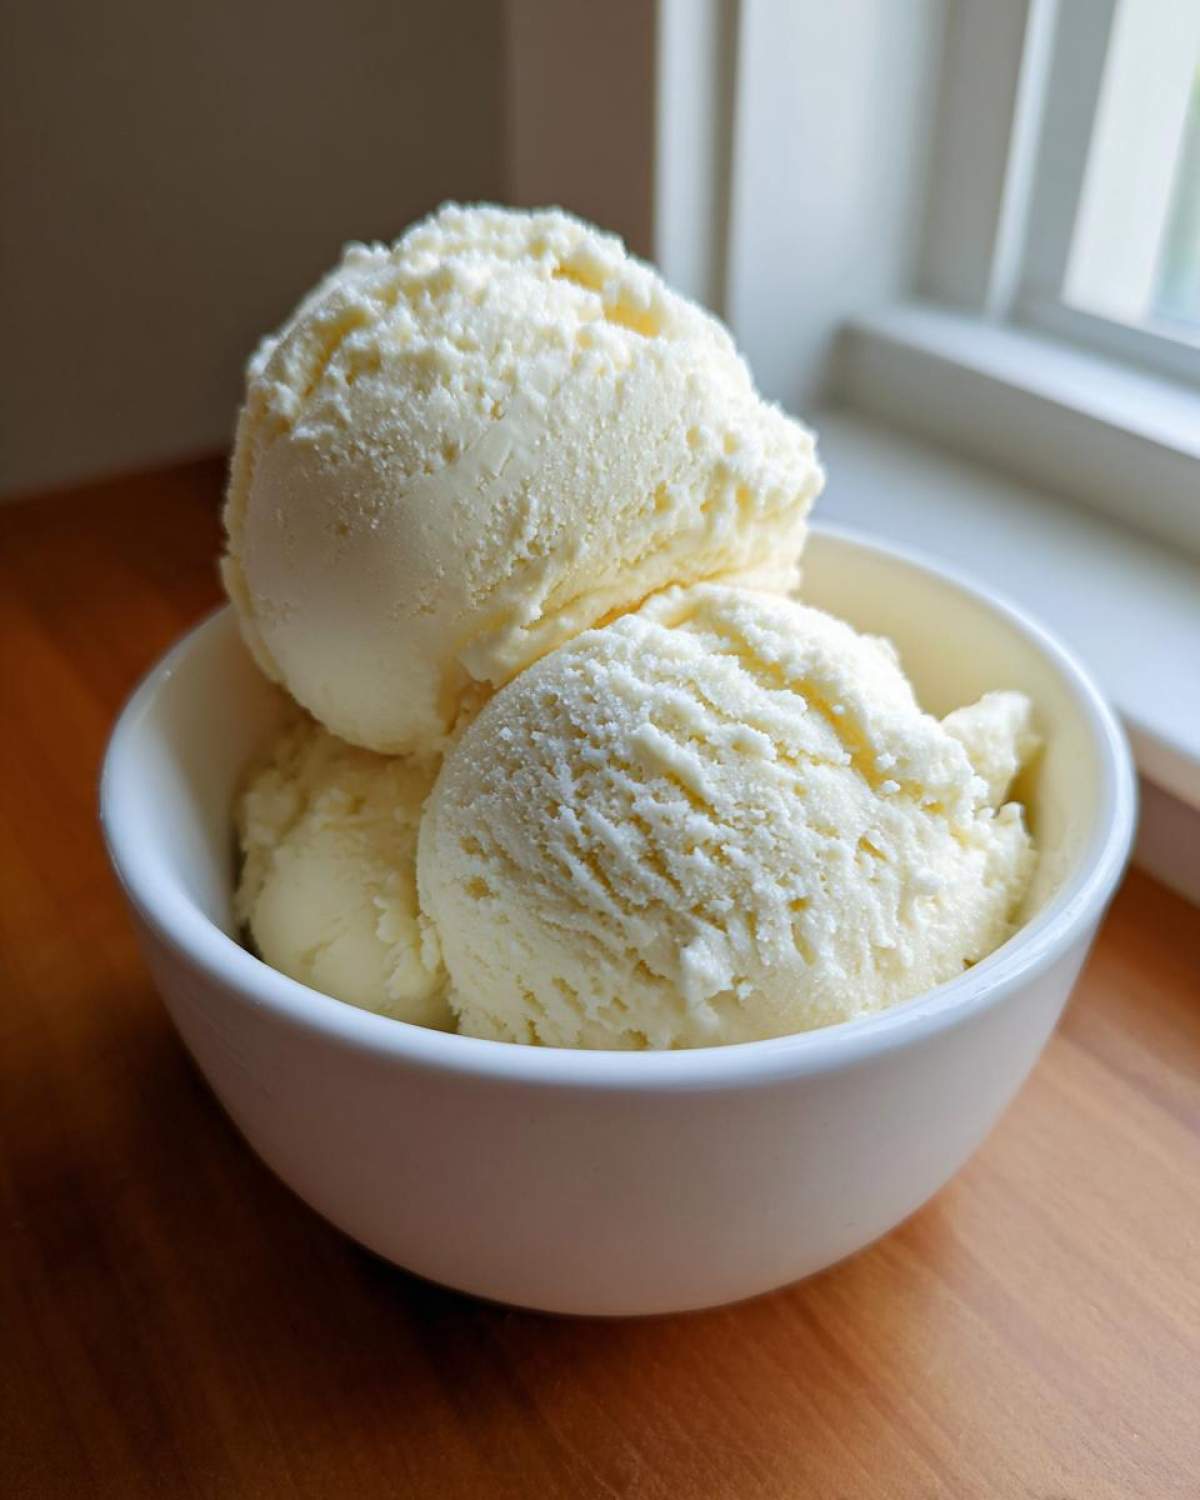
Okay, gathering what you need is where we prove just how simple this is! I tried to keep this list tight—it feels like a Simple 4 Ingredient Ice Cream setup, even though we have a few extras to make it truly special. Remember, we aren’t sacrificing flavor for these High Protein Dessert Recipes, so get your measuring cups ready!
- 1 cup plain Greek yogurt (0% or 2% fat—your choice!)
- 1 scoop vanilla protein powder (make sure it’s one you actually like the taste of!)
- 1/4 cup unsweetened almond milk (or any milk you prefer)
- 1 tablespoon sweetener (use erythritol or stevia; taste test is key here!)
- 1/2 teaspoon vanilla extract
- A tiny pinch of salt (this brightens everything up, trust me!)
Ingredient Notes and Cottage Cheese Ice Cream Alternatives
Since a lot of recipes rely on cottage cheese for that protein punch, I wanted to make sure we offered a great alternative here using the Greek Yogurt Ice Cream Recipes method. If you *do* love cottage cheese, I noted that blending it completely smooth and using half yogurt works wonders for texture. But for this basic vanilla version, the Greek yogurt base wins for simplicity and that perfect tang!
Step-by-Step Instructions for Making Perfect Protein Ice Cream
Alright, this next part is where the magic happens! I want you to take a deep breath and remember that if you mess up a step mildly, the world won’t end—we’re celebrating the trying, remember? But following these steps closely for our protein ice cream will give you incredible results. The key here is consistency and making sure everything is incorporated before we leave it alone to freeze!
Mixing the Protein Ice Cream Base Smoothly
First things first, grab a sturdy mixing bowl—we don’t want any splatters when things get thick! Whisk together your Greek yogurt, that vanilla protein powder, the sweetener, vanilla extract, and the salt. You have to stir this carefully until you see absolutely no dry pockets of powder left. Seriously, blend it well! Then, slowly drizzle in that almond milk while whisking until the mixture slides off your spoon like a thick, dreamy soft-serve. Don’t go crazy mixing once the milk is in, or it gets too thin!
Freezing Technique for the Best Protein Ice Cream
Once your base is perfect, pour it into a loaf pan or any freezer-safe container you have. Now, here’s the most important trick for top-tier frozen treats: cover the surface directly with plastic wrap, pressing it right down onto the mix!
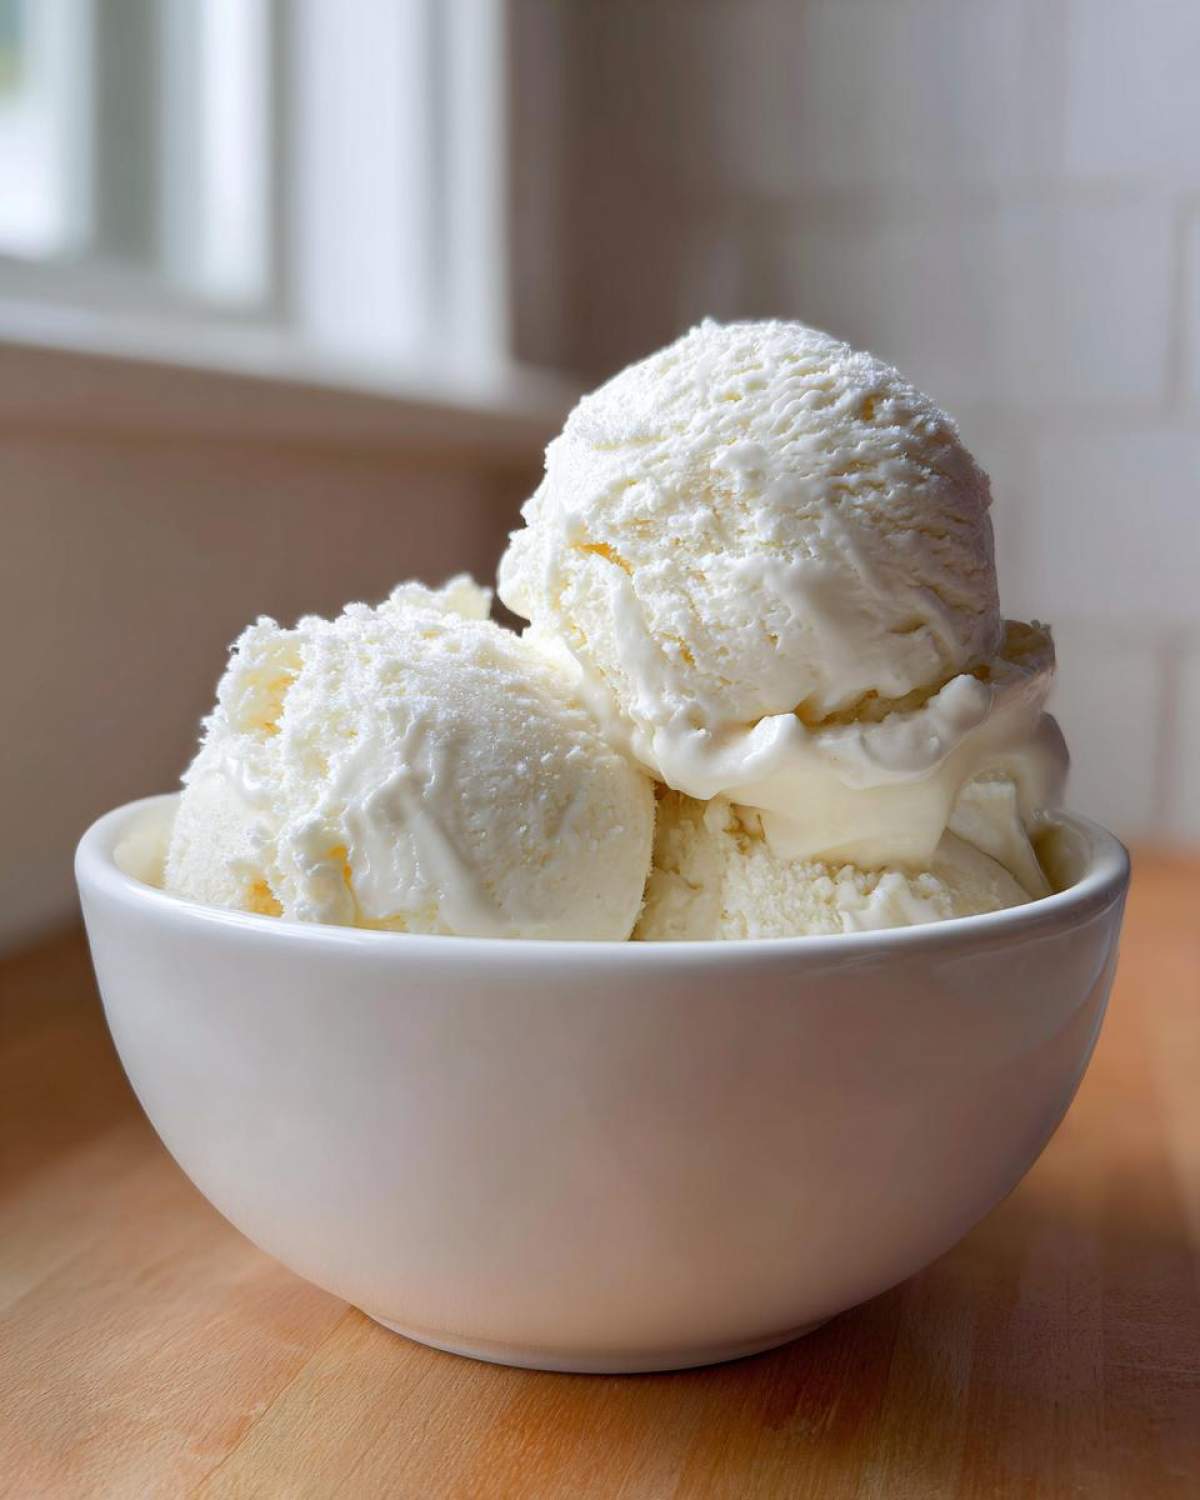
This direct contact stops those nasty ice crystals from forming on top, ensuring your final scoop of protein ice cream stays wonderfully creamy. Pop that closed container into the freezer for a minimum of six hours. Patience, my friend—it’s worth the wait!
Tips for Success When Making Your Protein Ice Cream
Okay, you’ve successfully mixed and frozen your base, which already deserves a high-five! Now let’s talk about those little expert details that turn good Best Healthy Ice Cream Bases into *great* Healthy Homemade Ice Cream.
First off, the protein powder matters! Casein mixes up thicker than whey, which helps fight off ice crystal formation, but if you only have whey, that’s fine too—just add a teensy bit more milk if it looks stiff right away. Secondly, always trust your taste buds with the sweetener. If you use a zero-calorie sweetener like stevia, you might need a little less than the recipe calls for, so start small and taste when you add the milk. Don’t be shy about adding that pinch of salt either—it truly makes the vanilla flavor pop and taste more decadent!
Flavor Variations for Your Favorite Protein Ice Cream
Isn’t it fun figuring out all the different Protein Ice Cream Flavors you can create from one simple base? You definitely don’t have to stick to vanilla! If you are a chocolate lover—and who isn’t?—just swap out the vanilla powder for your favorite chocolate protein. The results easily become one of the best High Protein Dessert Recipes you’ve ever had.
I also adore salted caramel, especially when I add just a few drops of caramel extract with a tiny sprinkle of sea salt on top before freezing. If you have a Ninja Creami, you know these bases (Ninja Creami Protein Recipes) are an absolute dream because they blend up so smooth.
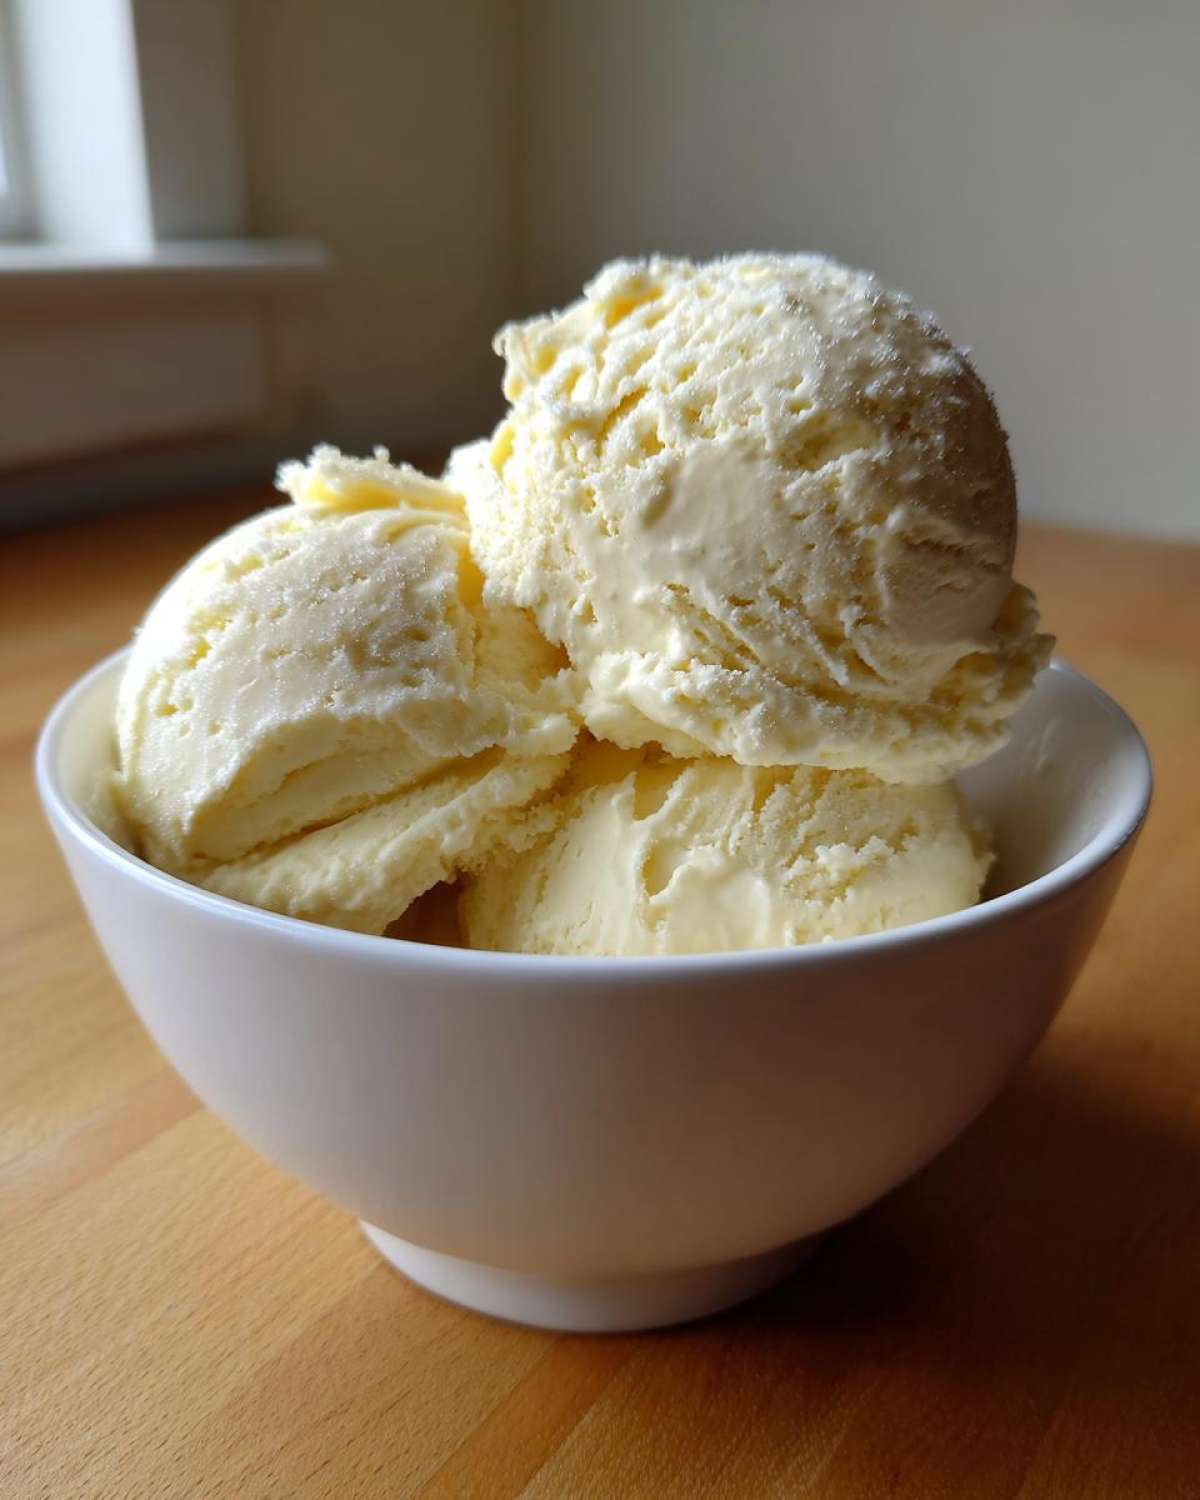
Don’t stop there! Feel free to experiment with coffee flavor or mint chocolate chip powder. This vanilla protein ice cream is your blank canvas, so go ahead and give yourself kudos for getting creative!
Storage and Reheating Instructions for Leftover Protein Ice Cream
So, you managed to save some of this glorious Easy Protein Snacks masterpiece? That’s great discipline! Because this is a no-churn recipe based on yogurt rather than commercial stabilizers, it tends to freeze up a bit harder than the stuff you buy in the store. When storing, make sure that plastic wrap is pressed right against the surface—we want to keep all that moisture locked in and air out!
The best trick for serving leftovers? Don’t grab a spoon right away! Take your container out of the deep freeze about 10 to 15 minutes before you plan to serve it. This gentle thaw time brings it back to that perfect, scoopable consistency without melting it into soup. Enjoy your continued success snacking!
Frequently Asked Questions About Making Protein Ice Cream
I figured you might have a few questions popping up as you plan your first batch of these amazing Sweet Fitness Treats. It’s totally normal to want to tweak things when you’re focusing on macros, so let’s clear up the biggest hurdles right here. You’ve got this, and we’re here to cheer you on for every scoop!
Can I make this protein ice cream without Greek yogurt?
That’s a fantastic question, especially since some people really struggle with the yogurt tang. Yes, you absolutely can work around it! If you want to try an alternative that still counts as a High Protein Dessert Recipes No Banana option, try blending silken tofu until it’s completely velvety smooth, or use the method I mentioned earlier: take high-protein cottage cheese and blast it in a blender until it looks like thick Greek yogurt. It works beautifully!
Does this protein ice cream recipe work in a Ninja Creami?
Oh, if you have a Creami, you are in for a treat! This base is absolutely fantastic for it. Because we already use relatively low liquid and good stabilizers like protein powder, it freezes up perfectly when you run it through the machine. You’ll just need to use the ‘Lite Ice Cream’ setting for this super easy protein ice cream base. The Ninja Creami Protein Recipes make prep even faster!
Understanding the Nutrition in Your Protein Ice Cream
I know that when you’re aiming for fitness goals, checking the numbers is often part of the deal. It feels so much better indulging when you know exactly what you’re getting! Just to keep us honest, here are the estimates for your Low Calorie Ice Cream Ideas per half-serving:
- Calories: Only about 180!
- Protein: A whopping 28g! (That’s why this works so well as an Easy Protein Snack!)
- Fat: Just 2 grams
- Carbs: 12 grams
Now, remember—I want you to feel zero stress about these numbers! These are estimates, friend. If you use a different milk or a higher-calorie protein powder, the totals will shift a bit. The point is that the base recipe gives you a massive protein punch for minimal calories!
Give Yourself Kudos for Making This Protein Ice Cream
See? You did it! That’s a fantastic batch of Healthy Homemade Ice Cream right there, and you didn’t even need a machine involved. That’s success!
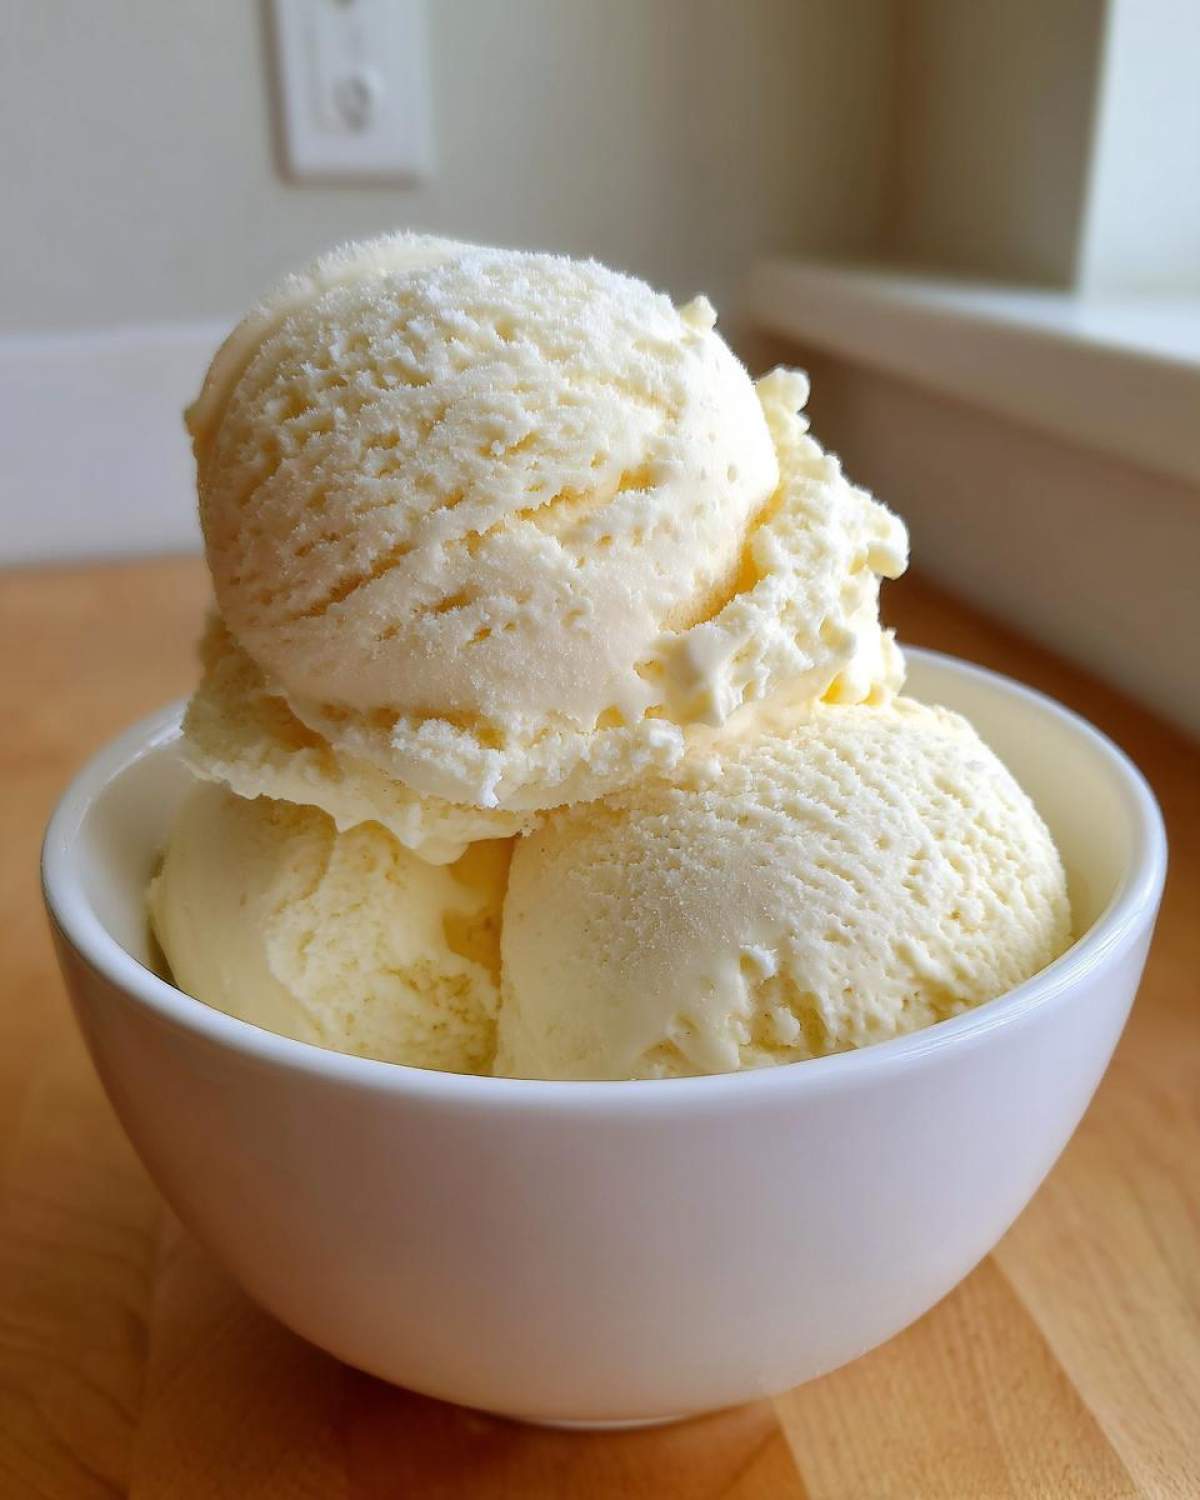
Please come back and leave a rating and tell me how much you loved this easy win. If you’re feeling extra motivated, check out our other High Protein Dessert Recipes—you clearly have the knack for making amazing Indulgent Healthy Desserts now!
PrintSimple No-Churn Vanilla Protein Ice Cream: Your Guilt-Free Treat
You can make this creamy, high-protein vanilla ice cream without an ice cream maker. It is a simple, macro-friendly dessert that tastes indulgent but supports your fitness goals.
- Prep Time: 5 min
- Cook Time: 0 min
- Total Time: 6 hr 5 min
- Yield: 2 servings
- Category: Dessert
- Method: No-Churn
- Cuisine: American
- Diet: Low Fat
Ingredients
- 1 cup plain Greek yogurt (0% or 2% fat)
- 1 scoop vanilla protein powder (whey or casein blend works well)
- 1/4 cup unsweetened almond milk (or milk of choice)
- 1 tablespoon sweetener (like erythritol or stevia, adjust to taste)
- 1/2 teaspoon vanilla extract
- Pinch of salt
Instructions
- In a medium bowl, combine the Greek yogurt, vanilla protein powder, sweetener, vanilla extract, and salt. Mix thoroughly until the powder is fully incorporated and the mixture is smooth.
- Slowly whisk in the almond milk until the mixture reaches a soft-serve consistency. Do not overmix; you want it thick.
- Transfer the mixture to a freezer-safe container, like a loaf pan or a small plastic tub. Smooth the top with a spatula.
- Cover the container tightly with plastic wrap, pressing the wrap directly onto the surface of the mixture to prevent ice crystals.
- Freeze for a minimum of 6 hours, or until firm.
- Before serving, let the ice cream sit on the counter for 5 to 10 minutes to soften slightly for easier scooping. Give yourself kudos for making this healthy homemade ice cream!
Notes
- For a richer texture, use a blend of 1/2 cup Greek yogurt and 1/2 cup cottage cheese (blend the cottage cheese first until completely smooth).
- If you own a Ninja Creami, this base freezes perfectly and requires only one ‘Lite Ice Cream’ cycle.
- If you prefer a different flavor, swap vanilla protein powder for chocolate or salted caramel protein powder.
Nutrition
- Serving Size: 1/2 of recipe
- Calories: 180
- Sugar: 5
- Sodium: 150
- Fat: 2
- Saturated Fat: 1
- Unsaturated Fat: 1
- Trans Fat: 0
- Carbohydrates: 12
- Fiber: 1
- Protein: 28
- Cholesterol: 10