

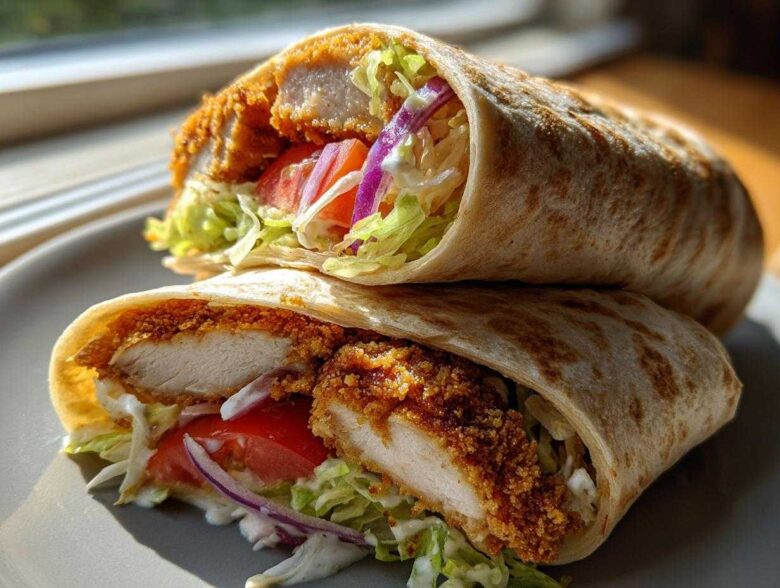
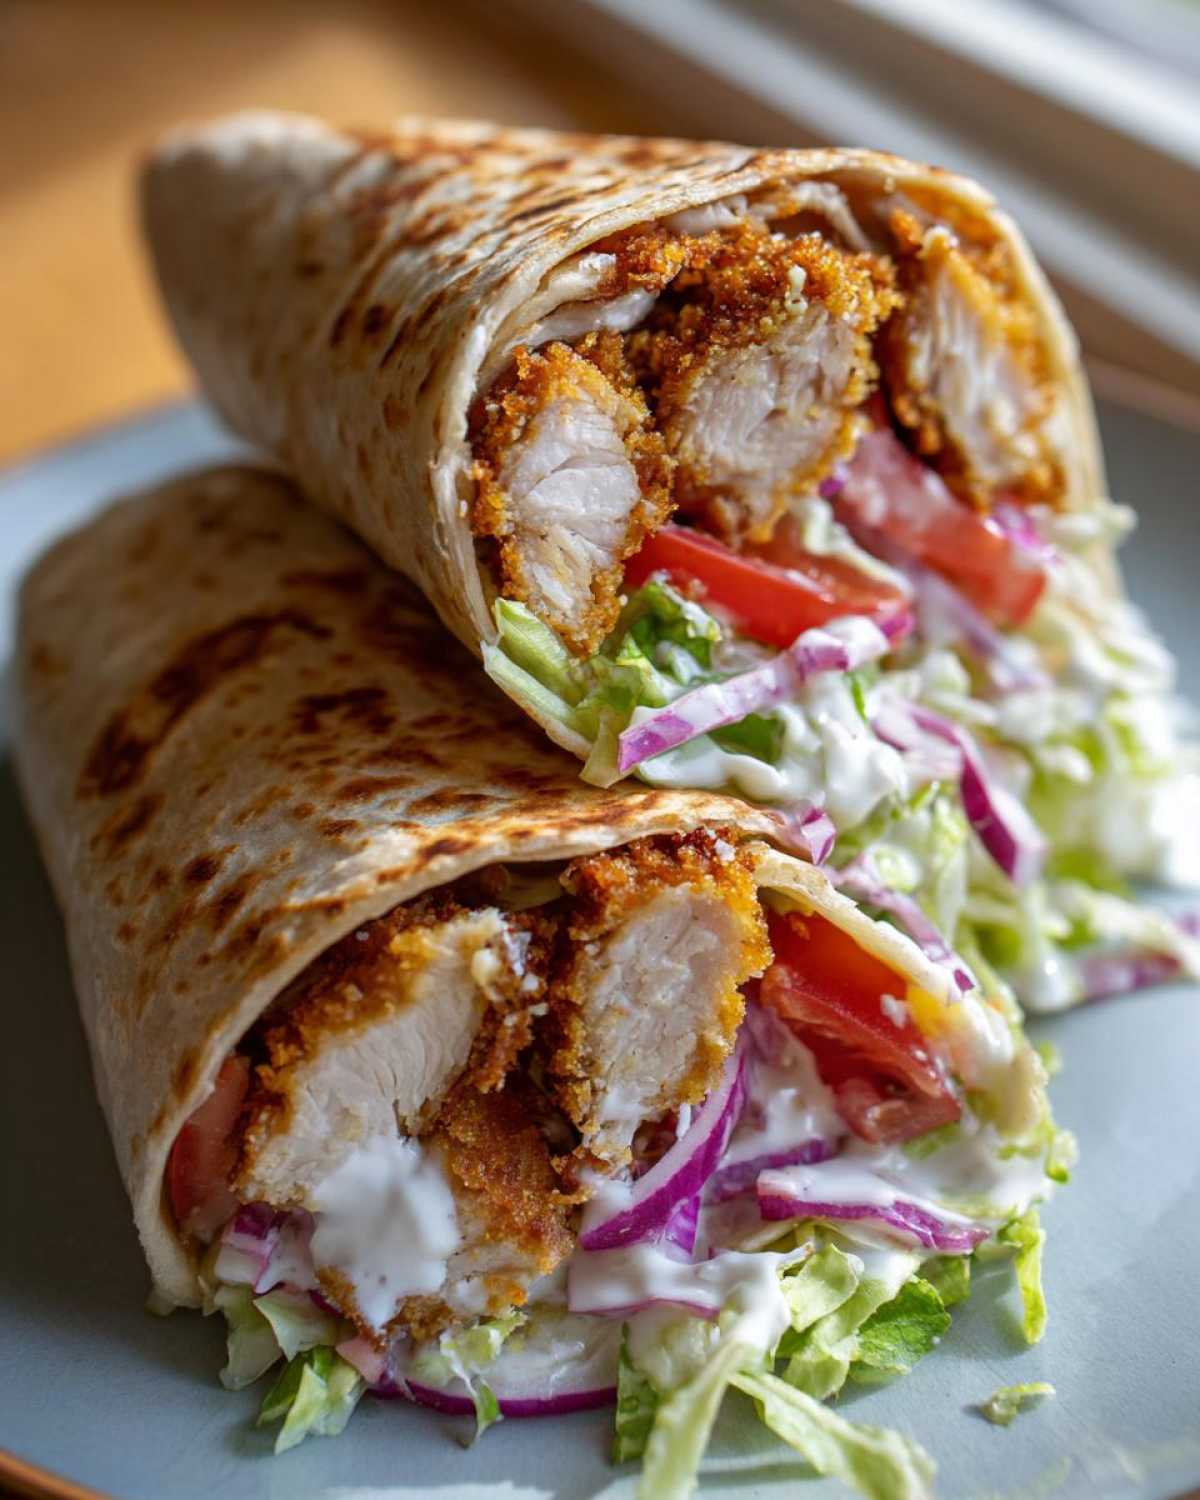
Oh my gosh, are you tired of sad, soggy lunches? Me too! That’s why I got absolutely obsessed with nailing down the ultimate lunch that tastes like takeout but is secretly super easy and way better for you. We are talking about the absolute perfect Crispy Chicken Wrap with Garlic Yogurt Sauce. Seriously, this combination is life-changing. I spent weeks trying every trick in the book to get that shatteringly crisp coating on boneless chicken without deep frying, and I finally cracked the code using my trusty air fryer—it’s almost as good as the results I get making those air fryer pretzel bites!
The magic here isn’t just in the crunch; it’s the pairing. That creamy, bright garlic yogurt sauce cuts through the savory, spiced coating of the chicken. When I first started, my breading kept falling off. Oops! But now, thanks to my three-step dredging method (which I’ll share below), every single bite is pure, satisfying texture. Trust me, even if you think you’re not a wrap person, this recipe is going to change your mind. You deserve crunchy perfection in your lunch routine!
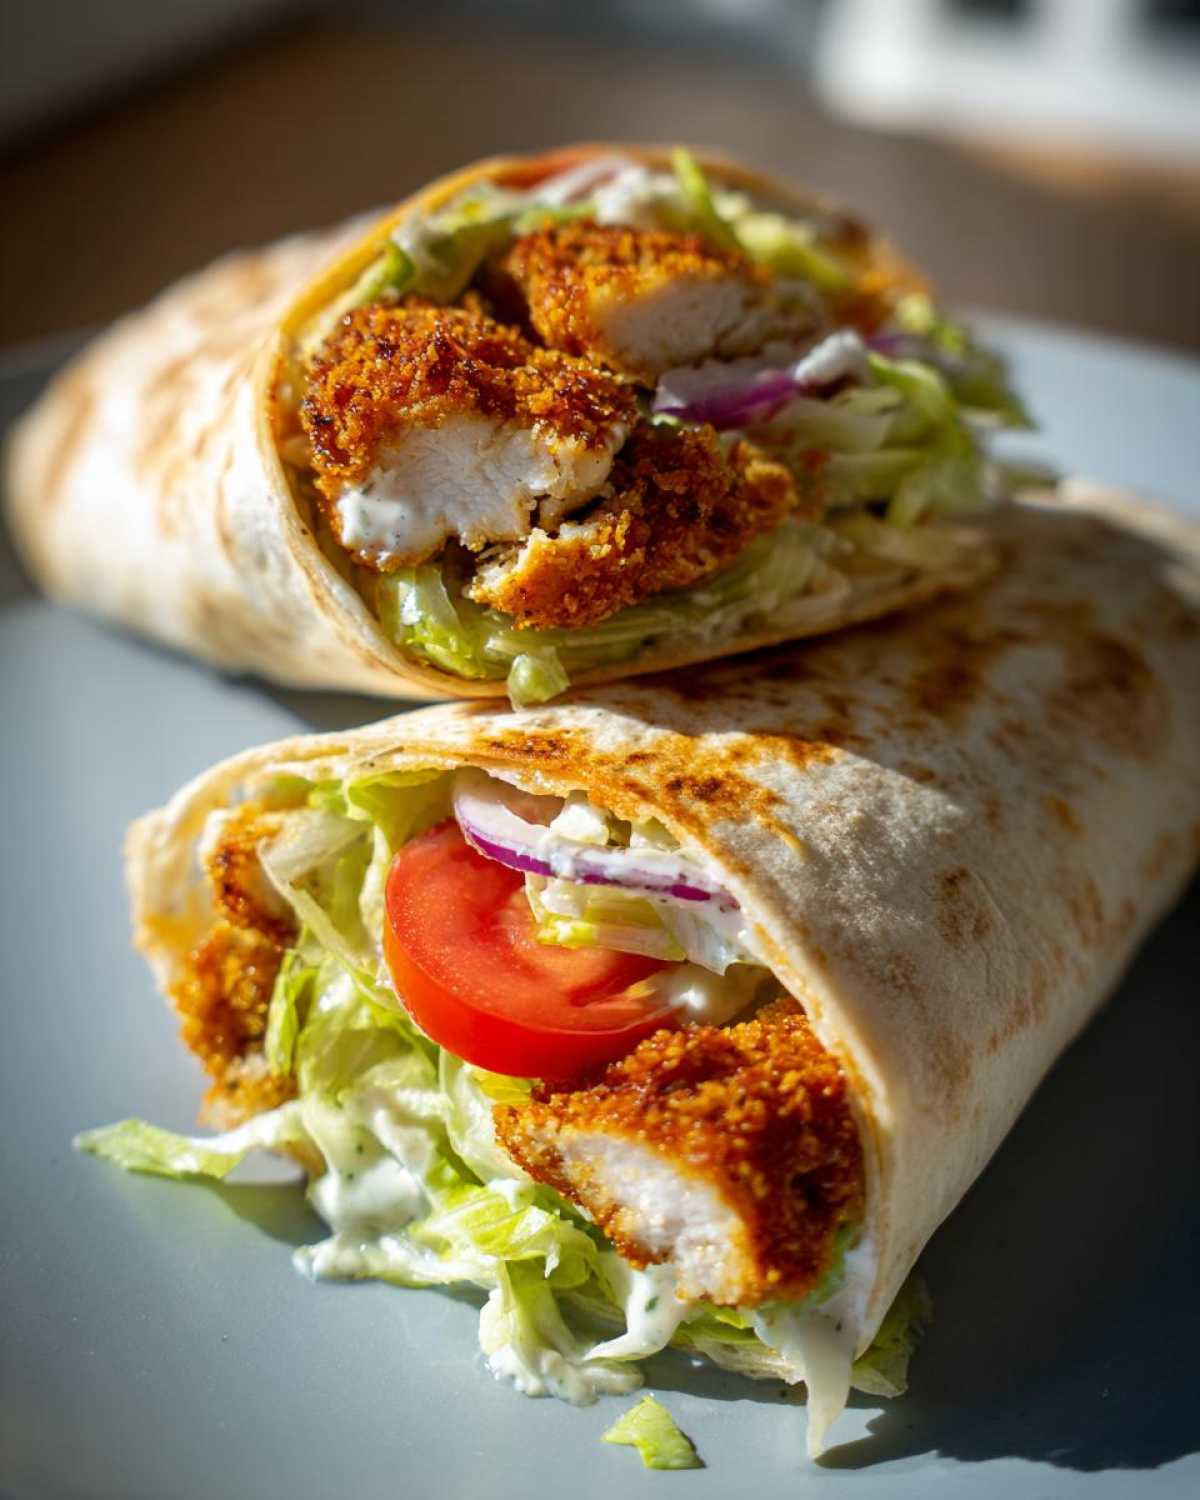
Why This Crispy Chicken Wrap with Garlic Yogurt Sauce Recipe Works
Honestly, what’s not to love here? This isn’t just another recipe slapped together on a Tuesday night. I developed this specifically because I needed lunch that was fast but didn’t feel like I was cheating my tastebuds. It hits all the right notes, which is why you’ll keep coming back to it.
It checks all the boxes:
- Sneaky Speed: With minimal prep, you can have this done in about 35 minutes total. Perfect for a quick dinner when you’re starving.
- Air Fryer Magic: We get that incredible crunch we crave without drowning the chicken in oil. It’s healthier, but you honestly won’t taste the difference!
- Texture Town: The panko breading guarantees you get that superior crunch that holds up, even against the sauce.
- The Sauce Factor: That garlic yogurt dip is the star! It’s tangy, creamy, garlicky, and completely balances the heat and zest of the whole thing. It’s honestly my go-to sauce for almost anything now, much like the zing in my chicken piccata.
Essential Ingredients for Your Crispy Chicken Wrap with Garlic Yogurt Sauce
Okay, ingredient list time! Gathering everything first is half the battle won, I always say. Don’t be tempted to skip any step in the breading process, especially that Panko. Remember, we are aiming for crunch here, not soggy messes! I’ve broken down what you need so you can shop or pull things from the pantry with zero confusion. This list keeps things simple, focusing on what makes this specific Crispy Chicken Wrap with Garlic Yogurt Sauce shine.
For the Crispy Panko Chicken
This part requires three shallow dishes for that perfect coating system. Panko breadcrumbs are non-negotiable; they give you that amazing airy crunch that regular breadcrumbs just can’t match. It’s the secret to a great coating when we aren’t deep frying!
- 1 lb boneless, skinless chicken breast, cut into strips
- 1 cup all-purpose flour
- 2 large eggs, beaten
- 1.5 cups panko breadcrumbs
- 1 teaspoon paprika
- 0.5 teaspoon garlic powder
- 0.5 teaspoon salt
- 0.25 teaspoon black pepper
- Cooking spray (essential for that golden color!)
For the Best Chicken Wrap Sauce
This is where the fresh flavors come alive. Mixing Greek yogurt with real garlic and herbs creates what I genuinely believe is the Best Chicken Wrap Sauce you can find. It’s tangy, thick, and just the right amount of garlicky zing to carry the whole wrap.
- 1 cup plain Greek yogurt (full-fat is creamier, but whatever you have works!)
- 2 cloves garlic, minced very finely
- 1 tablespoon lemon juice
- 1 tablespoon fresh dill, chopped (don’t use dried, the fresh makes a huge difference!)
- A small pinch of salt
Wrap Assembly Components
You need sturdy vehicles for this masterpiece! We’re going for fresh, crisp fillings to contrast that warm, spicy chicken.
- 4 large flour tortillas (Look for the burrito-size ones!)
- 1 cup shredded romaine lettuce
- 0.5 cup sliced tomato
- 0.25 cup thinly sliced red onion
How to Make Crispy Chicken at Home for Your Crispy Chicken Wrap with Garlic Yogurt Sauce
The secret handshake of this whole recipe—the thing that takes it from ‘fine’ to ‘send me that recipe right now’—is getting that beautiful, thick, crunchy crust on the chicken *before* it hits the air fryer. If you mess this up, you just have warm chicken in a wrap, and nobody wants that, right? We need that shatteringly crisp texture you associate with a great crunch!
We use a classic triple dredge, but we add a little twist. First, dust the strips lightly in flour so the egg has something to stick to. Then, a quick dip in the egg wash. Finally, and this is key, press them firmly into that seasoned panko mix. Don’t just toss them; be sure to physically press that crunchy coating onto every surface.
Here’s an extra trick from my recipe notes: if you have an extra 15 minutes, lay these breaded beauties out on a wire rack, pop them in the fridge, and let them chill. That little bit of cold time helps the coating bond so much harder, guaranteeing you get the best results for your Crispy Chicken Wrap Recipe!
Achieving Maximum Crunch with Panko
Why do I insist on Panko breadcrumbs for this Crispy Chicken Wrap Recipe? Because standard breadcrumbs are dense and tend to absorb moisture faster once they start cooking. Panko, which are Japanese-style breadcrumbs, are bigger, lighter, and flakier. They fry up (or air fry up!) lighter and create way more surface area for crunch!
When you press that coarse Panko onto the chicken, you’re locking in air pockets. Those air pockets puff up while cooking, creating a wonderfully rugged, crunchy shell that stands up beautifully against the cool, creamy sauce. It’s the structure you want for a handheld meal!
Air Frying Instructions for the Ultimate Crispy Chicken Wrap with Garlic Yogurt Sauce
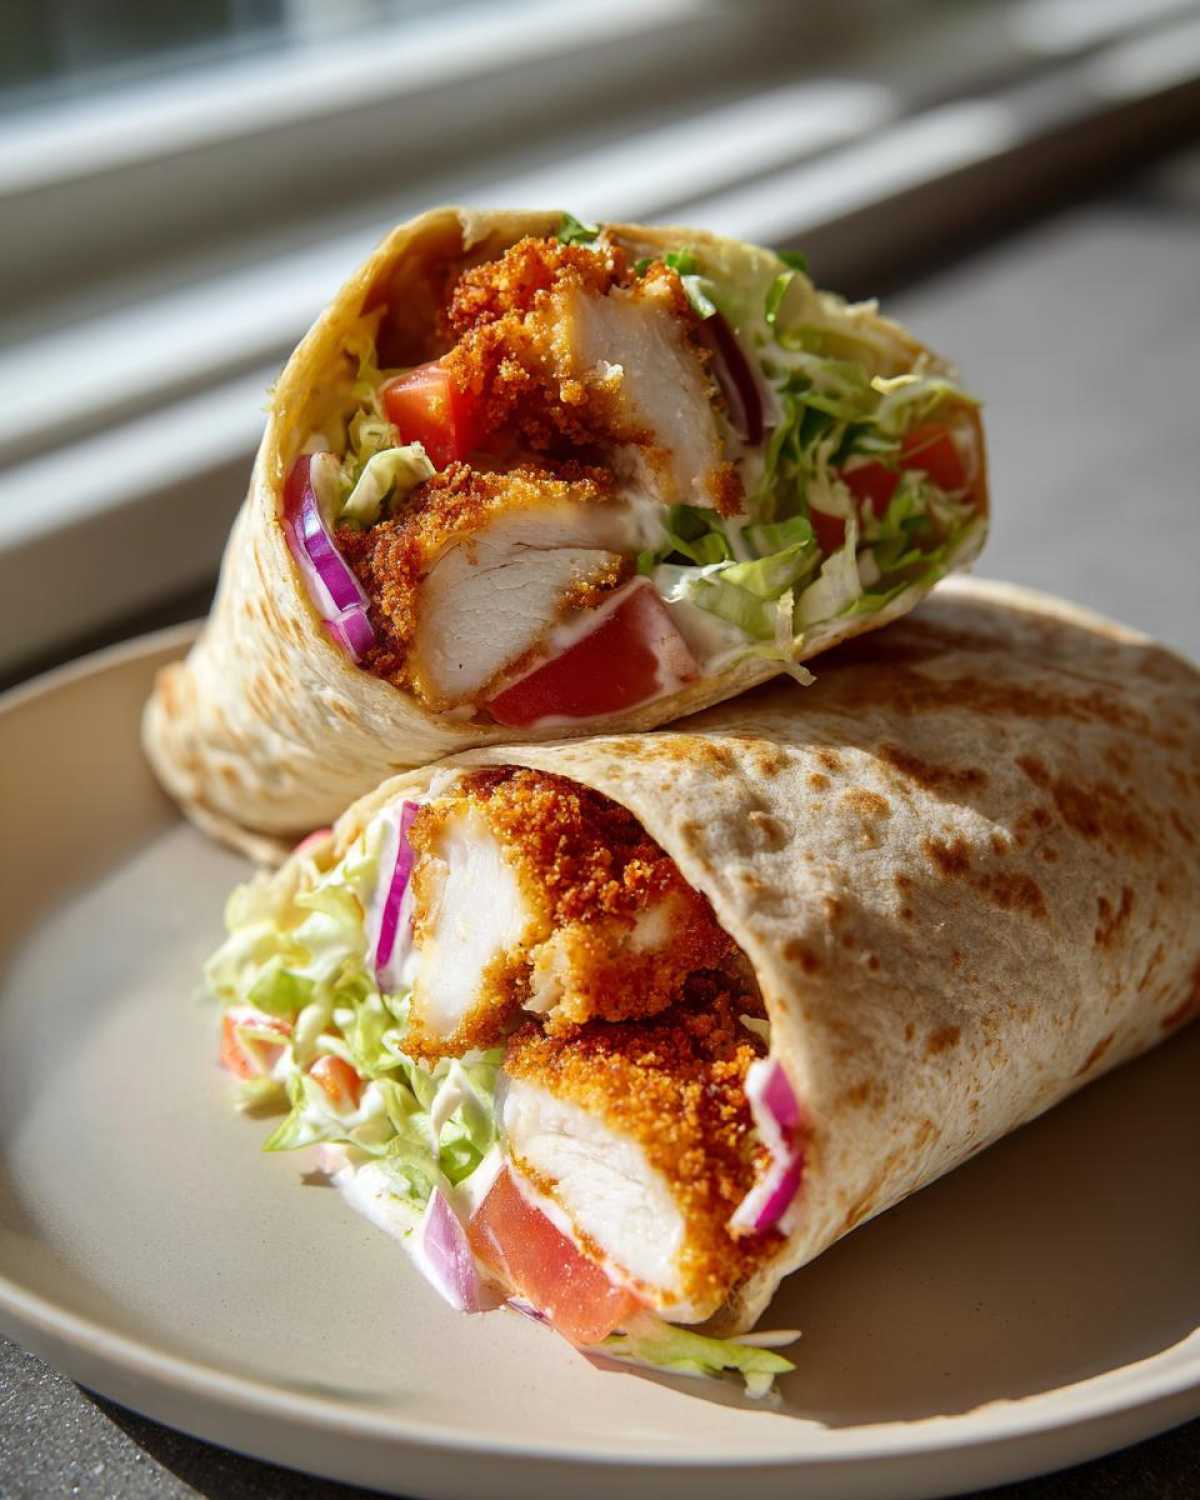
Okay, the hard part—the breading—is done! Now we get to the fun part: making this chicken impossibly crispy in that amazing air fryer. This method is so much faster than waiting for an oven to preheat. We need heat, and we need it fast, to lock in that beautiful Panko crunch we worked so hard to create on those strips.
First things first, you need to preheat that basket. Don’t skip the preheat! Set your air fryer to 400°F (200°C). I find that high heat right away is what gives us that golden brown color quickly before the inside overcooks.
Next, grab those breaded pieces. This is where cooking spray comes in handy! Give the breaded strips a good, even coating of spray on all sides. This helps the Panko brown up nicely instead of just drying out. Work in batches if you need to, but try to keep them in a single layer in the basket. Crowding them equals steaming, and we hate steamed chicken!
Pop them in and cook for about 10 to 12 minutes total. This is my sweet spot for chicken strips this size. The most important part here is the flip—halfway through, around the 5 or 6-minute mark, open the drawer and flip every piece. This ensures even crispiness on both sides!
When the timer goes off, check them to make sure they hit that safe 165°F internal temperature. If they look pale, spray again and give them two more minutes. Seriously, these air fryer chicken wraps are foolproof once you get the hang of the timing!
Preparing the Garlic Yogurt Dip for Wraps While Chicken Cooks
While that glorious chicken is crisping up in the air fryer—seriously, I can already smell the paprika and garlic powder hitting that hot air—it’s the perfect time to whip up the real flavor hero: the sauce!
I call this my Garlic Yogurt Dip for Wraps, and honestly, it’s so good, I eat it with carrots while I’m cooking. Forget those heavy ranch dressings; we want something light, bright, and packed with fresh punch to contrast that crispy, warm chicken.
The beauty here is the simplicity. We are using thick Greek yogurt because we need a sauce that holds its shape inside the wrap, not one that immediately pools at the bottom and makes everything soggy. Soggy wraps are the enemy!
You just grab a small bowl and throw everything in together. Get that Greek yogurt, your finely minced garlic—and please, measure your garlic; too much raw garlic can take over!—the bright squeeze of lemon juice, and the chopped fresh dill. I’m using dill here because it just screams fresh herb garden, but if you’re not a dill fan, a little cilantro lime sauce is a great swap.
Stir it all really well with a fork. Make sure you scrape the bottom of the bowl to incorporate everything. Taste it! Does it need a little more zing? Add a smidge more lemon. Does it need balancing? A tiny extra pinch of salt should do the trick. Mix it until it looks smooth and creamy.
Now, here’s a great make-ahead tip from my general kitchen notes: If you have leftover sauce (which you probably will, because it’s so addictive!), this Yogurt Sauce for Chicken keeps beautifully. Just seal it up tight in an airtight container in the fridge. It tastes even better the next day once the garlic flavors have really settled in. I wouldn’t keep it longer than three days, just because the garlic flavor gets stronger!
Assembling Your Perfect Crispy Chicken Wrap with Garlic Yogurt Sauce
Alright, the chicken is hot and crispy, the sauce is cool and creamy—it’s time for the grand finale! This step is where we turn ingredients into that glorious handheld meal known as the Crispy Chicken Wrap with Garlic Yogurt Sauce. You want to build this right in the middle of the tortilla so that when you fold it up, everything stays nice and secure. A messy wrap is a sad wrap, and we are aiming for lunch perfection here!
First things first, before you lay down any fillings, you absolutely have to warm those tortillas. This is non-negotiable, trust me! Cold tortillas are stiff and they fight you. When you warm them up—just 15 seconds on a dry skillet, flipping once—they become instantly soft and pliable, almost like elastic. This flexibility is what allows you to fold them tightly without tearing a giant hole in the bottom as you’re walking out the door to work. This advice applies to all my wrap recipes, including things like my BBQ chicken wraps!
Tortilla Selection and Warming Tips
For a wrap this loaded with crispy chicken and fresh veggies, you need a substantial tortilla. Skip the small taco size; go for the large, 10-inch or even 12-inch flour tortillas. If you can find ones made with a touch of olive oil, even better, because they tend to stay softer longer.
As I mentioned, the warming step is what separates the pros from the disasters. Just a quick blast on medium heat in a non-stick pan until you see those little bubbles start to form. Don’t brown them, just warm them until they are floppy. Once warm, lay your tortilla flat on your plate or cutting board. Now we layer!
Start by spreading a nice, generous spoonful of that vibrant Garlic Yogurt Dip for Wraps right down the absolute middle, leaving about two inches clear on either side. Then, place your hot, crispy chicken strips right over that sauce layer. Top that with a neat little row of lettuce, followed by your tomato slices and those razor-thin red onions. Don’t overstuff it, or the fold will fail! Fold in the sides first, then roll the bottom flap up tightly over the fillings, tucking as you go. Enjoy immediately!
Tips for Success and Variations on the Crispy Chicken Wrap with Garlic Yogurt Sauce
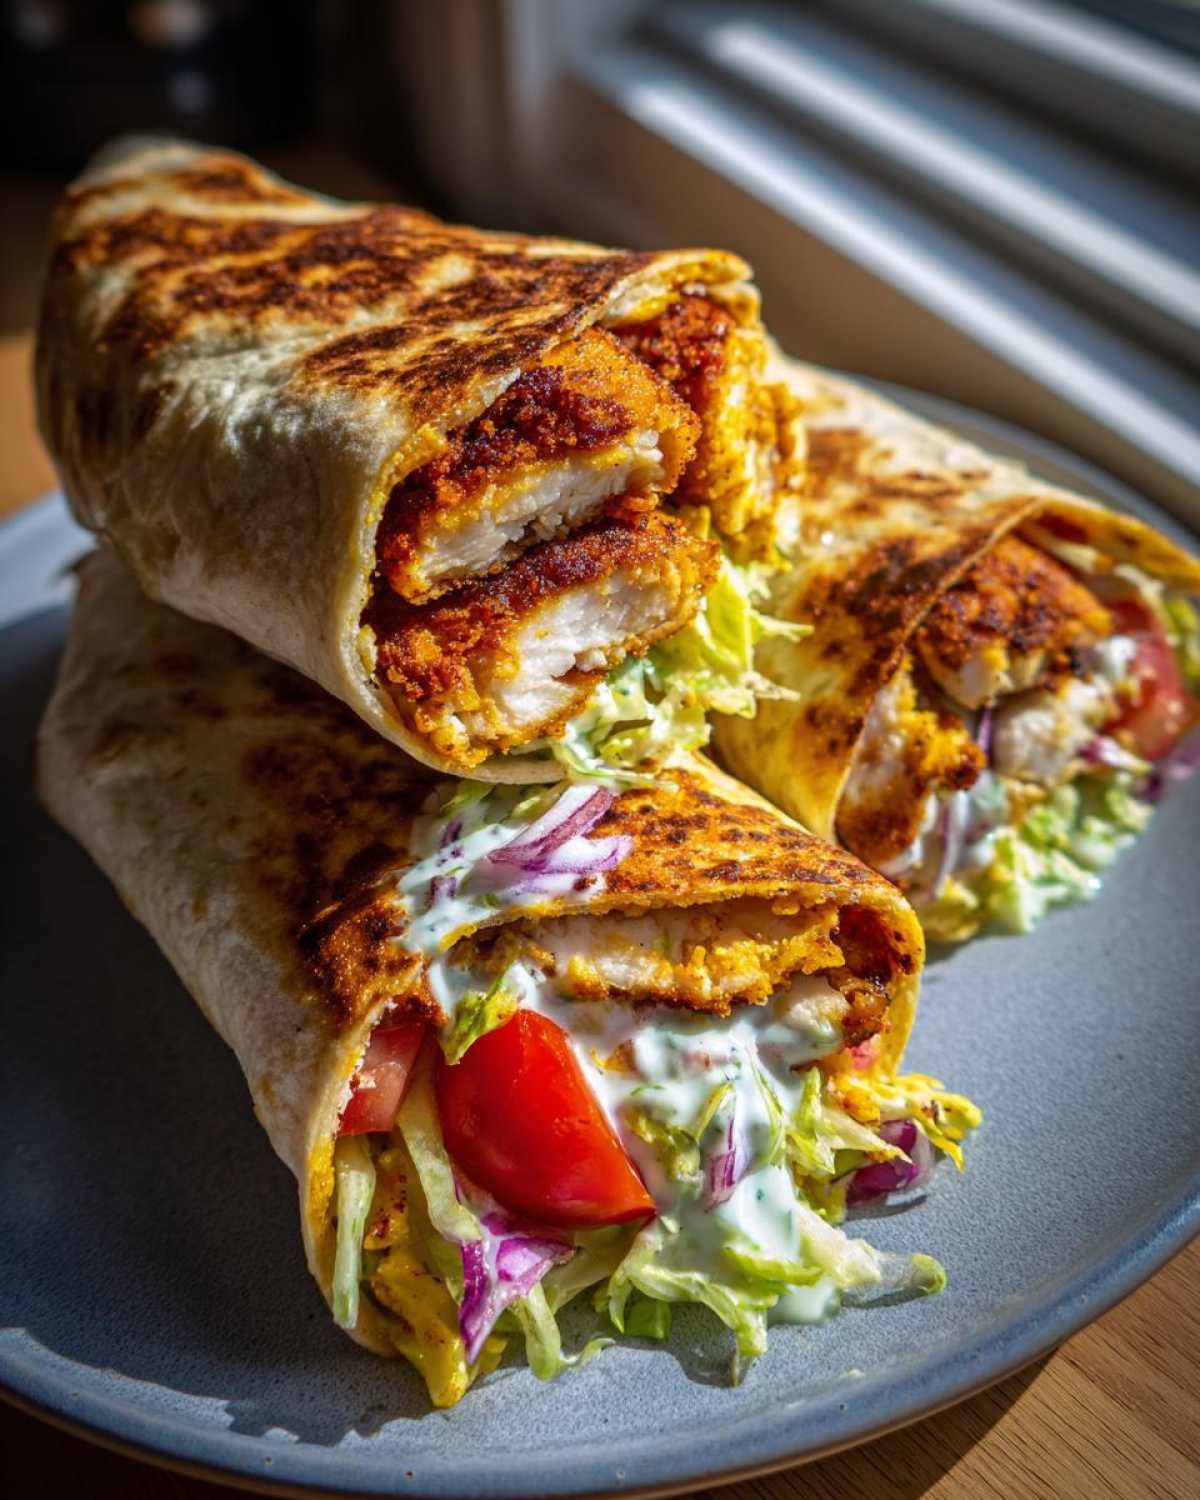
You’ve got the foundational Crispy Chicken Wrap with Garlic Yogurt Sauce down, but that just means we can start playing around! I always think of a recipe as a starting point, not a rigid law. If you follow those main steps—especially the double press into the Panko—you’re golden, but here are a few tweaks I love to make.
First, let’s talk herbs in the sauce. If someone in your house isn’t crazy about dill, swap it out for fresh parsley! It gives a similar bright lift without changing the texture. This is a great alternative if you are looking for a simpler flavor profile.
Now, for the heat lovers! If you want to punch up the spice in your Easy Chicken Wrap Lunch Idea, don’t bother messing with the sauce. Instead, mix about half a teaspoon of cayenne pepper right into the seasoned Panko breadcrumbs along with the paprika and garlic powder. It toasts beautifully when air fried and gives you that slow, satisfying heat throughout the whole wrap without messing up the creamy garlic goodness!
Storage and Make Ahead Crispy Chicken Options
I know, I know. Sometimes you just can’t eat four wraps in one night, or maybe you want to prep lunch on Sunday so you don’t have to think about it during the week. That’s totally doable here, but we have to be smart about it, especially because the whole point of this meal is the CRUNCH!
The absolute best news is that the garlic yogurt sauce is a champion make-ahead item! As I mentioned before, mix it up, seal it tight, and it stays amazing in the fridge for three days, maybe even four. It keeps that fresh dill flavor really bright.
Now, for the chicken strips. Look, technically, you *can* cook the chicken ahead of time. However, if you want that perfect, near-fresh-from-the-air-fryer shatter when you bite in, you’re going to want to bread them ahead of time and cook them fresh. My best advice for meal prepping this specific Crispy Chicken Wrap Recipe is to do step one through the end of the breading process, stick those breaded strips in a container, and then just cook them right before lunchtime the next day.
If you absolutely must cook them ahead, which I totally get, you need a strategy for reheating to revive that crisp shell. Please, promise me you won’t use the microwave! That’s a one-way ticket to sad, rubbery chicken. You need to use the air fryer again!
To reheat: Set the air fryer back to 400°F (200°C). Lay the cold, cooked chicken strips in a single layer and give them just a tiny spritz of cooking spray. Air fry for about 4 to 5 minutes. This super-hot blast will dry out the crust again and make it wonderfully crispy. Once they are hot and crunchy again, then you can assemble your Crispy Chicken Wrap with Garlic Yogurt Sauce fresh with lettuce and sauce.
This technique keeps the chicken satisfyingly crunchy while the sauce stays cool and protects the tortilla from getting soggy right away. It works perfectly for lunch prep!
Frequently Asked Questions About This Recipe
Whenever I share this recipe, people always have a few great questions pop up. It’s because everyone wants to make sure their Crispy Chicken Wrap with Garlic Yogurt Sauce turns out just as good as mine did on the first try! Here are the things I get asked most often, so you can troubleshoot before you even start cooking.
Can I bake the chicken instead of air frying it?
Oh, gosh, yes, you absolutely can bake it if you don’t have an air fryer! It just takes a little longer to get that perfect crunch, which is why I always lean toward the air fryer. If you’re baking, preheat your oven to a hot 425°F (220°C). Place the sprayed, breaded chicken strips on a rack set over a baking sheet—the rack is key so air can circulate underneath! Bake for about 18 to 20 minutes, flipping halfway through until they are golden. Keep an eye on them; the results are good, but the air fryer just does it faster and usually a touch crispier.
How long does the yogurt sauce last if I make extra?
This is the question I love answering because it saves time later! The Garlic Yogurt Dip for Wraps is made with Greek yogurt, which is already quite sturdy. Because we aren’t doing anything fancy with it, it lasts really well. I recommend storing it in a sealed container; it should be good for about three to four days in the fridge. You can totally make a big batch on Sunday for your Quick Dinner Wraps throughout the week. If it seems a little thicker on day three, just stir in half a teaspoon of water or a drop more lemon juice to loosen it up!
What vegetables make up the best Healthy Chicken Wrap Filling?
I kept my template really simple—lettuce, tomato, onion—because I wanted the focus on that incredible chicken and sauce. But if you’re looking to bulk up your filling and make it even healthier, go wild! Sliced cucumbers are amazing because they add a cool crunch that pairs well with the cooling yogurt. Pickled jalapeños or pepperoncini add great texture and a nice kick. Thinly shaved carrots or some finely chopped purple cabbage also hold up really well inside the wrap and add fantastic color to your lunch!
Do I have to use chicken breast, or can I use thighs?
Breast is my go-to because it’s leaner and strips into those perfect uniform shapes, which cooks evenly in the air fryer. However, boneless, skinless chicken thighs are more forgiving! They have a bit more fat, so they stay juicier even if you accidentally leave them in for an extra minute or two. If you use thighs, cut them to a similar size as the breast strips, and they might need about 2 to 3 minutes longer in the air fryer. They will still get perfectly crispy!
PrintCrispy Air-Fried Chicken Wraps with Garlic Yogurt Sauce

Make satisfying crispy chicken wraps using an air fryer for the chicken, paired with a simple, fresh garlic yogurt sauce.
- Prep Time: 20 min
- Cook Time: 12 min
- Total Time: 32 min
- Yield: 4 servings
- Category: Lunch
- Method: Air Frying
- Cuisine: American
- Diet: Vegetarian
Ingredients
- 1 lb boneless, skinless chicken breast, cut into strips
- 1 cup all-purpose flour
- 2 large eggs, beaten
- 1.5 cups panko breadcrumbs
- 1 teaspoon paprika
- 0.5 teaspoon garlic powder
- 0.5 teaspoon salt
- 0.25 teaspoon black pepper
- Cooking spray
- 4 large flour tortillas
- 1 cup shredded romaine lettuce
- 0.5 cup sliced tomato
- 0.25 cup thinly sliced red onion
- For the Sauce: 1 cup plain Greek yogurt
- 2 cloves garlic, minced
- 1 tablespoon lemon juice
- 1 tablespoon fresh dill, chopped
- Pinch of salt
Instructions
- Prepare the chicken coating: Set up three shallow dishes. Place flour in the first. Whisk eggs in the second. Mix panko breadcrumbs, paprika, garlic powder, salt, and pepper in the third.
- Dredge the chicken strips first in flour, shaking off excess. Dip into the egg mixture, letting excess drip off. Coat thoroughly in the seasoned panko mixture, pressing gently to adhere.
- Air fry the chicken: Preheat your air fryer to 400°F (200°C). Lightly spray the breaded chicken strips with cooking spray. Cook in a single layer for 10 to 12 minutes, flipping halfway through, until golden brown and cooked through (internal temperature 165°F).
- Make the sauce: While the chicken cooks, combine Greek yogurt, minced garlic, lemon juice, dill, and salt in a small bowl. Mix well.
- Warm the tortillas: Heat the flour tortillas briefly in a dry skillet or microwave until pliable.
- Assemble the wraps: Lay a warm tortilla flat. Spread a generous amount of garlic yogurt sauce down the center. Top with crispy chicken strips, lettuce, tomato slices, and red onion.
- Fold the wrap tightly and serve immediately.
Notes
- For extra crispiness, chill the breaded chicken for 15 minutes before air frying.
- You can prepare the garlic yogurt sauce up to one day ahead and store it in the refrigerator.
- Substitute dill with fresh parsley if preferred.
Nutrition
- Serving Size: 1 wrap
- Calories: 480
- Sugar: 7
- Sodium: 550
- Fat: 18
- Saturated Fat: 4
- Unsaturated Fat: 14
- Trans Fat: 0
- Carbohydrates: 45
- Fiber: 3
- Protein: 38
- Cholesterol: 110