

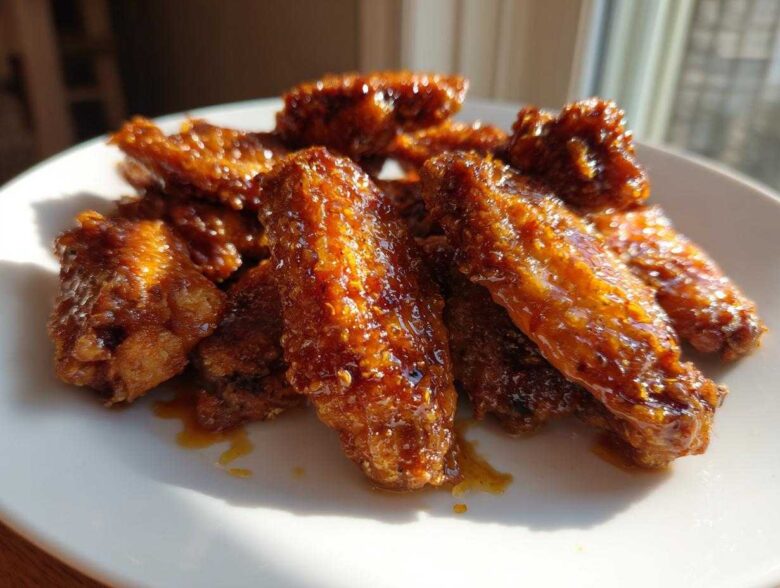
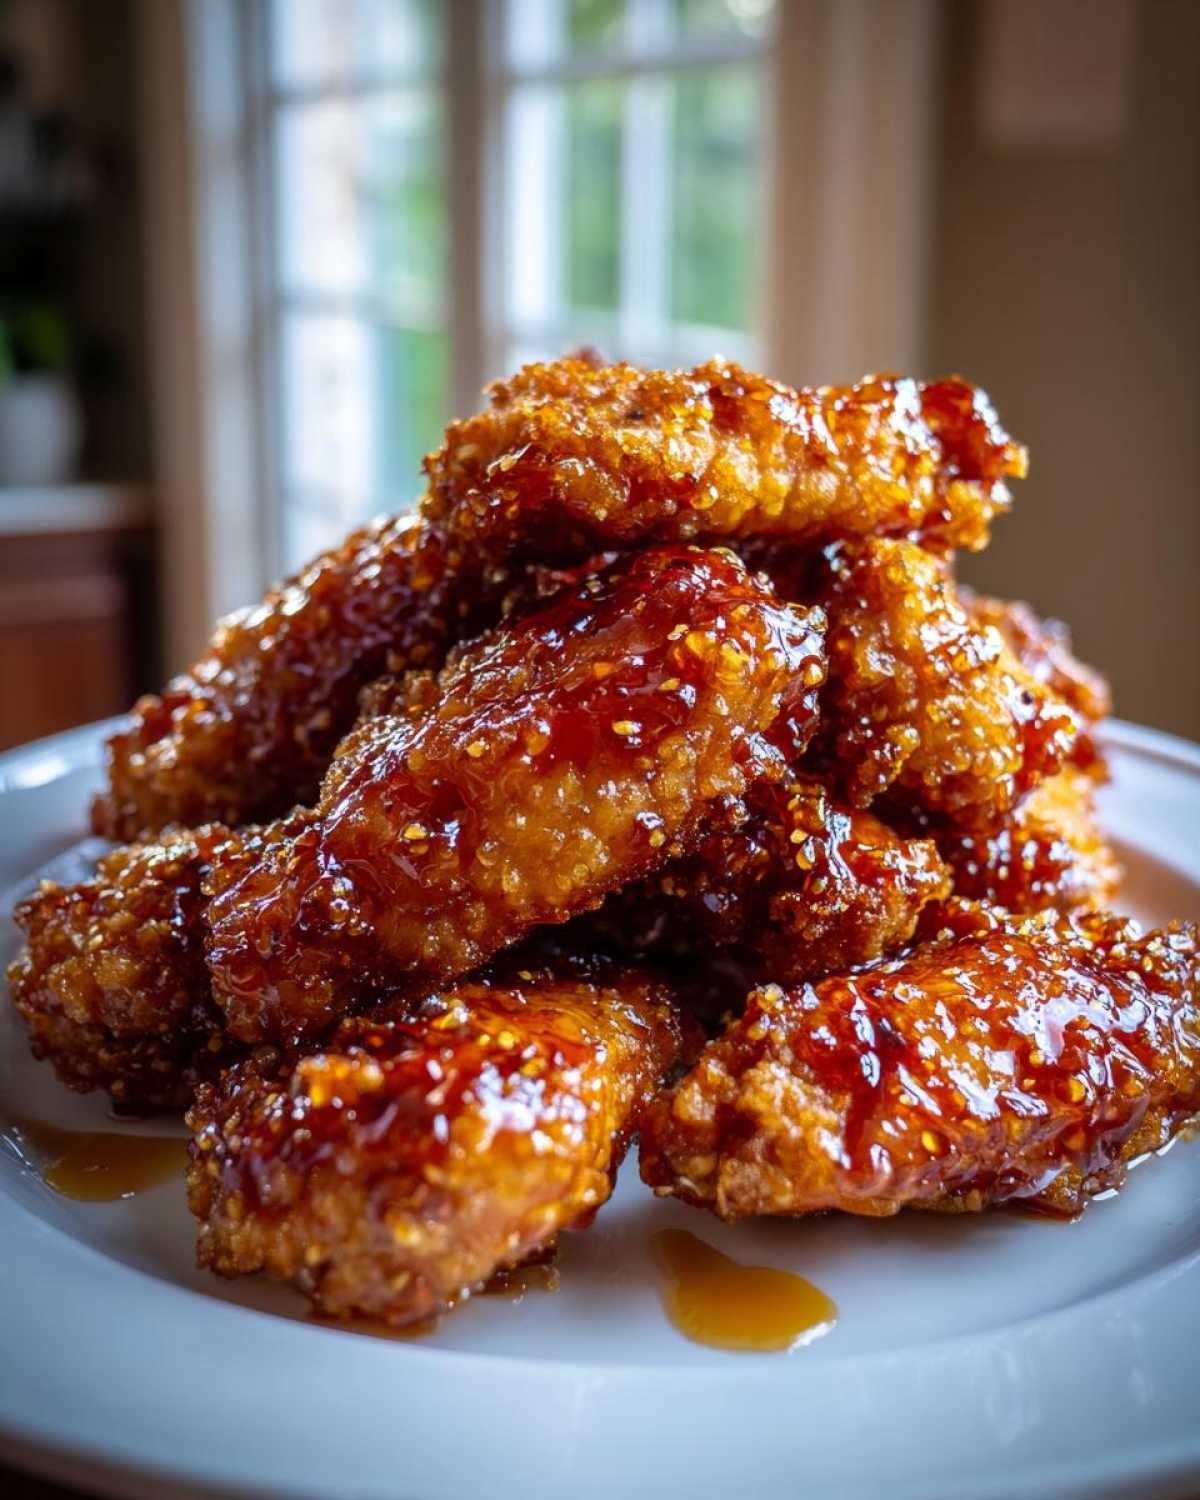
Look, I get it. You crave that incredible, shatteringly crispy skin you usually only find at the deep fryer, but who wants all that oil and hassle? Over the years, I must have baked one hundred batches trying to unlock the oven’s secret weapon. Forget those sad, chewy baked wings you might have tried before! I finally cracked the code, and trust me, the secret involves a tiny white powder and high heat. This specific method delivers the most outrageously crunchy, golden, bakery-style results right on your home baking sheet. When you toss these beauties in the sweet, tangy sauce, you get the absolute **Crispy Baked Chicken Wings with Honey Glaze** that everyone begs me to make for wing night. Seriously, they taste fried!
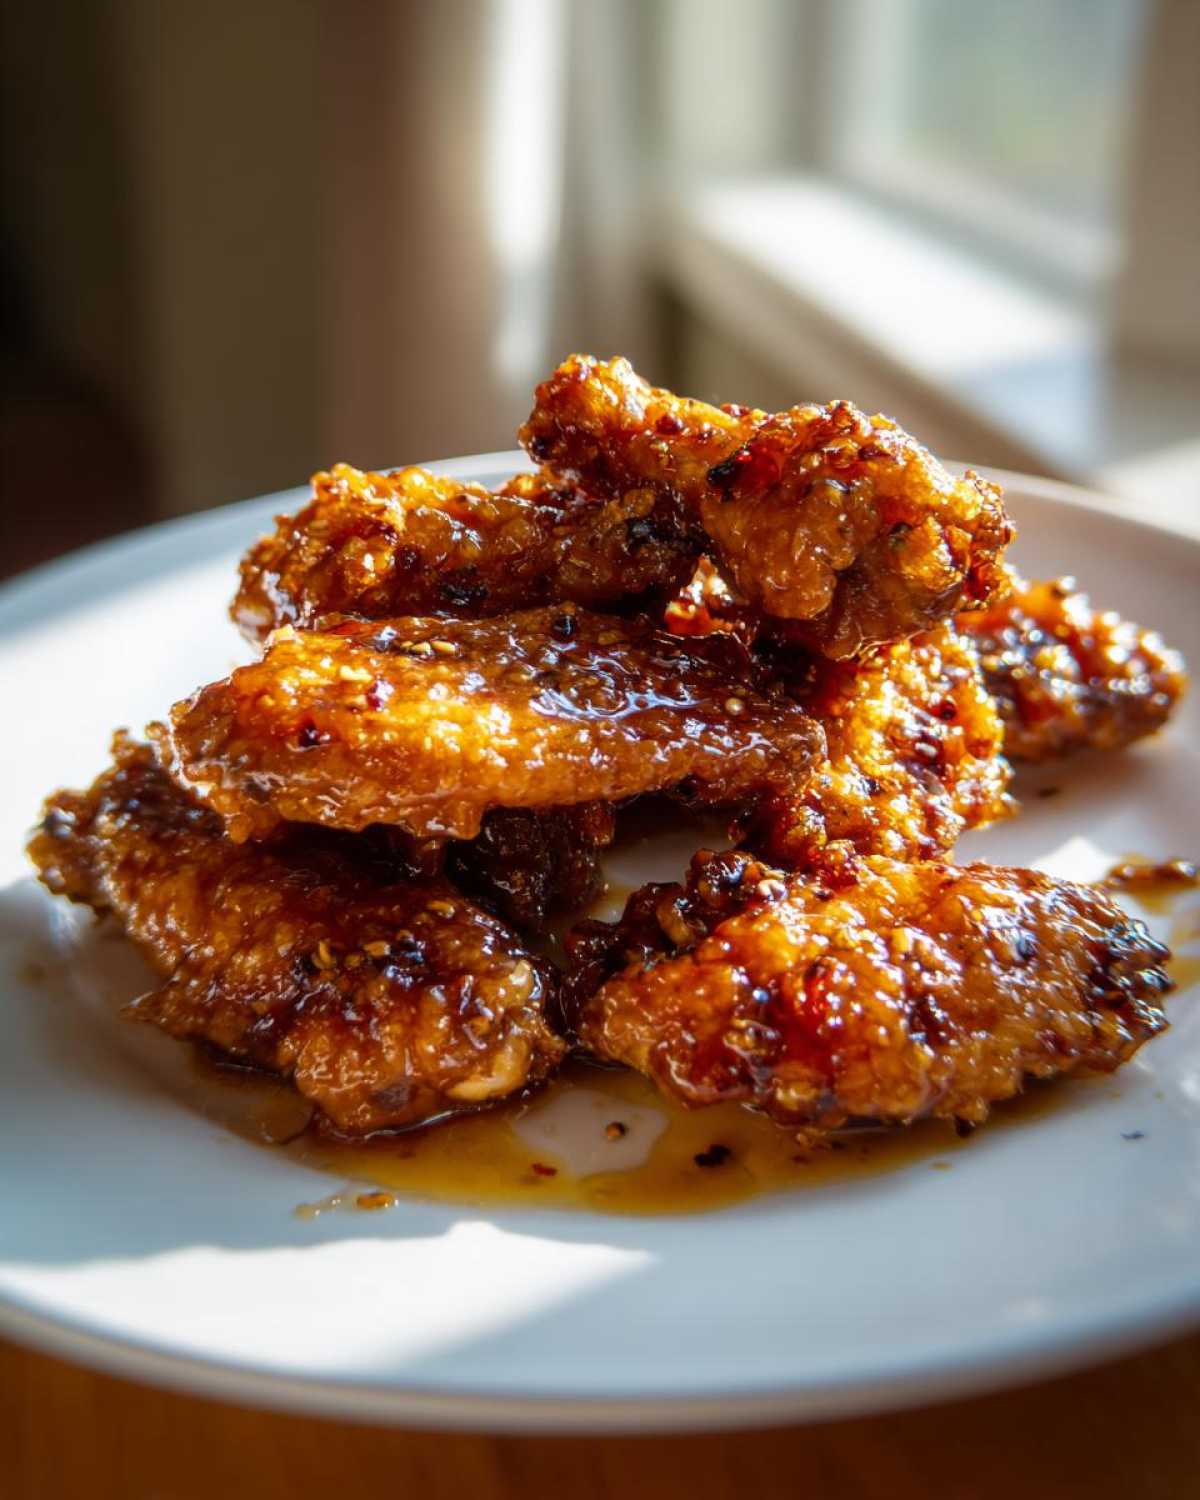
Why This Recipe Guarantees Crispy Baked Chicken Wings with Honey Glaze
I’m going to share the exact science behind why these wings suddenly stop being rubbery and start being crackly. It’s not magic; it’s just knowing what your oven needs! We are actively working against the steam that usually ruins baked wings. Trust me, once you use this simple Crispy texture chicken wings technique, you’ll never go back to just tossing them in the oven naked.
The Essential Role of Baking Powder in Crispy Baked Chicken Wings
This is the non-negotiable cheat code for getting restaurant-quality skin at home. You absolutely need baking powder, not baking soda—they act differently! What it does is raise the pH level on the skin’s surface. Think of it like this: the baking powder helps the skin dry out and brown much faster in the heat, preventing it from steaming itself soggy. This little adjustment is the key to achieving that amazing, crunchy bite on every single piece of your **Crispy Baked Chicken Wings with Honey Glaze**.
Oven Setup for Maximum Air Circulation
If you just lay the wings flat on a pan, the bottom half boils in its own released juices. Nobody wants that! You have to get them elevated. We use a sturdy wire rack placed right over a foil-lined sheet. This setup allows the hot air in your oven to completely surround the wing—top, bottom, and sides—giving you that all-over crunch. This simple trick in our Oven baked wings tutorial ensures the wings bake evenly and crisp up beautifully from every angle.
Gathering Ingredients for Crispy Baked Chicken Wings with Honey Glaze
Okay, gathering time! This recipe keeps things super simple, which is just how I like it when I’m trying to get dinner on the table fast. You’ll need two pounds of chicken wings, and make sure you separate them into the flats and drumettes—it helps them cook evenly. The dry rub is basic but powerful: salt, pepper, and that crucial tablespoon of aluminum-free baking powder. For the sauce, keep it minimal: honey, soy sauce, apple cider vinegar, and just one little clove of garlic minced up nice and fine. That’s it! No fancy specialty items needed here.
Step-by-Step Instructions for Perfect Crispy Baked Chicken Wings with Honey Glaze
Alright, here’s where we put the science into action! Getting perfect results means following these steps exactly, especially that drying part. Don’t rush it, because the payoff is huge! I’ve broken down the whole process so you can easily manage both the baking and the sauce creation at the same time. Once you master this method, you’ll be making these **Crispy Baked Chicken Wings with Honey Glaze** every weekend.
Preparing the Wings for Optimal Baking
First up, grab your oven and crank it up to a mighty 425°F (220°C). Line a baking sheet with foil—it saves cleanup! Crucially, you have to get the wings bone-dry. Use paper towels and just press until you think they can’t get any drier—then press again! Next, toss them with the salt, pepper, and that magic baking powder. Arrange them snugly on your wire rack, making sure every single wing has space around it. They must not touch if you want that crunch!
Baking Time and Temperature for Crispy Texture
Into the hot oven they go for 25 minutes. Don’t peek too much! When that time is up, flip every wing over gently. Now, let them go for another 20 to 25 minutes. You are looking for a deep, gorgeous golden brown color. If you want that true Crispy wings no fry texture, they need to look slightly darker than you might expect. When they look perfectly crisp, pull them out!
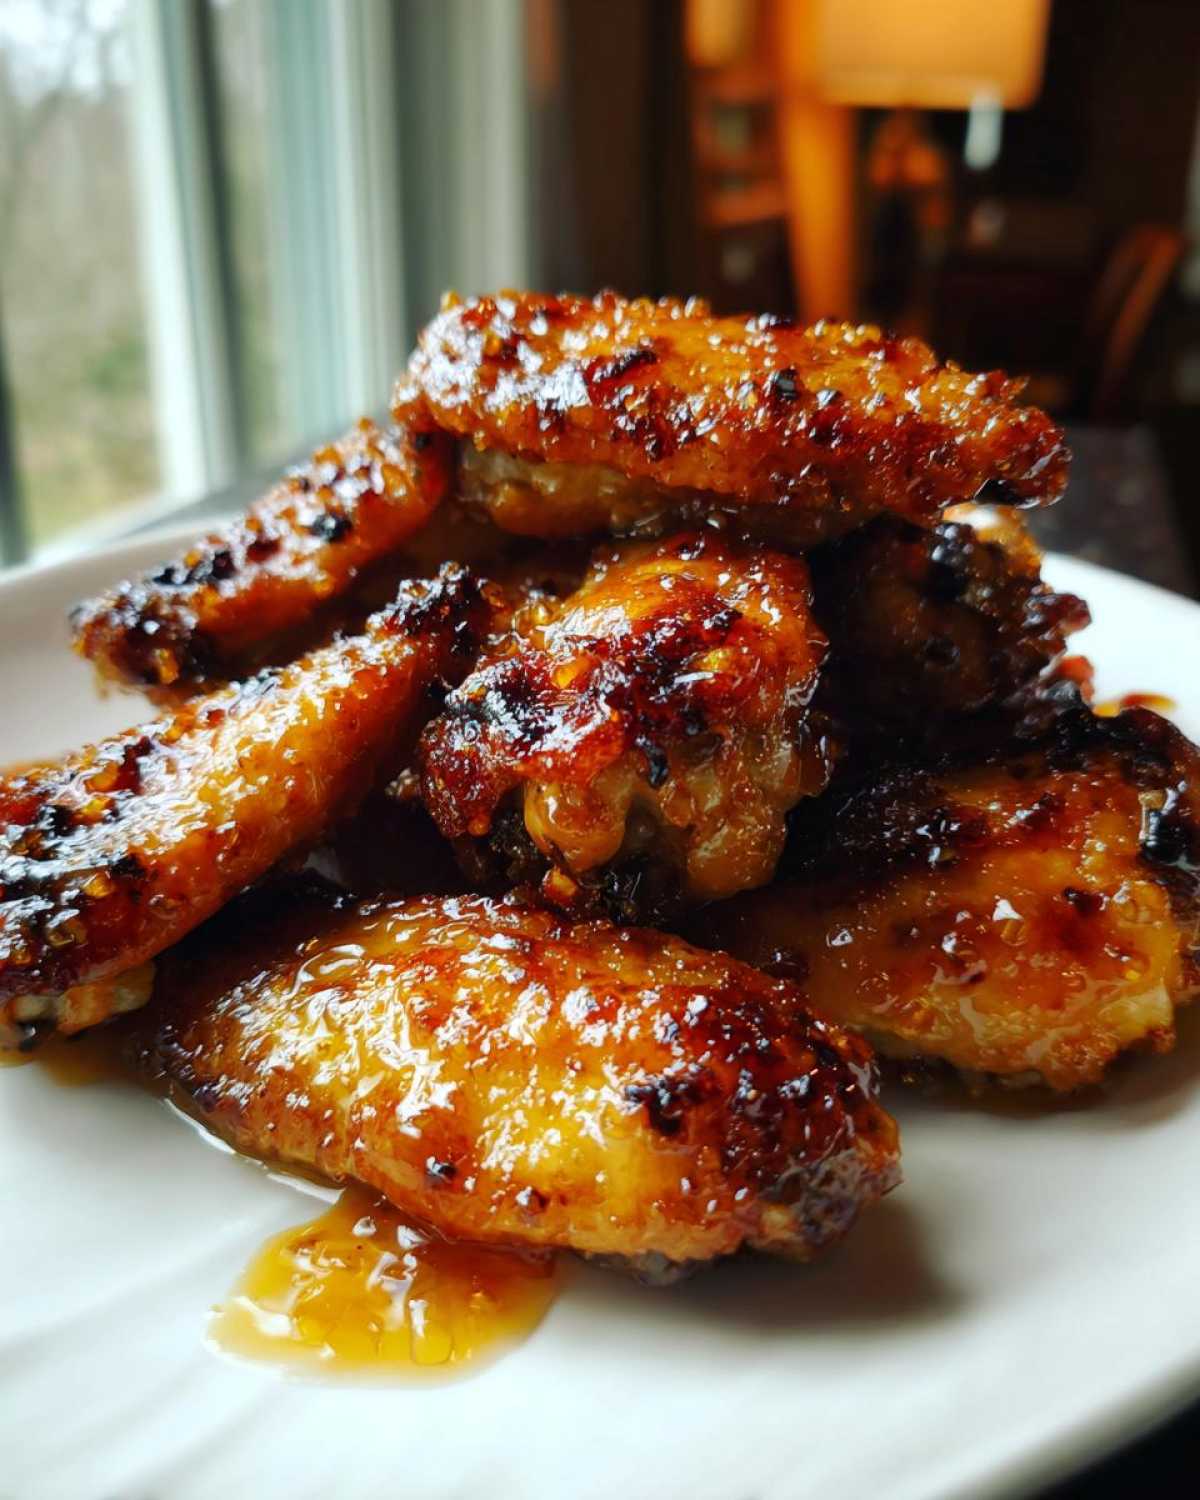
Creating the Signature Sticky Honey Glaze
While the wings are finishing up their bake, let’s make that incredible sauce. In a small saucepan, whisk together your honey, soy sauce, apple cider vinegar, and that little bit of minced garlic. Heat this mixture over medium-low heat. You only need to let it simmer gently for about three minutes until it just starts to thicken up and looks syrupy. Pull it right off the heat immediately so it doesn’t burn. This makes the best sauce for your **Crispy Baked Chicken Wings with Honey Glaze**.
Glazing and Serving the Crispy Baked Chicken Wings with Honey Glaze
This next part needs speed! Take your piping hot, crispy wings straight from the rack and pop them into a big mixing bowl. Pour that warm glaze right over the top. Toss them quickly but gently until every surface is shiny and sticky. Seriously, eat these right away! That’s when they are at their absolute crunchiest point. If you are looking for more savory ideas like this, check out my easy honey garlic chicken stir-fry recipe for another fast weeknight winner.
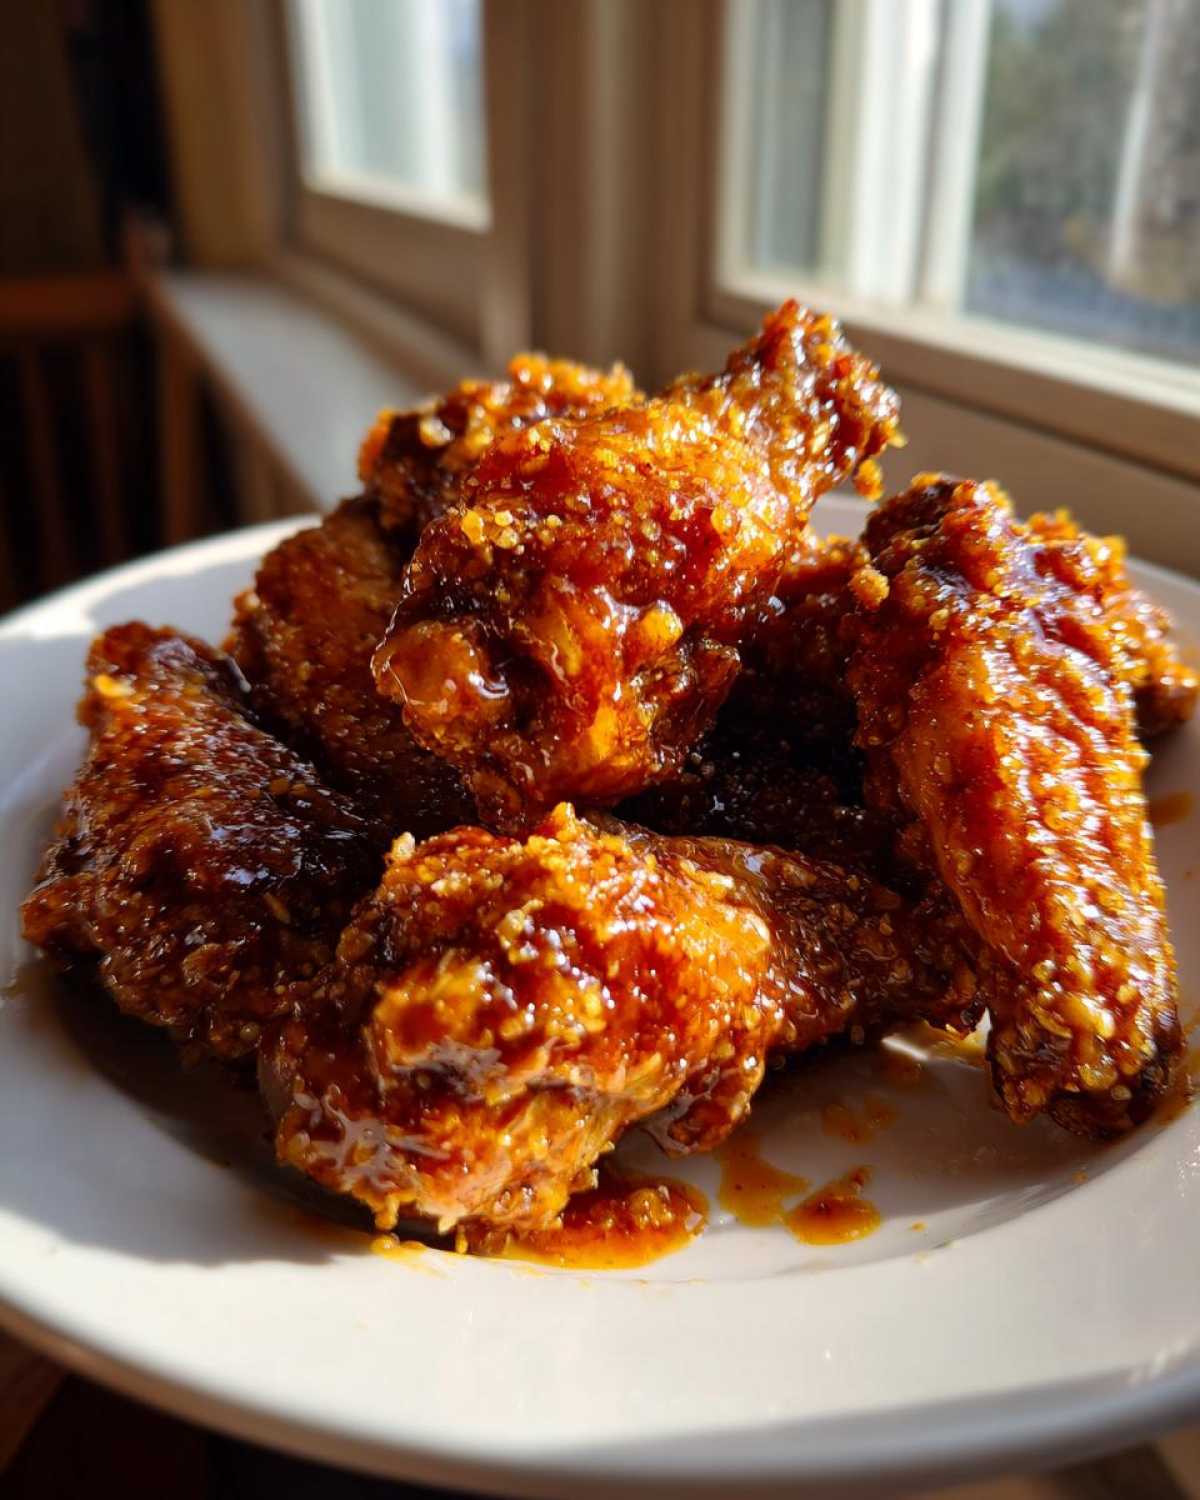
Tips for Achieving Next-Level Crispy Baked Chicken Wings with Honey Glaze
Knowing the basic steps is great, but getting that *next-level* crunch requires a few little tricks my family perfected over years of testing. Don’t skip the prep time, or you risk a slightly soft wing. The secret weapon mentioned in the notes—letting the seasoned wings rest—is honestly the game-changer!
If you have the time, generously toss those wings with the baking powder mixture, then spread them out on the rack and leave them uncovered in the fridge for four hours, or even overnight. This dehydrates the skin just enough before it ever sees the oven heat. It’s a little extra effort, but trust me, the difference in the final texture is wild. For the full flavor experience, I sometimes like to brush a tiny bit of melted butter over the wings right before they go in for their final 20 minutes—it helps the brown so beautifully—but be careful doing this if you are making a big batch where space is tight!
For immediate results, make sure that glaze is warm when it hits the wings, just like we discussed! If you want to see another one of our favorite saucy dishes, you should definitely check out my recipe for zesty lemon sauce. These **Crispy Baked Chicken Wings with Honey Glaze** are worth the wait!
Storage and Reheating Instructions for Leftover Wings
It’s rare that we have leftovers because these **Crispy Baked Chicken Wings with Honey Glaze** disappear so fast! But if you somehow manage to save some, you need to treat them right so they don’t turn into sad, mushy things. Store any remaining wings in an airtight container in the fridge. Now, here is the critical part: Do NOT try to microwave them—that’s instant sogginess, and we can’t have that!
To bring back that incredible oven crispiness, you must use the oven or an air fryer if you have one. Pop them on a baking sheet (you don’t even need the rack this time) at about 375°F for just 5 to 8 minutes. Just enough time to heat the meat through and crisp up that gorgeous glaze again. They’ll be almost as perfect as when they first came out of the oven!
Variations on the Best Honey Glaze Wings
While I believe my original recipe delivers the Best honey glaze wings you’ll ever taste, cooking should always be fun and flexible! Sometimes you just need a little kick or a different kind of sweetness, right? Don’t be afraid to tweak that glaze recipe we made.
If you are feeling zesty, add in about a teaspoon of Sriracha or a pinch of red pepper flakes while the sauce simmers. It gives you a beautiful sweet-and-spicy dynamic that is amazing with that crispy skin. You can also swap out the honey entirely if you like! Maple syrup works beautifully, giving a slightly deeper, woodsy note to the sauce. For a deeper flavor profile altogether, try replacing the apple cider vinegar with a splash of Worcestershire sauce.
And if you want something completely different but still in that sweet and savory lane, you absolutely have to check out my recipe for easy homemade BBQ sauce next time you make wings. It’s fantastic!
Frequently Asked Questions About Crispy Baked Chicken Wings
It’s funny how many little questions pop up once you start baking wings at home! I’ve gathered the ones I always get asked, especially about getting that perfect crunch for our **Crispy Baked Chicken Wings with Honey Glaze**. Here are the quick answers to get you sorted so your next batch is a total win!
Can I use baking soda instead of baking powder for the Crispy Baked Chicken Wings with Honey Glaze?
Oh, please don’t! Seriously, it’s a big no for this recipe. Baking soda tends to make things taste soapy or metallic if you use too much. We absolutely need baking powder here because it interacts just right with the chicken skin to encourage that beautiful browning and crispiness when baking. Stick to the powder for guaranteed success!
What is the best way to make these wings ahead of time?
If you’re planning a party, you can totally prep ahead, which is great for managing your time! The key to your Make ahead honey glazed wings is baking them completely first, letting them cool fully, and then storing them in the fridge. You should leave the glaze off, though! Glaze them piping hot right before you serve them so that sticky sauce doesn’t turn the perfect crust soggy while sitting around.
How do I ensure the skin stays sticky and not soggy after glazing?
This is all about timing and temperature on the back end. Make sure you take the wings out of the oven—hot, crispy, and ready—then immediately transfer them to your bowl. Pour that glaze over them while the sauce is still warm, and toss immediately. The heat of the wings helps the warm glaze set up quickly, locking in that **Crispy texture chicken wings technique** you worked so hard to achieve!
Estimated Nutritional Information for This Recipe
Now, look, I have to give you this little disclaimer right up front. Because we’re baking and using a homemade glaze, these numbers are just estimates based on averages—they can shift based on the size of your wings or exactly how thick you make that honey sauce! I’d never want someone to rely on this for strict tracking, but it gives you a good ballpark idea of what you’re diving into.
Based on the recipe breakdown for four servings, here’s what a typical serving of about 4 wings looks like:
- Calories: About 320 per serving
- Total Fat: Around 18 grams (most of that good unsaturated stuff!)
- Protein: A whopping 21 grams—these are definitely satisfying!
- Carbohydrates: About 19 grams, mostly coming from that beautiful, sticky honey glaze.
- Sugar: We’re looking at roughly 18 grams of sugar here. Hey, it’s a treat!
- Sodium: Around 450mg, thanks mostly to the soy sauce in the glaze.
So, while they are sweet, you are also getting great protein content because we skipped the deep fryer. That’s the beauty of this method!
Share Your Perfect Baked Chicken Wings with Honey Glaze Experience
Now that you’ve mastered the ultimate Crispy Baked Chicken Wings with Honey Glaze, I want to hear all about it! Did they turn out perfectly crunchy? Did your family devour them in five minutes flat? Head over to the comments below and leave me a star rating and a review on how you liked them. Don’t forget to tag me if you post photos!
If you loved them, you should totally explore the rest of my kitchen adventures over at my main blog page. Happy wing-making!
PrintCrispy Baked Chicken Wings with Honey Glaze
Follow this recipe to bake chicken wings until they are crispy without deep frying, then coat them in a simple, sticky honey glaze.
- Prep Time: 15 min
- Cook Time: 50 min
- Total Time: 65 min
- Yield: 4 servings
- Category: Appetizer
- Method: Baking
- Cuisine: American
- Diet: Low Fat
Ingredients
- 2 lbs chicken wings, separated into flats and drumettes
- 1 tablespoon baking powder (aluminum-free preferred)
- 1 teaspoon salt
- 1/2 teaspoon black pepper
- 1/4 cup honey
- 2 tablespoons soy sauce
- 1 tablespoon apple cider vinegar
- 1 clove garlic, minced
Instructions
- Preheat your oven to 425°F (220°C). Line a baking sheet with foil and place a wire rack on top of the sheet.
- Pat the chicken wings very dry using paper towels. This step is crucial for crispiness.
- In a medium bowl, toss the dried wings with baking powder, salt, and pepper until evenly coated.
- Arrange the wings in a single layer on the wire rack, ensuring they do not touch.
- Bake for 25 minutes. Flip the wings over and bake for another 20 to 25 minutes, or until the skin is deeply golden and crisp.
- While the wings finish baking, prepare the glaze: In a small saucepan, combine honey, soy sauce, apple cider vinegar, and minced garlic. Heat over medium-low heat, stirring until the mixture simmers and thickens slightly, about 3 minutes. Remove from heat.
- Remove the crispy wings from the oven and immediately transfer them to a large bowl.
- Pour the warm honey glaze over the wings and toss gently until every piece is well coated.
- Serve immediately.
Notes
- Using baking powder helps raise the skin’s pH level, which aids in browning and crisping during baking. Do not use baking soda.
- For extra crispiness, let the seasoned wings rest uncovered in the refrigerator for 1 to 4 hours before baking.
- If the glaze seems too thick after cooling slightly, add a teaspoon of hot water to thin it out before tossing.
Nutrition
- Serving Size: 4 wings
- Calories: 320
- Sugar: 18
- Sodium: 450
- Fat: 18
- Saturated Fat: 5
- Unsaturated Fat: 13
- Trans Fat: 0
- Carbohydrates: 19
- Fiber: 0
- Protein: 21
- Cholesterol: 75