

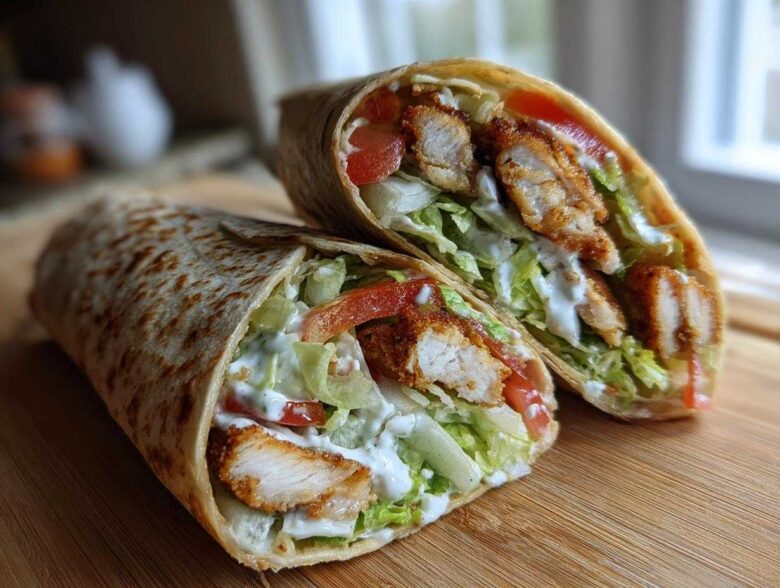
Okay, stop whatever you’re doing right now, because I’m about to share the secret to the most satisfying Crispy Chicken Wrap with Creamy Garlic Sauce you will ever taste. I’m talking about that intense textural craving only a deep crunch can satisfy, right? I spent weeks figuring out how to keep the chicken intensely crispy even after it’s smothered in sauce.
Forget those sad, soggy wraps you sometimes get out there. The magic here is twofold: using the right panko breading for that shatteringly crisp exterior on the chicken, and then drowning that crunch in my ridiculously easy, homemade creamy garlic sauce. Seriously, the sauce alone is worth the effort. When you nail this, you’ve got the best chicken wrap ever on your hands, perfect for a quick dinner or a sturdy lunch!
Why This Crispy Chicken Wrap with Creamy Garlic Sauce is the Best Chicken Wrap Ever
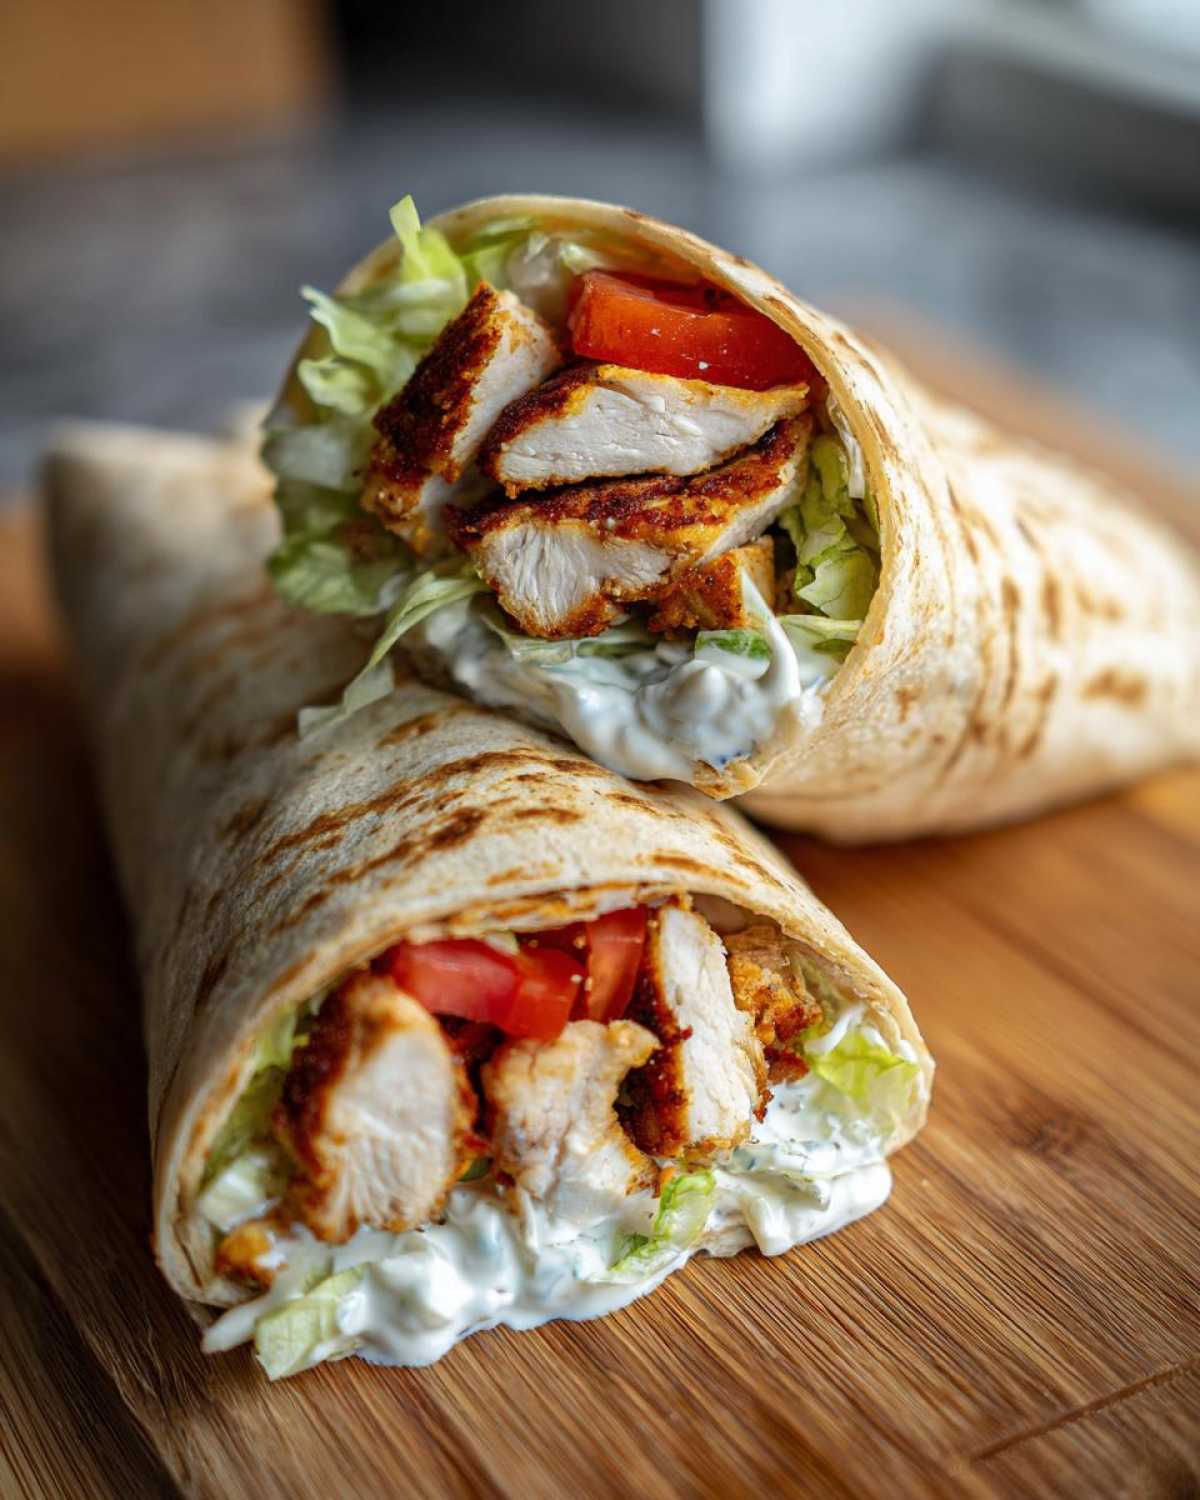
I know, I know, everyone claims their wrap is the best, but stick with me here. This recipe is honestly unmatched because we respect the textures. You get this incredible, restaurant-style crunch that actually lasts, beautifully contrasted by that rich, bright garlic sauce. It’s what happens when you stop settling for lackluster lunches!
Key Benefits of Our Crispy Chicken Wrap Recipe
- Unbeatable Crunch Retention: We use specialized breading and strategic assembly to keep the chicken from wilting immediately.
- Homemade Sauce Flavor: That creamy garlic sauce is pure restaurant-style magic—so much better than anything store-bought.
- Fast Weeknight Meal: It comes together in under 40 minutes, meaning gourmet flavor doesn’t mean spending hours in the kitchen.
Gathering Ingredients for Your Crispy Chicken Wrap with Creamy Garlic Sauce
Okay, let’s get organized! When you’re making something that relies heavily on texture—like this crunchy chicken tortilla—you have to be super precise with your ingredients. It just keeps everything running smoothly, trust me. You’ll need things broken down into four main groups here. Make sure you’ve got those Panko breadcrumbs handy; they are non-negotiable for the crunch!
For the Crispy Panko Chicken Coating
This is where the crunch payoff comes from. We need a good flour dredge and those beautiful Panko breadcrumbs. Don’t forget the little flavor boosters in the flour mix!
- 2 large chicken breasts, cut into 1-inch strips
- 1 cup all-purpose flour
- 1 teaspoon salt
- 1/2 teaspoon black pepper
- 1/2 teaspoon paprika
- 1/4 teaspoon cayenne pepper
- 2 large eggs, beaten
- 1 cup panko breadcrumbs
- Vegetable oil, for frying
For the Creamy Garlic Sauce Chicken Flavor Base
This sauce is bright, savory, and just sings next to the fried chicken. That fresh garlic and lemon juice really wake everything up. If you want to spoil yourself, you could try making your own mayo for this, like over at this recipe, but store-bought works great in a pinch!
- 1/2 cup mayonnaise
- 2 cloves garlic, minced
- 1 tablespoon lemon juice
- 1 teaspoon Dijon mustard
- 1/4 teaspoon salt
- 1/4 teaspoon black pepper
For Assembling the Supreme Crispy Chicken Roll Up
The toppings are simple so they support the crunch, not fight it! Make sure you grab those big, burrito-sized tortillas so you have enough surface area to wrap everything tightly.
- 4 large flour tortillas (burrito size)
- 1/2 cup shredded lettuce
- 1/2 cup sliced tomatoes
- 1/4 cup thinly sliced red onion
How to Make Crispy Chicken for Wraps: Achieving the Ultimate Crunch
Now we get serious about the texture everyone craves! For this part, you need three shallow dishes ready to go. First up, toss your chicken strips in the seasoned flour mix—really shake off the excess so it’s just a light dusting. Then, they get a quick dip in that egg wash, and this is important: when you finally press them into the Panko breadcrumbs, really press them in! You’re aiming for total coverage so they look like little armored pieces of chicken.
When you fry, temperature is everything. You want your oil hitting 350°F (175°C). Carefully drop those strips in, don’t pile them up, or the temperature will crash and you’ll get soggy chicken, which we absolutely cannot have. Fry them for about 3 to 4 minutes on each side until they are deep golden. Drain them on a wire rack, not paper towels if you can help it—the rack lets air circulate so the bottom doesn’t steam!
Air Fryer Crispy Chicken Wrap Technique
I get it, sometimes you want the crunch without the splashing oil. If you’re going the air fryer route, this is the way to go! Just spray your thoroughly breaded chicken strips with cooking spray, just like we do for crispy appetizers like you see in my air fryer gnocchi. Pop them into the air fryer basket and run it at 380°F (195°C) for about 10 to 12 minutes total. Remember to flip them halfway through to make sure both sides get that beautiful brown crispiness.
Preparing the Creamy Garlic Sauce for Your Chicken Wrap Dinner Idea
This creamy garlic sauce is what takes our wrap from good to absolutely stellar, honestly. It’s so simple—you’re just whisking things together in a bowl! I’m talking about mayo, fresh minced garlic, a splash of bright lemon juice, Dijon, and salt and pepper. Whisk it until it’s perfectly smooth and velvety. If you love creamy sauces, once you try this, you might want to check out my cilantro lime sauce recipe too!
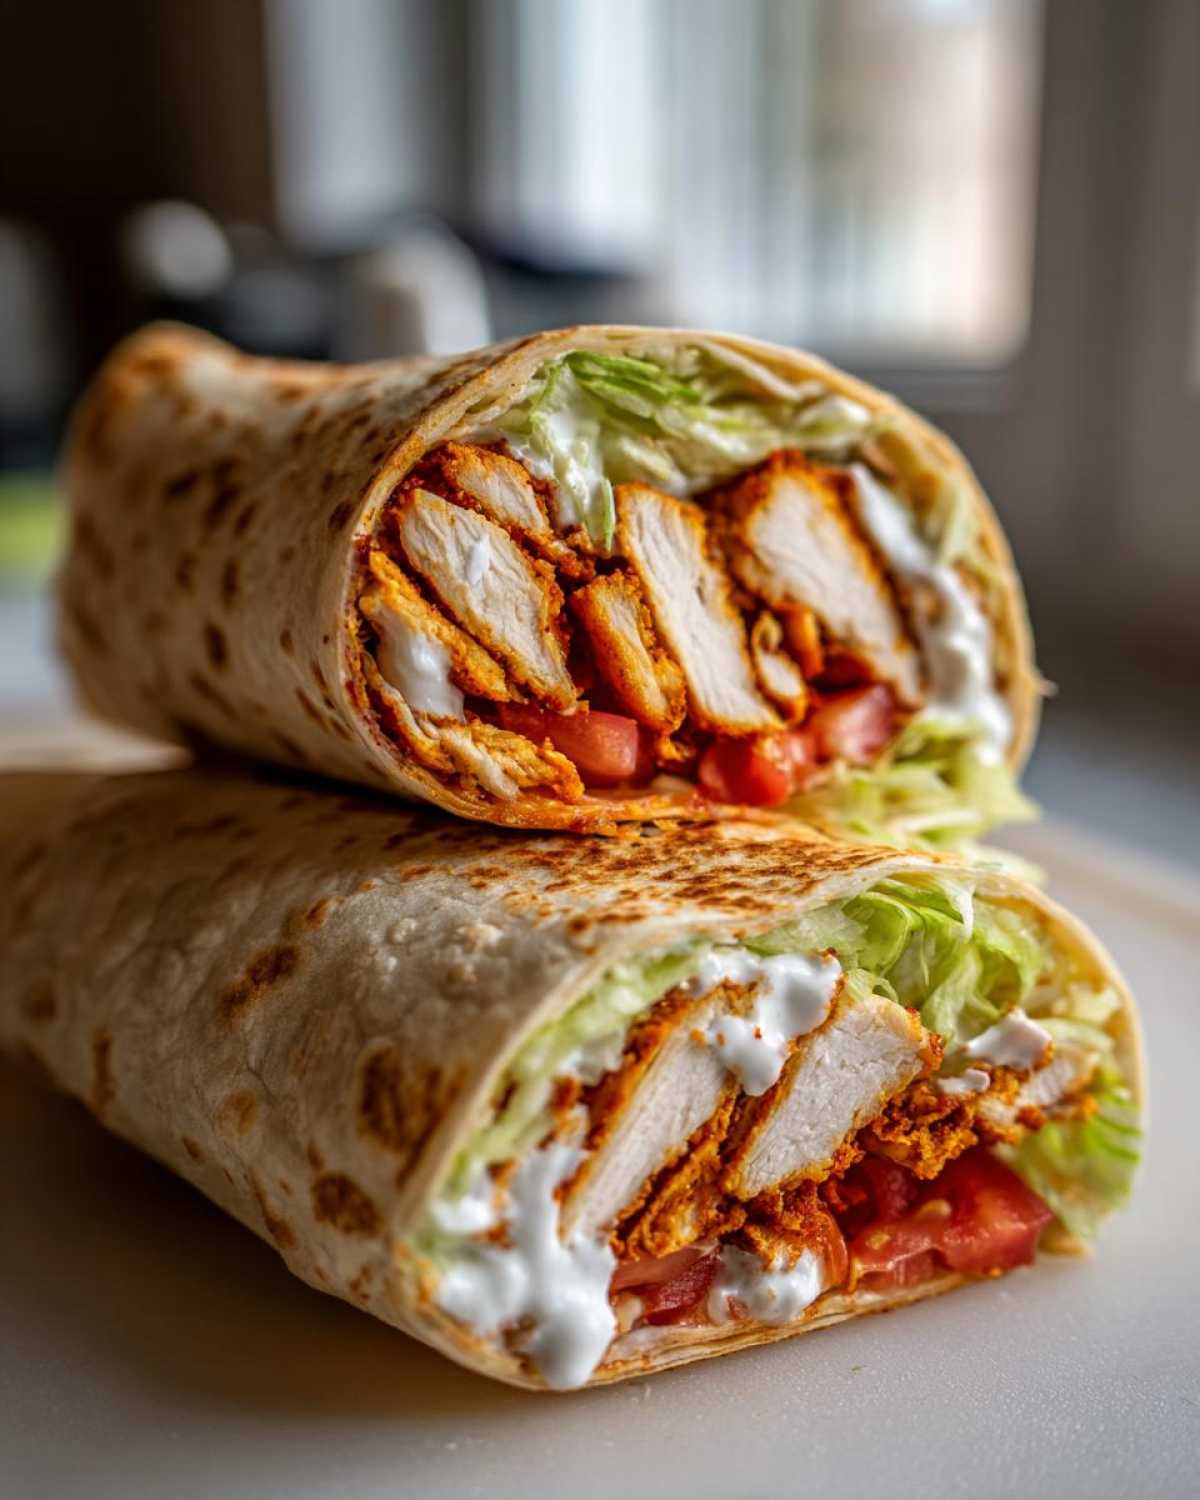
If you really want that next-level flavor, use the best quality mayonnaise you can find, or even whip up a batch of homemade aioli—it makes a difference! The great part? You can whip this sauce up two full days ahead of time. Just keep it covered tight in the fridge. It’s the perfect component for when you need a quick chicken wrap dinner idea!
Step-by-Step Assembly of the Crispy Chicken Wrap with Creamy Garlic Sauce
Okay, we’ve got the crunch cooked and the sauce ready—now we put it all together for the grand finale! The order you layer things in is so important for these crispy chicken rolls; it’s the difference between a perfect wrap and a soggy mess an hour later. First thing’s first: you have to warm those tortillas! A quick 15 seconds per side in a dry skillet makes them super pliable so they won’t crack when you roll them up. We even have a neat little guide on making them soft and pliable if you’re feeling ambitious.
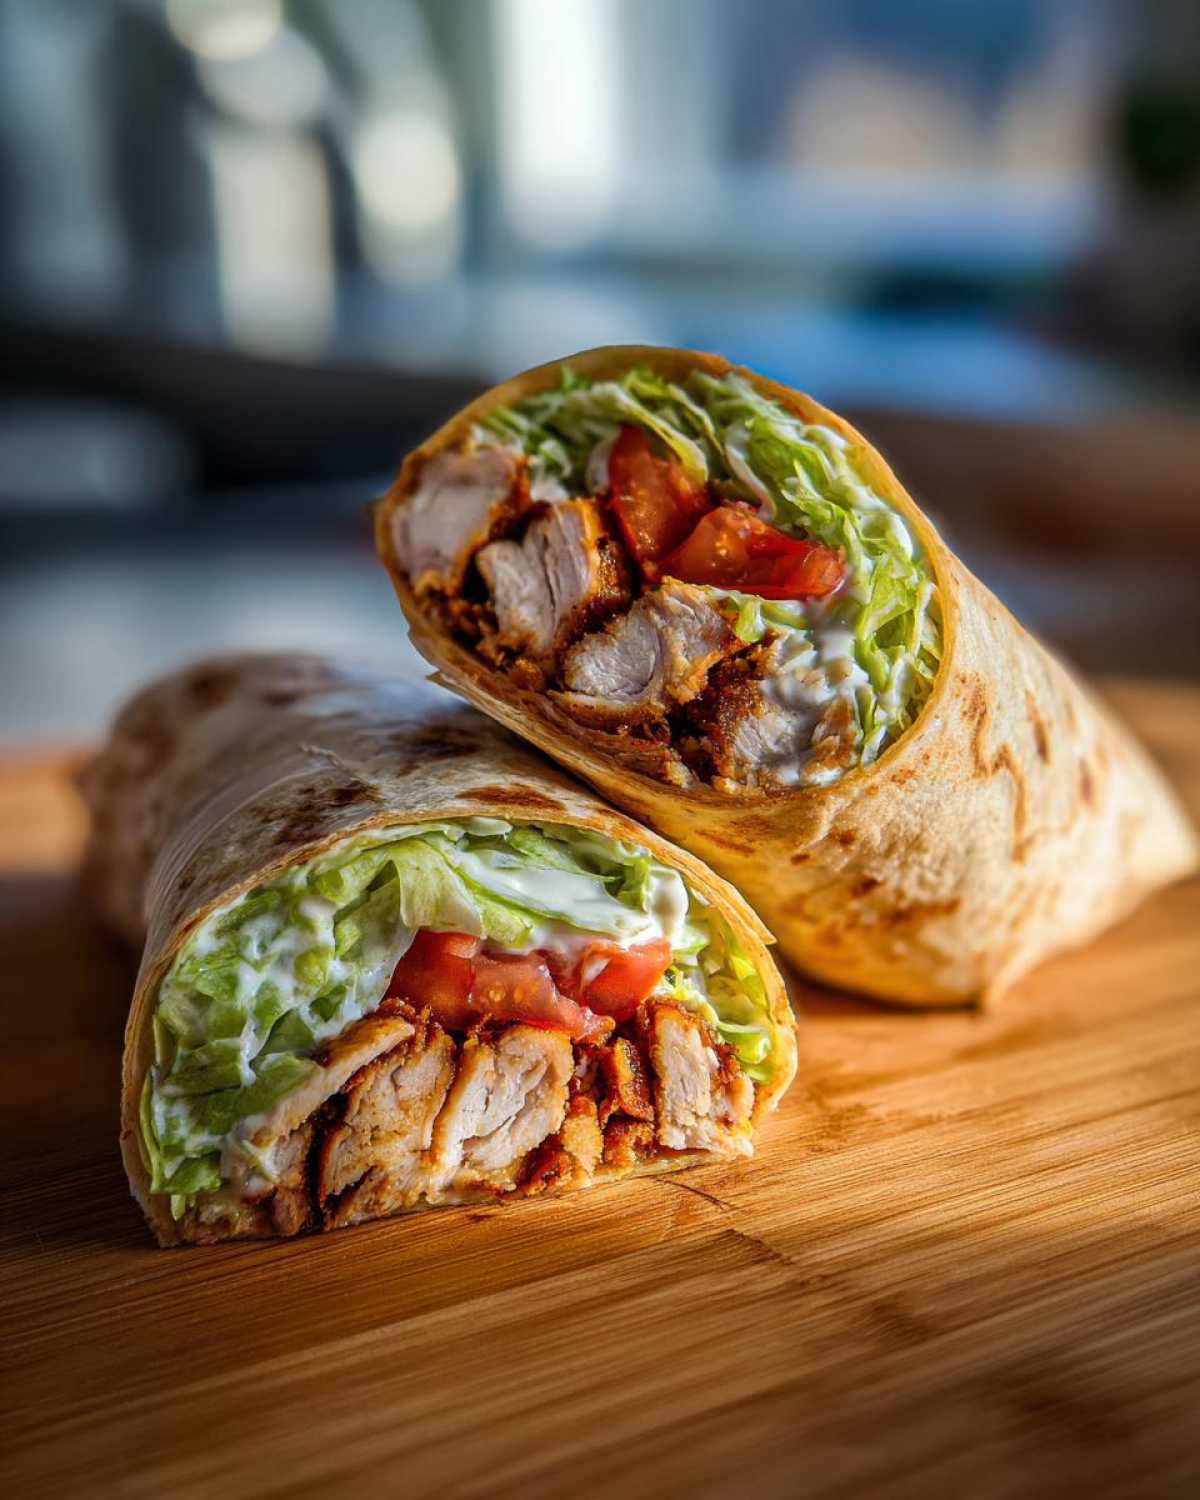
Once warmed, lay the tortilla flat. Spread a healthy layer of that creamy garlic sauce right down the middle—this acts as the base layer. Then, add your chopped lettuce, followed by the tomatoes and onions right on top of the greens. This order—sauce, then veg, then chicken—creates a crucial moisture barrier between the warm chicken and the tortilla itself.
Tortilla Preparation and Layering Order
The lettuce is your unsung hero here! It acts like a waterproof shield, protecting the flour tortilla from the heat and moisture of the freshly fried chicken strips you layer on top last. Once the chicken is settled, fold your sides in over the filling first. Then, pull that bottom edge up tightly over the whole stack and roll it seam-side down. You want a firm, snug wrap—that’s how you get that beautiful, tight Supreme Crispy Chicken Roll Up that holds up perfectly for lunch the next day!
Tips for Success with Crunchy Chicken Tortilla Ideas
You’ve mastered the frying and the sauce, that’s fantastic! But to really nail these crunchy chicken tortilla ideas so they taste like they came straight from that super trendy wrap spot downtown, you need a few extra tricks up your sleeve. These little nudges make a huge difference, especially when you’re planning to eat these later in the week.
First off, let’s talk flavor building *before* the breading even happens. Don’t just rely on the salt and pepper in the flour mix! Take those 1-inch chicken strips and give them a quick, 15-minute soak in a simple marinade. I’m talking about something light—maybe just lemon juice, a touch of garlic powder, and some paprika. If you want serious depth, you should absolutely check out my guide on the best chicken marinade ever. That little soak guarantees flavor penetrates the meat, not just the crust!
Secondly, when you are slicing your fresh vegetables—the lettuce, the onion, the tomato—make sure they are SUPER dry. Seriously, grab a salad spinner or pat them down with paper towels. Any surface water is going to steam your crispy chicken faster than you can say “dinner is served.” Dry veggies mean maximum crunch support!
Finally, a quick word on the Panko strips after frying: Let them rest on that wire rack for a solid five minutes before wrapping them. This lets any residual surface heat dissipate just enough so they don’t immediately steam the tortilla fabric beneath them. It’s a small pause, but it locks that crispiness in place beautifully.
Variations for Your Savory Chicken Lunch Ideas
I love this recipe so much, but you know how it is—sometimes you need to shake things up! This base framework—crispy protein plus creamy, flavorful sauce—is basically foolproof, so we can swap things around for your next savory chicken lunch idea. Don’t feel locked into just chicken breast slices!
If you’re looking for something lighter, you can absolutely treat shrimp or firm white fish (like cod) exactly the same way! Just watch the frying time, which will be way shorter—maybe only 2 minutes per side for thin fish strips. Or, if you want to go vegetarian, sturdy, pressed tofu cubes tossed in the same flour/panko mix absolutely rock this wrap. They get surprisingly crunchy!
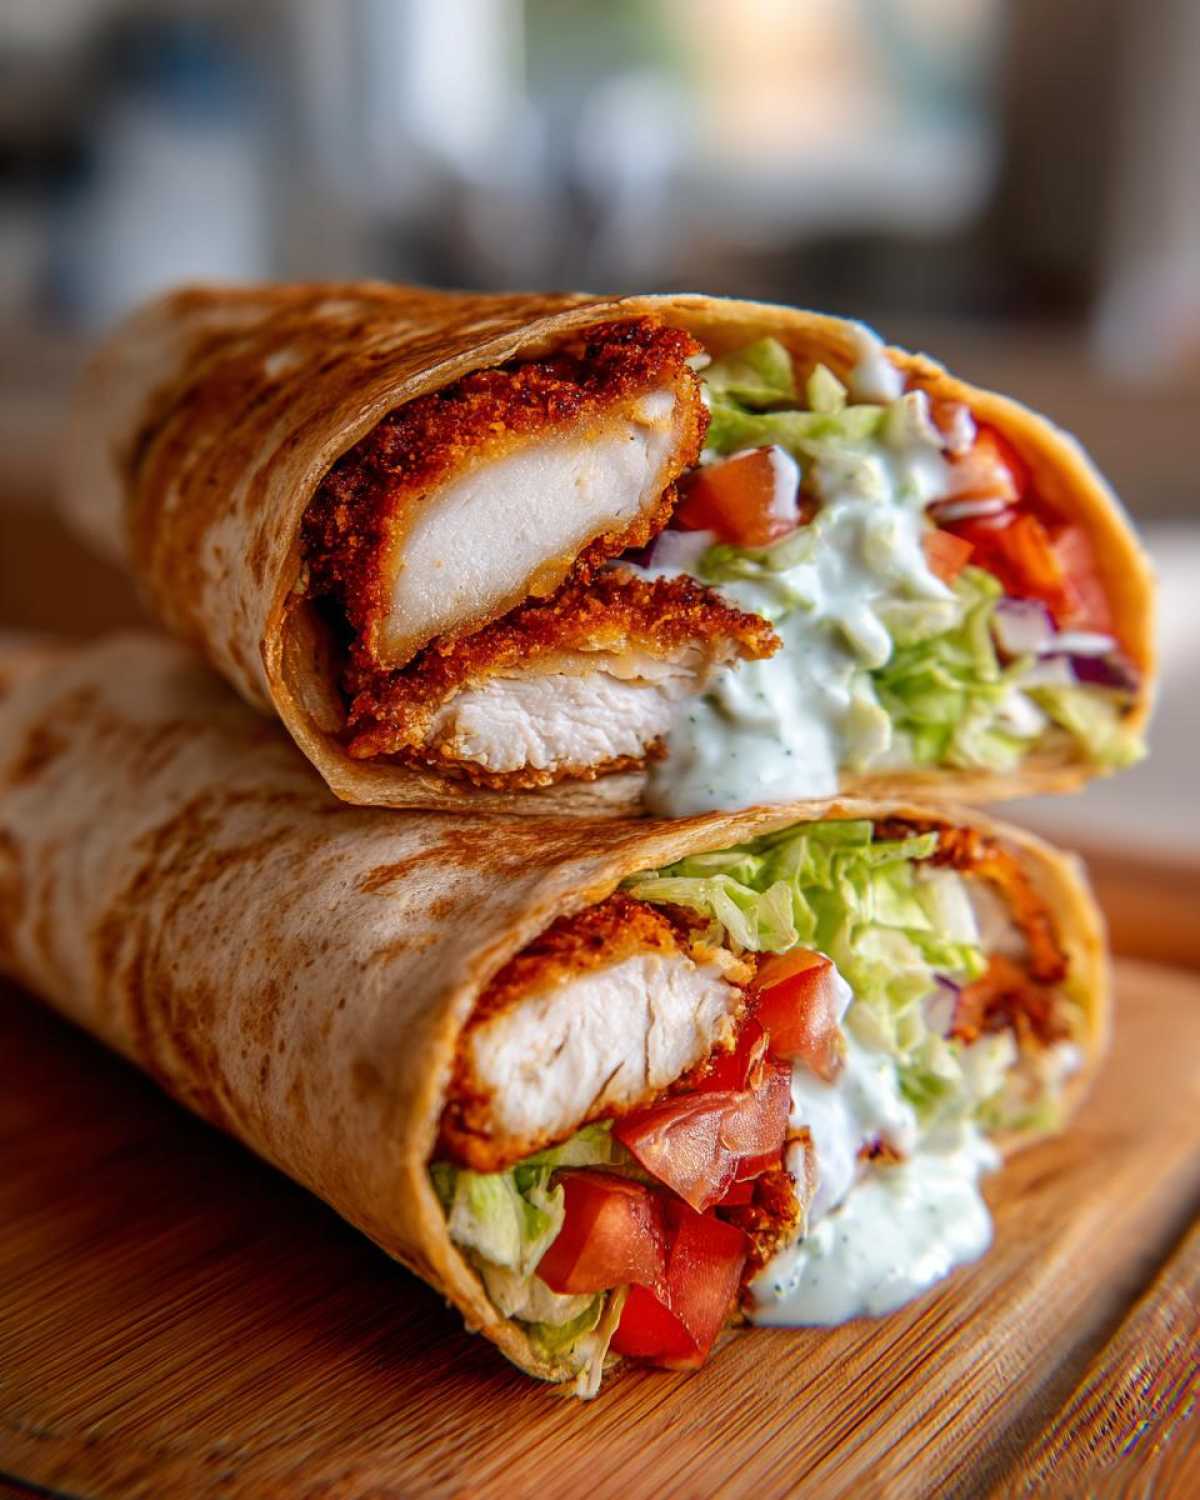
The sauce is where you can really play around, too. If you’re suddenly craving heat instead of that classic savory garlic note, swap out half the mayo for sriracha or even chipotle puree. A spicy mayo wrap is divine, honestly. You end up with a completely different flavor profile but the same amazing texture contrast we worked so hard for. If you’ve ever wanted to try something even lighter, check out my chicken lettuce wraps for a completely carb-free variation!
Another fun swap is the vegetable mix! Instead of raw onion and tomato, try quick-pickled carrots and radishes. The tanginess cuts through the richness of the creamy garlic sauce perfectly. Or, if you prefer something chunkier, roast some sweet potato cubes tossed in smoked paprika and use those instead of the fresh tomatoes for a sweeter, heartier feeling wrap.
Storage and Make Ahead Chicken Wraps Instructions
This is the million-dollar question for anyone trying to make these ahead of time: How do I keep that beautiful panko crunch alive? Here’s the absolute golden rule for any crispy wrap, whether it’s chicken or something else—you can cook the components, but you cannot assemble it until you are ready to eat!
Think of this like packaging a gift; you keep the ribbon separate until the last second, right? The cooked chicken and the creamy garlic sauce are best friends, but they have to live separately until serving time. Store the perfectly fried—and completely cooled—chicken strips in an airtight container. If you have a big batch, you can even freeze them flat on a baking sheet, then transfer them to a freezer bag. They freeze beautifully, and you can reheat them straight from frozen!
For the sauce, it keeps wonderfully in the fridge for up to two days in a sealed container. It might thicken up a bit once chilled, though. If that happens, just whisk in a tiny splash of milk or water just before you are about to serve to bring it back to that perfect smooth consistency. For frozen chicken, you can warm them up quickly in the air fryer—check out my guide on making easy freezer meals for quick reheating tips!
When it comes to assembly, wait until you are sitting down and ready to eat before you warm the tortillas and layer everything up. That minute of warmth for the chicken right before rolling is the secret handshake that keeps your wrap tasting like you just pulled it out of the fryer!
Frequently Asked Questions About the Crispy Chicken Wrap with Creamy Garlic Sauce
Can I use chicken thighs instead of breasts for this Crispy Chicken Wrap Recipe?
Oh, absolutely! Chicken thighs are actually fantastic because they have a little more fat, which means they stay juicier even when you fry them up crispy. If you swap breasts for boneless, skinless thighs, just know they might need an extra minute or two in the hot oil because they are slightly denser. Either way, they will soak up that creamy garlic sauce beautifully and give you an amazing crunch!
How do I keep the Creamy Garlic Sauce Chicken filling from getting soggy overnight?
This takes us back to my number one rule: do not assemble the wrap until you are actually ready to eat it! If you are packing these for lunch the next day, you need to store the cooked, cooled crispy chicken strips in one container, and the sauce in another. Keep the lettuce and veggies separate too, maybe in a small baggie. When lunchtime rolls around, then you reassemble using your warm tortilla. That little bit of planning saves you from that dreaded soggy situation. If you need an alternative idea for packing lunch, you might look at how I handle my avocado chicken salad!
What is the best way to reheat leftover crispy chicken for a Chicken Wrap Dinner Idea?
Please, please, please banish the microwave for this! Microwaving crispy food is like signing its death warrant—it gets tough and chewy instantly. If you have leftover cooked chicken strips, the best way to restore that crunch is in the air fryer for about 4 to 6 minutes at 375°F, or a few minutes in a hot conventional oven. That blast of dry heat brings the Panko right back to life. Reheat the chicken first, then assemble with fresh veggies and sauce!
I love making things ahead—can I make the sauce ahead of time?
Yes, you totally can! The creamy garlic sauce is actually *better* when it has a chance to let those garlic flavors meld with the mayonnaise overnight. You can make it up to two days in advance—just keep it tightly sealed in the fridge. If it seems a little stiff the next day, a quick whisk with just a teaspoon of water or lemon juice will loosen it right up so it spreads perfectly over your tortilla base. It’s one of my favorite make ahead chicken wraps secrets!
PrintCrispy Chicken Wrap with Creamy Garlic Sauce
Follow this recipe to make a satisfying wrap featuring crunchy fried chicken pieces coated in a rich, homemade creamy garlic sauce, assembled to stay crisp.
- Prep Time: 20 min
- Cook Time: 15 min
- Total Time: 35 min
- Yield: 4 servings
- Category: Lunch
- Method: Frying
- Cuisine: American
- Diet: Vegetarian
Ingredients
- 2 large chicken breasts, cut into 1-inch strips
- 1 cup all-purpose flour
- 1 teaspoon salt
- 1/2 teaspoon black pepper
- 1/2 teaspoon paprika
- 1/4 teaspoon cayenne pepper
- 2 large eggs, beaten
- 1 cup panko breadcrumbs
- Vegetable oil, for frying
- 4 large flour tortillas (burrito size)
- 1/2 cup shredded lettuce
- 1/2 cup sliced tomatoes
- 1/4 cup thinly sliced red onion
- For the Creamy Garlic Sauce:
- 1/2 cup mayonnaise
- 2 cloves garlic, minced
- 1 tablespoon lemon juice
- 1 teaspoon Dijon mustard
- 1/4 teaspoon salt
- 1/4 teaspoon black pepper
Instructions
- Prepare the chicken coating: In one shallow dish, mix the flour, salt, pepper, paprika, and cayenne. In a second dish, place the beaten eggs. In a third dish, place the panko breadcrumbs.
- Dredge each chicken strip first in the flour mixture, shaking off excess. Dip it into the egg, letting excess drip off. Finally, press the strip firmly into the panko breadcrumbs to coat completely.
- Heat about 1 inch of vegetable oil in a heavy-bottomed skillet to 350°F (175°C). Carefully place the coated chicken strips into the hot oil, ensuring not to overcrowd the pan. Fry for 3 to 4 minutes per side, until golden brown and cooked through (internal temperature 165°F or 74°C). Remove chicken and place on a wire rack lined with paper towels to drain excess oil.
- Make the creamy garlic sauce: In a small bowl, whisk together the mayonnaise, minced garlic, lemon juice, Dijon mustard, salt, and pepper until smooth.
- Warm the tortillas briefly in a dry skillet or microwave to make them pliable.
- Assemble the wraps: Lay a warm tortilla flat. Spread a generous layer of the creamy garlic sauce down the center. Top with shredded lettuce, tomato slices, and red onion slices. Place the crispy chicken strips over the vegetables.
- Fold the sides of the tortilla inward, then tightly roll the bottom edge up over the filling. Slice in half if desired and serve immediately.
Notes
- For an air fryer method, spray the coated chicken with cooking spray and air fry at 380°F (195°C) for 10 to 12 minutes, flipping halfway, until crispy.
- To prevent sogginess, place the lettuce and vegetables directly on top of the sauce layer before adding the hot chicken.
- You can prepare the sauce up to two days ahead and store it covered in the refrigerator.
Nutrition
- Serving Size: 1 wrap
- Calories: 650
- Sugar: 6
- Sodium: 850
- Fat: 35
- Saturated Fat: 6
- Unsaturated Fat: 29
- Trans Fat: 0
- Carbohydrates: 45
- Fiber: 3
- Protein: 38
- Cholesterol: 110