

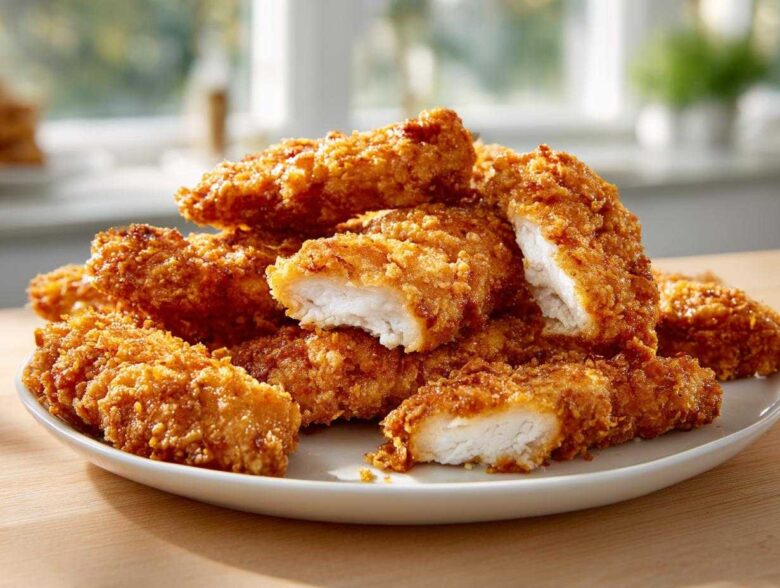
Oh my gosh, if there’s one thing that haunts home cooks, it’s the promise of crispy oven baked chicken tenders that ends up tasting like sadness and soggy cardboard. Right? We want that satisfying crunch without standing over a vat of dangerous, spitting oil. Well, trust me when I say, I’ve cracked the code for the Crispy Oven Baked Chicken Tenders Extra Juicy method!
This isn’t just another recipe; it’s about understanding the science of coating and heat circulation right in your own oven. We’re going to use a few sneaky tricks—think specific breading agents and specialized oven placement—to give you that beautiful, aggressively crisp exterior while locking every last drop of moisture inside those tenders. Seriously, this technique is game-changing, and I’m excited to share what I’ve learned to get you perfectly baked chicken tenders recipe results every single time.
The Secret to Crispy Oven Baked Chicken Tenders Extra Juicy: Ingredients
Okay, the list looks simple, but the *ratios* are where the magic happens, especially for our Crispy Oven Baked Chicken Tenders Extra Juicy goal. Forget soft, bland coatings! We are specifically using Panko because those airy flakes crisp up like crazy in the heat. And don’t skim on the baking powder—that’s our secret weapon for that incredible, airy crunch without frying.
Essential Components for Crispy Oven Baked Chicken Tenders Extra Juicy
- 1.5 lbs chicken tenderloins (Make sure they are trimmed nice and neat!)
- 1 cup all-purpose flour
- 2 large eggs
- 1 tablespoon water (This just loosens the egg wash a bit.)
- 1.5 cups Panko breadcrumbs (You need the texture, promise!)
- 1/2 cup crushed cornflakes (This is optional, but wow, it takes the crunch up a notch!)
- 1 teaspoon baking powder (Crucial for lift and crispness!)
- 1 teaspoon salt
- 1/2 teaspoon black pepper
- 1/2 teaspoon garlic powder
- 1/4 teaspoon paprika
- Cooking spray (Olive oil or avocado oil works beautifully here.)
Preparing Your Station for Crispy Oven Baked Chicken Tenders Extra Juicy
Before we even think about touching the chicken, we need a perfect workspace! Getting everything laid out assembly-line style means we can coat these tenders fast, keeping that exterior crunchy and preventing the meat from getting warm too soon. Speed and organization are your best friends here.
This isn’t just about having three bowls lined up; it’s about how we prep the oven. We really need to treat this like we’re *frying* them, just using hot air instead of oil. That’s why the setup is non-negotiable if you want the best oven baked tenders.
Oven Setup and Why a Wire Rack Matters
First thing: crank that oven up to 425°F (220°C). We need serious heat hitting that coating immediately. Now, the biggie: you must line a sturdy baking sheet with foil—that’s just to save your sanity on cleanup later! On top of the foil, place a wire cooling rack. This is the absolute secret sauce for an oven fried chicken tenders texture.
Why a rack? Because when you put breaded things directly on a solid metal sheet, the bottom steams and gets mushy instantly. The rack lets all that hot air circulate underneath, drying out the bottom crust just as much as the top. If you want truly crispy breaded chicken tenders, this separation is key. You can check out my favorite chicken tender coating secrets for more texture tips!
Mastering the Dredging Process for Crispy Oven Baked Chicken Tenders Extra Juicy
Now we get to the fun part: actually coating these beauties! This three-step dredging process is non-negotiable if you are serious about achieving that shatteringly crisp exterior while keeping things nice and juicy baked chicken underneath. You’ll want to have your three bowls ready to roll right next to your wired rack setup. Speed is on our side here!
Patting Chicken Dry: The First Step to Crispiness
If you skip this, you might as well just bake them plain. Seriously! Grab those tenders and pat them aggressively dry with paper towels. If there is any moisture left on the meat, the flour just turns into wet glue, and guess what? Your coating slides right off in the oven. We need bone-dry chicken so that flour has something solid to grab onto. Don’t rush this bit; it’s essential for success!
Coating Secrets: Flour, Egg Wash, and Panko Mix
First, the flour gets seasoned up. Shake off any excess—we aren’t trying to add layers of doughiness here, just a thin, sticky base. Next, the egg wash gets dipped. That’s the binder! Then, the grand finale: the Panko mix. Remember that baking powder we added? It creates tiny air bubbles when it hits the heat, making the crust lighter and way crispier. When you press the tender into that Panko, really press down hard on all sides. You want that coating adhering like superglue for the ultimate crispy breaded chicken tenders experience. For more ideas on locking in moisture, check out my thoughts on best spatchcock chicken recipe juicy crispy to see how I handle large cuts!
Baking Technique for Crispy Oven Baked Chicken Tenders Extra Juicy
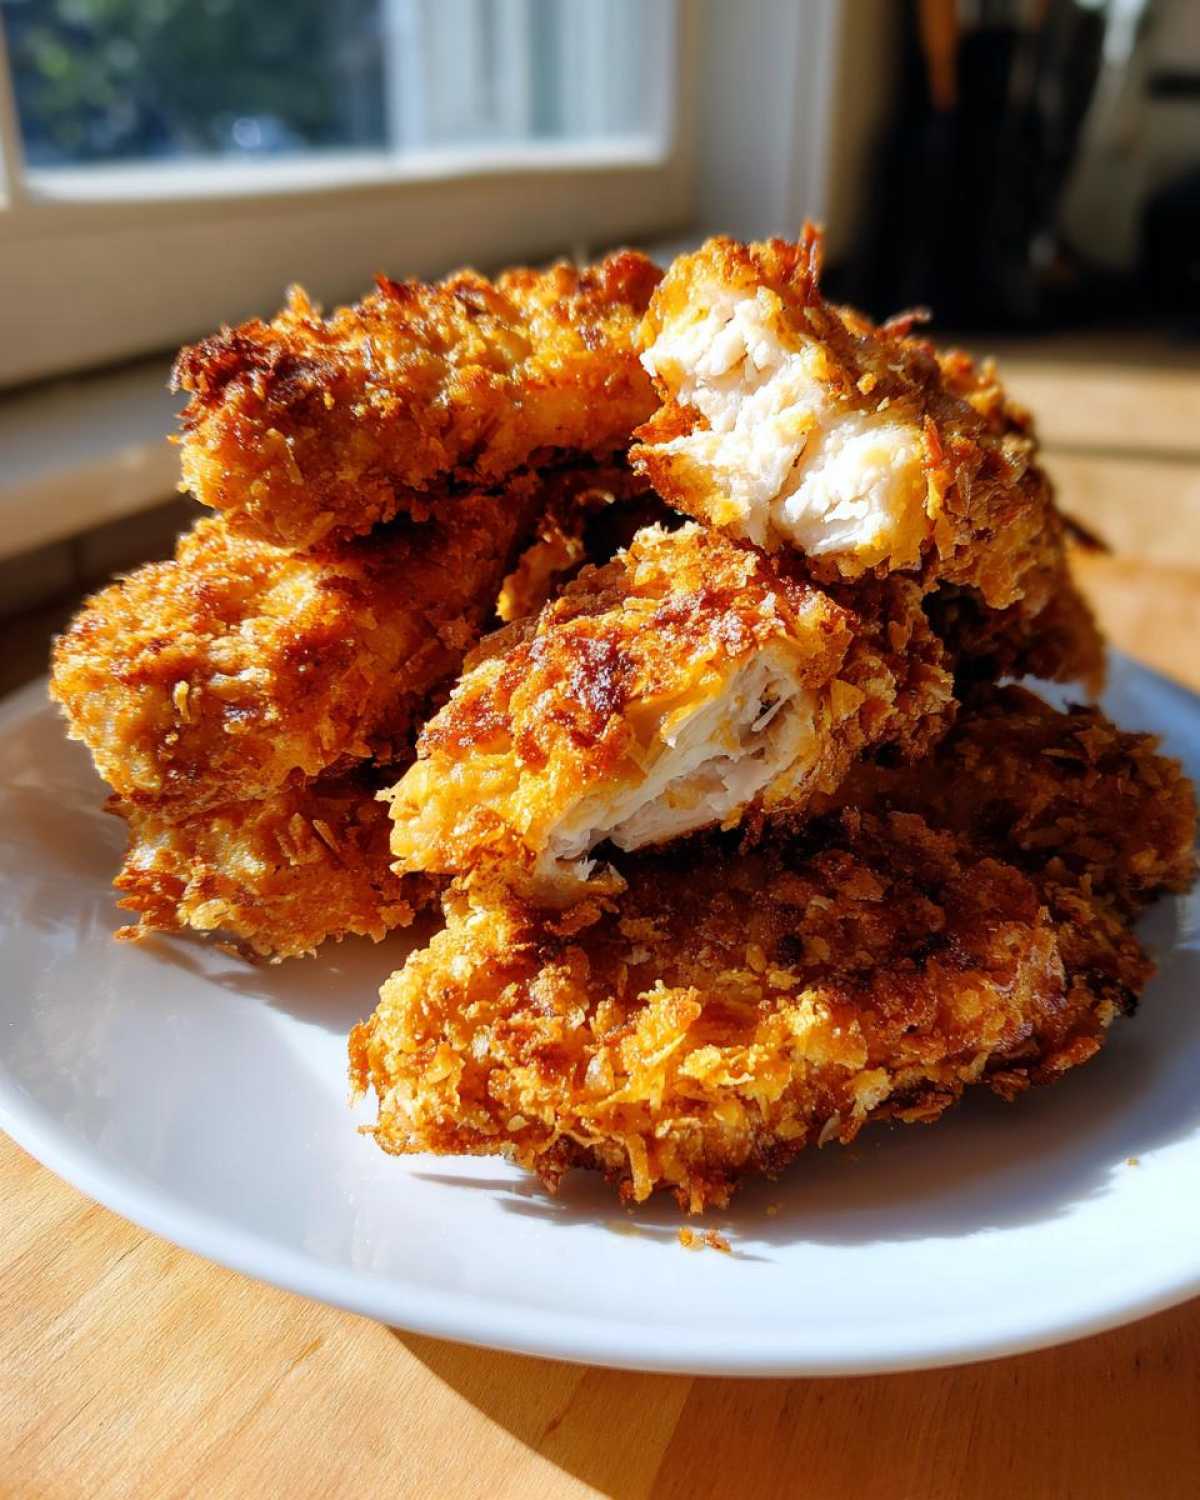
Okay, the tenders are breaded and sitting pretty on that wire rack—don’t let that gorgeous coating get ruined now! The baking phase is where we trick our oven into thinking it’s a deep fryer. We are sticking with that high heat, 425°F, because high heat cooks the outside fast enough to seal in the juices before the inside has a chance to dry out on you. Remember, we are aiming for that perfect crunchy shell.
Once they are placed on the rack, the next big step—and I mean *big*—is the oil spray. You can’t just spray them once and forget them, especially if you want those truly oven fried chicken tenders results. We need that glistening layer of oil to conduct the heat and turn that Panko golden brown without drying it out.
The Importance of Spraying Both Sides
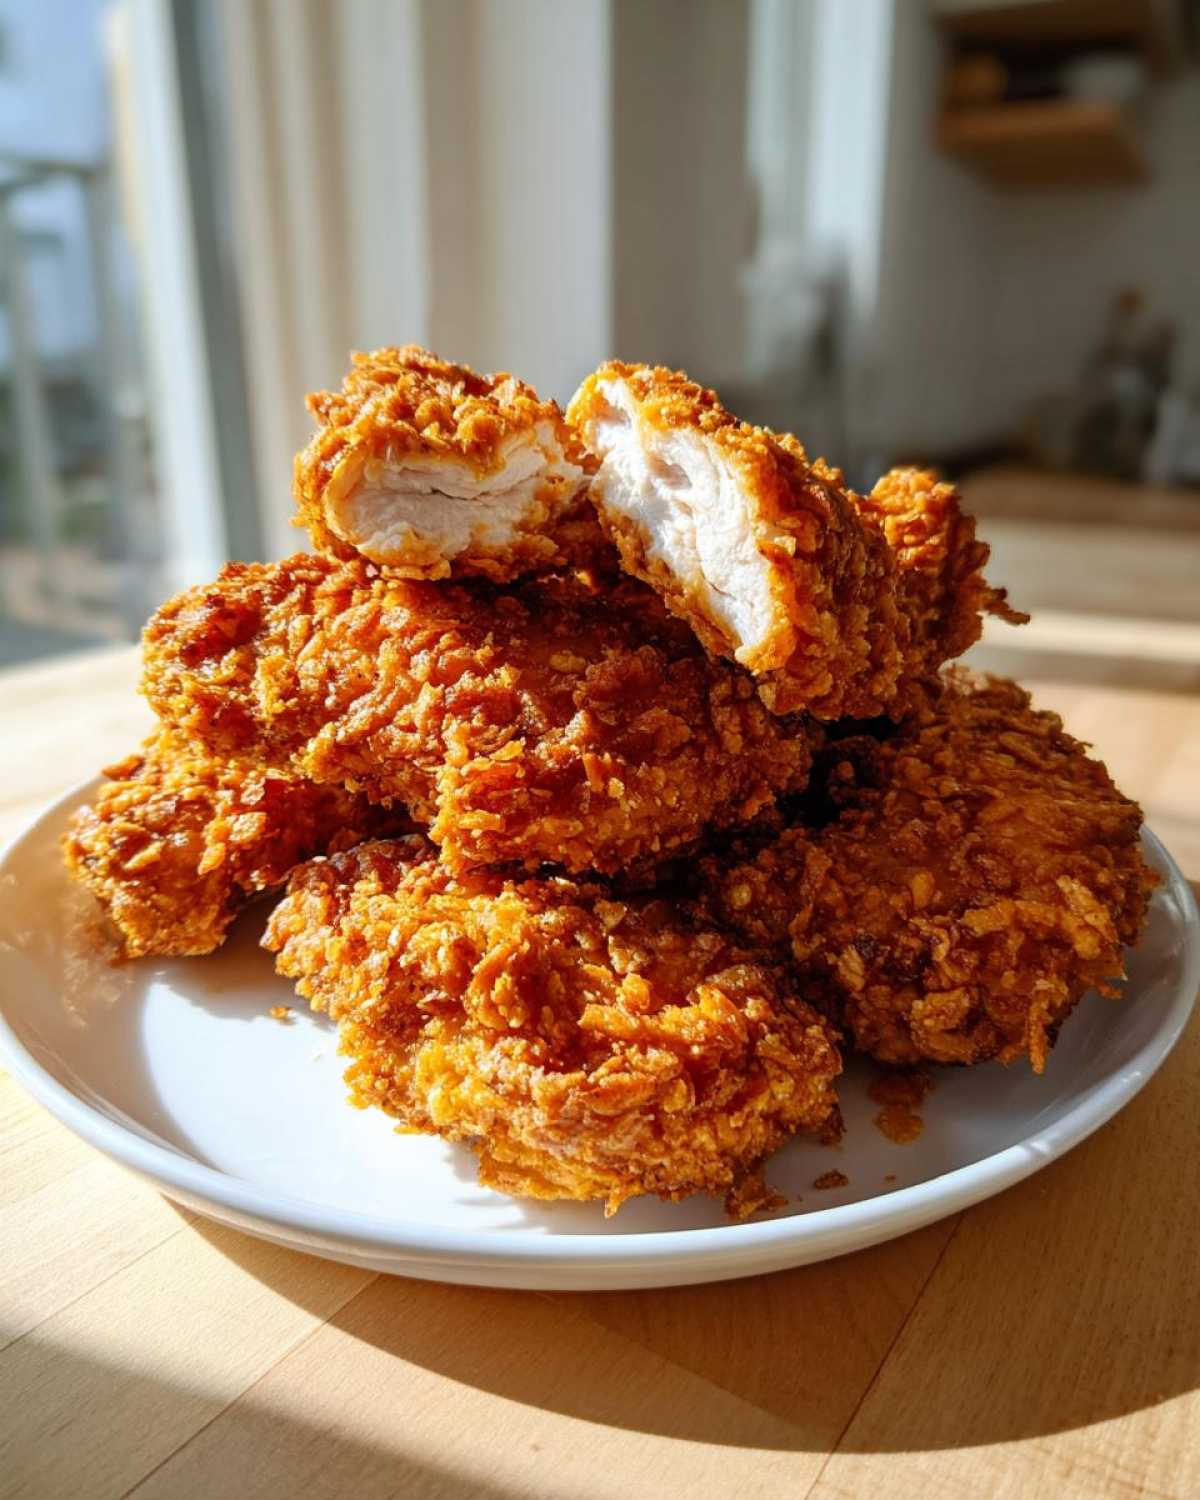
After the first 10 minutes, you absolutely have to flip those tenders over! If you don’t, the bottoms will leech steam from the foil-lined pan and get soggy, wiping out all that hard work we did with the rack. When you flip them, give the new top side a good, generous spray of cooking oil again. This second spritz is what ensures the second side browns up and gets just as crackly as the first. Think of it as giving the coating a little boost of ‘fry’ power halfway through cooking. For another great high-heat roasting tip, check out my easy oven roasted rib roast recipe—it uses similar principles for maximum crispness!
Ensuring Juicy Baked Chicken: Temperature and Resting Time
We’ve got the crispy coating locked down, but now we have to talk about protecting the meat inside. That “Extra Juicy” part of the title isn’t just marketing fluff, I promise! The absolute key to keeping your tenders moist is hitting that perfect internal temperature—you want the meat to read 165°F (74°C) on your thermometer. Go a degree or two over, and you risk drying them out, regardless of how good the coating is.
But wait, don’t just yank them out and dive in! The most important, often ignored step once they leave the heat is resting. You have to let them sit on that wire rack for a good five minutes. Seriously, sit down, look at your phone, but don’t touch the chicken yet! Resting lets those juices redistribute throughout the muscle fibers instead of spilling all over your plate the second you bite into them. I always sneak one out of the batch (the ugliest one, of course!) and slice it right down the middle after resting. If the juices run clear, you have nailed the perfect **juicy baked chicken** texture. It’s worth the wait, I swear! For a different kind of juicy chicken success story, check out my tips for easy chicken piccata zesty lemon sauce.
Tips for Success with Crispy Oven Baked Chicken Tenders Extra Juicy
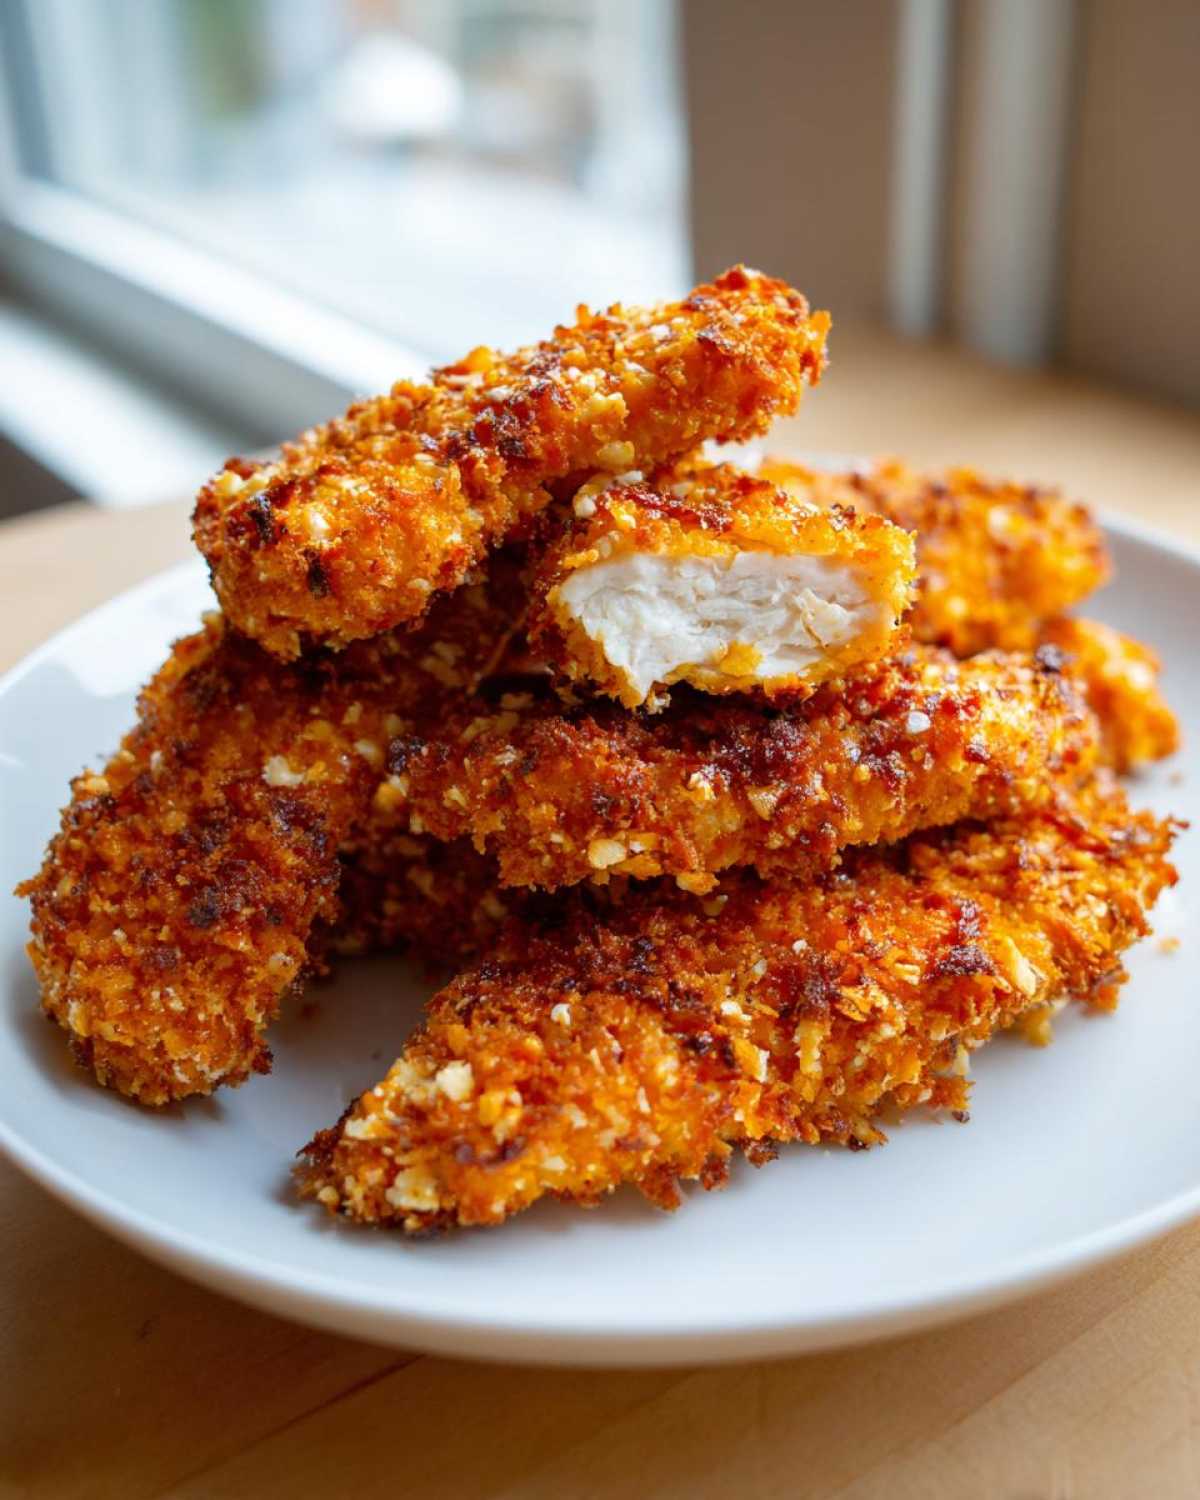
Look, even with the best directions, sometimes things go sideways, right? That’s why I wanted to give you a few extra little nuggets of wisdom I’ve picked up over the years trying to achieve that perfect crunch on non fried chicken tenders. These few extra steps can really elevate your easy chicken tender recipe from good to legendary, especially if you like adding a little something extra to the breading.
Don’t stress if your first batch isn’t magazine-perfect. Baking takes a little practice, but these little tweaks usually fix any minor issues right away. Remember, the goal is maximum crispness and zero sogginess!
Flavor Boosts for Your Chicken Tender Coating Secrets
So, you’ve nailed the texture—that’s 90% of the battle won for your healthy chicken tenders oven dinner. Now, let’s make them taste even better! My absolute favorite way to jazz up the crunch is adding grated Parmesan cheese right into that Panko mixture. You only need about a quarter cup, but it toasts up beautifully and gives the coating a delicious nutty flavor that screams restaurant quality.
If you aren’t a Parmesan fan, try mixing in some dried herbs like dried oregano or Italian seasoning with the rest of your dry spices. A little dried thyme or even a pinch of dried rosemary brings a wonderful earthiness that pairs so well with the chicken. If you are looking for a way to guarantee flavor penetration before you even bread them, you have to check out my recipe for the best chicken marinade ultimate zesty lemon garlic; it works great if you have an extra 30 minutes!
Serving Suggestions for Your Healthy Chicken Tenders Oven Meal
So you have these unbelievably crispy, juicy baked chicken tenders ready to go—hooray! What are we eating them with? Since these are such a fantastic weeknight chicken meal that everyone loves, I usually keep the sides super simple and fresh. Honestly, these tenders are the star, so they don’t need much competition.
I always lean toward something bright to cut through the richness of that golden crust. My go-to pairing is a light, crisp green salad with a homemade vinaigrette. If you want something a little heartier for your family friendly chicken dinner, you absolutely have to try my sweet potato salad—it’s creamy but flavorful and balances the texture perfectly.
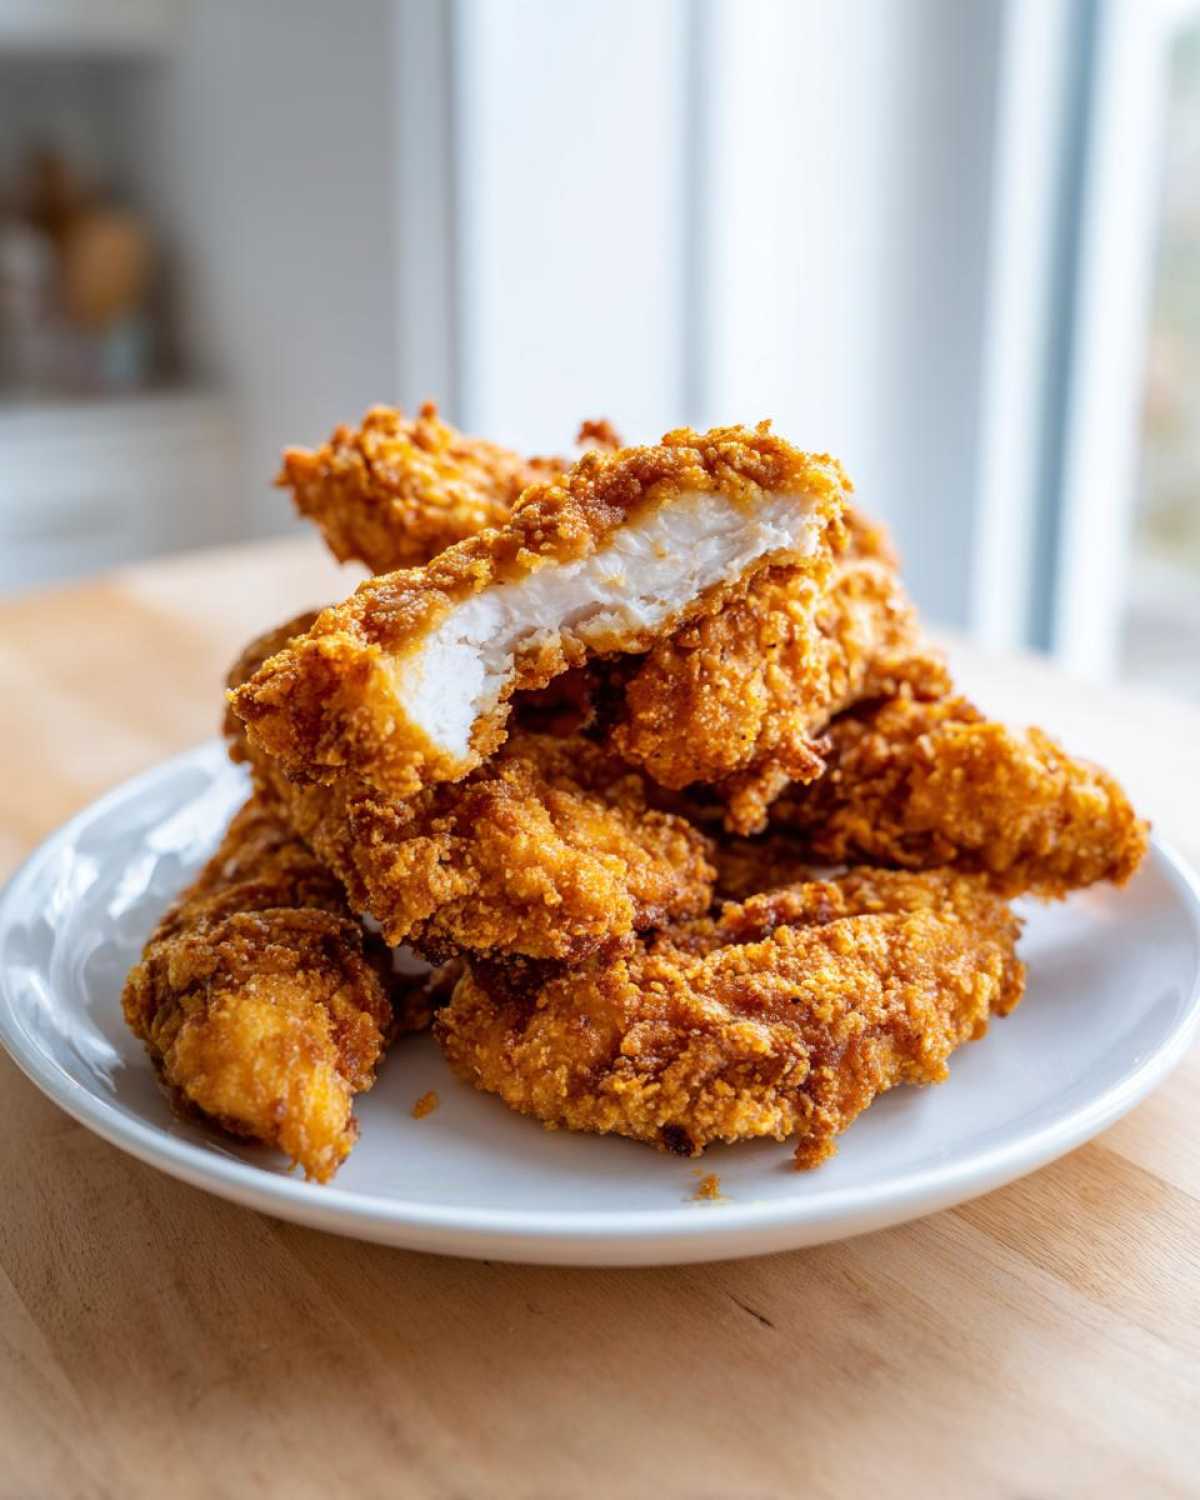
Of course, no tender experience is complete without dipping sauces! Ketchup is fine, but whipping up a quick honey mustard or a slightly spicy sriracha mayo makes a huge difference. Serve them hot right off that rack, and dinner is done in under 40 minutes!
Storage and Reheating Instructions for Non Fried Chicken Tenders
Nobody wants leftover soggy tenders, right? That’s the curse of non fried chicken tenders—they lose their magic fast if you store them wrong. When you have leftovers from your easy chicken tender recipe, keep them in a single layer if you can, in an airtight container in the fridge. Don’t pile them up while they’re warm, or they’ll steam themselves into mush!
Now, for reheating—the microwave is your enemy if you want crispiness. I know it’s tempting because it’s fast, but it’s a texture killer. Instead, promise me you’ll use either your oven or, even better, a toaster oven. Preheat that baby to about 375°F. Spread the tenders out on a fresh, dry wire rack for about 6 to 8 minutes. That little blast of dry heat is just enough to wake up the Panko and get them crispy again without overcooking the inside. You can toss them into a fun easy chicken stir fry recipe the next day if you don’t want to serve them plain again!
Frequently Asked Questions About Crispy Chicken Tenders
I get so many questions about this beloved recipe! It happens to be my go-to easy chicken tender recipe when company drops by unexpectedly. Here are a few things folks ask me most often when they’re trying to perfect their Crispy Oven Baked Chicken Tenders Extra Juicy.
Can I use chicken breasts instead of tenders in this baked chicken tenders recipe?
Absolutely, you can! Tenders are just strips of breast meat, but regular large chicken breasts are usually much thicker. If you use them, you’ll definitely need to adjust the cook time. I recommend slicing the whole breast into pieces that are about the same thickness as the tenders, or you’ll end up with dry edges and a raw center. Just keep checking that temperature!
How do I prevent the coating from falling off my oven fried chicken tenders?
This is the most common heartbreak! If your coating is sliding off, it nearly always comes down to one of two things: either the chicken wasn’t patted completely dry before it hit the flour, or you didn’t press hard enough into that final Panko layer. You have to use serious pressure when you press the crumbs onto the chicken—don’t be gentle! That initial coat of flour needs to be firm so the egg wash has something to grab onto.
Is this the best oven baked tenders recipe for meal prepping?
Yes, I think it is! Because we’ve loaded this recipe with Panko and used the high-heat baking method, these tenders hold up way better than standard breaded chicken. The secret? Don’t reheat them in the microwave! If you want them to stay crispy, you must reheat them in the oven or a toaster oven at about 375°F until they are hot through. That little bit of dry heat brings that crunch right back. Check out how I use leftovers for fun meals like these easy chicken lettuce wraps recipe!
PrintUltimate Crispy Oven Baked Chicken Tenders: Secret to Juicy Meat Every Time

Follow this method to achieve exceptionally crispy chicken tenders using only your oven, while keeping the meat inside moist and tender.
- Prep Time: 15 min
- Cook Time: 20 min
- Total Time: 35 min
- Yield: 4 servings
- Category: Main Course
- Method: Baking
- Cuisine: American
- Diet: Low Fat
Ingredients
- 1.5 lbs chicken tenderloins
- 1 cup all-purpose flour
- 2 large eggs
- 1 tablespoon water
- 1.5 cups Panko breadcrumbs
- 1/2 cup crushed cornflakes (optional, for extra crunch)
- 1 teaspoon baking powder
- 1 teaspoon salt
- 1/2 teaspoon black pepper
- 1/2 teaspoon garlic powder
- 1/4 teaspoon paprika
- Cooking spray (olive oil or avocado oil)
Instructions
- Preheat your oven to 425°F (220°C). Line a baking sheet with foil for easy cleanup, then place a wire cooling rack on top of the sheet. Lightly spray the rack with cooking spray.
- Pat the chicken tenders completely dry using paper towels. This step is crucial for crispiness.
- Set up a standard three-stage dredging station. In the first shallow dish, combine the flour, 1/2 teaspoon salt, 1/4 teaspoon pepper, and garlic powder.
- In the second dish, whisk the eggs and water together until fully combined.
- In the third dish, mix the Panko breadcrumbs, crushed cornflakes (if using), baking powder, remaining salt, remaining pepper, and paprika. The baking powder helps create air pockets for crispness.
- Dredge each tender first in the flour mixture, shaking off excess.
- Dip the floured tender into the egg wash, letting excess drip off.
- Press the tender firmly into the Panko mixture, ensuring it is fully coated on all sides.
- Place the coated tenders on the prepared wire rack, ensuring they do not touch each other.
- Spray the tops of the coated tenders generously with cooking spray. This mimics the effect of frying oil.
- Bake for 10 minutes. Flip the tenders over, spray the second side lightly with cooking spray, and bake for another 8 to 12 minutes, or until the internal temperature reaches 165°F (74°C).
- Remove from the oven and let rest on the rack for 5 minutes before serving.
Notes
- Using a wire rack allows air to circulate underneath the tenders, preventing a soggy bottom crust.
- Do not skip patting the chicken dry; moisture prevents the breading from adhering properly and crisping up.
- For extra flavor in the coating, add 1/4 cup grated Parmesan cheese to the Panko mixture.
Nutrition
- Serving Size: 4 tenders
- Calories: 320
- Sugar: 2
- Sodium: 450
- Fat: 8
- Saturated Fat: 1.5
- Unsaturated Fat: 6.5
- Trans Fat: 0
- Carbohydrates: 25
- Fiber: 1
- Protein: 37
- Cholesterol: 110