

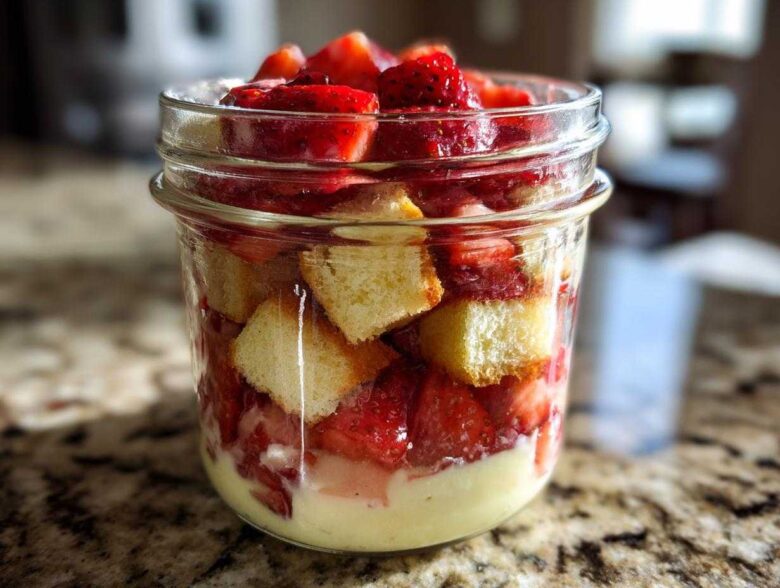
Oh my gosh, you know those days when you desperately need a gorgeous dessert but the thought of turning on the oven makes you sweat? Those are the days I turn to what I call ‘Emergency Beautiful Dessert Protocol.’ And nothing screams summer elegance and ease like these **No-Bake Strawberry Shortcake Trifle Jars**! Seriously, these little individual cups are life-changing for summer parties or just when you need a fancy afternoon treat that comes together faster than your favorite rom-com.
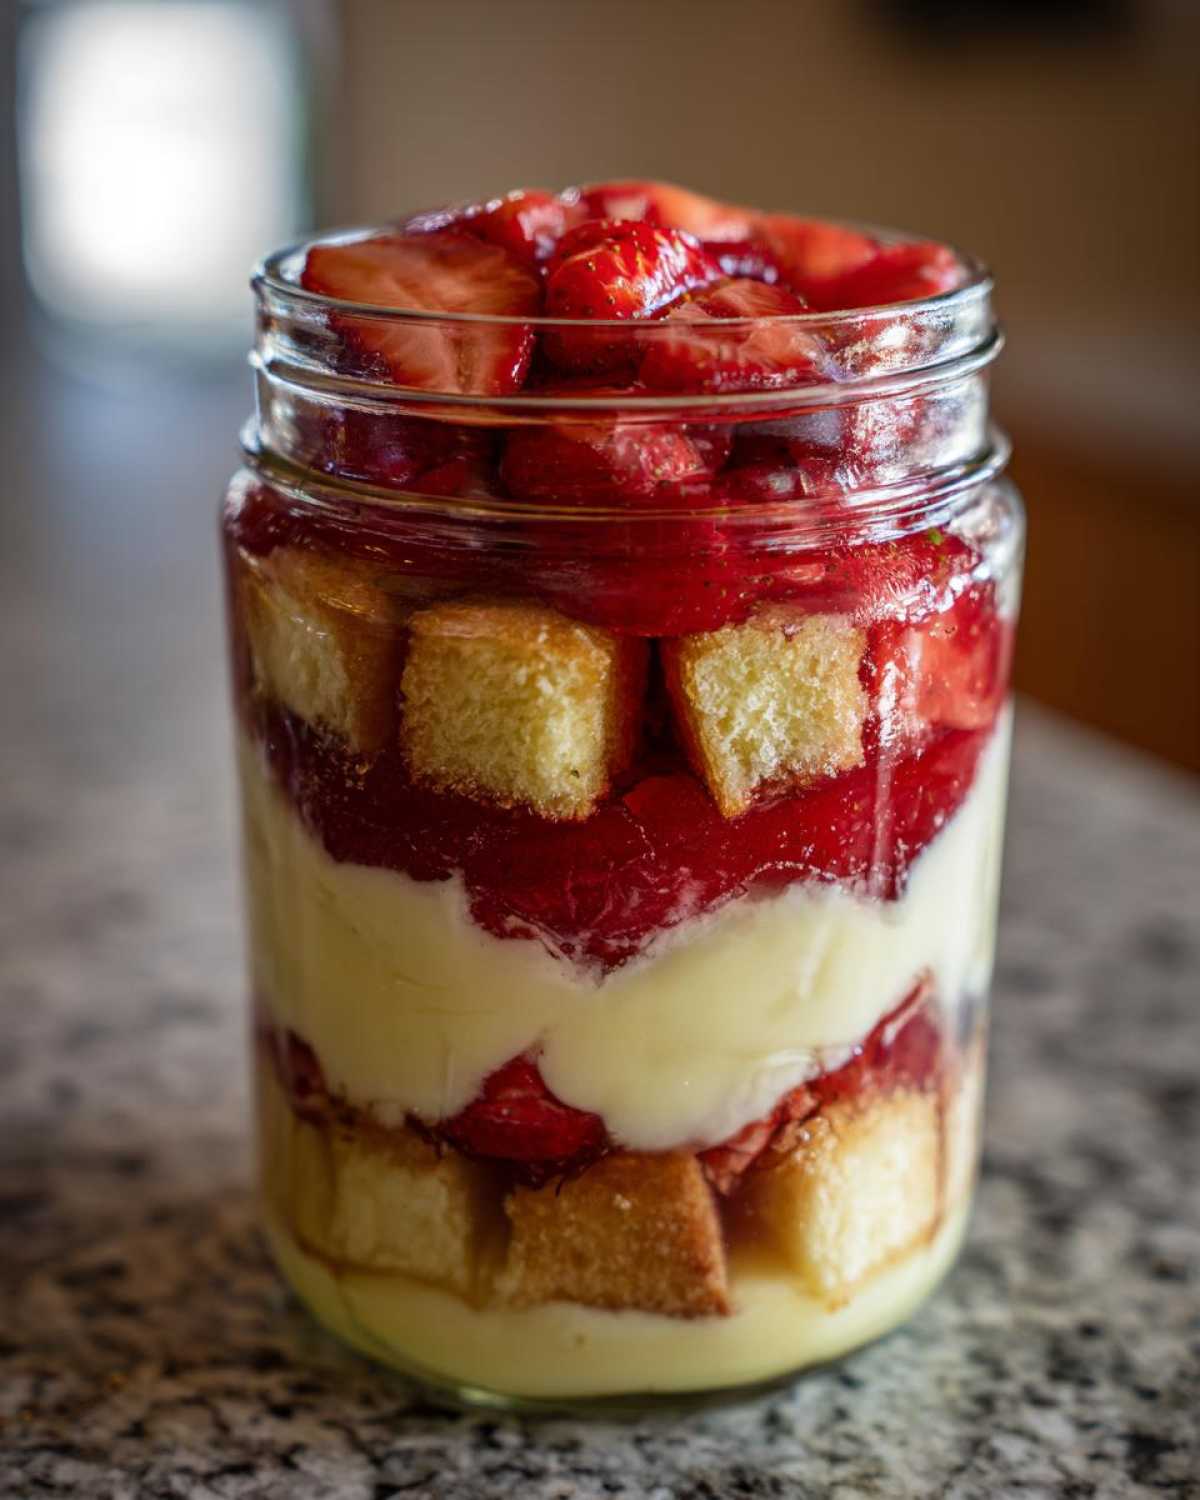
The best part? Absolutely zero baking required! We’re talking about layering fluffy cake cubes, macerated sweet strawberries, and this unbelievably rich, tangy lemon mascarpone cream. Because they are individual servings, they look so chic on a dessert table—no messy slicing required. Plus, since they are packaged neatly in jars, packing them for a picnic or taking them to a potluck is ridiculously simple. Trust me; nobody will ever guess how little actual *work* went into assembling these stunning layered dessert in a jar creations.
If you want to see more of my quick fixes for show-stopping sweets you can whip up when you’re short on time, you should definitely peek at my guide on easy strawberry desserts. It’s packed with simple ideas!
Why Assemble No-Bake Strawberry Shortcake Trifle Jars?
Honestly, once you see how fast these come together, you’ll be making these **No-Bake Strawberry Shortcake Trifle Jars** all summer long. They solve so many hosting headaches!
- They are lightning fast. We’re talking about barely 20 minutes of prep before chilling time.
- Portion Control is built-in! No worries about getting everyone an even slice; everyone gets their own perfect little jar.
- The visual appeal is fantastic. Those clean layers in the glass make them instant showstoppers for any gathering.
- They are phenomenal make-ahead trifles. You prep them the day before, chill them, and you are completely done! It makes party day so much less chaotic.
Plus, if you’re looking for more ideas on serving individual sweets for your next big gathering, I have a whole post on great jar desserts for parties that covers presentation tips!
Gathering Ingredients for Your No-Bake Strawberry Shortcake Trifle Jars
Alright, for these **No-Bake Strawberry Shortcake Trifle Jars** to work their magic, we need quality ingredients, but don’t panic—nothing complicated here! We are aiming for about six lovely servings, so grab your ingredients and let’s check them off the list. Precision matters here, especially with the cream, so pay attention to those temperatures!
Here is everything you need to make these beautiful **individual dessert cups**:
- One pound of fresh strawberries. Remember to hull them and slice them nicely—we want good coverage in those jars!
- Two tablespoons of granulated sugar—this is just to sweeten the strawberries once they start macerating.
- One teaspoon of lemon zest. This makes the cream zingy and bright!
- One pound (that’s the full 8 ounces) of mascarpone cheese. Make sure it’s softened up a bit before you start mixing!
- One cup of heavy whipping cream. This *must* be kept cold when you start whipping it, got it? Cold cream whips up so much better.
- Half a cup of powdered sugar for sweetness in the cream.
- One teaspoon of vanilla extract—always the good stuff if you can swing it!
- Finally, the cake component! Grab one box of pound cake or angel food cake—about 10.5 ounces—and cut it into 1-inch cubes. The day-old cake works surprisingly well here, which is great since we don’t bake!
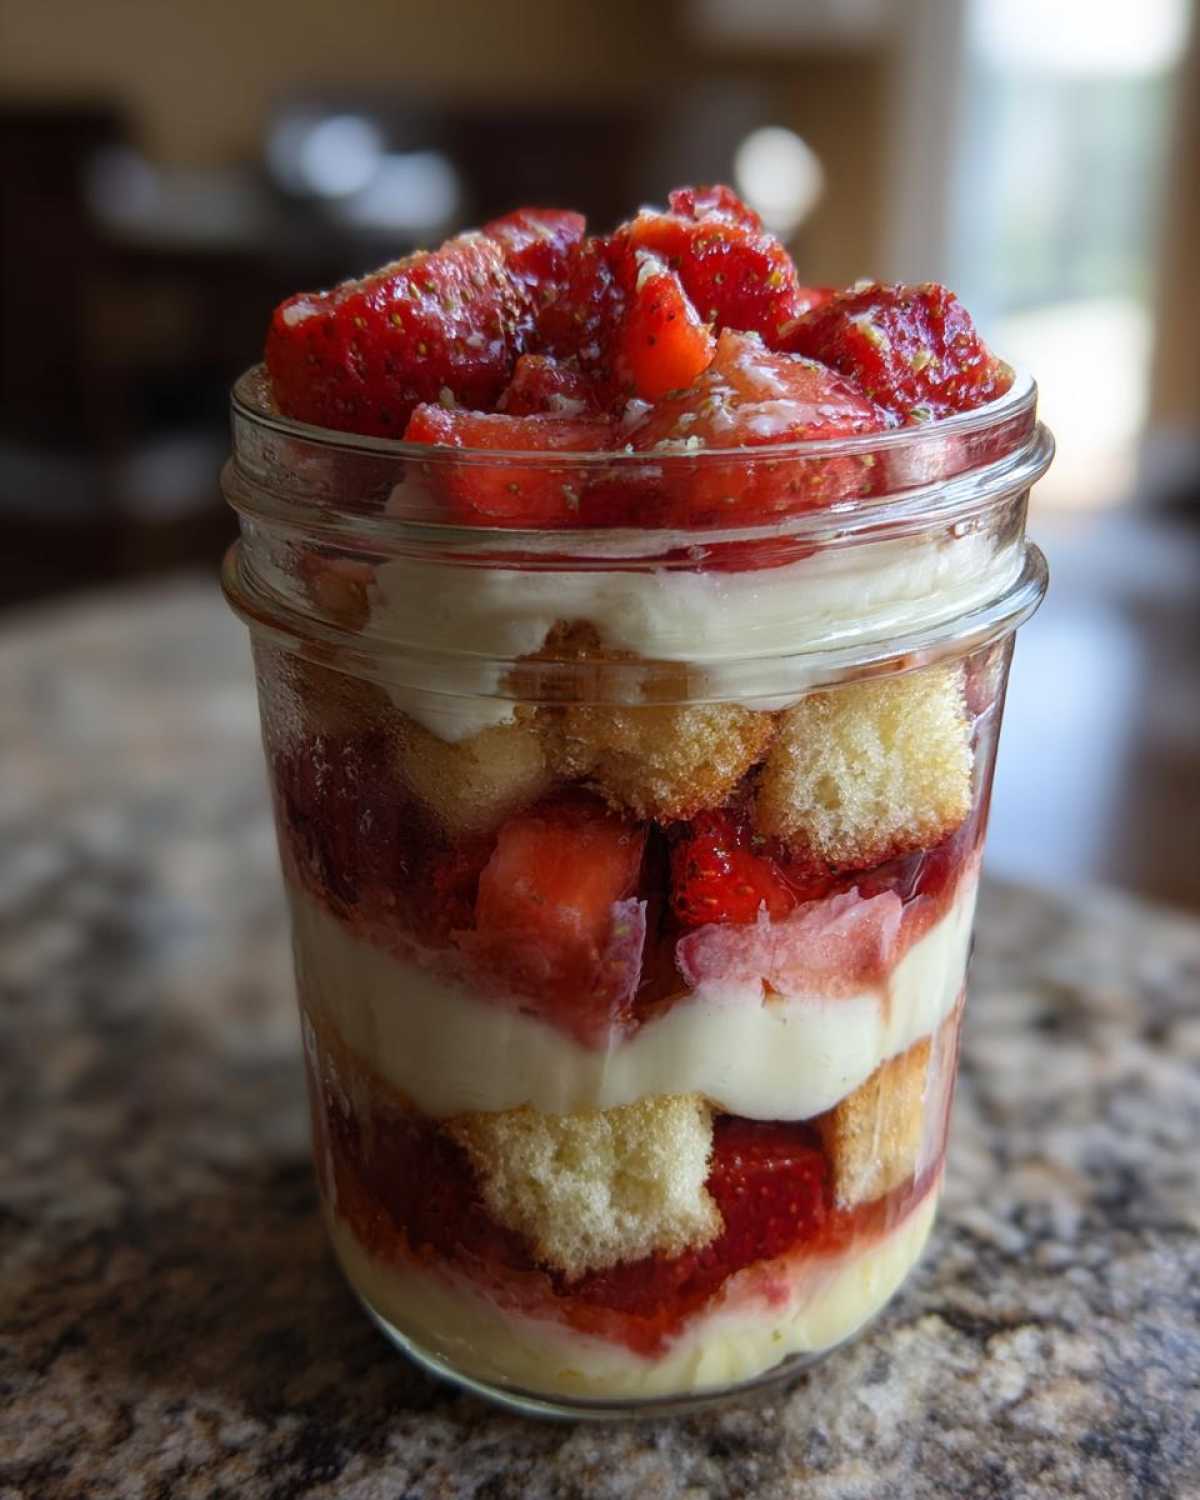
- Start on the bottom of each jar with a nice layer of those 1-inch cake cubes. They are going to soak up all that strawberry juice, so cover the bottom well!
- Next, spoon over a good layer of those macerated strawberries we let sit earlier. Make sure you get some of that lovely juice down there with them.
- Top that beautifully red layer with a generous dollop of the lemon mascarpone cream. If you want super clean-looking layers for your **Layered Dessert in a Jar**, use a piping bag with a wide tip—it makes the cream look professional! If you’re rushing, just use a spoon, no shame!
- Repeat the whole process: cake cubes, then strawberries, and finish it all off with a final, fluffy cap of cream right at the top.
- Never let the strawberry juice pool directly on the bottom layer of cake for hours and hours. The secret is to try and layer the cake cubes so they are slightly insulated by the cream right above or below them, rather than sitting directly in a puddle before chilling starts.
- When you put the strawberries in, use a slotted spoon for the bulk of the fruit, then drizzle just a little of the syrup over the cake layer, reserving the rest to pour over the *top* cream layer later or during serving. This gives you controlled moisture!
- Serving Size: 1 jar
- Calories: 450
- Sugar: 35 grams
- Sodium: 150 milligrams
- Fat: 30 grams
- Saturated Fat: 18 grams
- Unsaturated Fat: 12 grams
- Trans Fat: 0 grams
- Carbohydrates: 40 grams
- Fiber: 2 grams
- Protein: 8 grams
- Cholesterol: 95 milligrams
- Prep Time: 20 min
- Cook Time: 0 min
- Total Time: 20 min
- Yield: 6 servings
- Category: Dessert
- Method: No-Bake Assembly
- Cuisine: American
- Diet: Vegetarian
- 1 pound fresh strawberries, hulled and sliced
- 2 tablespoons granulated sugar (for strawberries)
- 1 teaspoon lemon zest
- 1 pound (8 ounces) mascarpone cheese, softened
- 1 cup heavy whipping cream, cold
- 1/2 cup powdered sugar
- 1 teaspoon vanilla extract
- 1 box (10.5 ounces) pound cake or angel food cake, cut into 1-inch cubes
- Combine the sliced strawberries, 2 tablespoons granulated sugar, and lemon zest in a bowl. Gently toss and let the strawberries macerate for at least 15 minutes.
- In a separate large bowl, beat the cold heavy whipping cream with an electric mixer until soft peaks form.
- Add the softened mascarpone cheese, powdered sugar, and vanilla extract to the whipped cream. Beat until stiff peaks form, creating the lemon mascarpone cream. Do not overmix.
- Take your individual serving jars (pint or half-pint size). Start the layering process with a base layer of cake cubes in the bottom of each jar.
- Spoon a layer of the macerated strawberries over the cake cubes.
- Top the strawberry layer with a generous layer of the lemon mascarpone cream using a spoon or piping bag.
- Repeat the layers: cake cubes, strawberries, and finish with a final layer of cream on top of each jar.
- Chill the trifle jars for at least 1 hour before serving to allow the flavors to meld.
- Use slightly stale or day-old cake cubes; they absorb the strawberry juices better without becoming overly mushy.
- To prevent sogginess, layer the cake directly against the cream or strawberries, avoiding direct contact between the strawberry juice and the bottom cake layer for too long if making more than 4 hours ahead.
- For a decorative top, pipe the final cream layer and garnish with a small strawberry slice or a sprinkle of lemon zest.
- Serving Size: 1 jar
- Calories: 450
- Sugar: 35
- Sodium: 150
- Fat: 30
- Saturated Fat: 18
- Unsaturated Fat: 12
- Trans Fat: 0
- Carbohydrates: 40
- Fiber: 2
- Protein: 8
- Cholesterol: 95
It’s a simple list that packs a huge punch of flavor, especially once those sugars start drawing the syrup out of the fruit. If you’re looking for other inspiration on light, fruity eats, check out my thoughts on easy summer desserts!
Step-by-Step Assembly of No-Bake Strawberry Shortcake Trifle Jars
Okay, this is where the fun really happens! Since we aren’t baking anything, our focus is purely assembly to ensure those gorgeous layers hold up beautifully. Think of yourself as an architect designing tiny, edible glass towers. Before you even touch the cream ingredients, you absolutely must start your berries so they have time to get all juicy and delicious in their own little bath.
If you’re worried about keeping these glorious things moist and perfect for serving later, I talk a little bit more about how to manage moisture in my guide on making trifles ahead of time!
Preparing the Macerated Strawberries for No-Bake Strawberry Shortcake Trifle Jars
This is the absolute first thing you do because we need patience! Grab that pound of sliced strawberries and toss them right in a bowl with the two tablespoons of granulated sugar and that teaspoon of bright, fragrant lemon zest. That zest really cuts through the sweetness and wakes up the whole dessert, making these **No-Bake Strawberry Shortcake Trifle Jars** much more sophisticated than your standard fare.
Now, just set that bowl aside. You need to let those strawberries sit for a good 15 minutes minimum. We want them to macerate—that’s a fancy word for “sweat out all their wonderful, sugary juice” so you get that perfect ribbon of bright red syrup layering between your cake cubes!
Creating the Lemon Mascarpone Cream
While the berries are doing their thing, we move onto the star of the show—the cream! This isn’t just plain whipped cream; we’re adding mascarpone, which gives it structure and this incredible richness that makes it feel like velvet on your tongue, fitting right into that Creamy Strawberry Parfaits vibe.
First, take your very cold heavy whipping cream and beat it until you get soft peaks. Don’t overdo it here, or you end up with butter later! Once you have those soft peaks, gently add in the softened mascarpone cheese, the powdered sugar, and the vanilla. Now, pull out your mixer again and beat until you hit stiff peaks. This signals the cream is ready to hold its shape! Be careful—mascarpone can go from perfect to grainy really fast if you overmix it. Stop when it looks stable!
Layering Your Individual Dessert Cups
Now that we have our macerated strawberries and our stiff, tangy cream, it’s time to build! Grab your jars—pint-sized ones are gorgeous, but half-pint ones work great too if you are serving lots of other things. We are building the layers up evenly.
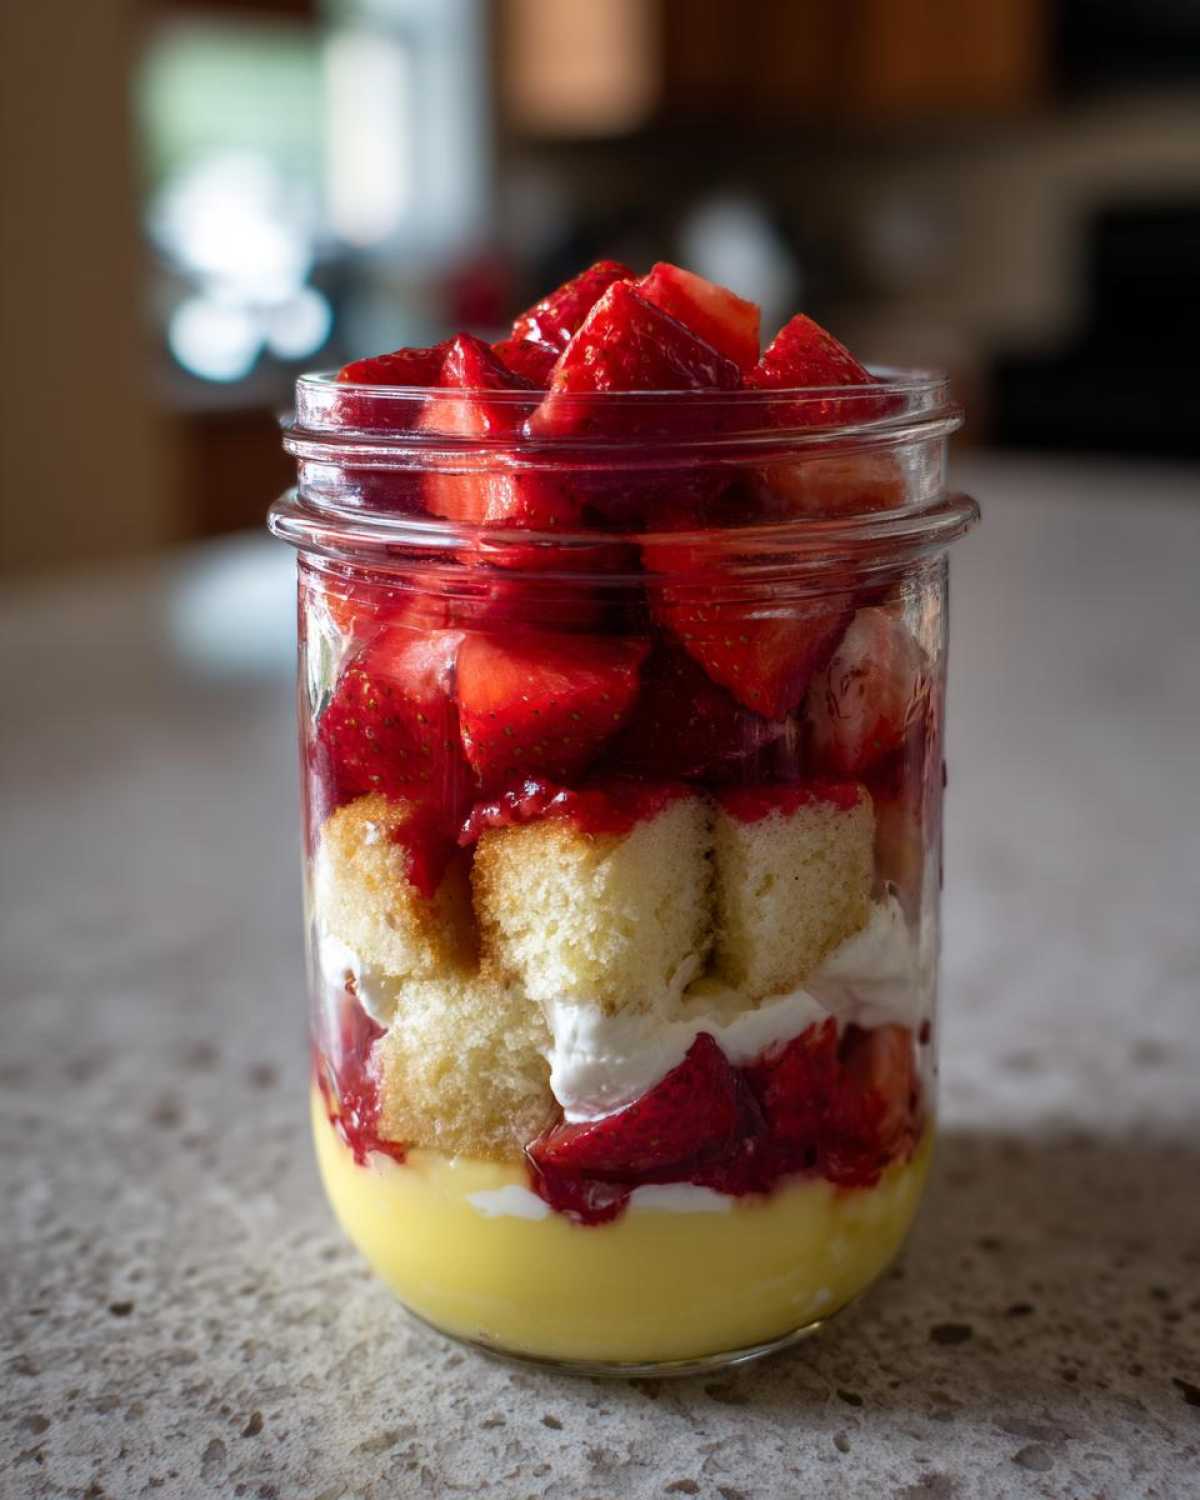
And that’s it for assembly! Just make sure you chill them for at least an hour before anyone digs in so everything settles and tastes perfectly cold.
Tips for Perfect No-Bake Strawberry Shortcake Trifle Jars
Even though these are ridiculously simple **No-Bake Strawberry Shortcake Trifle Jars**, there are a few little secrets I’ve picked up along the way that stop them from turning into sad, soupy messes.
My grandmother always said, “A dessert is only as good as its weakest soak.” Since we are relying on cake cubes to absorb juice instead of baking a new shortcake, we have to be smart!
Use Slightly Stale Cake Cubes
This sounds funny since we aren’t baking, right? But if you can use pound cake or angel food cake that dried out just a tiny bit sitting on the counter for a day, it’s a huge win. Slightly stale cake cubes are porous and thirsty! They soak up that gorgeous strawberry juice beautifully without immediately dissolving into mush. If your cake is super fresh, just let the cubes sit out for about 30 minutes while you whip up the cream—it helps!
Sogginess Prevention: Layering Strategy
This is my biggest quality control tip for these **Layered Dessert in a Jar** creations, especially since we want them to last more than an hour.
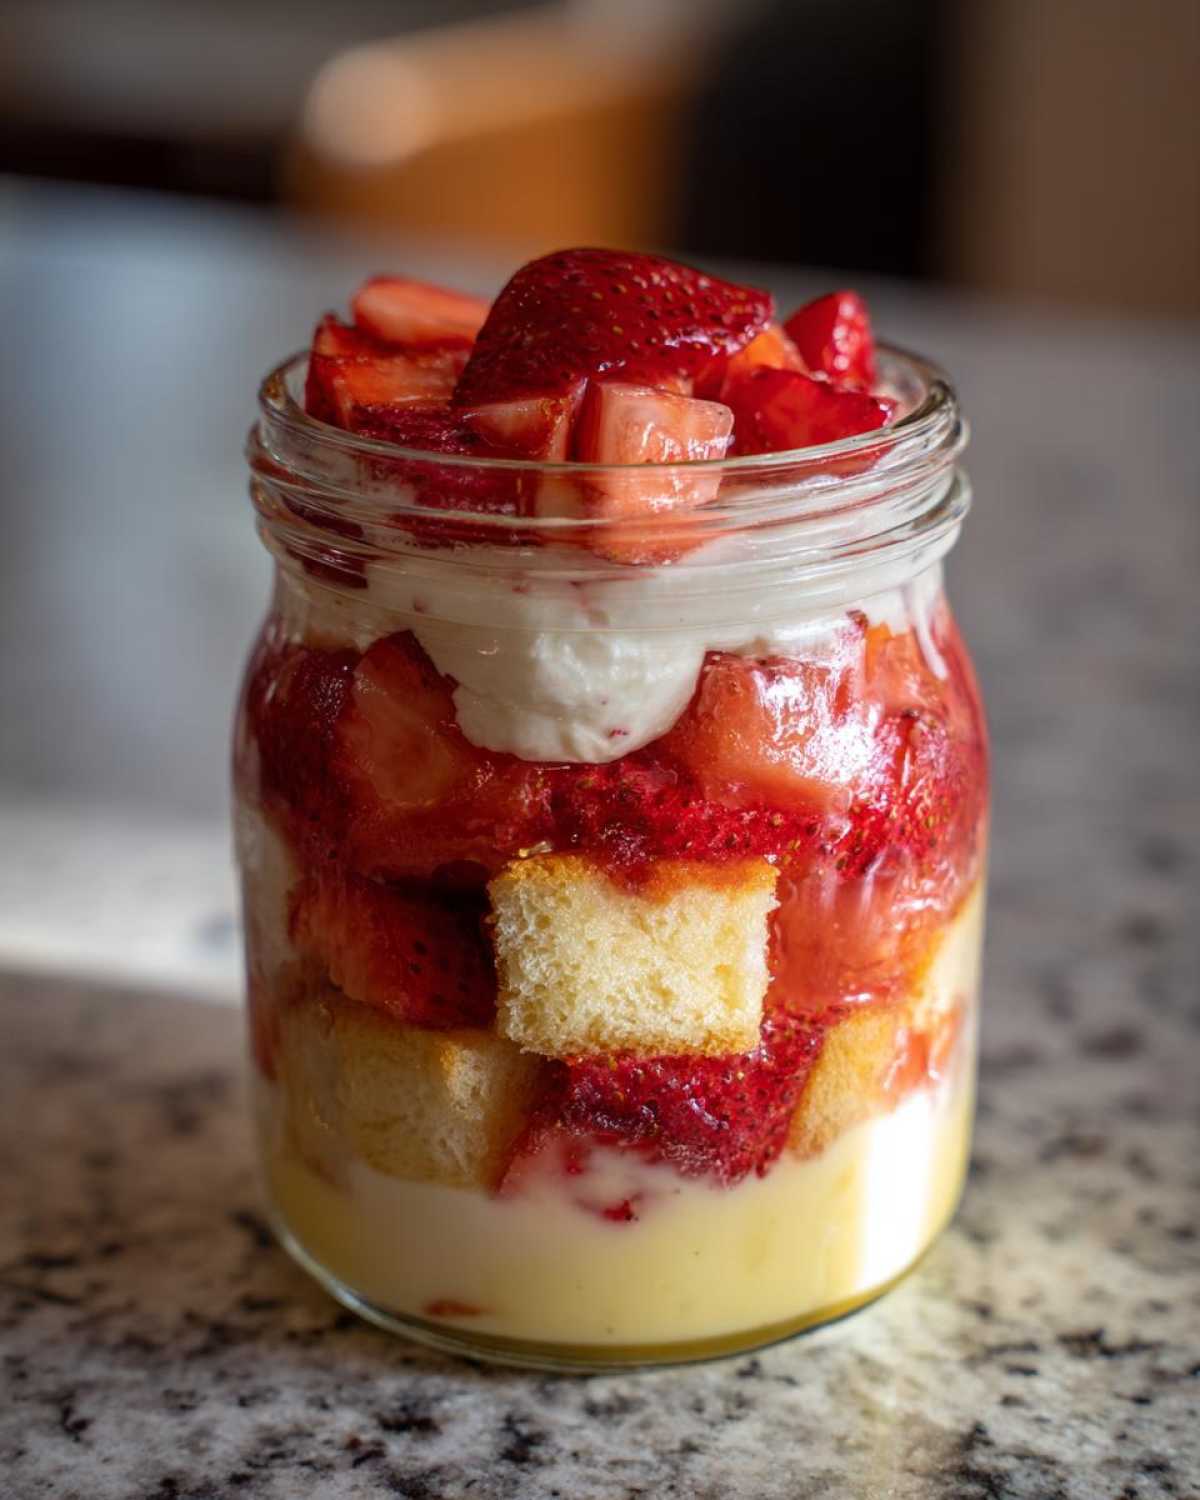
Remember what I mentioned in the recipe notes: if you are making these more than four hours ahead of time, use only about half the syrup in the middle layer. You can always add the rest just before serving!
The Importance of the Chill Time
Seriously, don’t even think about skipping the chill time mentioned in the instructions! Step 8 tells you to chill them for at least an hour, but honestly, two hours in the fridge is even better. This period is crucial because it allows the mascarpone cream to firm up around the cake pieces, locking in the structure of your **Simple Strawberry Cream Dessert**. It helps everything set up perfectly so you don’t have jar fillings sliding around when you carry them to the table!
For more solid layering techniques that guarantee stunning results every time, check out my tips on creating simple strawberry cream desserts that maintain their integrity!
Variations on Your Layered Dessert in a Jar
The beauty of these **No Bake Dessert Jars** is that they are so forgiving! Since we aren’t dealing with fussy baking science, you can totally play around with the components to suit your mood or what you have on hand. I love experimenting, and these little jars are the perfect test kitchen!
Swapping Out the Cake Base
That pound cake is great, right? So sturdy! But if you want to branch out, try using shortbread cookies or even crispy vanilla wafers. They offer a little bit more crunch than the soft pound cake, which is a lovely textural change. My absolute favorite wild card, though? Crumble up some gingersnaps for the base layer! The spice from the ginger is unbelievably good paired with the sweet strawberries and creamy lemon topping. It’s a totally different profile, but magic happens.
Giving the Strawberries an Herbal Twist
If you want to make your **Strawberry Trifle Recipe** feel gourmet, you just need an herb! When you’re macerating your strawberries with the sugar and zest, throw in about a teaspoon of finely minced fresh basil or mint. Seriously, don’t knock it till you try it! Basil especially adds this incredible, fragrant lift that cuts against the richness of the mascarpone cream. It brightens everything up, making it feel truly seasonal and special.
Making Red White and Blue Dessert Jars
If you need these **Individual Dessert Cups** to fit a holiday theme, like the Fourth of July, this twist is so simple. You keep everything exactly the same—the strawberries and the lemon cream. You just need one addition: blueberries! Layer in some sweet blueberries right alongside your strawberries. If you use a small cookie cutter, you can even cut star shapes out of leftover sections of the pound cake cubes before layering them in. It’s an instant patriotic hit, and still qualifies as one of those fantastic **No Oven Desserts**!
You can find even more ways to adapt these easy recipes in my guide all about no bake shortcake variations!
Serving and Storing Your No-Bake Strawberry Shortcake Trifle Jars
So, you’ve assembled these beautiful **No-Bake Strawberry Shortcake Trifle Jars**—now what? The great news is, these are truly heroes of make-ahead desserts. You can definitely prepare these ahead of time, which is why they are perfect for my favorite outdoor gatherings!
Storage Secrets for Layered Dessert in a Jar
The ideal scenario for serving these is right out of the fridge! You want them cold because that mascarpone cream firms up beautifully when chilled, giving you those firm, distinct layers you worked so hard to build. You mentioned chilling for at least an hour in the instructions, and that’s the minimum to get them tasting right.
But how far ahead can you make them? I find that after about 4 hours, the cake cubes start getting really saturated with the strawberry syrup, and while that’s delicious, the structure of the layers starts to get a little too soft. For the very best texture where the cake still has a little body but has absorbed just enough flavor, I aim to assemble and chill these **Jar Desserts for Parties** no more than 8 hours before I plan to serve them.
Serving Temperature and Ideas
I cannot stress this enough: these must be served cold! Because we aren’t using any baked elements, serving them at room temperature will cause that beautiful lemon mascarpone cream to get floppy, and frankly, it loses that refreshing quality that makes these **Picnic Desserts in Jars** so perfect for warm weather.
When it comes time to serve, just pull them straight from the refrigerator. They require zero fuss which is what I love most about them! They are surprisingly great alongside an afternoon cup of coffee—the tanginess of the lemon cream cuts right through the bitterness of the coffee, making it feel like a real fancy dessert course. They are also divine paired with a light iced tea or even a sparkling lemonade. Anytime you need a stunning, portable sweet, these **No-Bake Strawberry Shortcake Trifle Jars** are your answer!
For more ways to pack desserts beautifully when you’re heading out, you absolutely have to read my tips on making desserts perfect for picnics!
Frequently Asked Questions About No Bake Dessert Jars
I know new recipes always bring up a few little questions, especially when we skip the oven! It’s totally normal to wonder about substitutions, especially when dealing with the cream layers in these **No Bake Dessert Jars**. Here are a few common queries I get about assembling these beauties.
Can I use store-bought whipped topping instead of making the mascarpone cream?
You absolutely *can*, and it makes these **Quick Assembly Desserts** even faster! If you use store-bought whipped topping (like Cool Whip), you skip the whole whipping process. Just make sure you still whip the mascarpone cheese with about half the powdered sugar first to soften it up, then gently fold in the pre-made whipped topping. It won’t have that lovely lemon zing we created, but it holds its shape really well, which is great for party prep!
How far ahead can I assemble a Strawberry Trifle Recipe like this?
This is the most common question, and it all comes down to sogginess! For the best texture where the cake isn’t too mushy, I really recommend assembling these **Make Ahead Trifles** no more than 6 to 8 hours before you plan to serve them. If you need them done the very next day, I suggest keeping the cake cubes separate from the strawberries and cream and only stacking them right before the final chill hour. That keeps everything tasting its freshest!
What size jar works best for these Individual Dessert Cups?
You have a lot of flexibility here! We designed the recipe to yield about six generous servings. If you use standard 8-ounce (half-pint) mason jars, you’ll get those tall, dramatic layers, and they are perfect for a satisfying portion. If you’re serving them as part of a bigger dessert spread, or for a kids’ party, you can certainly use smaller 4-ounce jars, and you’ll easily get eight or even ten **No Oven Desserts** out of the batch. Just be mindful of your layers!
What happens if I don’t have mascarpone cheese?
That mascarpone is what gives our cream that wonderful, slightly tangy stability, but if you can’t find it, a simple substitution is to use full-fat cream cheese instead! Make sure the cream cheese is fully softened and beat it really well on its own with the powdered sugar and vanilla until it’s completely smooth and fluffy *before* you start folding in the whipped cream. It yields a slightly denser, more traditional cheesecake-like filling, but it’s still delicious in these **Creamy Strawberry Parfaits**!
For even more brilliant ideas on desserts that minimize oven time while maximizing party impact, pop over to my essential guide on no bake dessert jars!
Nutritional Estimates for Creamy Strawberry Parfaits
I always get asked about the numbers when sharing my recipes, and while I’m a cook first and a nutritionist second, I do have some estimates for you regarding these gorgeous **Creamy Strawberry Parfaits**. Remember, this is just a ballpark figure for one jar serving, assuming you use the exact amounts I listed in the ingredients!
The values can change wildly based on the brand of cream cheese or the sugar content in the pound cake you choose. I always tell folks to treat these numbers as a wonderful guide, especially since we’re talking about joy-inducing desserts here, not meal prep! These figures are based on the recipe being divided exactly into six servings.
Here are the general estimates for one jar of these **No Bake Dessert Jars**:
A little reminder: these are just estimates! If you substitute the pound cake for angel food cake, you might see noticeable dips in fat and sugar, which is interesting to note when comparing a **Simple Strawberry Cream Dessert** made with heavier cake bases. For more insight into making smart swaps in your sweet treats, you can always check out my guide on easy strawberry cream desserts!
Share Your No-Bake Strawberry Shortcake Trifle Jars Experience
Whew! I hope you’re as excited as I am now about getting these **No-Bake Strawberry Shortcake Trifle Jars** assembled! Since we skipped the oven entirely, the most important part now is hearing how they turned out for you!
Did yours set up perfectly overnight? Did you try my wild idea of throwing a bit of basil in with the strawberries? Or maybe you found an even better way to make those layers look like a professional pastry chef made them? I absolutely need to know!
So please, take a moment after you’ve enjoyed your stunning **Layered Dessert in a Jar** to head down to the comments section below. Give this recipe a solid 5-star rating if it saved your dessert situation like it saves mine weekly! And if you managed to snap a picture of those gorgeous tiers, share it on social media and tag me!
If you have any lingering questions about the ingredients or technique, or if you want to share a totally new modification, you can always reach out directly through my contact page. Happy layering, and I can’t wait to see all your individual dessert cups!
PrintNo-Bake Strawberry Shortcake Trifle Jars with Lemon Mascarpone Cream
Assemble individual, no-bake strawberry shortcake trifles layered with fresh strawberries, cake pieces, and a light lemon mascarpone cream inside jars.