

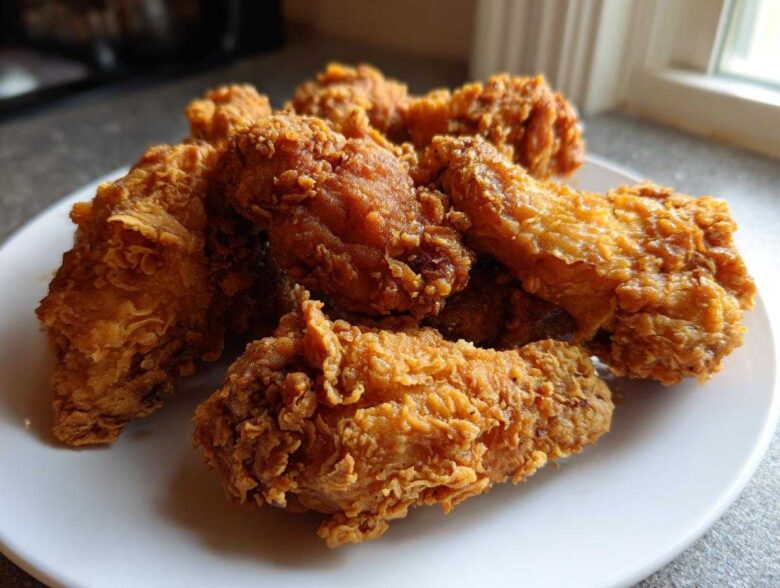
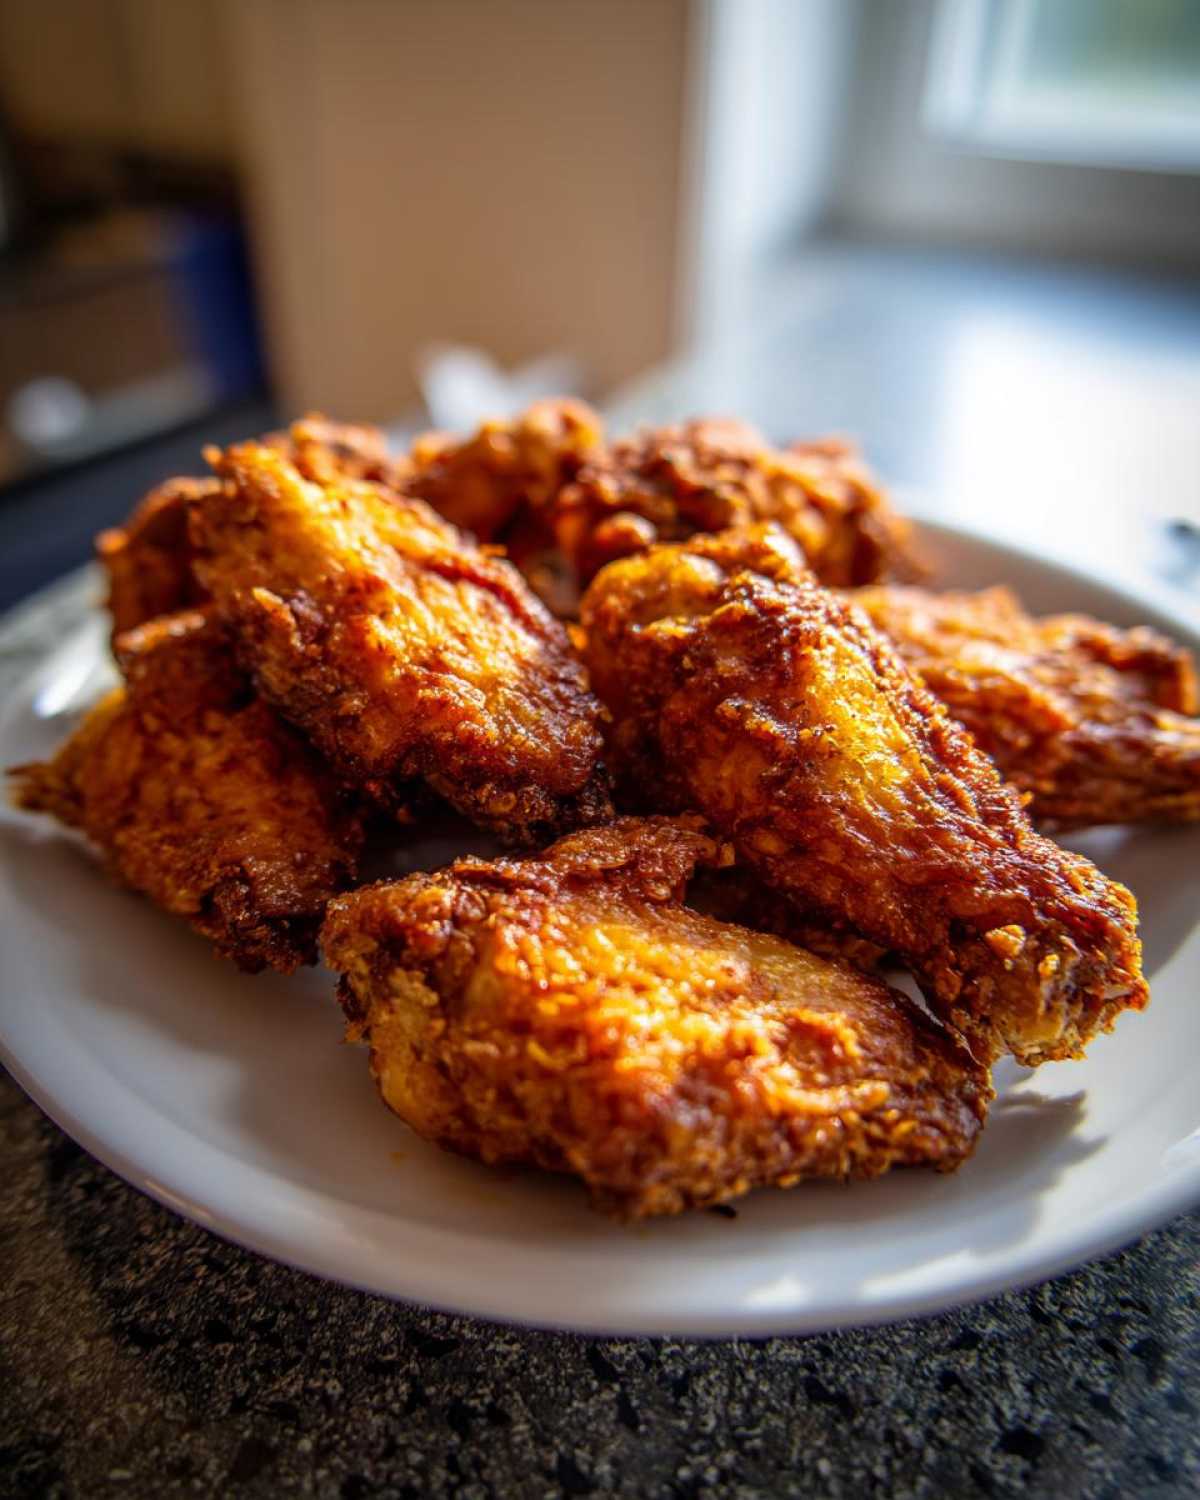
Oh, the soggy wing tragedy! We’ve all been there: you carefully watch the oven, waiting for that satisfying crunch, only to pull out something… limp. Don’t you worry! Simon always says the kitchen is for fun, not for feeling defeated by poultry skin. That’s why I’m sharing our absolute best trick for getting shatteringly crispy chicken wings that look deep-fried but are totally baked. Seriously, no fryer needed here! We use a totally game-changing baking powder technique that turns the skin golden and crisp every single time. Here at Kitchn Kudos, we believe the most important ingredient is praise, and nailing these amazing homemade chicken wings is definitely worth a high-five. I promise, I’m translating Simon’s relaxed encouragement, just like we do over at our About Us page, into super clear steps so you can celebrate this major win!
Why You Will Love These Extra Crispy Baked Chicken Wings
Honestly, this recipe is the reason I stopped ordering takeout wings! Simon cheers every time they come out of the oven because they are just that good. You get all the flavor and fantastic crunch without dealing with a vat of hot oil. It’s a real kitchen kudos moment!
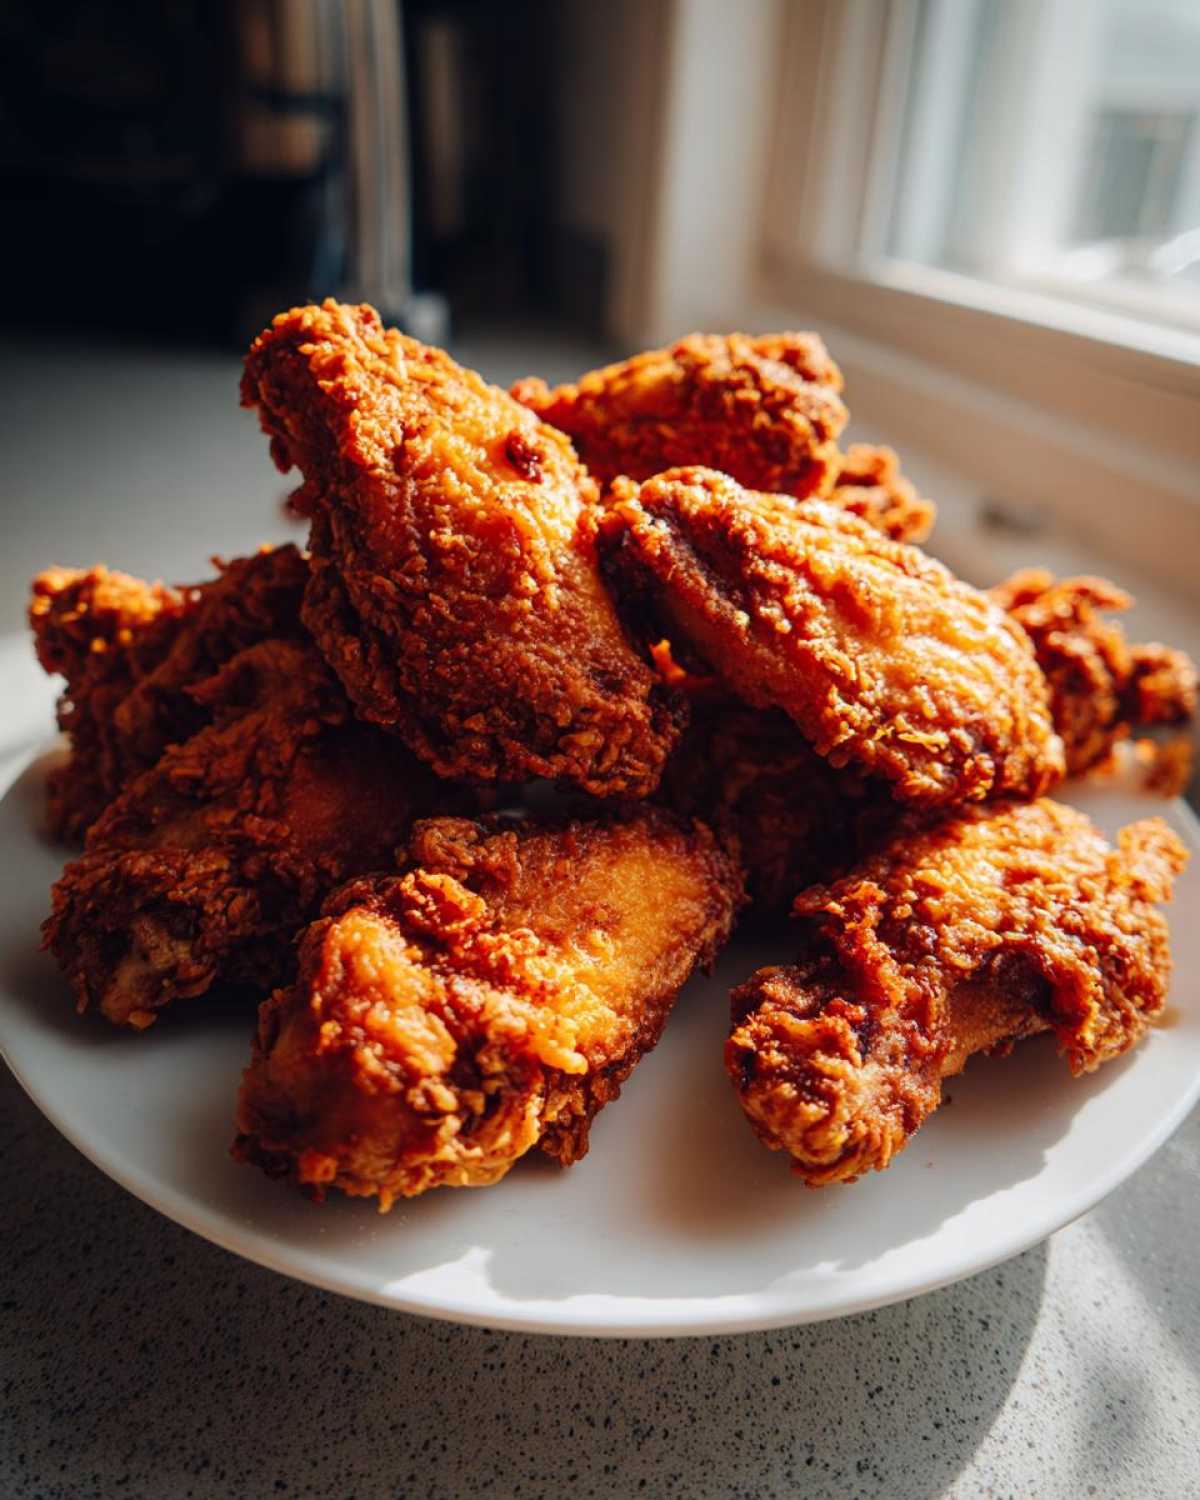
Crispy Skin Without Frying
We nail that shatteringly crisp texture you crave, but we do it the totally easy, no-fry way. That baking powder does the heavy lifting, guaranteeing that perfect outer crunch every single time. Seriously, they’re golden!
Perfect Party Appetizer Wings and Game Day Chicken Wings
If you’re hosting or just watching the big game, these are your heroes. They are crowd-pleaser appetizers that you can totally make ahead. These amazing chicken wings disappear first at any gathering, I promise.
Simple Prep for Easy Wing Recipes
The initial setup is so straightforward—just a quick toss in our secret dry mixture. Since there’s no deep frying involved, cleanup is an absolute breeze. That means less scrubbing and more time for celebrating your cooking win!
The Secret to Juicy Inside Crispy Outside Wings: Ingredients
This is where the magic starts, and trust me, you don’t need a cupboard full of fancy stuff. It’s all about using the right core components plus that one little helper product. Simon always keeps these simple things stocked because you never know when a wing craving might hit! When we talk about making these homemade chicken wings perfect, it all comes down to precision in the prep stage.
Essential Components for Perfect Chicken Wings
You’ll need about three pounds of chicken wings, and make sure you separate them into the little flats and drumettes—they cook more evenly that way. The real game-changer? One tablespoon of baking powder, ideally the aluminum-free kind. This is what draws out the surface moisture, which is the key to getting those juicy inside crispy outside wings we keep talking about!
- 3 lbs chicken wings (flats and drumettes)
- 1 Tbsp baking powder (aluminum-free is best!)
- 1 tsp salt, 1/2 tsp pepper, 1/2 tsp garlic powder
Sauce and Flavor Options for Your Chicken Wings
Once they come out of the oven crispy, they are ready for action. Keep some simple dry rubs on hand, or have your sauce ready for a quick toss. Think of the base recipe as a blank canvas for amazing flavors! If you’re feeling sweet, something like Honey Garlic Wings is divine. Or, for a classic tang, a good Buffalo Wing Sauce toss after baking works every time!
The Best Chicken Wing Technique: Step-by-Step Instructions
Okay, follow these steps exactly, and I promise you’ll be cheering by the time you pull these out. This sequence, from drying the wings to the two-stage temperature baking, is what gives us that unbelievable texture. It’s worth every second of attention! Simon is standing right here telling me to remind you that even the little details matter—this process results in the best crispy baked chicken wings!
Preparation and Coating for Maximum Crispiness
First things first: Preheat your oven to a hot 425°F (220°C). Crucially, you need a lined baking sheet with a wire rack sitting on top—this lets the air circulate all around, which is vital for achieving crispy baked chicken wings. Now, take your wings and pat them until they feel bone dry. I mean, dry! If they are wet at all, the baking powder can’t work its magic to draw out the moisture needed for that crisp skin. Mix your baking powder with the salt, pepper, and garlic powder. Toss everything together until those wings are evenly coated. It should look dusty!
Baking for Juicy Inside and Crispy Outside Chicken Wings
Place your coated wings on that rack, single layer only—don’t crowd them! Bake them at that high 425°F for 25 minutes. Then, and this is neat, flip them over and drop the oven temperature to 400°F (200°C). Bake for another 20 to 25 minutes. That drop in temperature locks in the juice while finishing the crisping process perfectly. Remember, this exact coating trick works wonders for Air Fryer Chicken Wings too, just check the recipe notes! Once they look deep golden brown and sound crunchy when you tap them, pull them out, toss them in your sauce immediately, and give yourself that well-deserved high-five!
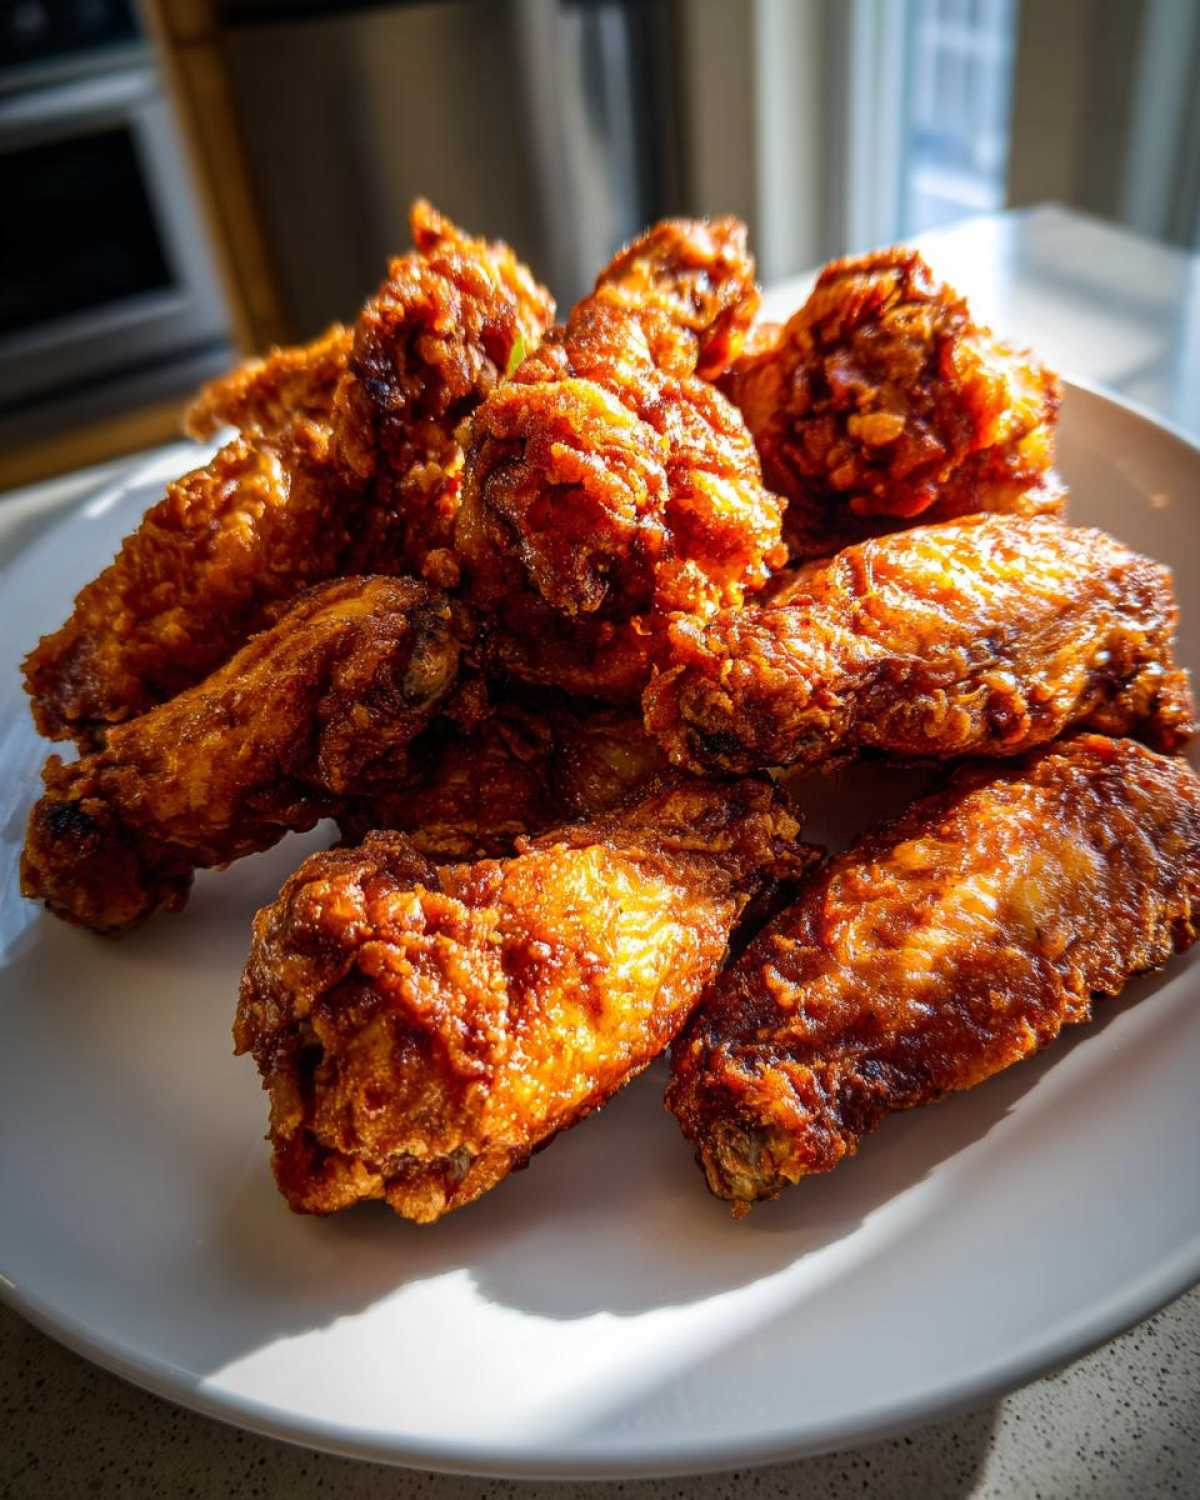
Tips for Success with Oven Baked Wings
Getting that perfect, crunchy skin on your oven baked wings takes just a tiny bit more attention than just tossing them on a pan, but it’s so worth the effort! Trust me, once you have this method down, you’ll never go back. These tips are what turn good wings into the star of your party.
Mastering the Baking Powder Trick for Chicken Wings
Let’s talk moisture control. I cannot stress this enough: those wings have to be completely dry before they meet the baking powder and seasoning mix. Simon often has to remind me to keep patting them down! The baking powder is what chemically helps draw out surface fat and water, setting you up for those beautiful Juicy Inside Crispy Outside Wings.
Glazing Your Chicken Wings After Baking
If you’re using a wet sauce—like a classic Buffalo Wing Sauce—wait until they are fully baked and crispy first! Toss them quickly in the sauce right when they come out of the oven. Here’s my favorite applause-worthy move: put those sauced wings back under your oven’s broiler for just two or three minutes. This sets the glaze, makes it sticky, and locks in the flavor without softening that crunch we worked so hard for!
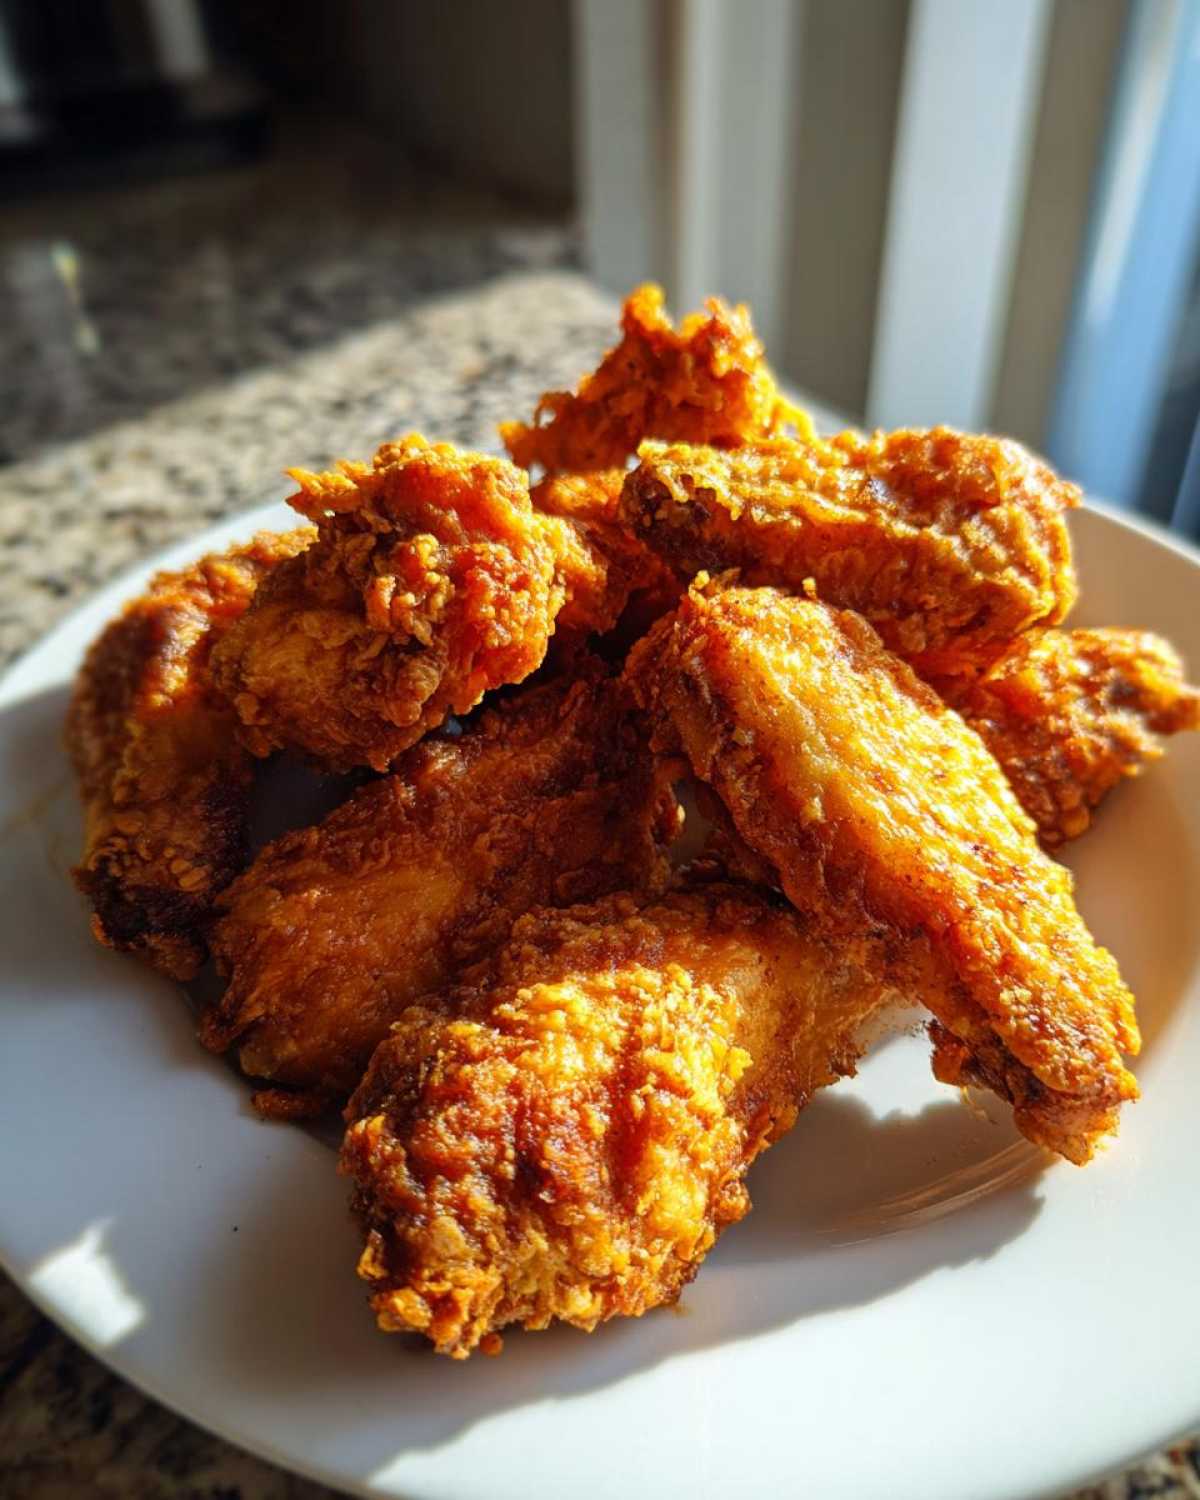
Flavor Variations for Your Homemade Chicken Wings
The base recipe for our extra crispy baked chicken wings is fantastic all by itself, but this foundation is just begging for flavor! This is where you can really step up and become the hero of the party. Simon always ends up trying three different flavors while I try to keep them separated on the platter. Since the skin gets so incredibly crisp, it holds onto whatever you throw at it next! Since you’ve mastered the bake, let’s talk about rocking some fun flavor profiles like Honey Garlic Wings!
Serving Up Classic Buffalo Wing Sauce
If you need that classic game-day feel, using a standard store-bought or homemade Buffalo Wing Sauce is easy peasy! Just make sure your wings are piping hot when they come out of the oven, toss them vigorously in the sauce, and get them moving fast onto the serving platter. That crispy skin holds up like a champ against the heat and tang!
Making Easy Crispy Ranch Chicken Wings
For the ultimate crowd pleaser, try making these into easy Crispy Ranch Chicken Wings! After the wings are done baking and while they are still hot, toss them lightly in melted butter—just enough to help the seasoning stick—and then shower them heavily with a packet of dry Ranch seasoning mix. No sauce needed; the dry seasoning clings perfectly and gives you amazing flavor without any extra mess. This is such a simple path to great Party Appetizer Wings!
If you love sweet and spicy, you absolutely must check out this amazing hot honey chicken wings recipe I saw recently—it uses the same technique for amazing crusts! Or, for a classic tang, a good Buffalo Wing Sauce toss after baking works every time!
Serving Suggestions for Game Day Chicken Wings
You’ve got these amazing, crispy chicken wings ready to go, which is half the battle won! But what do we serve with these savory chicken bites? Simon insists that you can’t just serve wings alone; they need worthy companions to make a full game day showstopper. I love balancing the richness of the wings with something cool, crunchy, or slightly sweet.
For me, classic celery and carrot sticks are a must, especially if you’re slathering them in blue cheese or my amazing homemade ranch dressing. If you want a heartier side that still feels light, you have to try Simon’s sweet potato salad; it’s amazing alongside a spicy sauce! Or, for that crunch factor, my creamy broccoli salad is always a huge hit. See? Easy sides that are totally worthy of your successful baking job!
Storage and Reheating Instructions for Chicken Wings
Don’t you dare let those beautiful, crispy baked chicken wings go to waste! Store any leftovers in an airtight container in the fridge. We usually get through them in two days max, let’s be honest. The biggest challenge is reheating, but we have a trick for that! If you microwave them, you ruin all the hard work we did getting that skin crisp, so avoid that at all costs. Simon says we have to revive that crunch before serving our savory chicken bites again.
To bring them back to life, you just need a little blast of heat. Either pop them back onto a wire rack set over a baking sheet in a 375°F oven for about 8 minutes, or toss them in the air fryer at 350°F for 4 or 5 minutes. That little bit of focused dry heat will wake that skin right back up! Yes!
Frequently Asked Questions About Crispy Chicken Wings
Whew! We made it to the end, but I know you might still have questions swirling around about getting the best texture. It’s okay! I’ve rounded up the questions I get asked most often about these easy wing recipes, especially from folks who are either using the oven or trying the air fryer for the first time. We want every batch of these homemade chicken wings to be a success!
Can I use this baking powder technique for Air Fryer Chicken Wings?
Absolutely, yes! This is the same amazing technique we use for our favorite Air Fryer Chicken Wings. If you use your air fryer basket, just cook them around 380°F for about 18 to 20 minutes total, making sure you give them a good flip halfway through. You get that same great crispiness!
What is the secret to getting truly crispy chicken wings without deep frying?
It’s all about two things working together: First, you have to pat the chicken wings completely dry—no shortcuts here! Second, the magic happens when you toss them thoroughly with aluminum-free baking powder. That powder is what dries out the skin surface really well during the bake so you get that delicious crunch.
How do I prevent my baked chicken wings from sticking to the rack?
Sticking is the enemy of crispiness! If you’re worried, give your wire rack a very light spray of non-stick cooking oil before you place the seasoned wings on it—just a light mist is enough. Also, make sure you follow the recipe’s instruction to leave space between each wing; overcrowding traps steam and leads to sticking.
Nutritional Estimates for These Chicken Wings
Since we are all about transparency here at Kitchn Kudos—and because Simon loves celebrating hard work, even the hard work of counting macros!—I put together the estimated nutrition facts for these ultra-crispy baked chicken wings. This is based on just the wings coated with our dry rub, not any heavy sauce we might toss them in later. Remember, this is just a guide! If you decide to dunk your savory chicken bites into a thick honey garlic glaze or a spicy BBQ sauce, those numbers will definitely shift.
But for our base recipe, you get fantastic protein and flavor without tons of extra fat, especially since we skipped the frying! It’s a genuine win-win, leaving more room for sides like my famous chicken salad stuffed avocados if you’re keeping things balanced.
| Nutrient | Amount (per 4 wings) |
|---|---|
| Serving Size | 4 wings |
| Calories | 280 |
| Protein | 27g |
| Fat | 18g |
| Saturated Fat | 5g |
| Carbohydrates | 1g |
| Sugar | 1g |
| Sodium | 350mg |
See? Delicious wings that let you feel good about making them for your next party or quick dinner night. Pat yourself on the back for trying this crispy technique!
PrintExtra Crispy Baked Chicken Wings (No Fry Technique)

You get shatteringly crisp skin on these baked chicken wings without any deep frying. We use a simple baking powder trick to achieve juicy meat and a crunchy exterior, perfect for game day or a quick dinner.
- Prep Time: 15 min
- Cook Time: 45 min
- Total Time: 60 min
- Yield: 4 servings
- Category: Appetizer
- Method: Baking
- Cuisine: American
- Diet: Low Fat
Ingredients
- 3 lbs chicken wings, separated into flats and drumettes
- 1 tablespoon baking powder (aluminum-free works best)
- 1 teaspoon salt
- 1/2 teaspoon black pepper
- 1/2 teaspoon garlic powder
- Optional: Your favorite sauce (Buffalo, Honey Garlic, or Ranch seasoning)
Instructions
- Preheat your oven to 425°F (220°C). Line a large, rimmed baking sheet with foil for easy cleanup. Place a wire cooling rack on top of the baking sheet.
- Pat the chicken wings completely dry using paper towels. This step is crucial for crispiness.
- In a large bowl, combine the baking powder, salt, pepper, and garlic powder.
- Add the dried chicken wings to the bowl. Toss them thoroughly until every piece is evenly coated with the dry mixture. The baking powder helps draw out moisture and crisp the skin.
- Arrange the coated wings in a single layer on the wire rack, ensuring there is space between each wing for air circulation. Do not overcrowd the pan.
- Bake for 25 minutes.
- Flip the wings over. Reduce the oven temperature to 400°F (200°C).
- Bake for another 20 to 25 minutes, or until the skin is deeply golden brown and very crispy.
- Remove the wings from the oven. If you want to sauce them, toss them immediately in your chosen sauce or dry rub while hot.
- Serve your extra crispy baked chicken wings right away for the best texture. Give yourself a high-five for this win!
Notes
- For the juiciest inside and crispiest outside, make sure your wings are completely dry before seasoning.
- If you are using a wet sauce like Buffalo or Honey Garlic, toss the wings in the sauce right after they come out of the oven, then return them to the oven under the broiler for 2-3 minutes to set the glaze.
- This technique works well for Air Fryer Chicken Wings too; cook at 380°F for 18-20 minutes, flipping halfway.
Nutrition
- Serving Size: 4 wings
- Calories: 280
- Sugar: 1
- Sodium: 350
- Fat: 18
- Saturated Fat: 5
- Unsaturated Fat: 13
- Trans Fat: 0
- Carbohydrates: 1
- Fiber: 0
- Protein: 27
- Cholesterol: 95