

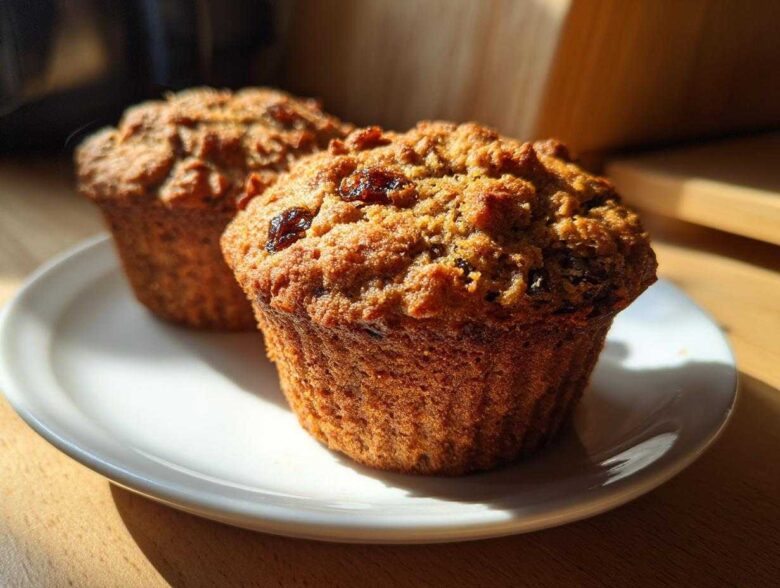
I used to think that anything truly healthy in the baking world automatically meant dry, crumbly, and flavorless. Seriously, the internal critic in my head used to scream if a muffin didn’t look exactly like a picture from a magazine. But Simon always reminds me that food is about joy, not impossible standards! That’s why I feel so giddy sharing this recipe for the ultimate bran muffins. We finally cracked the code: these are intensely moist, packed with fiber, and taste like something from a classic bakery. If you are looking to start your journey into less stressful baking, check out our philosophy over at the main blog. We guarantee you’ll get maximum praise for these!
Why These Bran Muffins Are Your New Favorite Healthy Breakfast Muffins
Look, I know the struggle. You want something wholesome for breakfast, something packed with fiber that won’t leave you hungry an hour later, but the word “bran” usually conjures up images of sawdust. Not here! We made sure these Moist Bran Muffins are incredibly tender. Simon insists they taste like a treat, not a chore, and honestly, he’s right. This recipe is designed to be the staple for your grab-and-go routine.
Achieving Maximum Moisture in Your Bran Muffins
The secret weapon for that soft, yielding texture that makes you reach for a second one? It’s that lovely combination of unsweetened applesauce taking the place of some of the usual butter or oil, paired with that small amount of vegetable oil. It sounds simple, but these elements team up to keep every single bite moist long after they leave the oven. You won’t believe something this good for you is so tender!
The High Fiber Muffins Advantage: Fueling Your Day
If you’re looking for genuine staying power in your morning meal, these ingredients deliver. We doubled down on the fiber by using both wheat bran and oat bran. That means you get a hearty, genuinely filling start to your day. These aren’t just good-tasting; they are truly fantastic High Fiber Muffins that support you right up until lunchtime. Talk about a win in the kitchen!
Gathering Ingredients for Perfect Bran Muffins
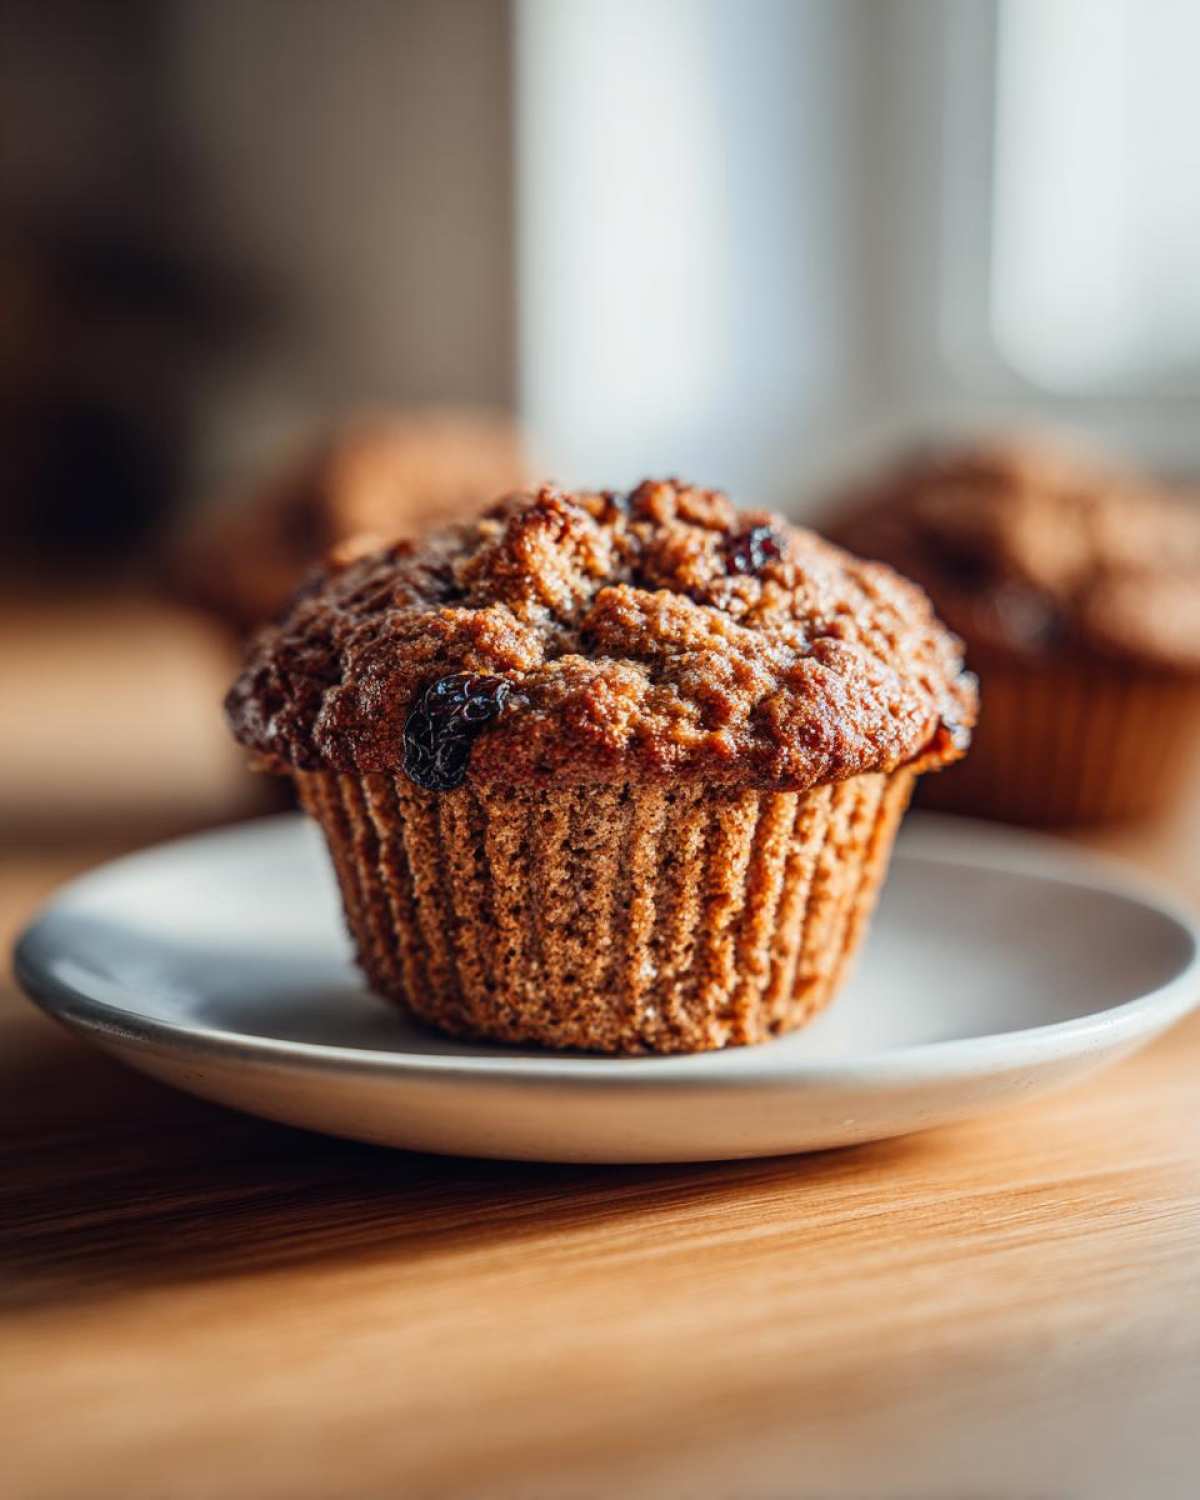
Okay, let’s get the prep done! Baking these wonderful bran muffins is super straightforward because we aren’t dealing with complicated steps, but the ingredients really do matter for that textural payoff. The key here is that we’re using both wheat bran *and* oat bran. Don’t skip one for the other! They bring different textures to the party, and together, they create that fantastic, sturdy-yet-soft crumb we love.
Ingredient Notes and Substitutions for Bran Muffins
This recipe keeps things simple but smart. Make sure you grab exactly 1 cup of wheat bran and 1 cup of oat bran—that dual approach is key for texture. When you look at the sweetener, you can absolutely swap maple syrup for honey; they behave almost identically here regarding moisture and flavor profile. If you’re feeling extra, remember that the addition of raisins or maybe some tart chopped apple (about 1/2 cup total for either) makes a huge difference in chewiness!
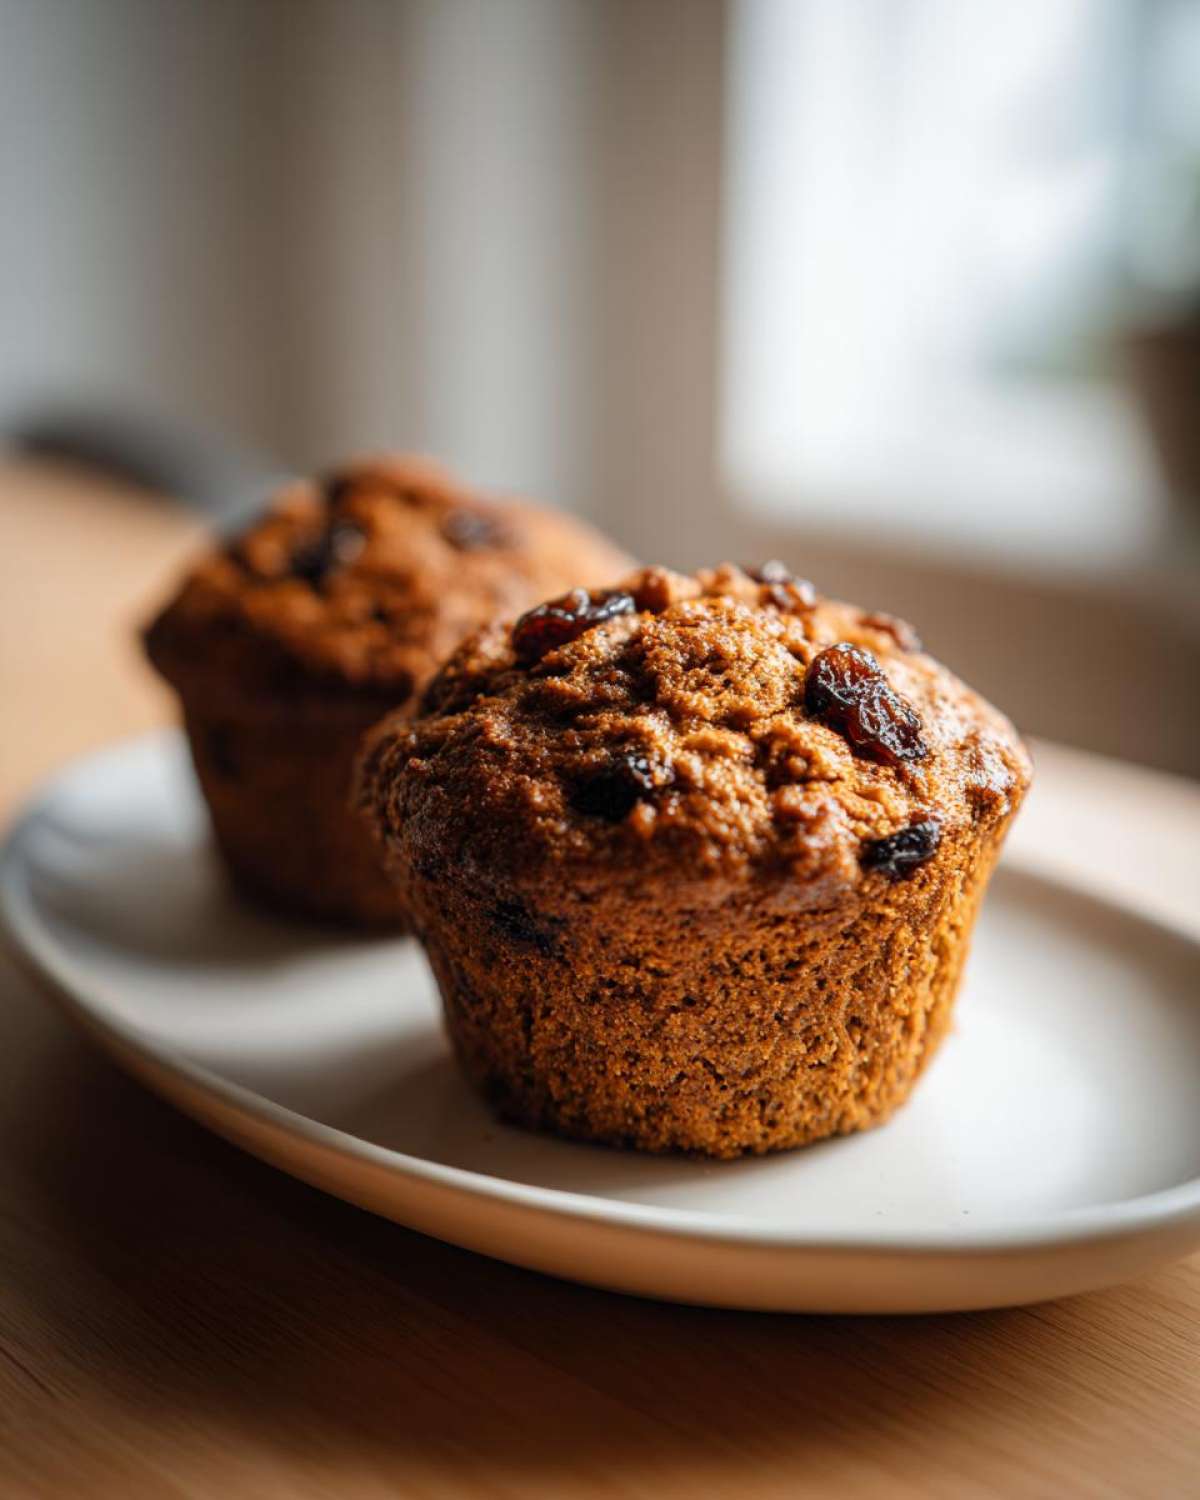
One little trick I learned, which is noted in the full recipe details, is that if you have yogurt on hand, substituting some of the milk for plain yogurt is a phenomenal upgrade. It adds a beautiful richness that makes these even more like those decadent, wholesome baked goods you find at specialty shops.
Simple Muffin Baking: How to Prepare Your Bran Muffins
Alright, team, this is where we put that encouragement to work! Simon loves this part because it moves fast—we’re looking at maybe 35 minutes total, which is why these make the perfect grab and go breakfast. First things first: get that oven fired up to 400°F (200°C). Make sure you’ve lined your 12-cup tin, or grease it really well if you skip the liners. Organization up front equals kudos later, right?
Now, we follow the standard but crucial method. Whisk all your dry things together first—that’s both brans, the flour, baking soda, baking powder, cinnamon, and salt—in a big bowl. Don’t skimp! In a separate bowl, just quickly whisk the wet stuff: egg, milk, applesauce, maple syrup, oil, and vanilla. See? Easy breezy. Now, pour the wet bowl right into the dry. I’ve linked to another super easy muffin recipe if you want more quick wins like this!
When you fold in those optional raisins or apples, start mixing right away, but here is where Simon steps in with his big, loud encouragement: Stop mixing! Stop mixing!
You only mix until those streaks of flour just disappear. Seriously, stop stirring. If you want those famously moist bran muffins, you absolutely cannot overmix this batter. If you do, you’ll be developing gluten, and that’s how you end up with tough, chewy, sad muffins instead of the soft, wholesome baked goods we are aiming for. Just gently fold until they cooperate.
Pop that batter evenly into your cups—remember, about two-thirds full. They go into the hot oven for about 18 to 20 minutes. Pop a toothpick in to check right around the 18-minute mark. If it comes out clean, give yourself a high-five! You’ve officially bypassed the perfectionist panic and made something wonderfully healthy. If you ever feel like you’re failing, just remember you can always find inspiration from bakers like Katie over at Chocolate Covered Katie. We all learn from each other!
Mixing Technique for the Best Bran Muffins Texture
I cannot stress this enough: the secret to the most tender bran muffins texture is actually in *stopping* the mixing. When you combine the wet and dry ingredients, you mix them only until they are *just combined*. What does that mean for us? It means you might still see a tiny bit of flour showing, or perhaps a streak of bran that hasn’t fully hydrated yet. That is absolutely fine! If you keep beating that batter looking for a totally smooth texture, you are creating too much gluten structure. That gluten means chewiness, and chewiness means tough muffins—the exact opposite of the incredibly **moist bran muffins** we want. A little bit of lumpiness is the sign of a baker who knows when to quit!
Tips for Success When Making Moist Bran Muffins
We’ve nailed the mixing technique—no overworking the batter equals soft muffins, check! But let me give you a few extra little nuggets of wisdom that make these moist bran muffins foolproof. First off, don’t forget that great tip from the ingredient section: if you have plain yogurt, swap half the milk for it. Yogurt brings a lovely subtle tang and extra moisture that pushes these into true dessert territory, even though they are breakfast!
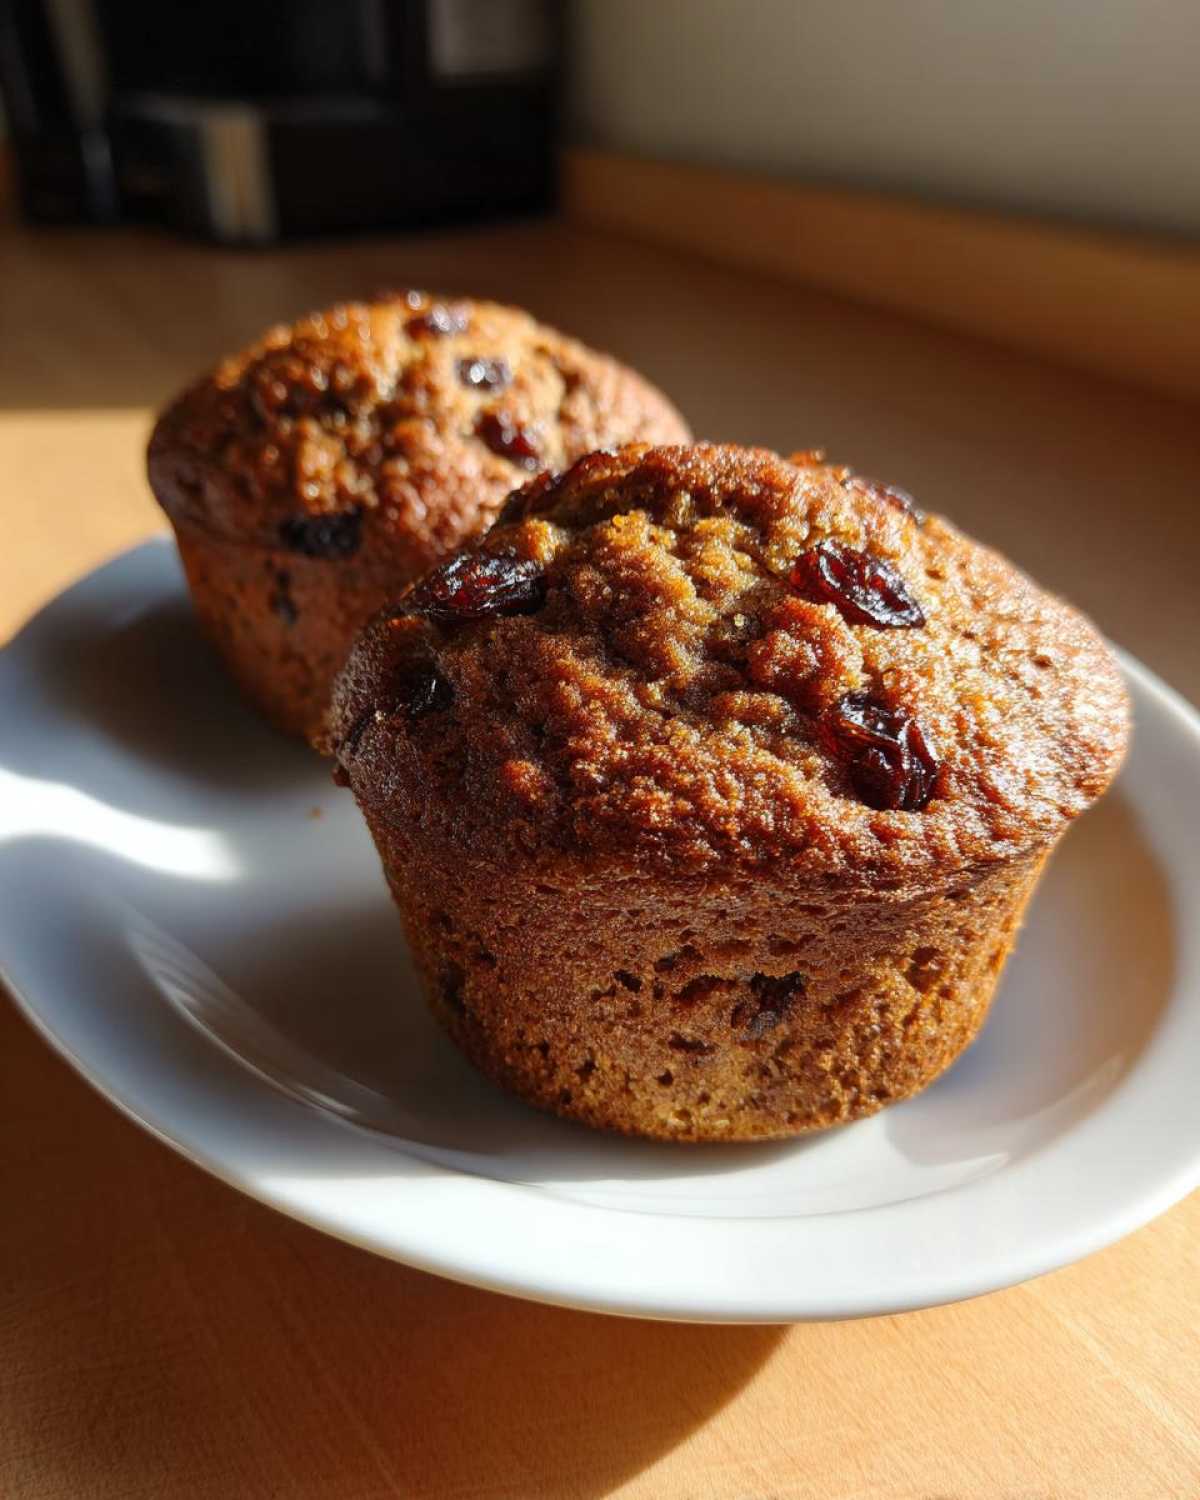
Also, if you happen to have an extra five minutes while your oven heats up, let that batter sit on the counter for about five to ten minutes after you mix everything. This little rest lets the bran and the oats soak up some of that lovely liquid. That hydration process helps everything meld together perfectly, ensuring you get that maximum moistness factor we are chasing after. It’s a small step, but when you’re aiming for the best bran muffins, every little bit counts!
And hey, if you’re trying to keep the sugar down because these are for daily fuel, you absolutely can reduce the maple syrup or honey down to 1/3 cup instead of 1/2 cup. They’ll still be plenty sweet, trust me. Baking shouldn’t add to your stress; it should be a moment of quiet praise for yourself. If you need more ideas for quick, successful baking, you should check out my guide to simple flavor boosters. You got this!
Make-Ahead & Freezer Friendly Muffins Storage
The absolute best part about baking a big batch of these wholesome goodies is knowing you have your *Grab And Go Breakfast* sorted for weeks! These are truly fantastic Freezer Friendly Muffins. The crucial step here—and don’t skip it—is letting them cool completely on a wire rack. I mean totally, stone cold. If you wrap them even slightly warm, you’re going to trap steam, and that invites sogginess, which we are trying to avoid!
Once they are cool, this is how Simon wraps them: individually. I know, it takes an extra minute, but wrapping each muffin tightly, maybe in plastic wrap or aluminum foil, stops them from getting freezer burn and protects that lovely moist texture. Then, pop them all into one heavy-duty freezer bag. They stay perfect for up to three months! When you need one, just pull it out. If you want a super quick warm-up, I use the microwave for maybe 15 seconds, but Simon insists on 5 minutes in a toaster oven. For more meal prep praise, take a look at my egg muffin guide!
Variations for Your Homemade Bran Muffins
We want everyone to feel like they can tweak this recipe, so here are a few fun ideas! Since these are such dependable Homemade Bran Muffins, they take well to additions. If you want a little crunch and depth—and I highly recommend it—toss in about half a cup of chopped walnuts or pecans along with your fruit. They toast up beautifully in the oven!
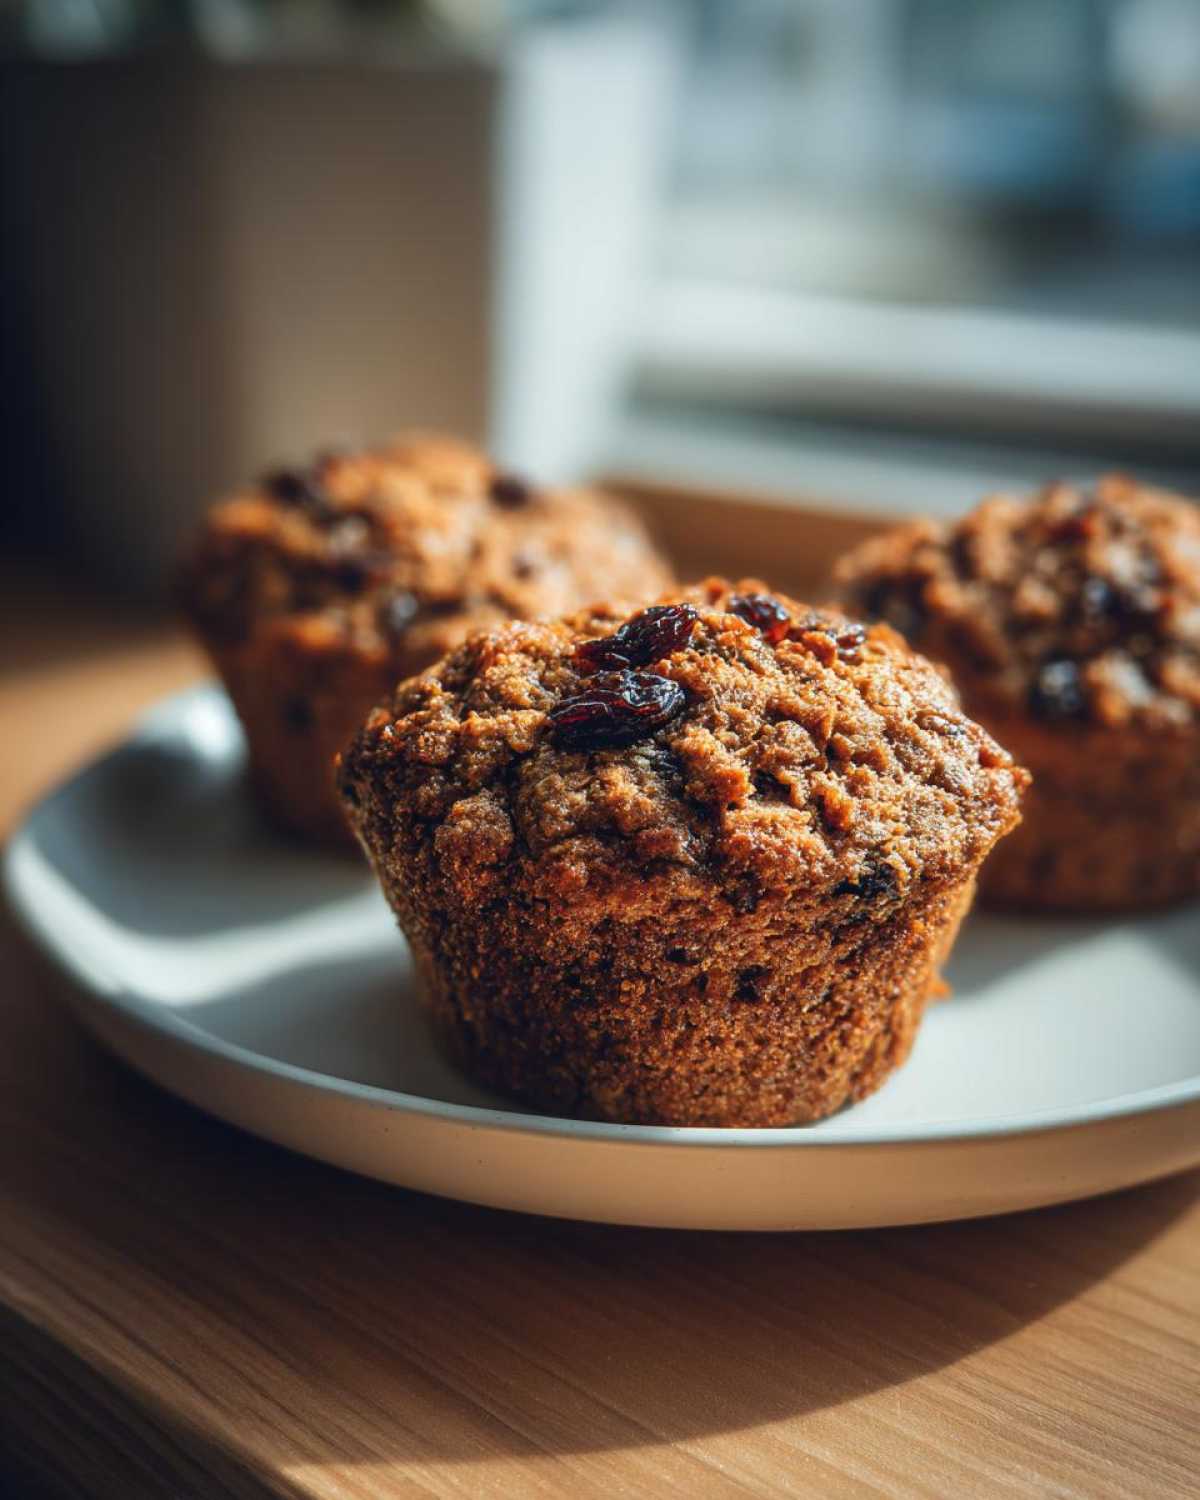
If you haven’t made these yet, think about pairing them with something creamy. Before freezing, sometimes I like to leave a few plain and serve them fresh with a pat of good salted butter or maybe some homemade jam I whipped up last week (you can see my obsession with sweet potato things bleeding into my breakfast routine!).
Exploring Oat Bran Muffins Idea
You might be wondering what happens if you decide to lean even further into the oat bran. If you swapped half the wheat bran for extra oat bran—say, 1.5 cups oat bran and 0.5 cup wheat bran—you will notice the texture gets slightly softer and maybe a tiny bit fluffier. Both brans are fantastic, but the oat bran really gives a smooth melt-in-your-mouth feeling. It’s a small change that yields a noticeable difference in the final bite. For more inspiration on healthy flavor combos, check out the seeded versions over at Savory Moms Kitchen!
Serving Suggestions for Grab And Go Breakfast
These muffins are truly designed for speed, making them the ultimate Grab And Go Breakfast upgrade. When I pull one out of the freezer for Simon in the morning, I like to pair it with something creamy to balance that fiber kick. A smear of salted butter is simple perfection, or maybe some light cream cheese if we have it!
They are also wonderful served slightly warm alongside a bowl of plain Greek yogurt topped with fresh berries. That little bit of cool tang cuts through the warmth of the cinnamon beautifully. Honestly, no fancy additions are needed—these bran muffins are perfect just as they are, ready to fuel your busy morning. For more ideas on making quick meals, see what we’re whipping up in my lettuce wraps post!
Frequently Asked Questions About These Bran Muffins Recipe
I love getting your questions! It means you’re getting into the kitchen to bake, and that deserves huge kudos from me. Here are a few things I hear all the time about getting our bran muffins just right.
Can I make these Naturally Sweetened Muffins vegan?
That’s a great modification! Since this recipe uses just one egg, it’s fairly easy to adjust for vegan baking. To swap out the egg, I’d suggest making a “flax egg”—just mix one tablespoon of ground flaxseed with three tablespoons of water and let it sit for about five minutes until it gets thick and gelatinous. Also, just make sure you use non-dairy milk, like almond or soy milk, instead of cow’s milk. Super simple adaptations for wonderful, wholesome baked goods!
What is the best way to reheat frozen bran muffins?
This is crucial for bringing back that fresh-baked tenderness! If you’re in a massive hurry, a quick zap in the microwave—maybe 15 to 20 seconds—works fine. But if you want to keep that amazing texture we worked so hard for, I personally recommend popping them in a toaster oven or a conventional oven set to about 300°F (150°C) for about five minutes. That little bit of dry heat really refreshes the edges and keeps the inside perfectly moist. If you’re looking for more speedy meal ideas, check out how I make my easy Zuppa Toscana—it’s ready in no time too!
Are these low sugar muffins? I need to watch my sugar intake.
They are certainly made with *naturally* sweetened ingredients like maple syrup or honey, which is better than refined white sugar, but they still contain sugar! As I mentioned in the notes, if you are really focusing on reducing that, you can confidently drop the maple syrup or honey down to just 1/3 cup. They will still be sweet enough to be enjoyable, especially when you pair them with something savory or tangy, like a little Greek yogurt.
How long do these Homemade Bran Muffins stay fresh on the counter?
Because we used oil and applesauce, these truly are some of the best Homemade Bran Muffins for shelf life! If you keep them sealed tightly in an airtight container at room temperature, they should stay delightfully moist for three to four days. After that, though, definitely move them to the freezer to keep that texture perfect for later enjoyment!
Sharing Your Success with Our Classic Bakery Muffins
I genuinely hope you loved making these incredible, high-fiber bran muffins! Seriously, take a moment and give yourself a huge round of applause—baking something wholesome and delicious like this deserves loads of kudos. If you tried this recipe and ended up with the softest, most perfect batch, will you drop a rating below? I’d love to see your results! And if you have any questions or want to share how you customized them, shoot us a note over on the contact page. Happy praising!
PrintMoist, High-Fiber Bran Muffins: Your New Favorite Grab-and-Go Breakfast

Bake a batch of these wonderfully moist bran muffins. They are packed with fiber, naturally sweetened, and perfect for meal prep or a quick, healthy breakfast. You will love how easy they are to make and freeze for busy mornings.
- Prep Time: 15 min
- Cook Time: 20 min
- Total Time: 35 min
- Yield: 12 servings
- Category: Breakfast
- Method: Baking
- Cuisine: American
- Diet: Vegetarian
Ingredients
- 1 cup wheat bran
- 1 cup oat bran
- 1 cup whole wheat flour
- 1 teaspoon baking soda
- 1 teaspoon baking powder
- 1 teaspoon ground cinnamon
- 1/2 teaspoon salt
- 1 large egg
- 1 cup milk (dairy or non-dairy)
- 1/2 cup unsweetened applesauce
- 1/4 cup maple syrup or honey
- 1/4 cup vegetable oil or melted coconut oil
- 1 teaspoon vanilla extract
- 1/2 cup raisins or chopped apple (optional)
Instructions
- Preheat your oven to 400°F (200°C). Line a 12-cup muffin tin with paper liners or grease well.
- In a large bowl, whisk together the wheat bran, oat bran, whole wheat flour, baking soda, baking powder, cinnamon, and salt. This is a great first step—give yourself a kudos for getting organized!
- In a separate medium bowl, whisk together the egg, milk, applesauce, maple syrup (or honey), oil, and vanilla extract until combined.
- Pour the wet ingredients into the dry ingredients. Mix gently with a spatula until just combined. Do not overmix; a few lumps are fine.
- Fold in the raisins or chopped apple, if using.
- Divide the batter evenly among the 12 prepared muffin cups. Fill them about two-thirds full.
- Bake for 18 to 20 minutes, or until a toothpick inserted into the center comes out clean.
- Let the muffins cool in the pan for 5 minutes before transferring them to a wire rack to cool completely.
- If you are freezing them, cool completely, then wrap individually in plastic wrap before placing them in a freezer-safe bag. Enjoy your batch prepping success!
Notes
- For an extra boost of flavor and moisture, substitute half of the milk with plain yogurt.
- These are excellent freezer friendly muffins. They keep well for up to three months when properly wrapped.
- If you prefer a less sweet muffin, reduce the maple syrup or honey to 1/3 cup.
- For a variation, try adding 1/2 cup of chopped walnuts or pecans to the batter.
Nutrition
- Serving Size: 1 muffin
- Calories: 180
- Sugar: 12
- Sodium: 150
- Fat: 7
- Saturated Fat: 1.5
- Unsaturated Fat: 5.5
- Trans Fat: 0
- Carbohydrates: 28
- Fiber: 5
- Protein: 5
- Cholesterol: 18