

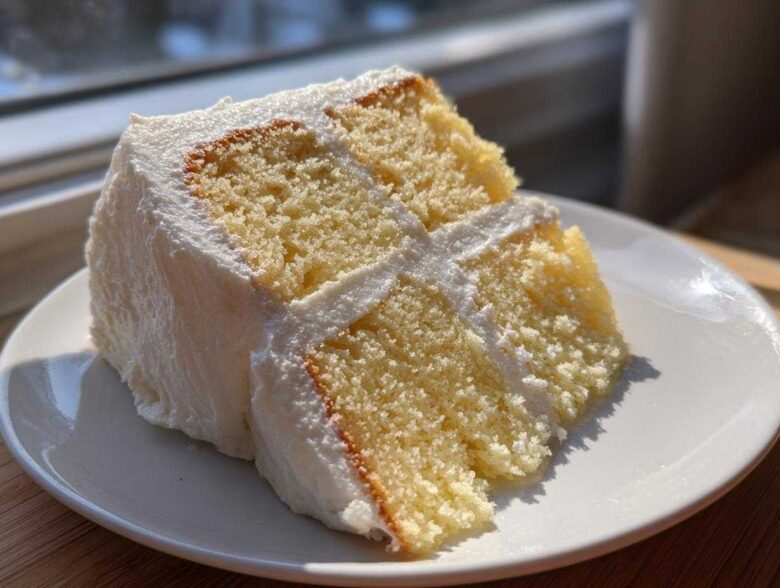
If you’ve ever stared at a picture of a bakery-style cake and thought, “Oh, I could never make that,” well, I’m hoping Simon and I can change your mind right now! For too long, I treated baking like a final exam, which drained all the fun out of it. But thanks to my wonderful husband, I finally learned that a kitchen should be about joy, not self-imposed pressure. You deserve a cake that is reliably moist, unbelievably soft, and utterly delicious for your next big moment. Forget the stress; this is truly the vanilla cake recipe you’ve been searching for, and we’re going to celebrate every single step you take toward making it!
Why This is the Perfect Vanilla Cake Recipe for You
Look, if you’re searching for the absolute Best Vanilla Cake Recipe that will never let you down for a birthday or a special anniversary, stop scrolling. We nailed the texture here. This isn’t some fussy, complicated thing; it’s an incredibly Easy Vanilla Cake Recipe that yields something truly special. Simon always says, “If the cake is moist, it’s already a win!” We focused on simplicity without sacrificing that fluffy, tender crumb everyone wants when they bake from scratch.
We aren’t using any crazy tricks here, just smart, simple techniques that ensure success, which is why I’m so eager to share our process. It’s about building confidence in the kitchen, one perfect slice at a time! If you want to see how we make soft bread while we wait for the cake to bake, check out our garlic naan bread recipe!
Achieving That Signature Moist Vanilla Layer Cake Texture
The secret to a truly Moist Vanilla Layer Cake is treating your ingredients right! You absolutely must have your milk and eggs at room temperature. This allows them to emulsify beautifully with the fats during mixing, creating a smooth batter that traps air. Also, if you can find vanilla bean paste, throw it in! That little bit of extra vanilla doesn’t just boost the flavor; it adds the slightest bit of extra liquid, helping keep those layers soft for days. Seriously, try it!
Gathering Ingredients for Your Fluffy Vanilla Cake From Scratch
Okay, now for the fun part: getting everything ready! Remember, baking is like a little science experiment where knowing your starting materials makes all the difference. This recipe is designed to be a foolproof Fluffy Vanilla Cake From Scratch, but only if we stick to how the ingredients should be prepped. We want that perfect lift and that tender crumb, so pay close attention to the temperatures required for the butter, eggs, and milk. It might seem fussy, but trust me, it’s one of the biggest secrets for success!
Ingredients for the Moist Vanilla Cake Recipe
Here’s what you need to pull out of the pantry and fridge before you even think about turning the mixer on. We are keeping this simple, as they all count toward making this our signature flavor.
- 1 3/4 cups all-purpose flour
- 1 3/4 cups granulated sugar
- 1 tablespoon baking powder
- 1/2 teaspoon salt
- 1 cup unsalted butter, softened
- 4 large eggs, room temperature
- 1 cup whole milk, room temperature
- 2 teaspoons pure vanilla extract
- 1 teaspoon vanilla bean paste (optional, but wow, it’s worth it!)
Ingredients for Homemade Vanilla Buttercream Frosting
You’ve got your amazing cake layers; now we need the perfect blanket for them! We’ll dive into the full frosting instructions later, but make sure you have the basics ready for our Homemade Vanilla Buttercream Frosting. You’ll need plenty of soft butter, powdered sugar (the sifted kind is best!), a splash of milk or heavy cream, and, of course, lots of pure vanilla extract because this has to taste better than anything store-bought!
Step-by-Step Guide to Our Easy Vanilla Cake Recipe
Alright, friend, put on your apron! This is the moment where we turn those lovely ingredients into something spectacular. Simon gets really hyped up during this phase—he’s usually blasting some 80s rock by now! Remember, the goal isn’t just to follow steps; it’s to enjoy the process. If you mess up one small thing, who cares? Maybe it just turns into a great excuse for a zesty chicken dinner instead! Truly, this is where the magic of our vanilla cake recipe happens. Let’s get mixing!
Preparing the Pans and Dry Mix for Your Classic Birthday Cake Recipe
First things first: turn that oven to 350°F (175°C). While it warms up, get your two 8-inch round pans greased, floured, and lined on the bottom with parchment. This little paper circle is your insurance policy! Next, whisk your flour, sugar, baking powder, and salt together in a huge bowl. Quick pro tip from Alice: Don’t scoop the flour straight from the bag with your measuring cup; you’ll pack it in and end up with dry cake! Spoon your flour into the cup and level it off—that keeps everything accurate.
Mixing the Batter for a Soft Vanilla Sponge Cake
Now, the butter comes in! Add your softened butter to that dry mix and beat it on low; we want it to look like chunky, wet sand. That’s trapping all the air! In a separate bowl, whisk your room-temp milk, eggs, and vanillas. Now, add *half* of that wet mix to your sandy butter mixture. Mix until just combined, scrape down the sides—and here’s Simon’s big rule: Do not overmix! Add the rest of the liquid and mix for only about a minute until it’s smooth. Overmixing develops too much gluten, and you’ll end up with a tough cake instead of this beautiful Soft Vanilla Sponge Cake.
Baking and Cooling the Perfect Vanilla Cake Recipe
Divide that gorgeous batter evenly between your two prepared pans. Pop them into the preheated oven right away—don’t let the batter sit around! They usually take 30 to 35 minutes. You’ll know they are done when a toothpick slides in and comes out clean, or maybe with a few moist crumbs attached—not wet batter! That’s the goal. Let the layers cool in the pans for just 10 minutes. Seriously, stick to the 10 minutes. Then, gently invert them onto a wire rack to cool completely. You cannot frost them until they are stone-cold! I often look at professional baker guides when I’m nervous, and this post is great for understanding layer cake structure.
Tips for Success with This Perfect Vanilla Cake Recipe
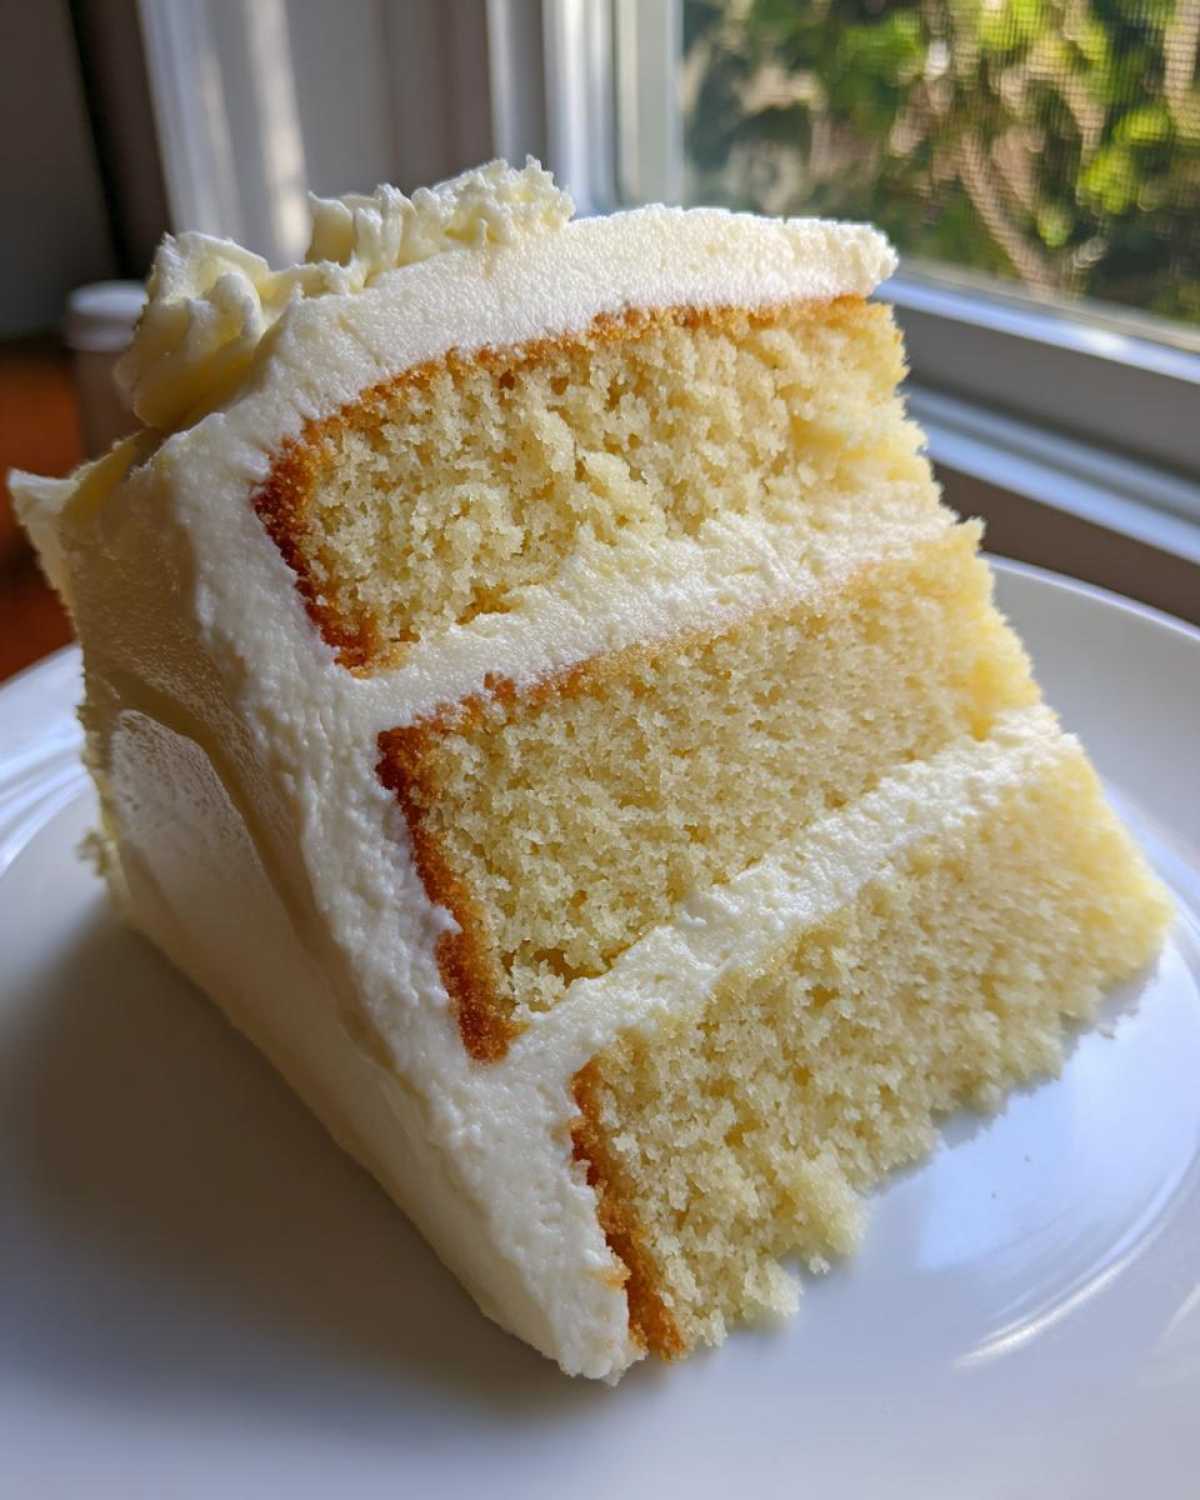
I know I’ve already belted out a song about room temperature ingredients, but honestly, this is where we earn our kudos for baking! Achieving that fluffy cloud-like texture in our vanilla cake recipe isn’t about magic; it’s about science done simply. Simon always reminds me that perfection comes from preparation, not last-minute scrambling. If you nail these twin tips, you’ve already won the baking game, making things so much easier before we even tackle the frosting!
Also, don’t skimp on the vanilla! If you use that cheap imitation stuff, your cake will taste… well, cheap. Since this is a vanilla cake, the vanilla is the star, so treat it right. Feel free to check out this guide on layer cake frosting ideas if you want inspiration for leveling up later. If you want a quick savory something while you wait for baking time, try my favorite honey garlic chicken stir-fry!
Ingredient Temperature Matters for Your Vanilla Cake Recipe
This is non-negotiable for a Perfect Vanilla Cake Recipe! I’m talking room temperature eggs and milk. If they are cold straight from the fridge, they fight the softened butter when you start mixing, causing separation and resulting in a curdled-looking, denser batter. Leave everything out on the counter for about an hour, maybe even put the eggs in a bowl of warm water for five minutes if you’re in a rush. It makes a real difference in the final crumb!
Frosting Your Vanilla Cake for Special Occasions
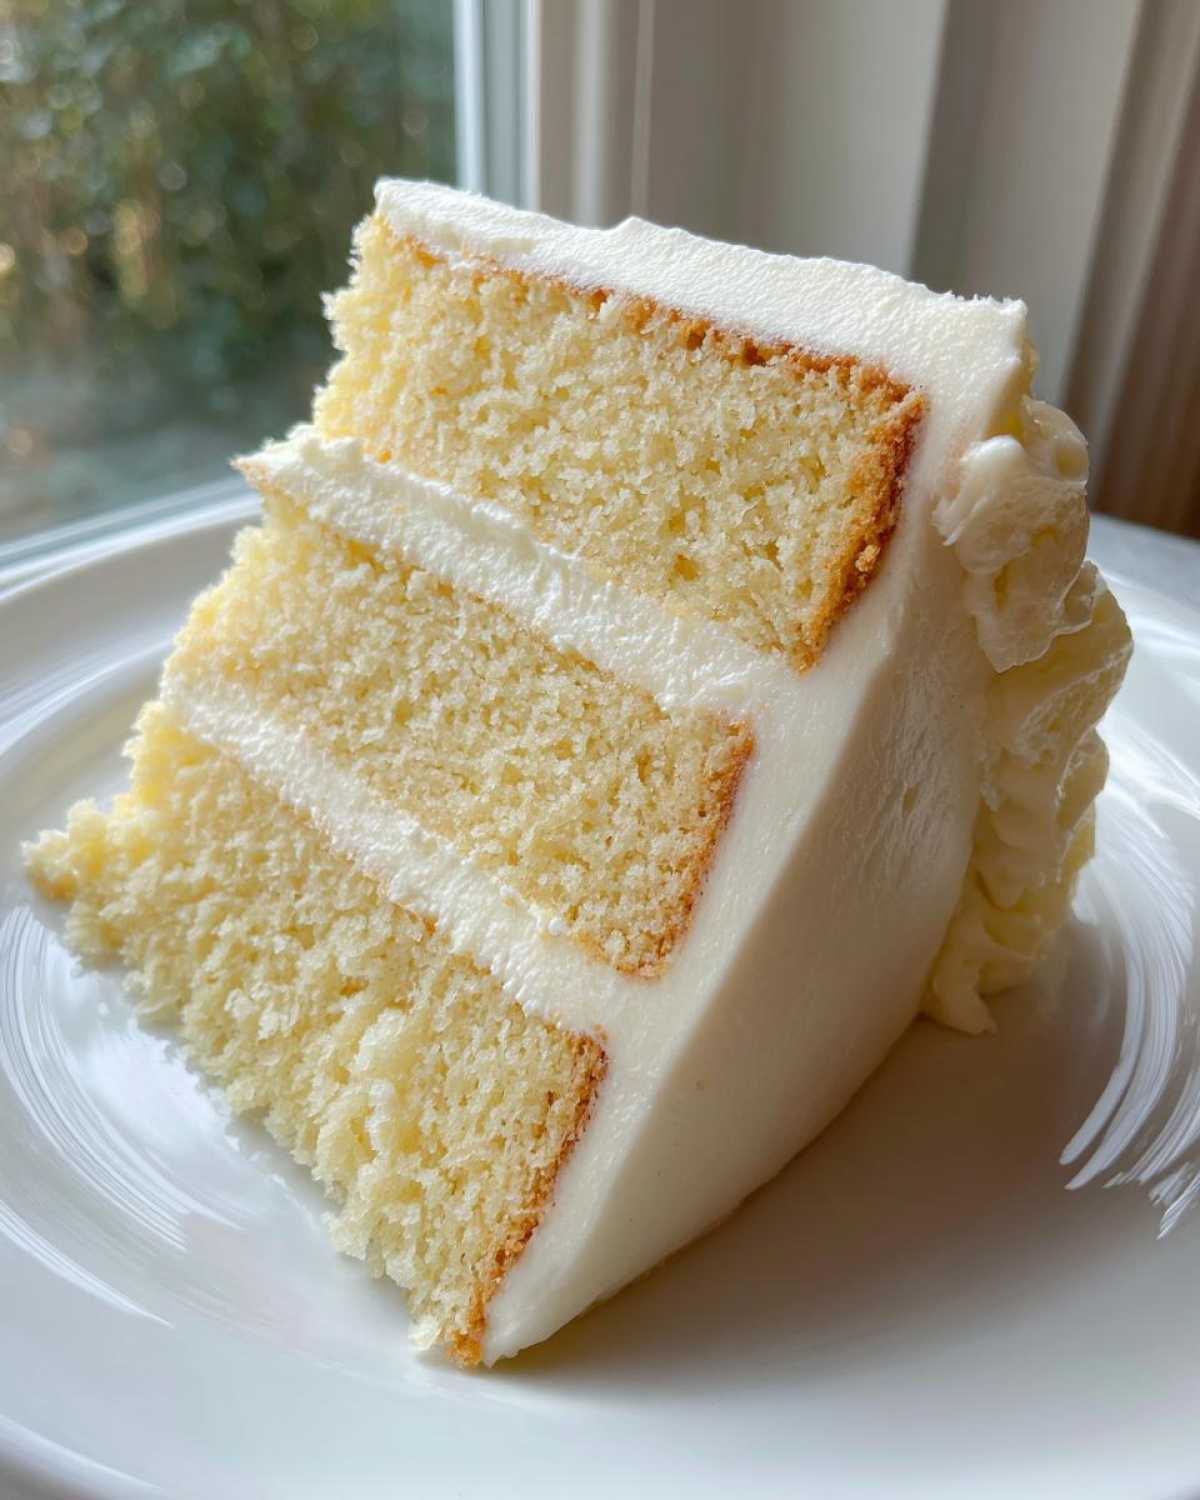
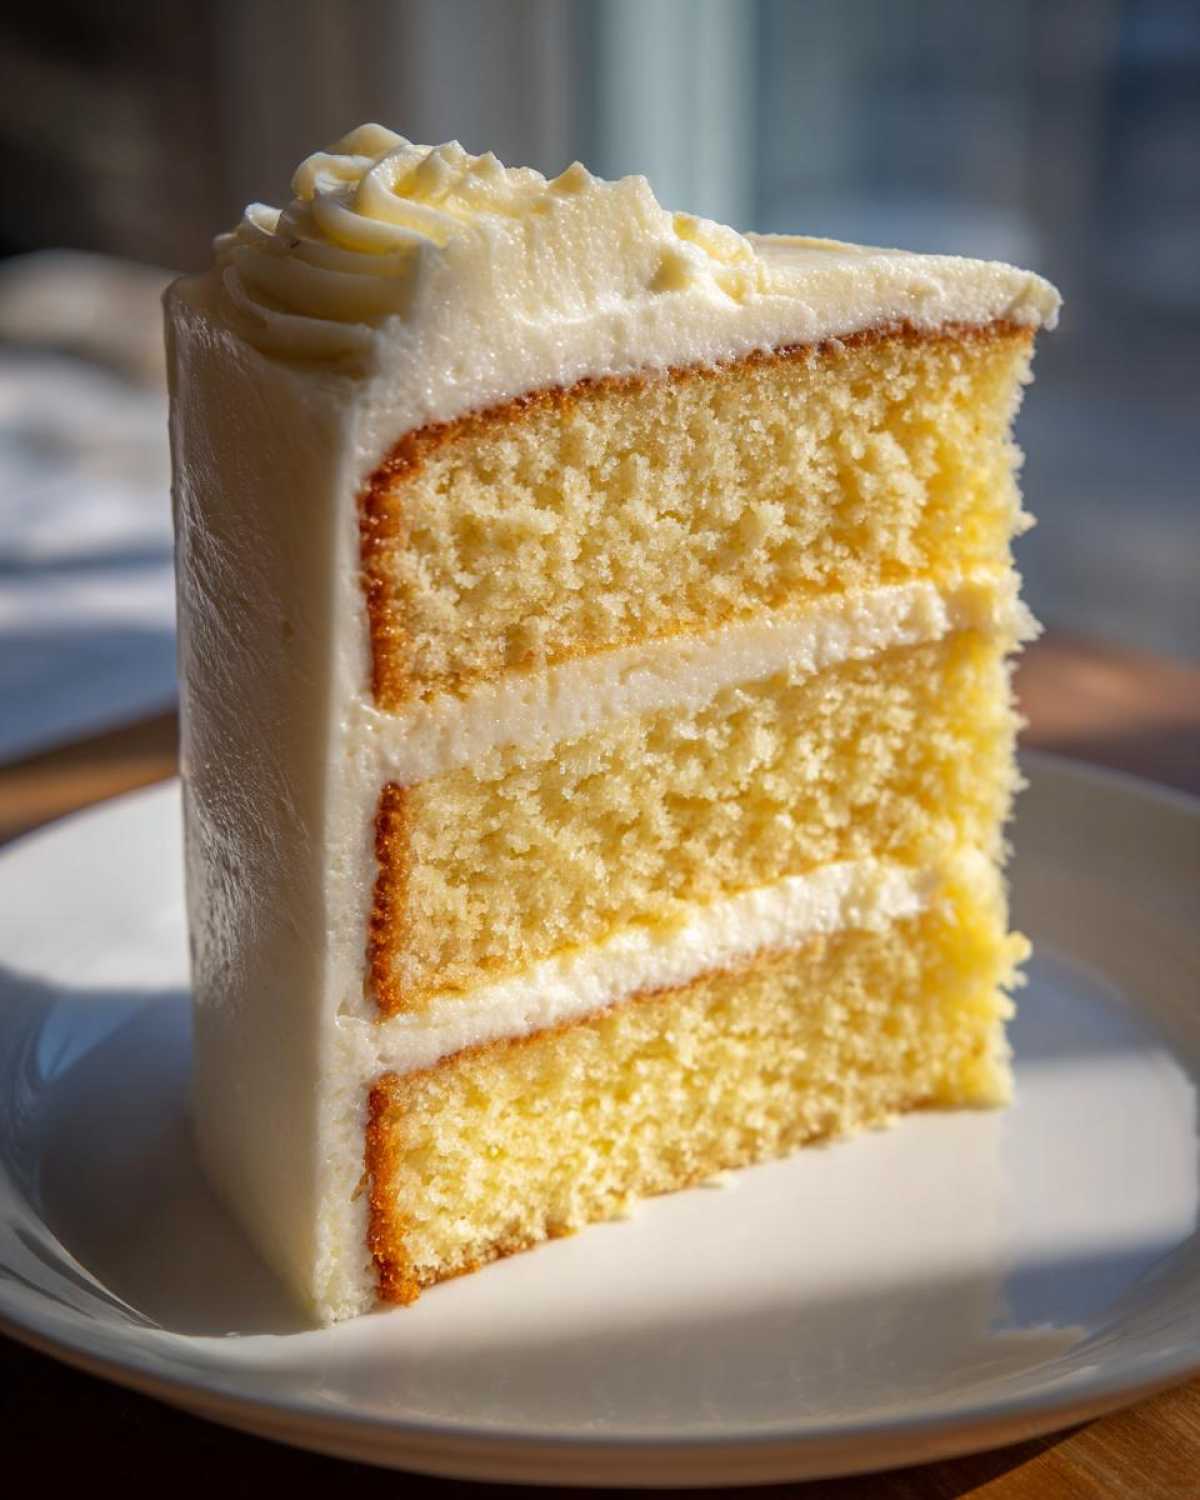
Okay, we finally have those gorgeous, cooled layers, and now we need to give them the crowning jewel: that amazing Homemade Vanilla Buttercream Frosting we talked about! This is where your cake earns its title as a true showstopper, perfect for any Classic Birthday Cake Recipe. The key here is patience—you must wait until the layers are completely cool. If they are even slightly warm, that beautiful buttercream will melt right into a slick, messy puddle, and nobody wants that!
Once cooled, it’s just assembly time. I like to spread a little dollop of frosting between the layers first, just to glue them together, then layer and stack. Use an offset spatula—it’s your best friend for getting those smooth sides! If you’re looking for a frosting that sets up nice and firm, you might want to check out my guide on sugar cookie icing that dries hard, just for fun comparison!
Make Ahead Vanilla Cake and Storage Instructions
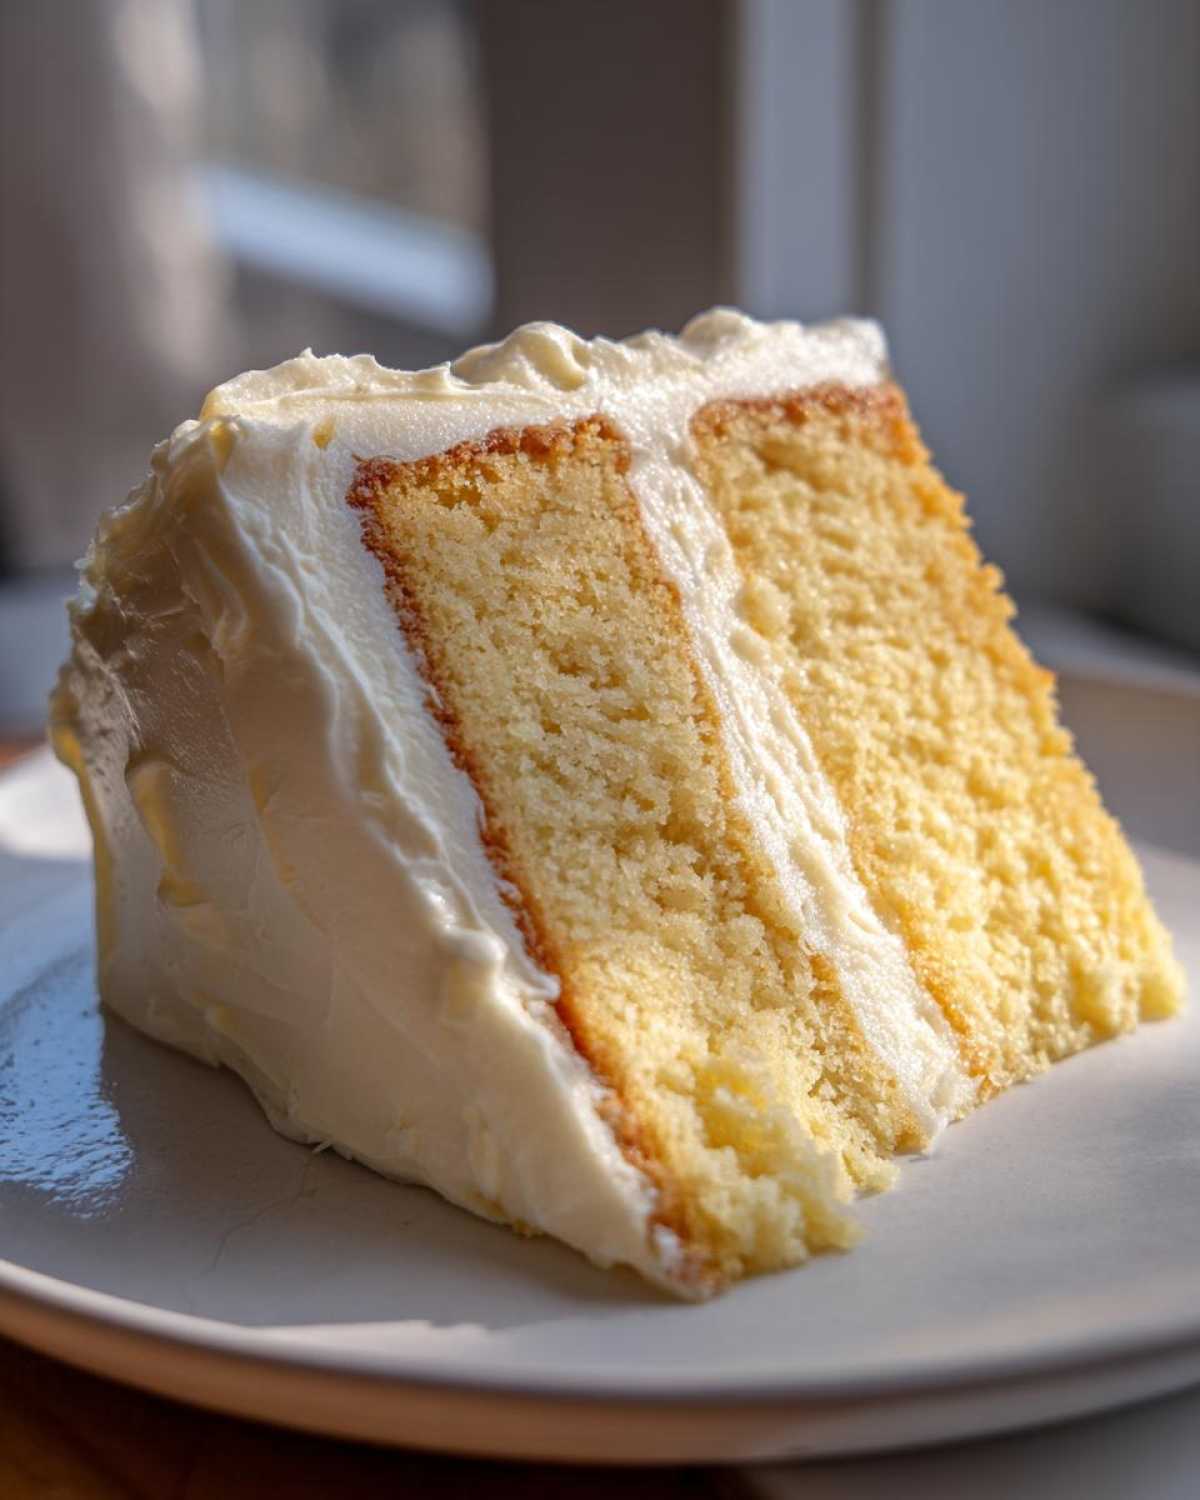
I know sometimes life gets busy, and you just can’t bake the day of the party—and good news! This Moist Vanilla Layer Cake is fantastic for making ahead of time. Alice loves using the freezer to keep things stress-free, and this recipe is perfect for that. Our notes say you can wrap those cooled, unfrosted layers *tightly* before popping them into the freezer for up to a month. How awesome is that? Just a little heads-up: when you take them out, let them thaw slowly in the fridge overnight before frosting.
Once you frost it up, storage is simple. Keep the finished cake loosely tented at cool room temperature for a day or two, especially if you used that classic buttercream. If your kitchen is super warm, though, just pop it into the fridge. It’s always better to let cold cake sit out for about an hour before serving, though, so the cake softens up again. Having a beautiful cake ready to go is definitely a win worth praising!
If you want another recipe you can totally prep ahead, check out my post on the make ahead vanilla cake recipe!
Variations on the Classic Moist Vanilla Layer Cake
This vanilla cake recipe is such a fantastic base, and Simon and I love exploring little tweaks to keep things interesting without fuss! When you’ve mastered the perfect soft vanilla sponge, you might want to mix it up for the next gathering. You could add a teaspoon of lemon or orange zest right when you add the vanilla for a bright little twist, or try using almond extract instead of some of the vanilla for a completely different vibe. It’s still easy, but it feels totally new!
If you love coconut, you should seriously check out my tips for a Southern coconut cake next time you want something different! And if you haven’t tried the vanilla dream cake from The Novice Chef blog, it’s a fun one too!
Sheet Cake Conversion for the Vanilla Cake Recipe
Sometimes, you just need a big slab of cake, and that’s okay! We don’t always need fancy layers for a celebration. If you take all the batter from this recipe and spread it into a standard 9×13 inch pan, you’re golden. Just remember that it’s a bit deeper than the 8-inch rounds, so it needs longer to bake through. Keep an eye on it, but I’d plan for about 40 to 45 minutes, testing it frequently in the center until your pick comes out clean. Sheet cakes are the champions of easy serving, if you ask me!
Frequently Asked Questions About Baking This Cake
We all know baking has its little hiccups, and that’s totally fine! Simon cheers louder when a cake needs fixing than when it’s perfect because that’s a learning moment! If you ran into a bit of trouble making your soft vanilla sponge cake, don’t stress. More often than not, it’s a tiny technique issue, not a recipe flaw. Let’s tackle a few common issues so you can give yourself big kudos for figuring it out!
Why is my cake dense instead of fluffy?
If your cake ended up more like a hockey puck than a dreamy cloud, the number one culprit is usually overmixing after the flour went in. Once you start adding those dry ingredients, you are developing gluten, and too much gluten makes things tough instead of delightfully soft. Next time, stop mixing the second you see the last streak of flour disappear. Also, double-check your baking powder! If it’s old, it won’t give you the lift needed for that truly fluffy vanilla cake from scratch we want. Give yourself a pat on the back for noticing it, though!
Can I substitute whole milk in this recipe?
You absolutely can try, but I really encourage you to stick with whole milk if you can manage it for the Best Vanilla Cake Recipe. Whole milk has the necessary fat content to work with the butter and eggs we are creaming. If you swap it for skim milk, you lose richness, and the cake might end up slightly drier or spongier than intended. If you *absolutely* must use something else, 2% is a better second choice than skim, but the texture won’t be quite as luxurious. Before diving into your next bake, maybe try whipping up a batch of my super quick egg drop soup while you decide!
Nutritional Estimates for Your Simple Vanilla Dessert
Now, I know the *real* nutritional information is probably buried somewhere deep inside the ingredients list, but let’s be real: when you make a cake this fantastic for a special occasion, we aren’t focused on calorie counting! However, Alice insisted that I include some estimates just so you know what you’re working with when you slice up this gorgeous dessert. Consider these figures a fun little guideline, not gospel. After all, the best part of baking is enjoying the moment without worrying!
Keep in mind, these numbers are based on dividing the recipe yield into 10 generous servings, which feels about right for a celebration! If you cut a slightly smaller piece—which I never do, but you might!
- Serving Size: 1 slice
- Calories: Approximately 380
- Sugar: Around 35g (That’s where all the fun is, right?)
- Fat: About 20g total
- Protein: About 5g
- Sodium: Roughly 250mg
See? It looks pretty darn reasonable when you break it down! The most important thing is the joy this simple vanilla dessert brings to the table. Don’t let these numbers steal your thunder; give yourself big kudos for pulling off that moist, beautiful bake!
Share Your Kitchen Kudos!
That’s it, friend! Our vanilla cake recipe journey is complete, and I truly hope you weren’t stressing out while you made it. Simon and I put this together because we want to hear about your wins, big or small! Did the layers come out perfectly even? Did you nail that homemade vanilla buttercream frosting? Did you remember to eat a slice while it was still slightly warm? That’s a certified win in my book!
We built this space on the idea of mutual encouragement. So please, don’t be shy! Leave a comment below and tell us how it went. Did you try the vanilla bean paste? Did the cake make someone’s day? If you snapped a picture of your gorgeous bake, share it on social media and tag us—we absolutely love seeing your efforts!
Every single time you decide to bake instead of buying, you deserve applause. Head over to the main Kitchn Kudos blog anytime for more recipes designed to make you feel like a total kitchen superstar. Now go on, give yourself a massive round of applause—you baked a spectacular, moist vanilla layer cake!
PrintThe Best Classic Moist Vanilla Layer Cake with Creamy Buttercream
You deserve a perfect, soft, and fluffy vanilla cake for your next celebration. This easy recipe delivers a moist layer cake flavor that tastes like it came from a bakery, paired with a simple, creamy vanilla buttercream frosting. Give yourself kudos for baking this classic!
- Prep Time: 20 min
- Cook Time: 35 min
- Total Time: 55 min
- Yield: 10 servings
- Category: Dessert
- Method: Baking
- Cuisine: American
- Diet: Vegetarian
Ingredients
- 1 3/4 cups all-purpose flour
- 1 3/4 cups granulated sugar
- 1 tablespoon baking powder
- 1/2 teaspoon salt
- 1 cup unsalted butter, softened
- 4 large eggs, room temperature
- 1 cup whole milk, room temperature
- 2 teaspoons pure vanilla extract
- 1 teaspoon vanilla bean paste (optional, for extra flavor)
Instructions
- Preheat your oven to 350°F (175°C). Grease and flour two 8-inch round cake pans. Line the bottoms with parchment paper circles.
- In a large bowl, whisk together the flour, sugar, baking powder, and salt. This is your dry mix.
- Add the softened butter to the dry mix. Beat with an electric mixer on low speed until the mixture resembles coarse sand.
- In a separate bowl, whisk together the milk, eggs, vanilla extract, and vanilla bean paste (if using). This is your wet mix.
- Gradually add half of the wet mix to the flour/butter mixture, beating on medium speed until just combined. Scrape down the sides of the bowl.
- Add the remaining wet mix and beat on medium speed for about 1 minute until the batter is smooth and fluffy. Do not overmix.
- Divide the batter evenly between the prepared cake pans.
- Bake for 30 to 35 minutes, or until a wooden pick inserted into the center comes out clean.
- Let the cakes cool in the pans for 10 minutes before inverting them onto a wire rack to cool completely.
- Once cooled, frost with your favorite creamy vanilla buttercream frosting. You made a beautiful cake!
Notes
- For the moistest cake, ensure your milk and eggs are at room temperature before mixing.
- Use high-quality pure vanilla extract for the best flavor payoff.
- This recipe works well for a 9×13 sheet cake; adjust baking time as needed.
- You can make this vanilla cake ahead of time and wrap the cooled layers tightly before freezing for up to one month.
Nutrition
- Serving Size: 1 slice
- Calories: 380
- Sugar: 35g
- Sodium: 250mg
- Fat: 20g
- Saturated Fat: 12g
- Unsaturated Fat: 8g
- Trans Fat: 0.5g
- Carbohydrates: 48g
- Fiber: 1g
- Protein: 5g
- Cholesterol: 95mg