

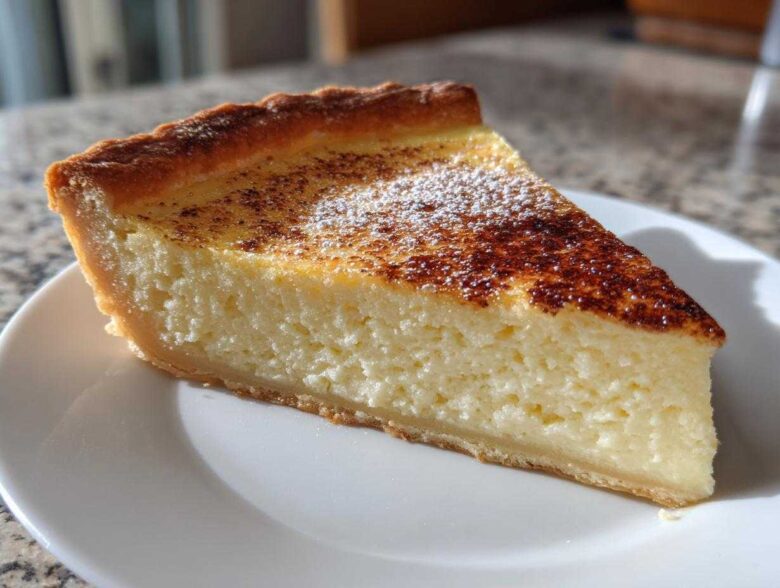
There’s just something about those desserts that feel like they’ve been sitting on Grandma’s shelf forever, right? They’re simple, they smell like home, and they never, ever let you down. That’s what we’re diving into today with what I lovingly call the Old Fashioned, Fail-Proof Baked Egg Custard Pie. If you’ve ever felt the pressure to make a perfect, smooth egg custard and ended up with scrambled bits floating around, stop right there. Simon always tells me that the kitchen should be about praise, not pressure, and making this creamy custard proves his point!
We’re ditching the stress and following a method that ensures silky perfection every single time. Trust me, this is the classic baked custard you’ve been searching for. You can learn more about how we found joy in baking over at our About Us page—it’s all about celebrating the effort!
Why This Old Fashioned Egg Custard Recipe Earns Kitchen Kudos
I absolutely love this recipe because it checks all the boxes for a truly satisfying, old fashioned dessert without making you feel like you need a culinary degree to pull it off. It’s genuinely an easy egg custard recipe that delivers on its promise of a rich, creamy egg custard filling every time. Simon says that if you can mix three things in a bowl, you can master this pie!
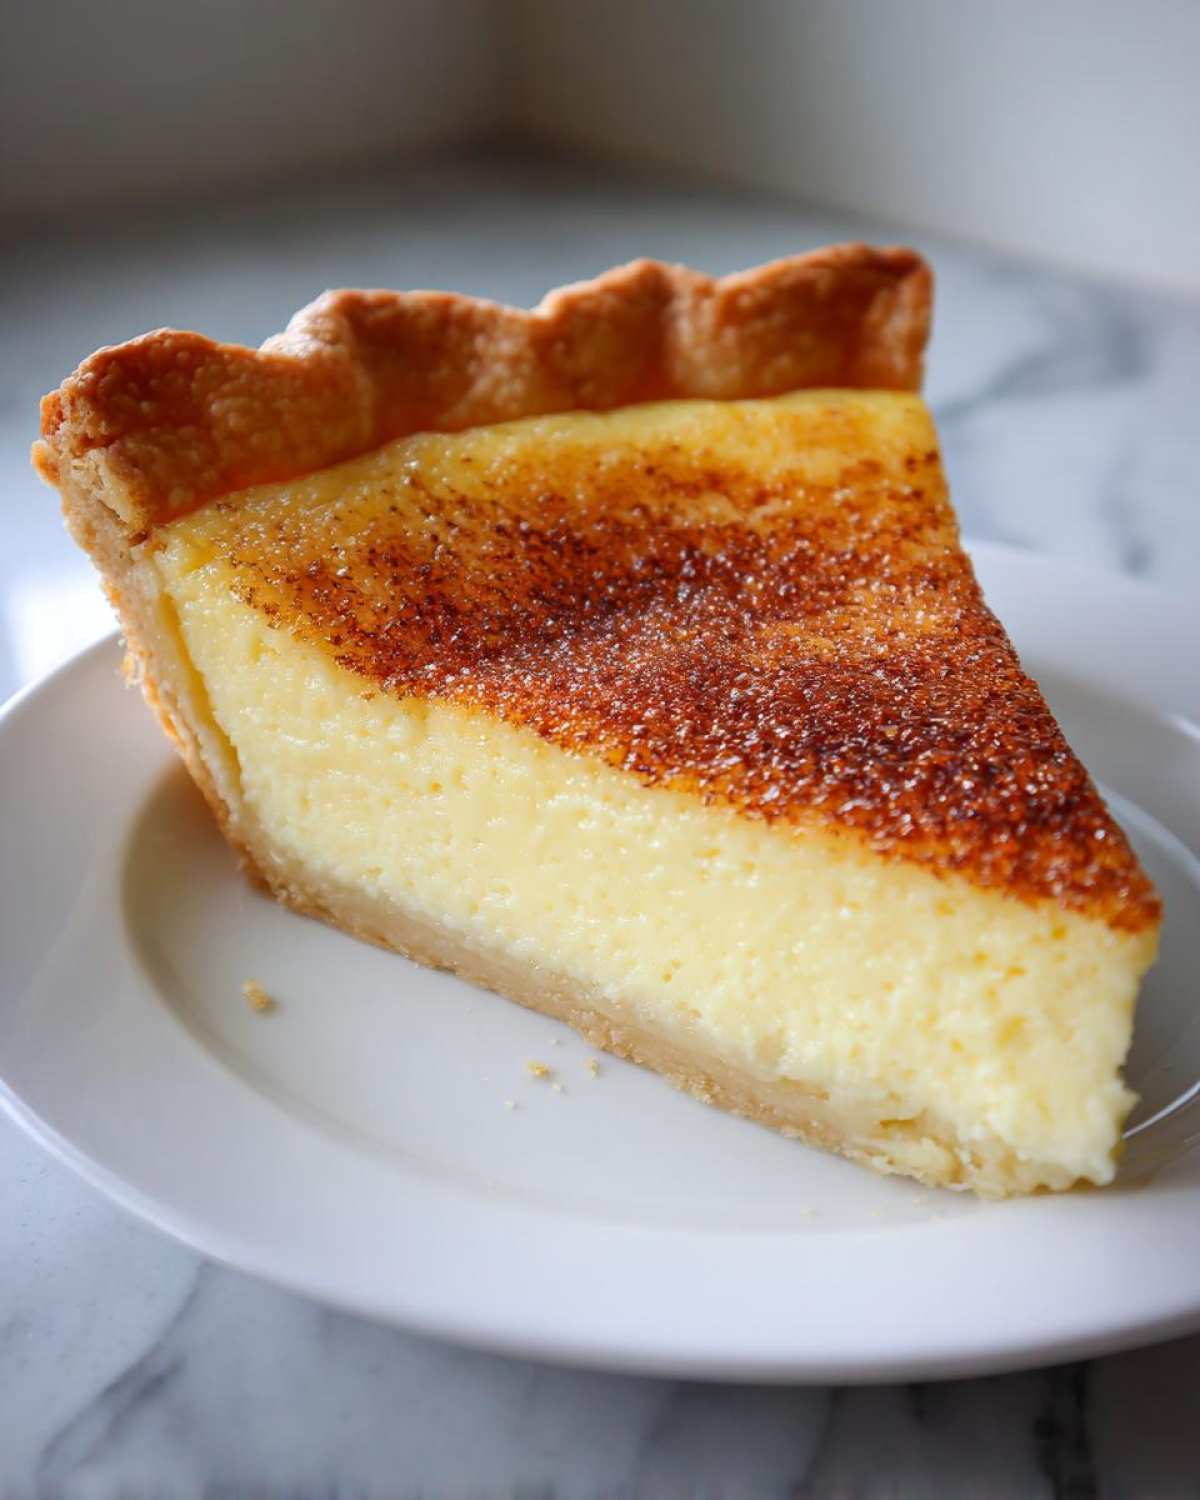
- It uses super simple ingredients you probably already have on hand.
- The structure is inherently forgiving, meaning you’re nearly guaranteed a beautiful result.
- It tastes exactly like the classic comfort food desserts we all remember!
For more insights on getting reliable results, check out my thoughts on fail-proof baking tips.
Fail-Proof Technique for Smooth Egg Custard
This is the big secret, friends. To get that dreamy, velvety texture, you have to treat those eggs gently. We aren’t making scrambled eggs here! Gentle whisking achieves that smooth custard technique because it incorporates minimal air. Less air means fewer bubbles, and fewer bubbles mean no cracks on the surface. That smooth top is our signature win!
Classic Flavor Profile of Our Egg Custard
What makes this feel like a real heirloom recipe is the flavor. It’s not overloaded with sugar or fancy extracts. It relies on pure, honest ingredients. The vanilla gives it warmth, and that dash of nutmeg right on top? Perfection! It keeps that authentic old fashioned dessert taste alive and well.
Gathering Ingredients for Your Creamy Egg Custard Filling
Okay, here’s where we gather our simple lineup. This is truly one of those recipes where high-quality basics shine, so use the best whole milk you can find if you have it! Remember, no last-minute grocery runs needed for this simple custard recipe; these items are pantry staples, which is why they make such great easy holiday pies.
You’ll need:
- 1 unbaked 9-inch pie crust—make sure it’s ready to go!
- 3 large eggs
- 1/2 cup granulated sugar
- 1/4 teaspoon salt
- 1/4 teaspoon ground nutmeg, plus extra for sprinkling on top
- 1 teaspoon pure vanilla extract
- 2-2/3 cups whole milk
That’s it for our ingredients for this glorious, homemade egg custard. See? So easy! Now let’s get mixing, remembering our goal is a super smooth result.
Step-by-Step Instructions for Perfect Egg Custard Pie
Alright, let’s get this homemade egg custard into the oven! Since this is such a simple custard recipe, we can move quickly, but precision in mixing is what leads to that perfect bake. Remember what Simon says: celebrate every little step! If you need great ideas for pairing this pie later, you can check out some of our favorite easy holiday pies for inspiration.
Preparing the Crust and Oven for Your Egg Custard
First things first, get your oven warmed up to 350 degrees Fahrenheit. While that’s heating, settle your unbaked 9-inch pie crust right into the pie plate. Here’s a little trick borrowed from professional bakers to ensure you don’t get a soggy bottom: put that pie plate onto a baking sheet before you fill it. It helps distribute the heat evenly underneath, which is crucial for a well-cooked crust!
Mixing the Simple Custard Recipe Gently
This is where we earn our kudos for a smooth result! Take your 3 large eggs and whisk them just until the yolks and whites are barely combined. Seriously, don’t beat them like you’re making meringue; we’re trying to avoid incorporating any extra air for that perfect creamy egg custard filling. Next, whisk in your sugar, salt, the 1/4 teaspoon of nutmeg, and vanilla until that sugar starts dissolving. Then, pour in the whole milk S-L-O-W-L-Y while continuing that gentle mixing until everything is unified.
Baking and Setting the Homemade Egg Custard
Carefully pour that lovely liquid mixture into your crust on the baking sheet. Sprinkle a little extra nutmeg right over the top for that beautiful finish. It bakes for about 45 to 55 minutes. You are looking for the edges to look set, but if you very gently nudge the pan, the center should still have a slight jiggle, like firm gelatin. If a knife inserted near the edge comes out clean, you’re done! Now comes the hardest part: you must let it cool completely on a rack before chilling it for at least three hours. This cooling process is the final piece of the fail proof baking tips puzzle!
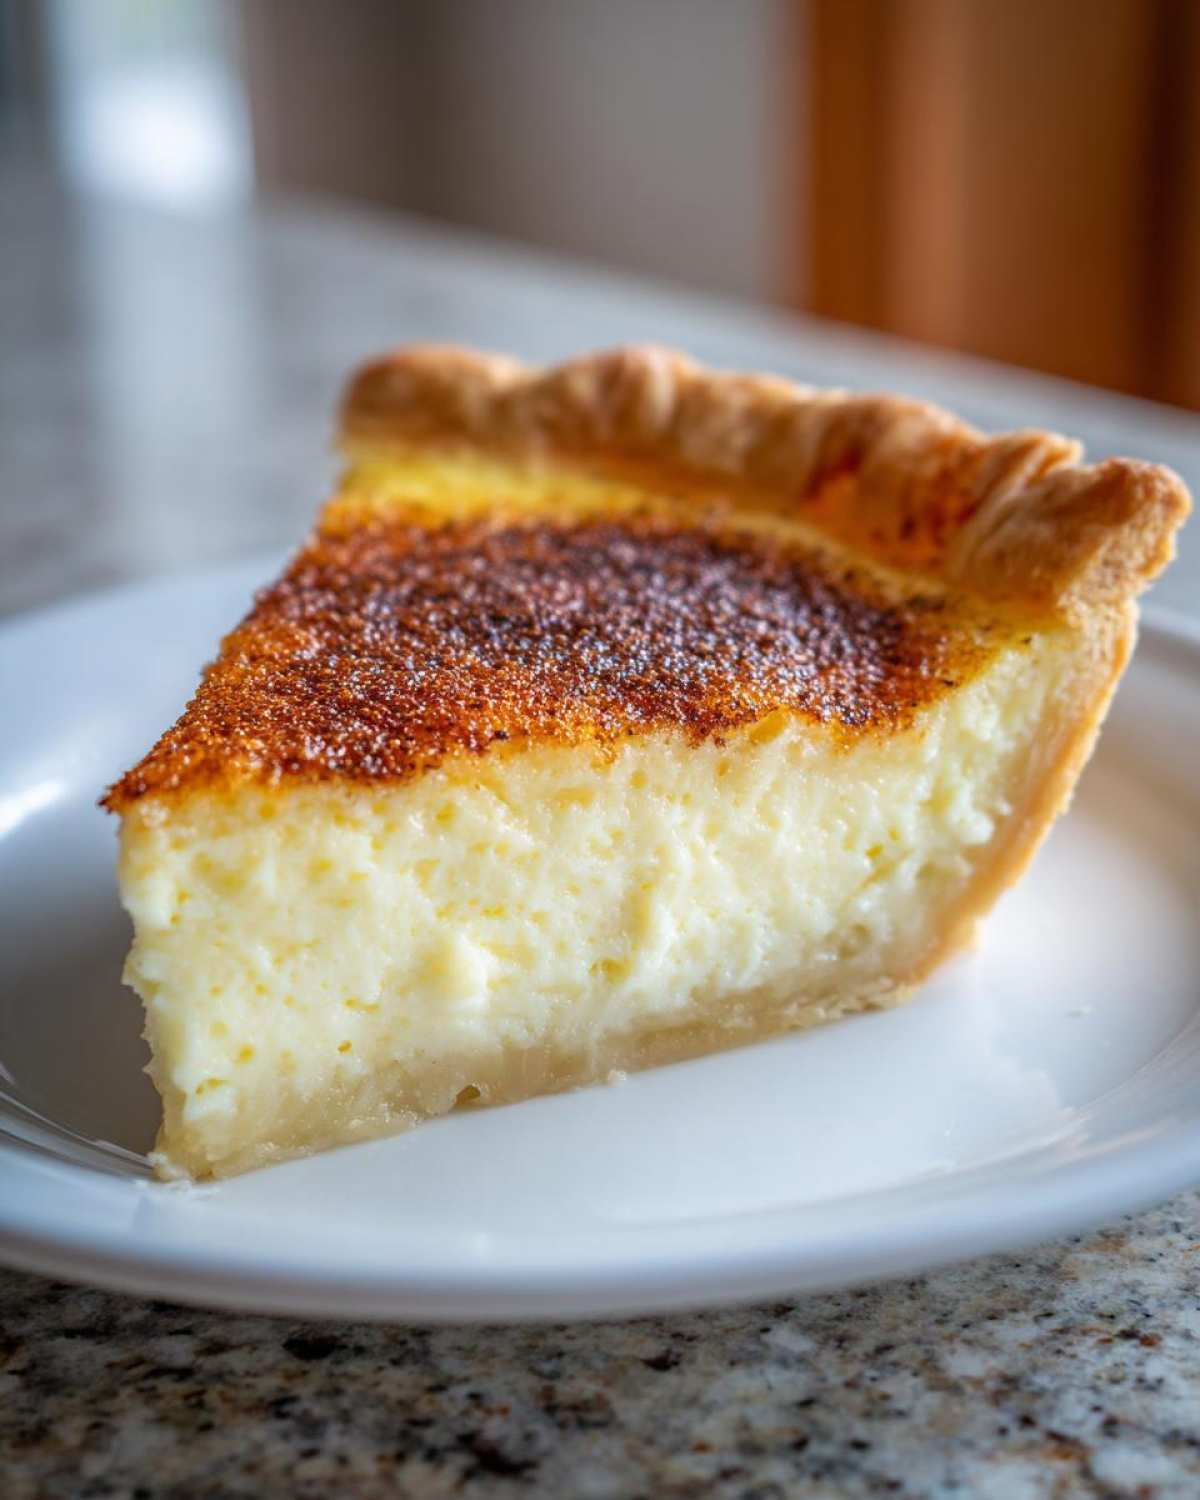
Expert Tips for Your Classic Baked Custard Success
We’ve made the pie, and it looks gorgeous, but I want to share a couple of extra superstar techniques that really push this over the top, especially if you want that perfect, flawless surface on your classic baked custard. Remember, Simon is all about celebrating the small wins, and a smooth top is a huge win!
Achieving the Silkiest Smooth Custard Technique
I can’t stress enough how important that gentle mixing is. If you’re worried you might have whisked a little too enthusiastically, here’s my secret extra step toward the ultimate smooth custard technique: strain your filling! Just pour the whole milky mixture through a fine-mesh sieve right before you pour it into the pie shell. It catches any tiny bits of unmixed sugar or stray bits of egg white. It ensures liquid heaven, every time.
Baking Temperature and Time Adjustments for Egg Custard
Since we’re dealing with delicate eggs, baking low and slow is our friend. That 350°F temperature is perfect because it allows the proteins in the eggs to set gently, which keeps that custard tender rather than tough. If you bake this traditional custard dessert too hot, the outside cooks way faster than the middle, and that’s how cracks happen. Also, don’t skip that final dusting of extra nutmeg! It really elevates the look of this nutmeg sprinkled dessert.
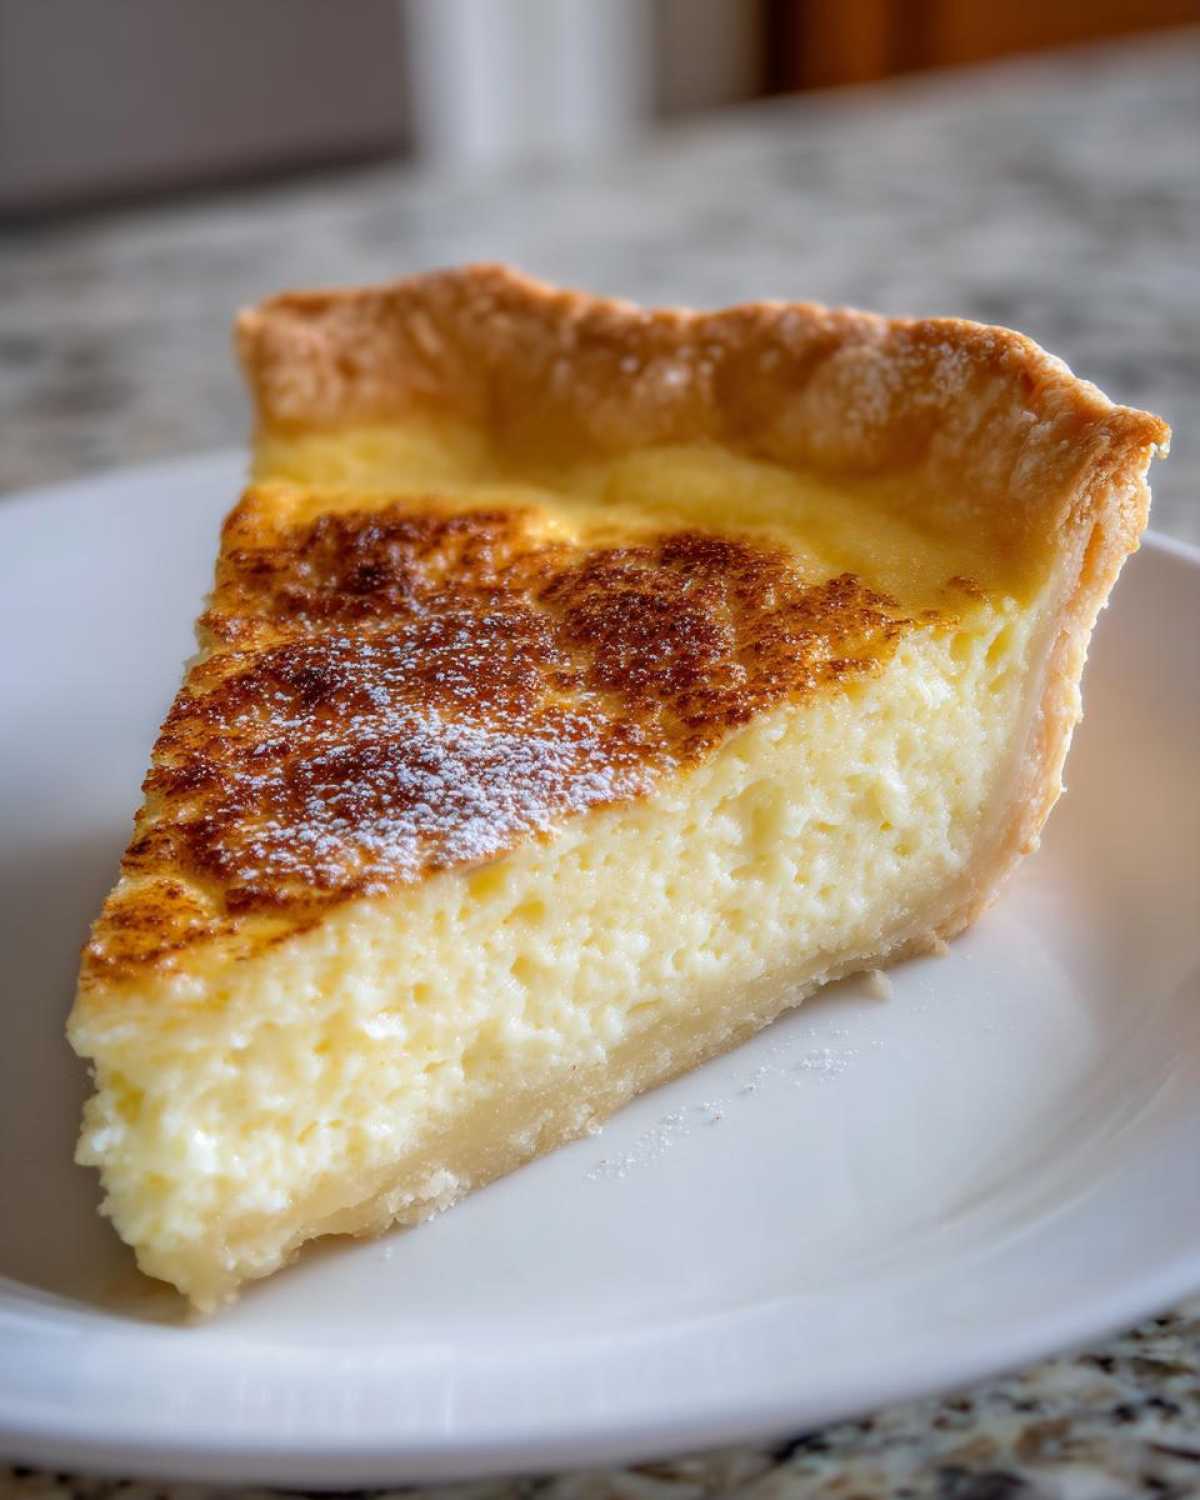
If you want more guidance on mastering these types of recipes from scratch, check out my tips on making an easy custard pie from scratch. Happy baking!
Serving Suggestions for This Old Fashioned Dessert
This amazing egg custard pie is the ultimate comfort food dessert, but it tastes even better with just a little something extra on the side! Since the filling is cool, creamy, and subtly spiced, we want pairings that offer a contrasting texture or a little extra punch of flavor. Simon always insists on a cup of hot, strong coffee—it’s the perfect non-sweet companion.
If you want something sweet, skip the heavy whipped cream. Instead, try a dollop of lightly sweetened, barely whipped cream flavored with a touch more vanilla extract. Or, if you’re feeling ambitious and want to highlight that vanilla note even further, check out the ideas we have for our fluffy cakes over best vanilla cake recipe! For this simple custard, though, I usually just love it as is, served cold straight from the fridge.
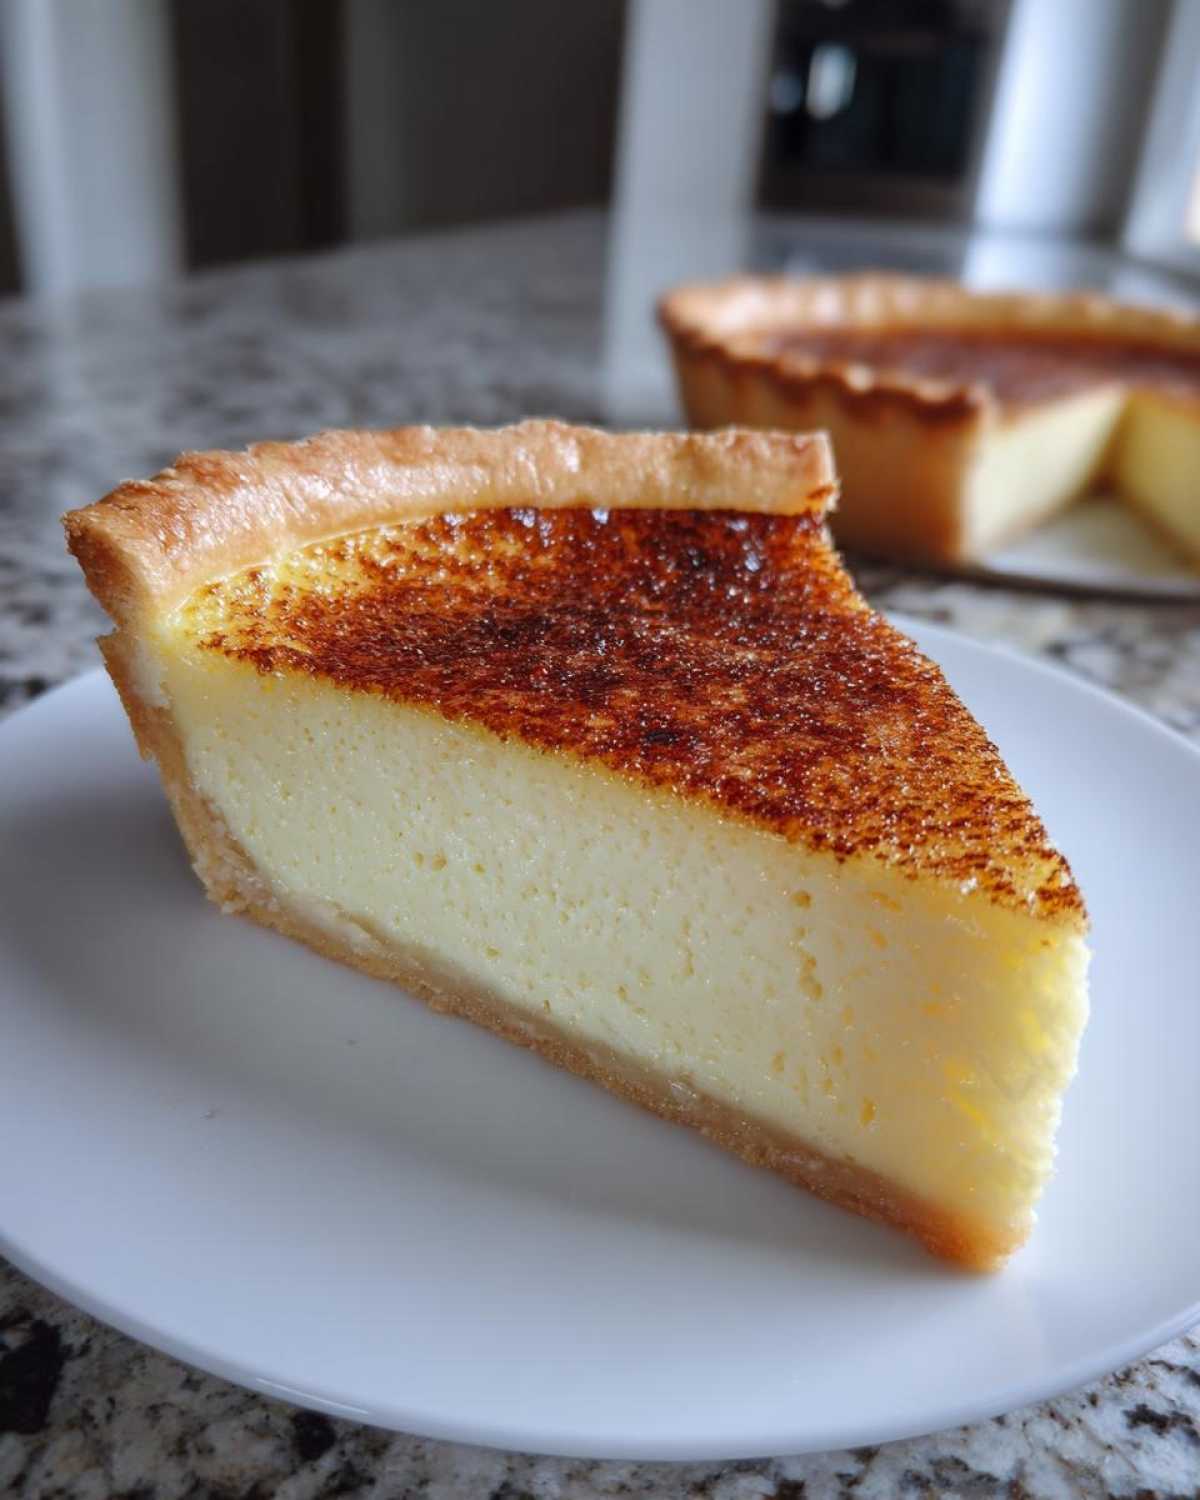
Storage and Reheating Instructions for Homemade Egg Custard
Now that you’ve made this incredible, smooth egg custard, we need to treat those leftovers right! Since this is a baked custard, it really, really prefers the cold. Think of it like a beautiful, rich cheesecake—it sets up best and tastes freshest when served chilled.
The absolute best place for leftovers is the refrigerator. Cover the pie dish tightly with plastic wrap or foil. Make sure the wrap isn’t touching the surface of the custard itself, or it might leave a damp spot. If you cover it gently over the dish, you’ll be good to go!
Honestly, I try never to reheat this pie. When you heat up baked custard, those proteins tighten up again, and you risk having a texture that’s slightly grainy or rubbery—and we worked so hard for that silky finish! So, my advice? Just eat those glorious slices cold. They should stay beautifully delicious and perfectly set for about three to four days in the fridge. That gives you plenty of time to reward yourself with second helpings!
Frequently Asked Questions About Egg Custard Pie
Can I make this egg custard recipe without a pie crust?
Oh, absolutely! If you’re looking for a lighter take or just don’t feel like dealing with pastry, you can totally make this as a simple baked desserts version. Just pour the filling right into buttered ramekins. Since the batter is thicker, it needs less time. Start checking around the 25-minute mark, but you’ll still use that gentle jiggle test to know when your egg custard is set!
Why did my egg custard crack on top?
This is the fear that keeps people up at night, isn’t it? Nine times out of ten, cracking eggs is caused by too much air in the mixture—that’s why we whisk so gently! It can also happen if the oven is too hot, which cooks the outside too fast. If you want to review how we avoid this, go back and check out those fail proof baking tips we talked about earlier. A slow, steady bake is critical!
What is the best way to get a creamy egg custard filling?
If your goal is that luxurious, spoonable smoothness, it comes down to two non-negotiable steps we covered in the recipe. First, gentle mixing—we want ingredients combined, not aerated! Second? Patience during the set! You must let it cool completely on the counter and then chill it for a minimum of three hours in the fridge. That chilling is what solidifies the structure into that perfect, creamy egg custard filling. Give yourself kudos for letting it rest!
If you have any other burning questions about making this dessert, feel free to browse around our whole blog—we’ve probably covered it!
Estimated Nutritional Data for This Egg Custard
Now, Alice always reminds me that while we bake for joy and comfort, knowing what’s in our food is just good practice! These numbers are just estimates for one slice of this wonderful egg custard, but they give you a good baseline. Keep in mind these values can shift around based on the specific brand of milk or size of the eggs you use.
Here’s what the data generally looks like for a single serving:
- Calories: 250
- Sugar: 22g
- Fat: 11g (5g saturated)
- Carbohydrates: 28g
- Protein: 9g
So, it’s a nice, comforting treat, just the way an old fashioned dessert should be! No need to stress over the details, just enjoy!
Share Your Kitchen Kudos Victory
That’s it, folks! You did it! You navigated the gentle arts of mixing and chilling, and now you have the ultimate slice of traditional custard dessert cooling perfectly in your fridge. Simon is ready with the applause meter for you!
We truly hope you loved making this easy egg custard recipe. Please, swing back by and leave us a rating—tell us how smooth your filling turned out! We live for those moments of praise. If you need to reach out with a question or just want to send some kudos our way, you can always use our contact page. Go get that slice!
PrintGrandma’s Fail-Proof Old Fashioned Egg Custard Pie
This recipe delivers a creamy, smooth, and classic baked egg custard pie that is simple to make. We focus on the technique so you get a perfect, comforting dessert every time.
- Prep Time: 15 min
- Cook Time: 50 min
- Total Time: 5 hours 5 min
- Yield: 8 servings
- Category: Dessert
- Method: Baking
- Cuisine: American
- Diet: Vegetarian
Ingredients
- 1 unbaked 9-inch pie crust
- 3 large eggs
- 1/2 cup granulated sugar
- 1/4 teaspoon salt
- 1/4 teaspoon ground nutmeg, plus extra for sprinkling
- 1 teaspoon pure vanilla extract
- 2-2/3 cups whole milk
Instructions
- Preheat your oven to 350 degrees Fahrenheit. Place the unbaked pie crust into a 9-inch pie plate.
- In a large bowl, lightly whisk the 3 large eggs until the yolks and whites are just combined. Do not over-beat the eggs; this helps prevent cracks.
- Add the sugar, salt, 1/4 teaspoon nutmeg, and vanilla extract to the eggs. Whisk gently until the sugar begins to dissolve.
- Slowly pour in the 2-2/3 cups of milk while continuing to whisk slowly. Mix only until the ingredients are combined and the mixture is uniform.
- Place the pie plate with the crust on a baking sheet. Carefully pour the liquid custard filling into the unbaked crust.
- Sprinkle a light, even layer of extra nutmeg over the top of the filling.
- Bake for 45 to 55 minutes. The custard is done when the edges are set, and the center jiggles slightly, like firm gelatin, when you gently nudge the pan. A knife inserted near the edge should come out clean.
- Remove the pie from the oven and place it on a wire rack to cool completely. This cooling process is key for a smooth texture.
- Once cooled to room temperature, chill the custard pie in the refrigerator for at least 3 hours before slicing and serving. Give yourself kudos for a job well done!
Notes
- For a truly fail-proof, silky smooth custard, avoid incorporating too much air when mixing. Whisk gently.
- Baking the pie on a preheated baking sheet helps the bottom crust cook evenly.
- If you notice the crust edges browning too quickly during baking, loosely cover them with aluminum foil strips.
- This classic baked custard tastes best when served cold.
Nutrition
- Serving Size: 1 slice
- Calories: 250
- Sugar: 22g
- Sodium: 180mg
- Fat: 11g
- Saturated Fat: 5g
- Unsaturated Fat: 6g
- Trans Fat: 0g
- Carbohydrates: 28g
- Fiber: 1g
- Protein: 9g
- Cholesterol: 95mg