

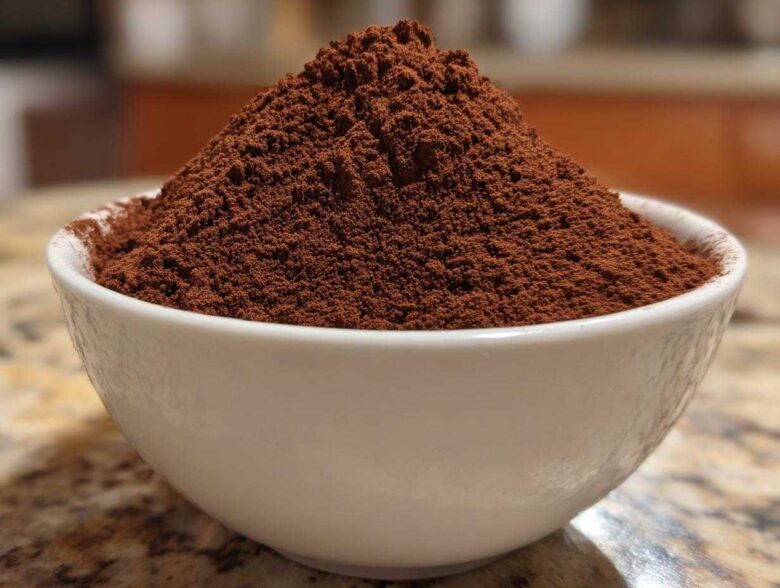
There is just nothing that beats that first sip of something warm when the weather turns crisp. For years, I worried about making the perfect special treat, but Simon always reminds me that joy beats perfection every single time. That’s why I’m so excited to share what we call the Ultimate Creamy, Big Batch Homemade Hot Cocoa Mix. It’s unbelievably easy, tastes way better than anything you buy in a box, and it’s ready in about ten minutes. Seriously, ditch the store-bought stuff; this hot cocoa mix is about to become your absolute winter go-to.
When I first started cooking with Simon, I was terrified of messing up a recipe. He would look at my stressed face and just say, “Alice, it’s chocolate powder. Give yourself some kudos for even showing up!” Now, making this bulk mix feels like such a small, happy win we can celebrate all season long. You can see more about our kitchen philosophy over at our About Us page!
Why This Big Batch hot cocoa mix is Better Than Store Bought
Honestly, the minute you switch from those thin, watery packets to *this* homemade version, you’ll wonder why you ever waited. Simon always says, “Why buy it when you can make it better in ten minutes?” This recipe is designed for those days when you need a big supply ready to go, and the flavor payoff is huge.
- It’s incredibly fast! Just toss and whisk—seriously, no cooking required.
- You can easily scale this up to make a huge container for the whole season.
- The texture is miles better; we’re aiming for genuinely rich and creamy, not chalky.
If you want to see how we apply this “simple wins” attitude to other desserts, check out our Foolproof Three-Ingredient Chocolate Mousse. It’s chocolate magic with almost no effort!
Customizable Flavor Profile for Your hot cocoa mix
This is where you get to take the lead, friend! Store-bought stuff locks you into one flavor, but here, you’re the boss. Don’t like it super sweet? Dial down the sugar a bit. Love spice? Toss in extra cinnamon. My absolute favorite thing to sneak in is a tiny pinch of instant espresso powder. Don’t panic—it won’t make it taste like coffee! It just deepens the chocolate flavor, making your hot cocoa mix taste like it came from a fancy chocolatier. That’s a huge win!
Gathering Ingredients for Your Homemade hot cocoa mix Recipe
We’re going to rely on things you probably already have sitting in your pantry, which is my favorite kind of recipe! Making this hot cocoa mix shouldn’t require a specialized trip to the store. It’s all about combining simple basics into something truly luxurious. Ready to see the ‘good stuff’ list?
Ingredient Clarity: What You Need for This DIY hot chocolate powder
Here is what goes into the magic powder. I’ve written this so you can feel confident swapping things out if you need to—that’s part of the fun! We are aiming for a rich, dreamy result, so pay attention to the quality of the cocoa.
You’re going to need six cups of powdered milk (or hey, if you need this to be milk-free, just use 4 cups extra sugar and skip the milk powder entirely—you won’t hurt my feelings!). Then grab two cups of granulated sugar, a full cup and a half of unsweetened cocoa powder (please, use the good stuff here; it makes a huge difference in flavor!), one teaspoon of salt, and then you have my two optional boosters: a teaspoon of ground cinnamon and a half teaspoon of instant espresso powder. That espresso powder is our secret weapon for depth, remember?
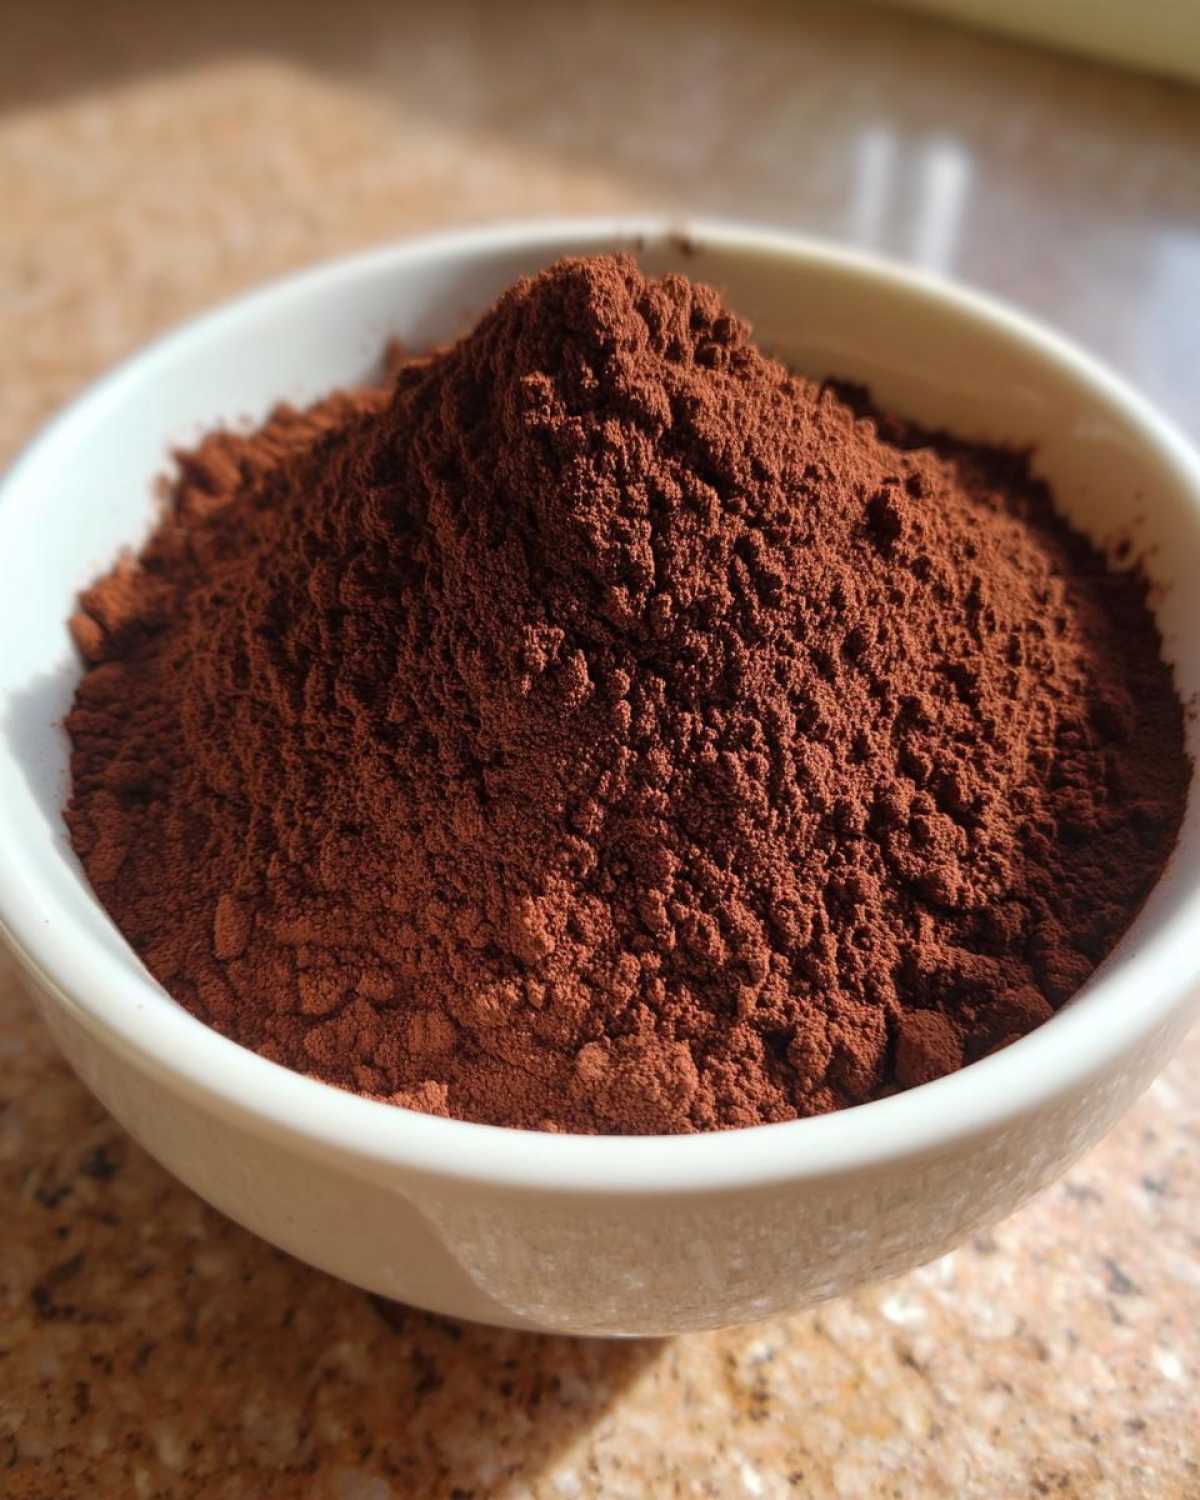
Simple hot chocolate powder Preparation Instructions
This is the best part because it proves that sometimes, the easiest things taste the very best. Since this is a no-cook mixing method, the whole process, from gathering ingredients to putting the lid on the container, takes about ten minutes flat. See? Instant kitchen win! Simon would be giving you kudos right now just for starting.
First, you need to get every single dry ingredient into a bowl. I mean it—toss the milk powder, sugar, cocoa, salt, and any optional spices right in together. Then, you grab a big whisk and just go at it until you can’t see any separated patches of white or dark powder left. Mix like you mean it! If you ever need a reminder that simple mixing can lead to huge flavor payoffs, check out how we handle our Easy Homemade Cheese Crackers.
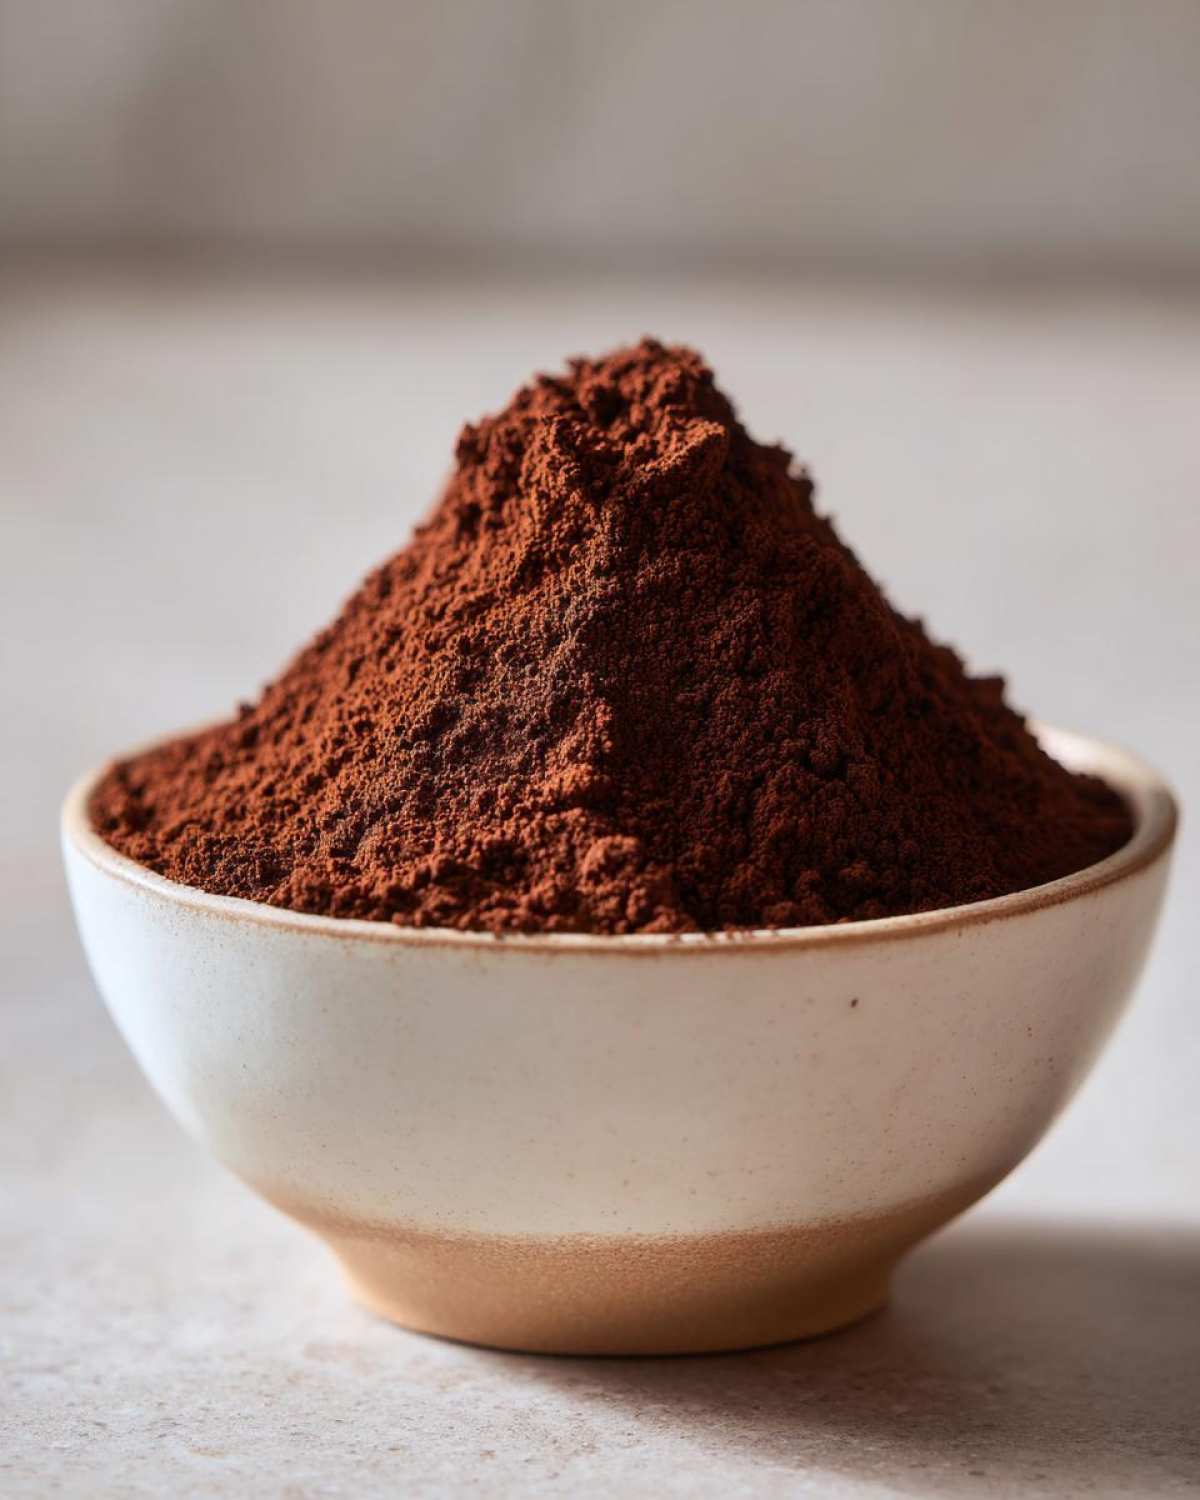
Achieving a Velvety hot cocoa dry mix Consistency
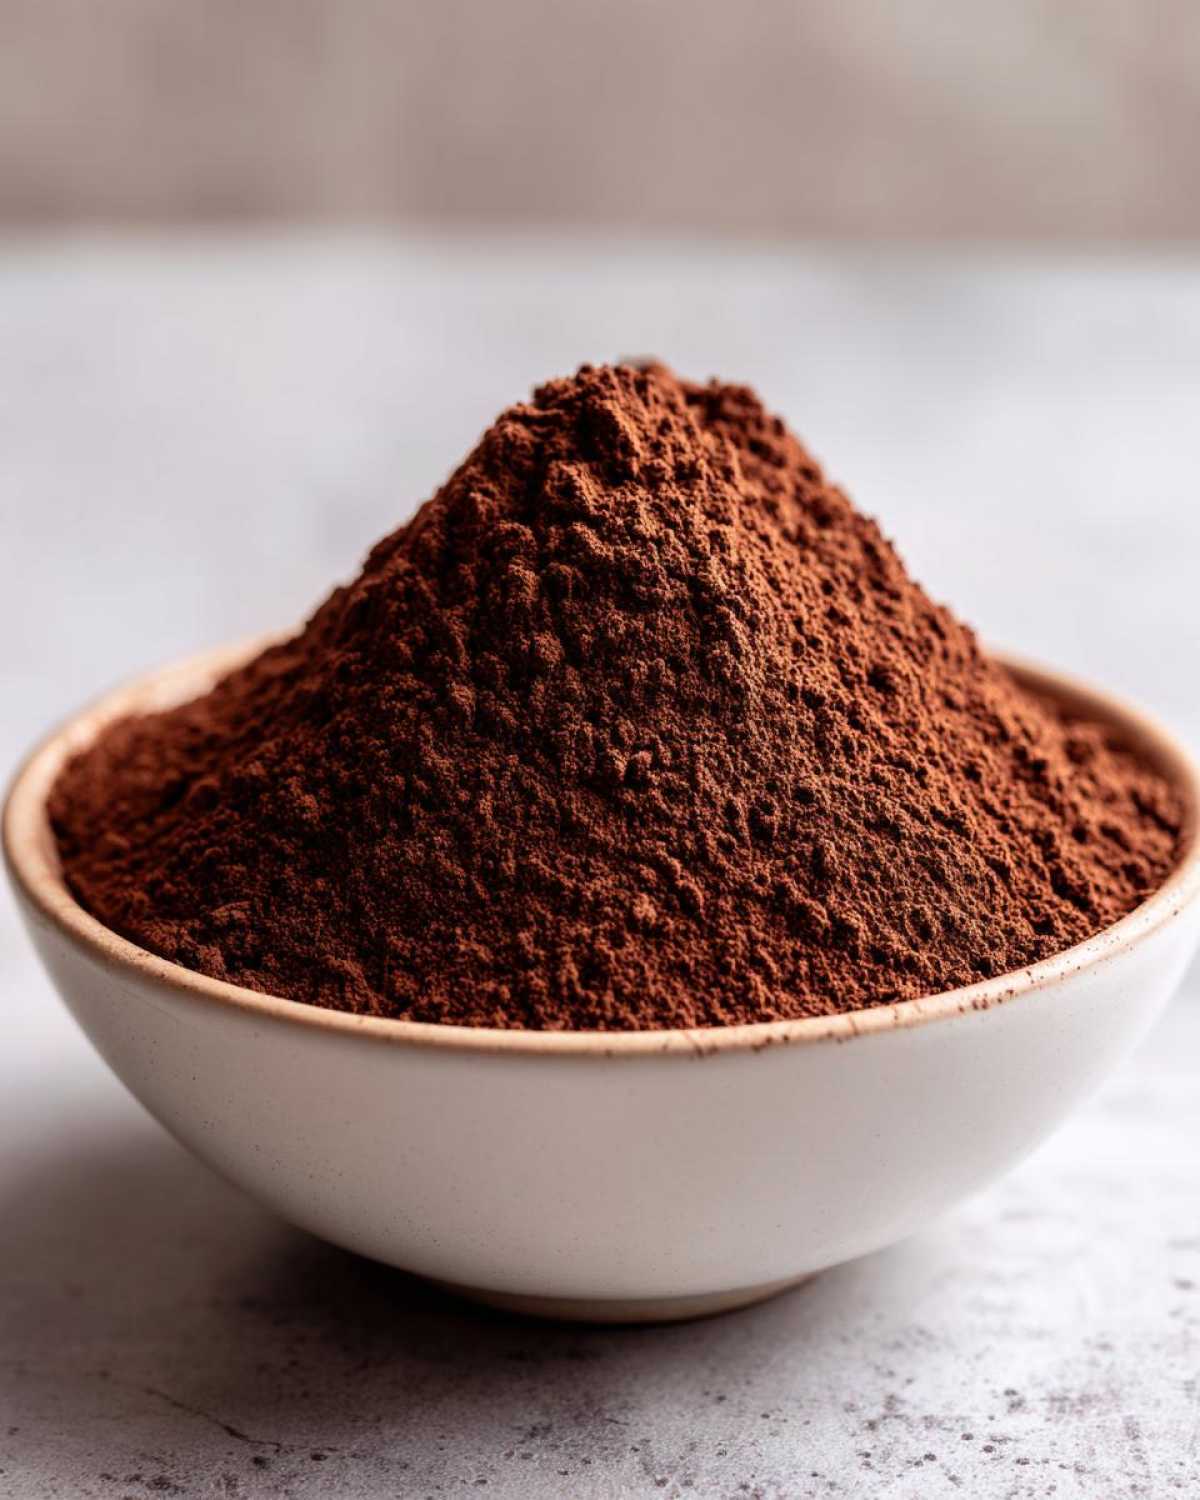
Now, the whisking gets you 90% of the way there, but if you truly want that promised rich and creamy cup, you need to take one tiny extra step. If you have a food processor, take the half-mixed powder and pulse it in small batches. This is what guarantees that velvety consistency we’re looking for—it breaks down any tiny clumps and makes your prepared hot cocoa mix incredibly smooth when wet. You are looking for perfect, uniform color, zero streaks. Then, carefully transfer your perfect powder into your storage jar. You did it!
Tips for Success Making Your Make Ahead hot cocoa mix
I know, I know, it’s just powder, right? But trust Simon when he says that even for a hot cocoa mix, the quality of your starting ingredients really shines through in the end product. We want this to taste *better than store bought*, and that’s not going to happen if we skimp on the chocolate itself.
The most important thing you’ll do here, after mixing everything super well, is paying attention to what you’re putting in. Don’t just grab the cheapest can of cocoa you see sitting on the shelf. That’s the secret to achieving that decadent, rich flavor that everyone will rave about! If you want more inspiration on how a strong base makes everything better, check out our guide for the Best Vanilla Cake Recipe.
Ingredient Spotlight: Choosing the Right Cocoa Powder
This is our one spot where you should really feel empowered to spend just a little bit more. If your cocoa powder is dusty or tastes too bitter on its own, that’s what you’ll taste when you add hot water. Look for Dutch-processed or a high-quality natural cocoa, depending on what you prefer. A good cocoa powder gives you that deep, comforting, chocolatey hug in a mug without leaving a thin, disappointing taste behind. That careful selection means you’ve already earned some kudos!
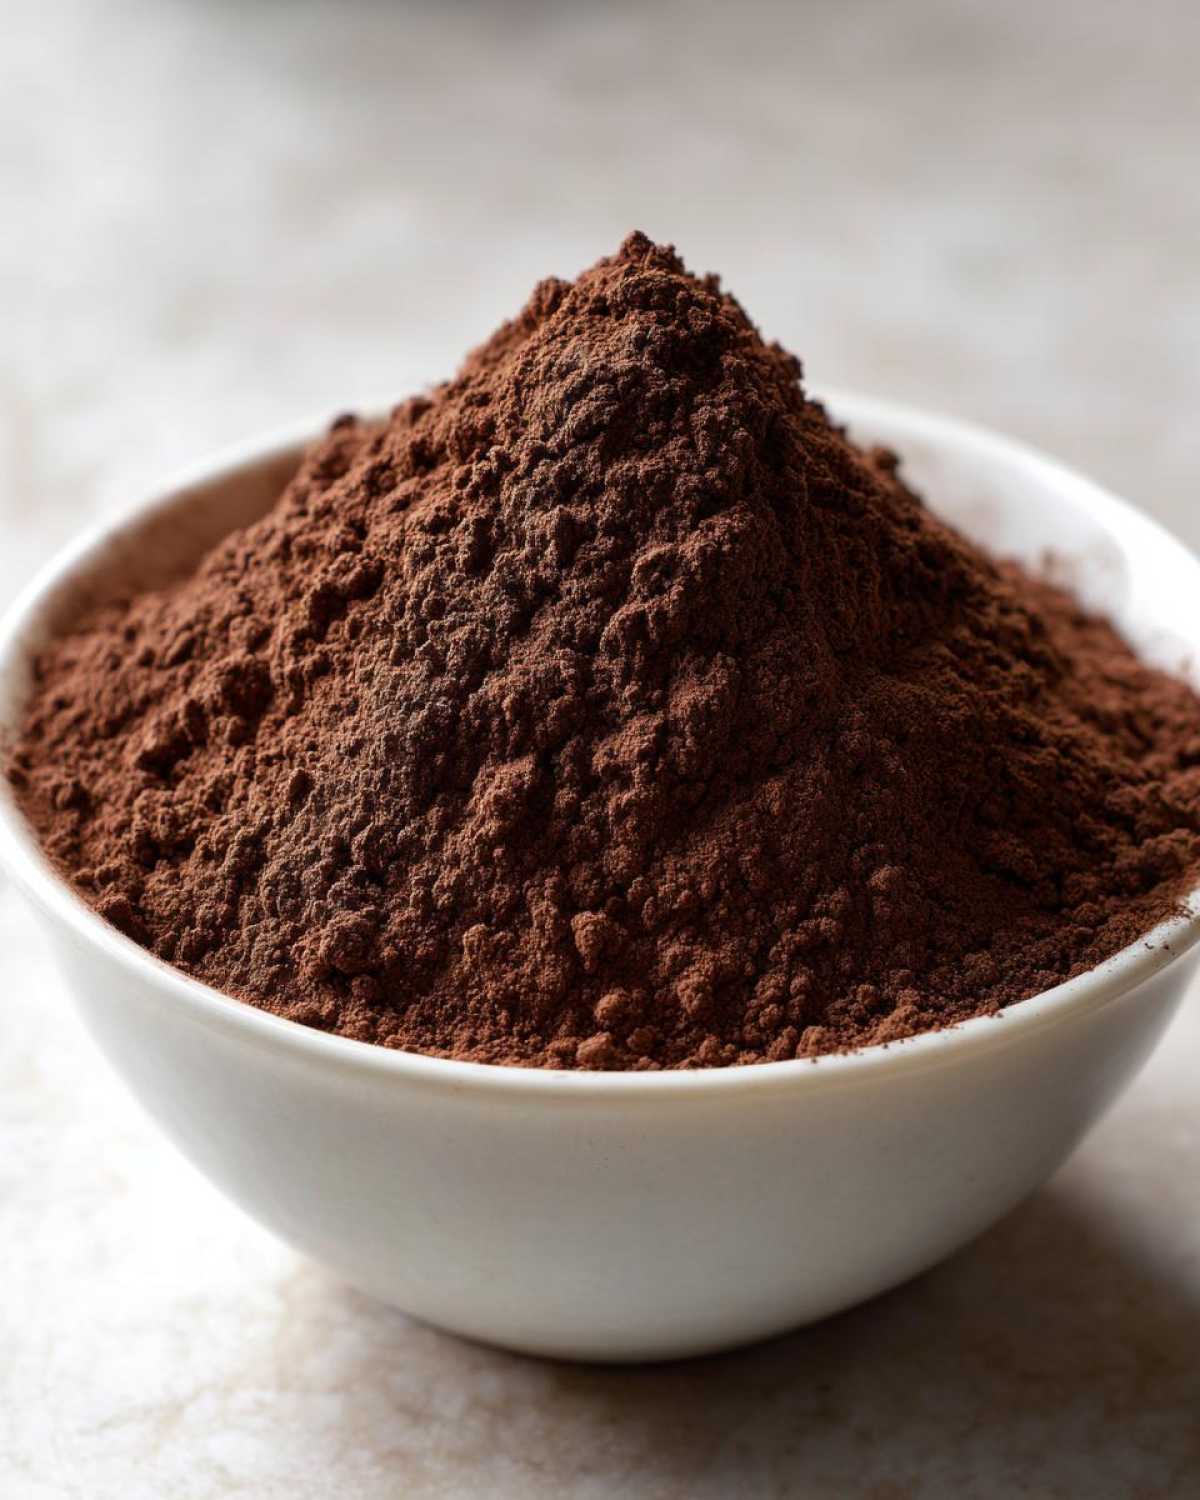
Serving Suggestions for Your Rich and Creamy hot cocoa mix
Okay, you’ve got this beautiful, velvety hot cocoa mix sitting on your counter, ready to go. Now for the payoff! Making the actual drink is so simple it barely counts as cooking—which is exactly how Simon likes it. Remember that ratio: we call for about a quarter cup of the dry mix for every one cup of liquid you warm up. That’s the sweet spot Simon figured out for that perfect, not-too-thin consistency.
Now, you have a choice, and this choice makes a huge difference in how decadent it feels. You can absolutely use hot water if you’re in a rush or just want something lighter. Go for it! But if you want to unlock the full, creamy potential of this big batch mix, use hot milk. Whole milk offers the best velvety texture, but honestly, any milk you prefer works beautifully. Heating the milk gently on the stove or in the microwave until it’s steaming hot, then whisking in that pre-mixed powder until it’s completely dissolved, is pure bliss.
Also, if you’re making this for a grown-up cozy evening, check out our Boozy Hot Chocolate Recipe post for some fun additions! But for the basic mix, milk is the ticket to maximum creaminess every single time.
Storage and Gifting Your hot cocoa mix for Gifting
Once you’ve whisked everything into that beautiful, uniform powder, the next question is always: “How long does this last?” Because we kept this recipe straightforward and relied on simple pantry staples, storage is fantastic! You can keep this big batch of hot cocoa mix sealed tightly in an airtight container for up to six months. Yes, six whole months of instant winter warmth ready to go!
I always keep one big container ready in the cupboard—it’s my favorite pantry staple drink mix! But what I love even more is making smaller batches specifically for gifts. This is when you earn extra kudos from your friends because it looks amazing, and they know you put real care into it.
For the perfect hot cocoa mix for gifting, grab some pretty mason jars. Since everything is dry, layering is super easy. Put your beautiful chocolate powder in first. Then, top it with a really thick layer of mini marshmallows—I love the small ones because they look like snow!
Tie a little wooden spoon to the jar with a gingham ribbon, and you are done. It looks so professional, but we both know it took maybe three minutes total. This makes a fantastic grab-and-go gift for neighbors or teachers! If you’re looking for other great make-ahead food gifts that impress, take a peek at our Peanut Butter Pretzel Bark Recipe; that one disappears fast!
If you want to see how another blogger handles making large amounts for sharing, you can check out this great resource on Big Batch Hot Cocoa Mix, but honestly, this recipe we’ve perfected here is what Simon would grab!
Frequently Asked Questions About This Cozy Drink Mixes Recipe
It is totally normal to have questions when you’re making something brand new, even if it’s as simple as combining powders! Simon always tells me that asking questions is the best way to learn, so let’s address any hesitation you might have before you make your first glorious mug of chocolatey goodness. Having these answers ready means you’ve already earned some serious kitchen kudos!
Can I make this hot cocoa mix without powdered milk?
Absolutely, you can! We put that substitution right in the ingredient list because we know folks need flexibility. If you skip the powdered milk—maybe for dietary reasons or just because you’re out—just add four extra cups of granulated sugar to keep the volume similar. You can also play around with adding a little extra pure cocoa powder if you find the mixture feeling a bit thin when you switch to water instead of milk later on. Don’t stress about it; your hot cocoa mix will still be delicious, just slightly less creamy!
How long does this DIY hot chocolate powder last?
Because this is a completely dry mixture that doesn’t use any fresh ingredients, it stores like a dream. If you keep it sealed up tight in a truly airtight container—like a Mason jar with a good seal, or a sturdy plastic container—it will easily last for up to six months in your normal kitchen cupboard. It’s the ultimate make ahead hot cocoa mix for those lazy weekend mornings when you don’t want to run to the store!
What is the best liquid to use with this classic hot chocolate recipe?
Okay, this is my favorite question because it changes the whole experience! To get that truly rich, velvety texture that tastes better than store-bought, you really need hot milk. Whole milk is my favorite pairing; it gives you this decadent mouthfeel. However, if you are in a pinch, or maybe you need a quick cup before bed, using hot water works perfectly fine too! It will just result in a slightly lighter, less creamy drink. Either way, you’re winning because it’s homemade!
If you’re curious about putting a grown-up twist on things, check out our recipe for Pumpkin Cream Cold Brew Copycat—it shows how small tweaks can build big flavors!
Nutritional Estimates for Homemade winter beverages
Since we’re keeping things simple with pantry staples, I wanted to give you a rough idea of what’s in a serving of this delicious powder. Remember, these are just estimates based on the recipe as we’ve written it here, using standard ingredients. If you swap from powdered milk to sugar, or if you use a darker cocoa powder, your numbers will shift a little, so take this as a fun guide rather than gospel!
When you measure out a quarter cup of this homemade winter beverage mix, here is what you are looking at, generally:
- Calories: About 180
- Total Fat: Around 3 grams
- Carbohydrates: Roughly 35 grams
- Protein: About 3 grams
- Sugar: 28 grams (This is mostly from the sugar/milk powder, naturally!)
See? It’s a comforting treat, and knowing exactly what goes into it—no weird preservatives or fillers—is another reason this is such a wonderful win to make at home! If you enjoy recipes where you know exactly what you are eating, you should definitely check out my potato salad recipe sometime; it’s a fan favorite over here: Sweet Potato Salad!
Share Your Kitchen Kudos for This hot cocoa mix
Now that you have this giant container of the most amazing, creamy hot cocoa mix ready to go, I really hope you take a moment to give yourself a huge pat on the back. Seriously, go ahead and do it! You just made a pantry staple from scratch, saving money and boosting your cozy factor for the entire season when you didn’t have to turn on the oven. That’s an incredible win, and that’s what Kitchn Kudos is all about!
We absolutely thrive on hearing about your successes. Please stop by the comments section and let us know how this recipe worked for you. Did you go heavy on the optional cinnamon? Did you gift a jar or keep it all for yourself (I won’t judge!)? Tell us everything! Five stars is always appreciated, but hearing the story behind your success is what really keeps Simon dancing in the kitchen.
If you want to see what other happy kitchen moments we’re documenting, you can always browse through our full collection of achievable recipes over on the main blog page. And if you’re looking for another easy blend to try next, check out the tips shared over at Organized Island for their DIY take!
Thank you for trusting us with your cozy drink needs. Now get out there, make that first glorious mug with hot milk, and enjoy the feeling of a job well done!
PrintUltimate Creamy, Big Batch Homemade Hot Cocoa Mix (Gift-Ready)
You can make this rich, velvety hot cocoa mix in a large batch using simple pantry staples. It tastes much better than store-bought and is perfect for gifting or keeping on hand for cozy winter beverages.
- Prep Time: 10 min
- Cook Time: 0 min
- Total Time: 10 min
- Yield: About 16 servings
- Category: Beverage
- Method: No Cook Mixing
- Cuisine: American
- Diet: Vegetarian
Ingredients
- 6 cups powdered milk (or substitute with 4 cups extra sugar and omit if you prefer no milk powder)
- 2 cups granulated sugar
- 1 1/2 cups unsweetened cocoa powder (use high-quality for best flavor)
- 1 teaspoon salt
- 1 teaspoon ground cinnamon (optional, for extra warmth)
- 1/2 teaspoon instant espresso powder (optional, deepens chocolate flavor)
Instructions
- Gather all your dry ingredients: powdered milk (if using), sugar, cocoa powder, salt, cinnamon, and espresso powder.
- Place all ingredients into a very large bowl.
- Whisk the ingredients together thoroughly until everything is completely combined and uniform in color. You want no streaks of white or dark powder remaining.
- For the smoothest mix, pulse the mixture in a food processor in batches until it reaches a fine, velvety powder consistency. This step is key for a rich and creamy cup.
- Transfer the finished hot cocoa mix to an airtight container. This recipe makes a big batch perfect for storage or dividing into jars for chocolate gifts.
- To serve, combine 1/4 cup of the dry mix with 1 cup of hot milk or water. Whisk until smooth and enjoy your homemade hot chocolate.
Notes
- For a richer, more decadent cup, use hot milk instead of water when preparing.
- If you are making this as a hot cocoa gift in a jar, layer the dry mix with mini marshmallows and a ribbon for presentation.
- This mix stores well in an airtight container at room temperature for up to six months.
- If you omit the powdered milk, you may need to slightly increase the amount of cocoa powder or sugar to maintain volume, depending on your preference.
Nutrition
- Serving Size: 1/4 cup dry mix
- Calories: 180
- Sugar: 28g
- Sodium: 110mg
- Fat: 3g
- Saturated Fat: 1.5g
- Unsaturated Fat: 1.5g
- Trans Fat: 0g
- Carbohydrates: 35g
- Fiber: 3g
- Protein: 3g
- Cholesterol: 0mg