

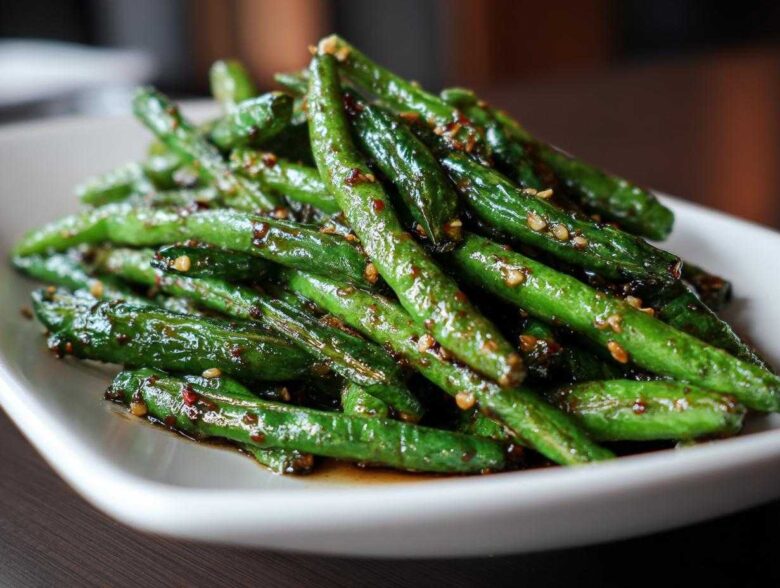
You know that moment, right? You open the fridge after work, staring down the barrel of another hectic evening, and all you can think about is that perfect, punchy takeout flavor. Well, stop right there! Simon and I cracked the code on making the best restaurant-style chinese green beans with garlic sauce, and the secret is—it takes less than 20 minutes. We’re talking about achieving that incredible, slightly charred, blistered green beans texture right in your own skillet. It’s honestly one of those easy achievements Alice used to stress over, but now, thanks to Simon’s philosophy of just celebrating the small wins, we high-five over every perfectly charred spot. This recipe is pure, delicious encouragement, and we’re so excited to share it with you!
Why You Will Love These Chinese Green Beans with Garlic Sauce
Honestly, I think this is one of the most satisfying, quick-fix recipes Simon ever taught me. It goes from raw beans to restaurant-quality side dish so fast you might miss it! When you see those little brown spots—that’s the kudos moment right there. Here’s why these garlic green beans are about to become a weeknight staple at your house:
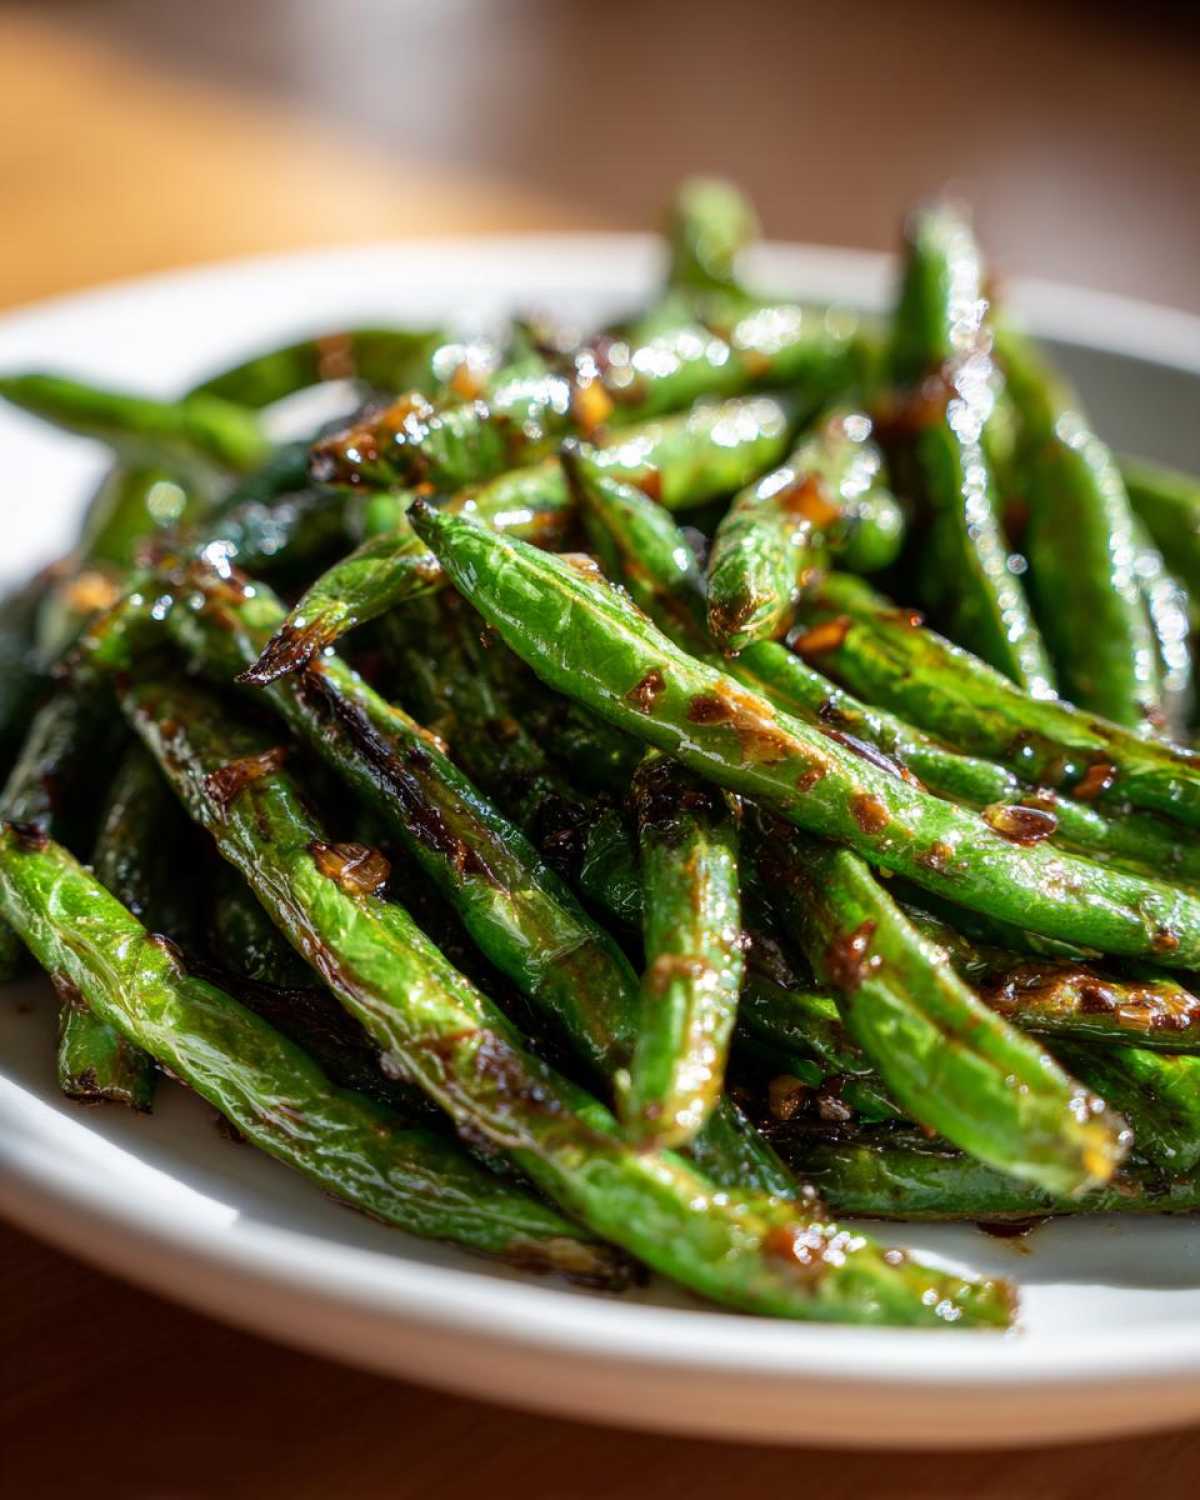
- They are seriously Lightning Fast! Prep time is barely 10 minutes, and cook time is another 10. You’re done before you’ve even decided what movie to watch.
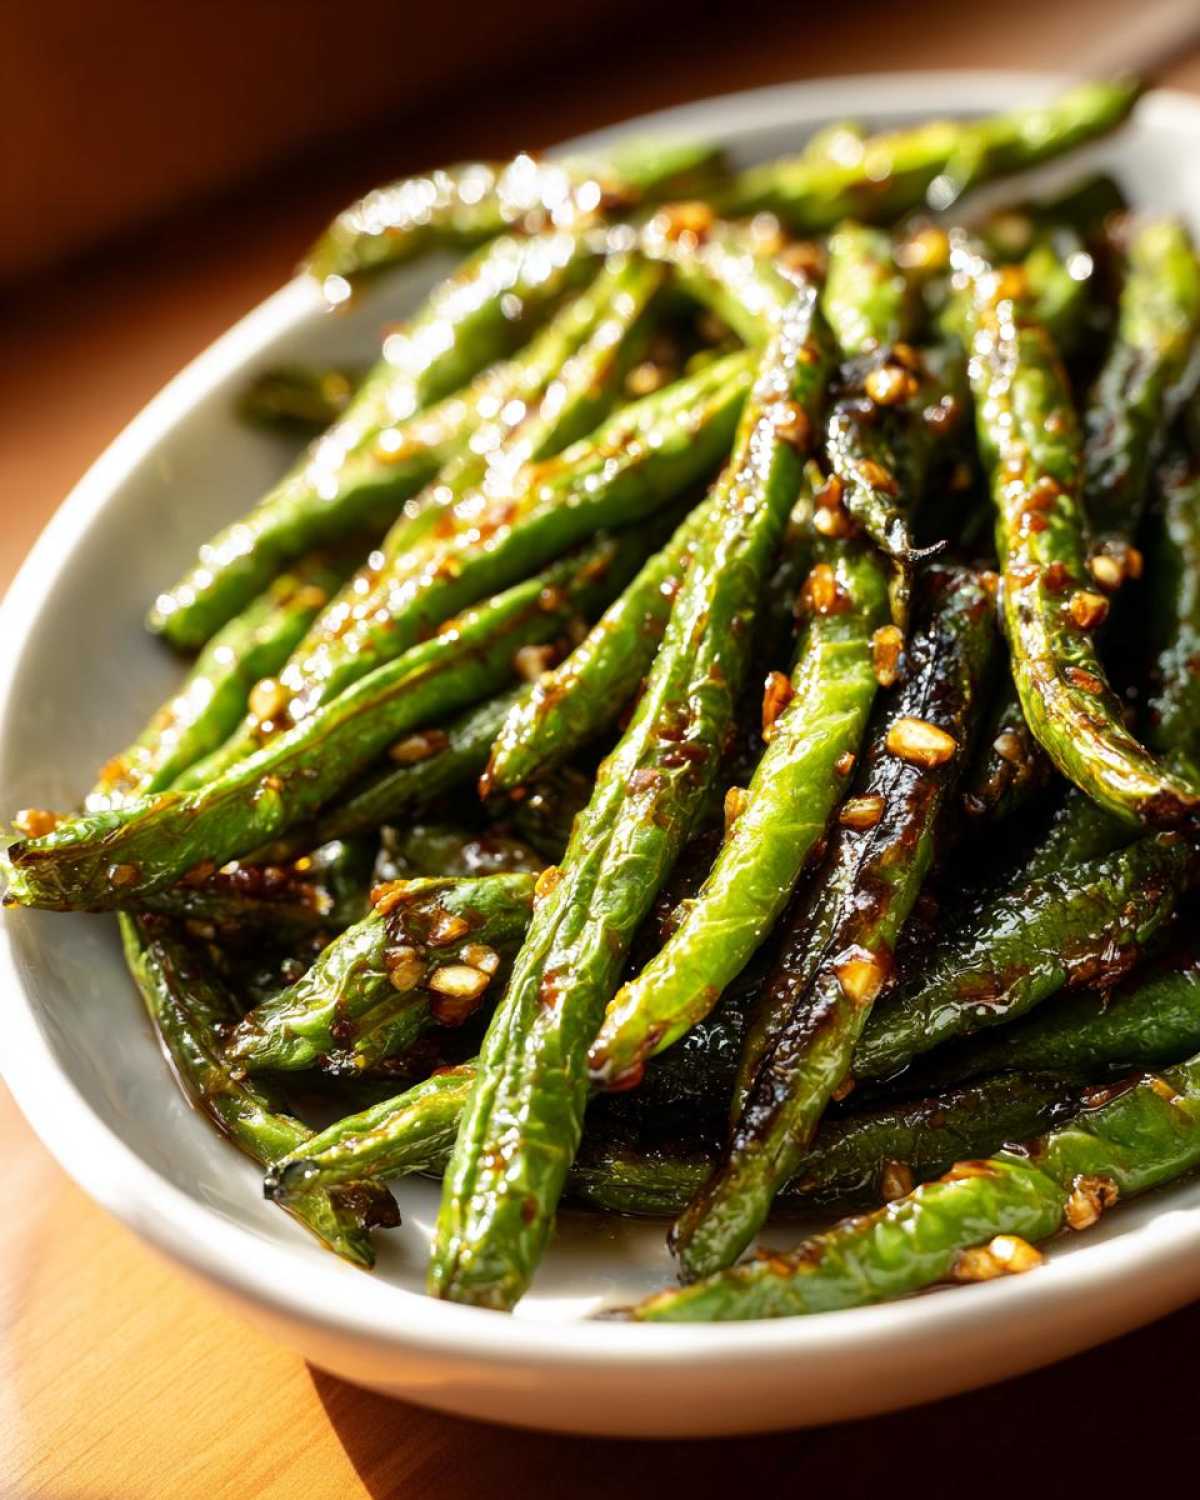
- That Blistered Perfection: We aren’t just steaming these; we are getting true char marks. That high-heat, wok fried green beans technique gives you incredible texture that reminds me of top-tier Chinese restaurants.
- Garlic, Garlic, Garlic: The sauce provides a massive flavor punch. It’s savory, slightly sweet, and beautifully aromatic thanks to the fresh garlic and ginger hitting that hot oil. Wow!
- So Easy to Adapt: Don’t stress if you don’t have a fancy wok. Simon says any heavy skillet works if you just take a moment to cook in batches. We celebrate showing up, not having perfect gear!
- They’re Totally Flexible: These are naturally vegetarian, and if you swap out soy sauce for tamari, they become fantastic vegan chinese sides you can feel great about serving.
- The Ultimate Chinese Side Dish: These green beans don’t just sit on the plate; they demand attention. They’re the perfect vibrant side dish to stand up to richer main courses, making dinner feel instantly special.
Essential Ingredients for Perfect Chinese Green Beans with Garlic Sauce
When we commit to making something restaurant-style, we have to honor the ingredients, right? Alice always makes sure I list out everything precisely here because getting the prep right means the quick cooking time in the wok actually works! It’s all about having your little bowls ready so you can focus on that high heat. For this punchy side dish, you absolutely need about a pound of fresh green beans—make sure they are trimmed because nobody wants to stop mid-sizzle to snap off a string!
Next up are the aromatics, and you can’t skimp here! We need at least four generous cloves of garlic, minced finely so they bloom quickly in the oil. I also love grating about a teaspoon of fresh ginger because that little spicy edge really perks everything up. For the main flavor base of our sauce, you’ll need low-sodium soy sauce—about a quarter cup—and a teaspoon of sugar to balance that saltiness. Don’t forget a half teaspoon of toasted sesame oil for that signature nutty finish.
You’ll also need just a touch of neutral cooking oil, like canola or vegetable oil, because we are going to be using high heat to get those gorgeous char marks. If you want that little bit of authentic depth, use a tablespoon of Shaoxing rice wine, which Simon insists boosts the flavor profile wonderfully. If you’re feeling spicy, grab a pinch of red pepper flakes to toss in at the end!
Ingredient Notes and Substitutions for Your Garlic Green Beans
Okay, let’s talk swaps, because I know not everyone keeps every specialty ingredient on hand! If you need these gluten-free, swapping out the regular soy sauce for tamari is an absolute breeze, and it works just as beautifully. The Shaoxing rice wine adds complexity, but if you don’t have it, don’t panic! Just use a splash of vegetable broth instead; it keeps the sauce from getting too thick. Great job having that thoughtful ingredient in reserve—kudos to you!
The most important tip I have for you regarding the oil is choosing something with a higher smoke point, like canola or vegetable oil mentioned above. We are literally blasting these blistered green beans in hot fat, so you don’t want your oil smoking aggressively before the beans even hit the pan. High, steady heat is the ticket to success here, so choose your oil wisely!
Equipment Needed for Wok Fried Green Beans
This is where we talk about the tools of the trade! To get those amazing, slightly smoky, charred spots that truly define great wok fried green beans, you need equipment that can handle some aggressive heat. Simon always says, if your pan is weak, your conviction will waver, and the beans will steam instead of sizzle. So, let’s make sure we are set up for success!
The absolute best thing you can use is a traditional wok. A seasoned wok distributes that intense heat right up the sides, which is perfect for tossing and charring vegetables evenly. If you don’t have one, don’t you dare get discouraged! We can totally work around it. What you really need is the biggest, heaviest skillet you own—cast iron is fantastic here, or even a sturdy stainless steel pan. The key weight and size is necessary because we don’t want to overcrowd the pan, which is the number one way these garlic green beans end up soggy.
Besides your main cooking vessel, you’ll want essentials that make the process smooth, since everything moves so fast once the heat is on. Having a small bowl already mixed with your sauce components ready to go is crucial—that’s part of the fun planning!
- A large Wok or very heavy-bottomed Skillet (This is your MVP for achieving that perfect blister!)
- Sharp Knife and Cutting Board for quick trimming and mincing.
- Small Ramekins or Bowls for prepping the sauce and keeping the garlic and ginger separate.
- Tongs or a sturdy Spatula for tossing the beans quickly once they hit the hot oil.
- Your favorite upbeat playlist! Seriously, Simon insists that the right music makes the seasoning taste better. Give yourself some kitchen kudos just for turning the stove on!
Step-by-Step Instructions for Making Chinese Green Beans with Garlic Sauce
Okay, this is where the fun really starts! Once your sauce is whisked and your garlic is minced, it’s time to let the heat do the heavy lifting. Simon always tells me that executing the recipe is just about following the timeline, and with these garlic green beans, timing is everything because we’re working in high heat territory. Don’t be shy; crank that burner up! We want the oil shimmering, almost smoking, before those beans even think about hitting the pan. That initial shock of heat is what creates those fantastic, slightly shriveled, blistered green beans we’re looking for—your first big win right there! Remember what we talked about in the KUDOS philosophy? Celebrate that sizzle!
Once the sauce is ready and the pan is scorching, you’ll move fast, but don’t panic! We’re breaking it down so you can focus on each triumphant step. You’ve got this, and I promise, the aroma filling your kitchen will make you want to give yourself a high-five immediately. If you’re looking for more quick-fix inspiration for dinner additions later this week, check out some of our other favorite quick posts here!
- Prep the Flavor Bomb: Before you even touch the stove, whisk together your soy sauce, rice wine (if using), sugar, and sesame oil in a small bowl. Taste it! See? Even the pre-work is delicious. Set that sauce aside right next to your station.
- Get the Oil Raging Hot: Pour your neutral oil into your wok or heavy skillet and heat it over high heat until it’s shimmering hot. It needs to look ready for action!
- Blister the Beans (Do Not Touch!): Carefully add all your trimmed green beans, trying to lay them out as much as possible in a single layer. Now, this is crucial: let them sit there, undisturbed, for 2 to 3 minutes so they can start to char on that hot surface. This is how you get those signature spots!
- The Tender-Crisp Stage: Toss the beans and keep cooking for another 3 to 4 minutes until they look tender-crisp all over and you see consistent blistering.
- Aromatics Go In: Push all the beans over to one side of the wok, creating space in the middle. Drop in your minced garlic and grated ginger. Cook them for only about 30 seconds until you can really smell them. Watch them closely—we want fragrant, not burnt!
- Sauce it Up: Toss the beans quickly to mix with the garlic and ginger. Pour your prepared sauce mixture right over everything. Add in your red pepper flakes now if you decided to bring the heat!
- The Finish: Cook for just one final minute, stirring constantly, until that sauce has thickened up just enough to coat every single bean perfectly. Serve these amazing chinese green beans right away!
Pro Tips for Achieving Blistered Green Beans Texture
If you’re aiming for that authentic, dry-fried texture—the kind that makes these the best chinese side dishes—you need to treat the pan like it’s on fire! The absolute number one thing you must remember is to avoid overcrowding. If you pile too many beans in there, they will steam in their own moisture, and you’ll end up with soft, sad beans instead of beautifully blistered ones. If you have a smaller wok, don’t hesitate; cook the beans in two separate batches. Trust me, waiting an extra five minutes is worth the textural reward!
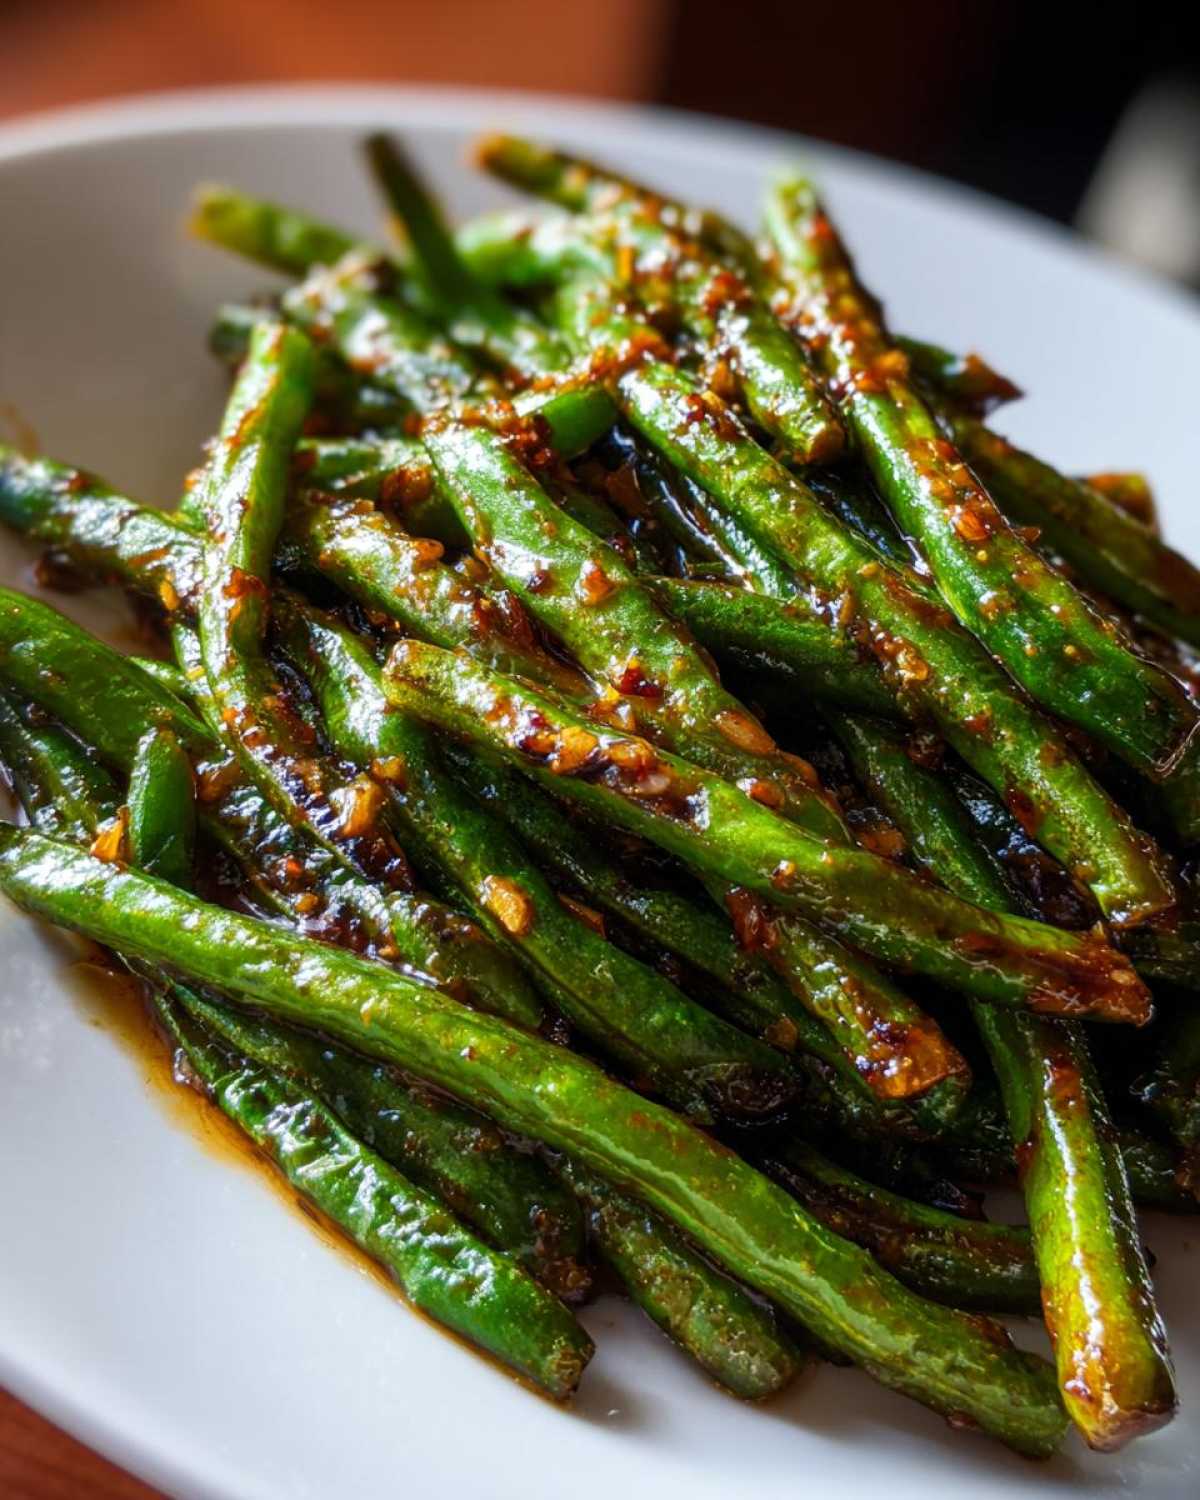
Secondly, be patient during that initial cook time in Step 3. That hard sear is non-negotiable for proper blistering. Let them sit! When you move them around too much too early, they cool down and start sweating instead of charring. Let that high heat do the work, and celebrate the fact that you are mastering the high-heat technique!
Making the Flavorful Garlic Sauce for Chinese Green Beans
Before we hit that screaming hot wok temperature, we absolutely have to get our sauce ready. This is Step 1, and I treat it like putting on my favorite comfortable apron—it just makes everything feel organized and right! Mixing the sauce ahead of time means you can dedicate 100% of your attention to getting those blistered green beans just right when they hit the pan. And trust Simon on this: the sauce is where all the savory magic lives!
I always grab a little bowl and basically dump everything in: the soy sauce, the sugar, the toasted sesame oil, and if I’m using it, the Shaoxing rice wine. Now, you have to whisk this really well. I mean *really* well. The reason I emphasize this is that if that tiny bit of sugar doesn’t dissolve completely when you whisk it, it can sometimes settle, and you might accidentally get a sticky, burnt patch in one corner of your tasty stir-fry later. We want even sweetness throughout, not little pockets of cloying sugar, right?
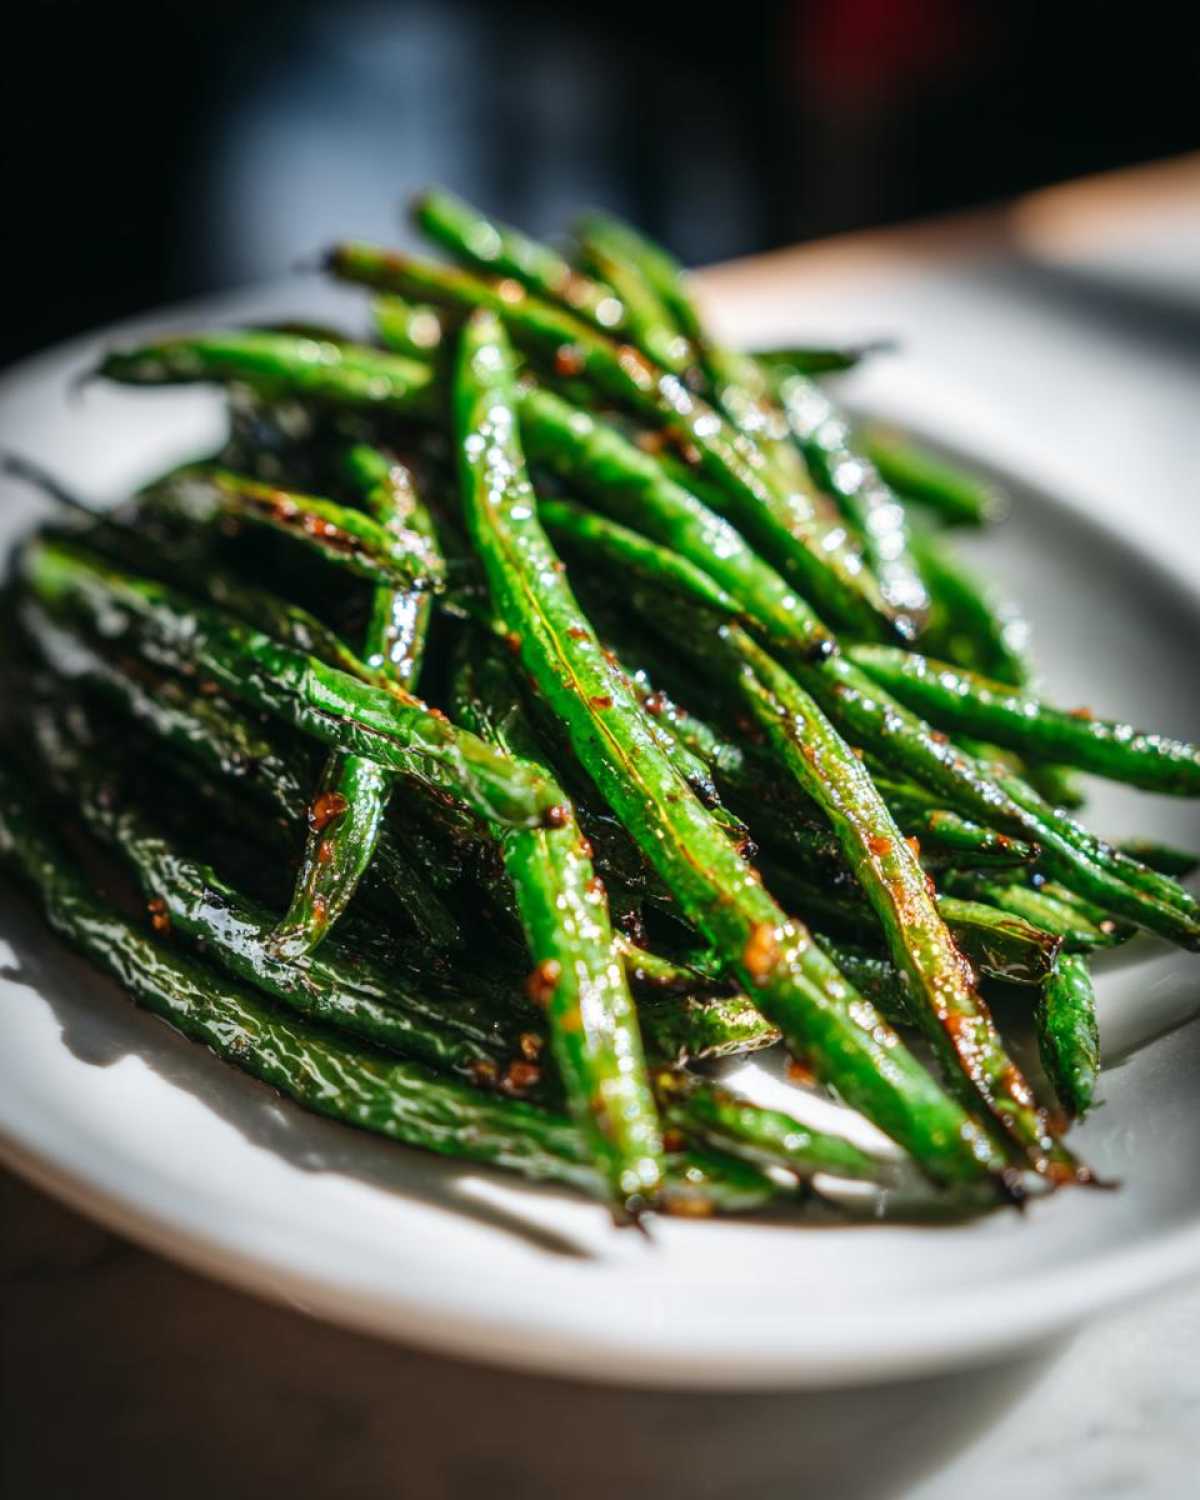
That little bit of Shaoxing rice wine is really special here. It adds this incredible, complex, almost malty background note that elevates the whole dish from being just “soy sauce and garlic” to something truly restaurant-worthy. If you skip it, no worries at all—we talked about swapping it for veggie broth earlier—but give it a try sometime! You mix it, you taste it, you give yourself a cheer because it’s so easy, and you set it right next to the stove. That little bowl of flavor is the key to nailing these garlic green beans in under a minute!
Serving Suggestions for Your Takeout-Night Chinese Side Dishes
Now that you have mastered the art of the perfect garlic sauce coating on your blistered green beans, the real question is: what are we eating them with tonight? Because these aren’t just any green beans; these are bold, punchy, high-flavor chinese green beans that deserve center-stage status next to a fantastic main course. Simon and I love making a full takeout spread at home, and these are the champions of the side dish game!
Since these green beans bring a lot of savory, garlicky punch from that quick finish, they pair beautifully with lighter, slightly brighter stir-fries. I always recommend a savory protein that can soak up some of that extra sauce you might have left in the pan. Think about dishes that aren’t already overwhelmingly heavy on garlic or ginger so the beans can really shine through as a vibrant counterpoint.
This is where you can really give yourself props for planning a full meal that feels easy but tastes gourmet. If you’re looking for a fantastic main dish that screams ‘awesome weeknight victory,’ you have to try our recipe for Pepper Steak. It’s just as fast as these green beans and uses that classic stir-fry technique we love, so the textures mingle perfectly. You can check out the recipe for Quick Chinese Pepper Steak right here!
Here are a few other ideas that work wonderfully alongside these vegan chinese sides:
- Sweet and Sour Pork/Chicken: The sweet, tangy glaze cuts through the savoriness of the garlic sauce perfectly. It’s a classic contrast!
- Simple Steamed Fish with Scallions: If you want something lighter and cleaner, a simply steamed white fish seasoned minimally lets those assertive green beans carry the flavor load.
- Beef and Broccoli: Another winner! The tender broccoli meshes well with the green beans, and the beef provides that satisfying bite.
- Fried Rice Night: Seriously, a big scoop of vegetable or egg fried rice becomes instantly elevated just by having these intensely flavored wok fried green beans piled right on top.
The goal here is to celebrate variety on the plate! You put in the hard work mastering that blistered texture, so make sure the rest of the dinner table earns a round of applause too. Every component of a great meal deserves some kitchen kudos!
Storage and Reheating for Leftover Garlic Green Beans
Okay, let’s talk about leftovers, because sometimes making a huge batch of these garlic green beans is just smart planning! They are so tasty that even the next day, they are a fabulous, quick addition to lunch, but we want to treat them right so they don’t lose that fantastic texture we worked so hard for. Seriously, don’t let those hard-earned blisters disappear into sad mush!
The key to keeping them tasty is storage. You need to let them cool down completely after you take them off the heat—don’t trap any steam in there! Once they are totally room temperature, scoop them into a good, solid airtight container. You want something that seals tight so they don’t pick up any weird fridge smells. Pop that container into the refrigerator. If you’ve stored them well, they should hold up beautifully for about three to four days. That’s four more opportunities for quick kitchen kudos!
Now, reheating is where we need to be clever to preserve that texture. Nobody wants steamed chinese green beans the second day, right? Avoid the microwave if you can, because even a short burst of microwave power tends to soften vegetables really quickly. Simon insists the best way to revive that beautiful, slightly charred, blistered texture is to use dry heat again, just like we cooked them the first time!
Here’s the technique: grab your wok or that same heavy skillet you used before. Get the pan scorching hot over medium-high heat—you don’t need a ton of extra oil, maybe just a tiny drizzle if your pan looks dry. Scoop in your cold green beans and immediately start tossing them! You’re essentially giving them a quick, intense flash-fry for maybe two minutes. The goal is just to heat them through quickly and let any residual moisture evaporate, bringing back that little bit of crispness and char.
If they look a little dry after reheating, you can keep a tiny bit of the reserved sauce (if you made extra, which is smart!) handy. Add just a teaspoon right at the very end of reheating, toss hard, and serve them hot. It’s honestly incredible how they bounce back! See? Even leftovers are a delicious win in this kitchen!
Frequently Asked Questions About Chinese Green Beans with Garlic Sauce
We get so many great questions whenever we share recipes that rely on high heat, especially since mastering that blistered texture feels so rewarding! Simon always says that questions mean people are showing up in the kitchen and trying, which is the biggest win of all! Here are some of the things we hear most often about getting these garlic green beans just right.
Can I make these vegan chinese sides without meat?
Oh, absolutely! That’s one of the best parts about this recipe—it’s already structured to be a fantastic vegan chinese side dish! We use soy sauce (or tamari) as our salty base, not fish sauce, so you are already good to go there. If you want to make sure it stays strictly vegan, just double-check that you aren’t adding any animal-derived products into your main course that you serve it with! And remember, if you need to keep it gluten-free, just swap regular soy sauce for tamari; it has the exact same salty punch and works perfectly with the garlic sauce.
How do I prevent my green beans from getting soggy when making dry fried green beans?
This is the question that separates the steamed beans club from the blistered beans club! The secret to achieving true dry fried green beans texture is all about heat management. You absolutely must use high heat. If your pan isn’t hot enough—and I mean screaming hot—the beans release their water, and because the heat isn’t high enough to evaporate that water instantly, they steam themselves into submission. Yuck! So, blast that oil hot, use a heavy pan so the heat doesn’t drop too much when the beans go in, and for the love of delicious vegetables, DO NOT CROWD THE PAN! Cook in batches if you have to. It’s worth the extra two minutes just to get that beautiful char.
Another quick thing: try not to toss them constantly, especially in the beginning. You have to let them sit for that initial 2-3 minutes to sear against the hot metal. That sear is what creates the blister! If all you are doing is stirring, you keep cooling the pan down. Be patient for that initial sear!
If you are looking for other quick, delicious recipes where you can celebrate similar stir-fry techniques, pop over and check out our Easy Chicken Stir Fry—it uses similar speed and high-heat principles!
Can I double this recipe for a crowd?
You certainly can! But here’s the crucial bit of advice Alice and I learned the hard way: if you are doubling the recipe, you *must* double the pan size or cook in two separate batches. If you just throw double the beans into your standard wok, you automatically create too much steam, and you lose that charred, crispy texture we are obsessed with! If you can manage two large pans at once, go for it! If not, cook Batch 1, remove it to a warm plate, cook Batch 2, and then toss it all together at the very end when you add the sauce. It takes slightly longer, but you guarantee that glorious crispness on every single bean!
Estimated Nutritional Snapshot for Chinese Green Beans with Garlic Sauce
Okay, here’s a little peek at the math behind our incredible garlic green beans! We truly focus on flavor and ease here at our place, but it’s always good to know roughly what you’re digging into, especially when serving up delicious chinese side dishes like this. This nutritional snapshot gives you the general idea of what one serving looks like based on the ingredients we listed, like that healthy dose of oil needed for blistering.
Remember, Simon always says that this is just a guide—your final numbers will change slightly based on the exact brands of soy sauce or oil you use. Consider this your general baseline for giving yourself kudos on making a substantial, flavorful side dish that fits nicely into your day!
- Serving Size: 1 serving
- Calories: Approximately 150
- Fat: About 10 grams (Lots of that is the good cooking oil needed for that high-heat sear!)
- Saturated Fat: Very low, around 1 gram
- Carbohydrates: Around 12 grams
- Fiber: A healthy boost of about 4 grams from all those green beans!
- Protein: About 3 grams
- Sodium: Approximately 550 mg (This depends heavily on whether you use low-sodium soy sauce or a higher-salt alternative.)
- Sugar: Roughly 3 grams (Mostly from the small amount added for balance.)
We don’t sweat these numbers too much, though. If you’re having these amazing wok fried green beans alongside your main course, you’re getting a fantastic boost of vegetables and flavor for just a tiny investment of time. As always, these figures are estimates based on standard measurements, so feel free to take a bite, slap your knee in victory, and celebrate the fact that you cooked something truly delicious!
PrintRestaurant-Style Chinese Green Beans with Garlic Sauce
Make fast, flavorful garlic green beans with a blistered texture right in your wok or skillet. This easy Chinese side dish delivers big flavor for your weeknight dinner.
- Prep Time: 10 min
- Cook Time: 10 min
- Total Time: 20 min
- Yield: 4 servings
- Category: Side Dish
- Method: Wok Frying
- Cuisine: Chinese
- Diet: Vegetarian
Ingredients
- 1 pound fresh green beans, trimmed
- 3 tablespoons neutral oil, such as canola or vegetable
- 4 cloves garlic, minced
- 1 teaspoon fresh ginger, grated
- 1/4 cup low-sodium soy sauce (or tamari for gluten-free)
- 1 tablespoon Shaoxing rice wine (optional)
- 1 teaspoon sugar
- 1/2 teaspoon toasted sesame oil
- Pinch of red pepper flakes (optional)
Instructions
- Prepare the sauce: In a small bowl, whisk together the soy sauce, rice wine (if using), sugar, and sesame oil. Set aside.
- Blister the beans: Heat the neutral oil in a large wok or heavy skillet over high heat until shimmering. Add the trimmed green beans in a single layer if possible. Let them cook, undisturbed, for 2 to 3 minutes until they start to char and blister in spots.
- Stir-fry: Toss the beans and continue cooking for another 3 to 4 minutes until they are tender-crisp and nicely blistered all over.
- Add aromatics: Push the beans to one side of the wok. Add the minced garlic and grated ginger to the empty space. Cook for about 30 seconds until fragrant, being careful not to burn the garlic.
- Combine: Toss the beans with the garlic and ginger. Pour the prepared sauce mixture over the beans. Add the red pepper flakes now if you are using them.
- Finish: Cook for 1 minute, stirring constantly, until the sauce thickens slightly and coats the green beans evenly. Serve immediately for your perfect Chinese side dish.
Notes
- For a deeper flavor, you can substitute vegetable broth for the rice wine.
- If you do not have a wok, use the largest, heaviest skillet you own and cook the beans in batches to maintain high heat for proper blistering.
- These garlic green beans pair well with any takeout-night dinner like Kung Pao Chicken or Vegan Stir Fry.
Nutrition
- Serving Size: 1 serving
- Calories: 150
- Sugar: 3
- Sodium: 550
- Fat: 10
- Saturated Fat: 1
- Unsaturated Fat: 9
- Trans Fat: 0
- Carbohydrates: 12
- Fiber: 4
- Protein: 3
- Cholesterol: 0